How to stress test a laptop for music production in any DAW - and why every producer should do it
Get the most out of your machine and find out how far your laptop can really take your recordings
Want all the hottest music and gear news, reviews, deals, features and more, direct to your inbox? Sign up here.
You are now subscribed
Your newsletter sign-up was successful
There are numerous reasons why you might want to stress test your laptop for music production. You might want to understand the limits of how many tracks or plugins you can run in a session, how long you can push the boundaries of your budget laptop before it overheats, or if you’re on a Windows laptop, test a recent upgrade.
As the most important component for music makers, your CPU has a large effect on a multitude of aspects of music production. Every plugin you use takes a little slice of your CPU power, and the heft of your CPU also affects the ability to run lower buffer sizes in your DAW, enabling lower latency performance, which is crucial in the recording phase.
One of my first jobs was working in a computer repair shop and while the majority of my time was spent dealing with software issues, quite often I’d have customers coming in to upgrade or overclock their machines, seeking better performance. It’s all well and good buying a new laptop, upgrading your RAM, or adding an external hard drive to enhance performance, but how do you actually know if these upgrades or new purchases are having a marked difference?
This is where testing comes into play. It’s a relatively simple process to undertake, and can be done with stock plugins or using stress testing software available for free, so all you need to test your laptop is a little bit of time. One thing to note is that if you’re performing this testing to see what impact an upgrade will have, make sure to do some baseline testing before you install your new RAM or SSD.
D-Verb Test
Whenever I’m reviewing a laptop I will perform the D-Verb test on it, as Pro Tools is my DAW of choice. You can do something similar in any DAW, but you may need to tweak a few things in order to perform this test. Many of the tools out there for stress testing are merely for the purpose of trying out overclocked components or fault-finding, so for me, there’s more value in a test that’s a little more in line with what musicians will be doing in the real world.
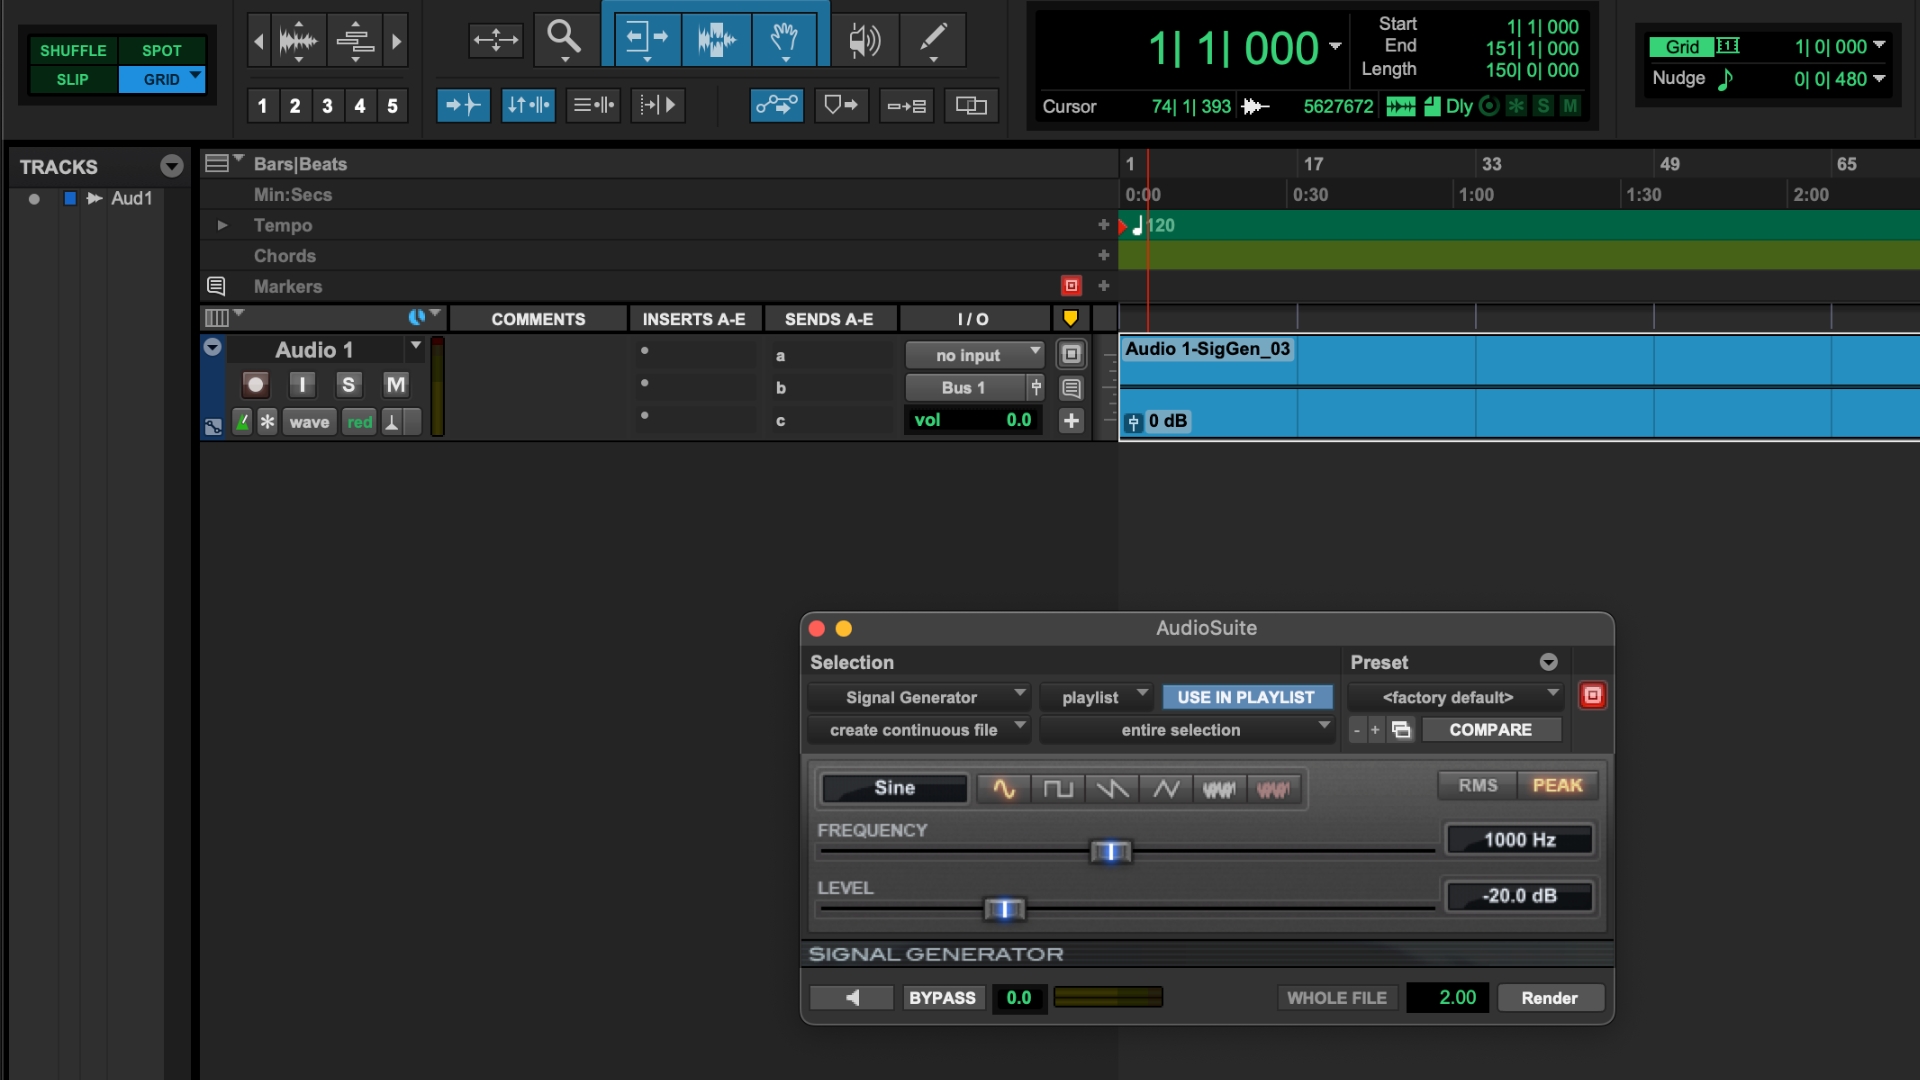
To start with, head to your Playback Engine in Pro Tools and make sure that 'Ignore Errors' is unchecked. You’ll then need to generate a sine wave utilising the signal generator in Pro Tools. To do this, you create a mono audio track, select five minutes on the timeline using the select tool, and then use the Audiosuite menu to render the signal. Once this is done, change the output of the track to Bus 1, then create a new audio track with its input as Bus 1.
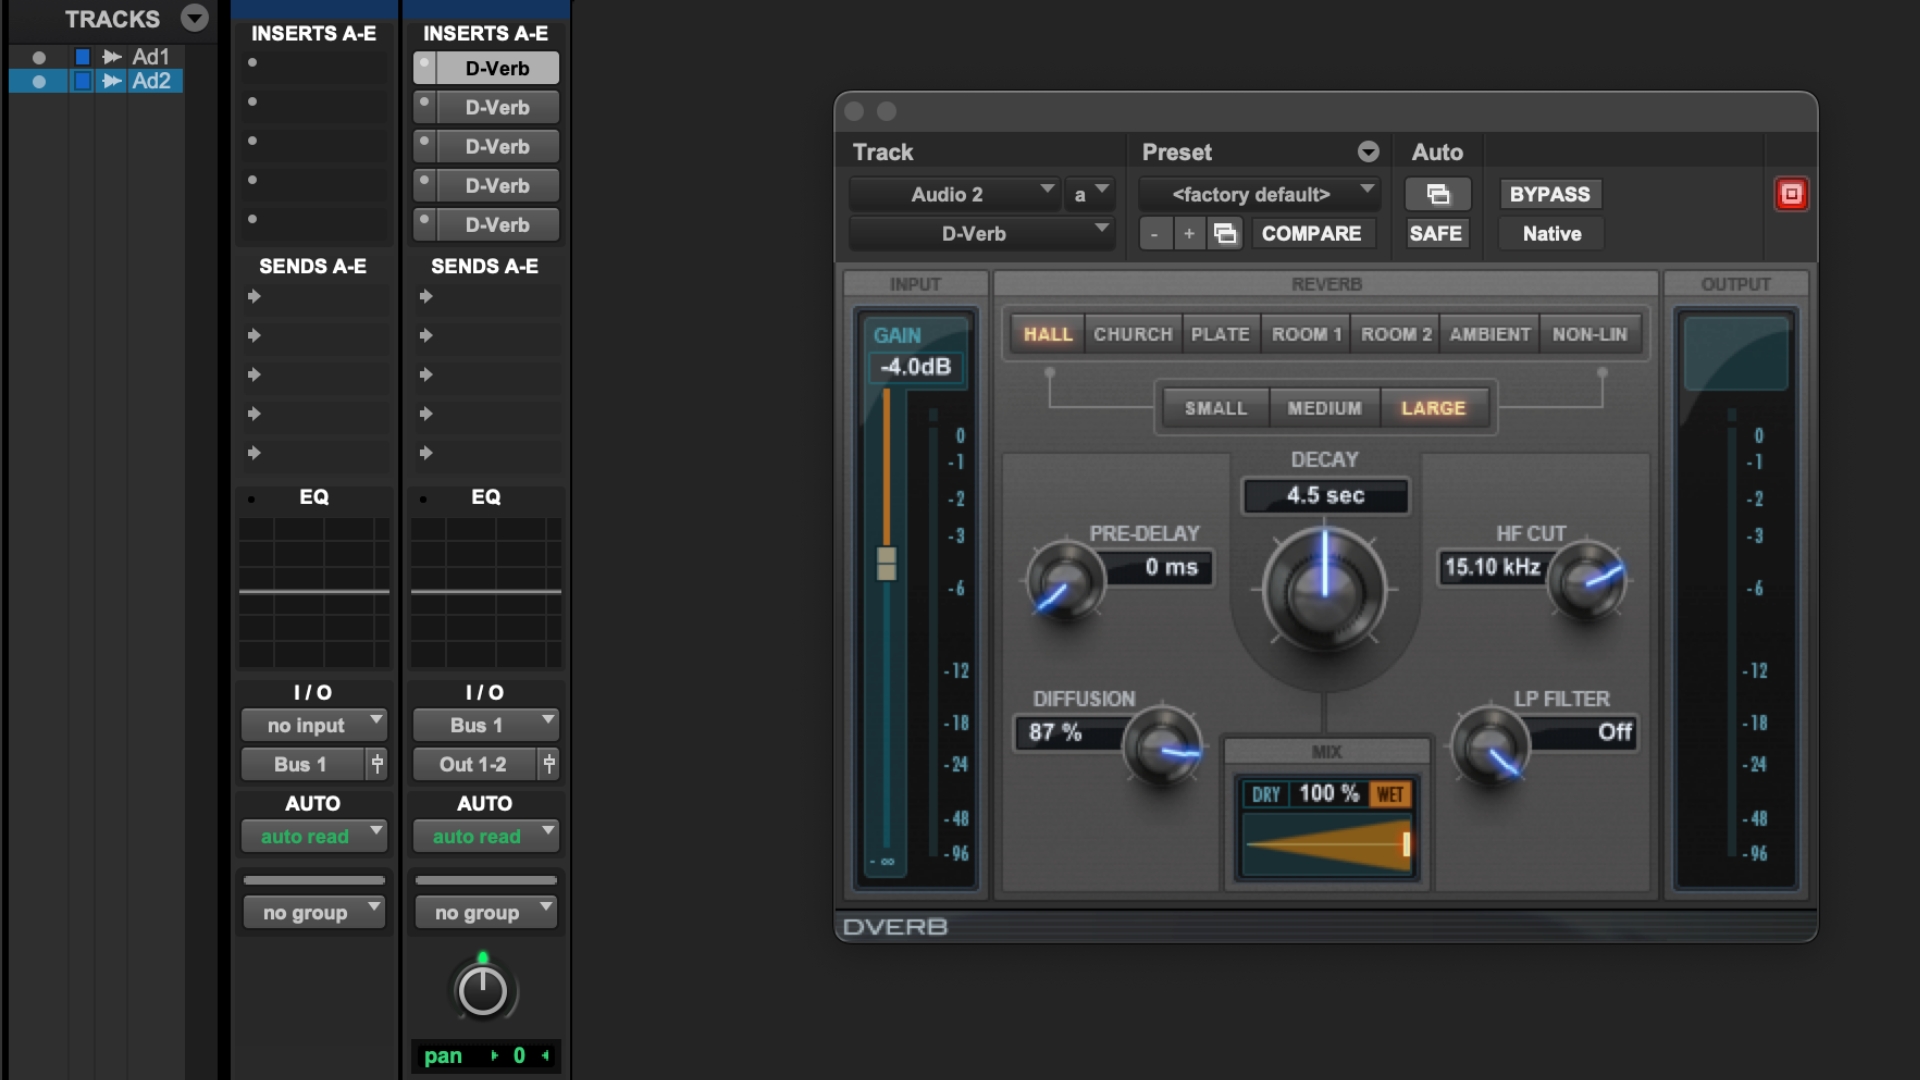
Next, you need to add five instances of D-Verb to the audio track, then we can start duplicating. I recommend starting with 25-50 tracks initially, and you’ll need to make sure they’re all armed for recording, but don’t arm record your original track with the generated sine wave on it. Before you commence, make sure to open System Usage in the Windows menu so you can see what’s going on with your CPU during the test.
Want all the hottest music and gear news, reviews, deals, features and more, direct to your inbox? Sign up here.
Once your tracks are armed make sure you turn your studio monitors and studio headphones down, then you just need to hit the record button. This will send your initially generated signal to all of the duplicated tracks, running it through all of the reverbs and recording it to track. Let it run for the full five minutes and listen back at low volume for any signs of crackles or pops. It’s pretty dull listening I’ll admit, but part of the test is the ability for your computer to run under load for a decent amount of time.
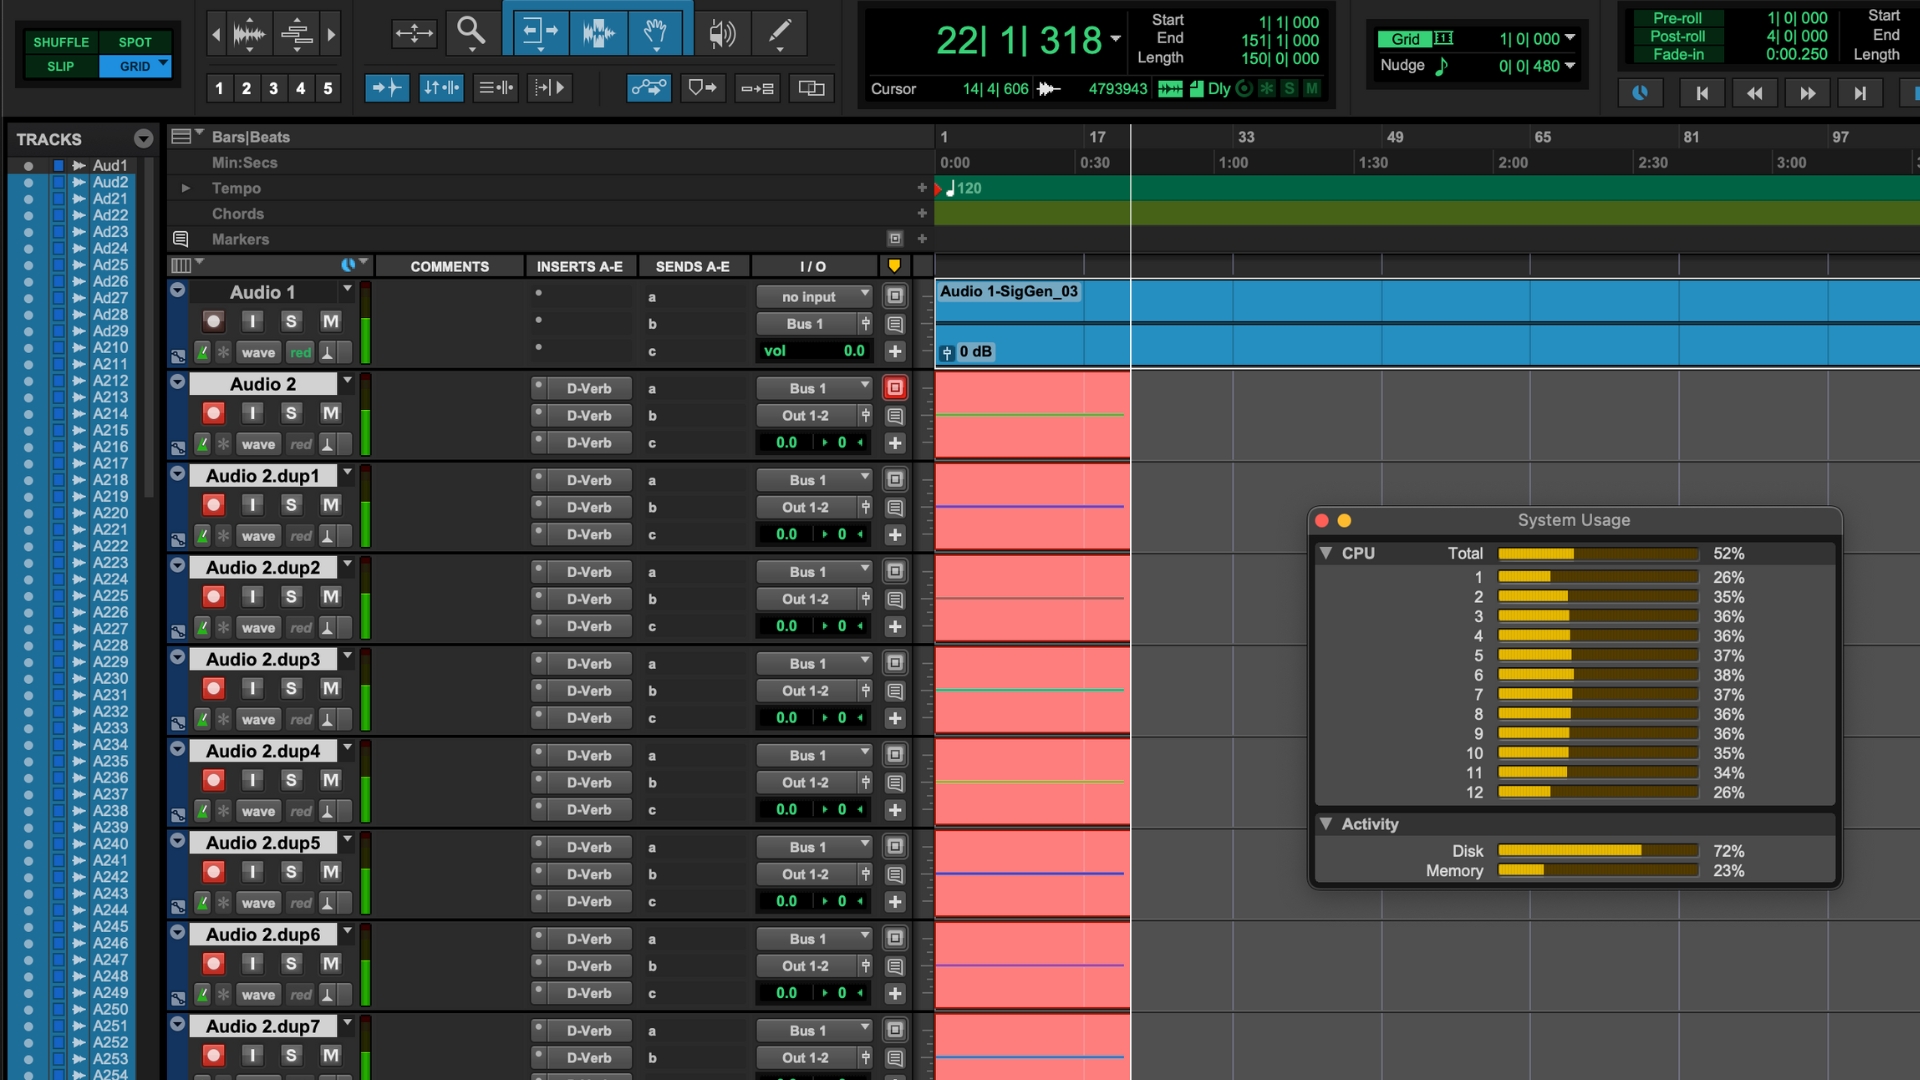
You can monitor what’s happening via the system usage window, which will let you know how much of the overall CPU is being used, as well as what the individual cores are doing. Provided your machine is able to handle it at 25-50 tracks, keep upping the stakes until you get Pro Tools to throw an error. On a recent MacBook M4, I got to over 400 tracks before I encountered my first error, which tells you what a modern laptop is capable of.
This test can be run on any DAW provided you don’t have a limited track count, and is a good way to see how much your computer can handle before you decide to take on a behemoth project. Pretty much every DAW has a tone generator built in, so whether you’re running in Ableton, FL Studio, Logic, or Studio One, you can perform the test. Any stock reverb will suffice, as most reverbs tend to be quite CPU-intensive. Most DAWs also allow you to monitor your system usage, you’ll just need to do a quick Google search on how exactly to do it in yours.
Stress Testing
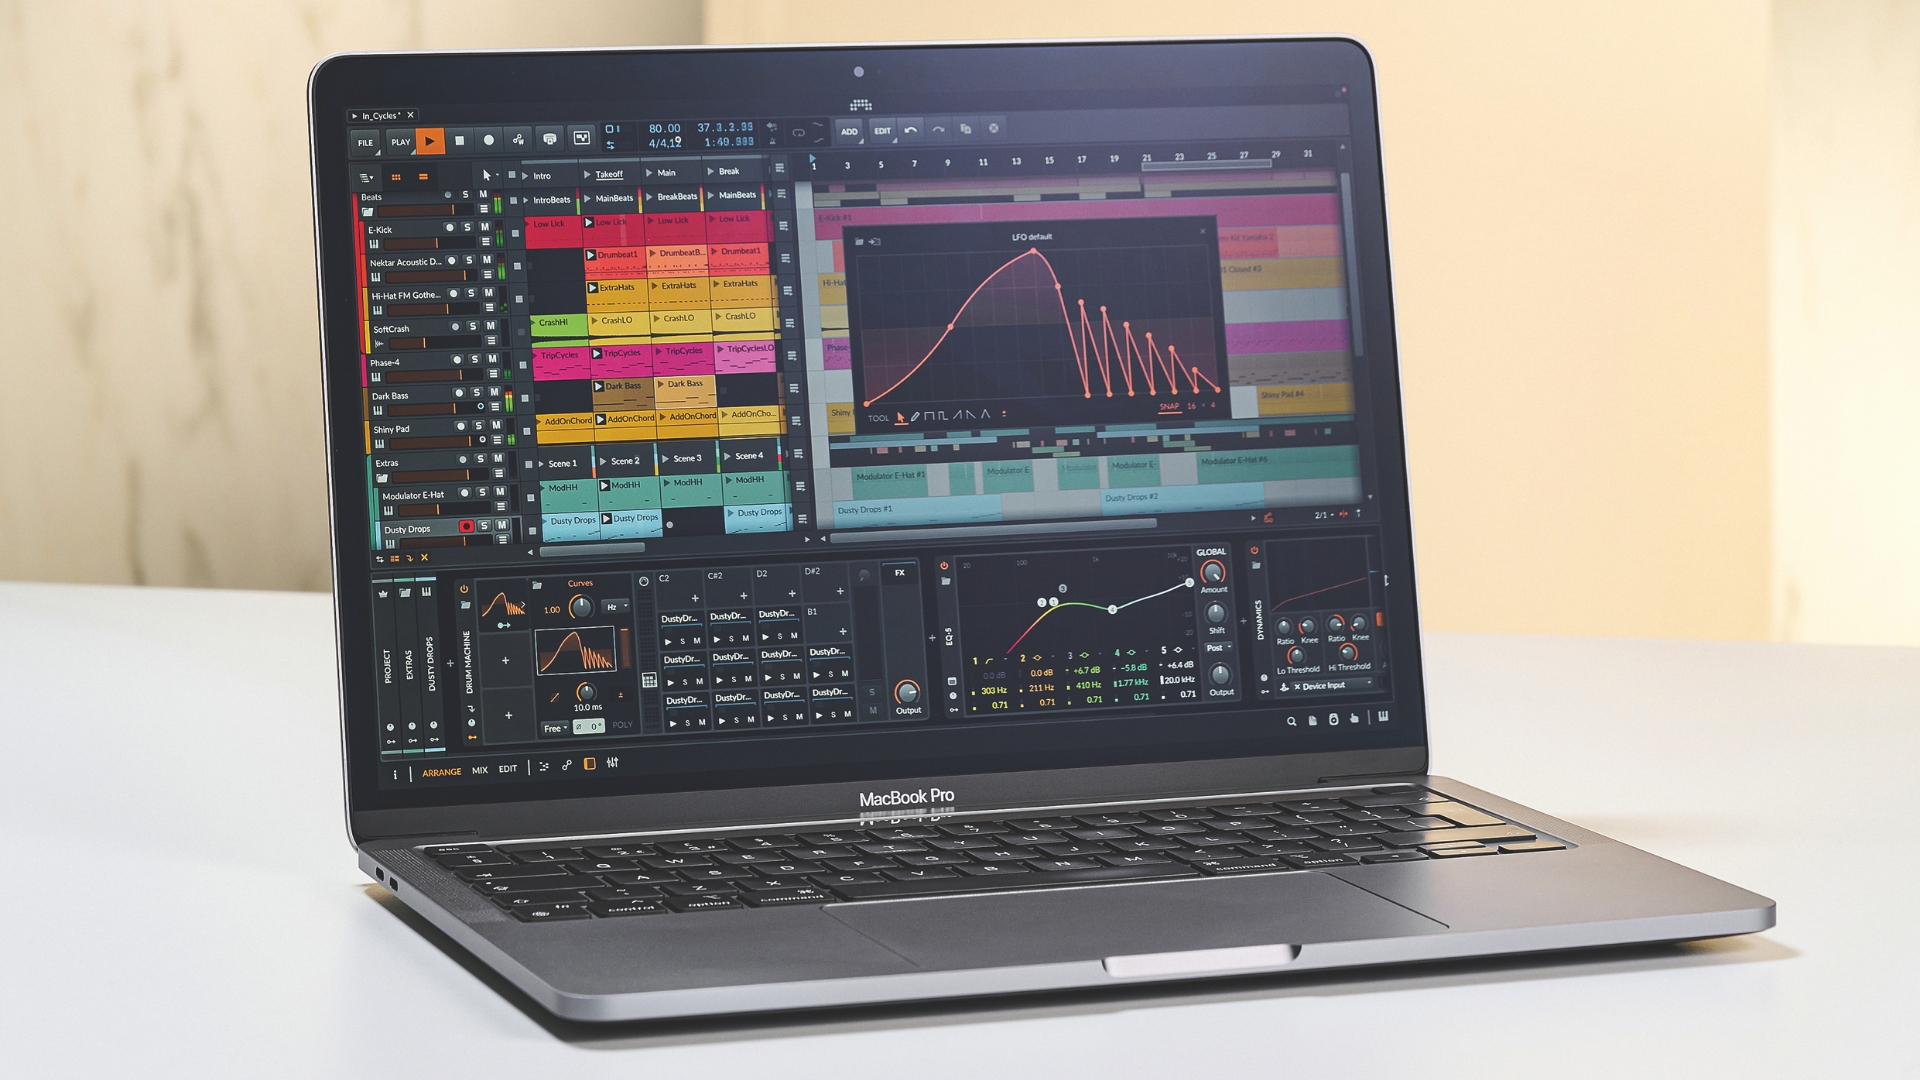
If you've recently upgraded your machine or are trying to overclock to get more performance, I highly recommend using Prime95, which is available for Windows, Mac, and Linux machines. Originally designed to help find prime numbers, it’s become popular with those who build their own computers in recent years, providing a great benchmark to see how stable your computer is under heavy load.
The process of using it is very simple: just download the software, install it using administrator privileges, and when prompted, select the ‘Just stress testing’ option. The software will then run through a variety of tests and you’ll hear your fans fire up at certain points, as it also tests the cooling systems and power supplies in your computer.
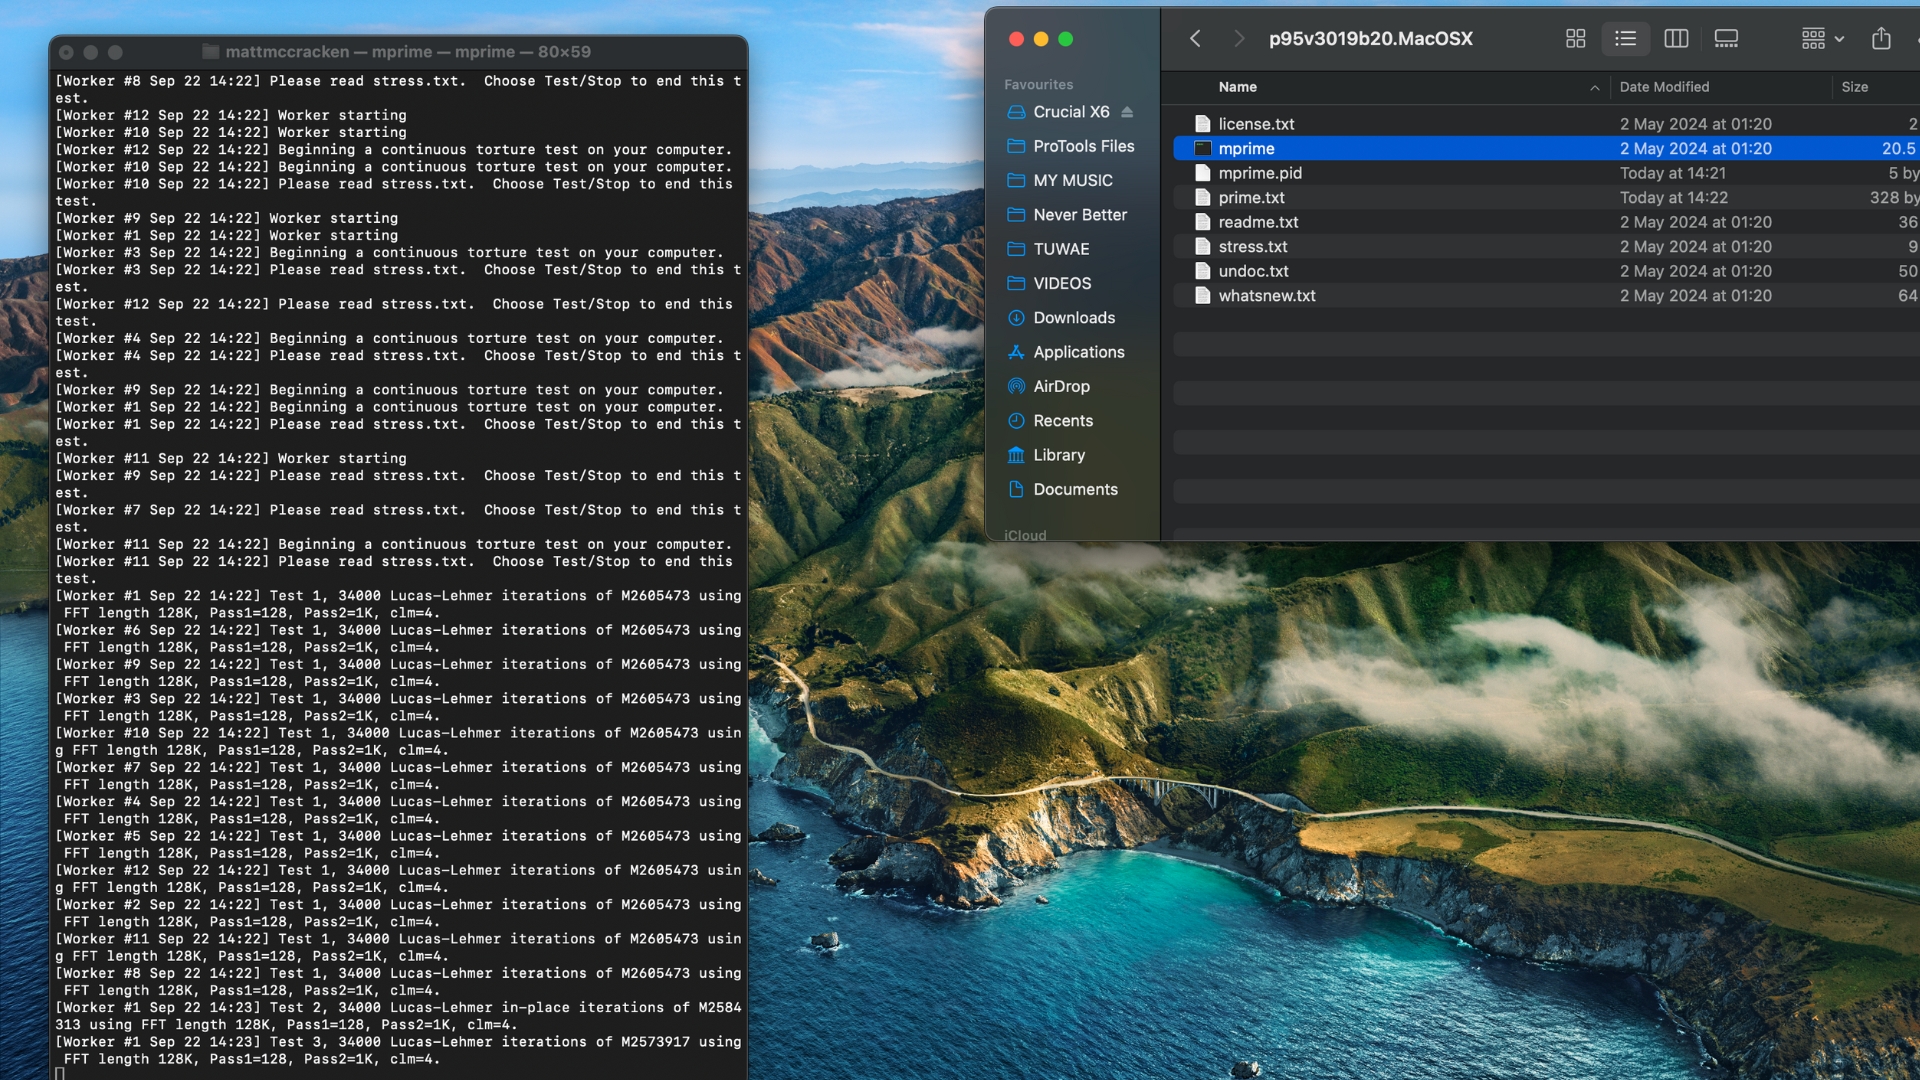
You can run the test for any amount of time you like. The makers of Prime95 themselves recommend anywhere between 6-24 hours for optimal results, but if you don't have that amount of time you can run the test for however long you're typically using your computer. You can then check the results in the results.txt file that’ll be generated in the folder you extracted the program from.
One limitation of this test is that it’s primarily designed to detect faults, rather than simulate actual use. So if you own a newer laptop that is working fine you may not find out much doing it this way. If you’re overclocking your machine to extract more performance for your music-making however, or you’ve recently added more RAM, it’s a great way of seeing how much pressure you can put on your components and how stable the system is overall.
Conclusion
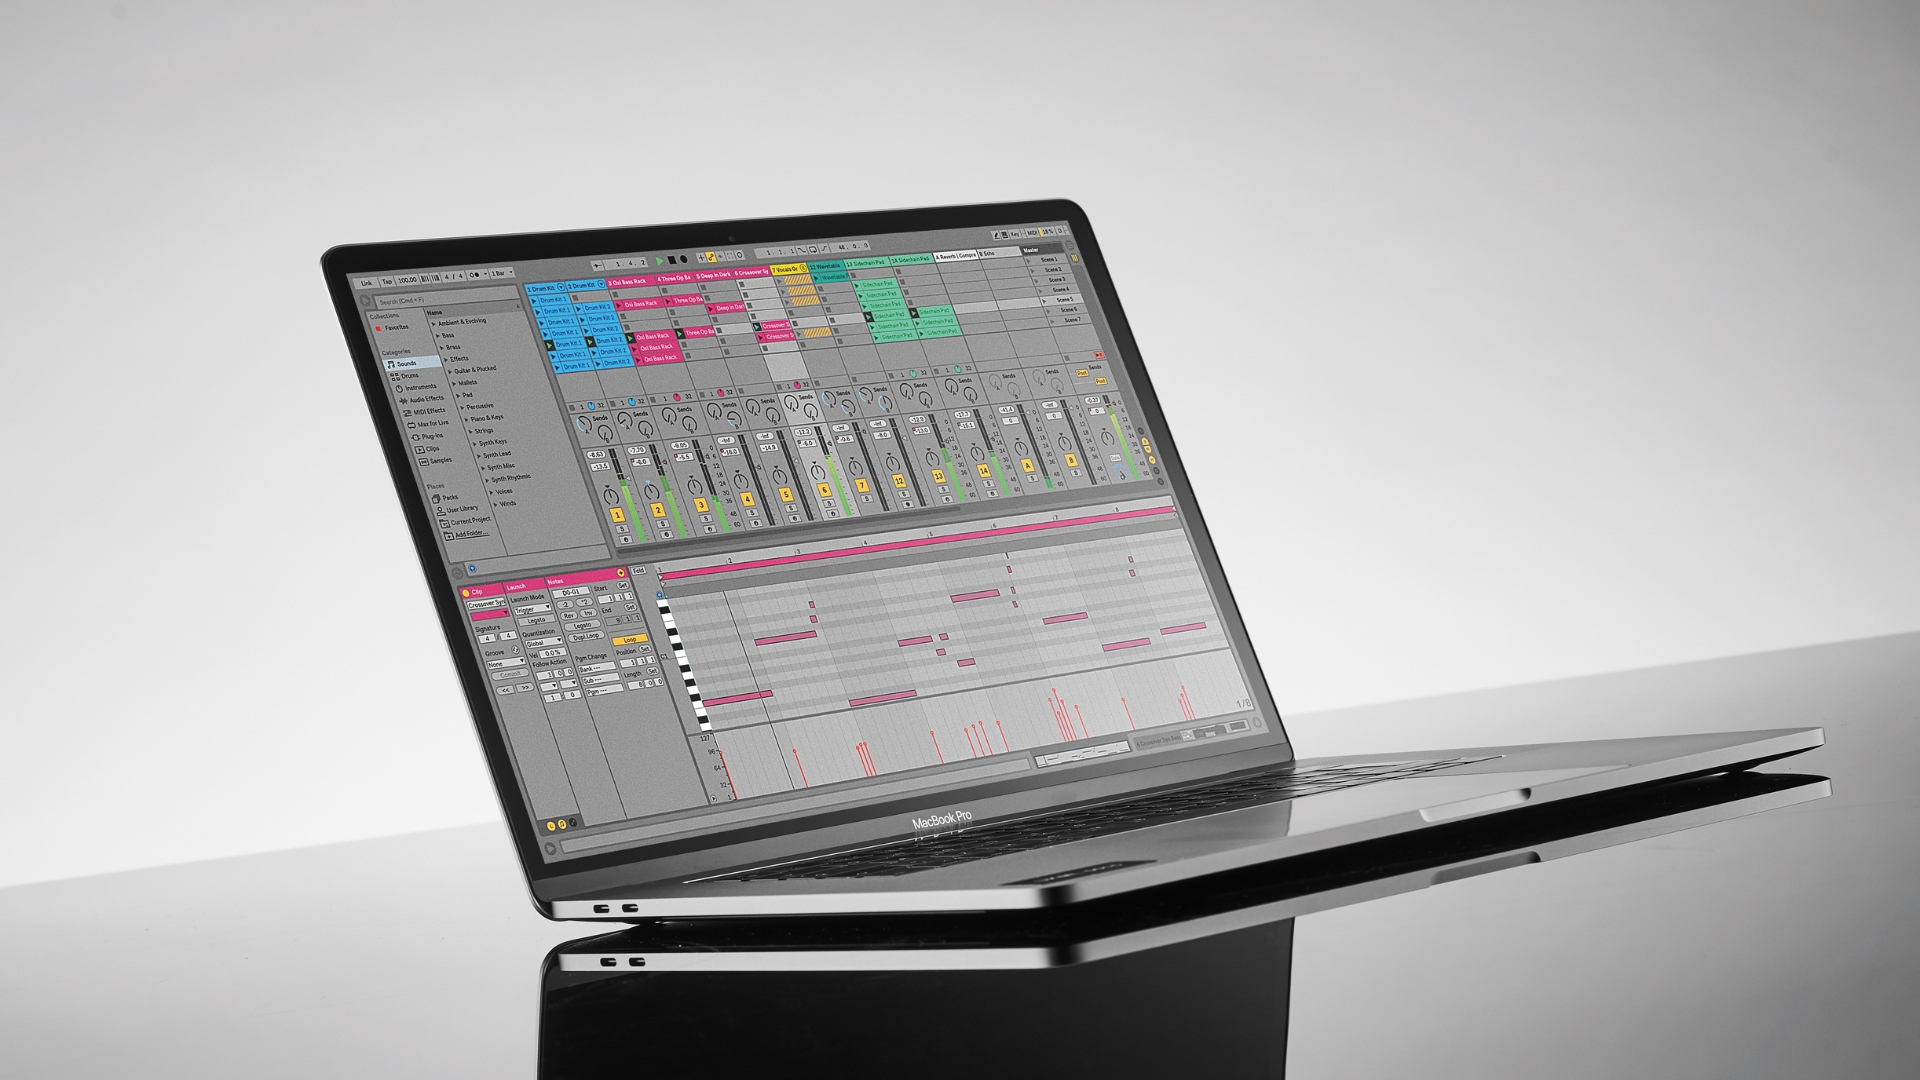
So there you have it, two relatively simple and free ways to see what your music-making machine is capable of. Of course, you can perform these tests on a desktop PC or even an iPad if that’s how you make your music, whether you’ve made a change recently, or you just want to find out just how far your computer can take your music production.

Matt is a Junior Deals Writer here at MusicRadar. He regularly tests and reviews music gear with a focus on audio interfaces, studio headphones, studio monitors, and pretty much anything else recording-related. Matt worked in music retail for 5 years at Dawsons Music and Northwest Guitars and has written for various music sites, including Guitar World, Guitar Player, Guitar.com, Ultimate Guitar, and Thomann’s t.blog. A regularly gigging guitarist with over 20 years of experience playing live and producing bands, he's also an alumnus of Spirit Studios, where he studied studio engineering and music production. When not writing for MusicRadar, you'll find him making a racket with northern noise punks Never Better.
You must confirm your public display name before commenting
Please logout and then login again, you will then be prompted to enter your display name.