9 mistakes producers make when using an audio interface - and how to avoid them
From misused monitoring to phase disasters, here are 9 music-making lessons learned the hard way
Want all the hottest music and gear news, reviews, deals, features and more, direct to your inbox? Sign up here.
You are now subscribed
Your newsletter sign-up was successful
No one is immune from mistakes in the world of music production, and even your most ‘pro’ of professional engineers will have messed something up fairly recently. An engineer friend of mine (who shall remain unnamed) quite recently nearly ruined the overheads on a paid gig by overcooking the outboard compressor he was running them through.
The point is we all make mistakes whether we’re using a Neve console and outboard gear, or just running a guitar direct into an audio interface. When recording in a home studio scenario, there are a multitude of ways things can go wrong, and sometimes music-makers don’t even know that they’re making a mistake in the first place. These subtle mistakes can ruin your productions before they’ve even started.
Over the past few years I’ve been regularly moving between ‘proper’ studios and working from my home studio, and I’ve encountered a myriad of issues, making plenty of mistakes in the process. Here are the most common mistakes I see from producers, as well as a selection of errors I’ve learned from in my time.
1. Using the wrong microphone
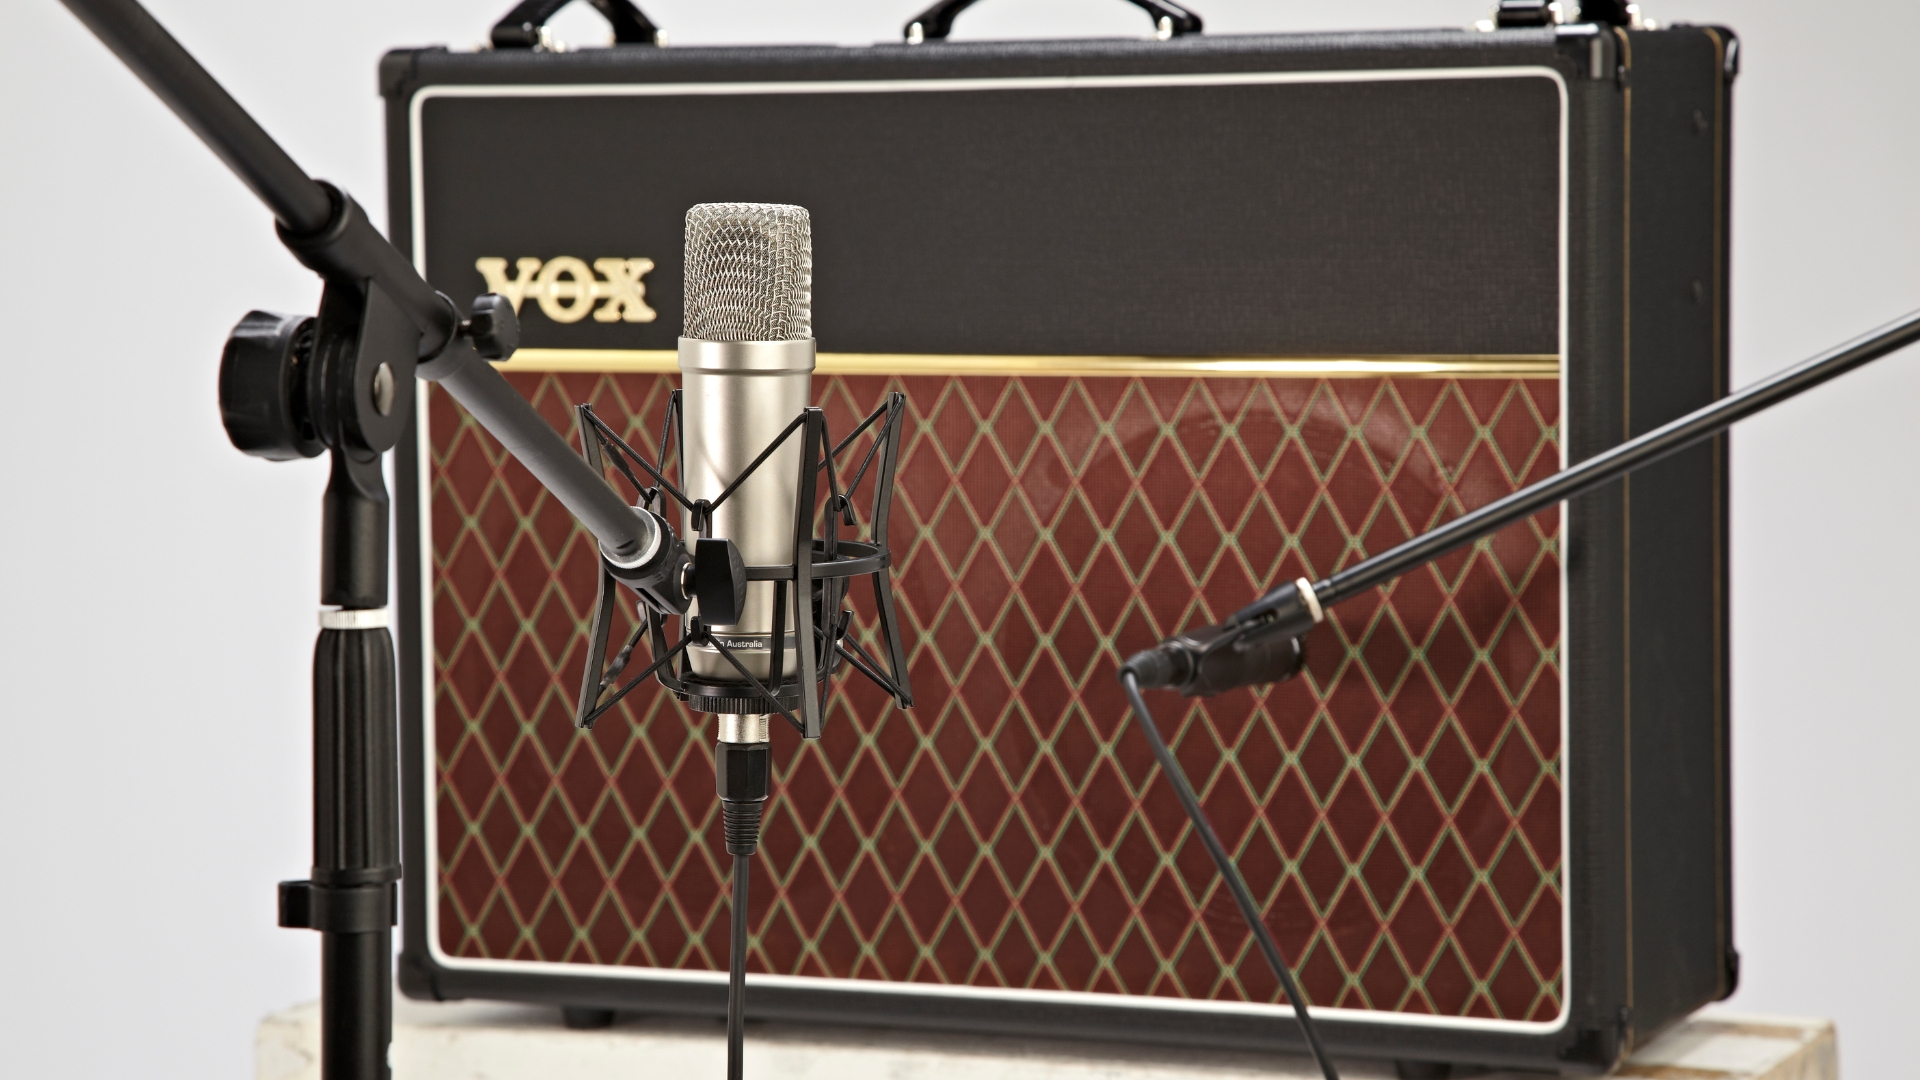
Recording live instruments is an awesome way to get truly unique sounds, especially when every producer nowadays has access to the same samples on Splice. Recording a sound into your interface with a mic is a super simple process, but if you don’t pick the right mic for the job you’ll regret it later down the line.
I made this mistake while recording some guitar amps a few months ago. The condenser microphone I used sounded absolutely awful when I sat down to mix it, but thankfully I’d multi-mic’d them, so I had other options. I ended up not using that one mic entirely because it sounded rubbish, but only one particular amp. On the second amp I'd used for that session, the same microphone sounded great!
It’s an important lesson that you can only learn over time, but rather than just grabbing the first mic you see in your drawer, or even worse, a mic that everyone says you should use on a source, think about what sound you’re trying to achieve. You’ll get much better results this way than just throwing something up and plugging it into your interface.
2. Not listening to the sound in the room
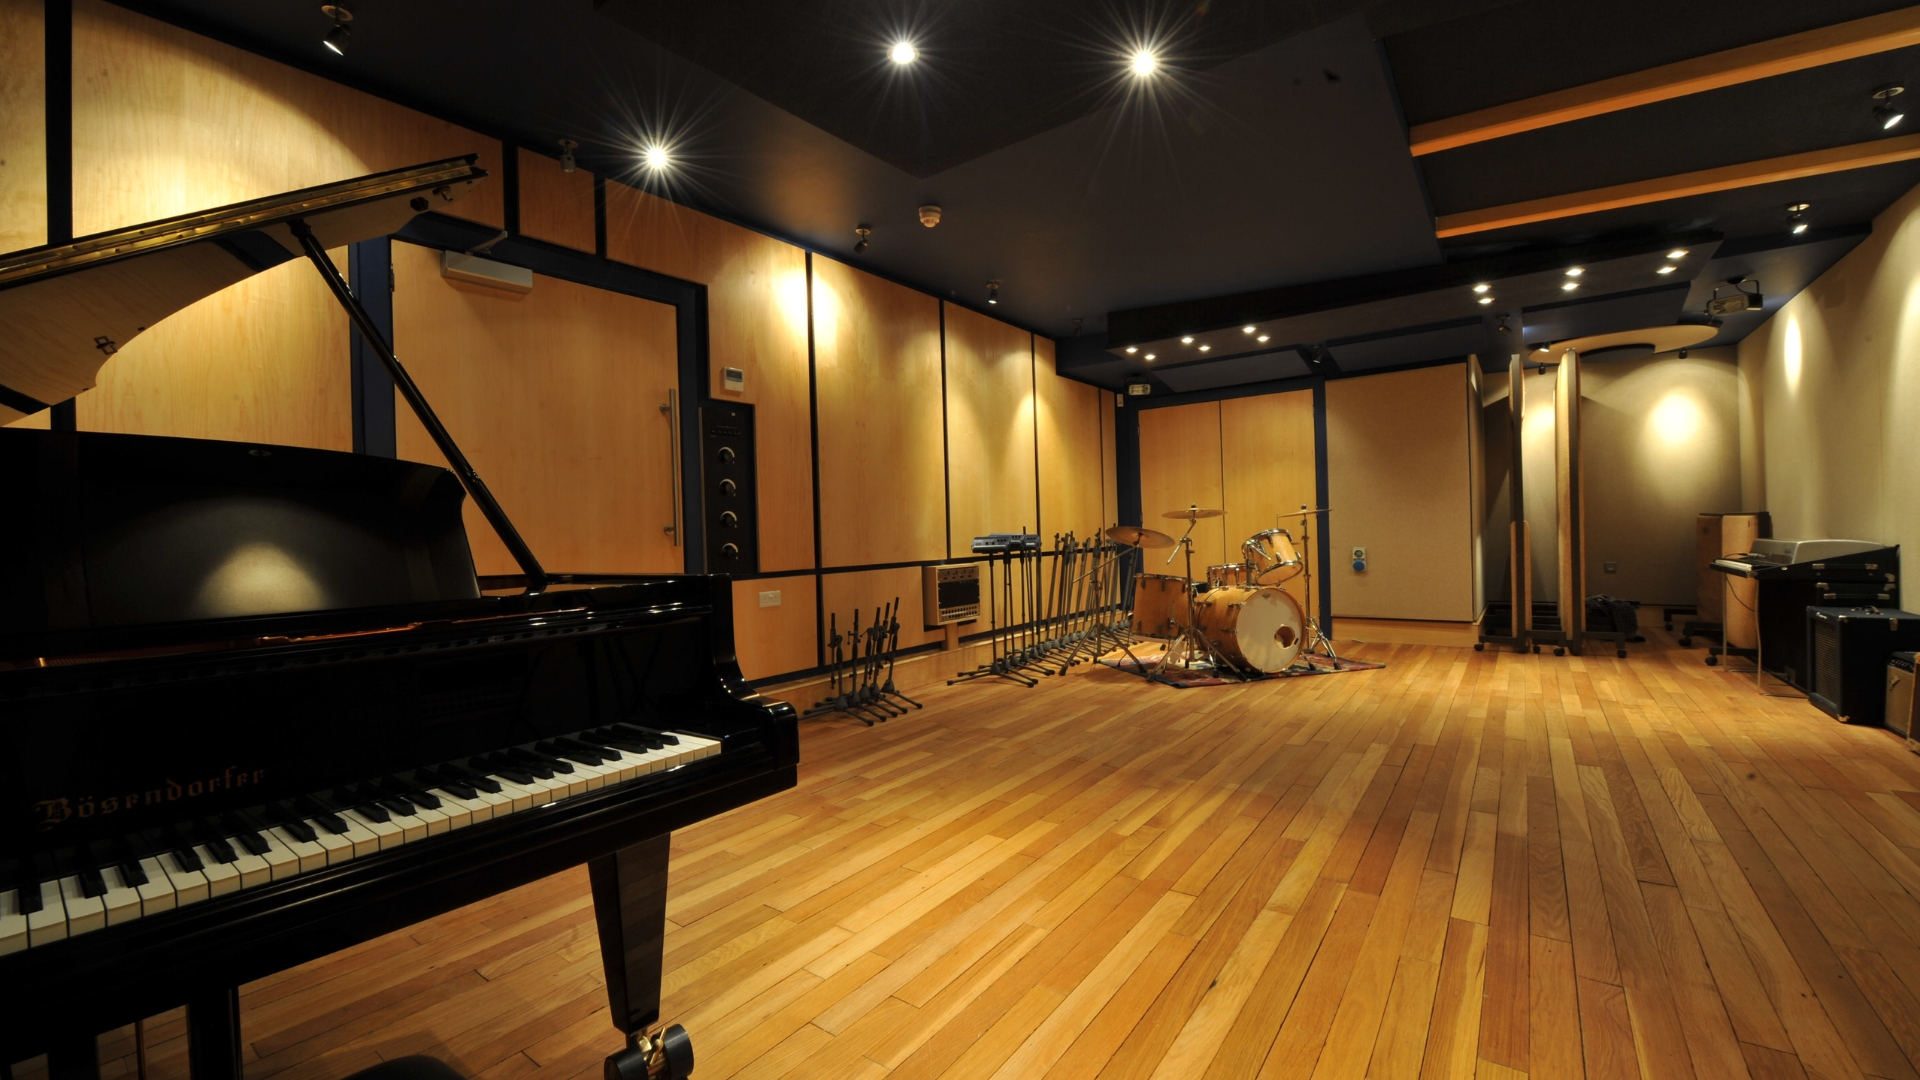
This links to mistake number 1, but it’s easy to forget that the sound you hear in the room is the same sound you’re going to hear when it gets to your audio interface. A microphone will impart character, as will preamps and plugins you use along the way, but ultimately if it sounds rubbish in the room, that’s one characteristic you’re not likely to be able to edit out. It’s the same if you’re working entirely in the box; your sound selection is way more important than what you do to get it to fit in the mix.
Want all the hottest music and gear news, reviews, deals, features and more, direct to your inbox? Sign up here.
So, before you head over to your interface and computer to start tweaking knobs or dragging sliders, stop and have a listen to your instrument (or software synth) in the room. Does it inspire you? Does it get your head nodding? If not, tweak some stuff, because once it sounds great in the room, it’ll sound the same through your interface and in your DAW.
3. Not checking stereo mics for phase
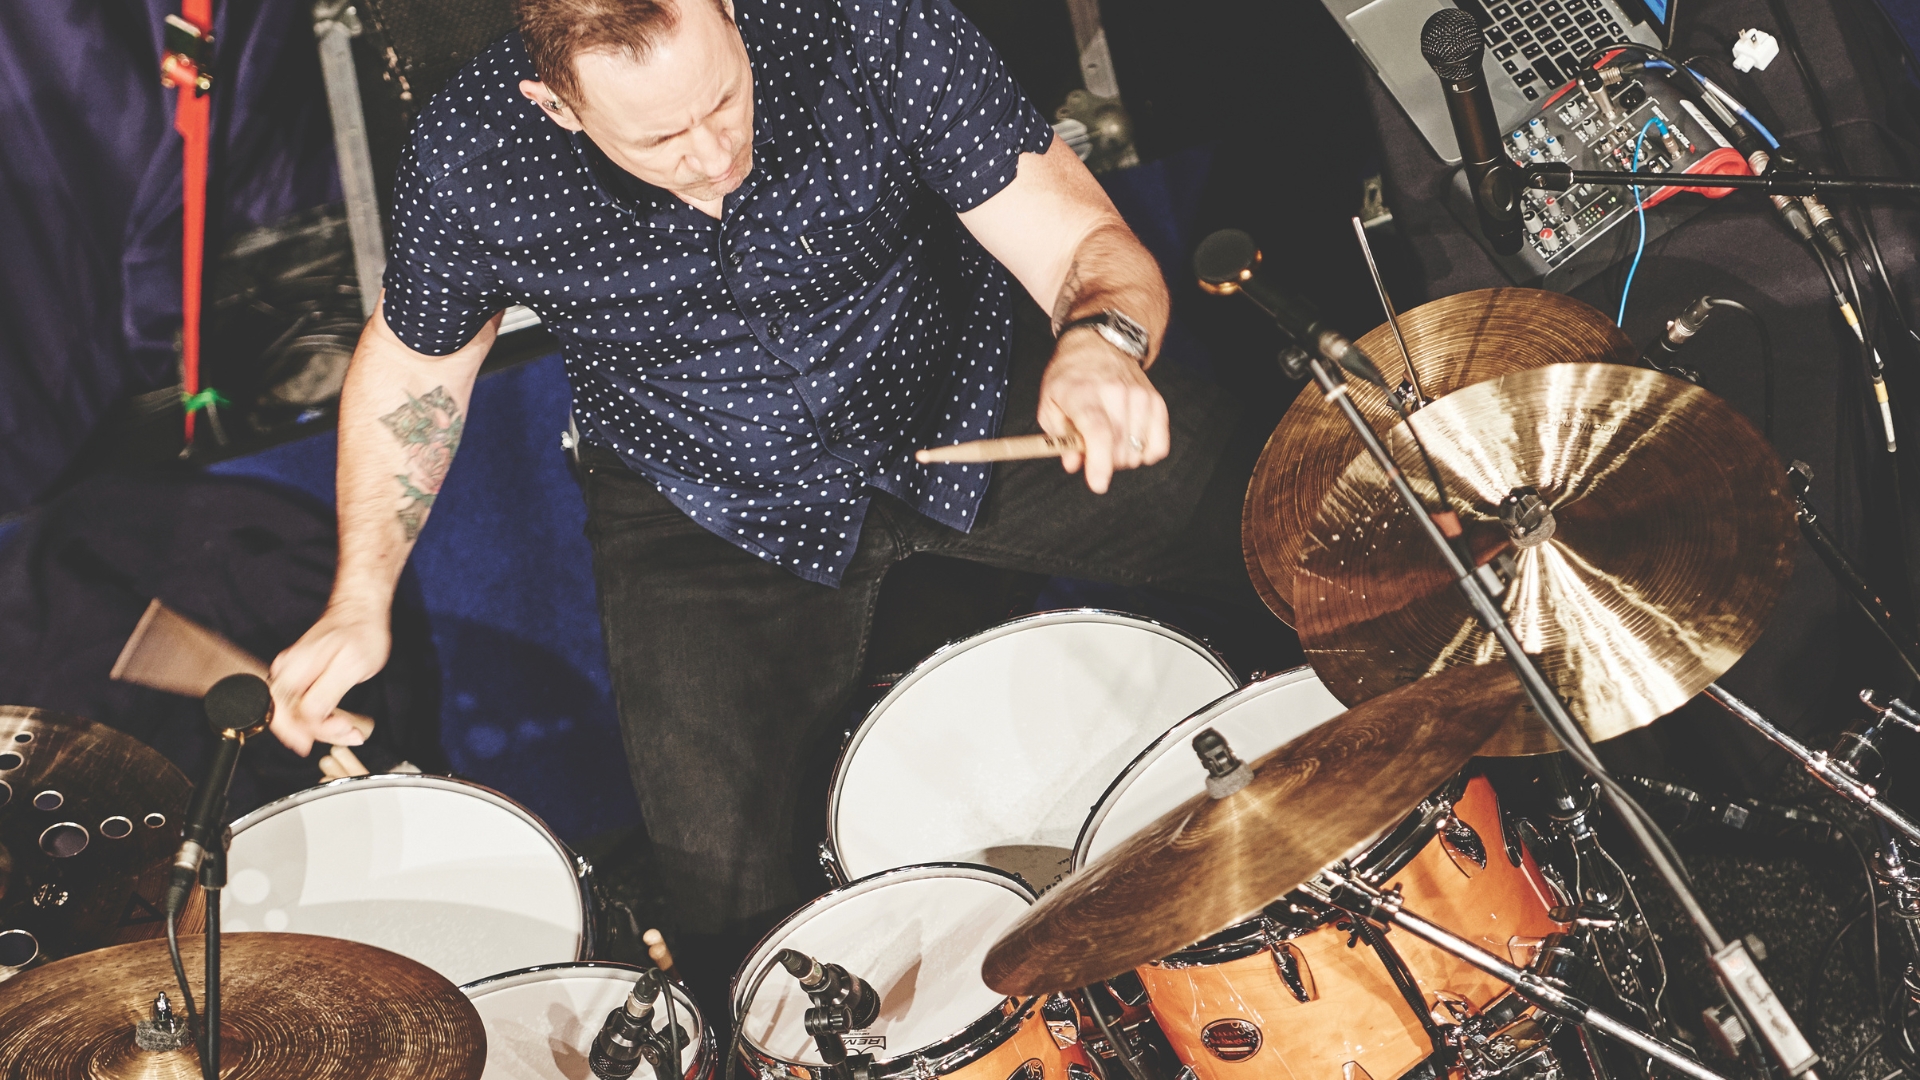
Stereo miking sources is a tricky one, but can lead to some amazing sounds when you get it right. Phase issues can make things sound thin and weak, or even mask certain frequencies completely when you fold them down into mono and unless you specifically check for it, you might not notice it’s there.
Phasing is when the same sound is reaching two microphones at different times or from different directions. Because of this difference you get a cancelling effect which can massively affect the final sound. To lower the chances of this happening, you need to first make sure the mics are the same distance away from the source.
If you’re micing the same sound with two different mics, like a guitar amp or snare drum, then flipping the polarity switch on your audio interface (if it has one) or in your DAW will instantly tell you whether or not your sound is out of phase. Out-of-phase sounds will be weak, so flipping the switch should instantly fatten up the sound if the signal is out of phase.
4. Not checking your gain staging
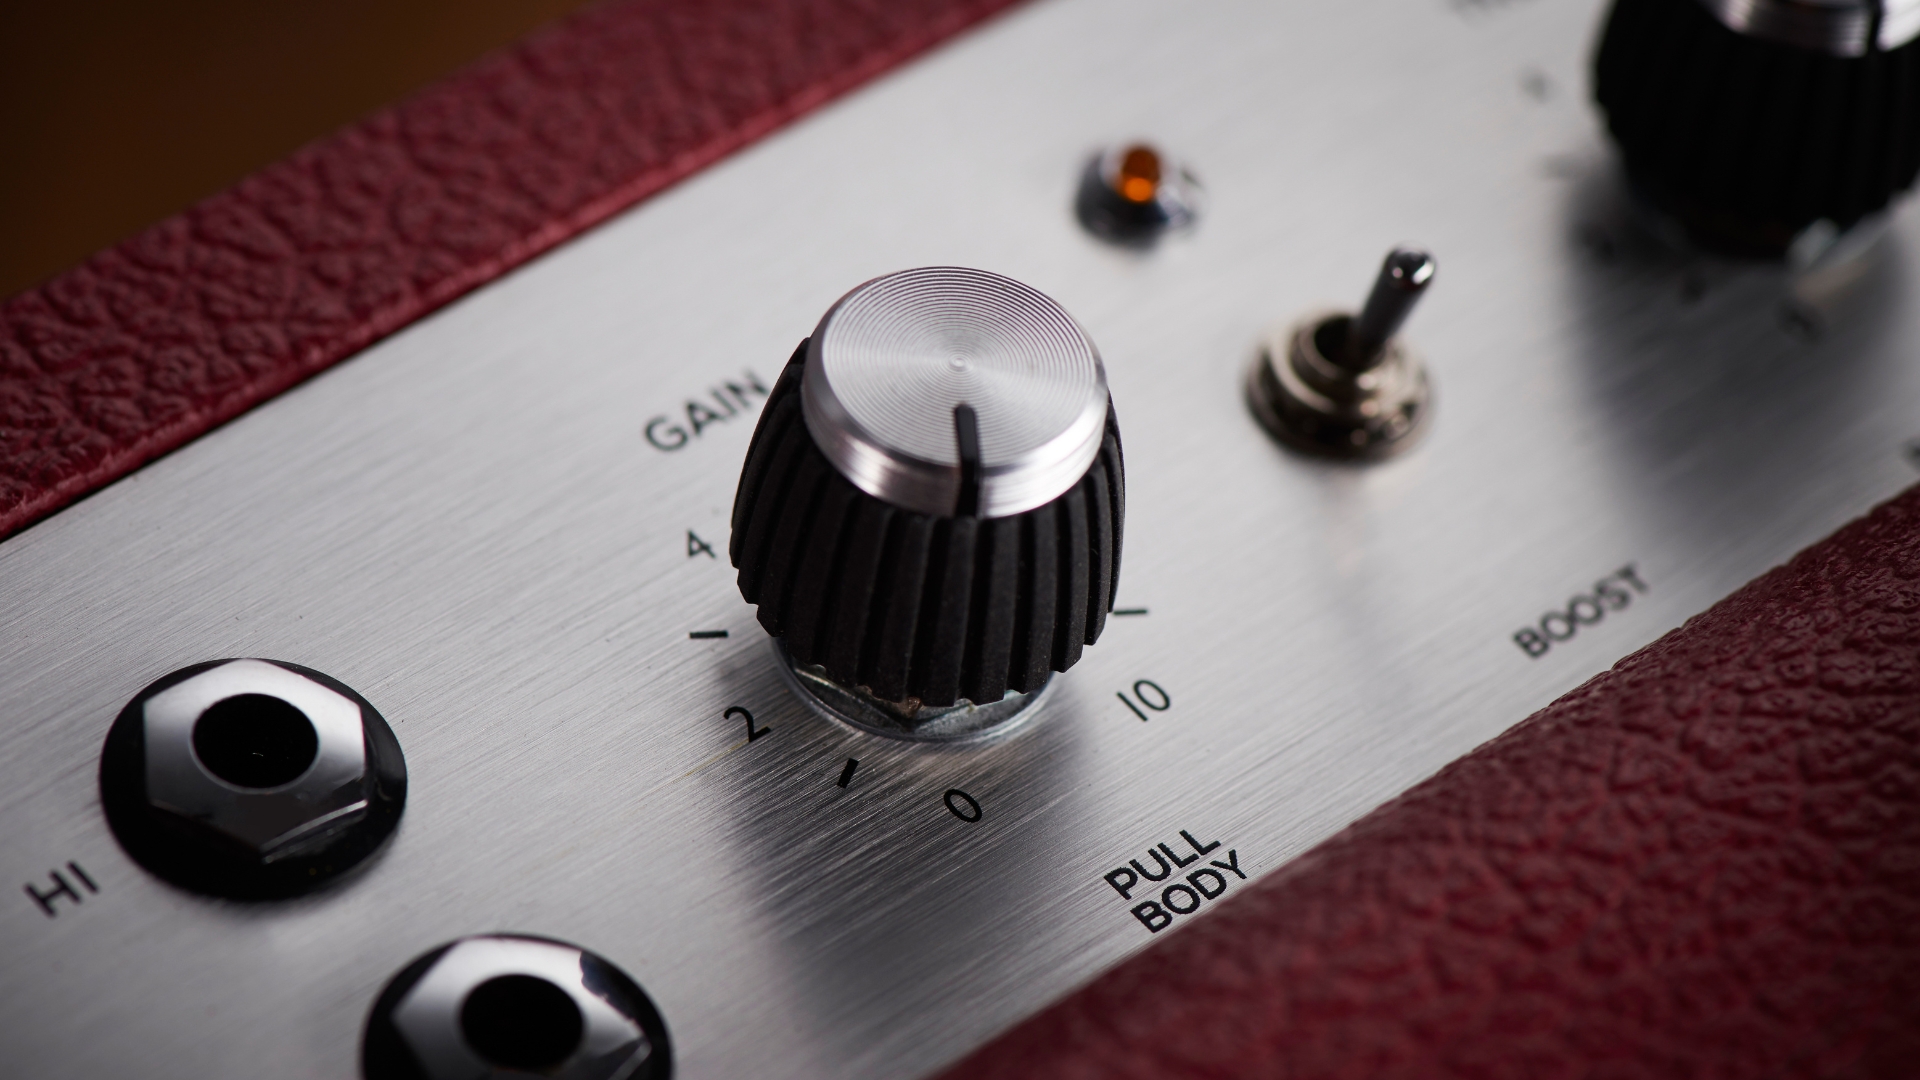
A lot has been said and written about gain staging over the years, but this is one thing I see producers getting wrong all the time. Gain staging is simply about making sure you have enough volume going into your audio interface so that when you come to mix, you can turn it up or EQ it without bringing more noise into your signal.
When it comes time to record your source, whether it’s a microphone, line level, or in-the-box instrument, you want the meters to be peaking between -12 and -6. This allows you a clear enough signal to be healthy, but not so much that you don’t have more headroom to play with when mixing and mastering. Taking time to set this before you hit record will save you huge headaches later down the line.
5. Using the direct monitor instead of DAW monitoring
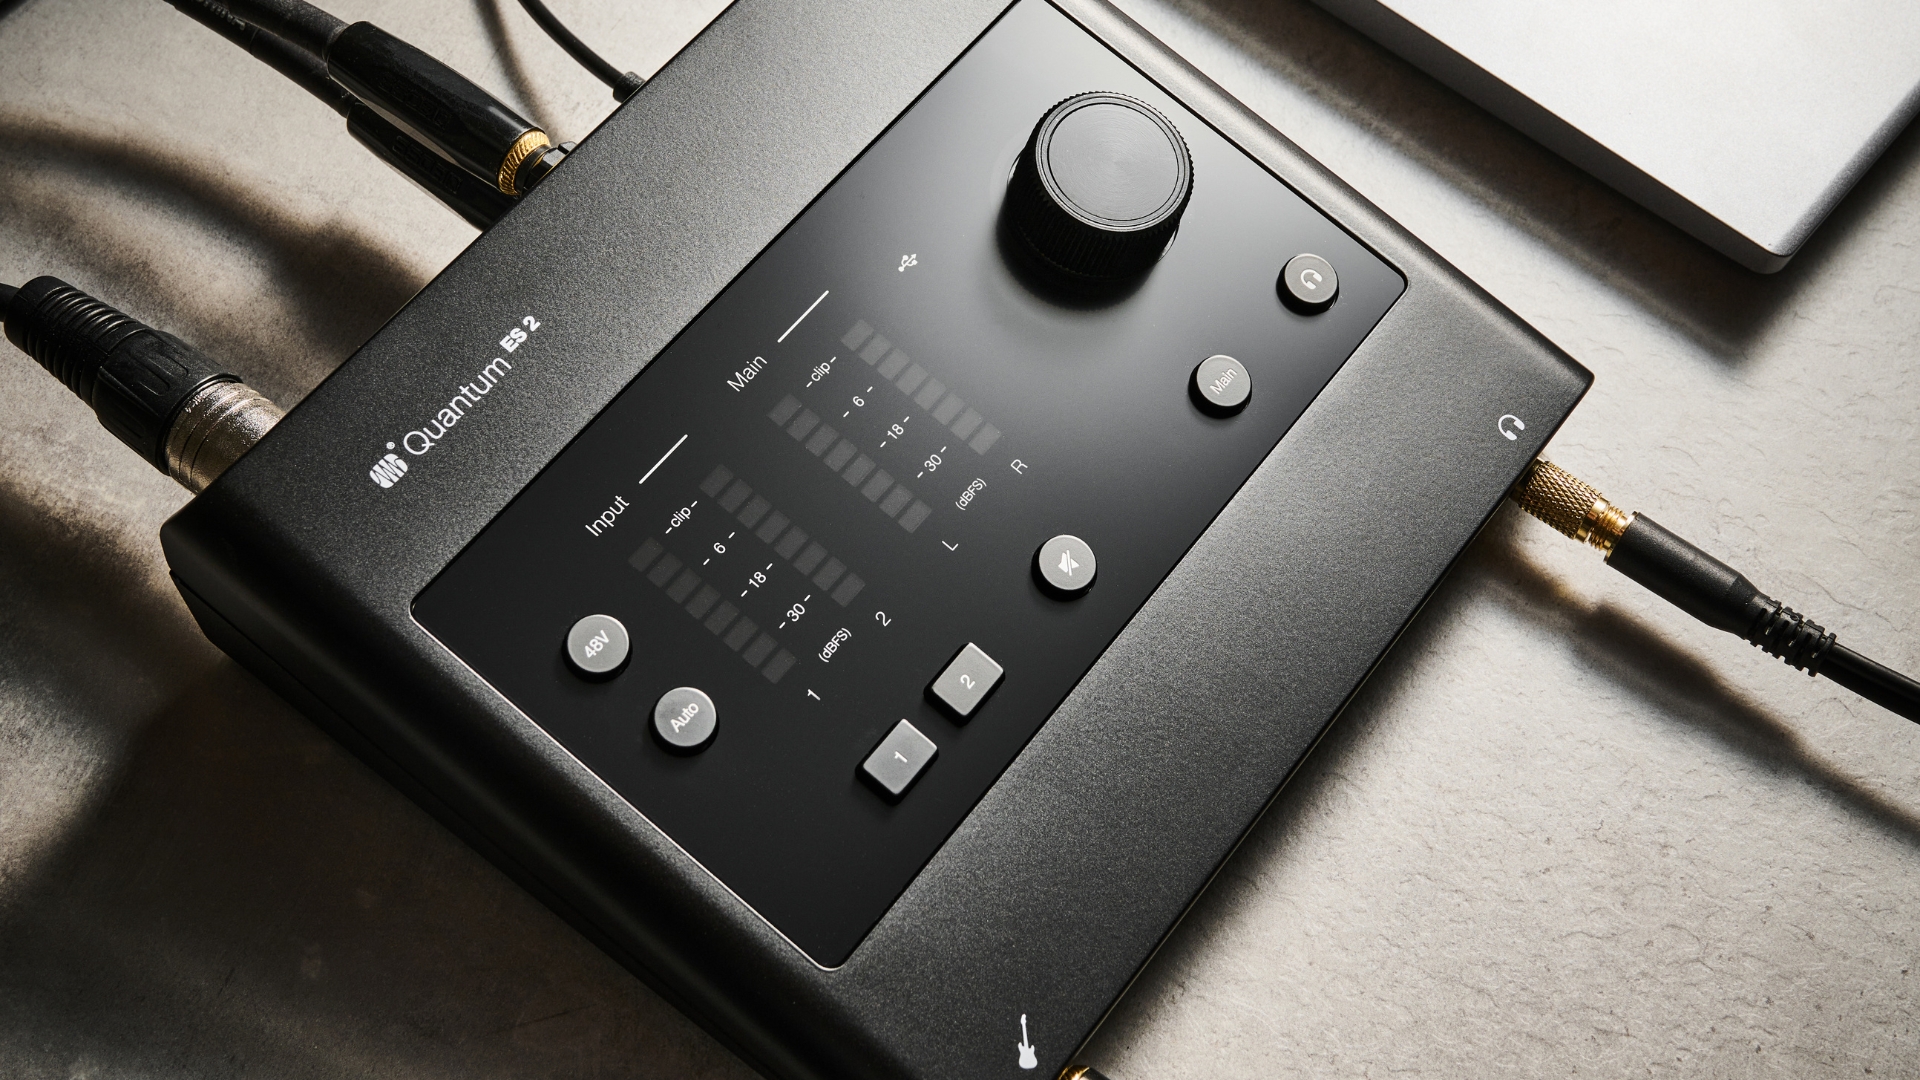
Whatever you do, don’t monitor your incoming signal from the LEDs on the audio interface. These are great for checking you’re getting a signal at all, but when you’re adding gain, make sure you’re checking this through your DAW meters which are much more accurate. As I said with the above point, getting this right is half the battle when you’re recording into your interface, and it will result in a much better-sounding mix overall.
It’s the same when you’re listening to your sounds. Apart from checking you're getting a signal, there’s not much point in monitoring your sound in the audio interface, because ultimately you and your listeners are going to hear the sound that’s coming out of your DAW. Once you’ve got your signal going into your interface, make sure to monitor from the DAW rather than the direct input from then on.
6. Pre vs post fader metering
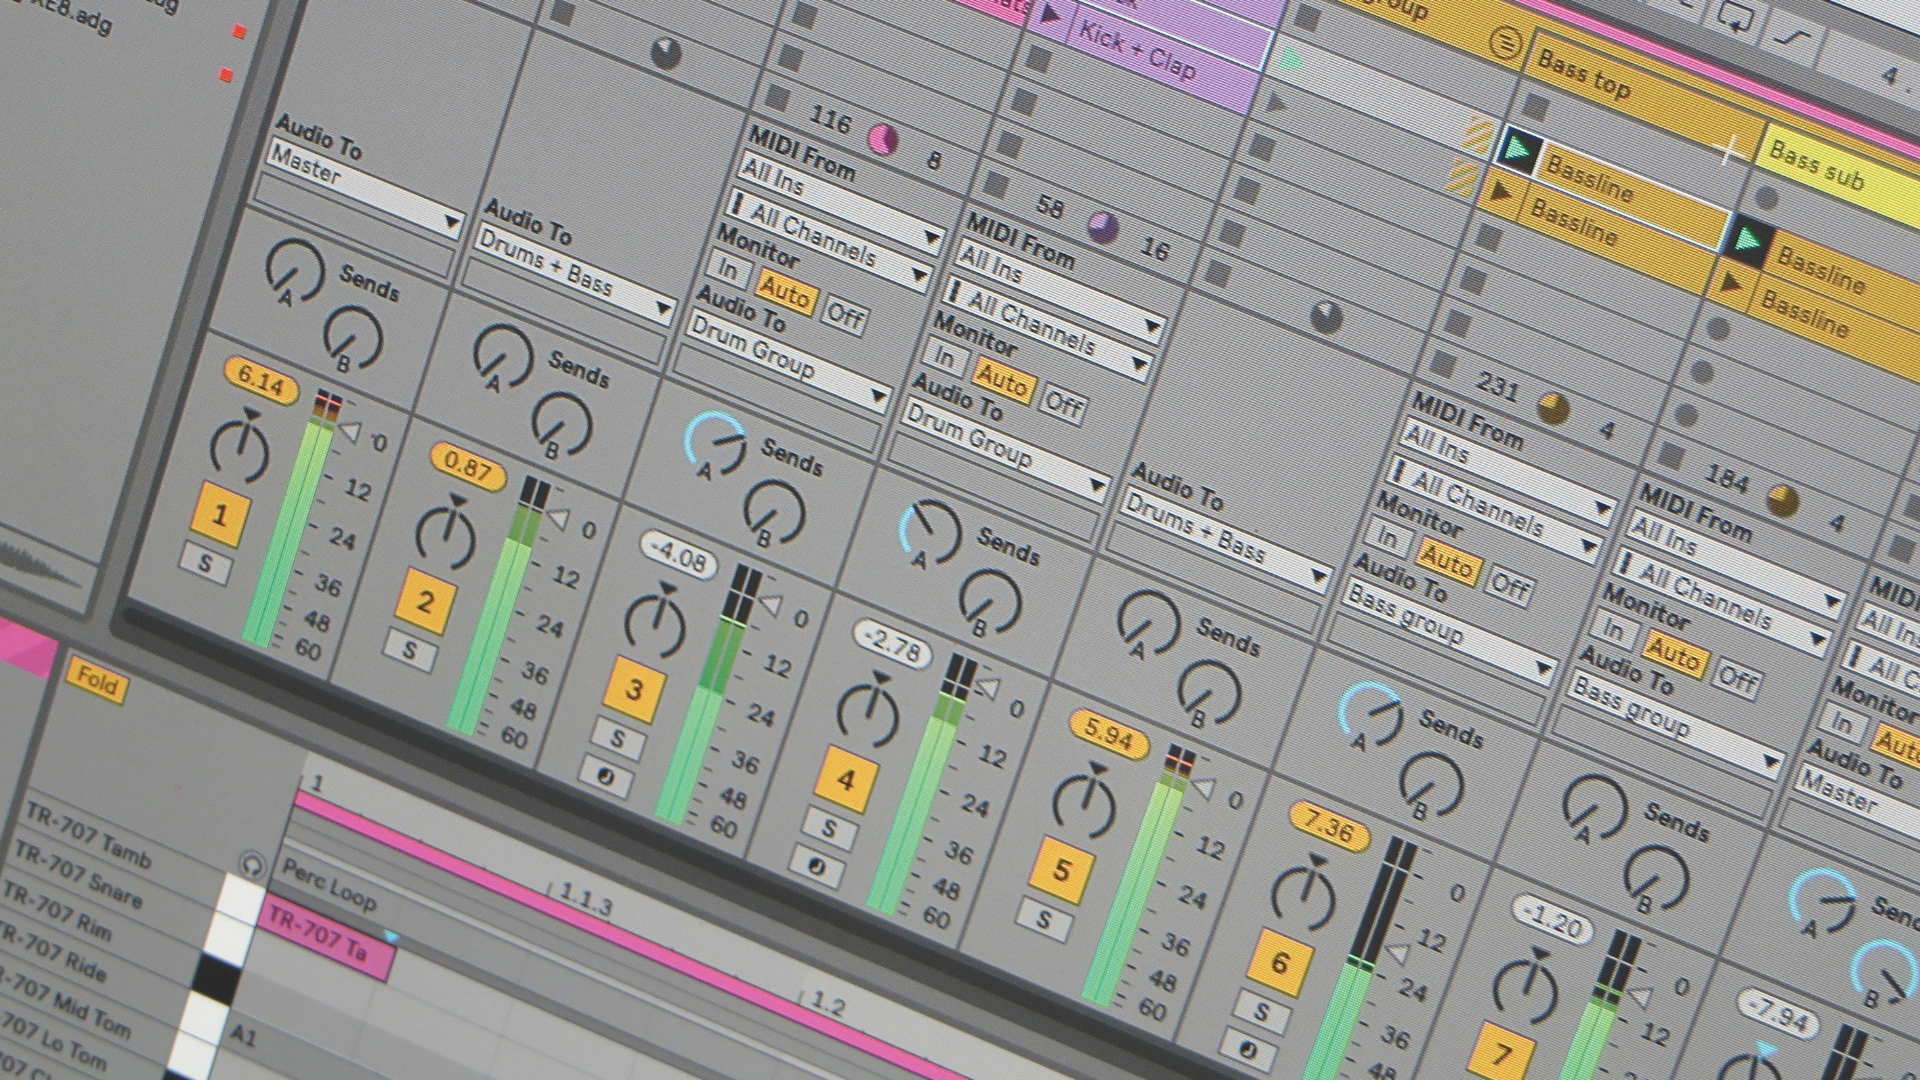
Although not directly related to your audio interface, this is something I rarely see ever come up when people talk about recording. Leading on from my previous point about direct monitoring via your interface, it’s incredibly important to make sure your meters are giving you the right information when you get to the DAW. It might sound obvious, but pre-fader metering is the signal before it hits the DAW, whereas post-fader metering is what you hear as the signal goes to the output.
When you’re in the recording phase, you’ll want your meters set to pre-fader. Once you’ve checked your signal coming into the interface and then checked the levels in your DAW, you should then switch your meters to post-fader mode. Every DAW I’ve worked with has a way to set this, so you’ll need to work out how to do it for your particular one, but it’s a simple trick that ensures you’re seeing the right information at the right time, which will give you a better recording.
7. Over (or under) processing on the way in
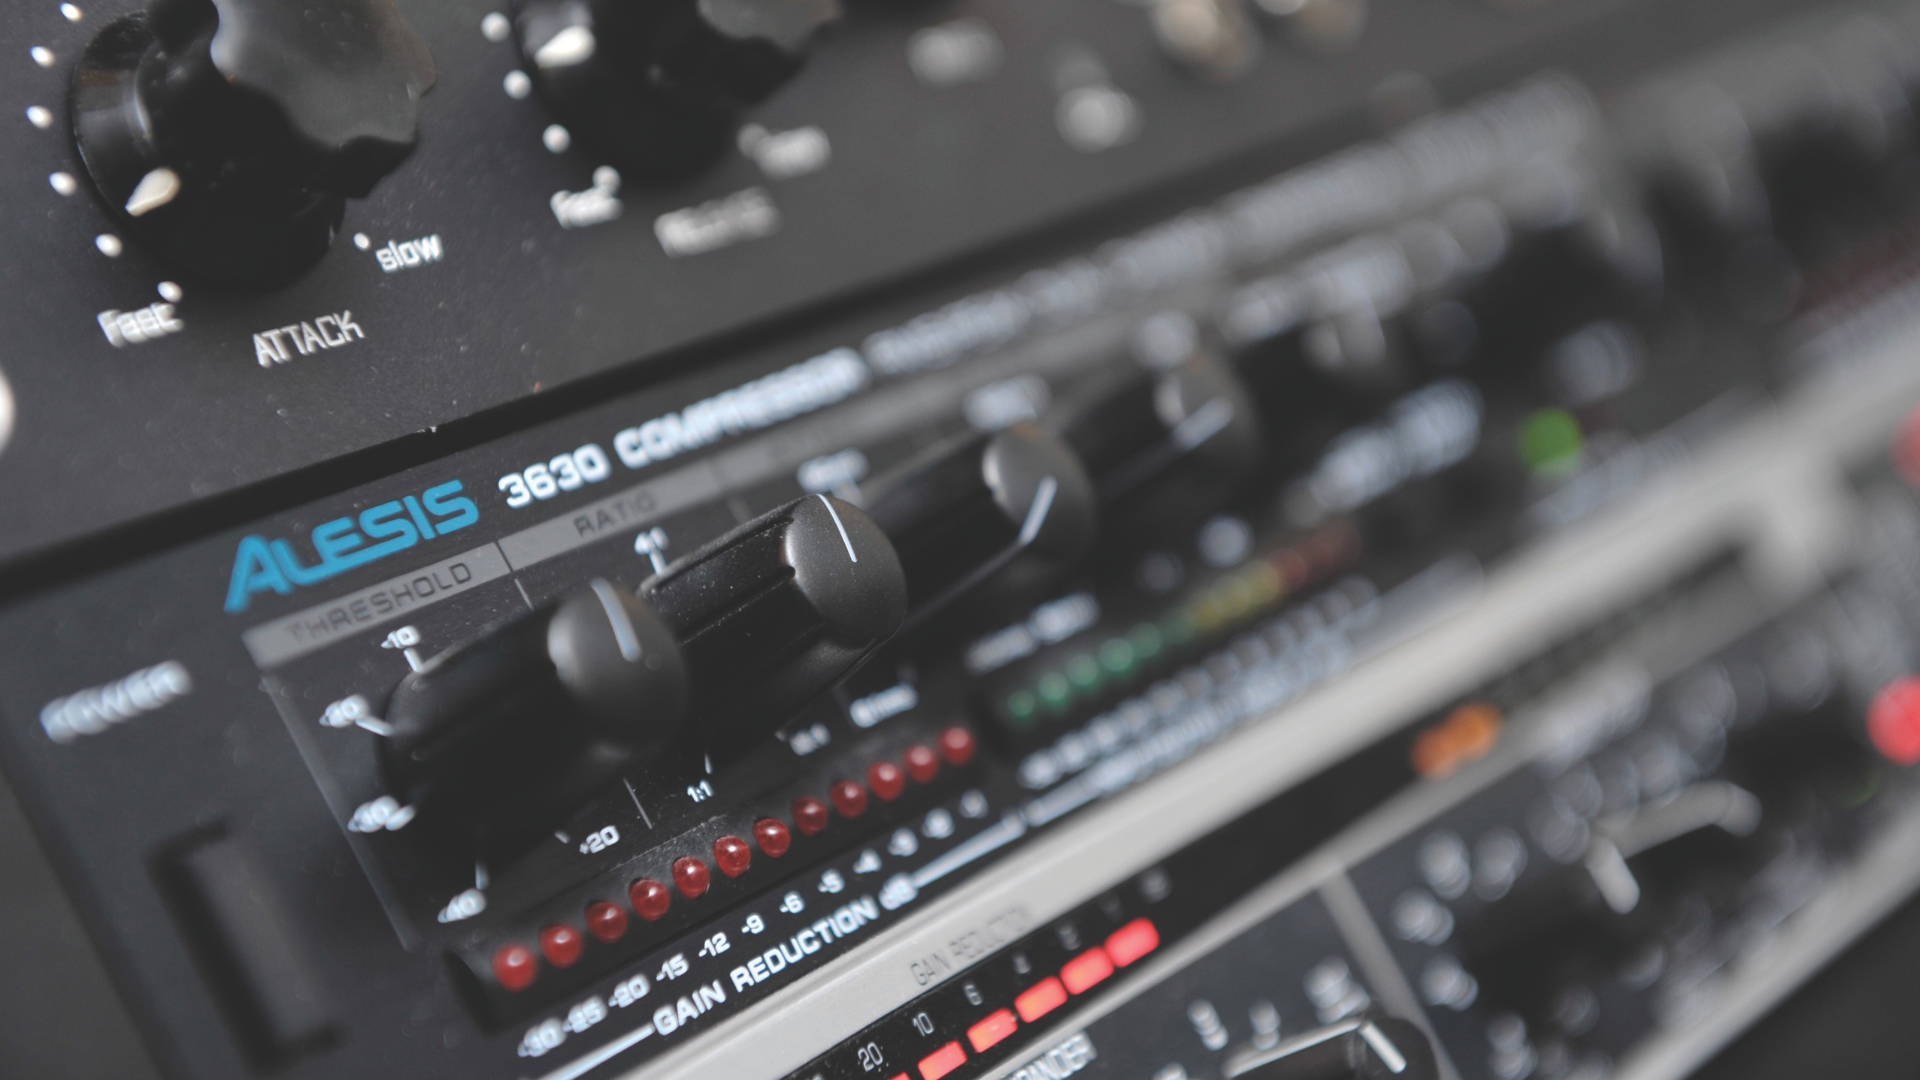
Processing on the way in is a great way to make your sounds more ‘mix-ready’, but it’s easy to get wrong. I used to be terrified of doing this but once I started experimenting with adding compression and EQ on the way in, I managed to get much better sounds. As my engineer friend found out earlier in this article though, you can push it too far.
Whether you’re using DSP processing on the way in via a Universal Audio Apollo interface or you’ve got outboard gear, it’s best to find the middle ground. If you’re only boosting one particular frequency by 2db on the way in there's not really much point in using hardware or DSP processing. You might as well do this in the mixing phase. On the other hand if you end up smashing something into a compressor and adding +20dB, you might well be leaving yourself less space to change things later on, which can really limit what you do with your mixing.
Finding the sweet spot between the two takes time, and you will mess it up before you get it right. Ultimately though, it'll become an amazing creative tool that will help you get much better results from your recordings, so it's well worth the time playing with the signal before it gets into your audio interface.
8. Monitoring too loud (or too quiet)
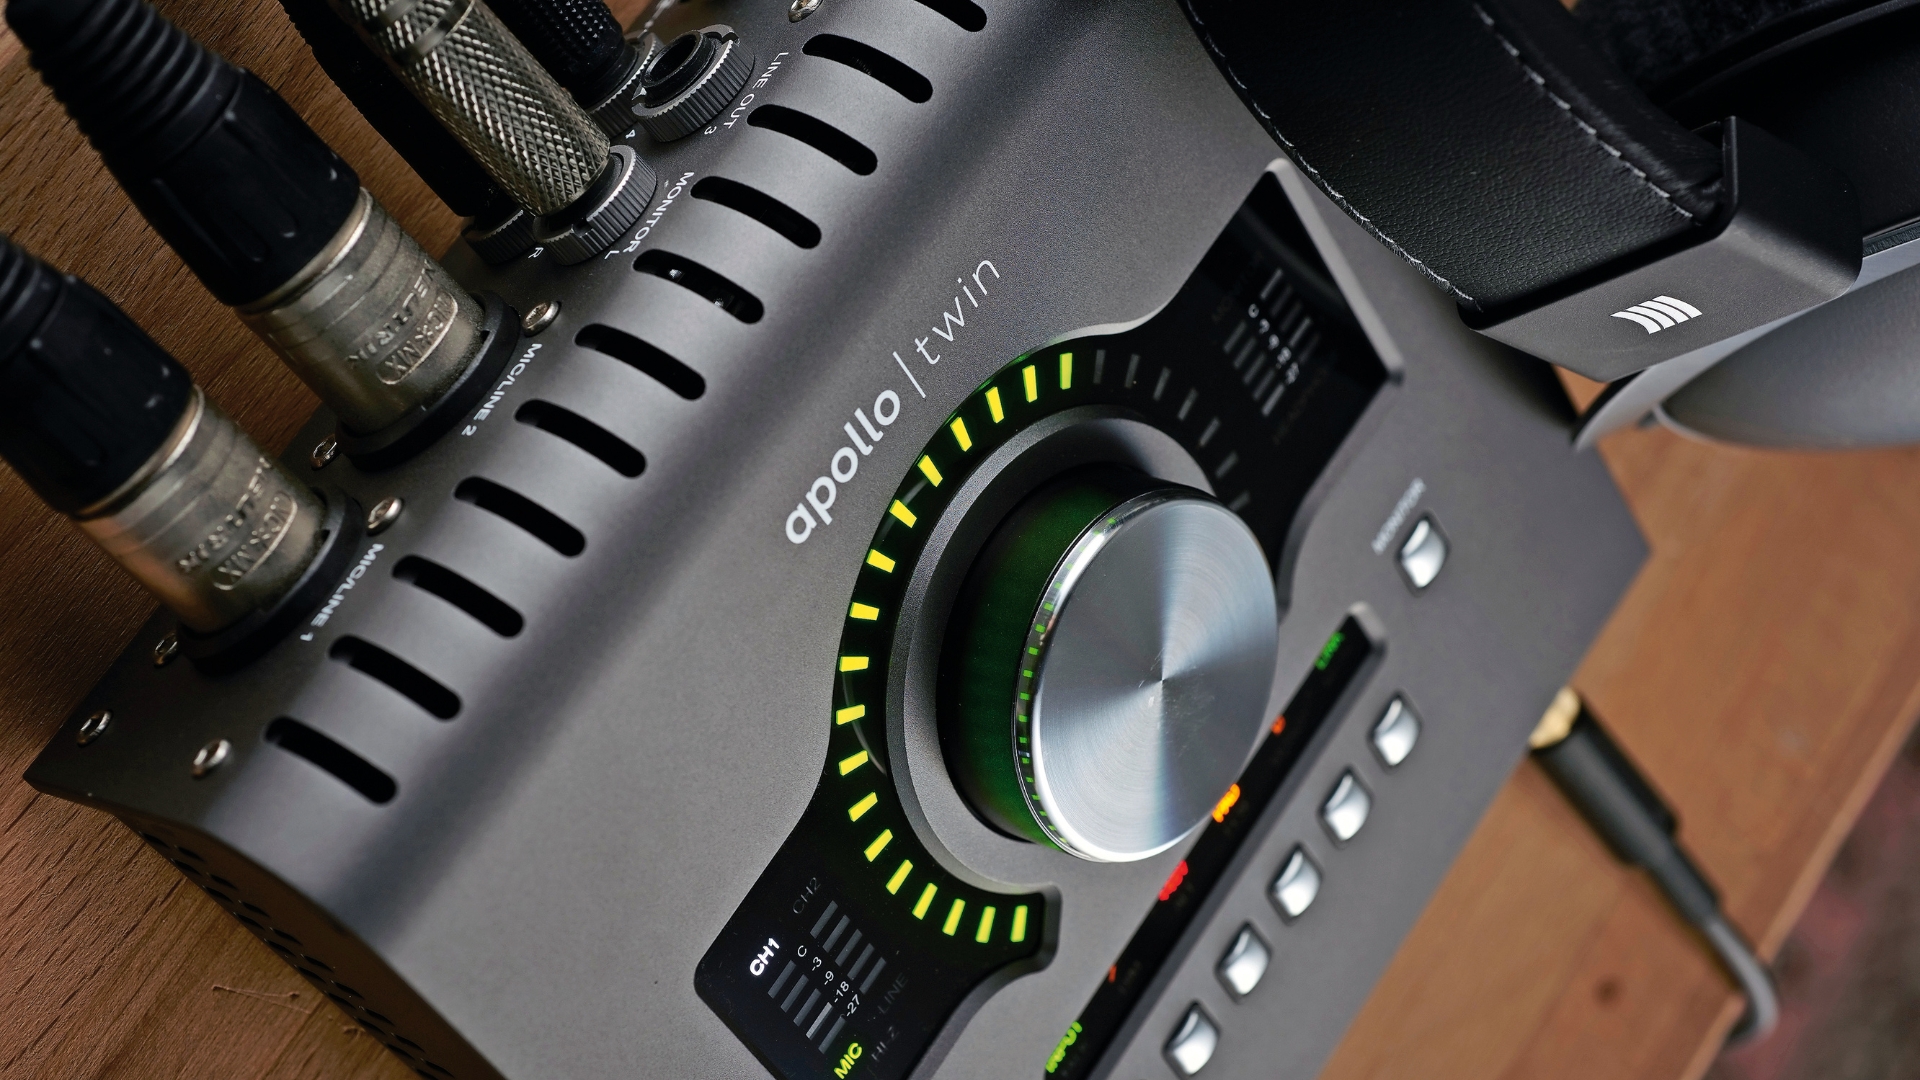
Some of the best advice I ever received was from a professional mastering engineer, who said he hadn't touched the volume control in his studio for the last five years. The reason he does this is because whenever you change the volume of something, you change the way it interacts with the room your monitors are in.
A signal can sound way too lightweight at lower volumes, so you might add more bass to compensate. Then, later on in the mix phase when you turn it way up, it sounds far too bassy so you cut some bass. Then you get to a middle volume level to do some more processing and suddenly it sounds different again, needing further adjustment.
By getting the output volume of your audio interface at the right level for your room and leaving it there, it helps you to understand your studio monitors or studio headphones so much better. Over time, you'll come to learn how your monitoring and room react to various frequencies, which will give you much better consistency in the way you mix things.
9. Not using multiple monitors
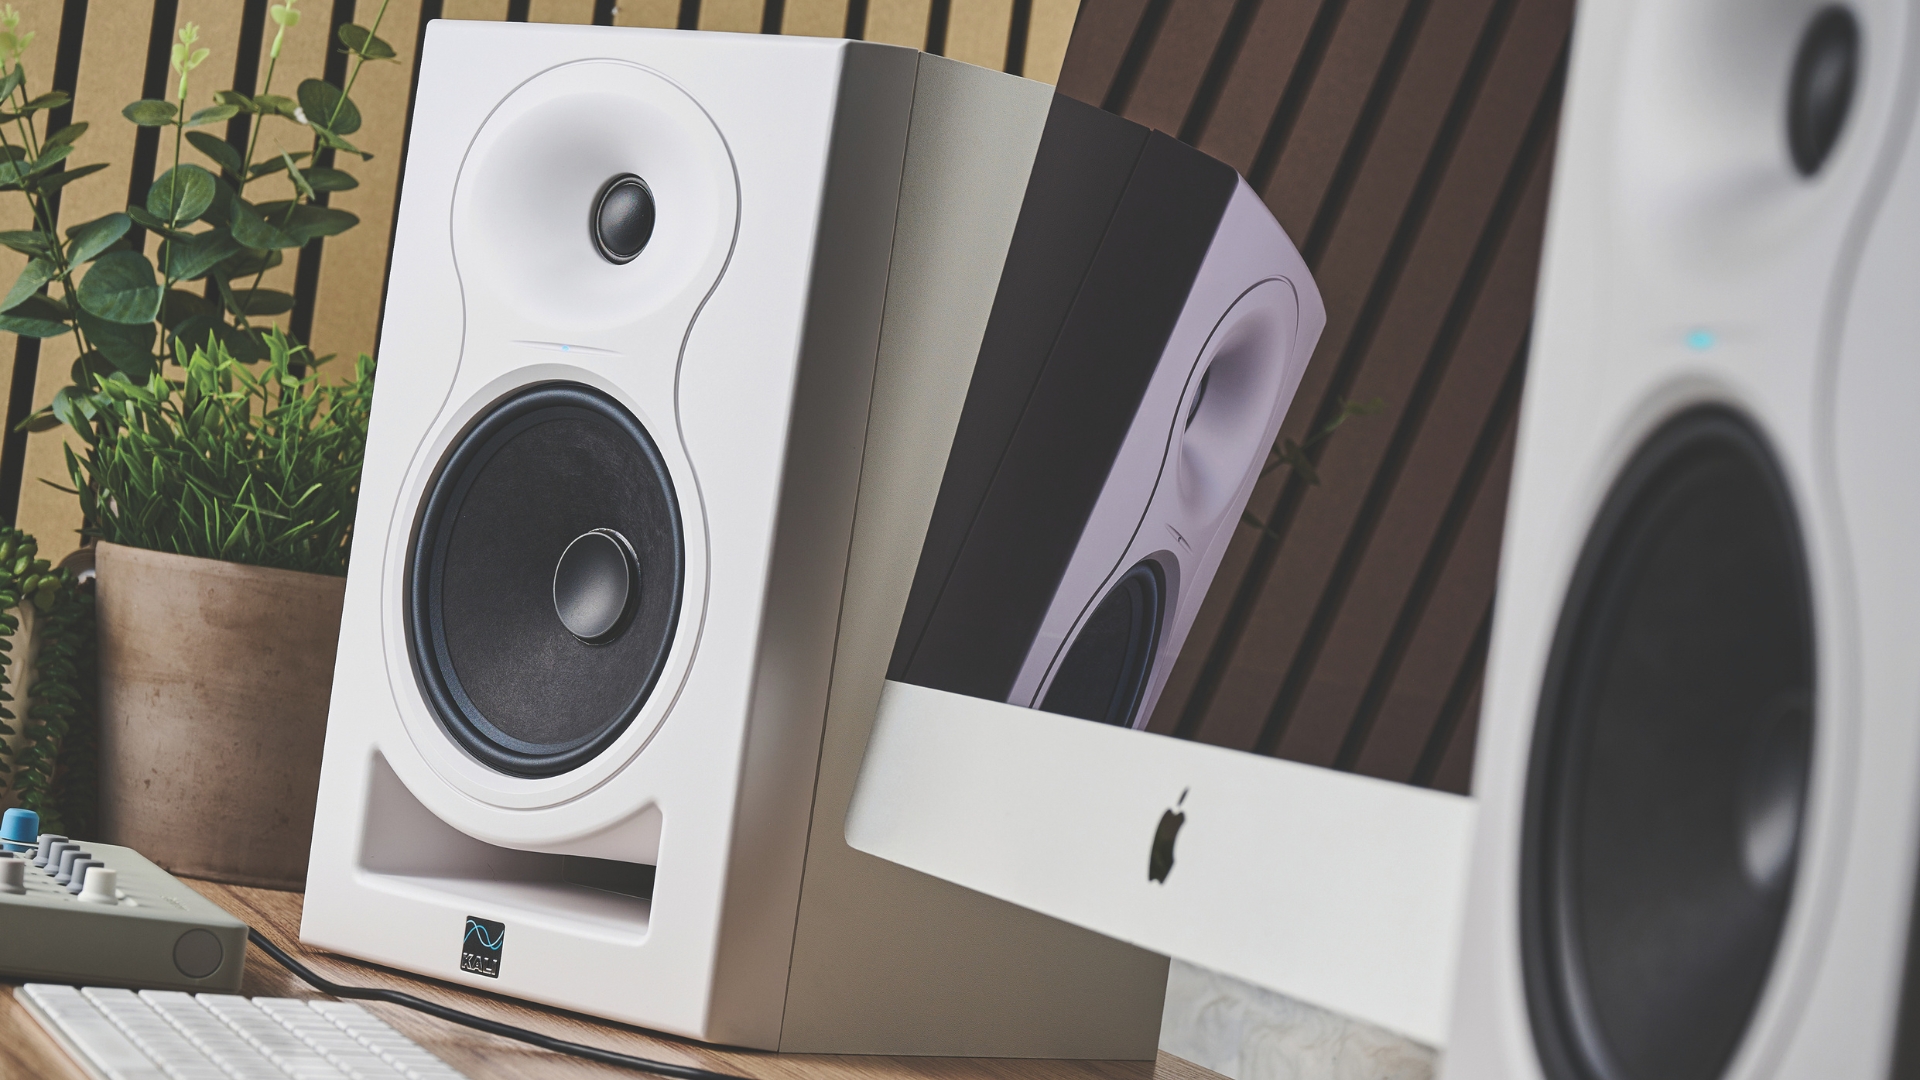
Multiple monitoring options are essential if you want your mixes to translate. Most budget audio interfaces only have the ability to utilise one set of studio monitors, which is fine, but every single one of these interfaces does have an input for a set of headphones. This means every producer out there has the ability to check their mixes on multiple sources instantaneously, even if you're only using a pair of budget studio headphones.
Throughout the mixing phase I’m constantly switching between my monitoring to get a different picture of what’s happening. Headphones are great for checking minute details, for example if there’s a problem frequency somewhere you need to pinpoint, or getting a better picture of what's happening in the low end.
Your monitors are better for overall balance, allowing you to hear where things are sitting in the overall mix. If your interface (and budget) allows it, getting a second pair of monitors is another great way to enhance your ability to produce better mixes, offering a fresh perspective on the balance and content of the mix.

Matt is a Junior Deals Writer here at MusicRadar. He regularly tests and reviews music gear with a focus on audio interfaces, studio headphones, studio monitors, and pretty much anything else recording-related. Matt worked in music retail for 5 years at Dawsons Music and Northwest Guitars and has written for various music sites, including Guitar World, Guitar Player, Guitar.com, Ultimate Guitar, and Thomann’s t.blog. A regularly gigging guitarist with over 20 years of experience playing live and producing bands, he's also an alumnus of Spirit Studios, where he studied studio engineering and music production. When not writing for MusicRadar, you'll find him making a racket with northern noise punks Never Better.
You must confirm your public display name before commenting
Please logout and then login again, you will then be prompted to enter your display name.