5 cheeky master bus processing hacks that'll help you to 'mix as you go'
Try these tips when you need professional sheen and weight right from the start of the writing process
Want all the hottest music and gear news, reviews, deals, features and more, direct to your inbox? Sign up here.
You are now subscribed
Your newsletter sign-up was successful
These days, mixing ‘as you go’ - rather than as its own discrete stage of the production process - is increasingly seen as a valid approach. When the track you're working on feels polished and glamorous from the word go, it stands to reason that it'll be more fun to work on.
One key element of this is the master bus: load it with a few well-chosen mastering effects and your work-in-progress will sound far more exciting. Here, then, are a handful of master bus processing techniques to get you pumped as you produce.
Just to be clear, we’re not claiming these are pro mastering techniques - rather, these tips are designed to give you more of a ‘pro’ sound as soon as you begin writing a track. When you get to the mastering stage, you’ll definitely want to wipe the master bus clean and start again from a blank slate.
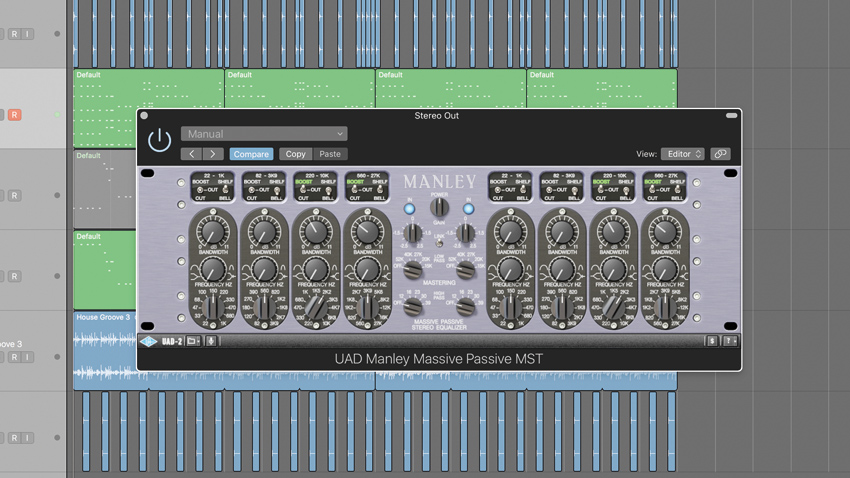
1. Brighten up
If you’ve got a few sounds going in a project, but everything’s sounding a bit dull and uninspiring, try loading a high-quality EQ onto your master bus. A glossy high-mid and/or treble boost will lift the top end in a musically-pleasing way and save you having to brighten individual parts.
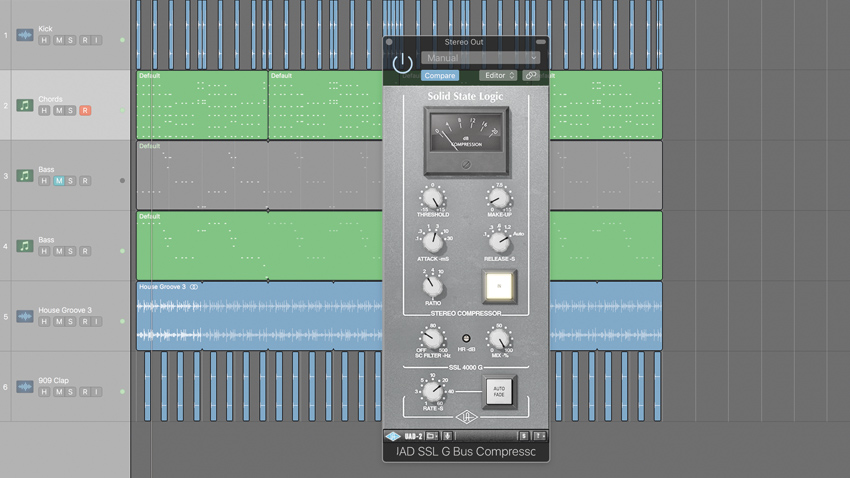
2. Glue factory
The oft-discussed technique of ‘glue’ compression can gel things together especially well if you mix into it straight away. Set up an SSL-style compressor, with a slow attack and gentle ratio, and aim for 1-2dB of smoothing gain reduction.
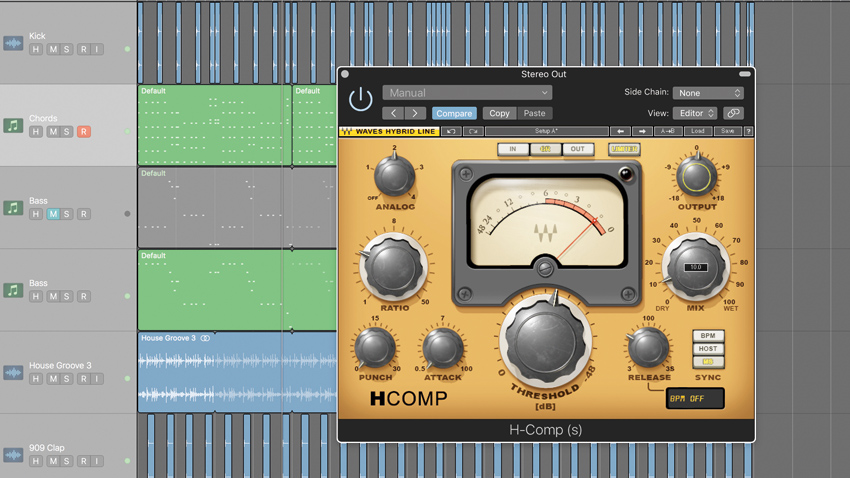
3. Parallel lines
A dose of parallel compression on the master will pull up low-level signals and increase RMS levels, which will help your track reach pro loudness levels without destroying transient detail. Dial in fast attack and release times, then blend the squashed signal in subtly alongside the dry signal.

4. Saturate to accumulate
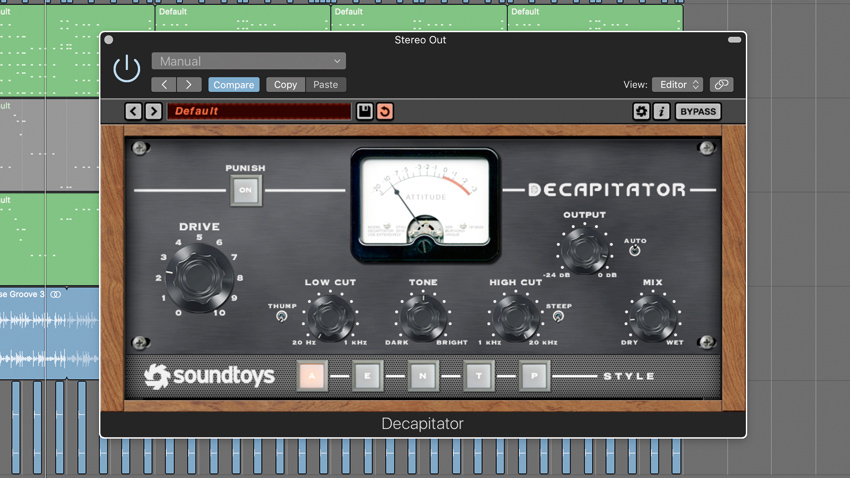
This one’s risky: try saturating your master bus! This’ll only work if you’re going for an aggressive, warm mix. Multiband saturation usually works best, as you can focus the drive around, say, only the high-mid area, to avoid the bass overloading the distortion. Always mix in parallel - try a subtle 2-5% to begin.
Want all the hottest music and gear news, reviews, deals, features and more, direct to your inbox? Sign up here.
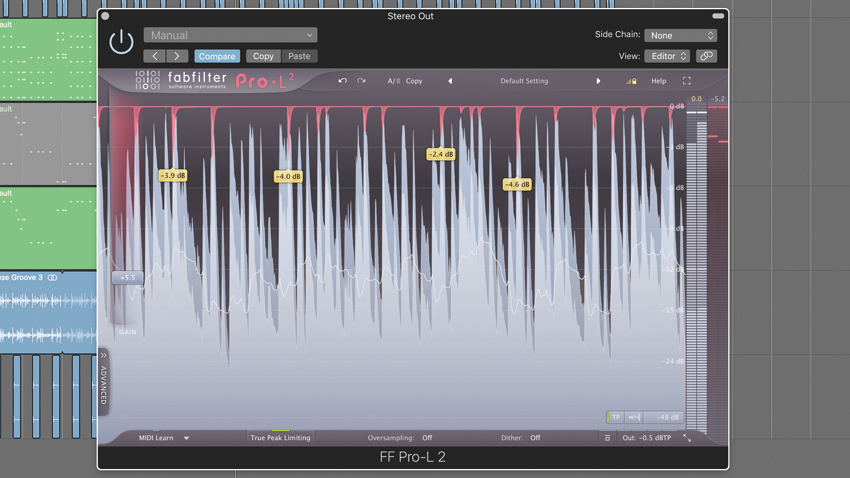
5. Know the limit
Finally, around 2-5dB of limiting will boost loudness levels up to commercial standards. Always keep your processing subtle, regularly bypass to evaluate effectiveness, and keep in mind that these treatments are only there to add vibe and power during the writing stage - turn the plugins off for the mastering engineer!
Future Music is the number one magazine for today's producers. Packed with technique and technology we'll help you make great new music. All-access artist interviews, in-depth gear reviews, essential production tutorials and much more. Every marvellous monthly edition features reliable reviews of the latest and greatest hardware and software technology and techniques, unparalleled advice, in-depth interviews, sensational free samples and so much more to improve the experience and outcome of your music-making.
