How to create your own sample packs
Whether it’s to create your own unique style, share with collaborators or make a little money on the side, there’s a ton of reasons to try creating your own sample packs. Let us show you how…
Want all the hottest music and gear news, reviews, deals, features and more, direct to your inbox? Sign up here.
You are now subscribed
Your newsletter sign-up was successful
How to prep your one-shot samples
A one-shot sample is any sample that plays through its length once, and then stops. As a result of this, they tend not to be time-stretched, because they’re usually played at their original tempos.
One-shots are useful for all embellishment types in a mix or performance, and can include sound effects, speech samples, or even longer ambient soundscapes. They can provide another interactive layer of sound material that you can use on top of your prepared tracks, DJ-style.
One-shots are the flip side of multisampling, whereby many samples are combined in order to make a more realistic and interactive software instrument. For the purposes of this exercise, we’ll assume that the goal is a set of one-shot samples that can be accessed during any performance or production, that you can have ready to drop in, being confident that they won’t sound too chaotic in the context of your mixed tracks.

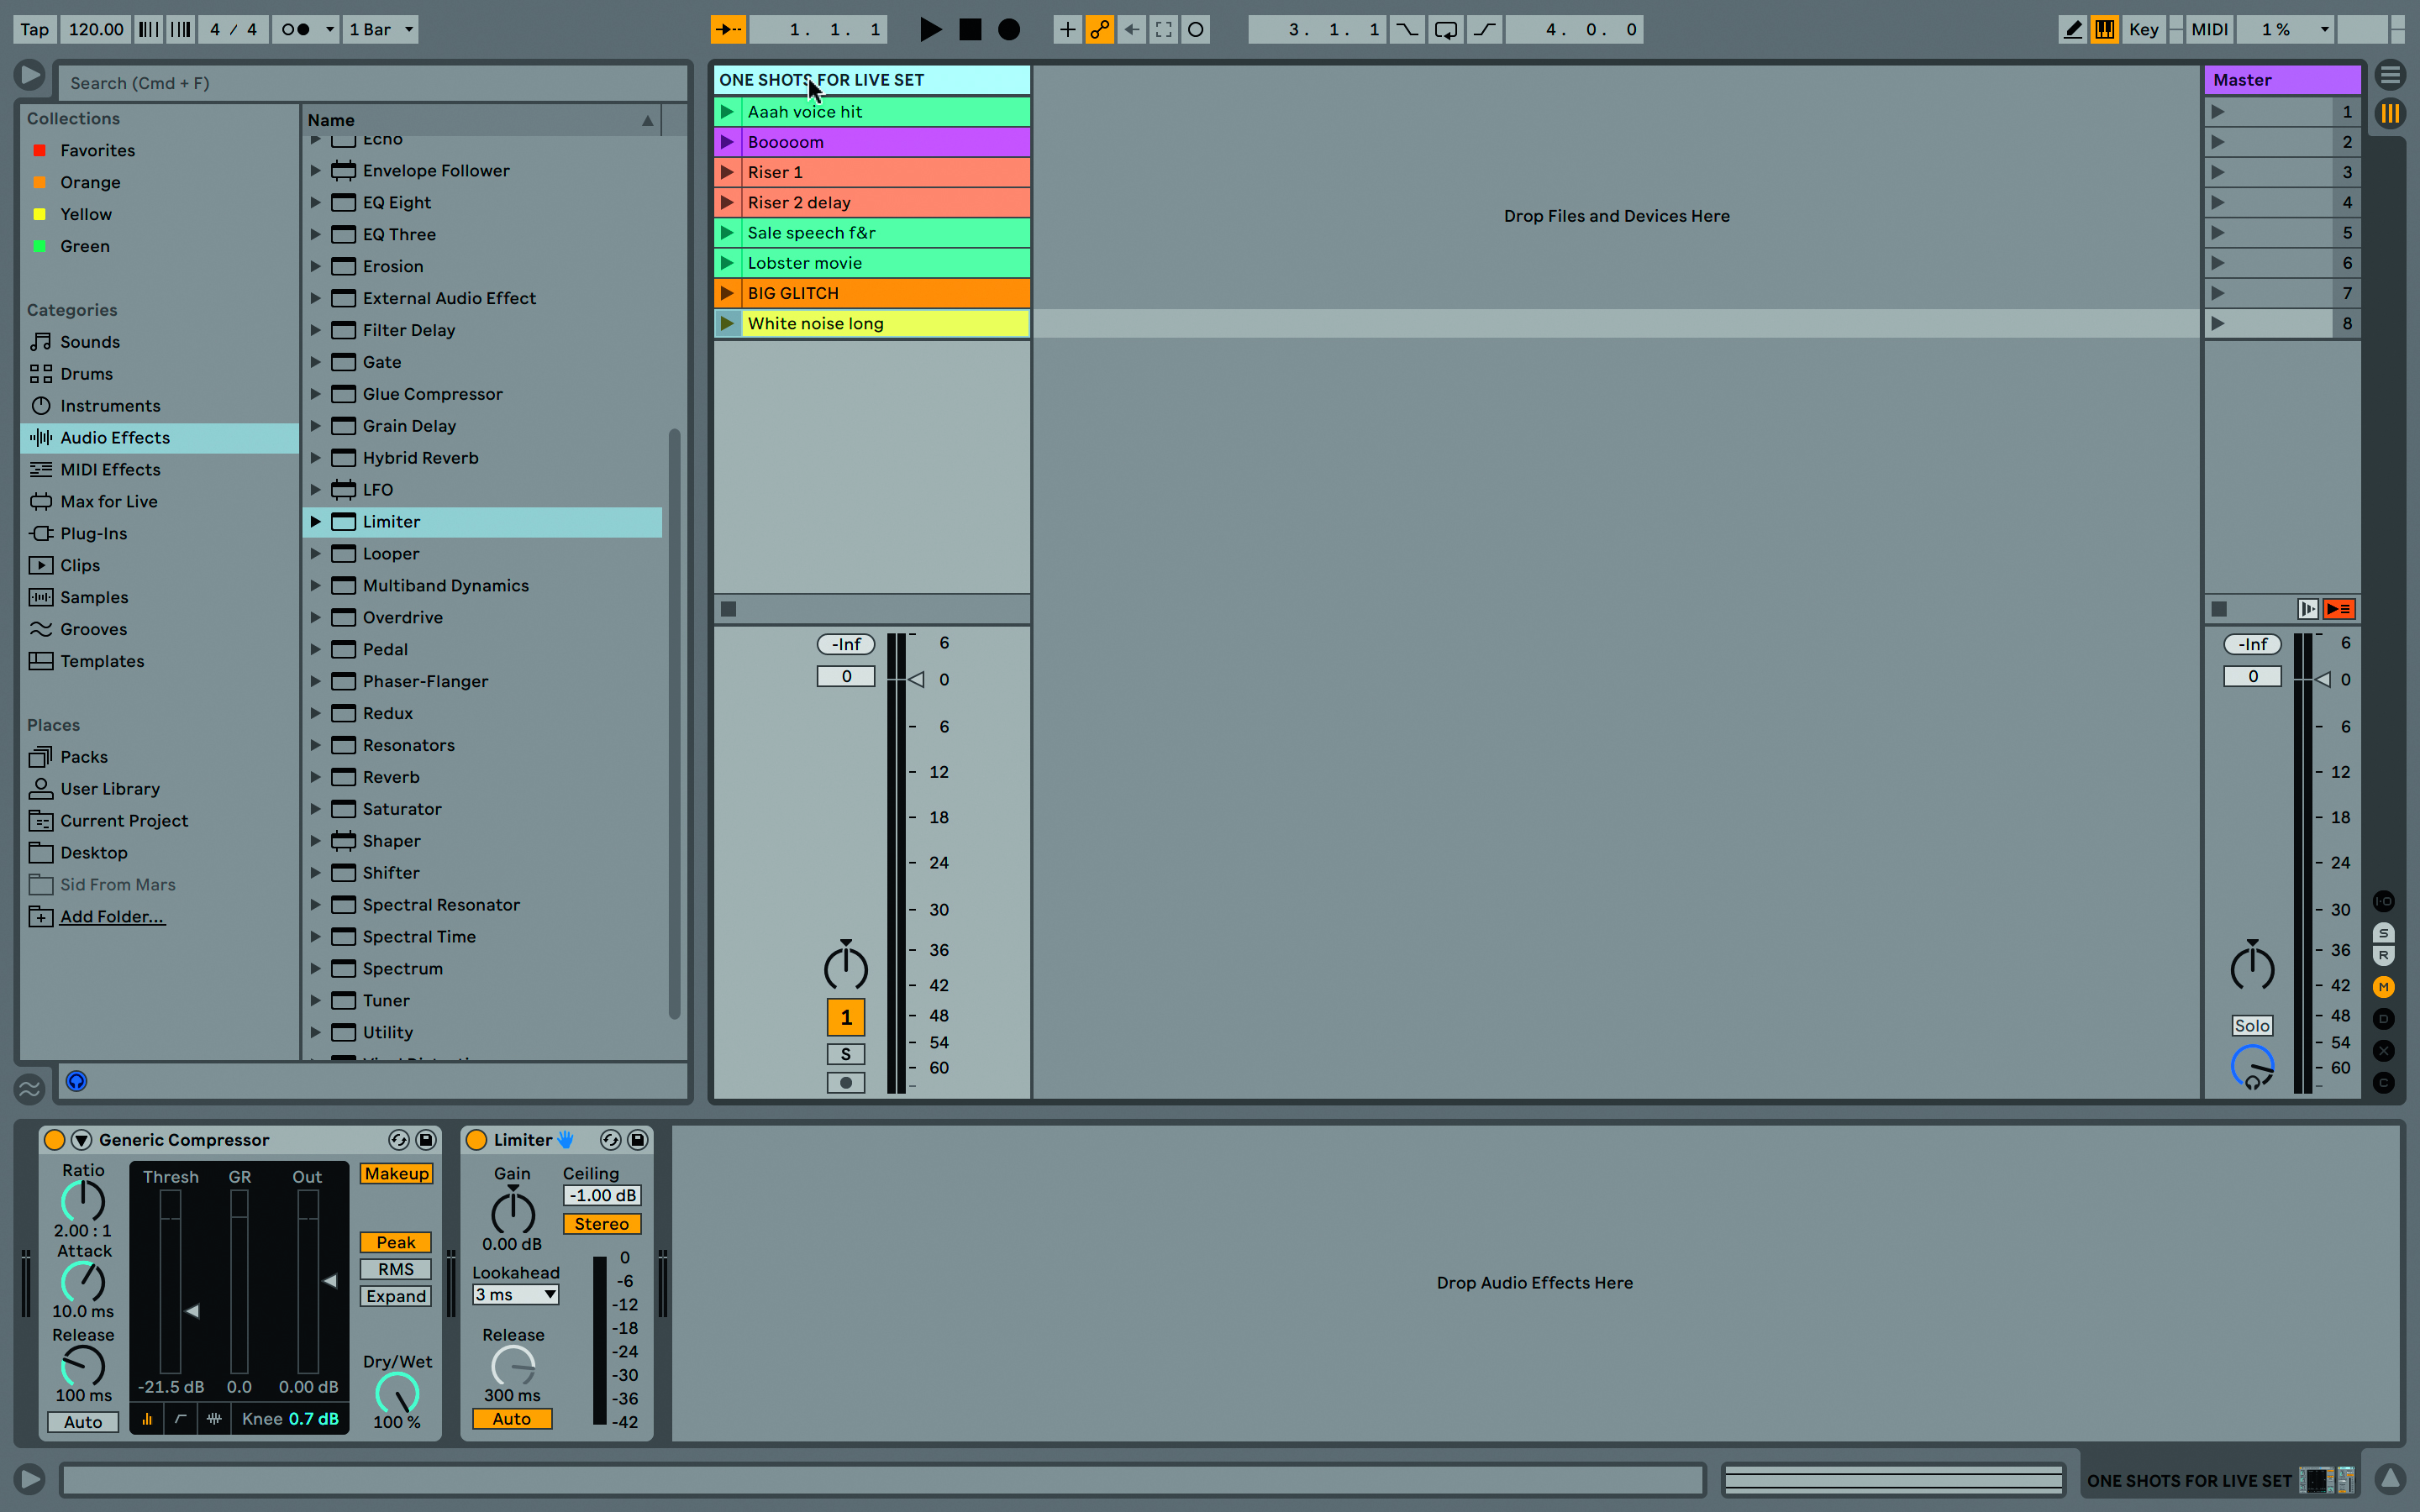
Using prepared one-shots doesn’t affect your ability to add more content from elsewhere mid-set or add more effects. For example, if you’re working with Ableton Live, you can prepare each sample individually, using whatever processes you choose, then freeze/flatten them as audio files and collate them into a single track, which you can then copy and paste or drag from the browser into other projects.
You can do a similar thing by keeping a sample folder shortcut in the browser, but we prefer them right there in the track, colour-coded and labelled. It’s also less fiddly during a performance – just click and launch, rather than dragging from another folder and dropping into the right spot – that’s too much mouse for a live situation.
Adding effects to your samples
As always, selecting effects is about personal choice, but there are some that work better than others in this situation. Let’s pick some typical effects that might be used for one-shot samples (remembering what we said previously about time-based effects). Your source samples might be from the song you’re working on, or outtakes, or from your general sample library, or from other songs in your own set, chosen to help you break down the boundaries between one song and another.
It’s definitely a good idea to choose your key effects in advance and apply them to each sample, maybe in a separate project, then flatten/render them to new audio files that have the effects embedded in them – that way, no matter what project or track you drop the sample in, the correct effects will always be there.
Want all the hottest music and gear news, reviews, deals, features and more, direct to your inbox? Sign up here.

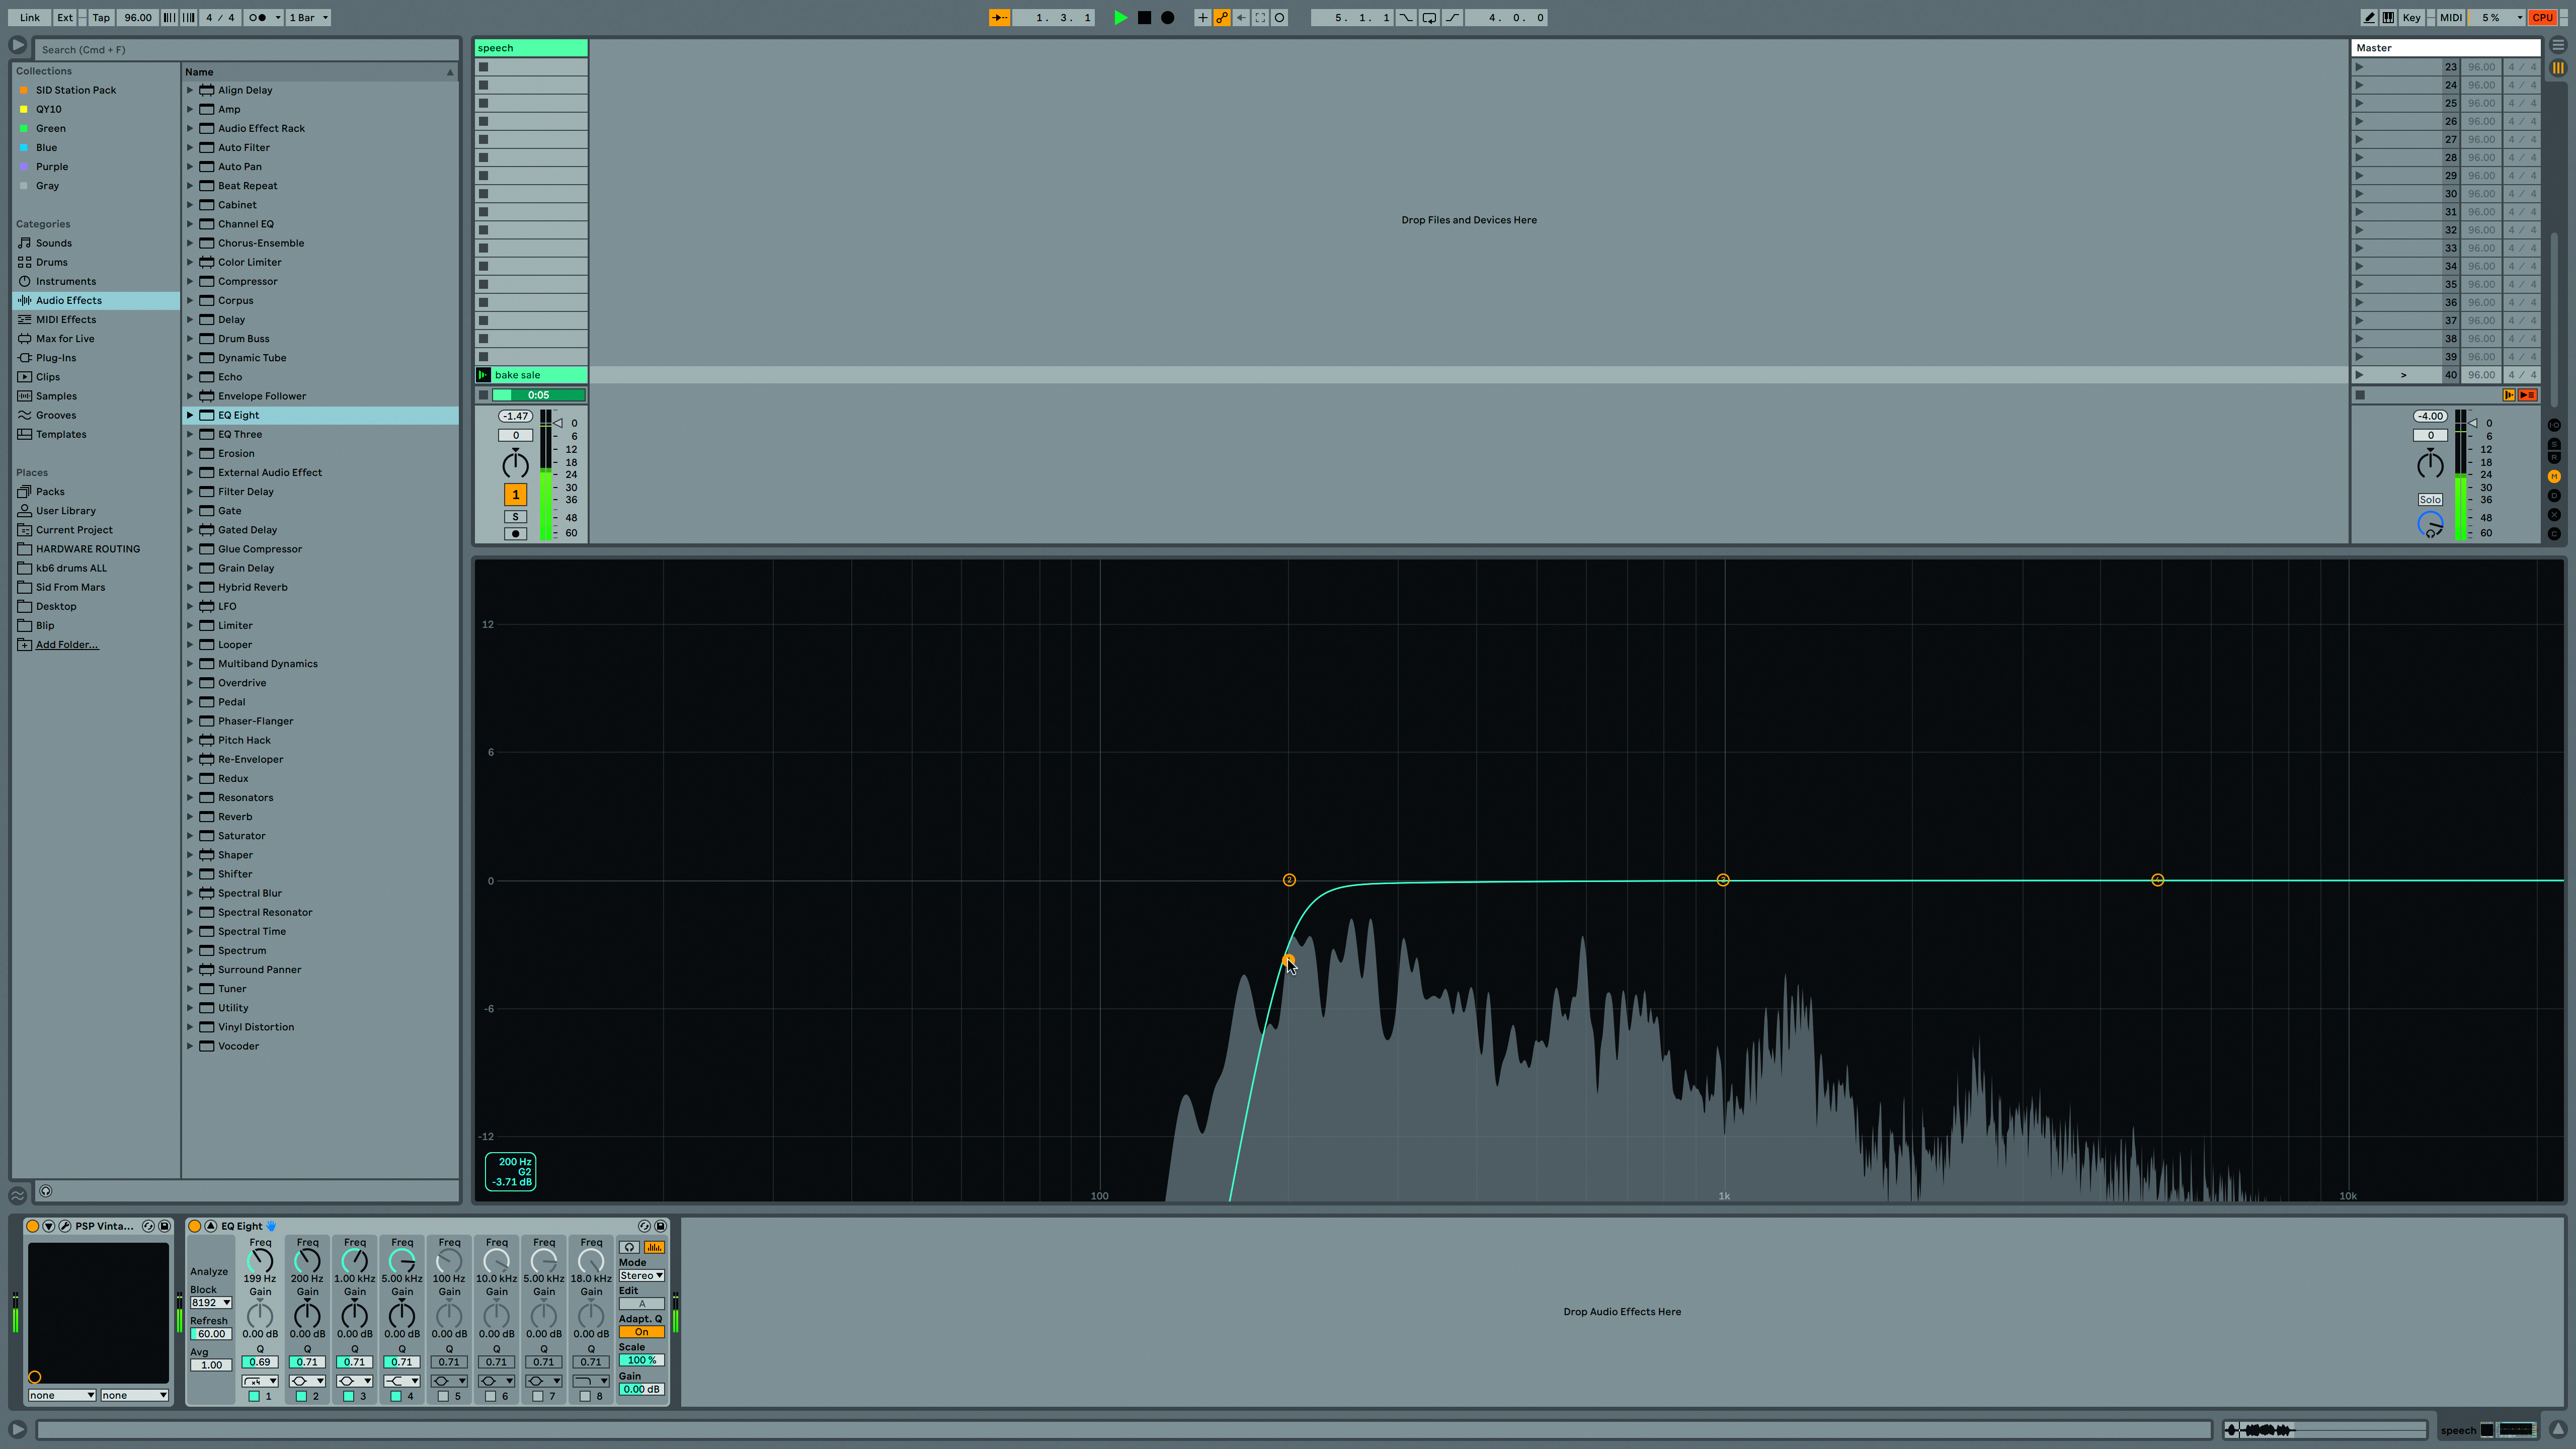
EQing samples individually helps them fit in. You probably don’t want tons of low end suddenly dropping into your mix, so roll that off. Also, crop off any extraneous audio at the end of the sample; it keeps file sizes down and makes it impossible to trigger the wrong section!

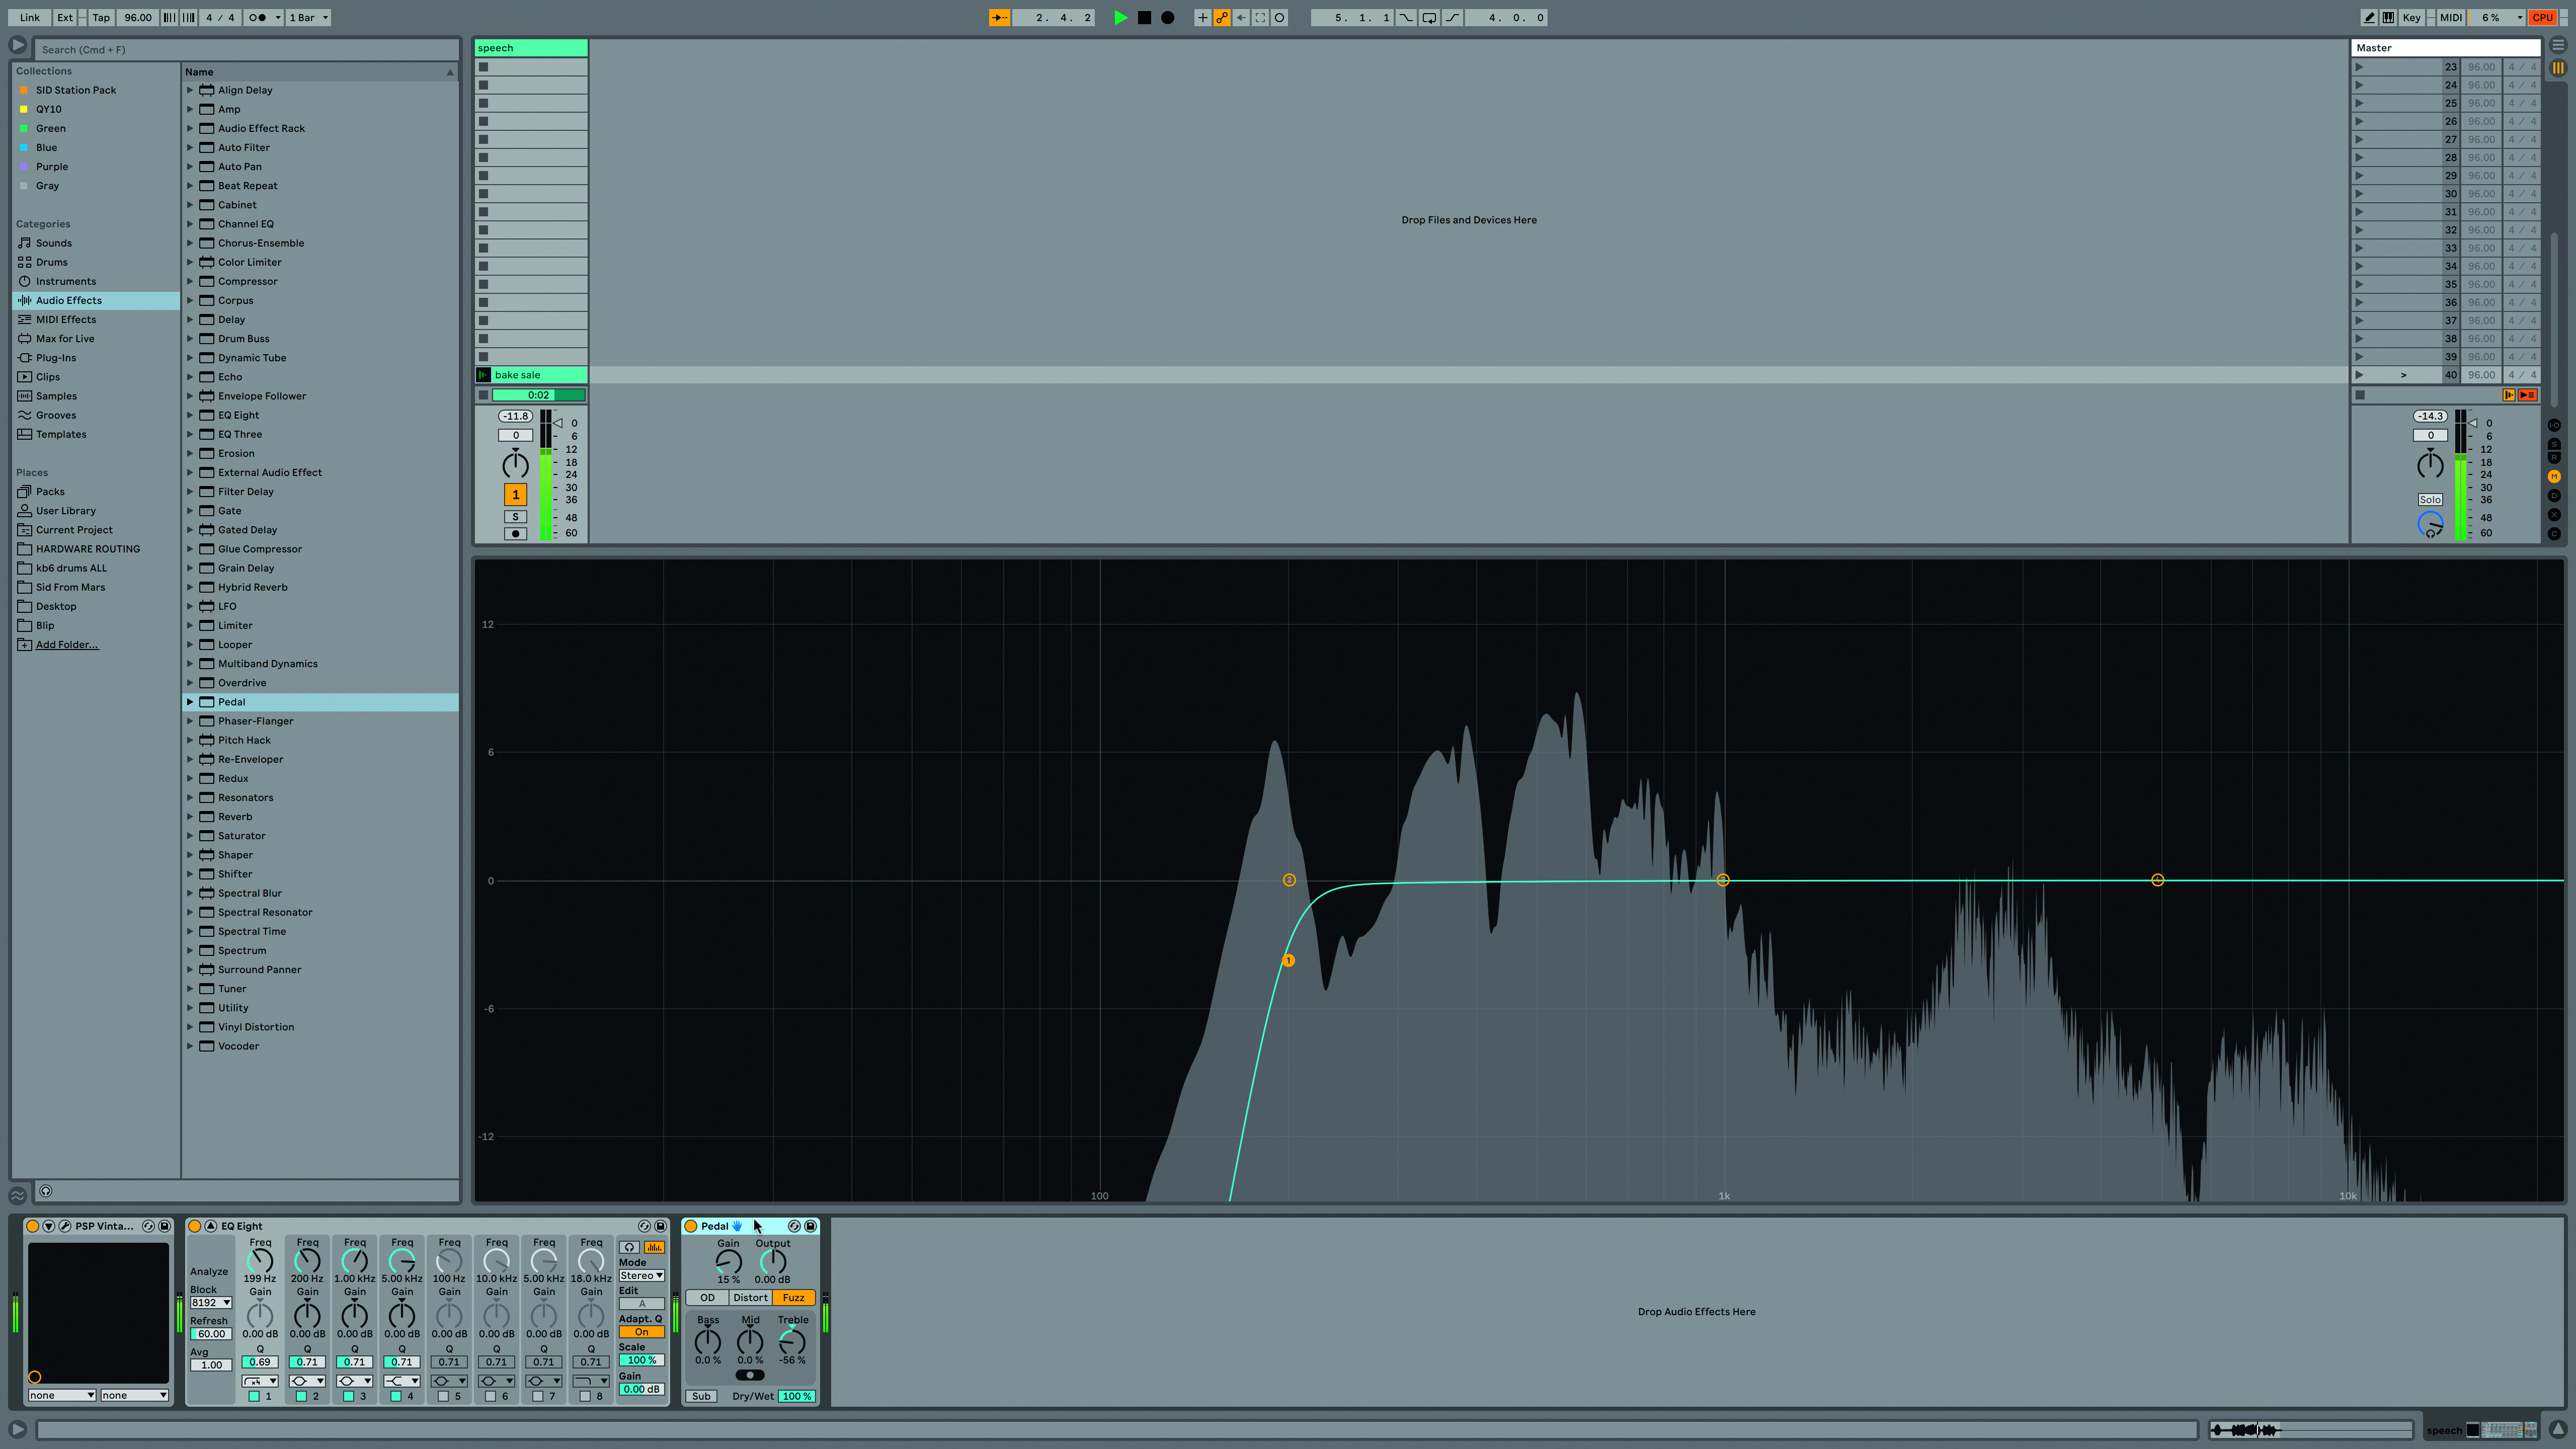
Not only does distortion sound great in its own right, it’s a tried and tested way to help a part cut through. There are so many types as well, don’t use the same one for everything – anything from tape saturation to vinyl sounds, to full-on bitcrushing is usable.

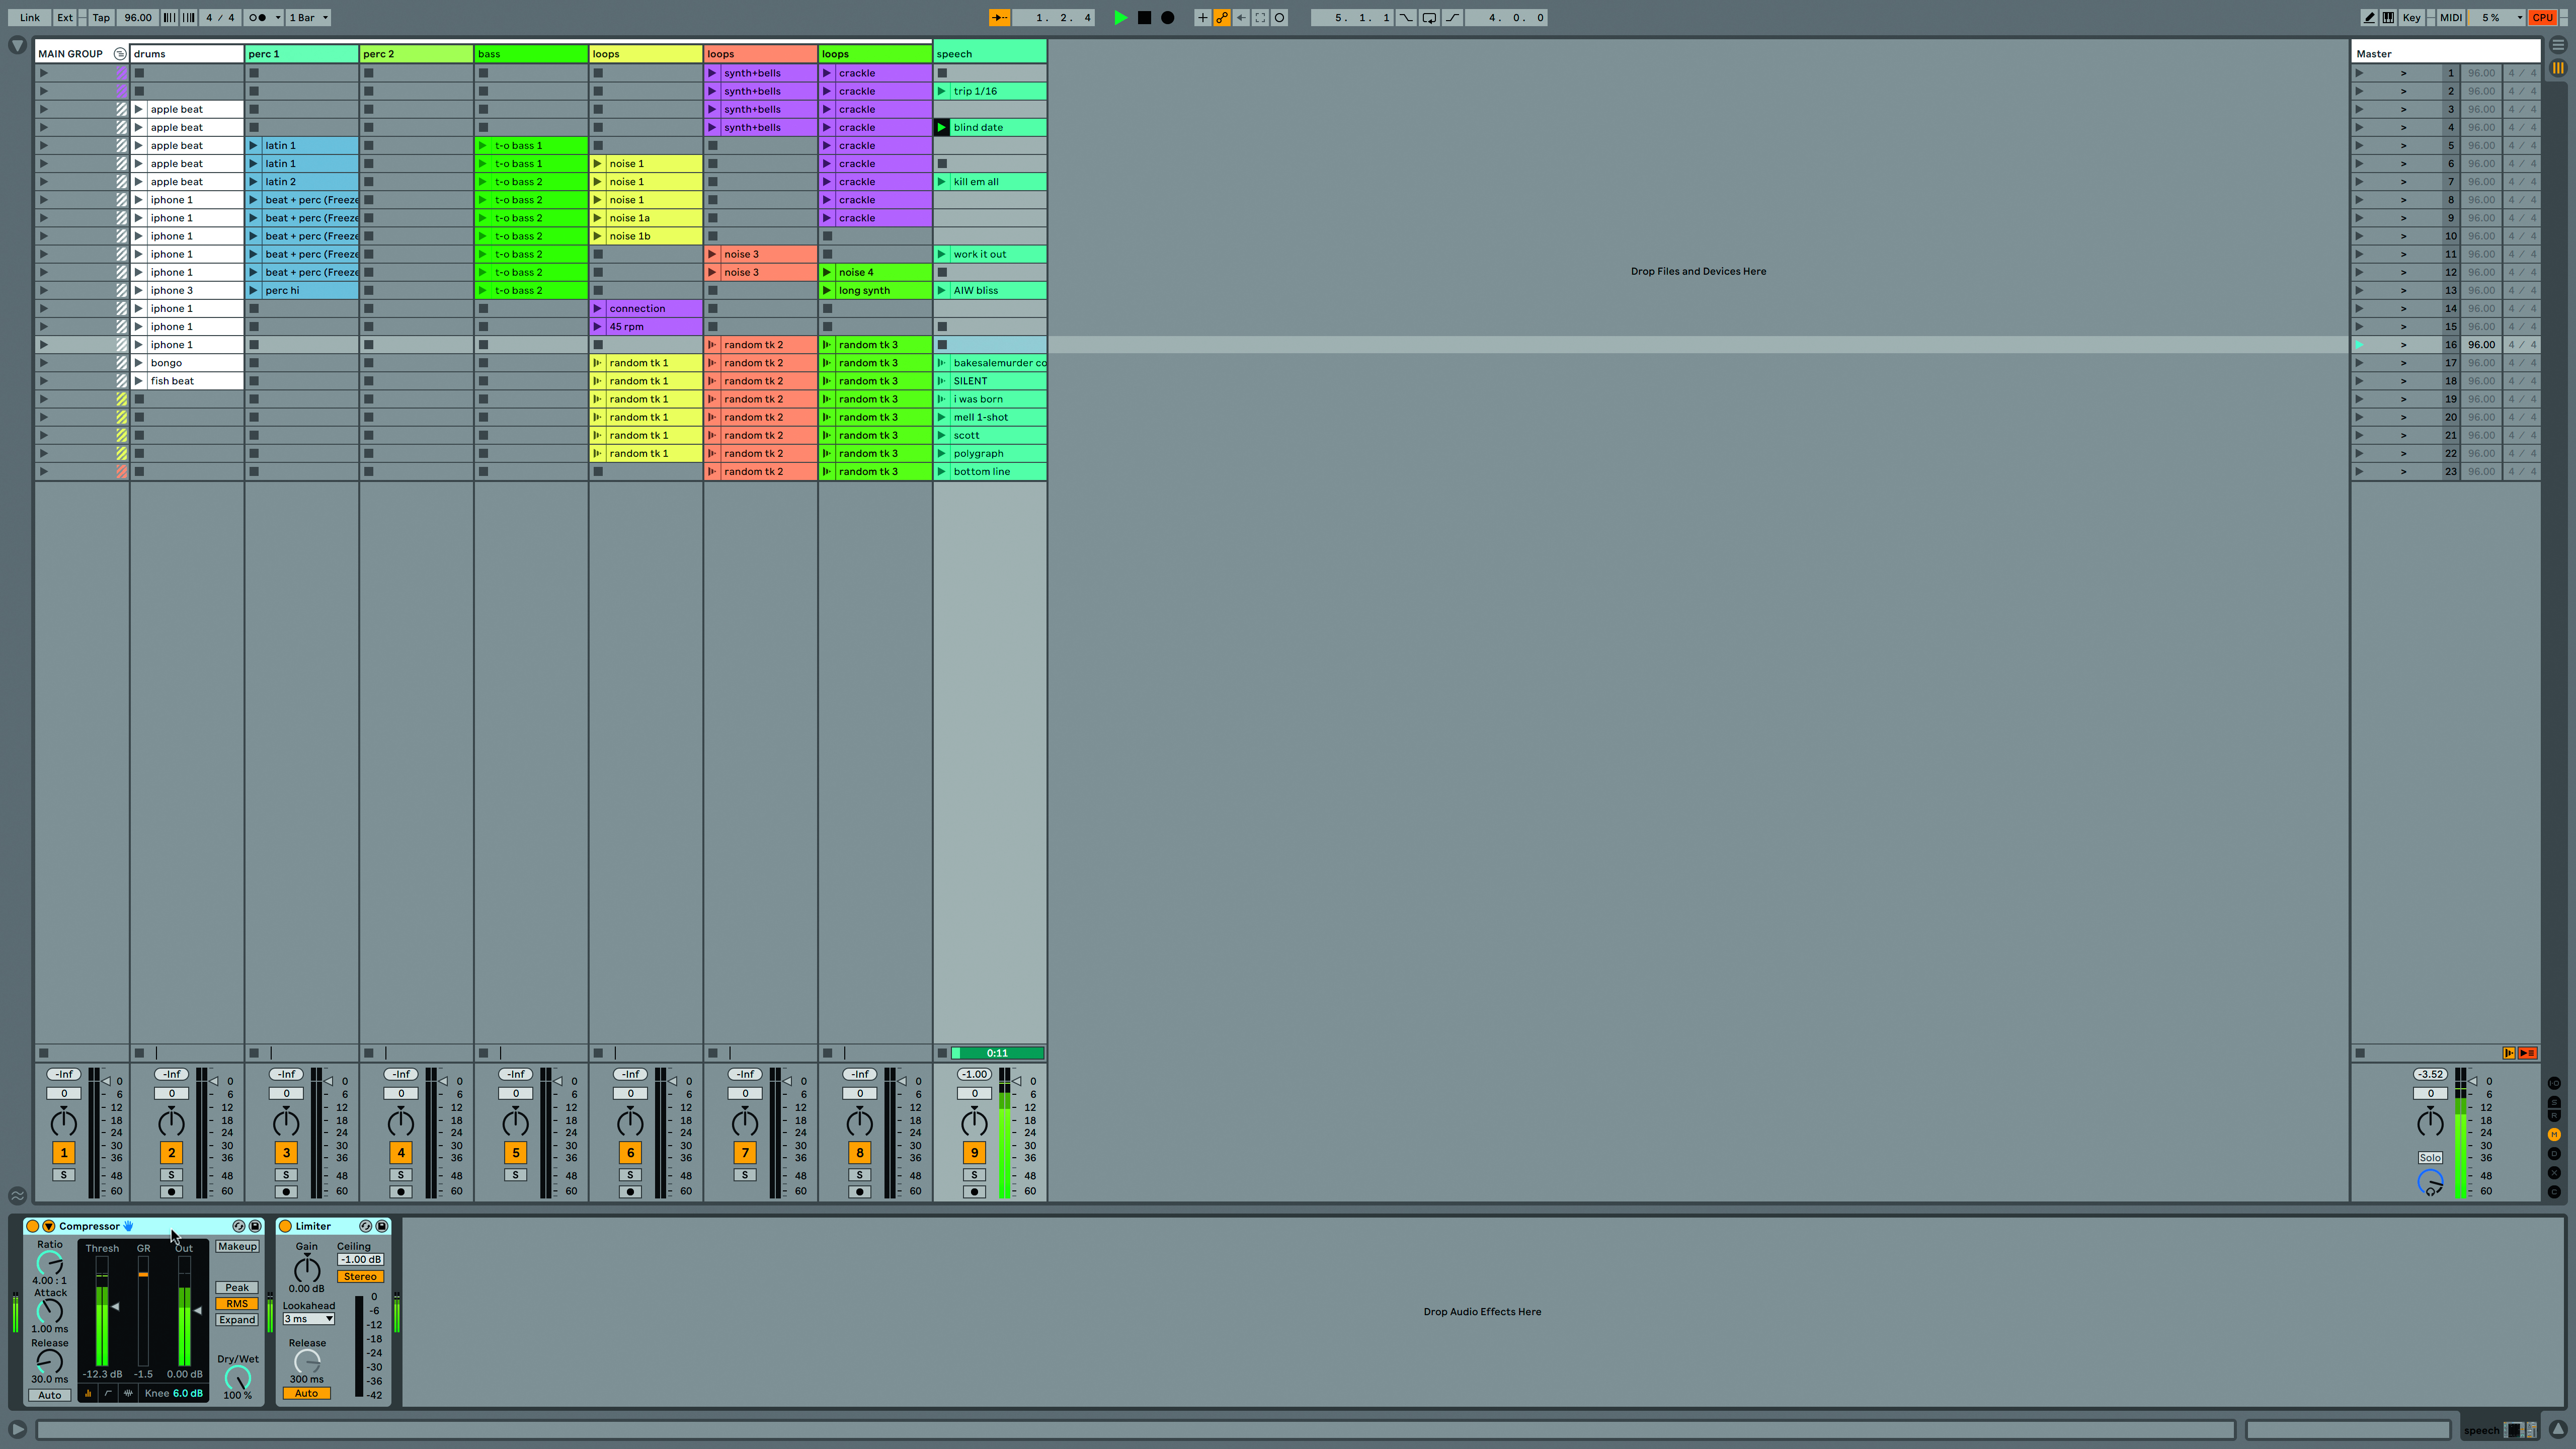
Compression and limiting can optimise the levels of your samples, as well as prevent issues caused by over-enthusiastic effect processing! Put a limiter on your separate samples track and if possible group them separately from the rest of your project so the one-shots coming in and out don’t affect global dynamics processing.
Dos and don'ts
DO: Explore different launch modes, Ableton-style – trigger, gate, toggle, and repeat. If you’re using pads or keys to launch your samples, a variety of launch modes will impart an extra level of dynamics and interactivity.
DO: This isn’t something you need every time, it depends on the context, but following on from setting launch modes, you could set different launch quantisations for each sample, from 0 – so they play as soon as they’re launched – to 1 or more bars for a tidy synced effect.
DON'T: Don’t use time-stretching, aka warping, with one-shots, unless you really need to adjust the timing of a particular sample.
DON'T: Don’t bake in time-based effects such as delays or LFOs because, unless you’re using the one-shots in the same project every time, they’re going to end up being out of sync with the project tempo.
Current page: Prepping one-shot samples
Prev Page Sampling tips Next Page Multisampling hardware instruments

Future Music is the number one magazine for today's producers. Packed with technique and technology we'll help you make great new music. All-access artist interviews, in-depth gear reviews, essential production tutorials and much more. Every marvellous monthly edition features reliable reviews of the latest and greatest hardware and software technology and techniques, unparalleled advice, in-depth interviews, sensational free samples and so much more to improve the experience and outcome of your music-making.
