How to add more life to your Roland TR-8 drum patterns
The TR-8 has a lot of tricks up its sleeve to make your drum patterns more fluid and interesting
There have been few products in recent years as eagerly anticipated as the Roland TR-8. It promised a taste of the legendary 808 and 909 flavour, but without the inflated second-hand price tags. There's some debate as to how authentic it sounds compared to the originals, but as far as we're concerned, the 8 is, quite simply, great.
In this short tutorial, we'll show you a few TR-8 programming techniques that you might not have discovered yet, from applying shuffle to targeting effects at individual instruments and steps.
For more on getting the most out of your TR-8, get your mitts on Future Music 289, which is on sale now.
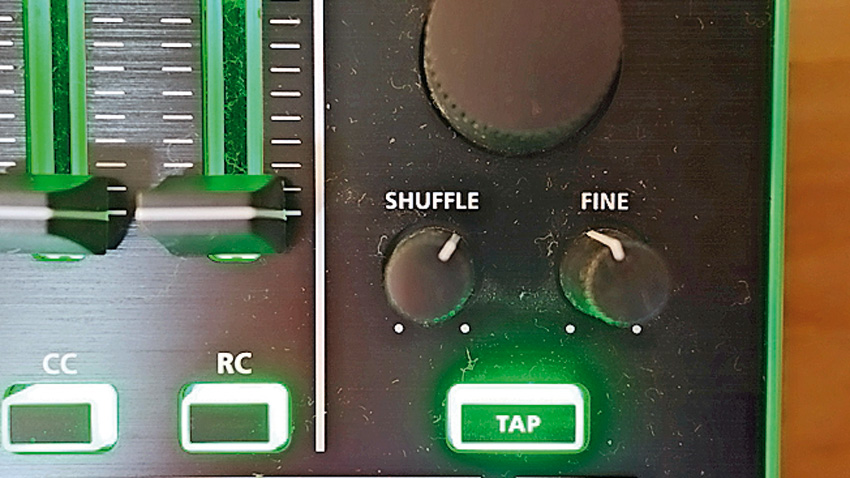
Step 1: Starting here with a simple Kick, Snare and Closed Hat pattern, the simple way to inject some interest is by pushing up the Swing/Shuffle setting. The Shuffle knob on the TR-8 is very sensitive, so, unless you're looking for a full-on glam-style triplet feel, you'll probably find that a tiny nudge clockwise will do for more straight-ahead 4/4 rhythms. If you record each instrument into your DAW separately, try varying the Shuffle slightly each time.
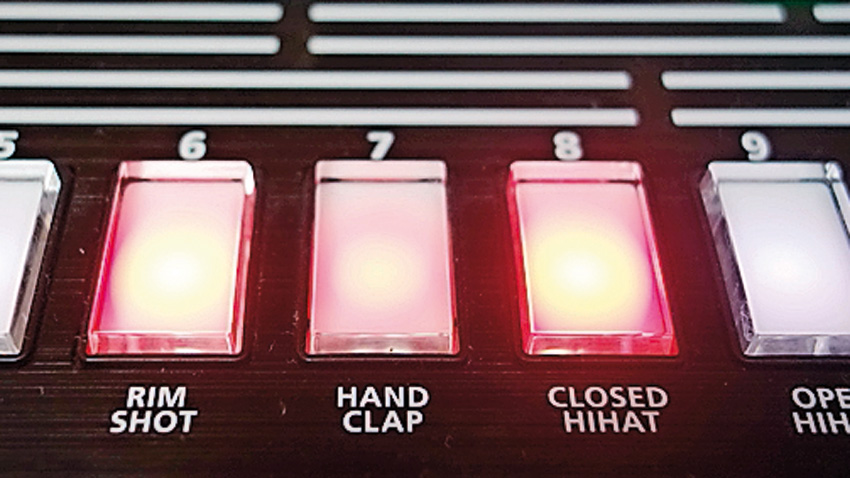
Step 2: Extra variation or interest can be created by substituting existing beats for quieter versions. Unlike MIDI velocity, which caters for 127 level variations, the TR-8 merely offers strong and weak beats at the instrument programming level. In the classic TR step recording mode, this is achieved by pressing the relevant Inst selection button (such as BD, SD or CH) before pressing a step pad - notice how the chosen step is shown more dimly.
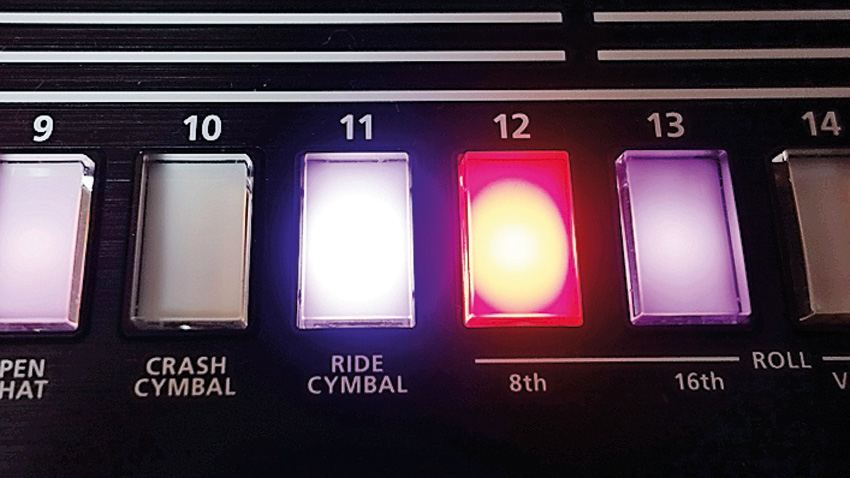
Step 3: The latest OS version offers another programmable rhythmic enhancement with its ability to program flams. These can certainly be overdone, but can work in interesting ways. They are inserted in a similar manner to accents (and work with both strong and weak beats already in place). Press the TR-Rec button, then the relevant step pad (it will turn purple). Experiment with 'flam spacing' (TR-Rec + Tempo knob) - there are eight choices.
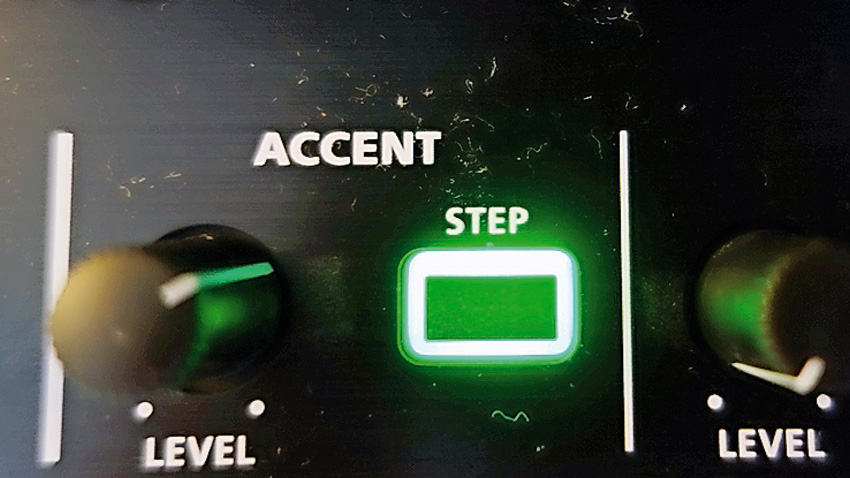
Step 4: As if we hadn't gone far enough with accenting, TR-8 (like its x0x forebears) offers a global Accent track. At its most basic, this changes the level of all sounds at a particular step in a pattern, with the amount of 'enhancement' controlled by the Accent Level knob. Accent steps are programmed by pressing the Step button in the Accent section and using the pads as normal. Hold the Accent Step while pressing a pad to get a weak accent.
Want all the hottest music and gear news, reviews, deals, features and more, direct to your inbox? Sign up here.
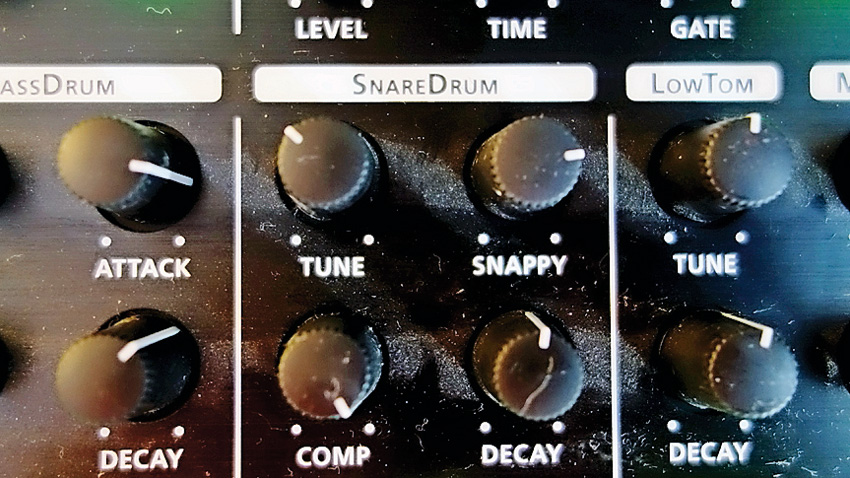
Step 5: Experiment with tweaking individual sound parameters. The TR-8 offers more options than the originals, thus providing a wider sonic palette. The Decay parameter is a great way of tightening up a beat, working well in conjunction with the Tune control. Unlike the earlier hardware, these can be used for every instrument slot, although in the case of the 7X7 upgrade, they will adjust both sound variations in a given slot.
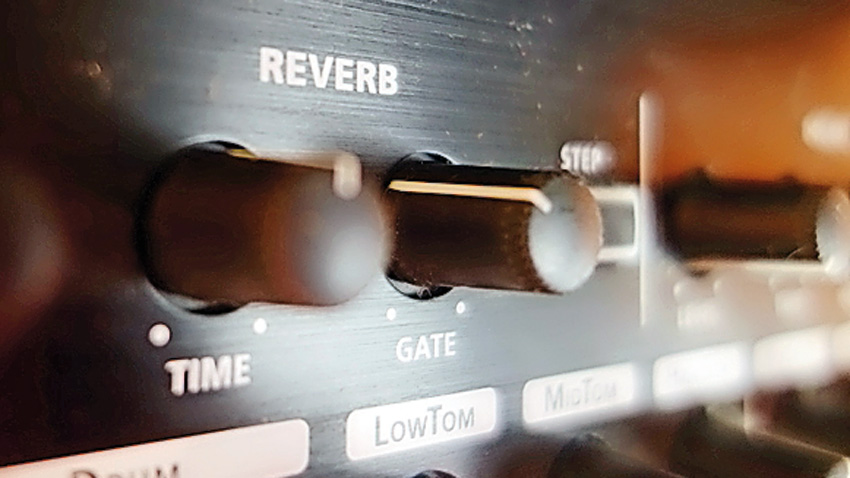
Step 6: The final element here is to add effects. The TR-8 features independent reverb and delay effects, which can be tweaked for interesting treatments, but the key is to be selective with which instruments are sent to each. For example, in Kit mode, hold the Reverb Step button down and enable/disable the reverb using each Inst button. You can also narrow down where the specific effect is applied by programming an effect pattern using Step mode. Try giving a Reverb Gate a tweak.
Future Music is the number one magazine for today's producers. Packed with technique and technology we'll help you make great new music. All-access artist interviews, in-depth gear reviews, essential production tutorials and much more. Every marvellous monthly edition features reliable reviews of the latest and greatest hardware and software technology and techniques, unparalleled advice, in-depth interviews, sensational free samples and so much more to improve the experience and outcome of your music-making.
