5 techniques for creative reverb manipulation: "Use your imagination to think about new ways that a reverb could be shifted and warped, and then explore different methods for realising that effect"
Delving into the more complex attributes of deeper reverb manipulation
Want all the hottest music and gear news, reviews, deals, features and more, direct to your inbox? Sign up here.
You are now subscribed
Your newsletter sign-up was successful
Placing the instruments and voices of a mix into a consistent space does not preclude us from adding additional reverbs to specific parts and tracks. This is particularly true when a reverb is being used as enhancement rather than for simulation purposes.
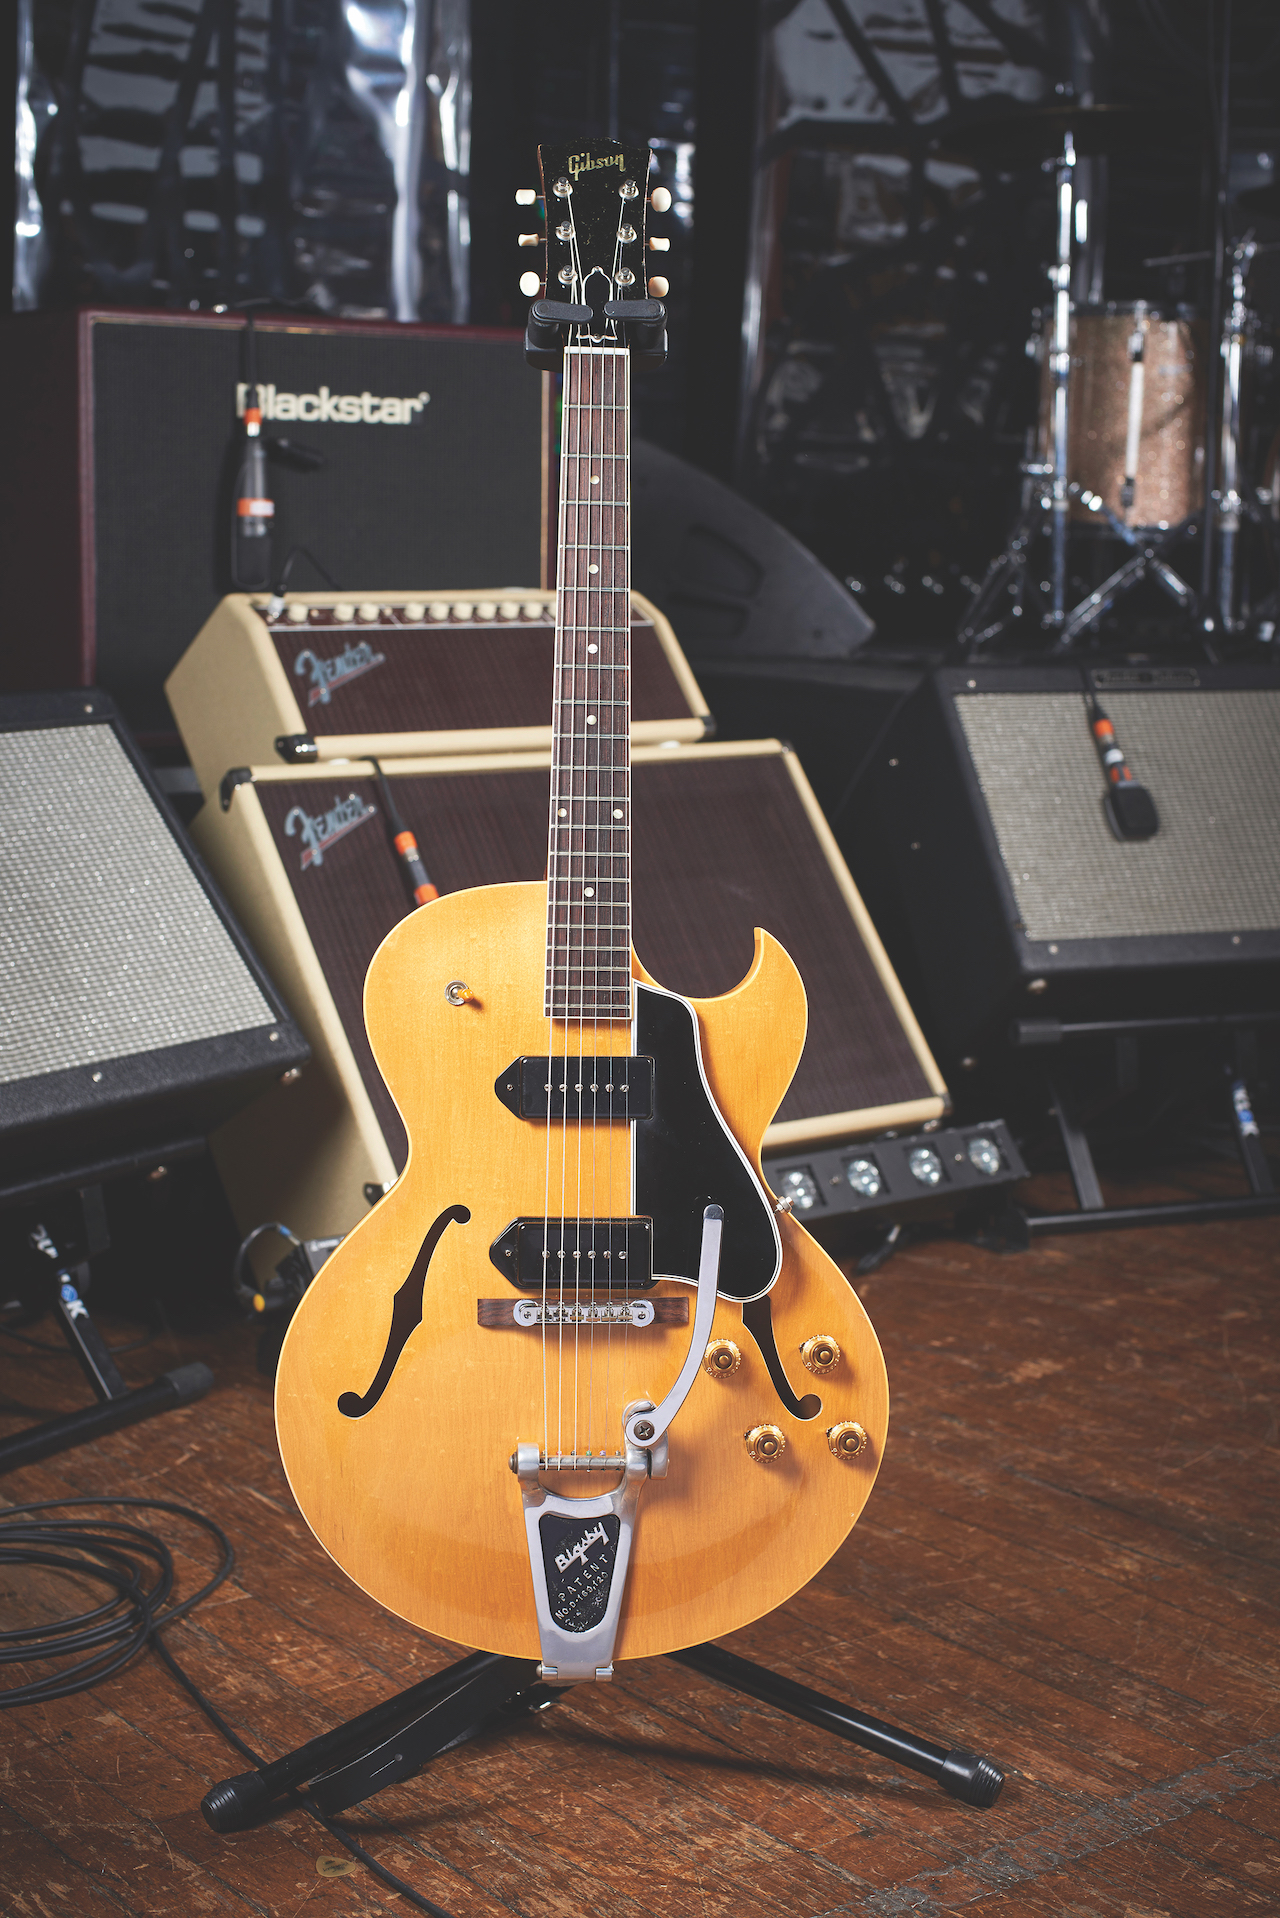
For example, you may wish to add some spring reverb to a guitar track to help emulate a classic guitar amp sound. That reverb becomes an intrinsic component of the guitar performance, and would be present if performed in a live venue, and so it absolutely makes sense to also include it in the overall room reverb.
1. Stacking reverbs
It is also not uncommon to apply more than one reverb to a single track when creating track-specific enhancements and/or special effects. This is especially true of vocals and other lead lines; a good example being having both an up-front gated reverb and a more subtle, spacious reverb on the same part. In this case, however, we may not want to blend the ‘enhancement’ reverb with a shared room ’verb.
Article continues belowStacking and combining reverbs in these ways is just fine, but always think carefully about the signal routing, and work out how to create such routings within your DAW (some make it easier than others).
If you’re happy to have the reverbs operating in series, then inserting them on the same track is normally sufficient, but more often you will want to run the reverbs in parallel. This can become a bit elaborate, requiring separate FX/Auxiliary tracks to host each reverb plugin, and various sends and submixes to route and combine the signals.
2. Sidechains and ducking
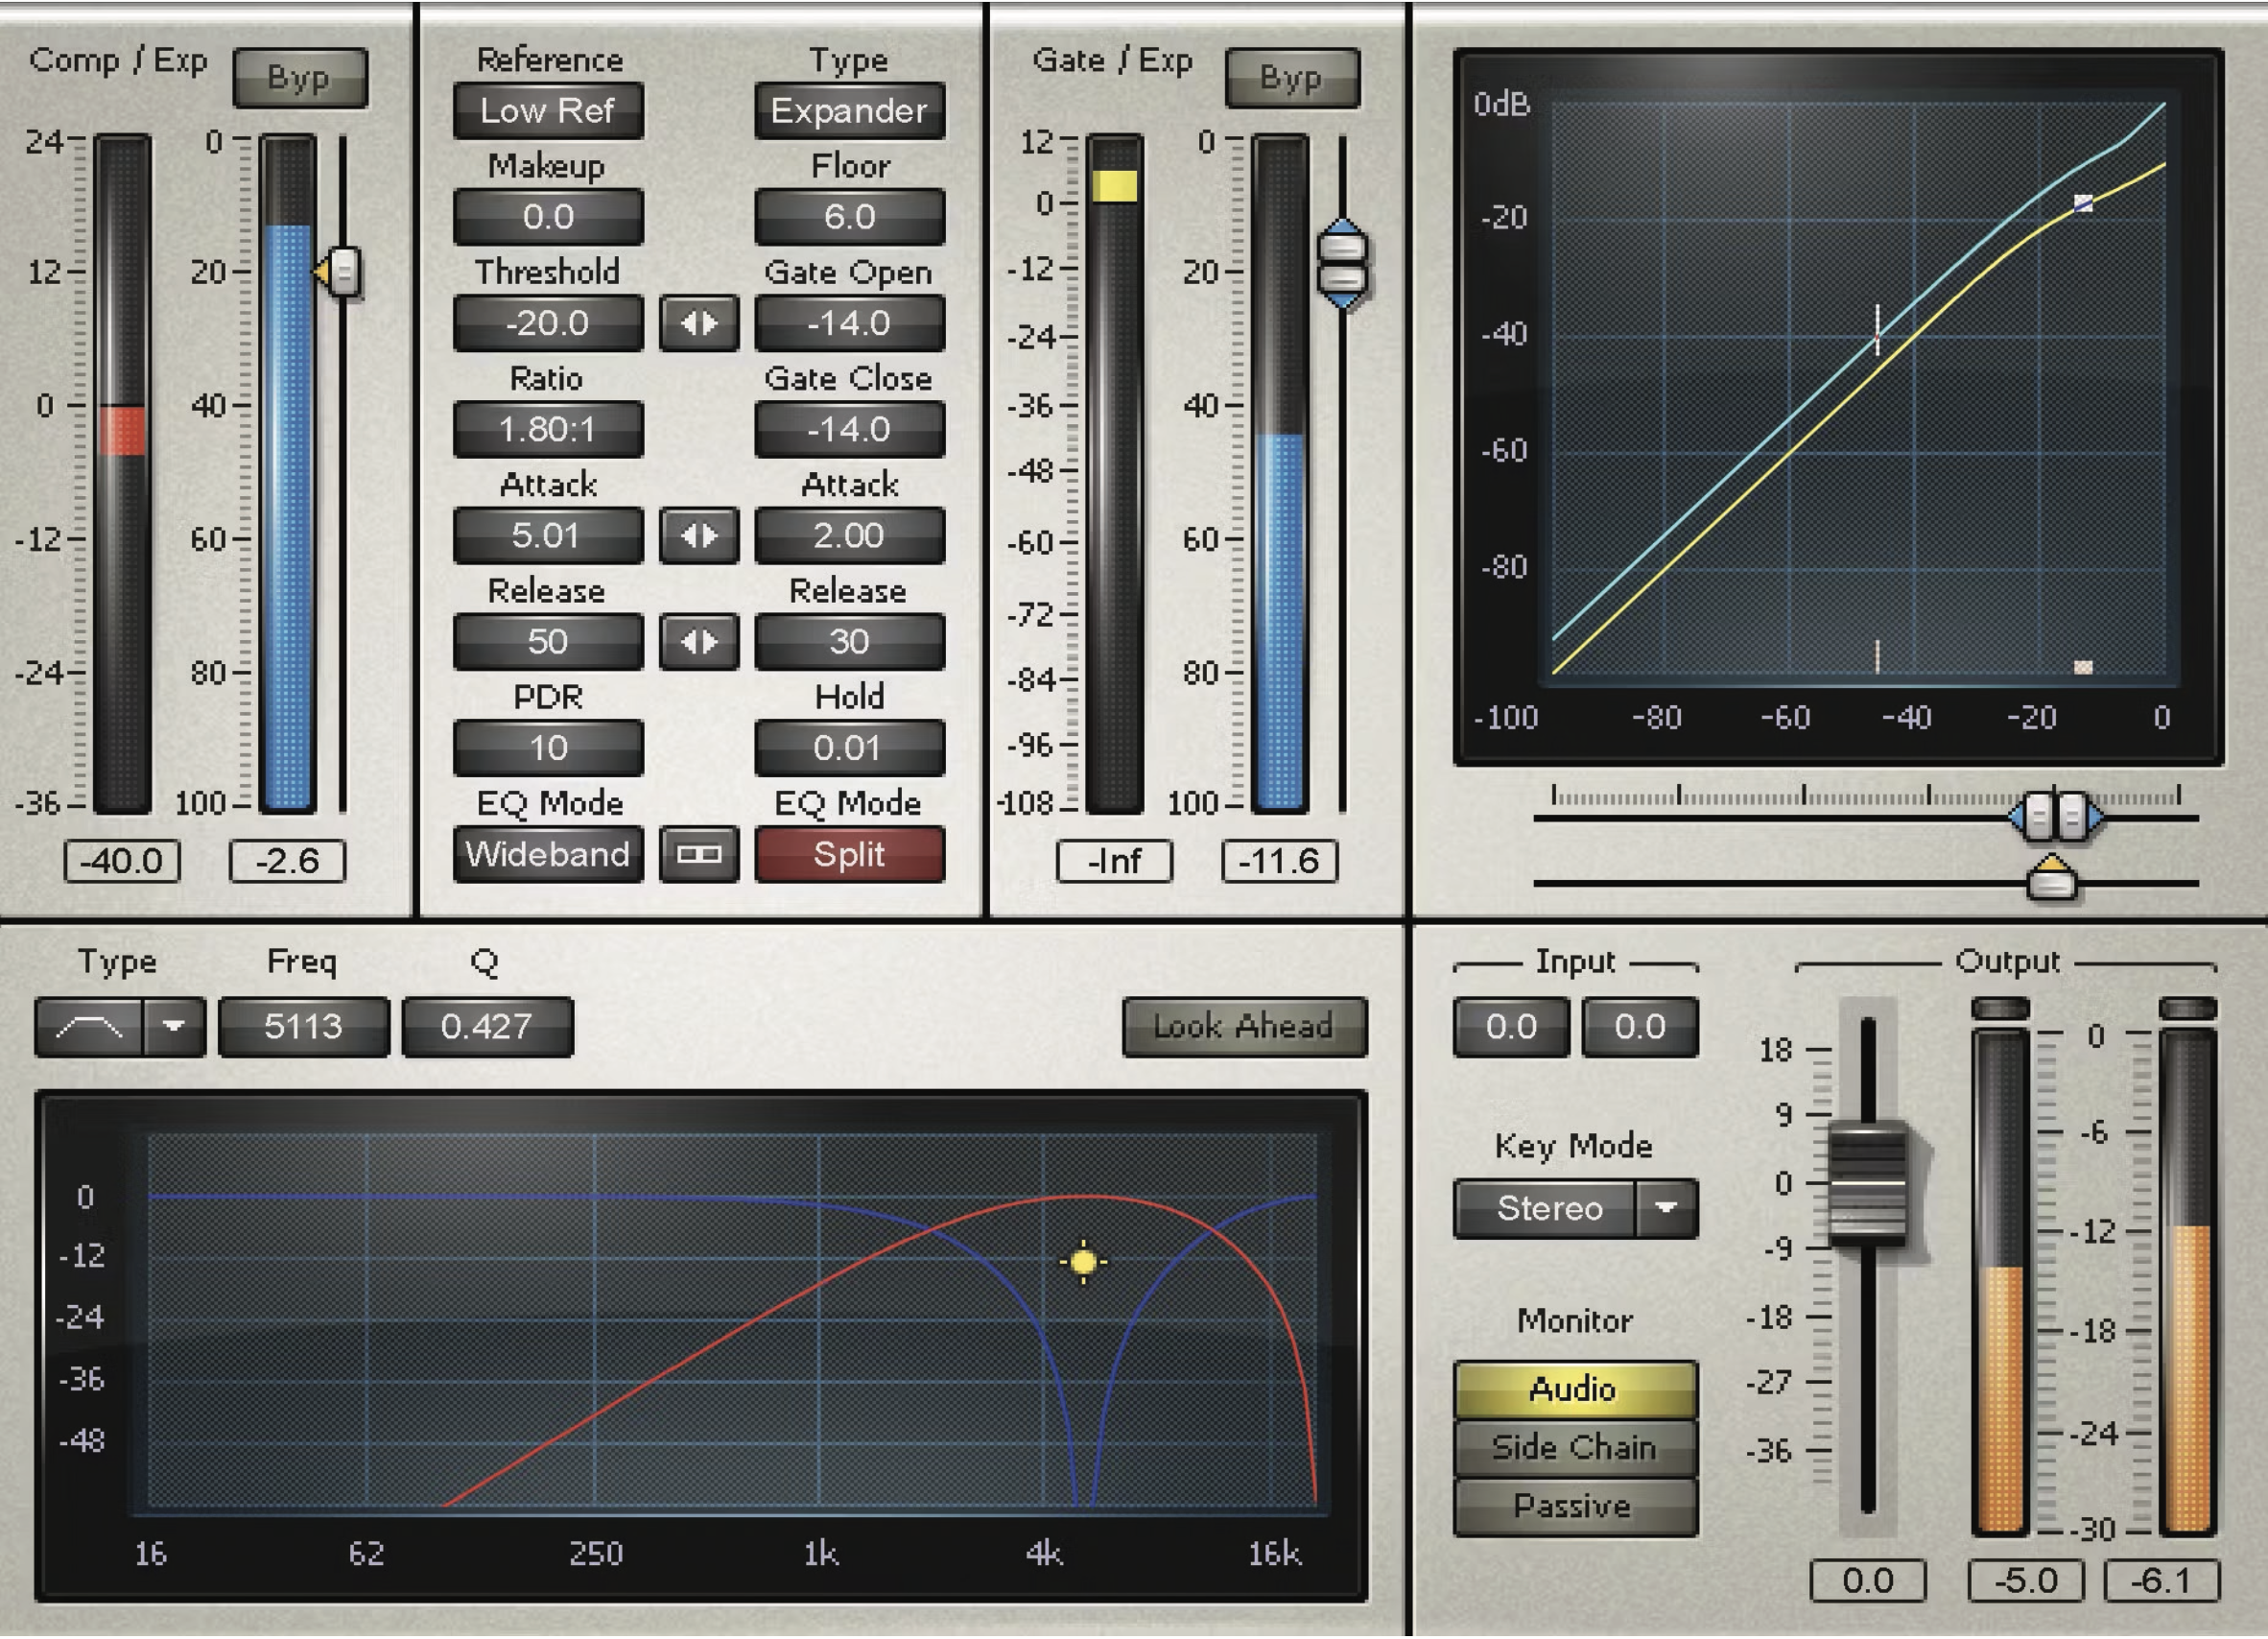
There are various ways to use dynamics processors in conjunction with reverbs. The classic gated reverb effect is probably the most familiar, and is something many reverb plugins can produce internally. This often limits us to a specific reverb algorithm, which can be restrictive in terms of the tone and timbre of reverb. It’s therefore useful to know how to create gated reverb using any reverb processor – we’ll show you how in a moment.
You may wish to add some spring reverb to a guitar track to help emulate a classic guitar amp sound
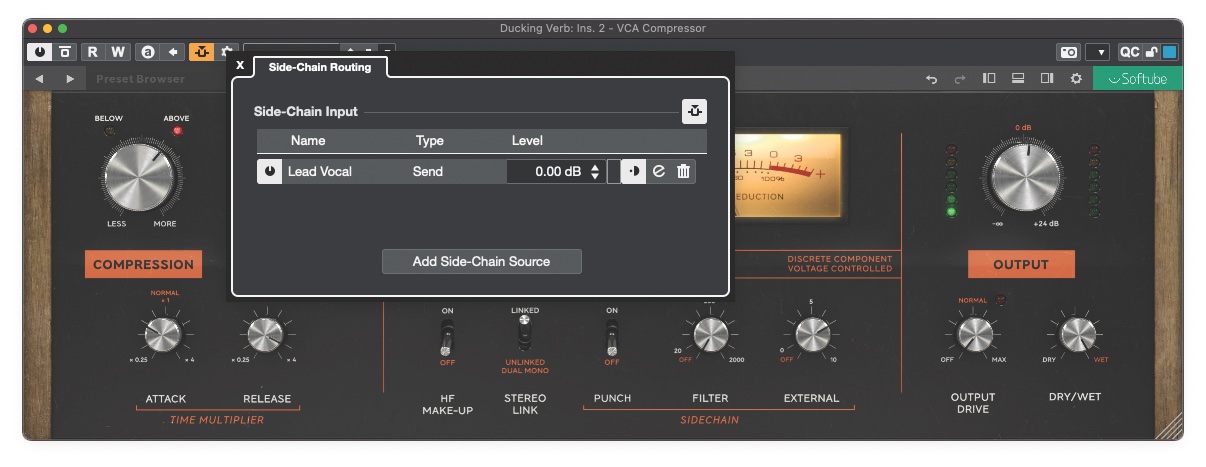
Another common technique involves combining reverb and a compressor-based ducking effect. The ducker controls the volume of the reverb, reducing it when an instrument/voice is sounding and bringing back in the spaces between phrases. This works particularly well with longer ’verbs, keeping them out of the way when the part is doing something important, whilst still giving us luscious reverb tails afterwards.
Want all the hottest music and gear news, reviews, deals, features and more, direct to your inbox? Sign up here.
Both techniques place the dynamics processor after the reverb, but we want these to respond to the dry signal, not the soft and smeared reverb. This means configuring the dynamics processor to key from an external sidechain fed from the dry, reverb-free source track.
3. Reverb meets delay
When it comes down to it, reverb is, fundamentally, a delay-based effect, but that doesn’t mean that we can’t combine it with an actual delay effect. Again, it is important to consider the routing when doing this. If we want each delay repeat to produce its own bloom of ’verb then we can insert both delay and reverb (in that order) on the track being processed. If, however, we want delay and reverb to be separate then each needs to be applied via its own independent FX/Auxiliary track.
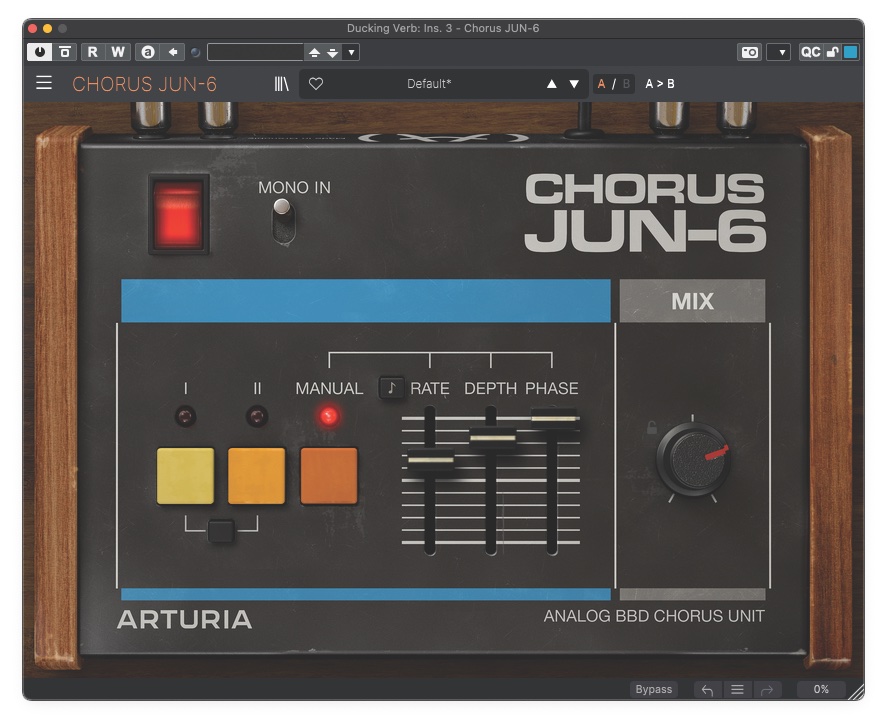
It’s less common to place a delay in series after a reverb, because all it’s really then doing is extending the reverb time. One exception, however, can be delay-based modulation effects such as chorus and flanging, which we may want to apply to the reverb itself. That said, placing such effects pre-reverb tends to give a richer reverb without the modulation effect itself becoming noticeable.
4. The joy of automation
Automation and modulation of parameters can bring any effect to life, but with reverb it gives us some particularly rewarding possibilities: darker ’verb in quiet sections and brighter in louder sections; rhythmic reverbs; or near-to-far depth movement effects, for example.
Don’t forget that in situations where a reverb is chained with other processors, we can also influence the characteristics of the reverb by automating or modulating the parameters of those other processors. In complex chains, and where multiple parts are feeding the same reverb, those processors may be on tracks other than the one hosting the reverb.
It’s less common to place a delay after a reverb, because all it is really doing is extending the reverb time
Most reverb plugins will expose all of their parameters for automation, but we do have to be cautious about which we modify in real time because some will not change smoothly, and may even cause the reverb to mute or stutter while the new value is loaded. Also, keep in mind that adjusting delay-time-based parameters can cause a pitch-bending effect while the value is in motion, much as it can when it comes to a standard delay processor.
As always, experimentation is key. Try out new things, think of imaginative ways in which a reverb could be shifted and warped, and then explore different methods for realising that imagined effect.
5. Creating spill-free drum reverb
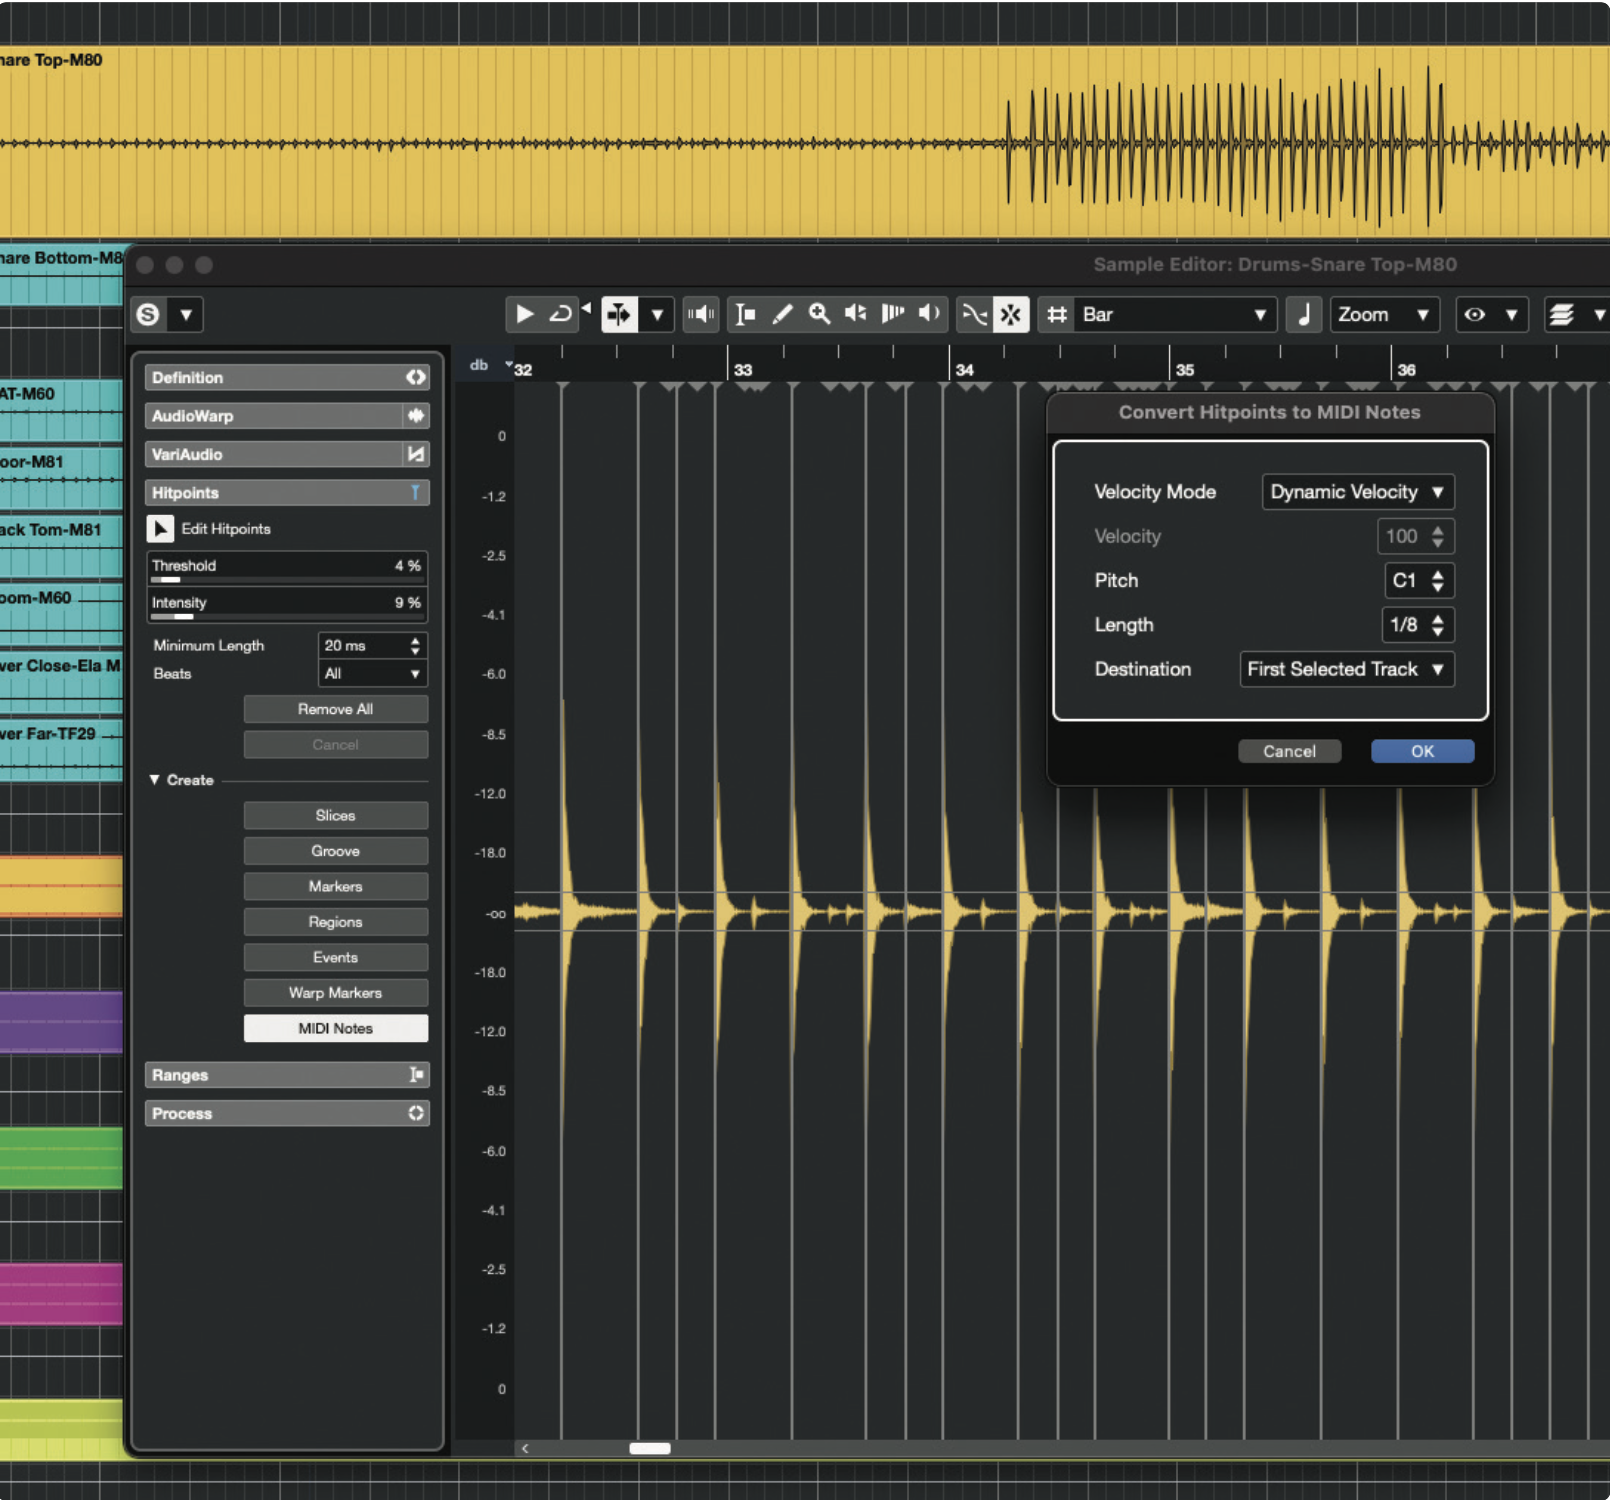
When mixing, we ideally want every part to be fully isolated so that any effects we add impact only the parts we want them to. This isn’t so easy when it comes to a drum kit, with every individual drum mic picking up spill from the rest of the kit. As a result, if we want a specific reverb effect on a specific drum, some of that reverb will also find its way onto the rest of the kit. A clever solution is to use samples to drive the reverb.
Convert the individual drum track to MIDI notes – most DAWs can do this one way or another – then copy a clean, single drum hit from the source recording (or find a similar-sounding sample) and load it into a sampler. Tweak the MIDI part for accuracy if needed, and use it to trigger the sampler. Run this through a 100% wet reverb for clean, spill‑free drum ’verb.