
RECORDING WEEK 2022: Vocals, along with acoustic drum kits, are without doubt among the hardest musical components to record to a professional standard, particularly if you don’t have access to a professional recording space. Yet they remain a vital element in a vast number of modern productions.
Whether sung, whispered, spoken, shouted or rapped, a catchy vocal line can turn a fairly good track into a truly great one. It’s the one sound to which our ears are naturally attuned, and it tends to be the most dominant lead part in all manner of different tunes across a variety of genres. This all makes the process of recording the human voice absolutely critical.
Of course, there are many things that can be done to a vocal recording to give it some more depth, presence or sparkle, but the bottom line is that getting the recording right in the first place is probably 90% of the battle.
Recording singers and MCs used to be the preserve of full-blown commercial studios, with their dedicated vocal booths, rooms full of quality microphones and racks of high-end hardware processors. Nowadays, however, with some of the more affordable recording gear on the market, along with the sheer power of modern computers and just a little bit of DIY know-how on your part, it’s perfectly possible to get release-worthy results without ever having to leave the comfort of your own home.
In this article, we’ll cover everything you need to know about preparing your bedroom or spare-room studio for recording vocals. We’ll give you tips on taming an overly reverberant space, crafting a homemade pop shield and minimising background noise, and the best ways to set up your mic, interface and DAW. We’ll also go over how to monitor during the recording process in order to get the best performance out of your vocalist. So, without further ado, let’s get vocal!
Your recording setup
Before we begin recording, there are a few things that you can do to ensure that you get the best possible sound into your computer. These involve making some adjustments to your room, thinking about microphone position and minimising any unwanted noise so that it doesn’t end up on the recording.
You’ll want to get as clean a sound into the mic as possible to give yourself maximum flexibility when it comes to processing your vocal recordings. The most important thing to do is to hang blankets across the wall directly behind the singer (using tacks is probably the quickest way of doing this), which will dull down any reflections coming into the sensitive front side of the mic.
This is done to limit the amount of metallic-sounding room reverberation that gets onto the recording – it’s always preferable to record as dry a signal as possible and add your own reverb later on with a plugin.
You should try to pick a room that’s carpeted if at all possible, or if it isn’t, at least put a thick rug around the area where the singer and mic are positioned. As well as floors, walls and ceilings, windows reflect a lot of sound, so make sure you draw the curtains, close the blinds or at least hang a blanket over any glass surfaces in your recording room.
In fact, any flat surfaces are your enemy in this regard, so if you’ve got lots of blankets, towels or bits of bedding lying dormant in your airing cupboard, trot them out and cover as much of the wall space as possible, as well as the tops of any tables, desks and the like. If you’re short on such items, concentrate your resources on the area behind the singer’s head.
If the room you’re recording in refuses to be tamed with the above methods, you can always try recording with a large blanket suspended over both the singer’s head and the microphone – this has the added advantage of preventing some of the reflections coming down into the mic from the ceiling.
However, you must make sure the blanket isn’t touching either the mic or the stand, as this will cause any movement of the blanket to be heard on the recording.
Placing the mic
Your mic should be positioned away from any walls and not too close to your workstation, as sound will bounce off these and be picked up on the recording.
Then again, you don’t want to be right in the centre of the room either, as standing waves will play havoc with your recording. So, try to place your mic slightly closer to two of the walls than to the others, with the vocalist facing into the room and the majority of blankets (or whatever you’re using) tacked to the walls behind the singer’s head.
The optimum position is probably furthest away from your desk and any windows, but sometimes this isn’t practical, so just try to minimise reflections as best you can.
How far vocalists should position themselves from the mic itself is entirely dependent on the material and their voice. A screaming metal singer should probably be at least a foot away from the mic, whereas a softer folk singer should be around four to six inches away. These are just guidelines, though, so feel free to record a few short test takes at the beginning of a session to ascertain the best distance for the particular track you’re working on.
When recording a take, vocalists should aim to keep their heads as still as possible and not move their feet. It’s also best to sing just off-centre into the mic, as most mics (depending on the pickup pattern) are extremely sensitive to direct sounds and any movement towards or away from the mic will be exaggerated from the centre.
An experienced singer will often move their head back a little during a particularly loud section and move closer for a quieter part, but unless your vocalist knows their craft inside out, it’s best for them to remain as still as possible.
Word of mouth
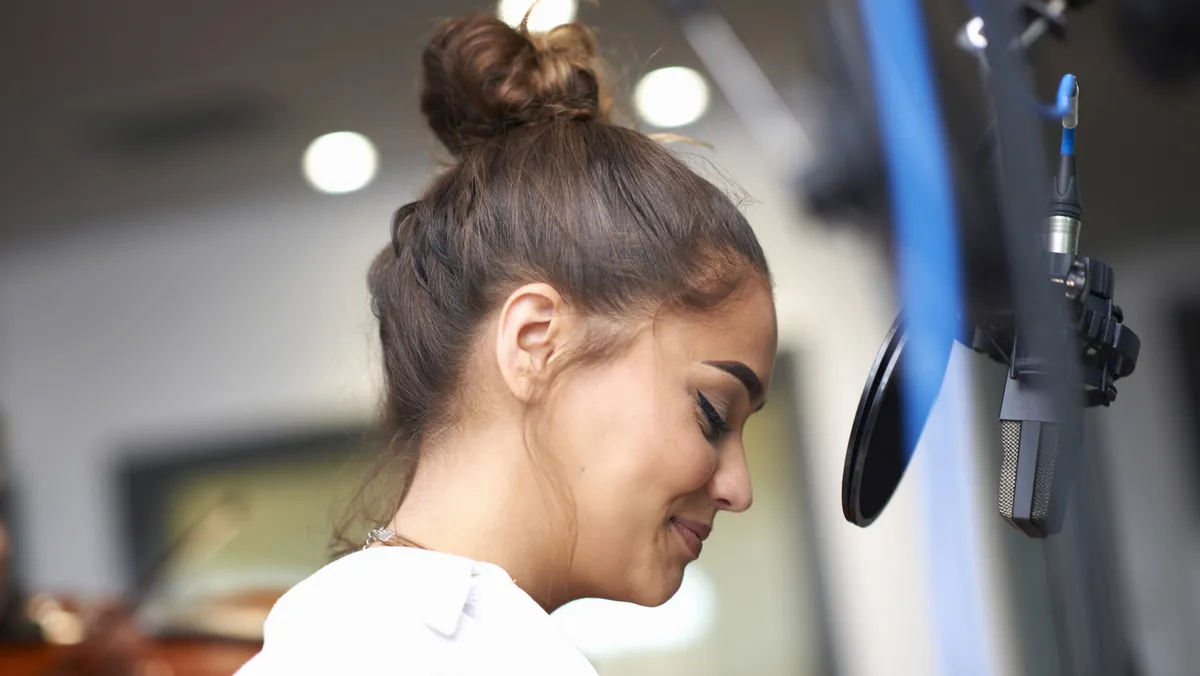
A pop shield is a must, as it will reduce the loud plosive sounds of words beginning with ‘b’ and ‘p’ (caused by the singer emitting a blast of air). This will in turn help you out a great deal when it comes to the processing and mixing stages.
Pop shields aren’t all that expensive to buy, but if you’re on a really tight budget, opt for the classic homemade solution of using some old nylon tights stretched around a frame made from a coat hanger. Failing that, a kitchen sieve will also do a reasonable job.
Another thing to watch out for is the proximity effect, where the bass frequencies will be wildly accentuated if a singer moves their mouth to within a couple of inches of the mic.
Therefore, if you’re recording someone who keeps creeping forward during a session, try adjusting the distance between the pop shield and the mic so that they physically can’t get close enough to fall prey to this effect.

Screening for noise
One additional option is to use an add-on screen that fits onto your mic stand and encloses the space around the back half of the microphone, such as the Aston Halo, Reflexion Filter or Primacoustic VoxGuard. These enclose the space around the back half of the microphone, preventing some of the room reflections from entering the mic from this angle.
They can be relatively pricey, however. Alternatively, hanging a large blanket down from the ceiling or moving a tall piece of furniture (in turn covered with a blanket) behind the mic will help you get a drier sound into the computer.
Lastly, try to minimise any unwanted sounds that may ruin a recording. If your computer’s cooling fan is quite loud, for instance, think about buying a few extension cables and moving your machine outside the room or at least as far away from the microphone as possible.
And, more obviously, close all windows and doors, turn off any electrical equipment you aren’t using and place a ‘Recording’ sign on the outside of your door if you live with people who may accidentally come in and disturb you!

And on the software side...
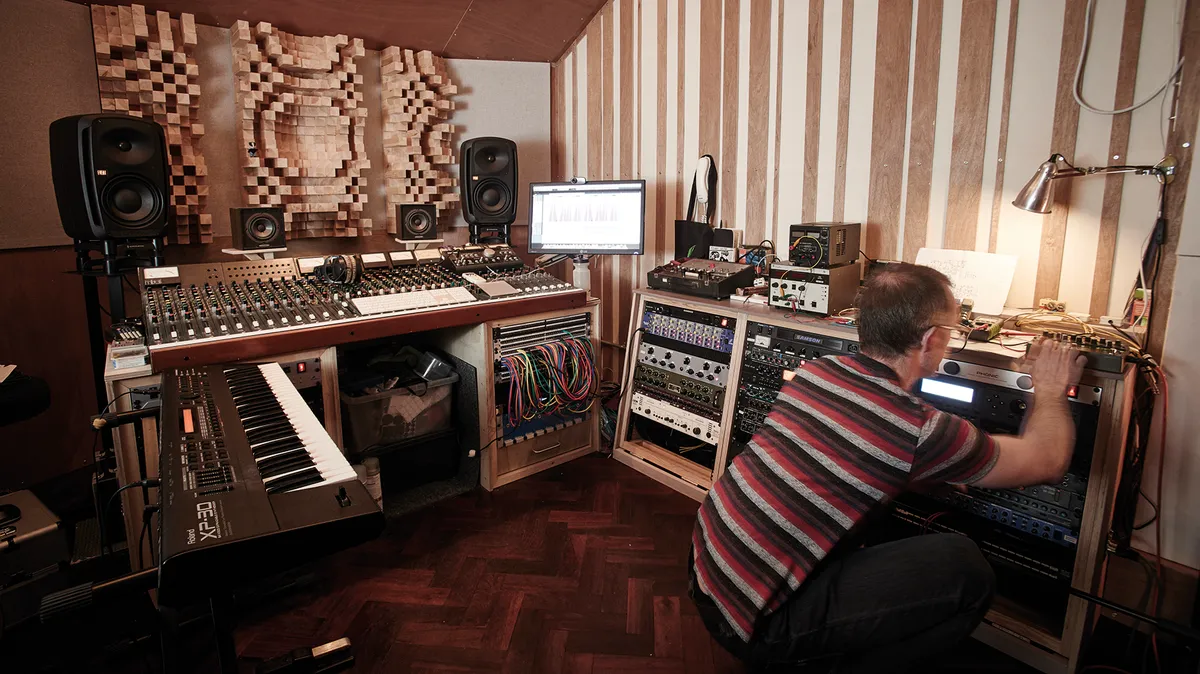
Your computer setup is obviously vital to recording a good vocal sound. First of all, you need the best audio interface you can afford, as this will have an impact on the overall quality of the signal being recorded. The two main things to consider are the preamps and whether or not you require phantom power (note that all condenser mics need either phantom power or an internal battery, whereas dynamic mics and the majority of ribbon mics do not).
In this tutorial we’ve used a Focusrite Saffire interface, mainly because it contains some great-sounding preamps, which are important for getting a decent signal with minimal noise into the computer, and has phantom power for our Blue Microphones Bluebird condenser. There are plenty of other fantastic audio interfaces on the market though, so shop around until you find the right one for you and be sure to check out some of our previous reviews.
In the past, engineers often used hardware compressors to ensure that vocal signals didn’t clip. However, these have largely been made redundant for this purpose by 24-bit recording, which provides enough headroom to capture both very loud and very soft signals more than adequately. Remember that you don’t need to have the loudest signals at the upper limits of your interface’s input meters – in fact, with 24-bit recording, it’s usually wise to keep the loudest sections around -12dBFS.
If your system can only capture signals at 16-bit, however, you’ll need to set your levels a little more carefully, otherwise very quiet signals could be masked with noise and hiss.
You should aim to have the signal level peak at around -6dBFS to provide you with a decent margin of error, just in case your vocalist accidentally moves closer to the microphone at the wrong time and ends up with a clipped signal, for example. Then, if there are some particularly quiet moments in your track, you can always try recording them as separate takes and adjusting the input gain accordingly.
Next you need to consider the buffer size setting in your DAW, as getting this wrong can cause problems with latency. With lower settings, the latency between a vocal line being sung and being heard back in the headphones will be minimal, although if it’s too low, the backing track and vocal recording may glitch every now and then.
With higher settings, playback glitches should be eradicated, but the delay between singing a line and hearing it back in the headphones might be off-putting. Therefore, you need to get the buffer size as low as possible without causing any glitches.
Testing, testing...
Before we move on, there are a couple of other things to bear in mind. First of all, you need to create a good monitor mix, where the vocals can be clearly heard above the backing but are not so loud that they mask the other instruments, as this will make pitching near enough impossible.
Also, for songs where the vocals come in before any tuned instruments, you should place a piano note before the start of the section to give you a starting pitch. And if there are any sections where the instruments drop out completely, you may need to make a dummy backing track to enable the vocalist to hear the rhythm and key of the tune – this can then be taken out again once the vocals are in the can, so to speak.
You’ll often see singers in the studio wearing studio headphones with one ear off. This enables them to hear the backing track and the recorded vocal in one ear while still being able to hear their natural voice in the other. They also tend to use closed-back headphones, which help to stop the backing track leaking onto the vocal recording.
Of course, the most important thing is the performance itself, so disregard all of this information if another method will give you a better performance at the expense of some audio fidelity.
And when all is said and done, these rules can be broken. If you listen to Christina Aguilera’s Beautiful, for instance, you can actually hear the drum track leaking from her headphones at around 3m 45s, but the producer decided to keep this take because the performance was so good.
Bono has been known to record his vocals with the band playing in the same room to help him give a more energetic take, and original Asian Dub Foundation vocalist Master D was known to monitor his takes through speakers to help achieve his impassioned delivery...
