How to emulate a classic analogue recording system entirely with plugins
It’s entirely likely that you could recreate many legacy analogue set-ups with just a few chained plugins. Here, we’ll show you how to get started
Want all the hottest music and gear news, reviews, deals, features and more, direct to your inbox? Sign up here.
You are now subscribed
Your newsletter sign-up was successful
PLUGIN WEEK 2025: Analogue emulations make up a large component of the plugin landscape with options ranging from compressors and EQs to delays, reverbs and tape machines.
If we want to create a truly representative emulation of a fully analogue recording and mixing system, then we need to chain these plugins together in some way.
In this tutorial we’ll show you how to create a classic analogue style mixing chain from playback through to the mix bus. We’ll look at the type of plugins to use and consider signal flow options and how to deal with signal levels.
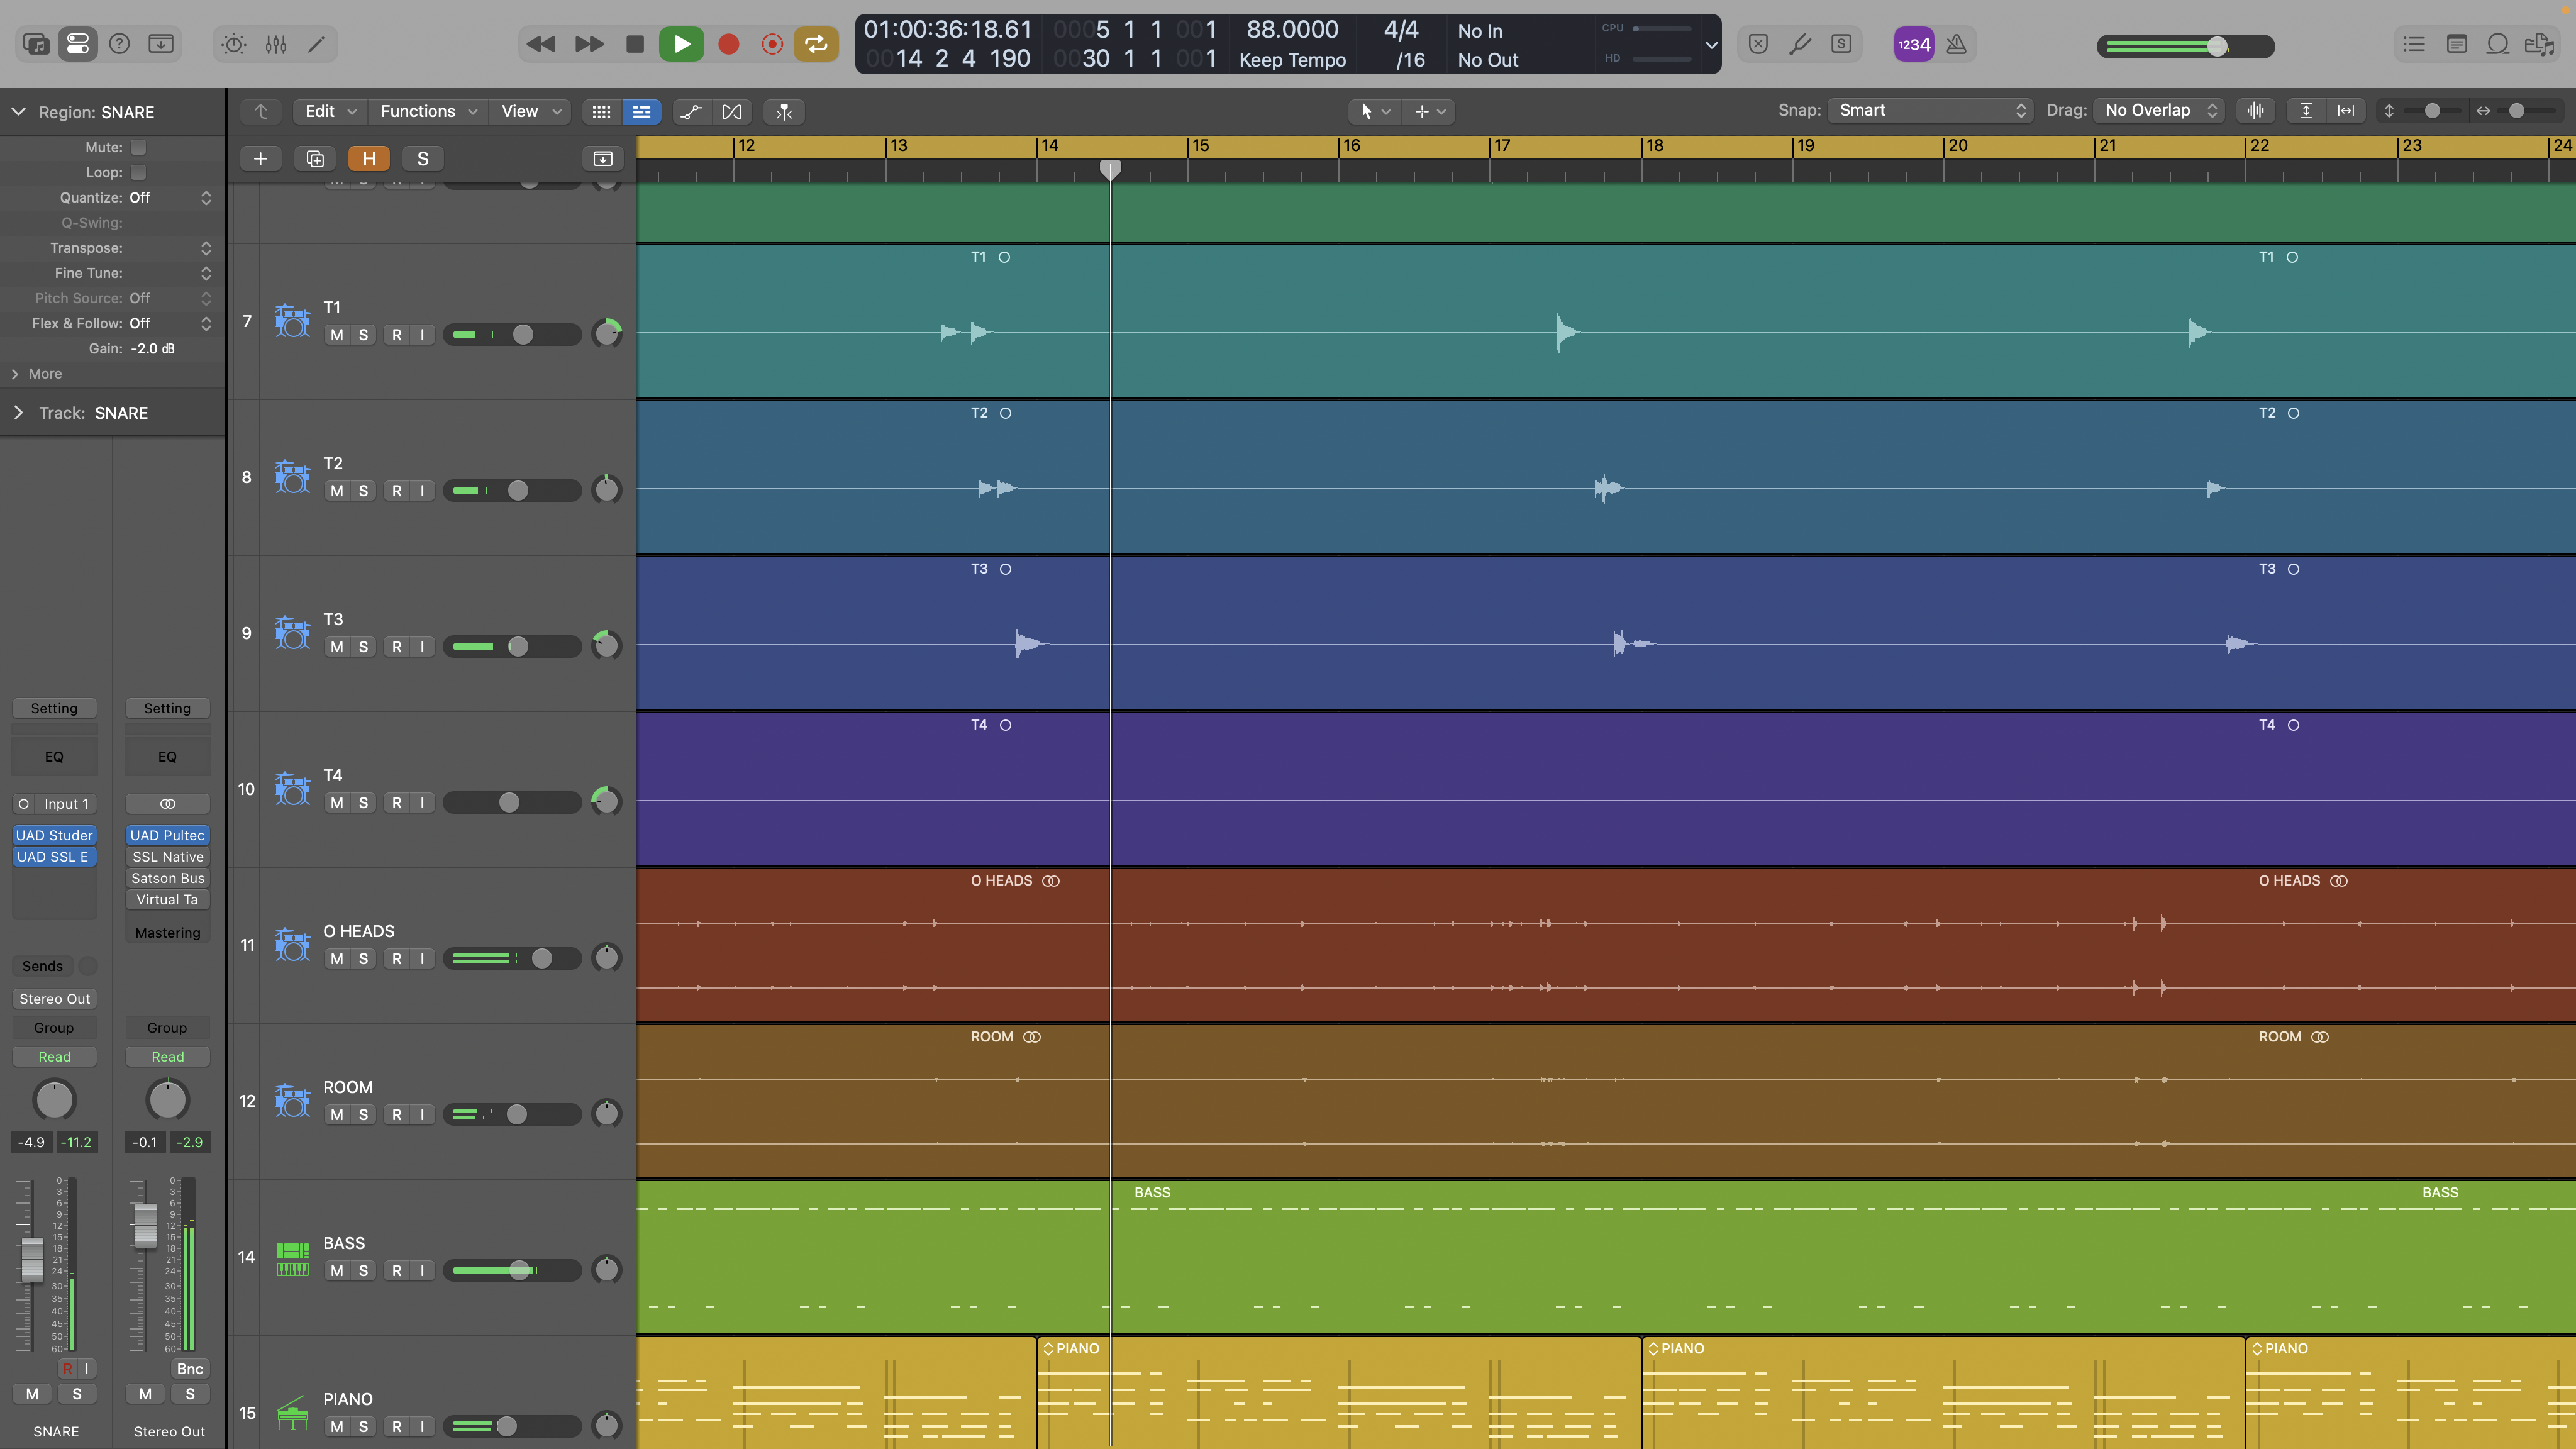
1. Let’s start by assuming our production consists of audio we have recorded directly via our audio interface or sourced from software instruments. In essence none of it has been through a tape based recording system, so it should have low noise and no tape saturation.
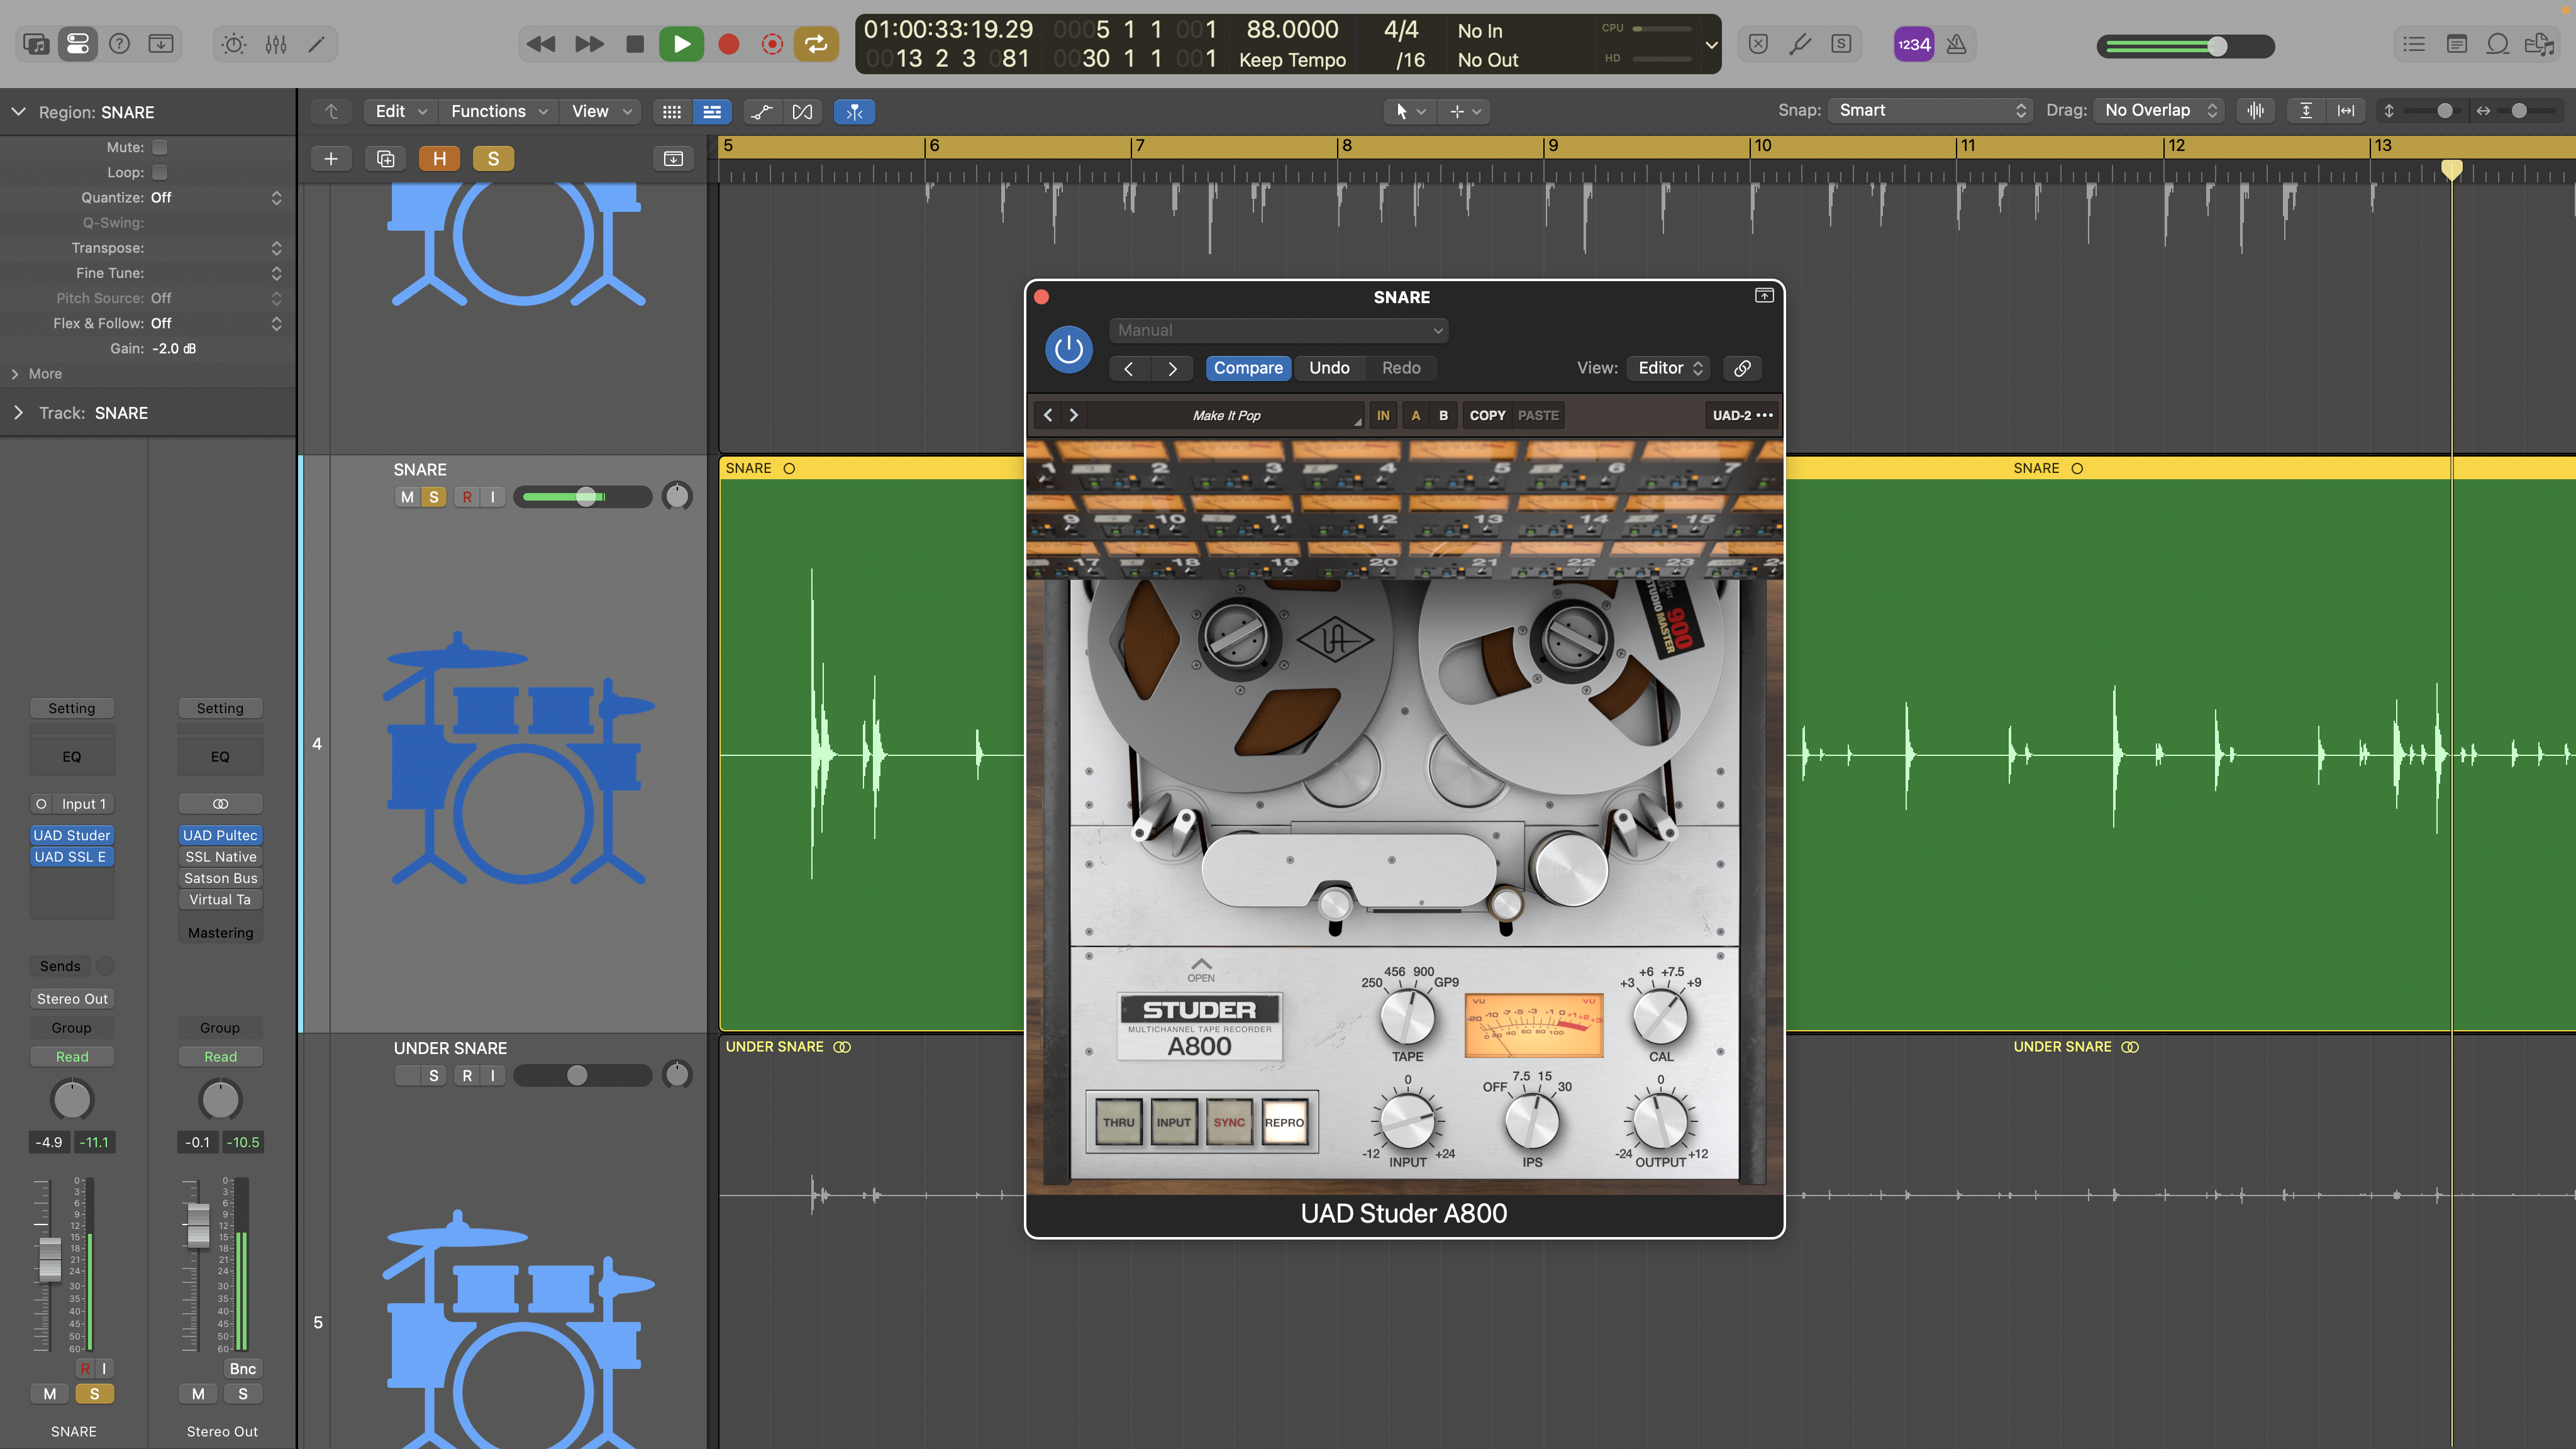
2. In a classic analogue recording system, signals are recorded and then played back from tape, and this is therefore the first element of our chain. Even so, tape emulations impact many aspects of a sound and add varying amounts of distortion, and this may not be what you want. We’ll leave that decision with you, but this is one aspect of the chain you might want to bypass for some sounds.
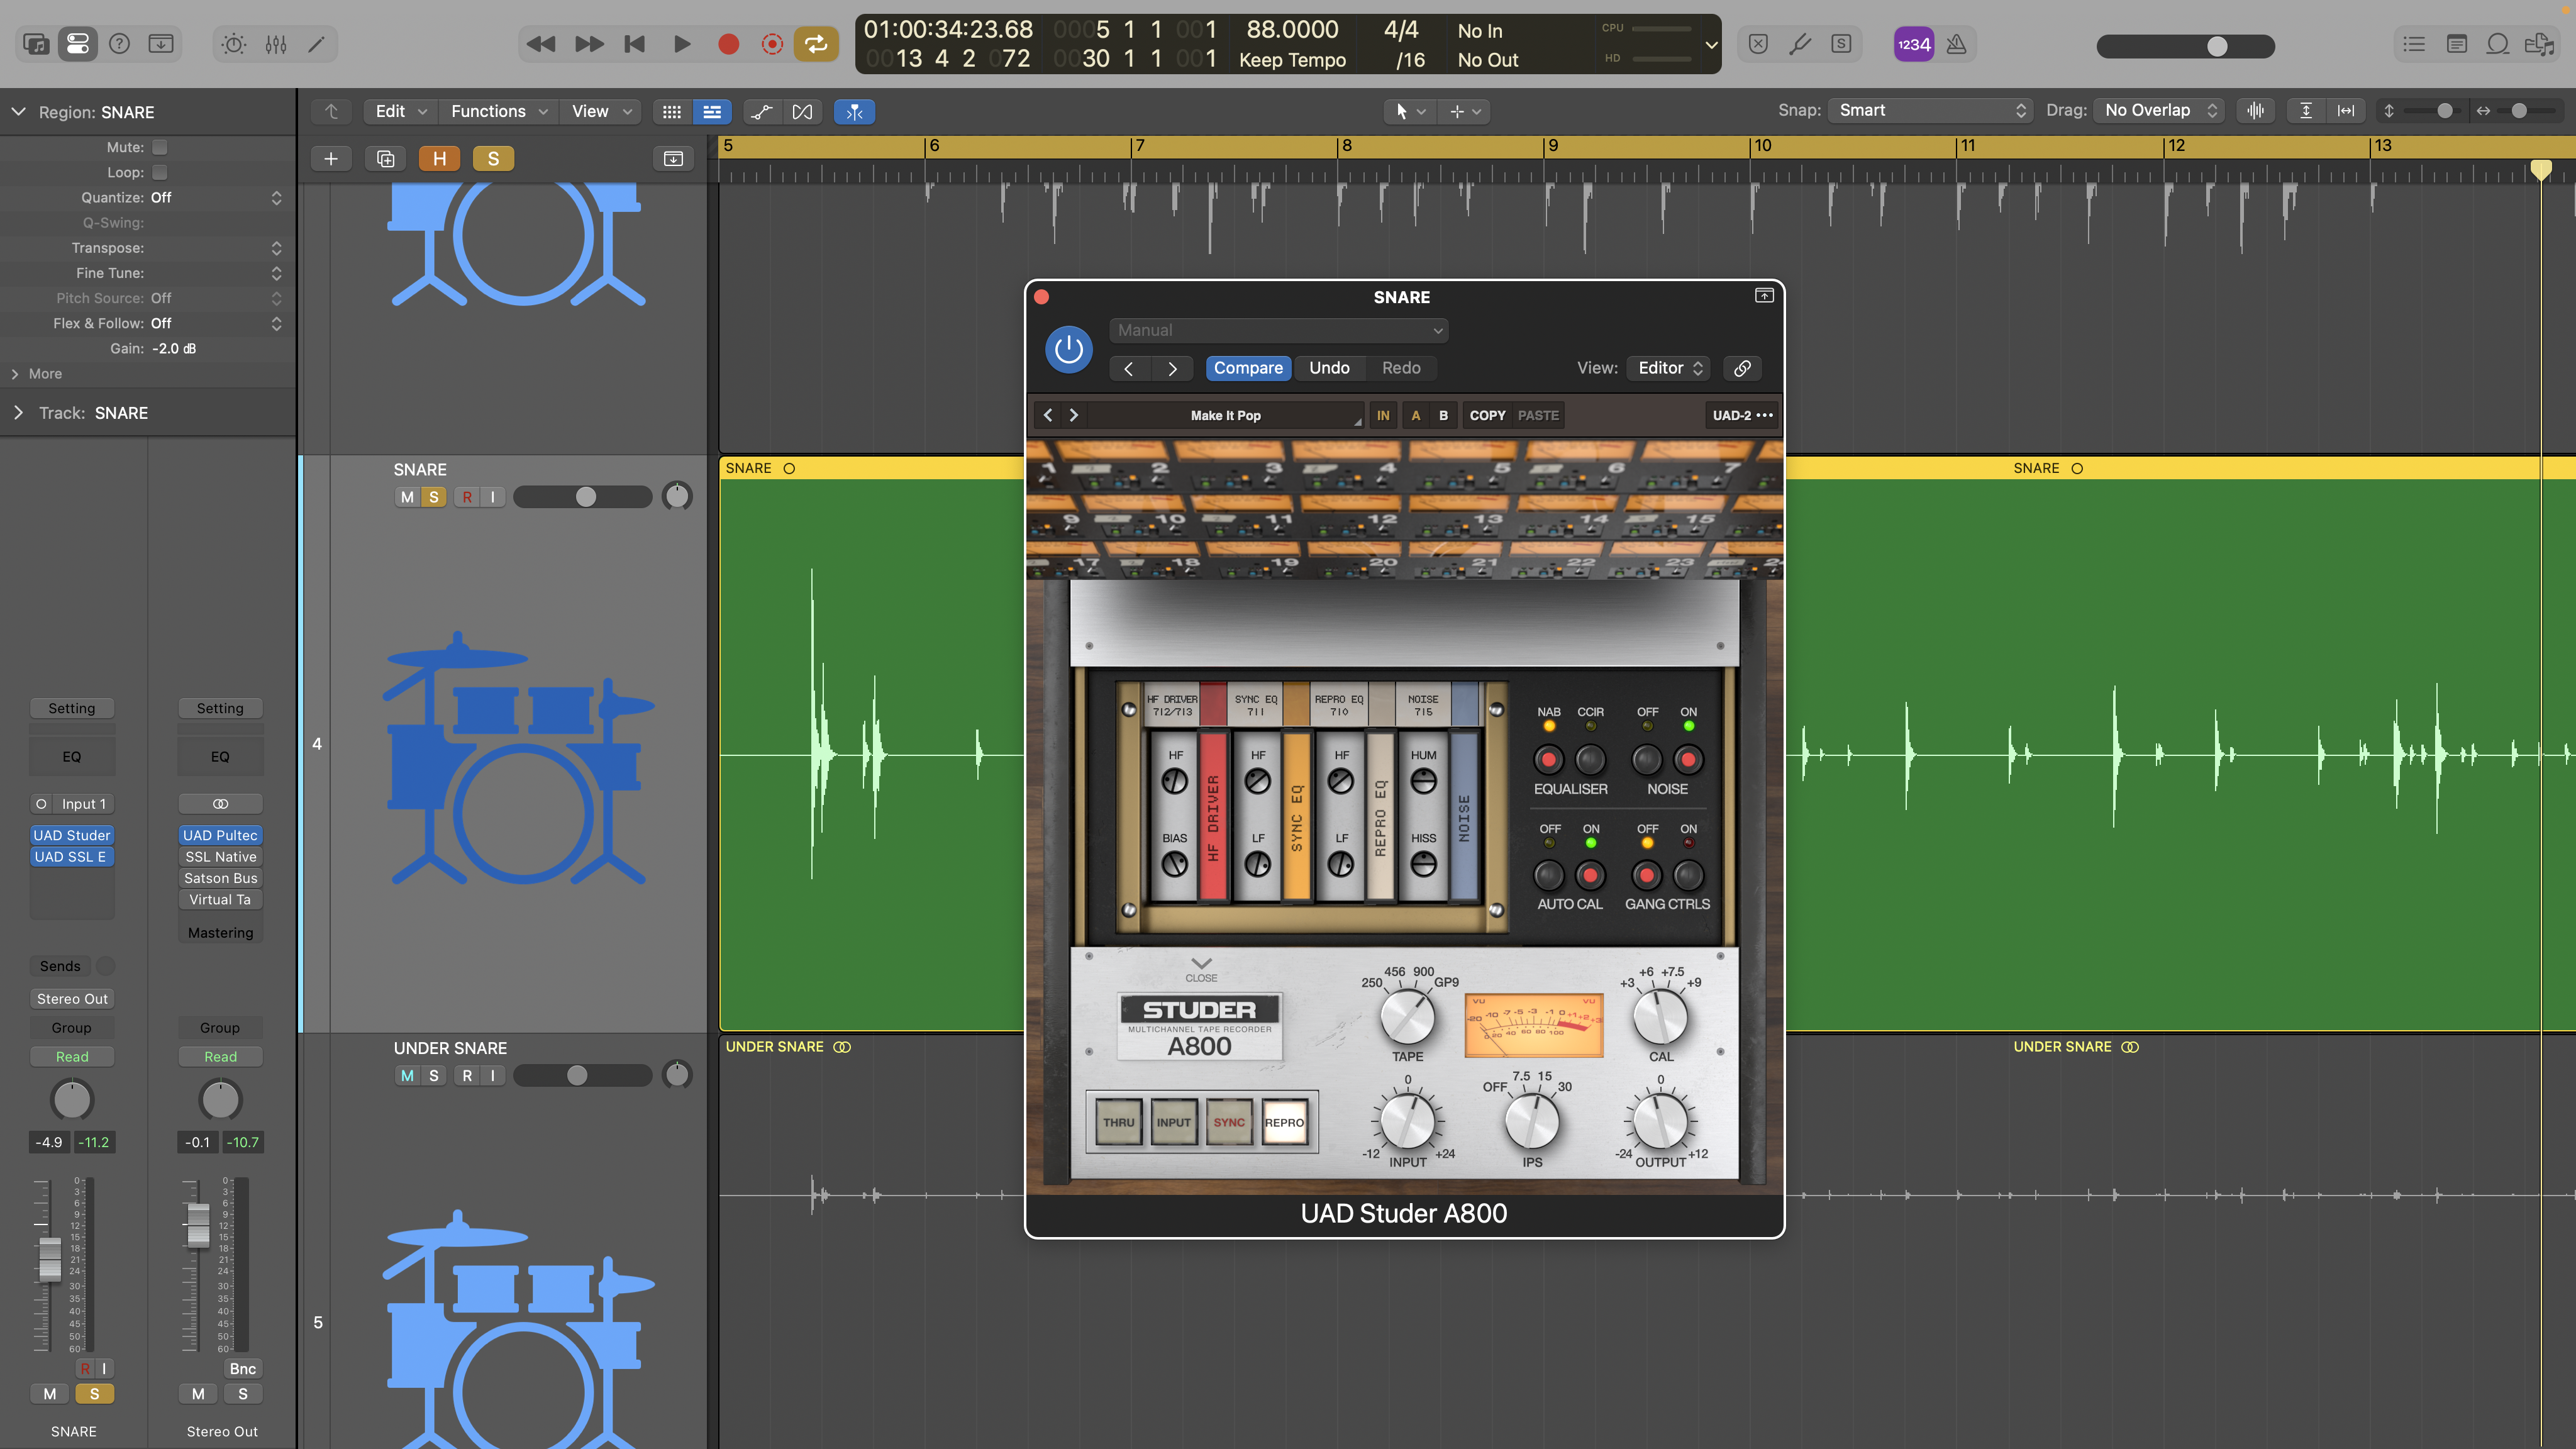
3. When we use tape emulations in our DAW, the plugin creates a real time emulation of both the recording and playback processes. This emulation often includes choice of tape, tape speed, tape bias, pre/post EQ and some form of operating level calibration, which affects the level of magnetic flux applied to the tape. Try different tapes and calibrations to find what you like. In general a modern tape (499 or GP9) running at 30IPS will be quite clean while older tape types (456 or 250) at 15IPS will be more coloured
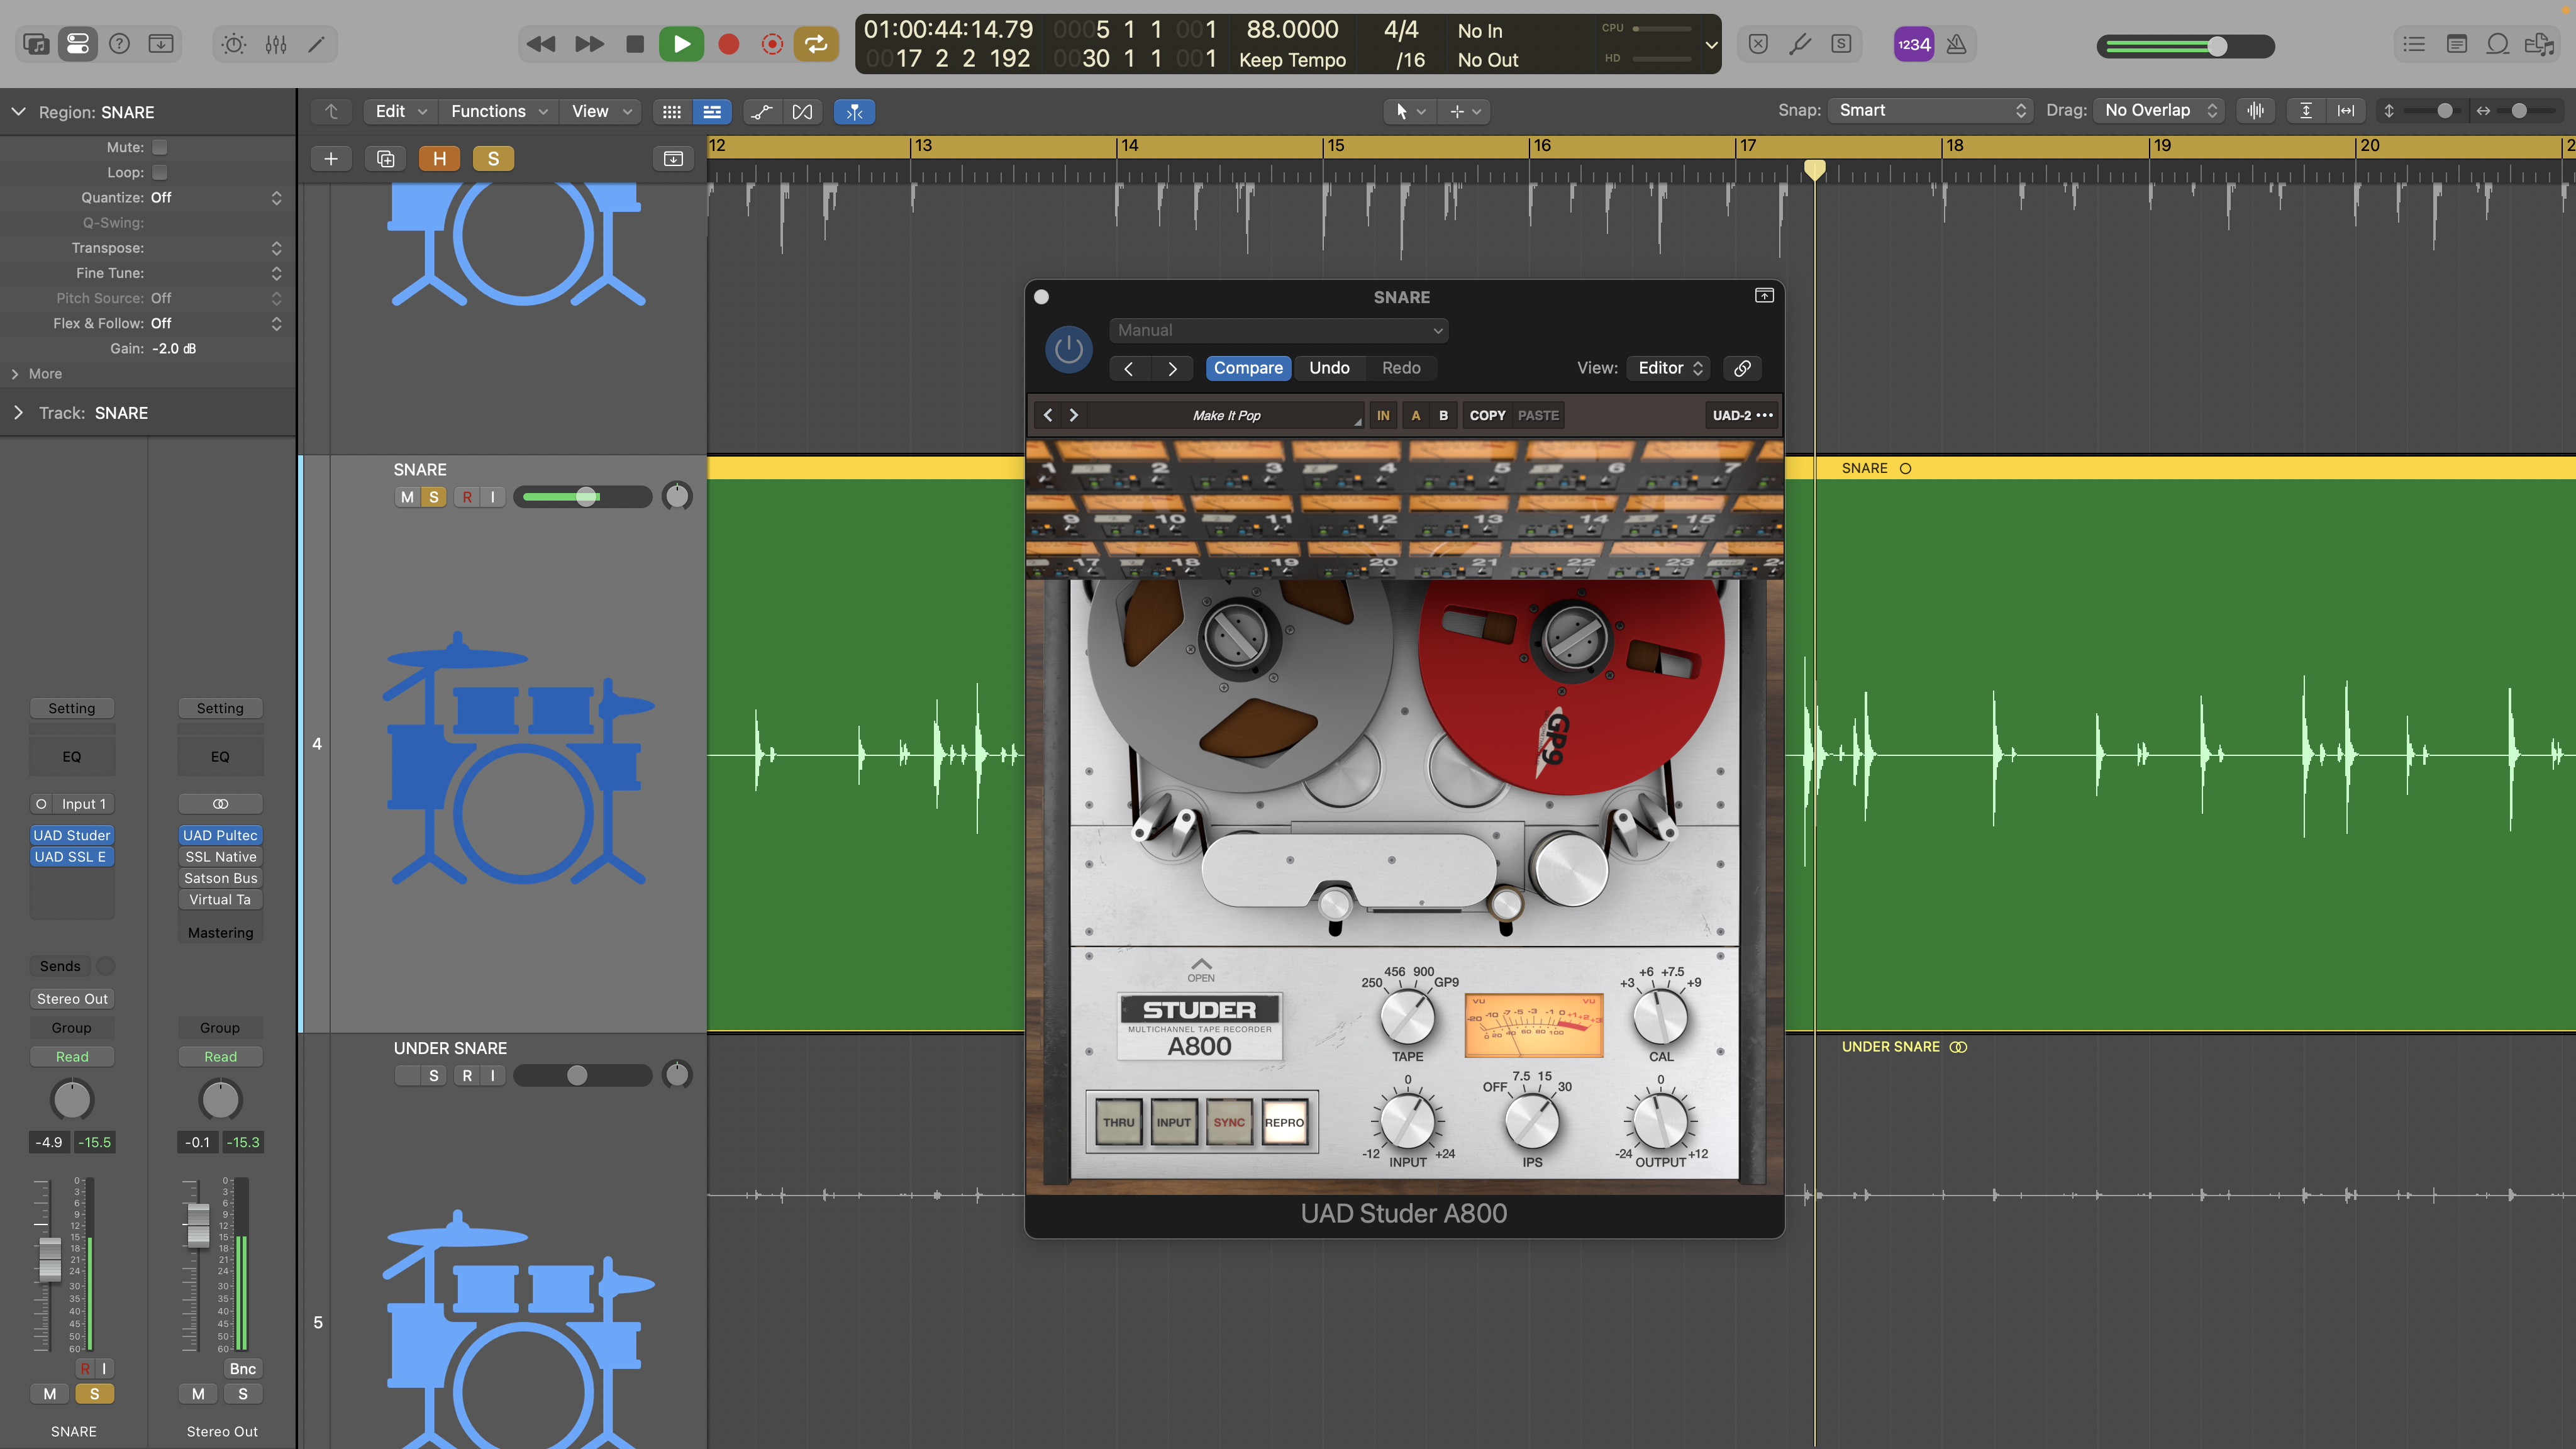
4. For tape we set input levels to match the type of sound. In the analogue domain, this is an art in itself, but a general rule would be to aim for 0dB peak on the tape VU meter unless the sound has obvious transients, like kicks and snares. Here, start at around -10dB VU on peaks. Whatever the source sound, listen critically to the tape compression and adjust the input level to get the sound you want.
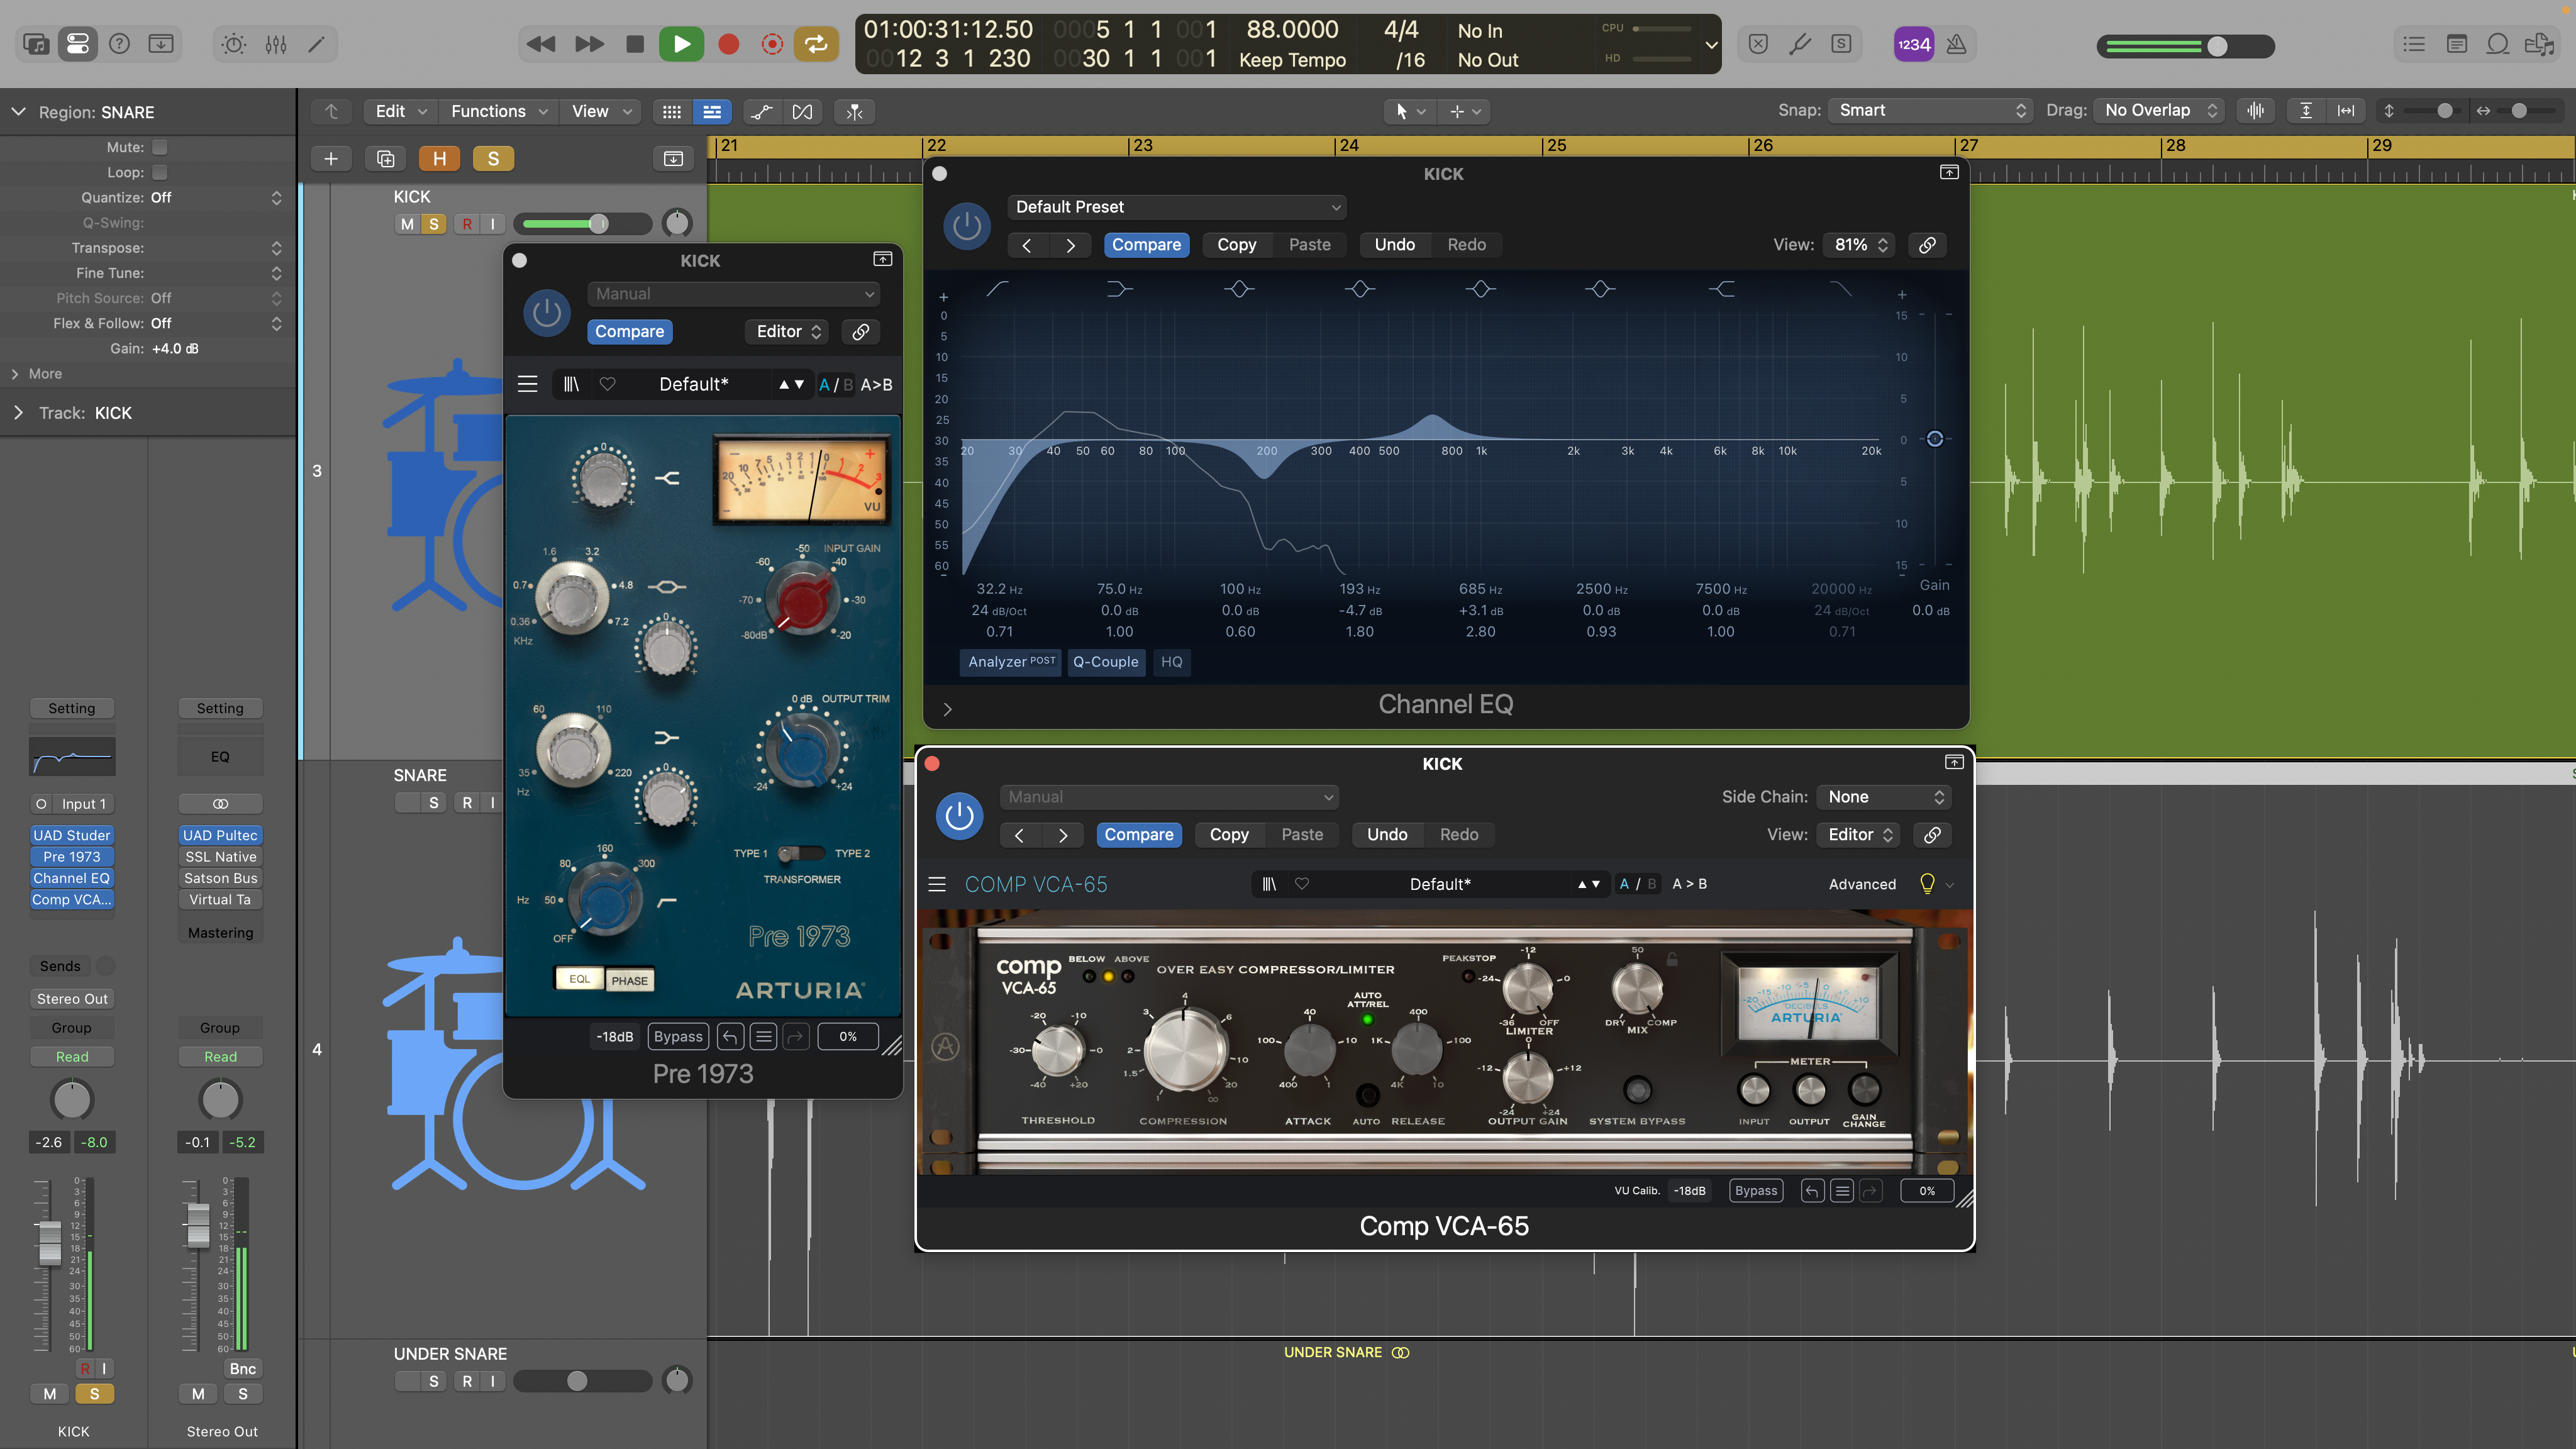
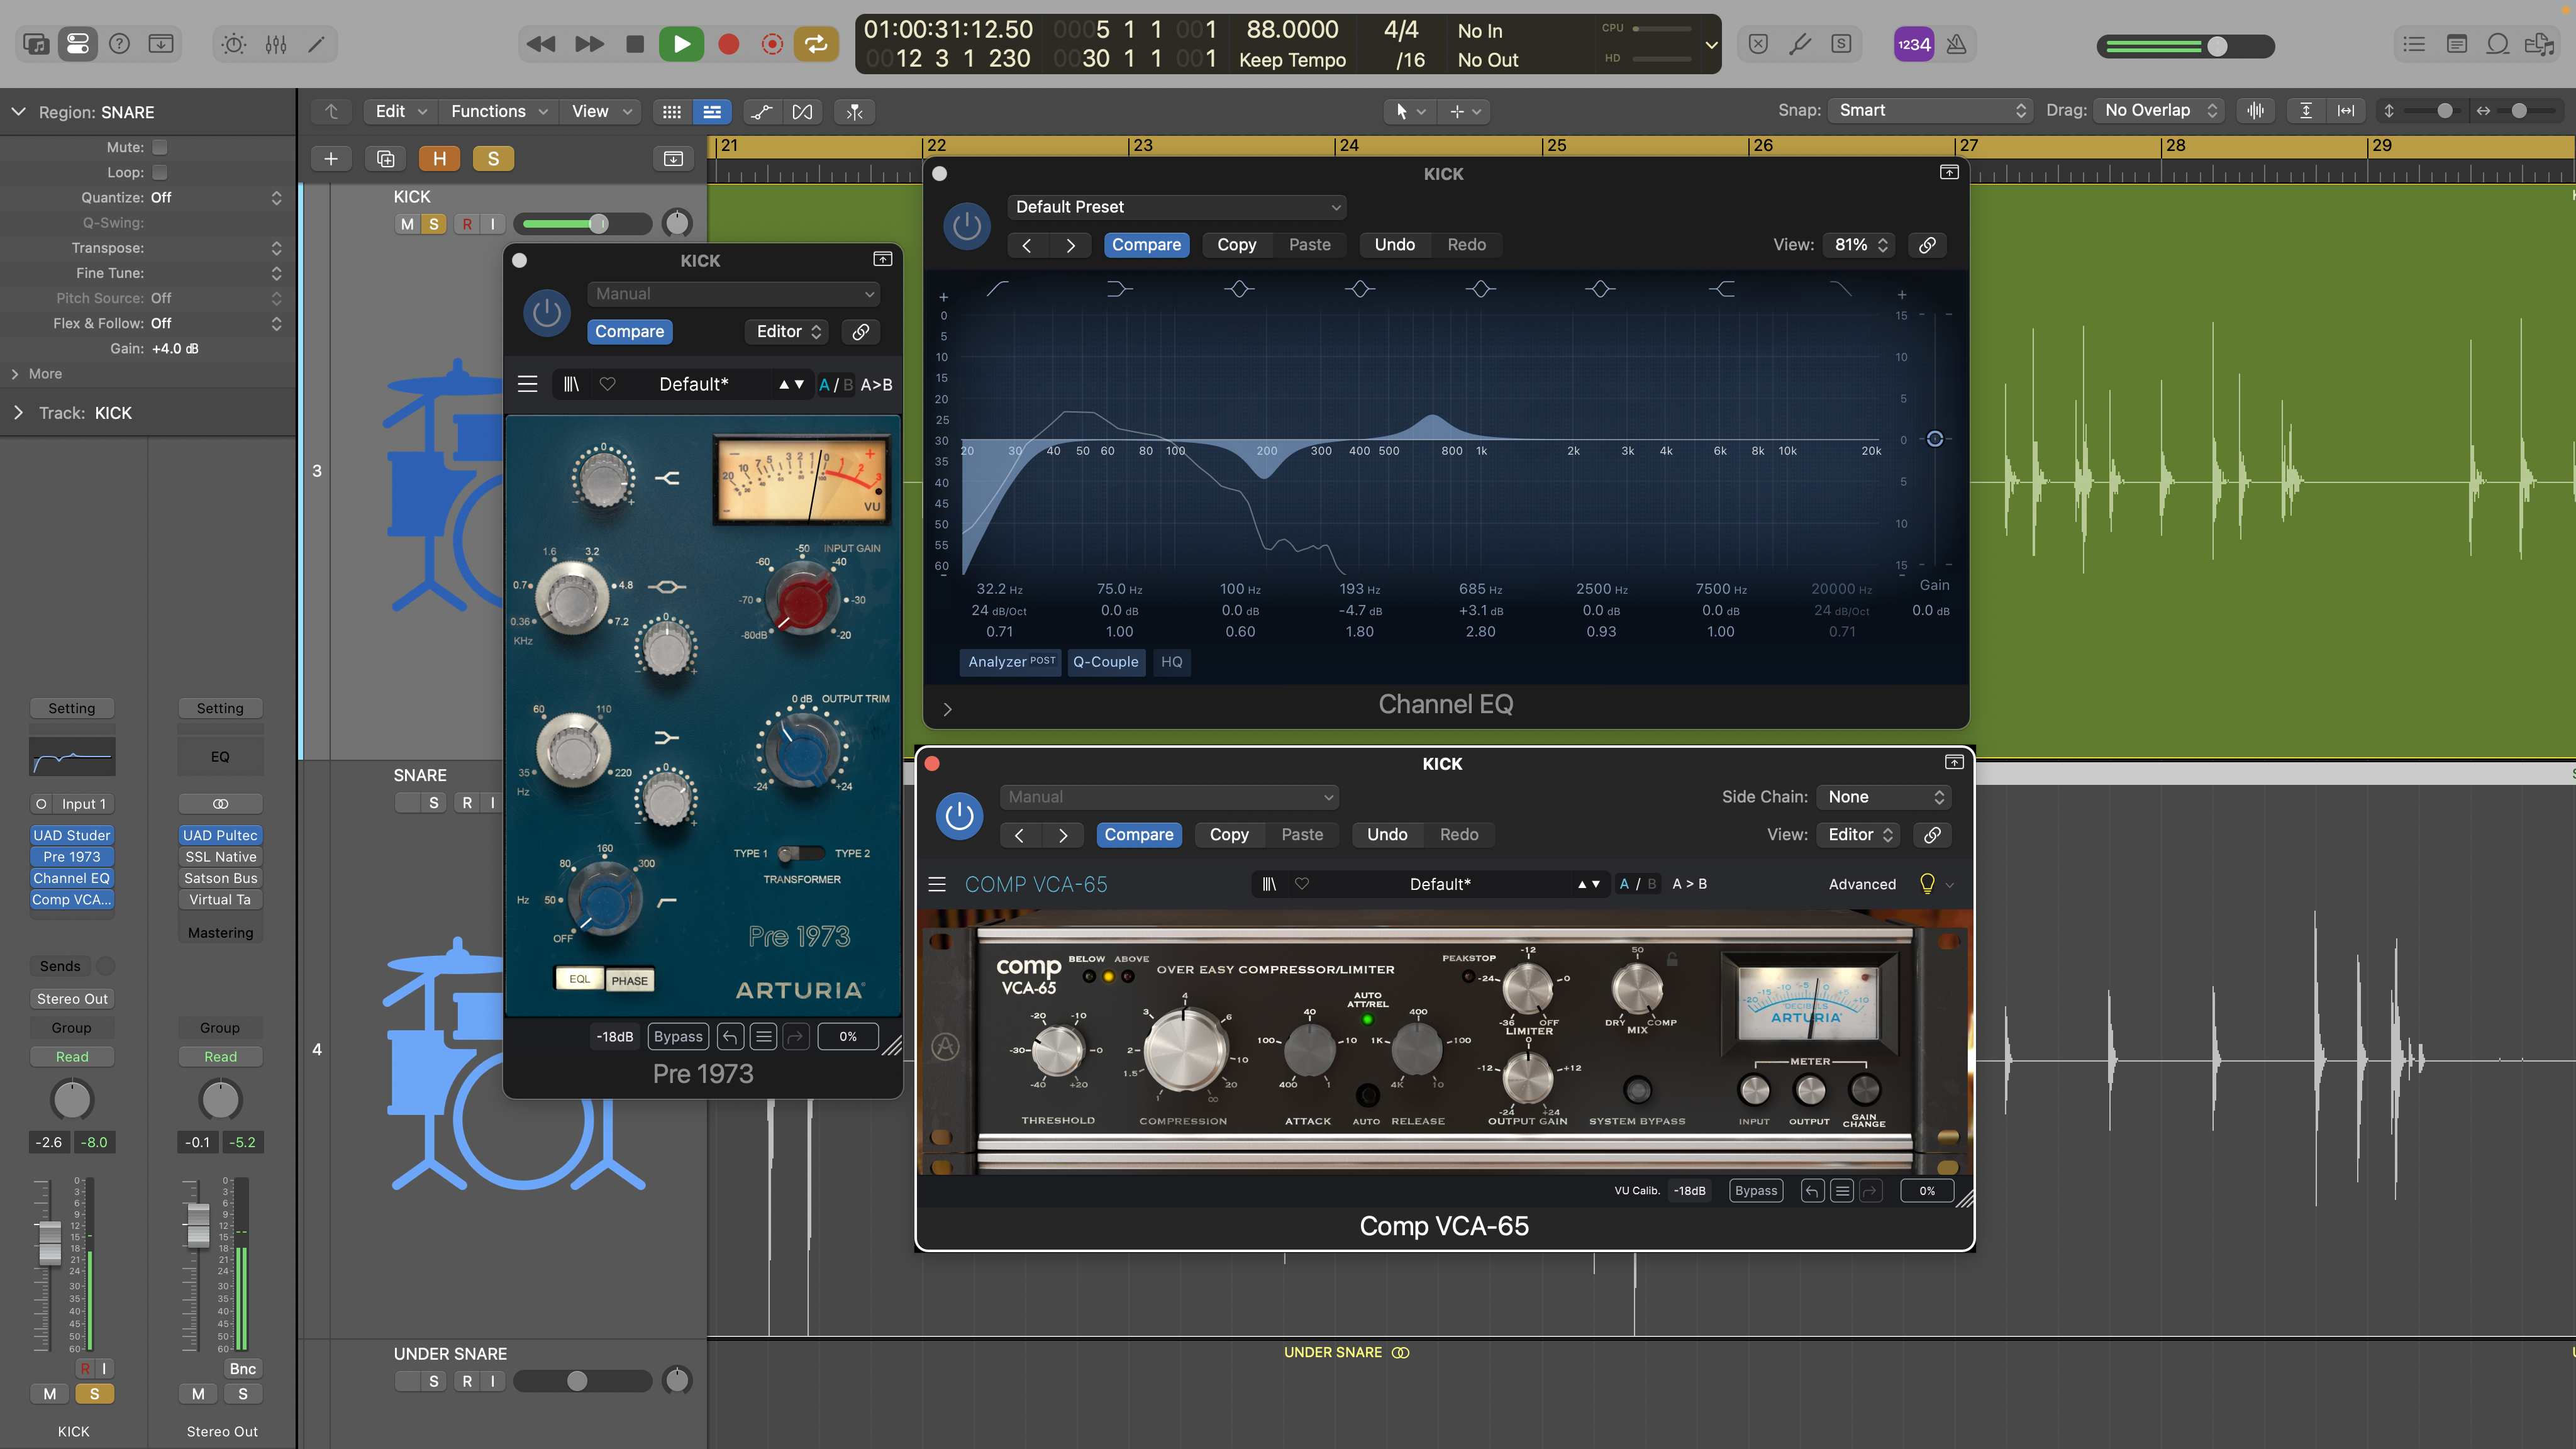
5. The next stage is the main channel strip, which consists of a line amplifier stage followed by EQ and compression. You have a couple of approaches here. One is to select component plugins to taste, and the other is to use a channel strip plugin. Using individual plugins provides more flexible signal flow and allows you to insert more powerful digital processors. Here we’ve chained together a Neve style EQ and dbx compressor, with a more precise digital EQ plugin in between.
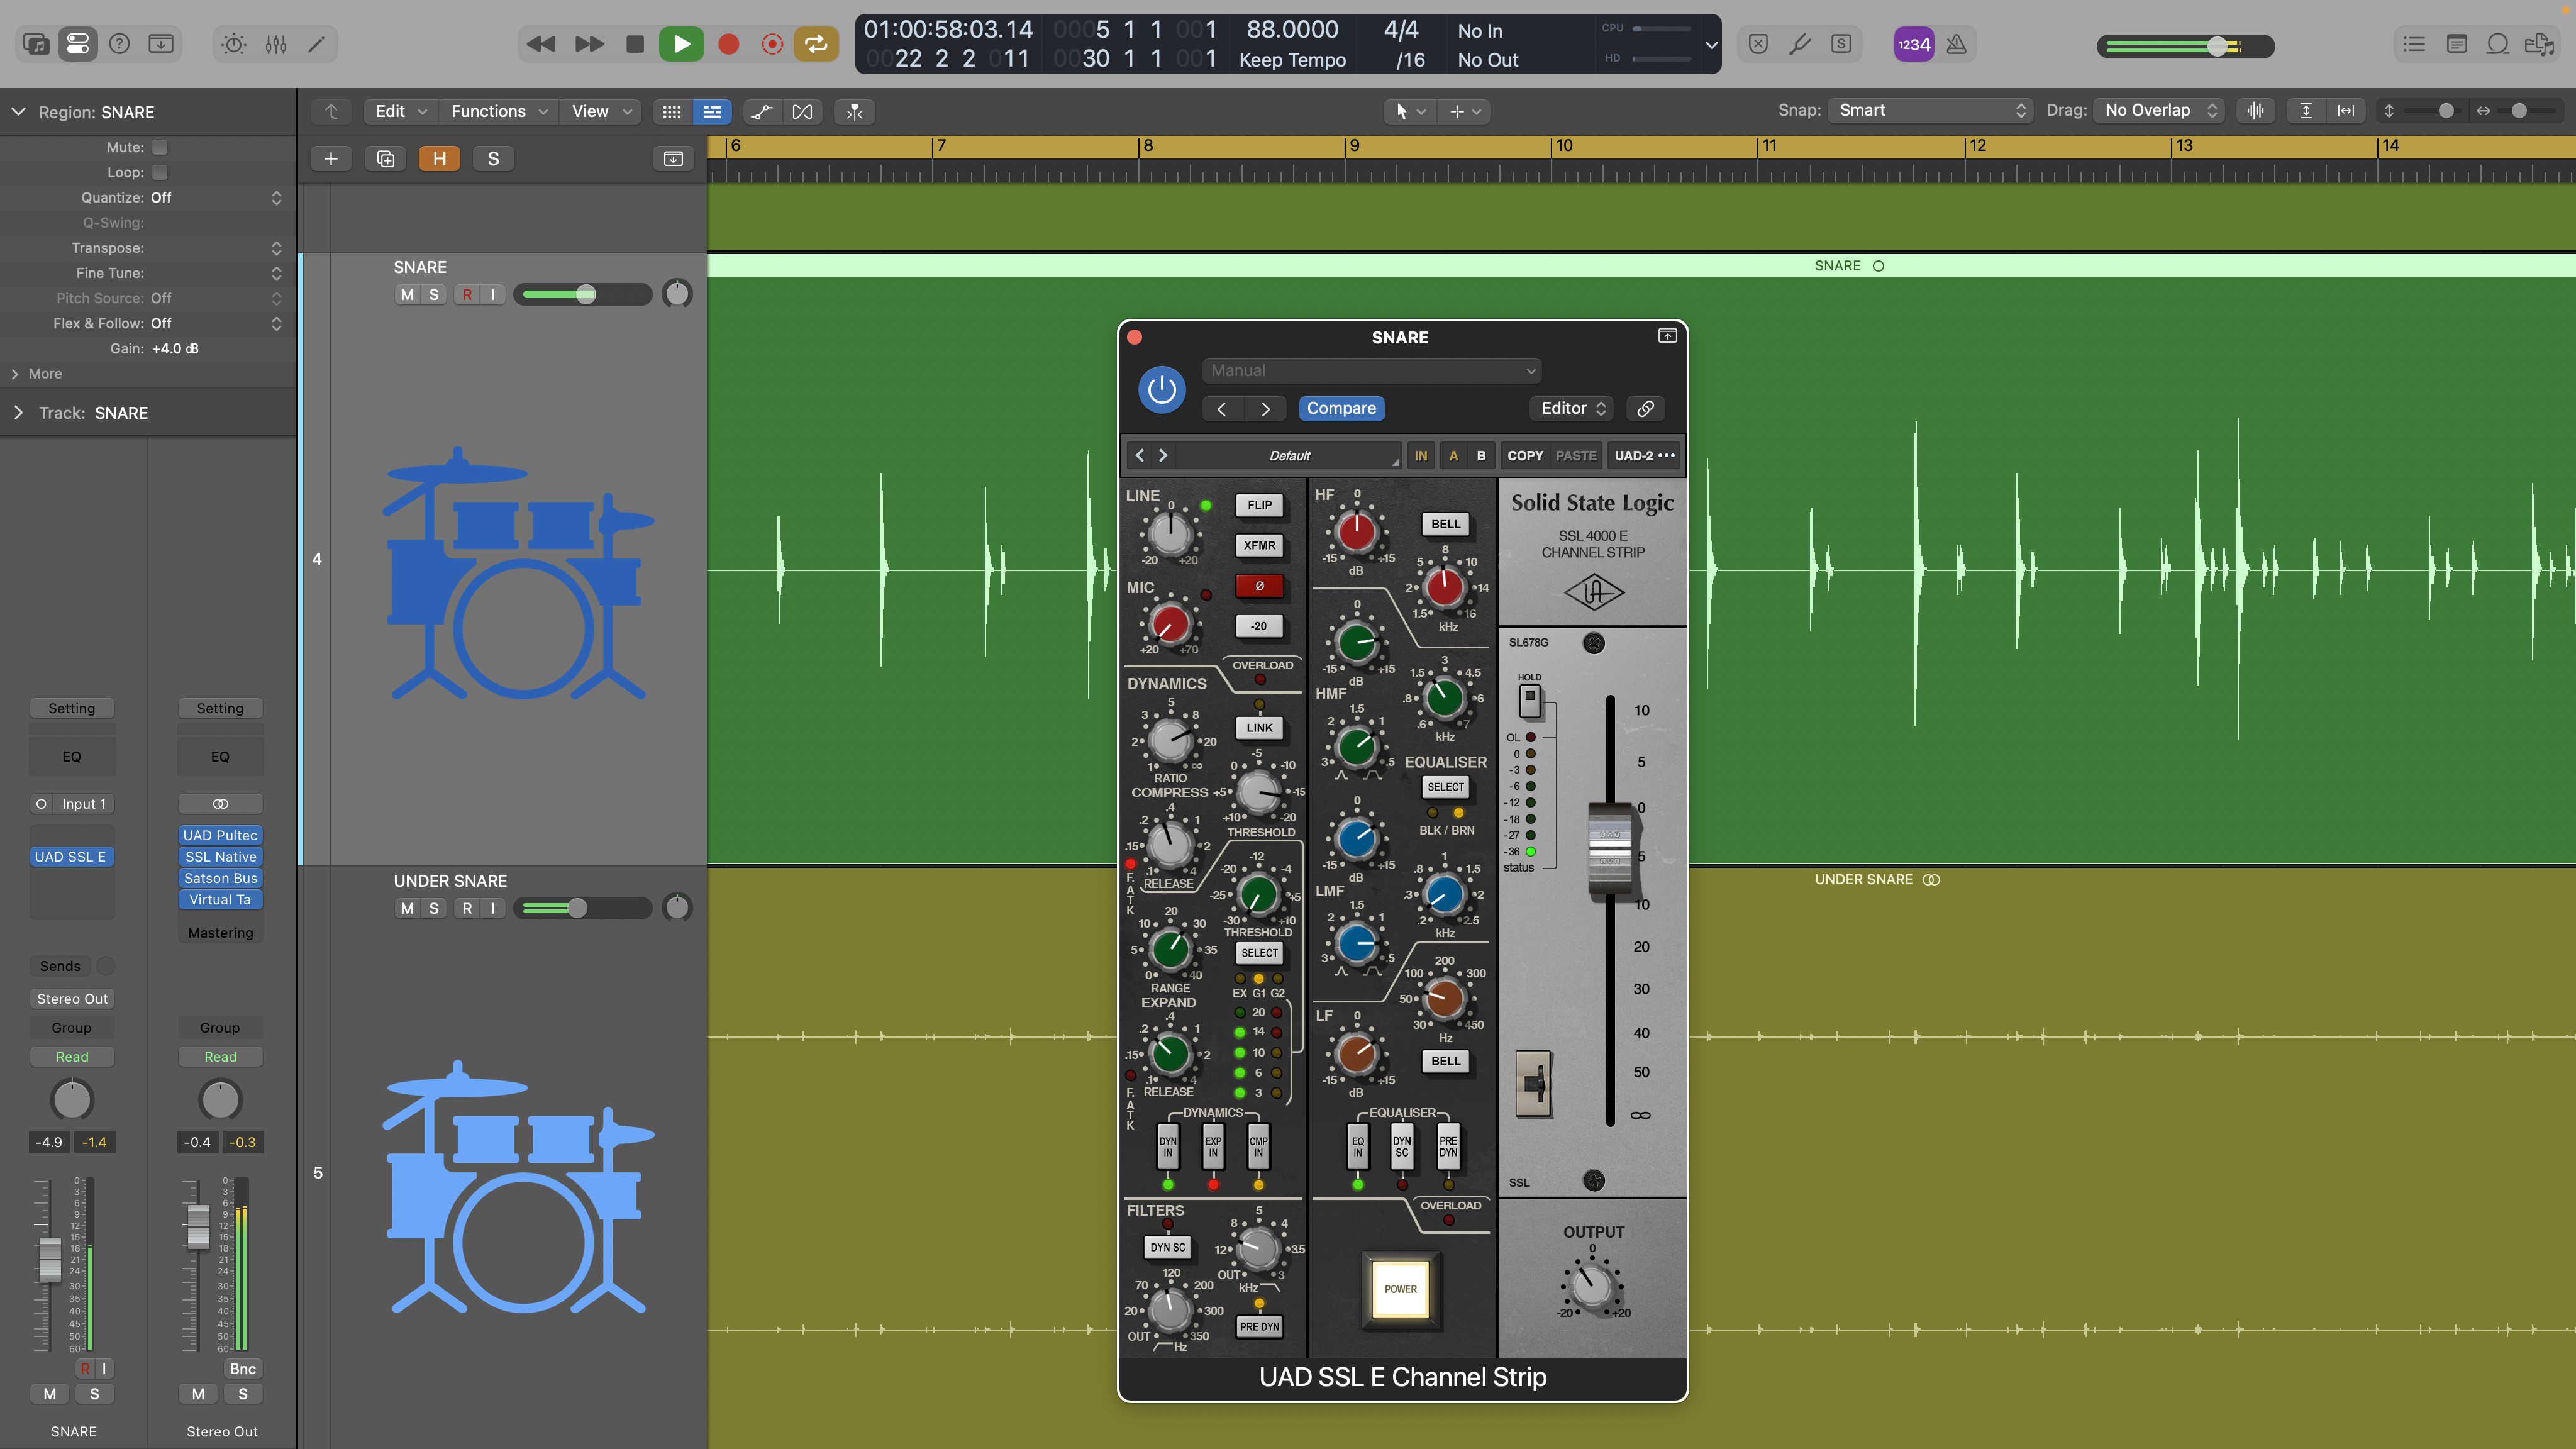
6. Using a dedicated channel strip plugin is less flexible, as if you want to add more EQs, compressors and so on you can only stick them either side of the channel strip plugin. However, dedicated channel strip plugins sometimes have quite handy features to help you replicate mixing desk behaviours.
Want all the hottest music and gear news, reviews, deals, features and more, direct to your inbox? Sign up here.
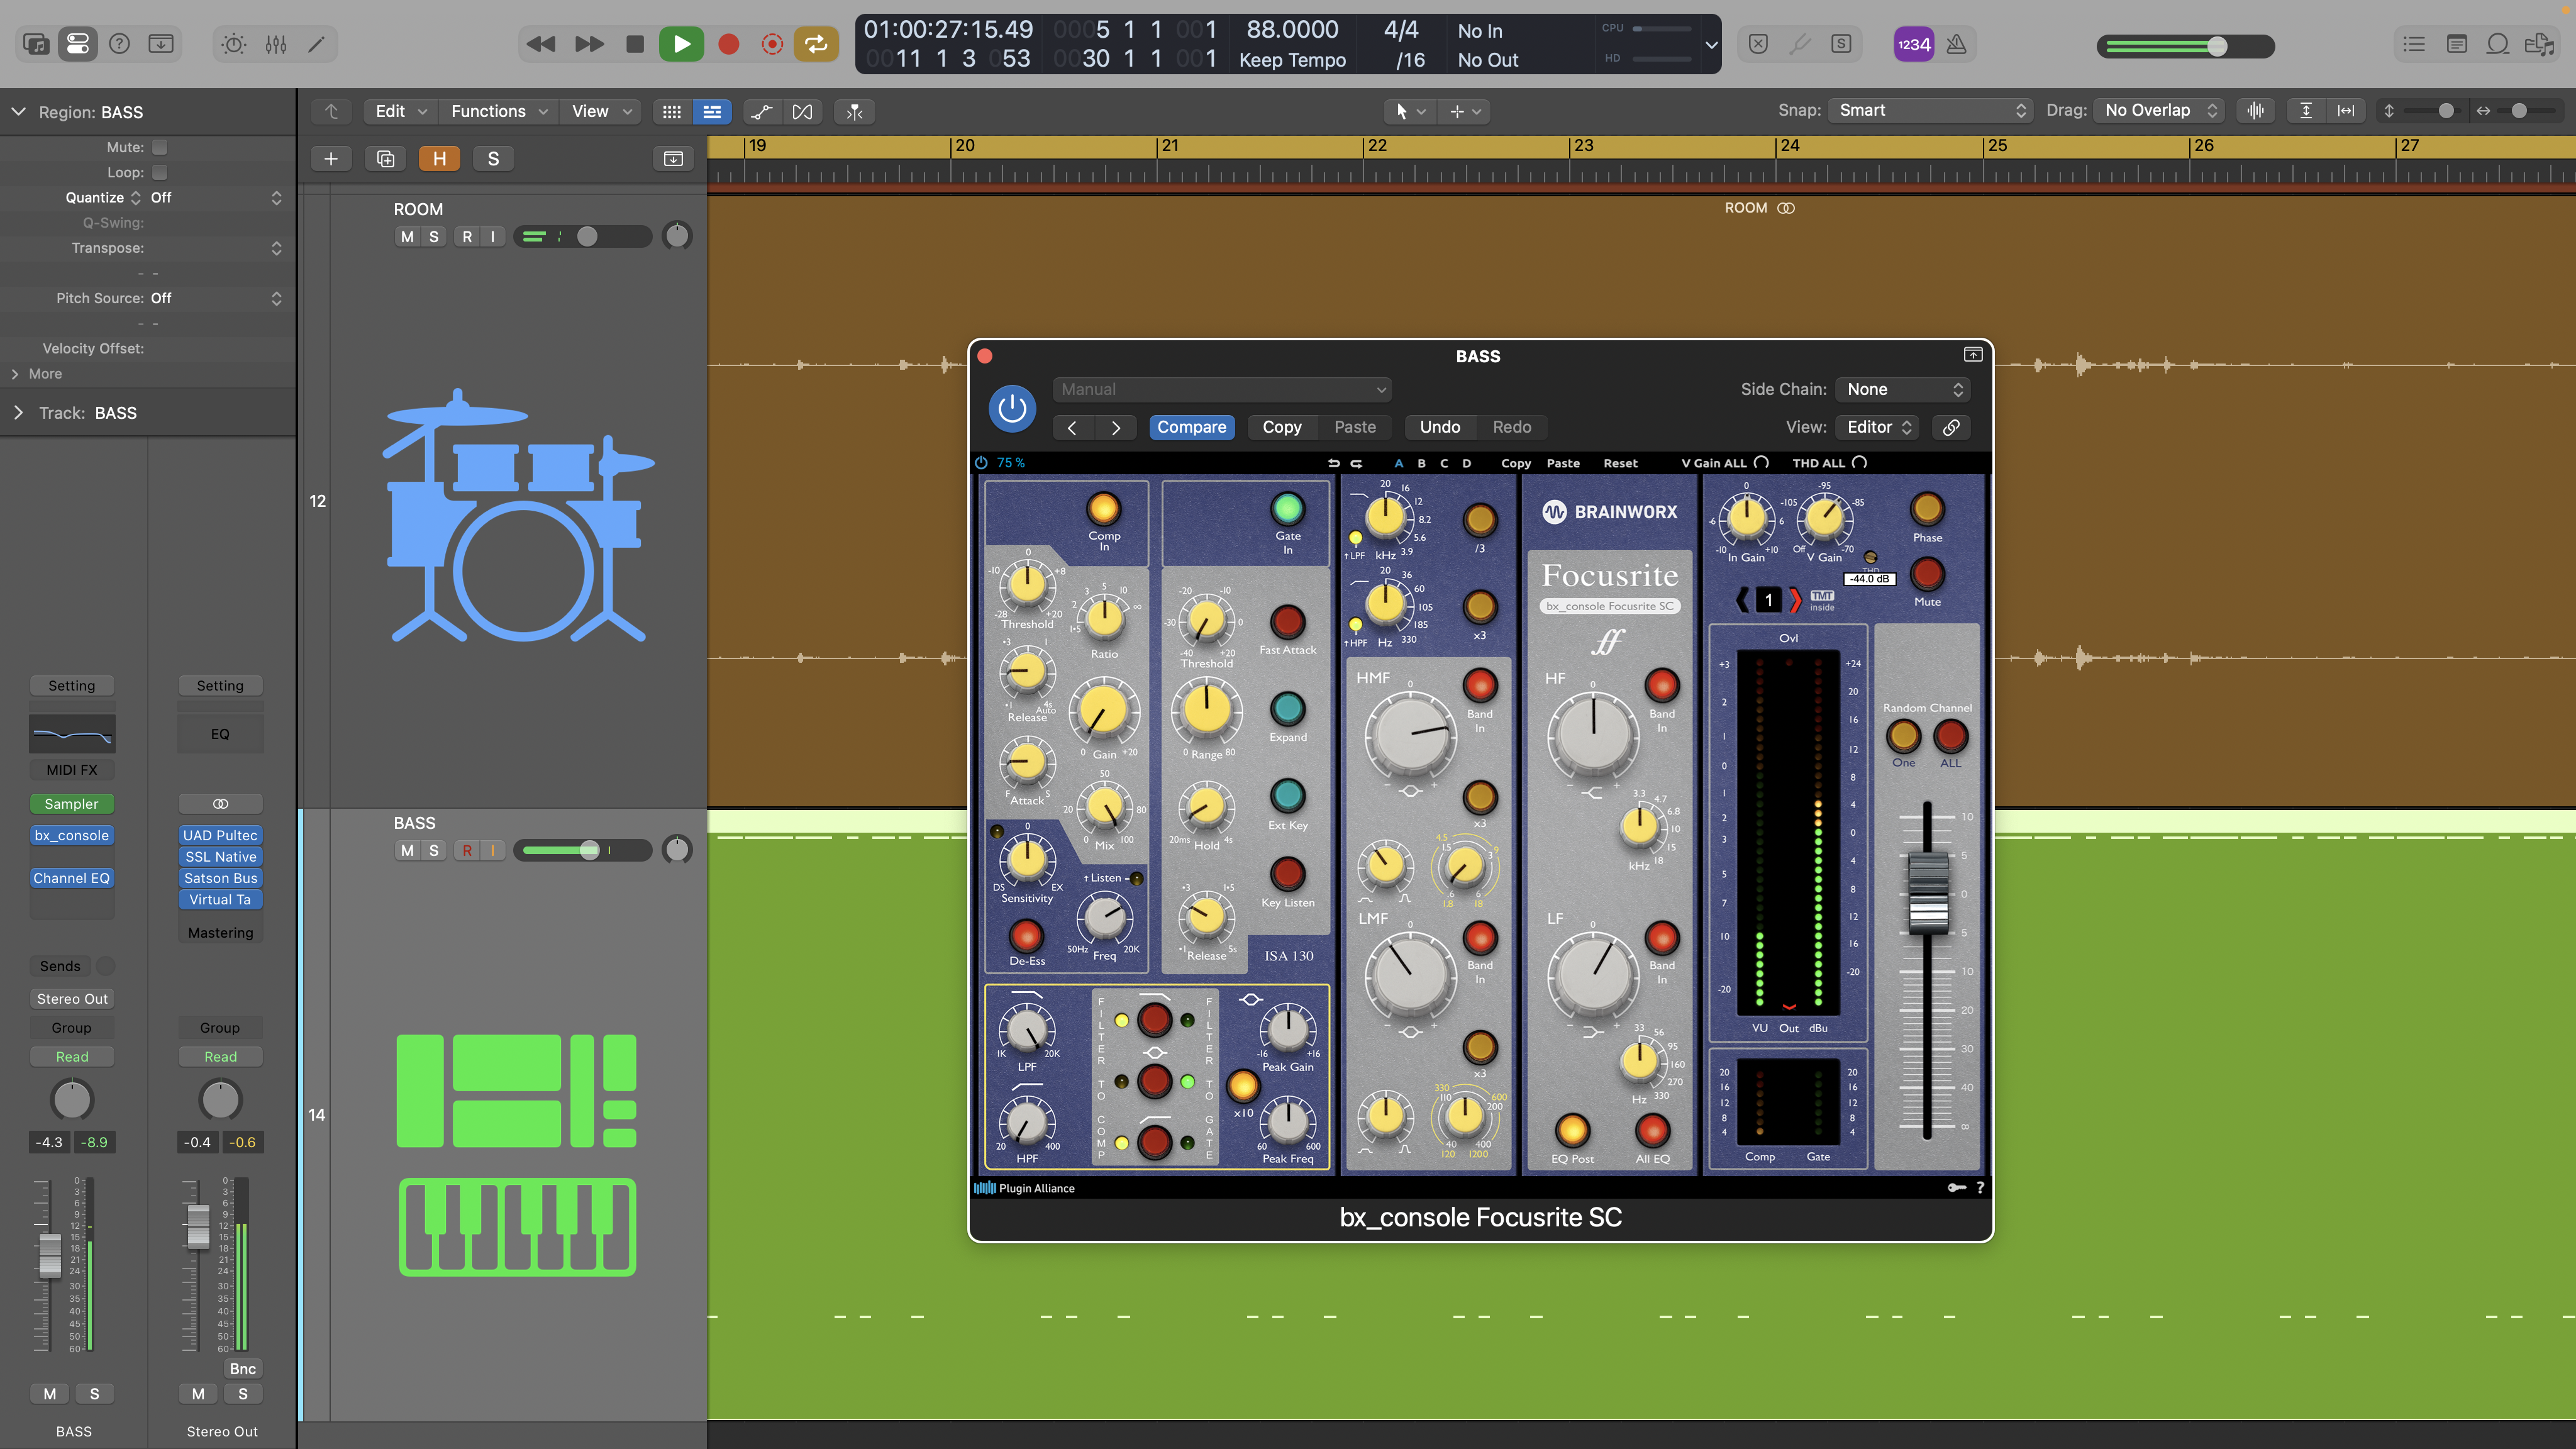
7. On our bass sound we’re using the Brainworx Focusrite SC channel, which is a highly regarded analogue emulation that includes various ways to maximise the analogue aspects. The V Gain at the top adjusts the noise level, and the THD screw adjusts the saturation. Meanwhile, the TMT option introduces subtle differences between plugin instances, so if you use the Focusrite SC plugin across multiple channels you’ll have an outcome more like an analogue console.
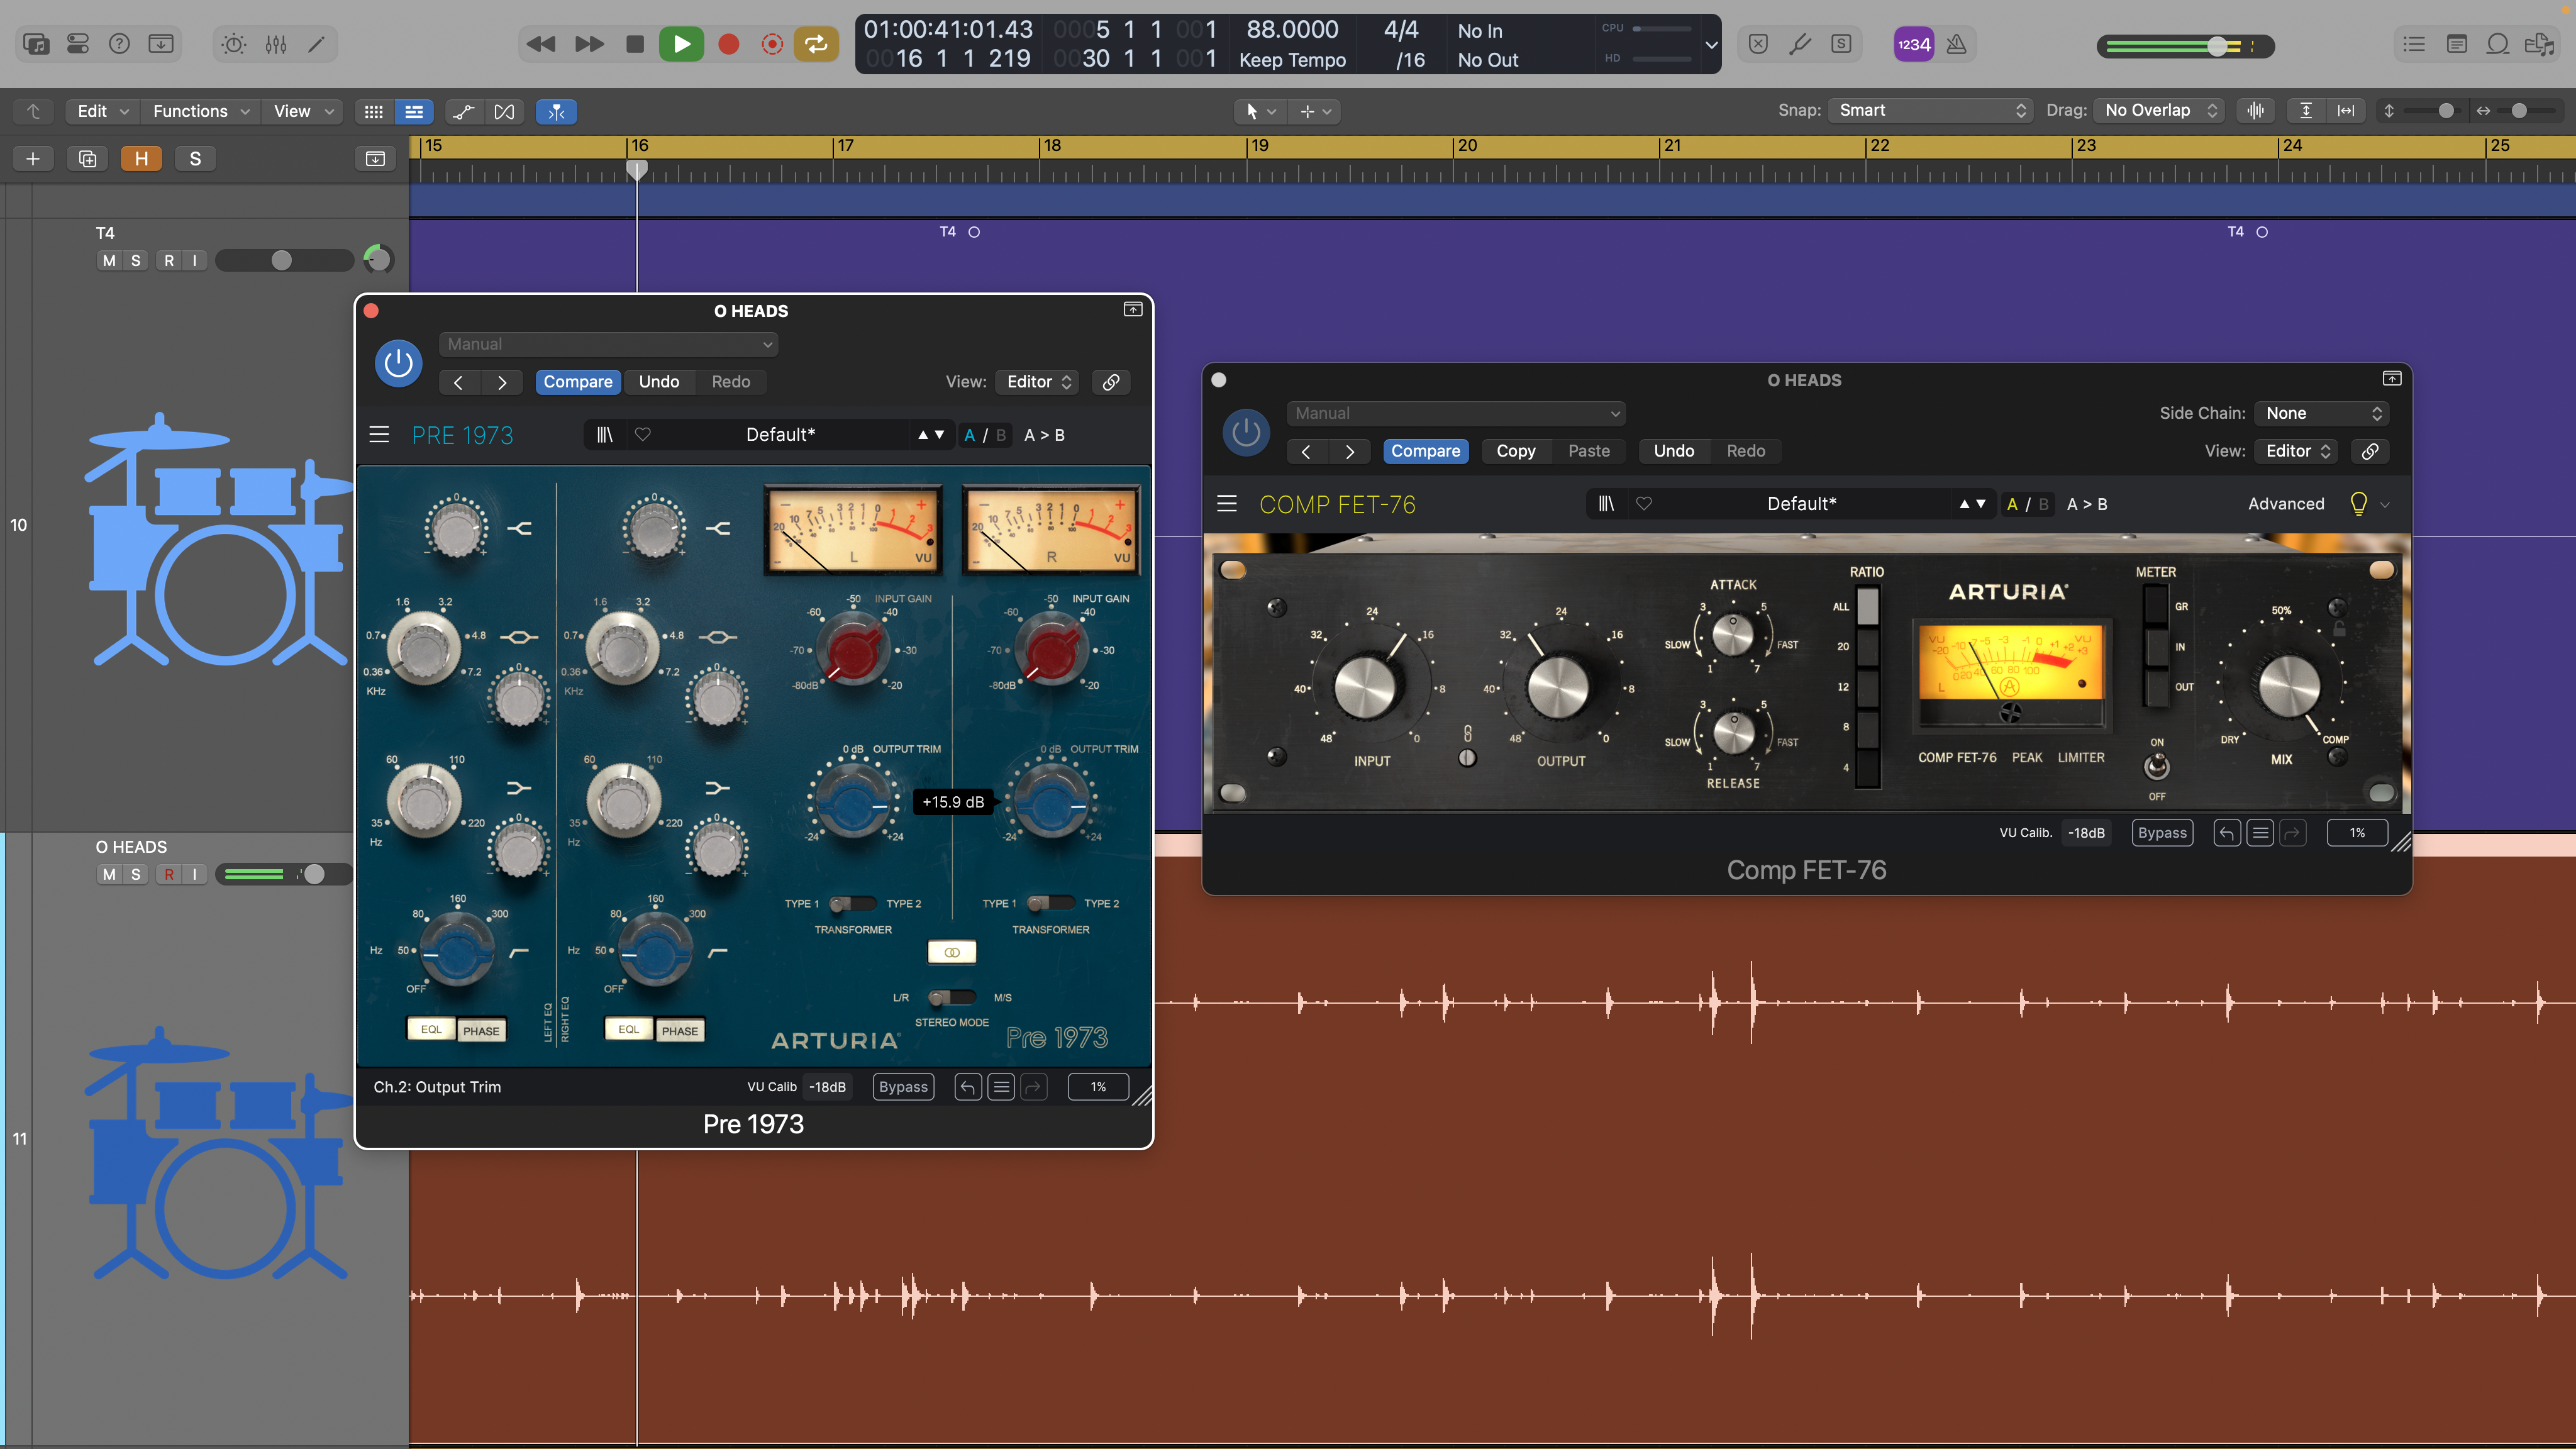
8. Whichever route you take, most analogue emulation plugins include some form of level dependent saturation behaviour. The operating levels at play are not always obvious as not all plugin developers tell you. Even so, it’s important to be aware that if you have a chain of analogue emulation plugins and you turn the output up high on one then the next plugin may saturate more than you expect.
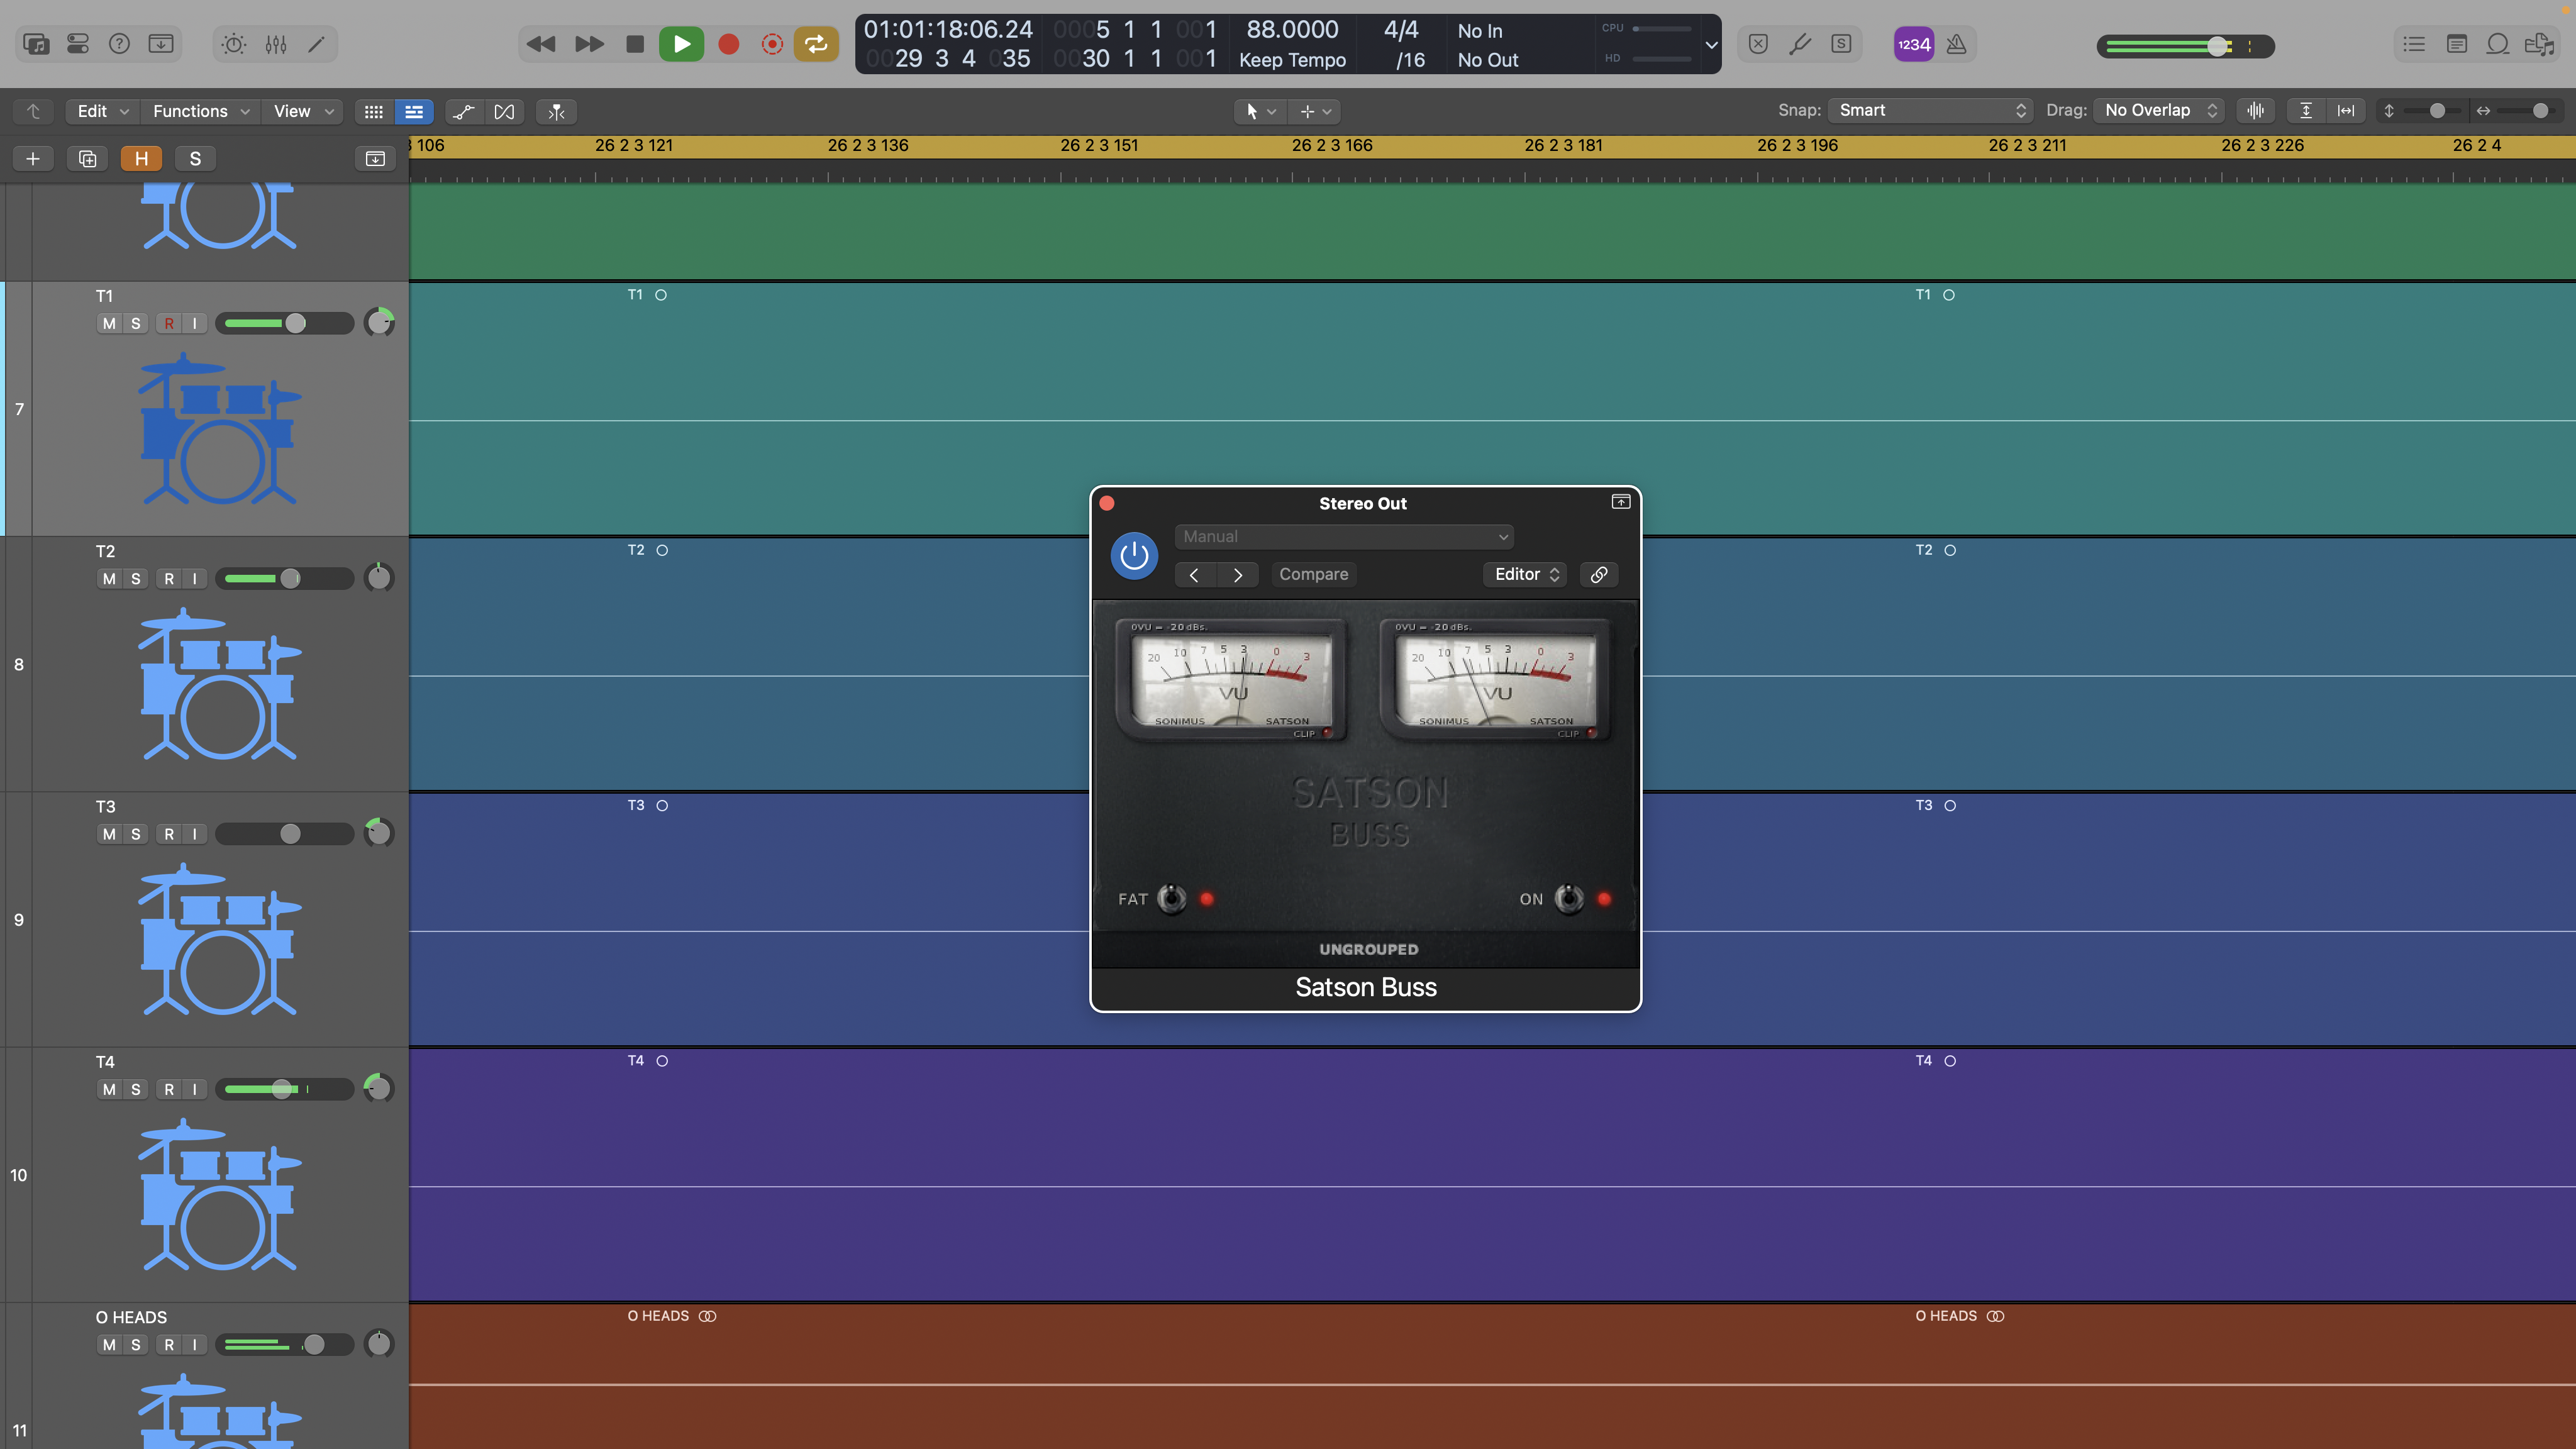
9. Mix bus saturation is a key aspect of analogue desks and although you could use a regular channel strip emulation in this role, there are some specific options, including Slate’s Virtual Console, and various options from Sonimus including Satson, which emulates a classic SSL mix bus. Place this simple plugin in your mix bus for additional harmonic distortion and left/right crosstalk.
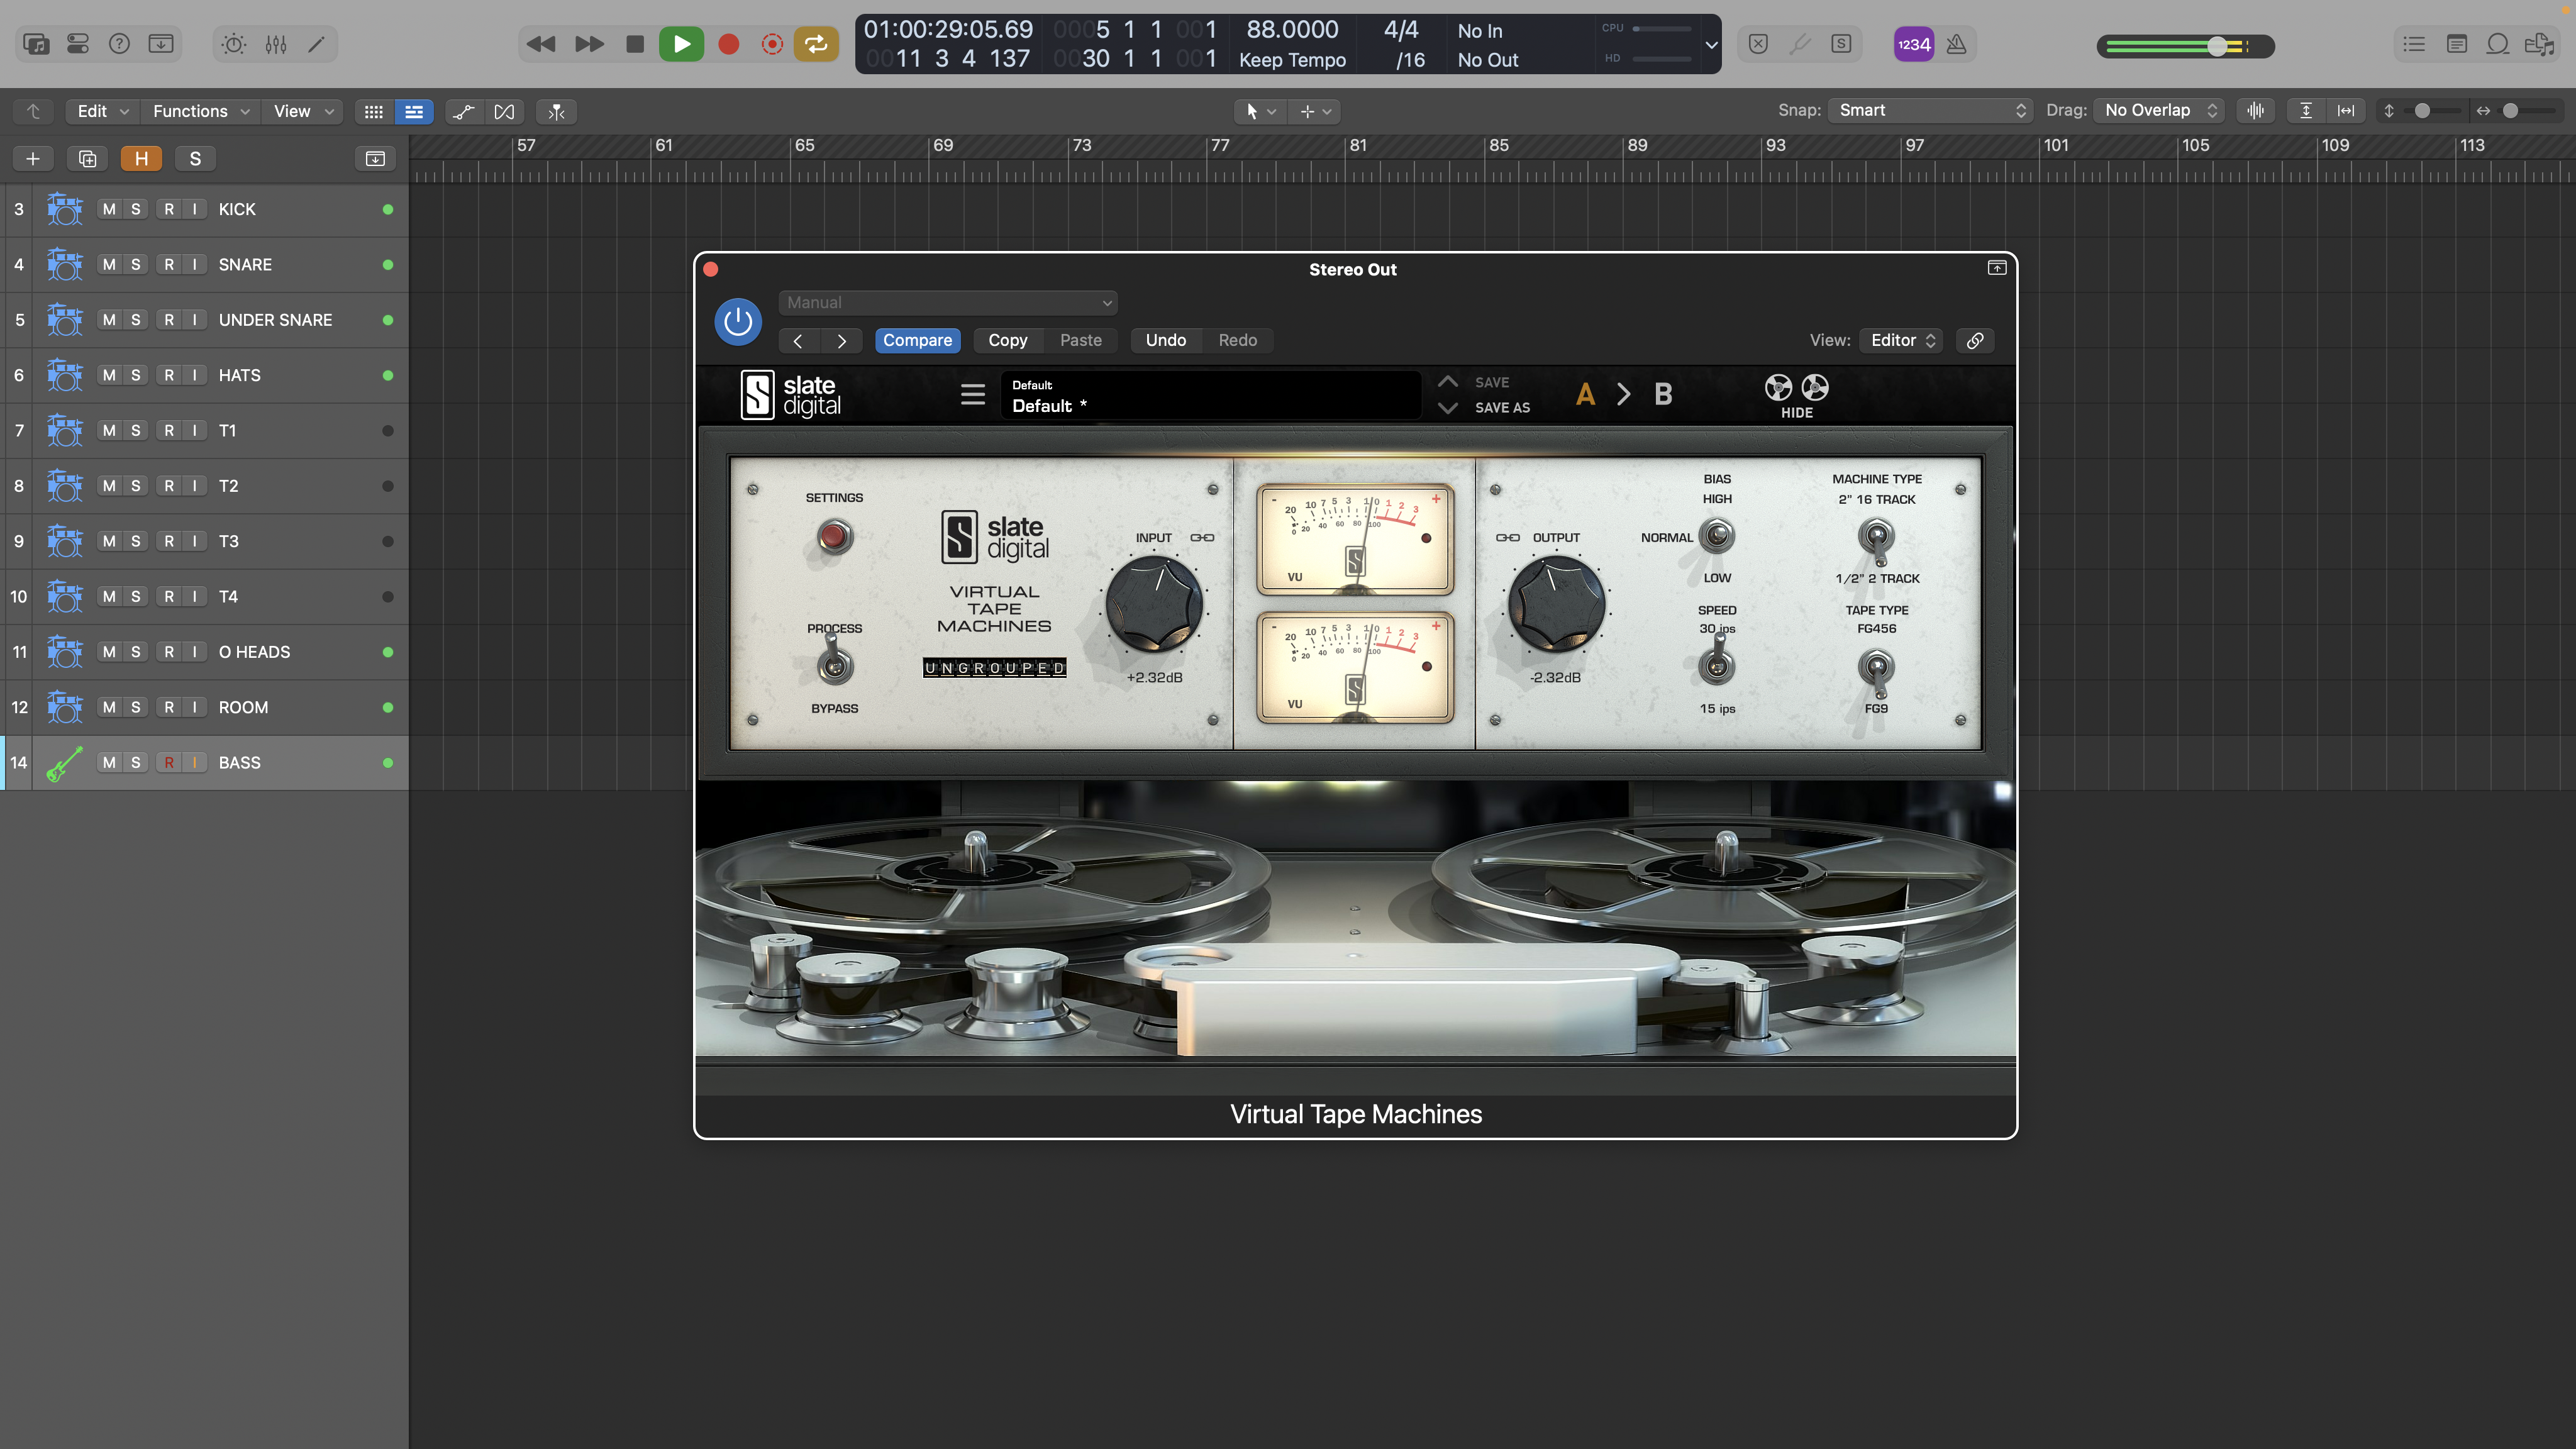
10. One final decision you might want to make is to use tape as the mastering medium. This will add a further tape EQ curve, low level saturation and some cross talk. In this case you’ll want a stereo format tape emulation (¼” or ½”) as the final mix bus insert. Here we’ve loaded up Slate’s Virtual Tape Machine in its ½” mode with the lowest noise tape formulation, setting the input levels so the meters peak around 0dB VU. Try adjusting the input level to find the amount of desired tape compression.
Jon is a London based platinum award winning mixer, producer, composer and club remixer with a diverse CV that spans dance, pop, rock and music for media. He’s also a long term contributor to MusicRadar's music technology tutorials and reviews. Whether working alone or collaborating he usually handles final mixdowns, so you’ll also find MusicRadar peppered with his handy mixing tips.
You must confirm your public display name before commenting
Please logout and then login again, you will then be prompted to enter your display name.
