How to turn a vocal sample into a lush, complex pad
We show you how to flip a plain sample into something inspiring and new
Want all the hottest music and gear news, reviews, deals, features and more, direct to your inbox? Sign up here.
You are now subscribed
Your newsletter sign-up was successful
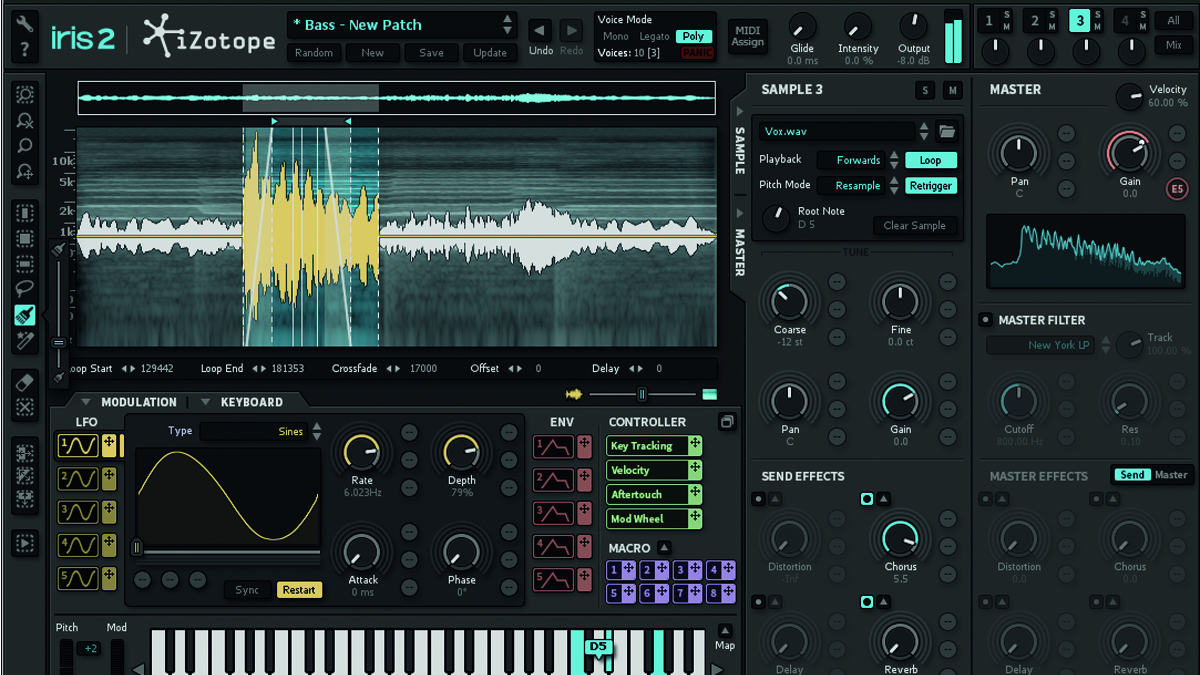
Choral pad sounds often feature as patches in sample-based synths, but it's pretty straightforward and quick to create your own. iZotope Iris 2 is a perfect tool for this, as it offers superb sample manipulation features and unusual spectral filtering capabilities that can bring out subtle but beautiful harmonic layers.
So here, we're going to create a luscious vocal pad, stemming from one simple female vocal sample. We're going to smother it in effects including chorus and reverb, and edit the sample's frequency content along the way - tasks we can get done entirely inside the instrument plugin.
We're also chucking in a bit of recorded Foley into the pad sound for good measure. This sort of real-world element makes for a more organic sound overall. If you're into sound design and haven't yet grabbed yourself a field recorder, we really recommend giving it a try. If want to save yourself some money, try it with your phone - you may not get the clarity of a dedicated piece of kit, but a rough-and-ready recording will serve you well for textures and layering.
Article continues below 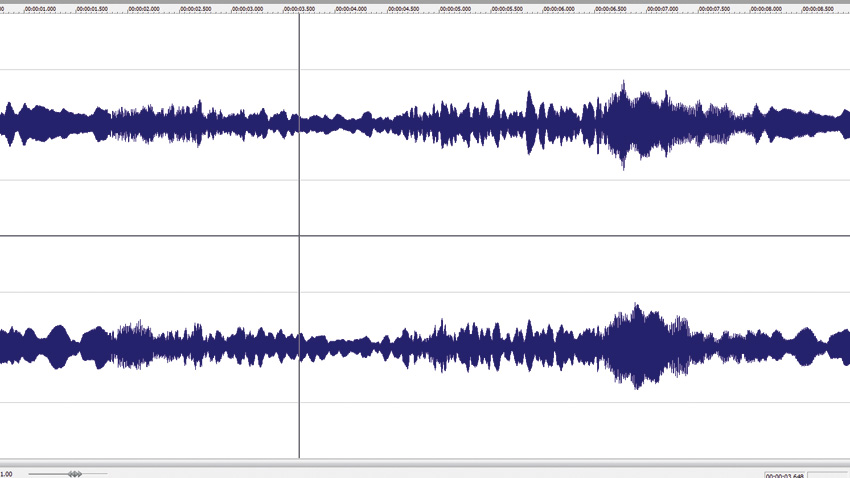
Step 1: First of all, we need to dig out a suitable vocal sample to use as the core of our patch. We've found a cool-sounding vocal chant in Computer Music's Wired West sample pack, from way back in issue 111. Notice that the chant changes pitch as it progresses, which will give us some interesting, subtle changes in texture.
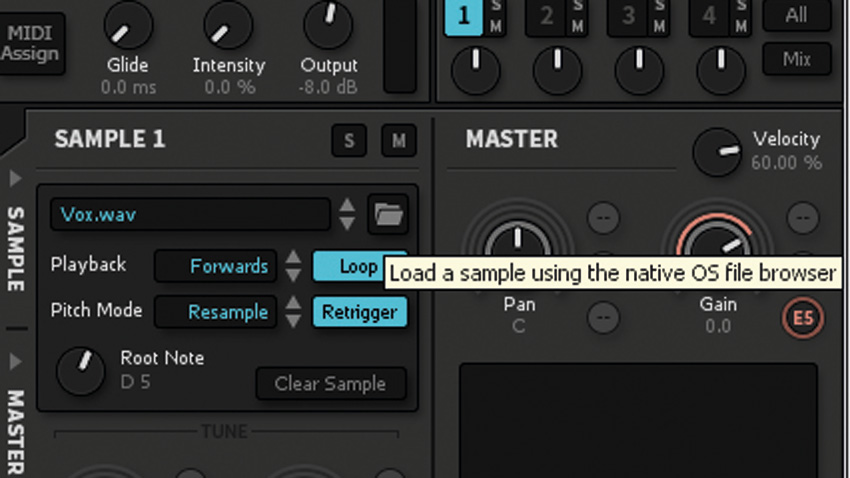
Step 2: Load Iris 2 in your DAW and click Layer 1 in the top right. Click the folder icon in the sample 1 window and browse to your chosen vocal sample, or use this one. Iris will detect the root note of the sample so we don't need to set it to the correct pitch ourselves.
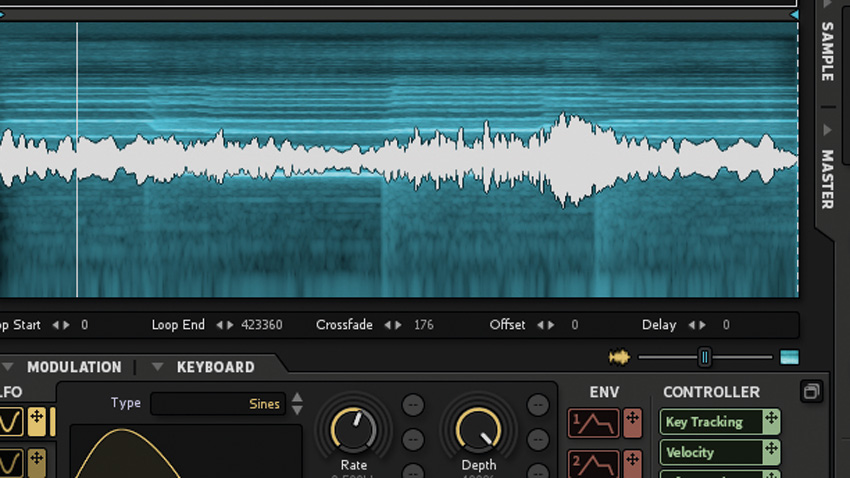
Step 3: Underneath the Spectrogram display is a slider that blends the waveform view of the audio sample with the spectrogram. Move it to the halfway point to make the waveform visible. We need to find a loop within the sample that sustains one note and sounds good. In your DAW, add a MIDI clip on Iris's channel, draw in a C3 note, and loop it.
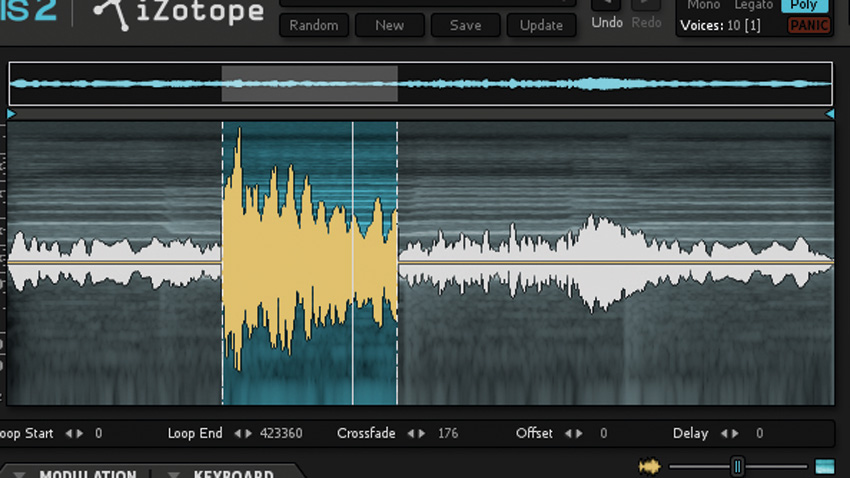
Step 4: We really like the sound of the middle section when the singer drops down a few notes - drag the start position locator at the top to the beginning of this phrase. Leave a bit of pitch transition at the beginning, for a nice slide into the note. Now we need to create a loop point within this section.
Want all the hottest music and gear news, reviews, deals, features and more, direct to your inbox? Sign up here.
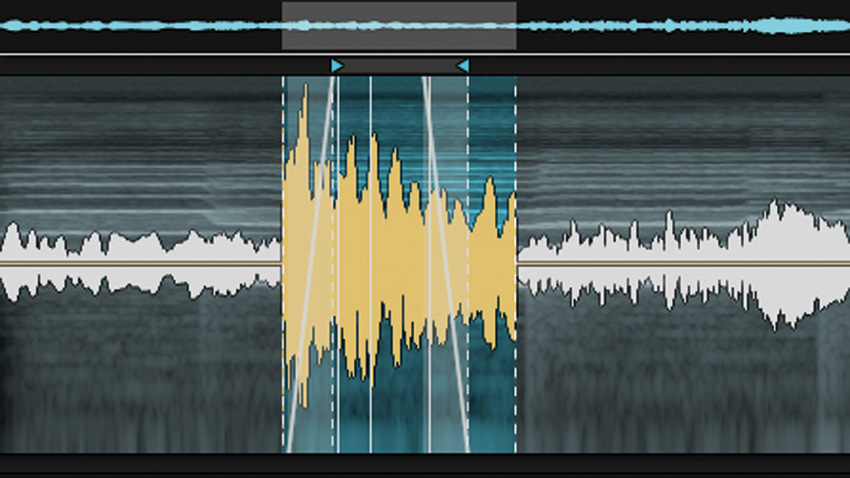
Step 5: Drag the loop start arrow at the top to just after the beginning of the sample start position, and the loop end point to just before the end of the section. To make the transitions smoother and softer, raise the Crossfade amount so the crossfade slope sits between the sample playback and loop positions. Play or program a chord to get a nice pad sound.
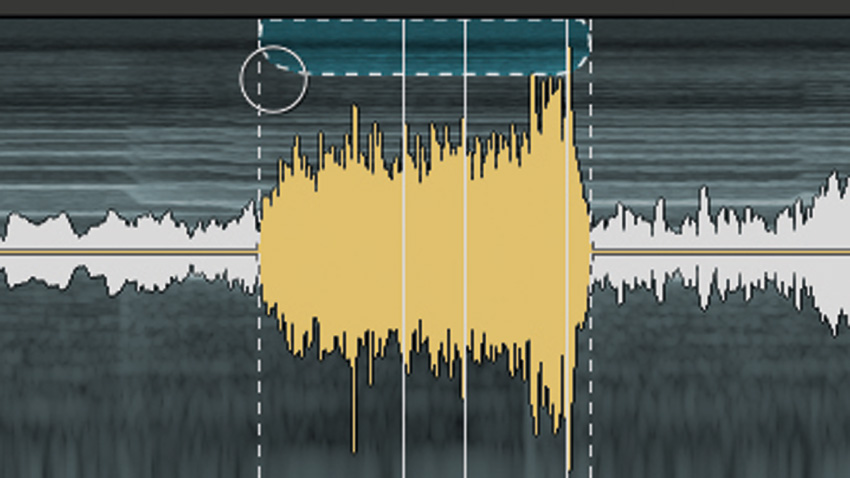
Step 6: Let's create another layer with some spectral filtering. Right-click Layer 1 and select Copy Sample, and in Layer 2, select Paste Sample. In the layer 2 edit window, select the brush tool and draw in a line right at the top around the area we used as the loop section in the first layer - this will give us some some cool shimmering tops.
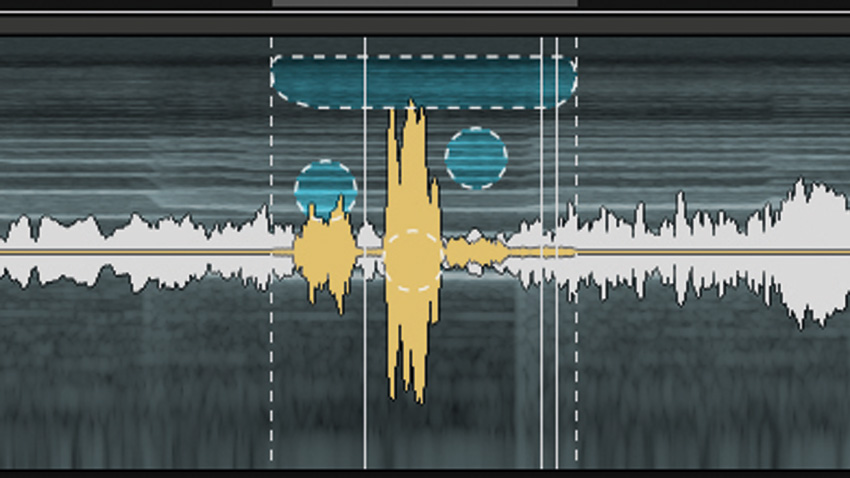
Step 7: Here, we've added a couple of blobs from about 700Hz to 7kHz for some tasty harmonic enhancement. Experiment to find a sound you like. Add some reverb to the layer by changing the master FX mode to Send, turning on the Reverb effect and cranking up the dial.
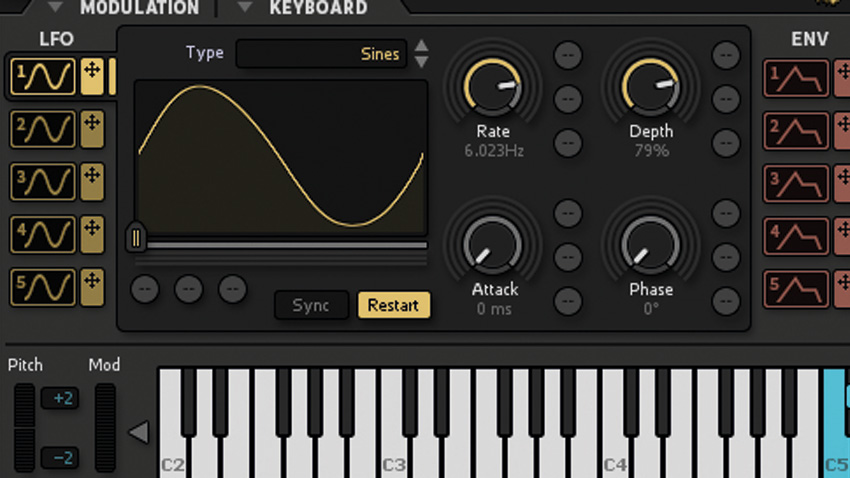
Step 8: We can add crazy panning to this layer for more width and excitement, and an LFO mapped to the Pan parameter will take care of this nicely. In the Modulation tab, drag LFO 1's crossed-arrows icon to one of the small circles next to the Pan knob. Now set the Depth to 75% and the Rate to around 6Hz so it pans around rapidly.
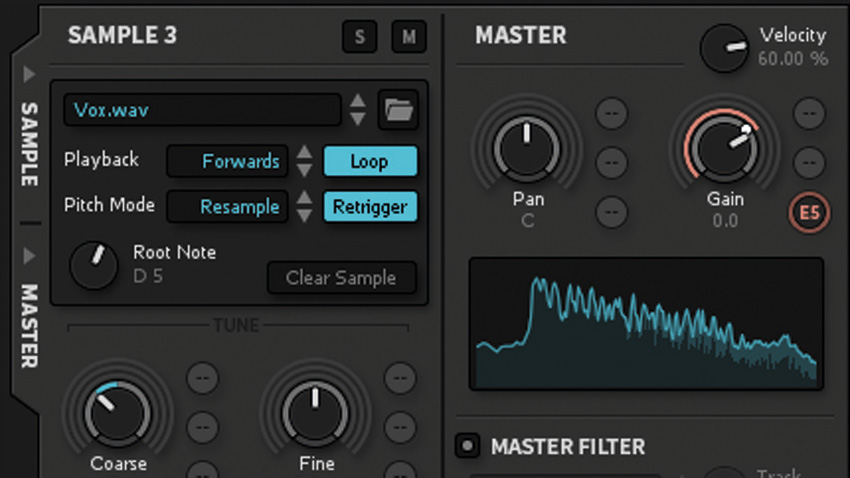
Step 9: It's starting to sound really nice now! Let's give it a bit more warmth using a new layer. Right-click sample Layer 1, and click Copy Sample and Selection. Now Paste this onto Layer 3. In Layer 3, move the Coarse pitch knob down to -12st to pitch it down an octave. Dial in some Chorus to thicken this layer up.
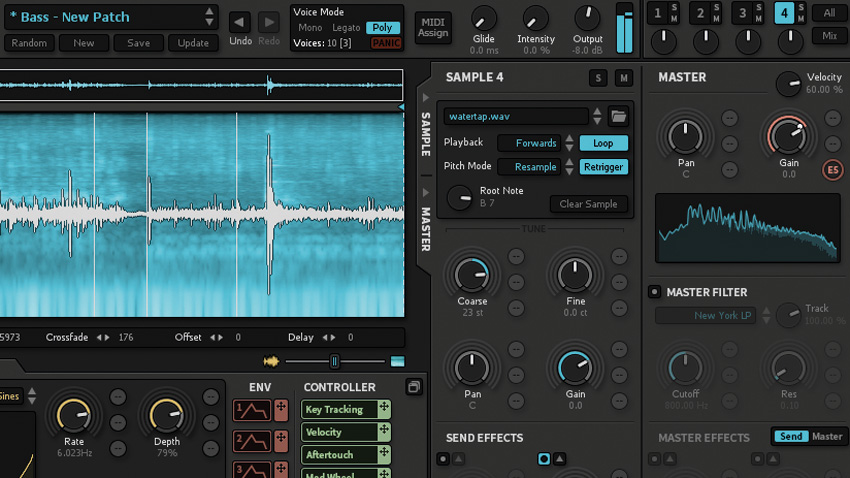
Step 10: For the final layer, we'll use something completely different for added top-end texture: the sound of a tap running. Select Layer 4 and drag the sample into the window. Move the Coarse pitch knob all the way up to 23st to make the sound brighter and more audible.
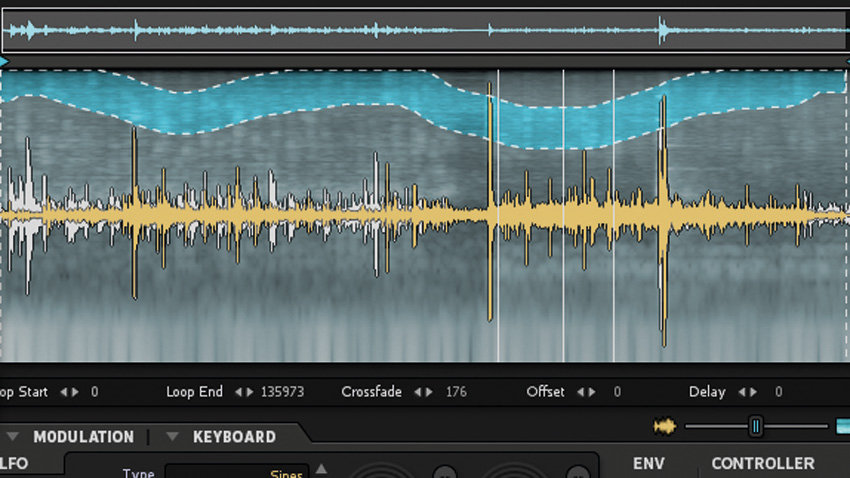
Step 11: In the sample section, change the Playback mode to Backwards so it sounds more otherworldly and strange. Draw in a wavy line using the brush tool at the top of the frequency band, as shown, so you only hear the upper part of the spectrum. Dial in some more Reverb and Chorus to this layer and adjust the Gain if it feels too overpowering.
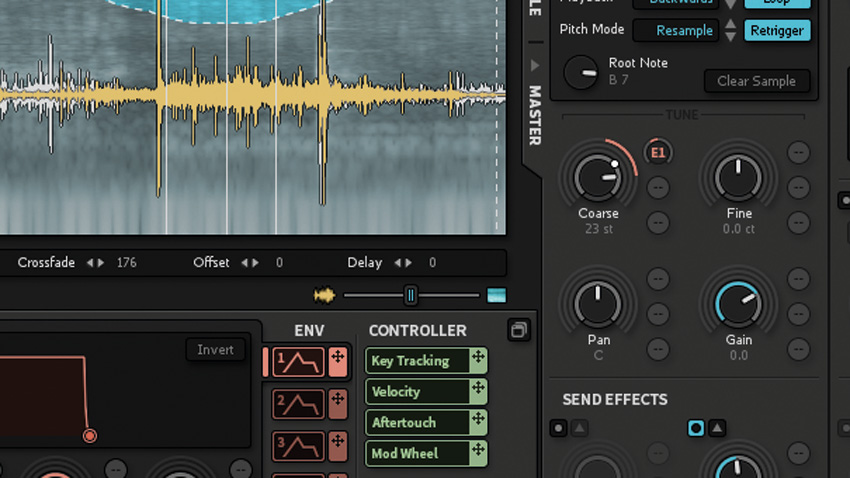
Step 12: Finally, let's give this layer a pitch envelope, for a nice 'wash-over' effect. Drag Envelope 1's crossed arrows over to the Coarse pitch knob and move the mod depth dial down to about 10 o'clock, as shown. Now set Envelope 1's Attack to 6000ms to create the pitch transition. That's your custom-made vocal pad finished!
Vocal-pad example 1
Vocal-pad example 2
Get schooled in a universe of compression - over 14 pages and in 17 videos - with issue 222 of Computer Music. Includes FREE VST/AU effects rack plugin, FX TimeTrip sample pack and more!
Computer Music magazine is the world’s best selling publication dedicated solely to making great music with your Mac or PC computer. Each issue it brings its lucky readers the best in cutting-edge tutorials, need-to-know, expert software reviews and even all the tools you actually need to make great music today, courtesy of our legendary CM Plugin Suite.
