It perhaps hasn’t occurred to you before, but there is a lot of crossover between music production and engineering. After all, both disciplines spend a lot of time solving problems, building systems and messing around with settings, parameters and gadgetry. And, with a laptop or PC at the centre of most studios, it got us thinking about how to build our own music production PC…
For the vast majority of producers, an off-the-shelf PC is the perfect solution. Most people don’t want any faff or hassle. They want something they can switch on and not have to think about too deeply. However, if like us you are constantly on the lookout for ways to enhance or improve your system, or you’re constantly chasing better performance from your rig, we may have the perfect project for you.
Building your own PC for music production is a technical challenge, sure, but the rewards are there for all to see. A bespoke, powerhouse machine, built to your exacting requirements by your own fair hands, for a fraction of the cost of a pre-built one. In this guide we’ll show you some of the things you should look out for if you want to build your own music production computer, as well as recommending some of the key components that will make up your dream machine.
- Go off the shelf with the best PCs for music production
- Check out our guide to the best budget PCs for music production
- Or choose portability with the best laptops for music production
Music production PC build: Where to start
Before you start scouring websites looking for parts, you should arm yourself with some knowledge. When you’re building a PC yourself, you don’t have warranty periods or technical support on hand from an established manufacturer so, realistically, you’re on your own. That said, there are thousands of forums, tutorials and guides and, believe it or not, most PC build communities are helpful places so don’t worry if you’re not an IT specialist. We aren’t, and our self-built PCs work just fine, so it can be done.
Try to establish what you’re hoping to achieve, as this will have a huge impact on the components you’ll need, and the budget it’ll require. We’ll outline a build that will power through music production requirements, but if you have other strings to your bow like, for example, videography, then that might change the parts you’ll need.
- Best studio desks: organise your studio gear
- Best studio chairs: are you sitting comfortably?
Music production PC build: Gear checklist

Any computer or laptop essentially boils down to a list of individual components. At its heart lies the motherboard, or mobo, which is the central brain of the machine. The mobo houses the process unit (CPU), which does the actual computing, and it also acts as the connection point for the other components. A graphics processing unit (GPU) is responsible for creating anything visual, and is where your external monitor will connect to.
Memory comes in two forms; RAM is the short-term memory of the computer and the more of it you have available, the more you can do at any one time. A solid-state drive (SSD) or hard disc drive (HDD) is where you’ll store all your files, folders and applications; both variants have their pluses and minuses, which we’ll outline in more detail shortly.
Finally, you’ll need to consider power supply, a case to hold everything together, and cooling. Basically, the harder you work the CPU, the hotter it becomes ultimately requiring some form of internal cooling, either by employing fans, liquid cooling or a combination of both.
- Best computer monitors for music production: DAW-friendly displays
- Best external hard drives: protect your music and video
Music production PC build: Considerations
For a music production PC, we’re looking for sheer grunt. Expensive GPU cards are great if your machine will double up as a gaming or video workstation, but for solely music production this isn’t as essential. What is important, for music, is the ability to access data quickly, and to process it in some way.
Think about sample libraries, for example. If you work with samples, you’ll know you can be looking to access a large number of files quickly, and have them play back without glitches or artefacts. Or if, perhaps, you’re producing for a band and a typical project or arrangement runs over many tracks, each stuffed full of virtual instruments or plugins. Here you need a machine that can churn through the processes quickly and efficiently.
- Best budget laptops for music production: cheap home recording
- The best audio interfaces for music-making and production
Music production PC build: Recommended basic specs
While most digital audio workstation (DAW) brands will offer ‘minimum’ specifications, anybody who’s ever used one knows these are loose, at best. In our experience, there are certain areas where you should invest to get higher specs, and certain other areas that wouldn’t take the same priority in a music production PC. As with anything, the more money you spend, the better you can expect a component to perform. There is, however, a sweet spot to be found before the laws of diminishing returns start to kick in.
Building a PC for music production is not without its complications. Chief among these is ensuring compatibility between the various parts you choose for your build. It’s not a given that every stick of RAM or motherboard will play happily with every CPU or cooling system, so save yourself from major headaches by checking they’ll work together before you commit to buying anything. There are some great tools online, like PC Part Picker, that will help you check specifications and compatibility before you buy.
For the processor, look to the top end of the entry-level spectrum as a minimum. Intel and AMD are the names to consider in this space. Intel processors are present in the vast majority of consumer PCs and laptops, and its i5 range should prove sufficient for most producers. AMD, on the other hand, is favoured by many in the gaming community and its range is usually, pound for pound, more affordable than Intel’s comparable models.
A healthy amount of RAM is essential for music production. Again, DAW minimum specs will say 4GB is required but if you follow that guidance you’re in for a shock. Slow loading times, glitchy audio and a heavy restriction on the size of multi-track arrangements await if you have anything under 8GB. Of course, one of the benefits of building your own PC is that you can chop and change as you like. For our money, we’d suggest buying 16GB; that way you’re covered for larger projects, and you can always add more in if things start slowing down.

The other key area is your memory. For music and audio work, we’d always opt for SSDs over HDDs, as the data transfer speeds are much higher so pulling large audio files from memory is much snappier and reliable. Large SSDs are, however, relatively expensive so a combination of SSD and HDD is one possible solution.
Other than that, you’ll need to consider cooling, graphics, a motherboard and a case to fit everything in. Cooling is a vital component of any computer, and there are a couple of options to consider. At the more basic end, you can stuff your case full of fans and manage temperature using air. This is more affordable but can present problems if you’re trying to record acoustic instruments in the same room due to the white noise. Alternatively, a liquid cooling solution employs similar engineering techniques to a car, where a combination of chilled liquid – usually distilled water – travels through a tube to chill the CPU before the now-warm liquid is cooled via a radiator and fans. The benefit of this system is greatly reduced noise levels, although they can be more expensive than traditional air-cooling systems.

The motherboard is more of a utilitarian purchase in this case, although it is important to look for the number of USB slots (including USB-C, for future-proofing) and how easily it connects to the rest of your components. A quality power supply unit (PSU), on the other hand, is an essential purchase and one which does require a bit of forethought. You’d tend to decide on the right PSU once you know all the other components. We used this power supply calculator to input everything that we’d chosen for our machine, and it told us the type of PSU we’d need to comfortably power the system.
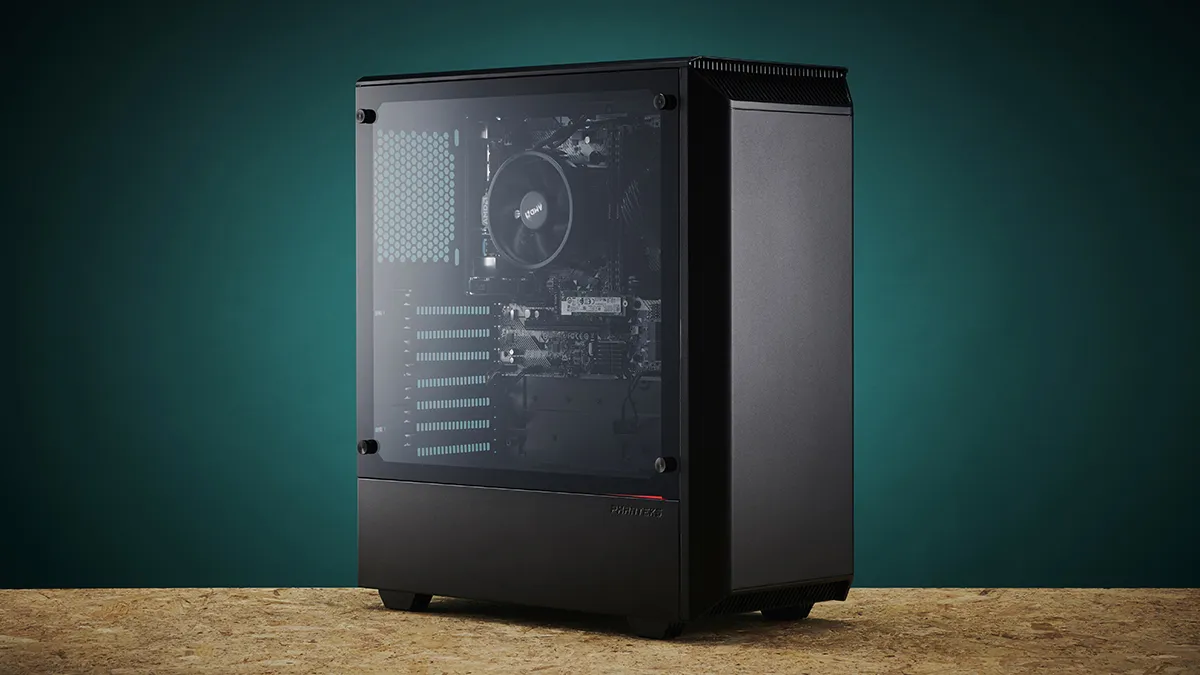
Finally, the case; there are three major sizes - full-tower, mid-tower and mini-ATX - and the right one for you will depend on the components you’ve chosen, as well as the space you have available to you. Full-tower and mid-tower cases both fit standard ATX motherboards, which are the most common type available, while mini-ITX cases are great for more compact machines, but aren’t compatible with many regular-sized components.
Music production PC build: Buying guide
Building a music production PC involves a laundry-list of components and gear, each with their own specialities, benefits and quirks. With so much in the way of choice and variables, it’s hard to know where to start. Here we’ll list out a few recommendations for some of the key components, with an affordable and high-performance option for each.
It’s important to point out here that component compatibility shouldn’t be taken for granted; it would be extremely wise to use an online checking tool to ascertain for certain that your parts will work together nicely.
We’re also focusing mainly on the components that will make up an amazing music production PC; the case, PSU and GPU you choose will vary depending on the other parts that made your list.
CPU

Affordable option: AMD Ryzen 5 3600
For anyone balancing performance against price, the AMD Ryzen 5 3600 is a great place to start. The included cooling fan also contributes to keeping your system chilled under pressure.
High-performer: Intel i7-9700K
For more expansive studios, or those looking for the ultimate in speed, the Intel i7-9700K is a great option. It’ll chew through renders and mixdowns in no time at all, and will allow you to add plugins and effects to your heart’s content without worrying about a loss in performance.
RAM

Affordable option: Kingston HyperX Fury 8GB
We’d say 8GB of RAM is probably the least you should go for, on account of it being such an important part of the puzzle. The Kingston HyperX Fury 8GB set is cost-effective and reliable as a starter, and is cheap enough that you can add more in further down the line.
High-performer: Viper Steel Series 32GB
There’s a school of thought that 32GB RAM is obscene, and that nobody could ever need that much. In our opinion, as a relatively cheap component, there’s no harm in it. The Viper Steel Series 32GB will give you more memory than you’ll perhaps need straight away, but it’s better to have the extra space and not need it, than need it and not have it.
SSD

Affordable option: Samsung 860 EVO 500GB
We decided against offering traditional HDDs as an option, purely because solid-state drives offer so many benefits like faster loading times and no moving parts to fail. The Samsung 860 EVO 500GB drive is an ideal first port of call, and you can simply add more of them as your rig grows.
High-performer: Crucial MX500 2TB
If you want the peak of speed and performance, an all-SSD memory section is the route for you. The Crucial MX500 drive offers a huge 2TB of space, meaning you may never need to rely on old hard disc drives again.
Motherboard

Affordable option: MSI B450 Gaming Pro Carbon
As the central hub of your rig, the motherboard is one area you have to get right. Thankfully, modern motherboards are simple enough to understand, and offer all the connectivity and compatibility you’ll need. The MSI B450 is a great option for the cost-conscious, and includes Wi-Fi and Bluetooth connections so you won’t need extra dongles or adapters.
High-performer: Asus ROG Maximus XI
Move up the price spectrum and you start to see extra connectivity, among other things. The ASUS ROG Maximus XI boasts extra connectivity options, meaning external data devices or monitors can work to the best of their abilities.
Cooling

Affordable option: Cooler Master LC240E
It figures that a music production PC will reside somewhere that also doubles up as a space for recording instruments. To ensure the PC remains as quiet as possible, we’ve opted for an all-in-one liquid cooling system. The Cooler Master LC240E is a solid value option, delivering quiet performance while stopping your CPU from cooking itself alive.
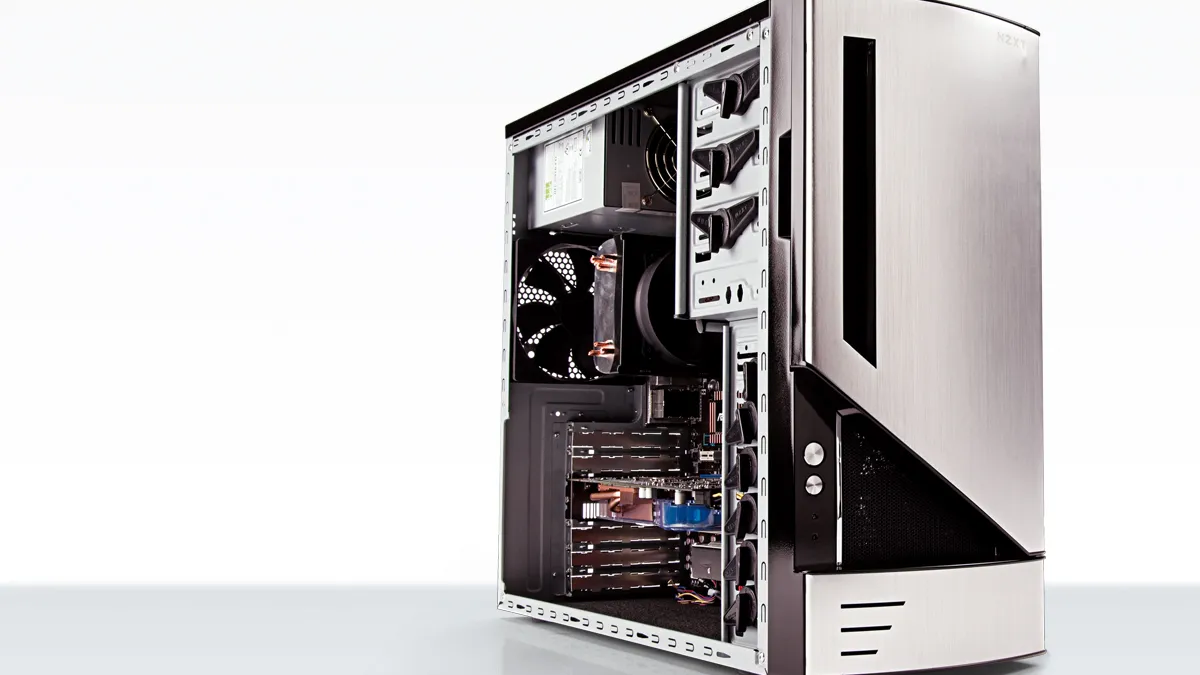
High-performer: NZXT Kraken Z73
For rigs using more powerful components, the likelihood of a CPU running hotter is greater and therefore requires greater cooling power. The NZXT Kraken Z73 is a higher-end choice, providing greater cooling performance and quieter operation under low loads.
Music production PC build: How to build it

Identifying the parts that make up your dream music production PC is one thing. Now, you’ve got to build it. Thankfully, assuming you follow the instructions, it’s no more difficult than following a recipe. Here we’ll go through a simplified version of the steps you need to take to build your own music production PC. Note: these are a guide only, and each individual component may have its own requirements for how you install it. It’s always best to follow the guidance from the manufacturer.
1. A case for change
The first thing you’ll need to do is familiarise yourself with your case. Identify where the access points are, which size screw goes where, and where the connections need to be made.
2. Install the power supply
As the logical destination for all those wires and cables, getting the power supply seated first is a wise choice. Typically, these reside at the rear of the case and are held in place by screws.
3. Install the processor
CPUs are extremely delicate and, as one of the most expensive single components in your build, need treating with care. It helps to seat the processor in the motherboard before you install that, to save major hassle. Intel and AMD processors are secured slightly differently, so follow the manufacturers’ instructions here.
4. Populate the rest of the board
It’s wise to add other motherboard-specific components now, like the cooling system and RAM, to save poking your fingers around inside the cramped case later on.

5. Install into the case
With a nicely populated motherboard ready, you can install it into the case. This is easier than it sounds, and basically means finding the right location and screwing it in.
6. Install your GPU and storage media
We’re getting close now; following the relevant instructions, add your GPU and SSD parts to the inside of the case and screw into place.
7. Making connections
Now for the first tricky part. On the motherboard you’ll notice a plethora of small connection points, each labelled in tiny writing. Your task now is to connect each of your individual components to the correct place on the motherboard. Likewise, each component that requires power will also need connecting up to the power supply, either directly or using daisy chain wires.
8. Check, check, check
Before you get all excited and hit the power button, spend some time doing one final round of checks. Check everything is connected to the right place. Check every card and cable is seated correctly. Check everything is the right way round. The more time you spend methodically working through your instructions, the less chance you have of any catastrophic errors further down the line.
9. Fire it up
Once you’re happy everything is as it should be, hit the magic power button and - hopefully - you should hear the familiar whir of the computer waking up. Congratulations, you have built your own, highly personalised, monstrously powerful music production PC!
