Most commonly associated with the kick-driven, audible pumping effect that’s become popular in club music, sidechain compression can be a very useful tool that adds energy and space to individual sounds, submixes and mixes while keeping things punchy. It can be used in many different ways and so we’ll be splitting the topic across more than one tutorial.
From a technical perspective, sidechain compression typically means the use of an external input to control the compressor, and this can be a sound that’s part of the mix or a specially created key. Sidechaining has its roots in analogue processing and a small number of hardware compressors that incorporate an external sidechain input.
This extra flexibility allows all manner of outcomes including frequency-specific compression if you parallel and filter your source signal. It also allows the more creatively minded to achieve more extreme pumping effects that are popular in house, EDM, trance and beyond.
Many DAWs include immense routing flexibility, with multiple busses and precise automation. This allows us to deliver highly finessed and creative sidechain compression treatments. Nevertheless, the core technique remains basically the same.
In this tutorial we’ll be focusing on the classic club effect, showing you various ways to get set up and how we can use sidechain compression. We’ll even throw in an alternative way to get a similar effect – check out the Pro Tip.

There are various ways we can set up sidechain compression, so let’s start with the most basic. We have a simple house track with a number of bass, pad, string and loop components in addition to the main beats – kick, hi-hats, crash and so on – but you can apply the same technique to many styles.

Our main bassline does not play at the same time as the kick, so we’ll leave the bassline alone. However, we do have a low bass pad sound that helps fill out the low mid frequencies. This is hard to balance and not particularly dynamic but sidechain compression can change that. Pad sounds in general are good targets for sidechaining.

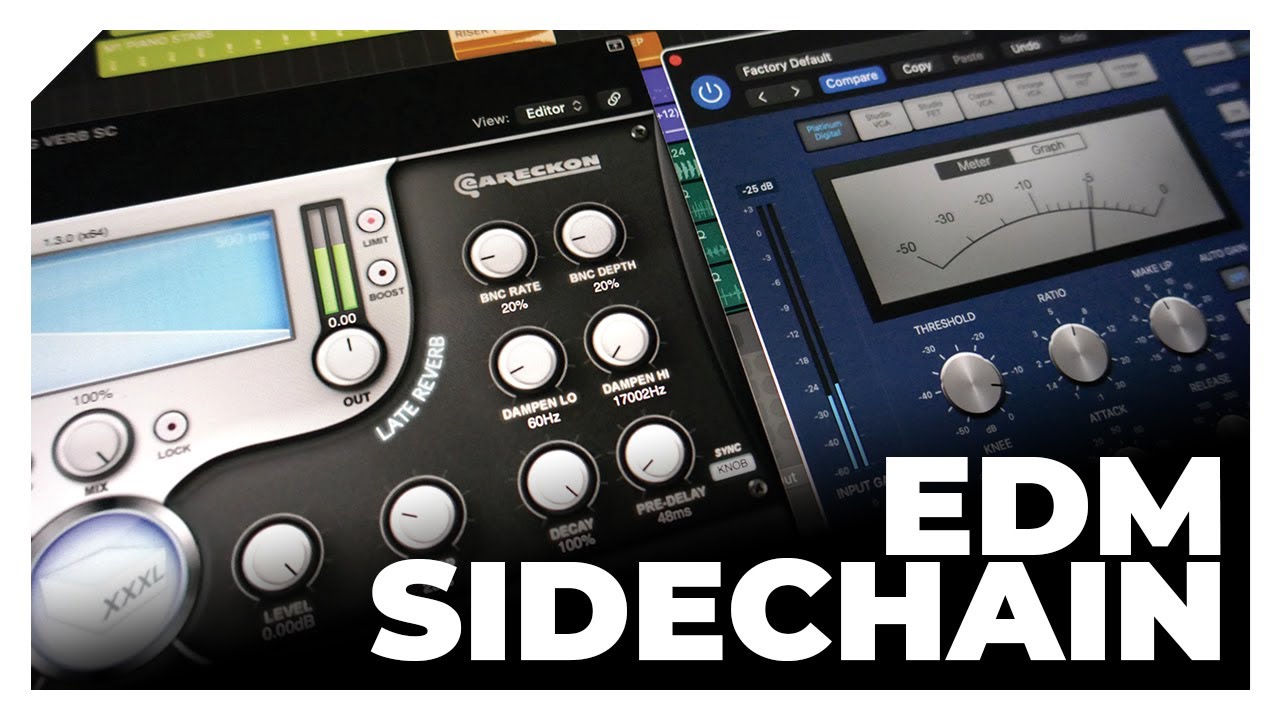
To get started, select a compressor with external sidechain options and insert it across the sound you want to process (pad bass for us). Now assign the kick drum track as the external sidechain source. To get a pumping sound from the compressor, you need to focus on the attack and release times, and then adjust the threshold to taste.

Set a very fast release (ours is 5ms), fast attack (ours is 20ms) and medium/high ratio (6:1). Now adjust the threshold until you hear quite a strong effect – your gain reduction meter should be pretty active. If you now tweak the release time, you can tailor the shape of the compression. We’ve set ours to 50ms for a moderate effect.

This technique works fine but the sidechain effect stops whenever the source track stops. This may be what you want but can also be a bit restricting. With that in mind, it can be easier to set up a bespoke sidechain track. Here we’ve simply duplicated our drum track, edited it to taste and made sure it’s not routed into the mix.

A further (and more flexible) option is to use a bus as your sidechain source, assuming your DAW allows this. The advantage is that you can create a sidechain signal blended from multiple tracks and also adjust and automate the level of that signal. Here we’ve automated our bus send to control how much compression occurs.

Sticking with the subject of amount, we normally achieve this by adjusting the threshold on our compressor. However, if your compressor has continuous ratio adjustment from 1:1 upwards, adjusting the ratio often works better. So, for this, we’ve controlled the amount of compression by automating our ratio.

So far we’ve only looked at sidechaining one track. To create a more pronounced effect, we really need to use the technique across multiple tracks. There are various ways to do this and we can simply replicate the basic technique. This is flexible, as each track can be tailored, but it’s also a bit fiddly.

Here we’ve extended our sidechain compression targets to include a pad and also a high-string part. Using our basic technique, each track gets its own sidechained compressor and they’re all controlled from the same bespoke track. The flexibility lets us have quite a deep effect on the high string and more moderate effect on the pads.

Multiple tracks can also be processed collectively and this can create a more uniform effect. To do this, all you have to do is send all the desired tracks to a fresh bus, creating a submix. Then set up a compressor on the submix and route your desired signal to the compressor sidechain input.

Here we’ve bussed together a number of components including some of the beat loops and some effects to create a submix that we then process with one sidechain compressor. You can easily roll out this method across a few submixes to create a sidechain effect that works for most aspects of your mix.

Finally, don’t ignore your reverbs. Sidechaining can work very well with longer reverbs, particularly if they’re on auxiliary returns, and it lets you create some sidechain-style pumping on the effect return without influencing the source sound. Set up a compressor on the return and apply your chosen sidechain method.
Pro tip: alternatives

Using a compressor is just one option for making a pumping sidechain effect. Another is a plugin called Nicky Romero Kickstart 2 from Cableguys. This offers envelope tailoring plus various tempo-synced timing options, as well as MIDI triggering. Similar is the great Duck from Devious Machines, which lets you create pretty complex bespoke curves that go well beyond the regular sidechain compression effects.
Ableton Live users should also try the Max for Live device Duck Buddy. These plugins use tailored and triggered volume envelopes, as per the effect they’re trying to create. If you simply want a tempo-synced pumping volume effect, a tempo-synced modulation can achieve that.
Plugins like Xfer’s LFO Tool fit the bill, but you might also find that a LFO-controlled volume plugin like an autopan might have enough flexibility to do this. Logic’s Tremolo plugin is a perfect example. If you set the Phase to 0 and choose a quarter note Rate, you can use the Symmetry and Smoothing options to tweak the shape and the Depth setting as an amount.

