How to create classic pumping sidechain compression
The defining sound of modern dynamics processing
Want all the hottest music and gear news, reviews, deals, features and more, direct to your inbox? Sign up here.
You are now subscribed
Your newsletter sign-up was successful
If we had to choose one production technique that we reckon has had more profound an effect than any other on the sound of dance music in the 21st century, it would undoubtedly be sidechain compression.
Ever since some bright spark first strapped a compressor over their bass bus and fed a 4/4 kick drum into its external key input, producers the world over have been mad for overt sidechaining. Indeed, it's highly likely you already use it as a matter of course. If, however, you've yet to give it a try, this walkthrough is for you…
For much more on sidechaining, pick up Computer Music 219, which is on sale now.
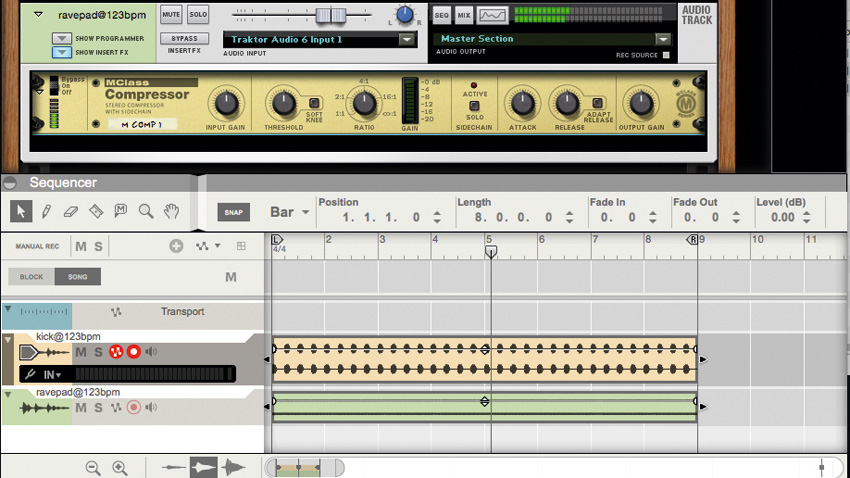
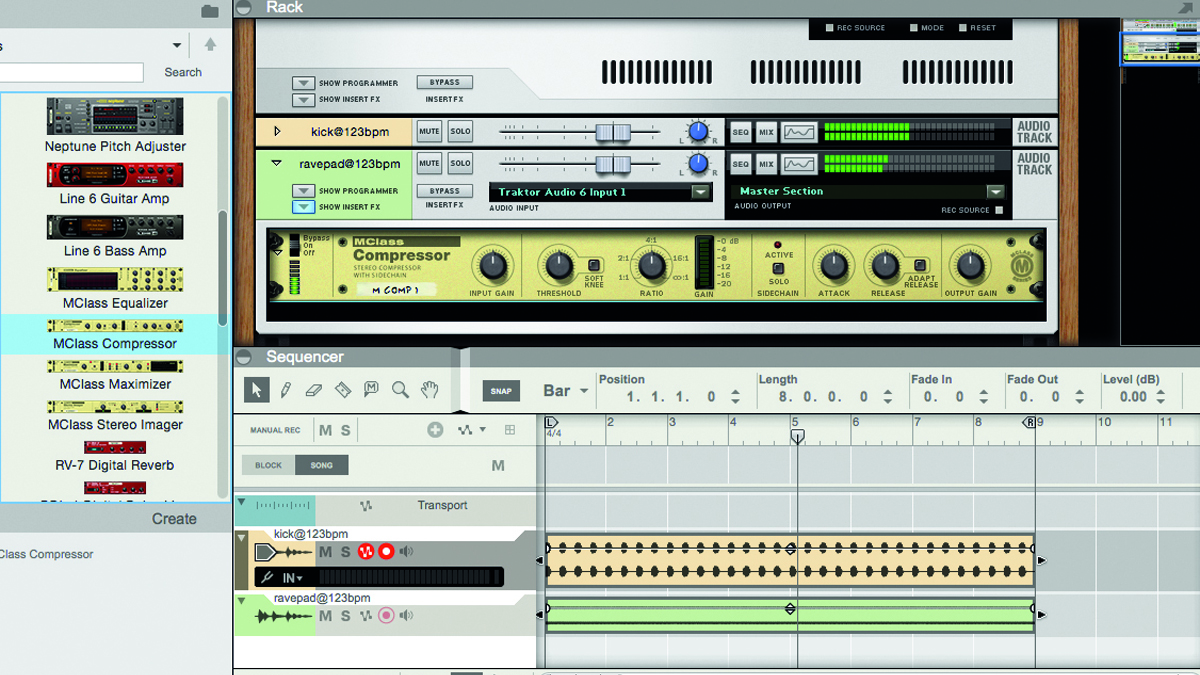
Step 1: When people talk about "sidechaining" in dance music, they very often mean the 'pumping' effect that comes from using a kick drum to duck another part, such as a bass or synth pad. Load Kick.wav and Ravepad.wav into a project at 123bpm (Click here to download the audio files you need for this tutorial). We're using Reason 8, so we load an M-Class Compressor onto the pad channel, but practically every DAW has a sidechain-capable compressor in its bundled library of effects.
Pad with no pumping
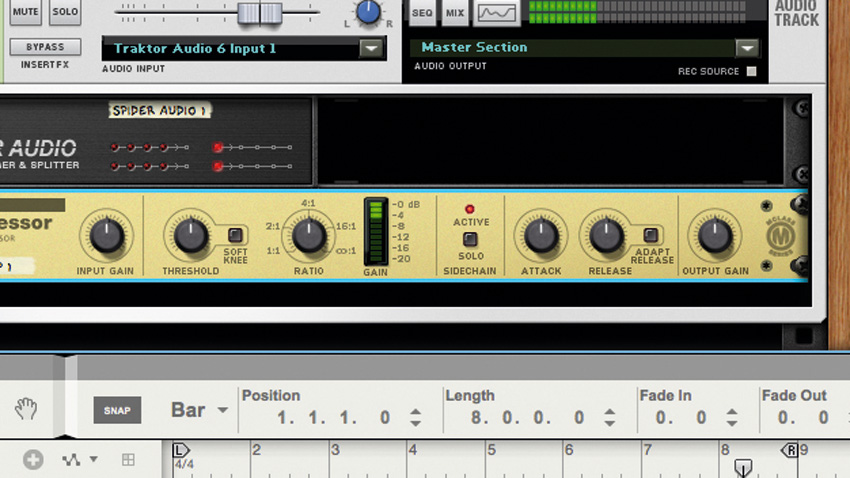
Step 2: We now assign our Kick to the sidechain input on the compressor, pull the Threshold down to around -36dB (this may seem extreme, but we'll discuss threshold settings properly later), and set the Attack and Release as fast as possible. Hit play and then raise the Ratio to maximum to hear the pumping action on the pad. The higher the ratio, the more the volume of the pad is reduced.
Pad with maximum pumping
Want all the hottest music and gear news, reviews, deals, features and more, direct to your inbox? Sign up here.
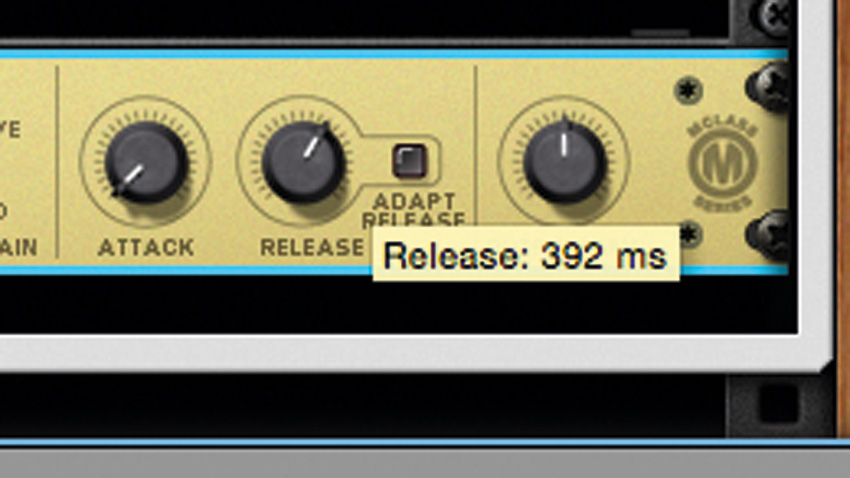
Step 3: The Release is incredibly important as it sets the timing of the pumping. We use a setting of 392 (around 39ms). Our setting places the pumping on the offbeat, while shorter release times pull the 'swell' of the pump forward and longer times push it back, for a lazier feel. Remove the last kick in bars 2 and 4 and listen to the pad swell up. This can be a powerful trick in your track.
Pad with swell in kick gap
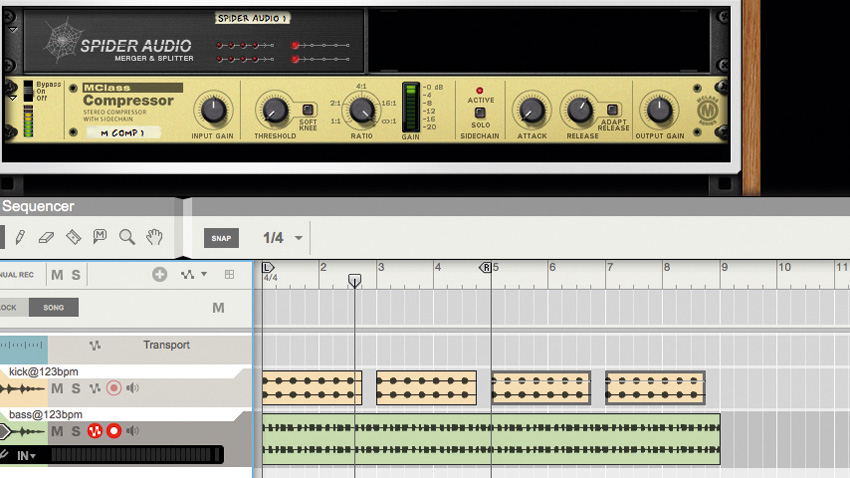
Step 4: Replace the pad with Bassduck.wav, then hit play and toggle the compressor's Bypass to hear the difference the sidechain compression makes. Now try different Release times - a much longer time, for example, will let the kick cut through nicely but with less noticeable pumping.
Bass with no pumping
Bass with timed pumping
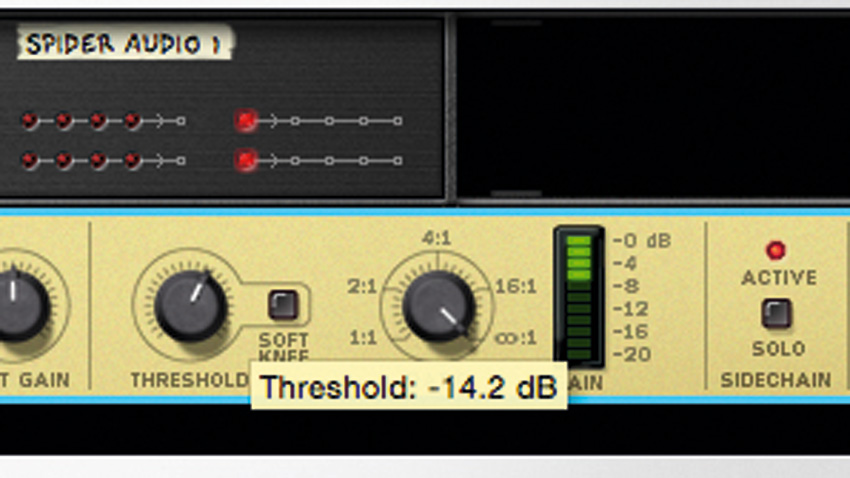
Step 5: Things needn't be so heavy-handed. Set the Release back to 392 and try the Threshold at -14dB for a less noticeable example that still adds subtle bounce. The Ratio can control the level of pumping, but remember that you'll get very different results depending on the amplitude envelope of the sidechain signal, so experiment with how the choice of kick drum affects the compression.
Bass with subtle pumping
Computer Music magazine is the world’s best selling publication dedicated solely to making great music with your Mac or PC computer. Each issue it brings its lucky readers the best in cutting-edge tutorials, need-to-know, expert software reviews and even all the tools you actually need to make great music today, courtesy of our legendary CM Plugin Suite.
