How to set the preamp gain on your audio interface
Ensure you are getting the best recording quality possible every time with our top tips
Want all the hottest music and gear news, reviews, deals, features and more, direct to your inbox? Sign up here.
You are now subscribed
Your newsletter sign-up was successful
Getting the right amount of preamp gain on your audio interface for your recording can make the difference between a great recording and a bang-average one. Set your gain too low and you run the risk of inducing unwanted noise with a weak signal. Too high and you’ll clip your input, chopping the top of your waveform resulting in a distorted tone.
By following the workflow of a professional studio workflow, you too can get an amazing recorded sound from the comfort of your home. The crux is that it’s not an exact science and as we’ll discover in some cases, may not be the right approach at all depending on what it is you’re recording. Don’t worry though, if you follow our step-by-step guide you’ll be well placed to get some high-quality sounds on your next project.
What is a preamp?
Before we get started, it’s important to understand what’s actually going on when you plug mics and instruments into your audio interface. Most interfaces contain a preamp on the input, which amplifies the signal going into your interface. Depending on what you’re plugging in, your interface will have a few different options for you to ensure a good strong signal.
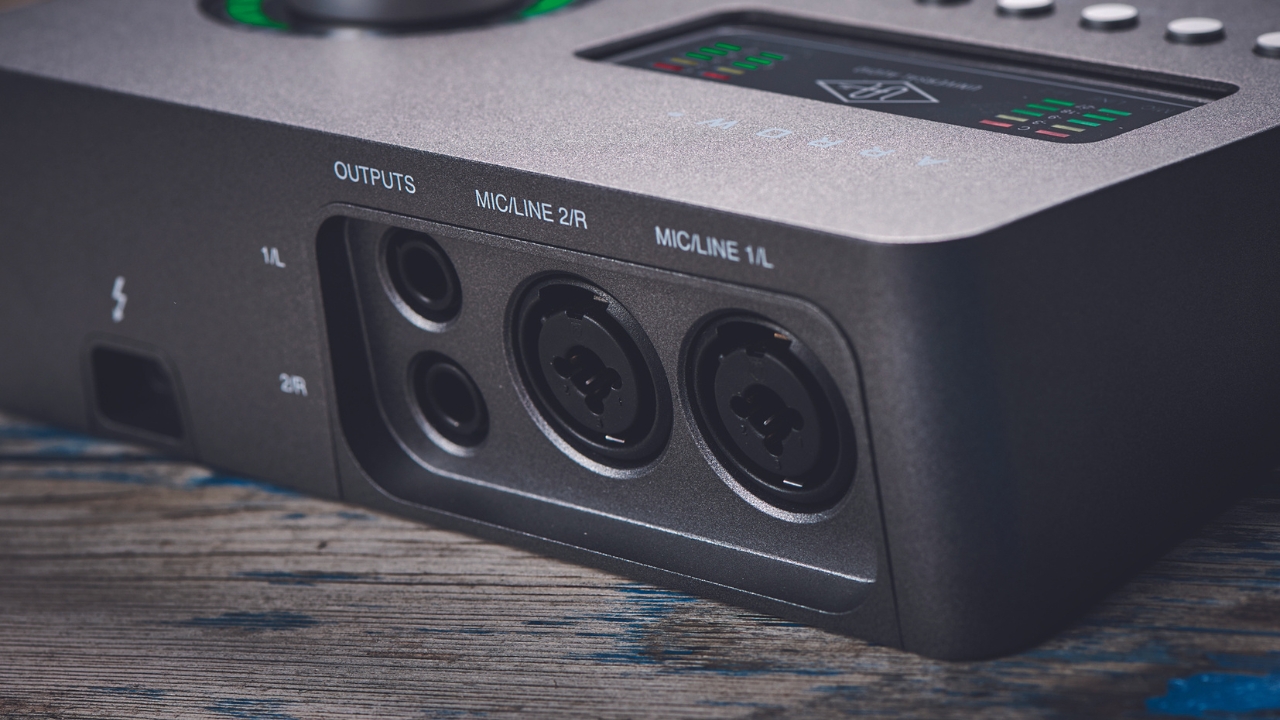
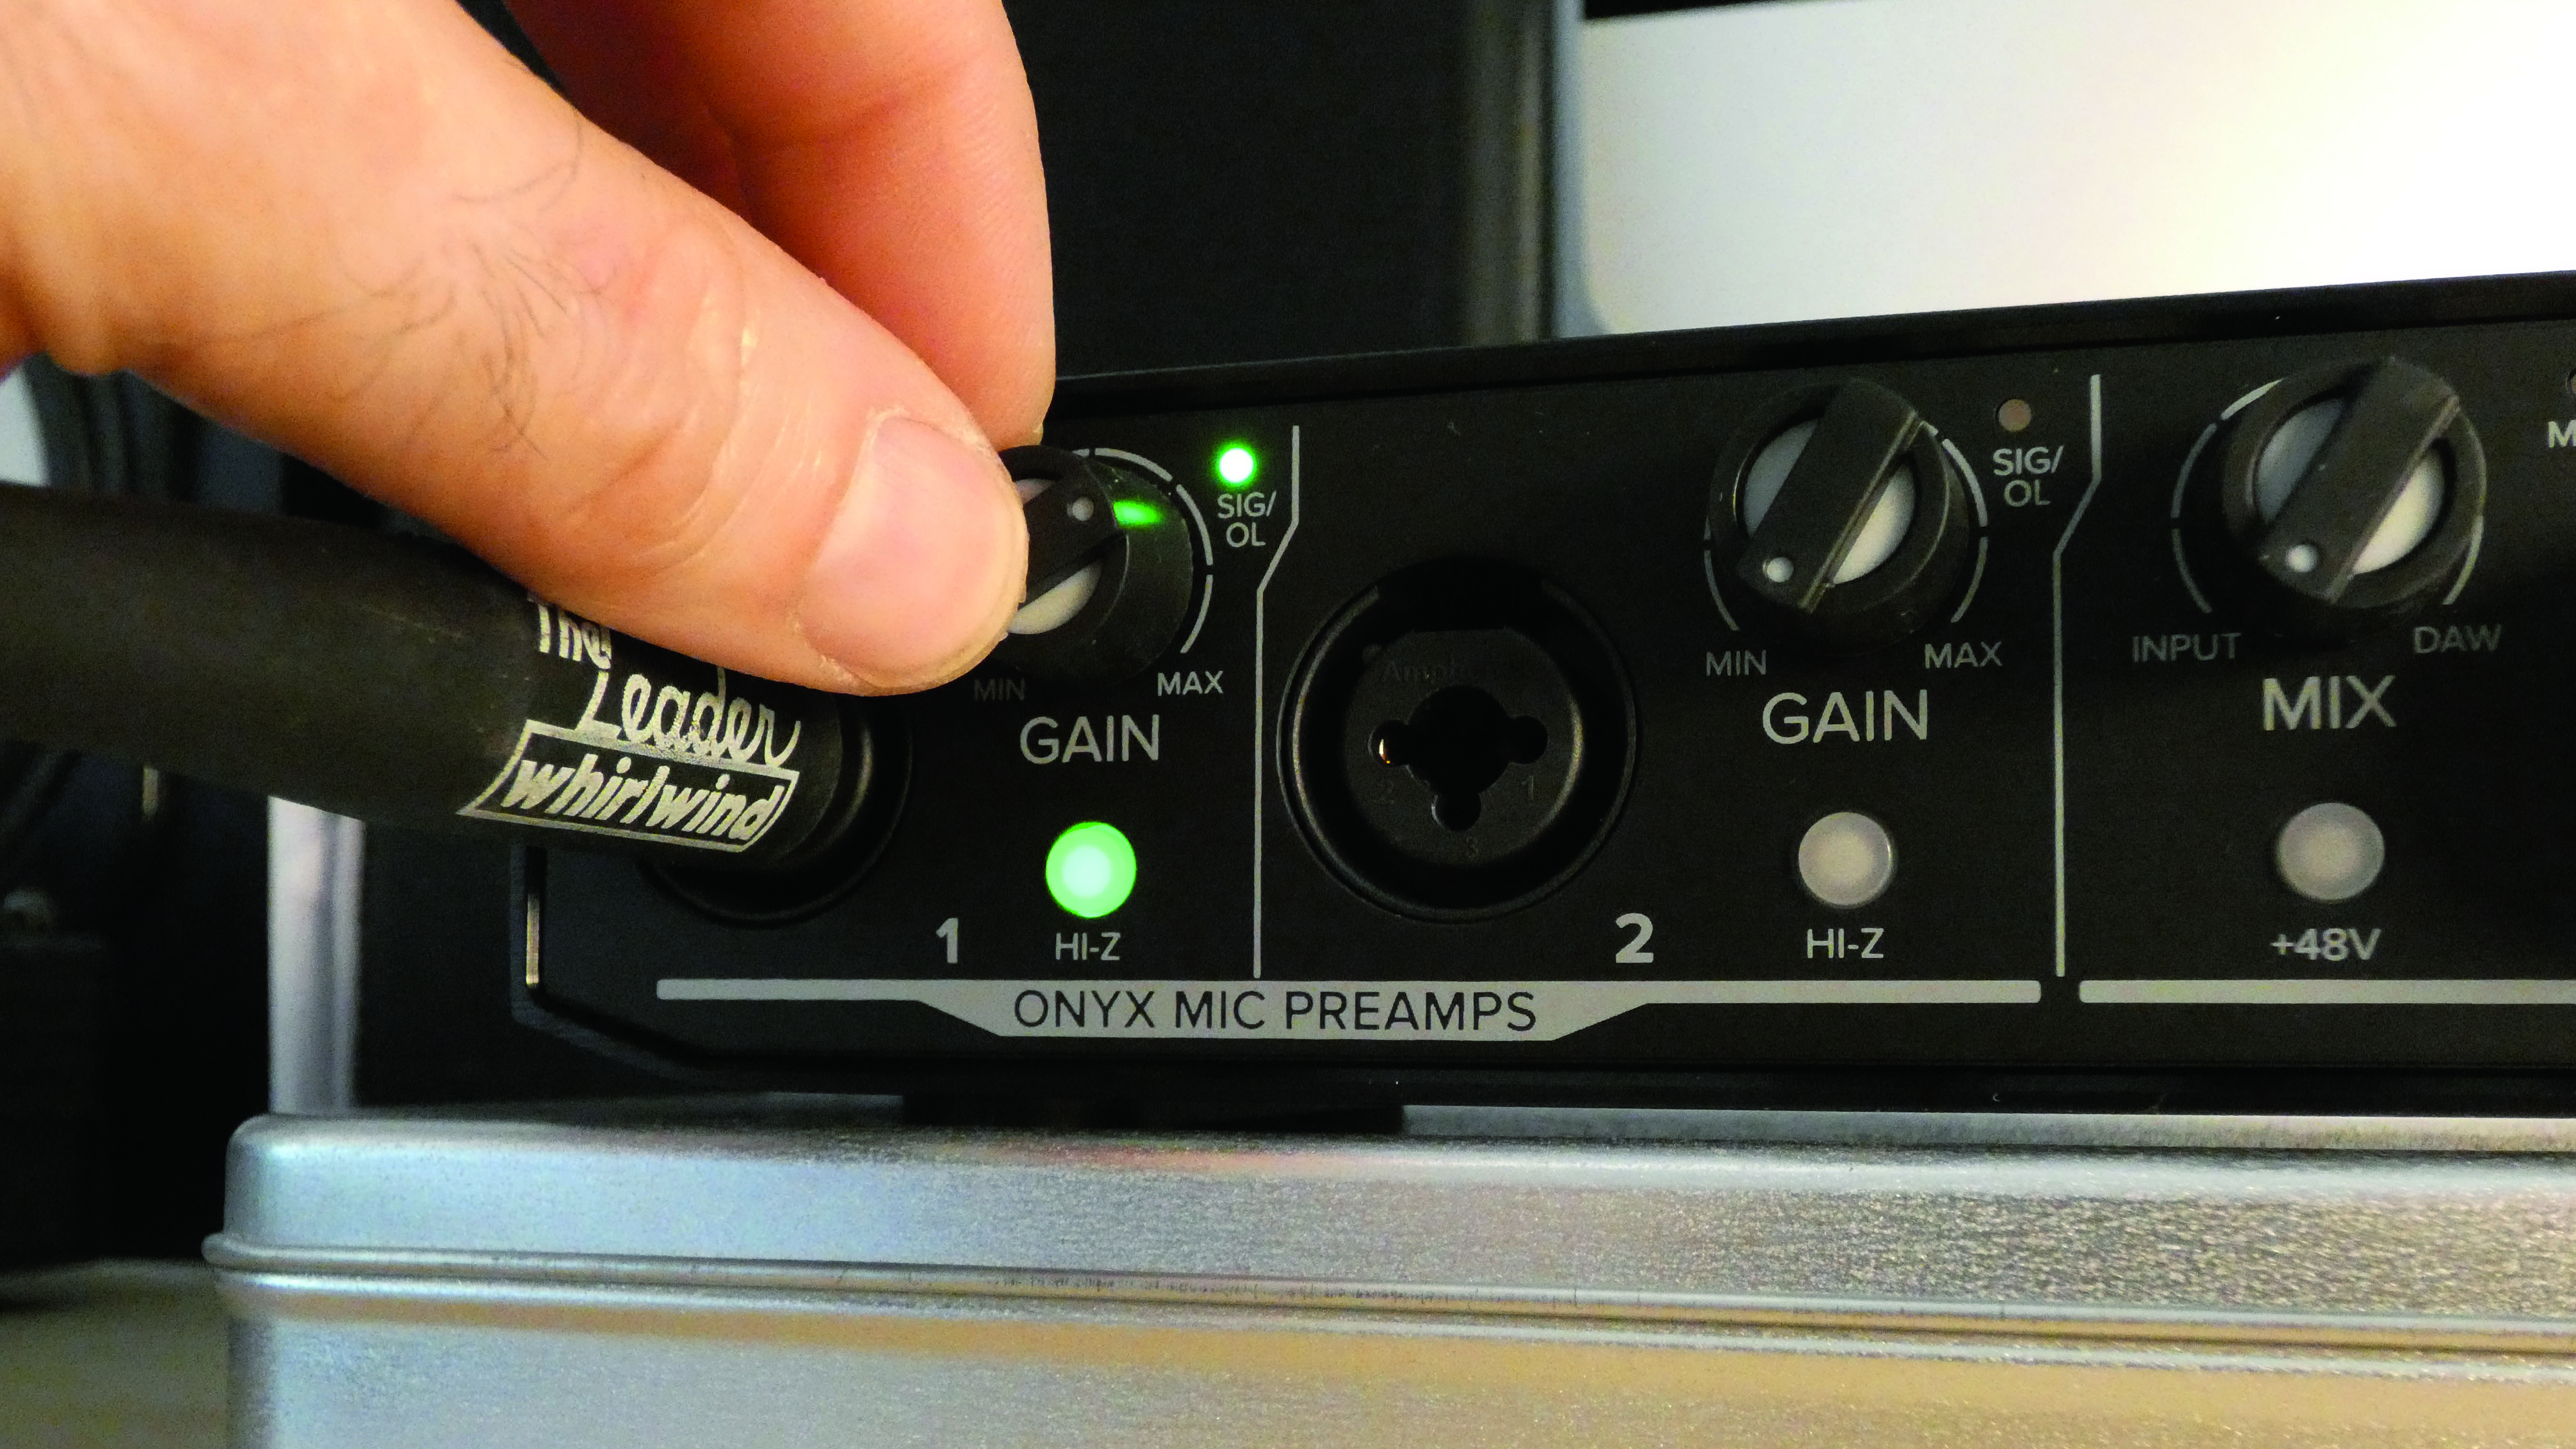
If you’re using DI instruments like electric guitars, bass guitars, and synthesizers, then you’ll be using the instrument inputs on your interface. Most interfaces have an ‘instrument’ button which adds an extra boost to the signal to bring it up to the right level. This can sometimes be labelled as a ‘hi-z’ input on certain interfaces. When plugging a DI instrument, make sure to engage this button to ensure a good signal.
If you’re using a condenser microphone for recording vocals, then you’ll need to engage ‘phantom power’ once you’ve plugged your mic in. Phantom power provides an additional power source to the microphone, and it won’t work without this. On many interfaces, this button will be labeled ‘48V’, which is the amount of power it sends to the microphone. Be careful about using this mode with anything other than a condenser mic, as phantom power can damage vintage ribbon microphones.
Now that we’ve got that out of the way, let’s get on to getting our preamp gain right.
Step 1 - Check your metering
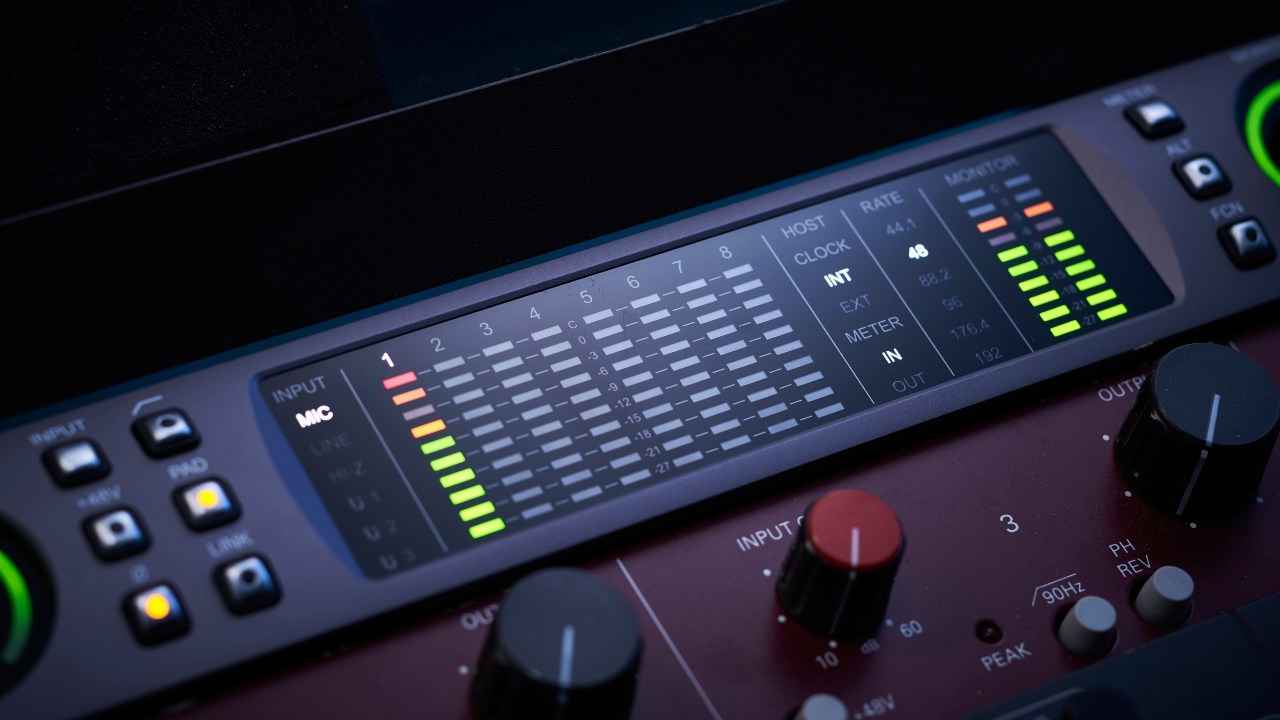
Most audio interfaces include some kind of metering on the front panel. This is usually a light that goes from green to red to indicate a good signal or too strong a signal. Many modern interfaces come with a companion app that allows you to see a more detailed picture of your metering so where possible, we highly recommend using this versus the less accurate lights on your interface.
Want all the hottest music and gear news, reviews, deals, features and more, direct to your inbox? Sign up here.
Audio metering uses a traffic light system with green for good, orange for hot, and red for clipping. Depending on what instrument you're using or your genre of music there are creative use cases for setting the signal into the orange, but most of the time you’ll want it to be green, and avoid hitting the red completely.
Step 2 - Set your gain
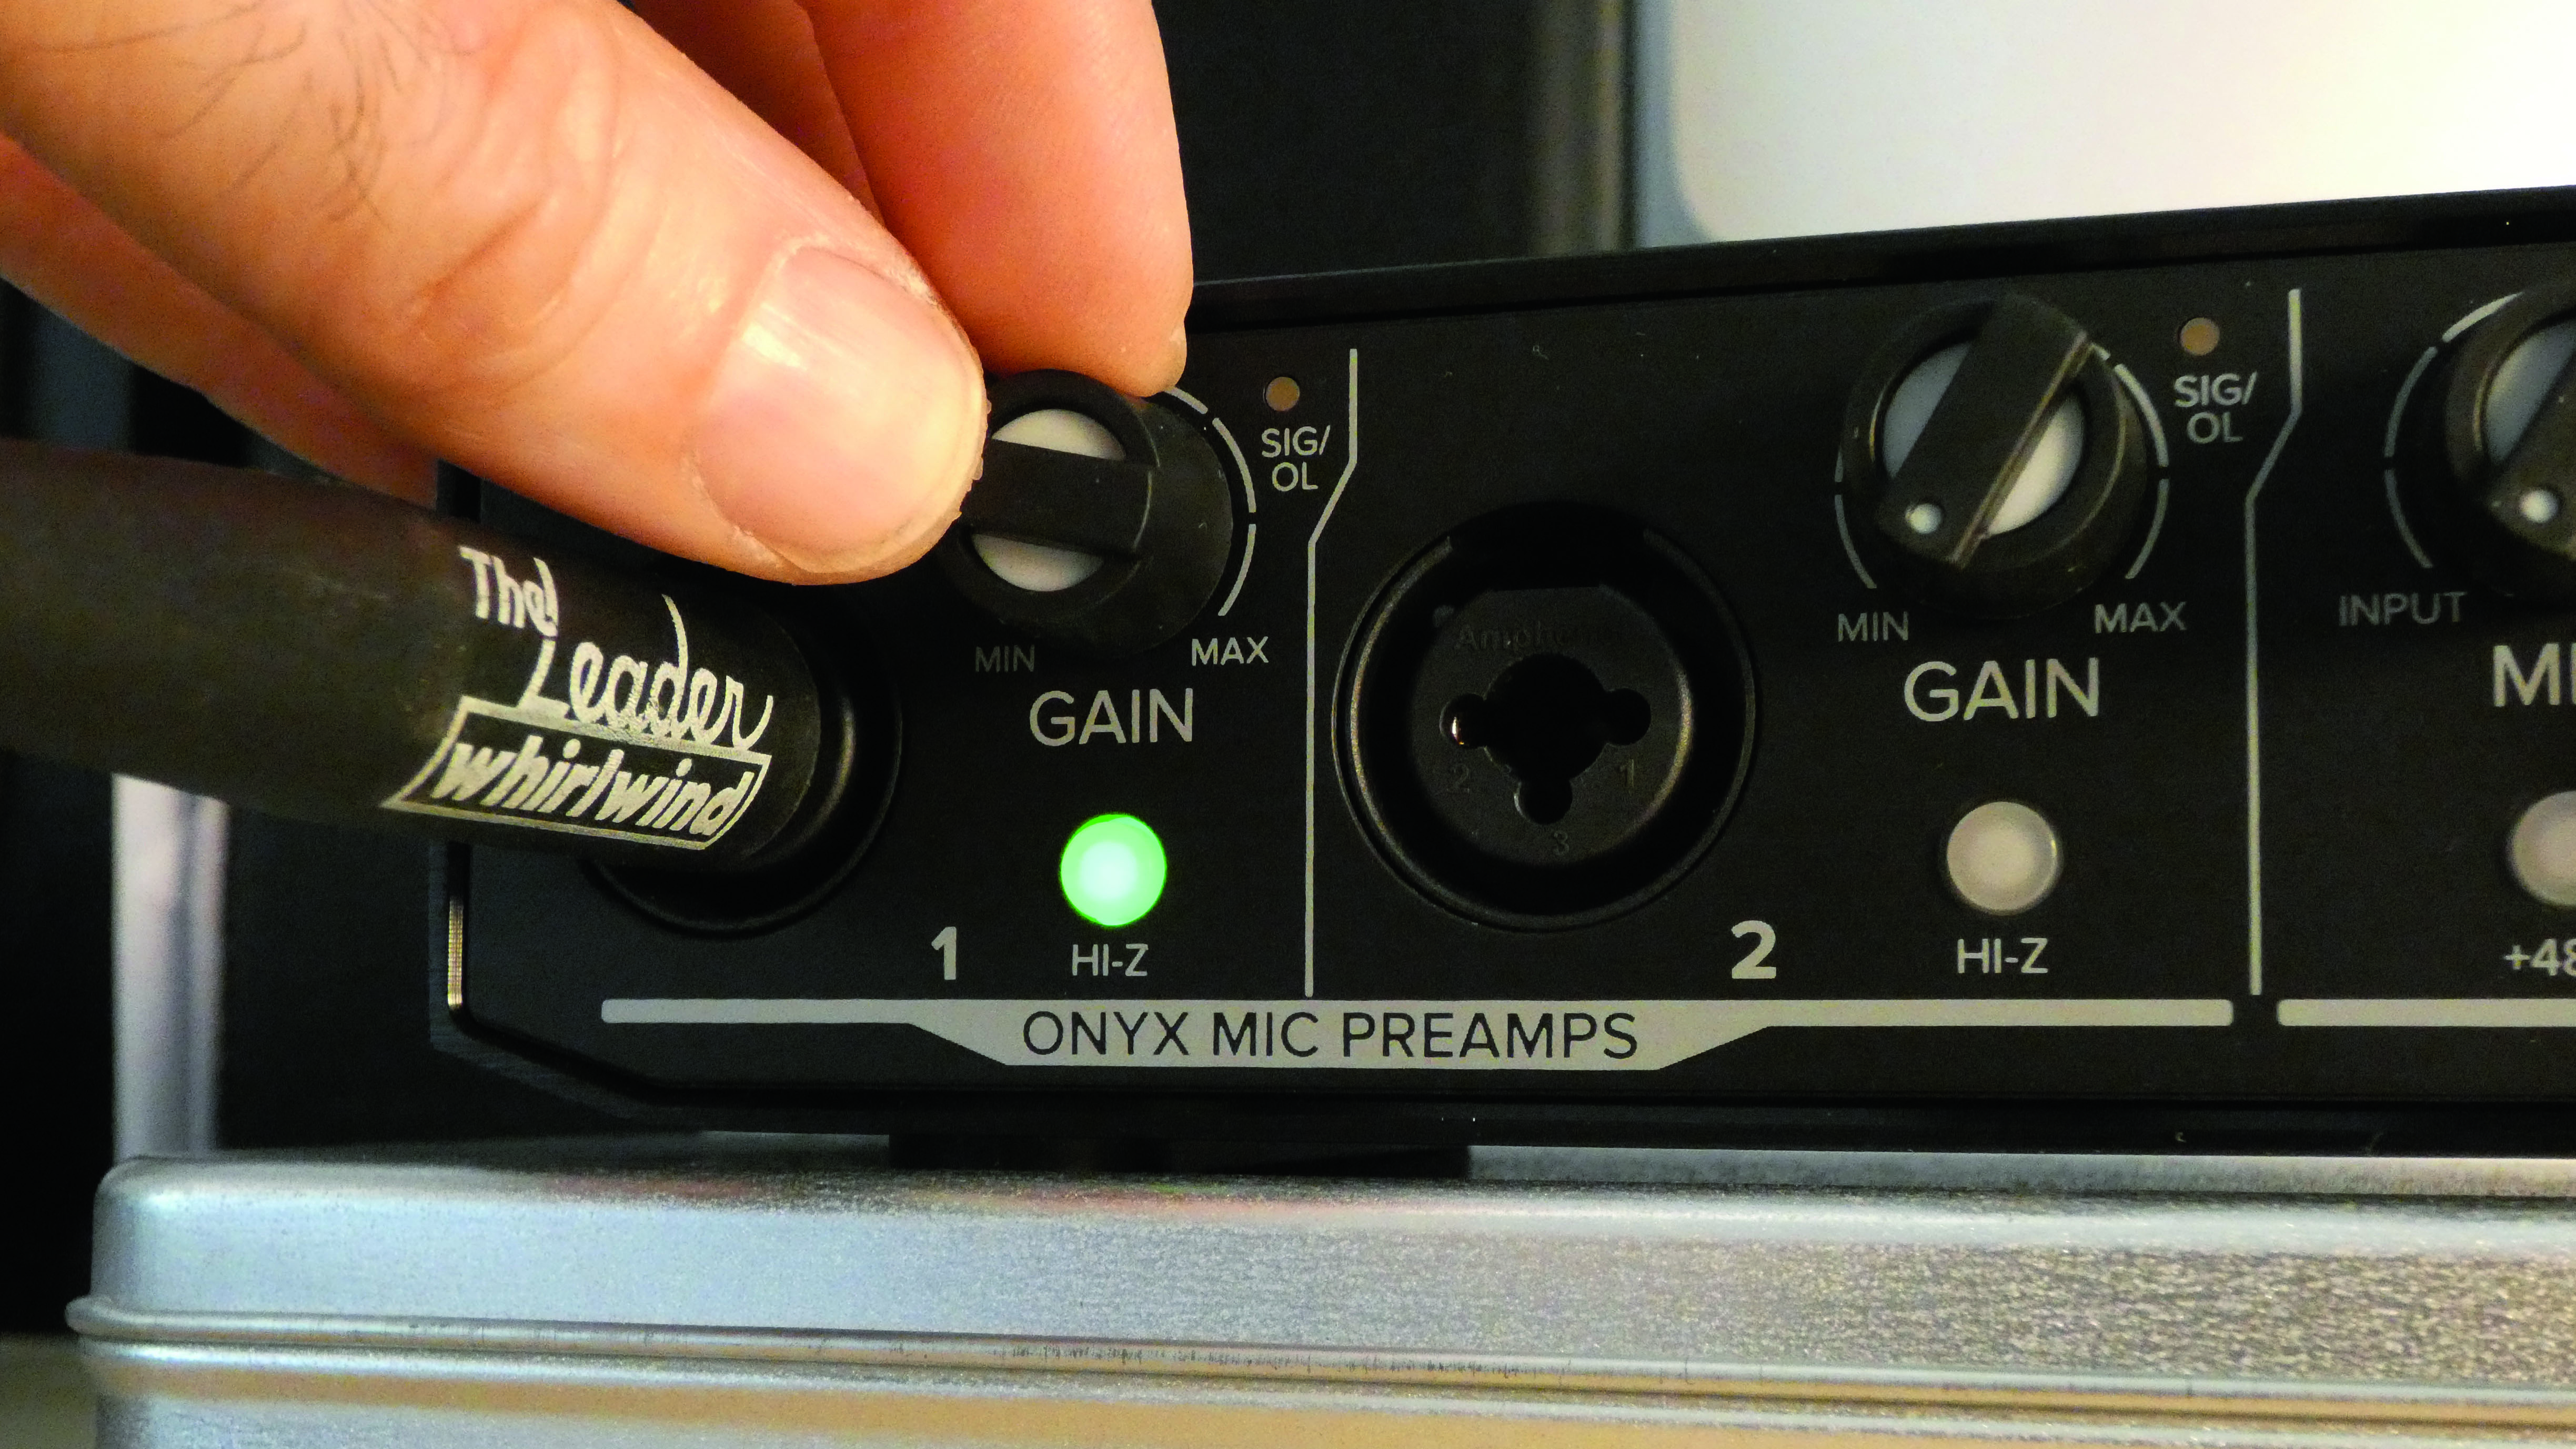
Start with your gain knob at the lowest settings and whilst playing your instrument or singing into your mic, gradually turn the knob up until you start to see the lights flashing back at you. You want to get it consistently into the green and try to avoid seeing orange or red.
If you’re using your DAW or app monitoring, make sure that your signal is consistently hitting somewhere between the -15 and -6 dBFS mark. Getting the signal here ensures you have a good quality signal, whilst giving you enough headroom to add EQ, compression, and other effects during the mixing phase.
Whilst you’re setting the level, it’s important to actually listen to the sound of the instrument or mic in question and adjust further. Don’t just rely on what your eyes are telling you. Sometimes it’s good to close your eyes and listen to what you’re hearing, and make adjustments up or down accordingly.
Step 3 - Initial run-through
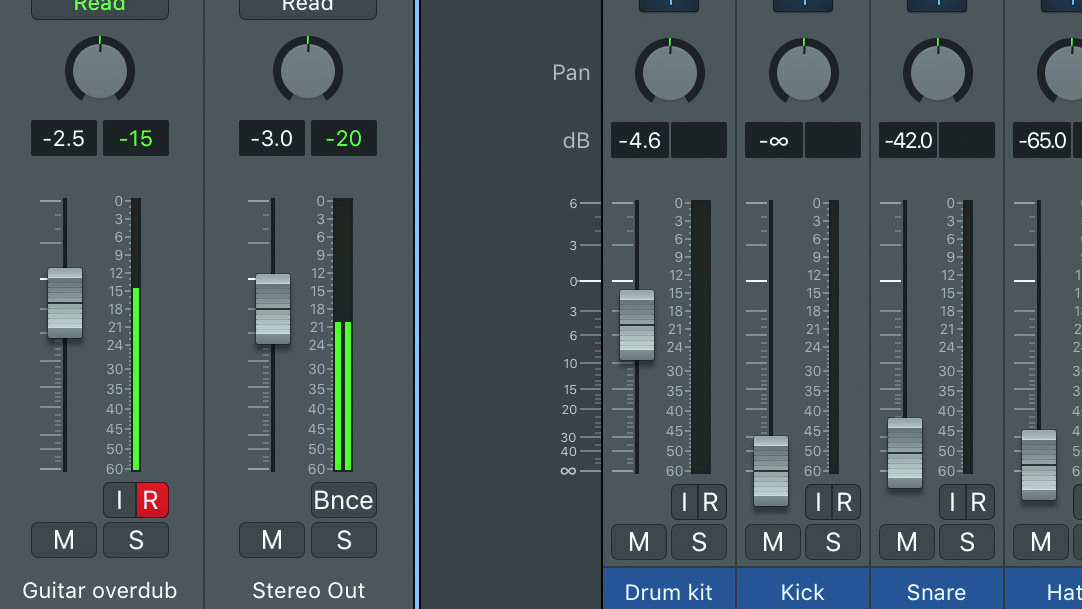
Now that you’ve got a good level, you should play or sing your actual part whilst watching your meters. Musicians tend to play a little harder or push their vocals more when they’re actually recording, so doing this is a great way to double-check check you have got the right levels. If you suddenly see things hitting the red, then you can drop your levels a bit to account for this when you do the actual take.
Pro tip - make sure you do actually hit record when doing this. When you tell a musician it’s just a practice run they tend to play with a little less pressure, so you could end up with a perfect take if you’ve got your settings right!
Step 4 - Consistent checks
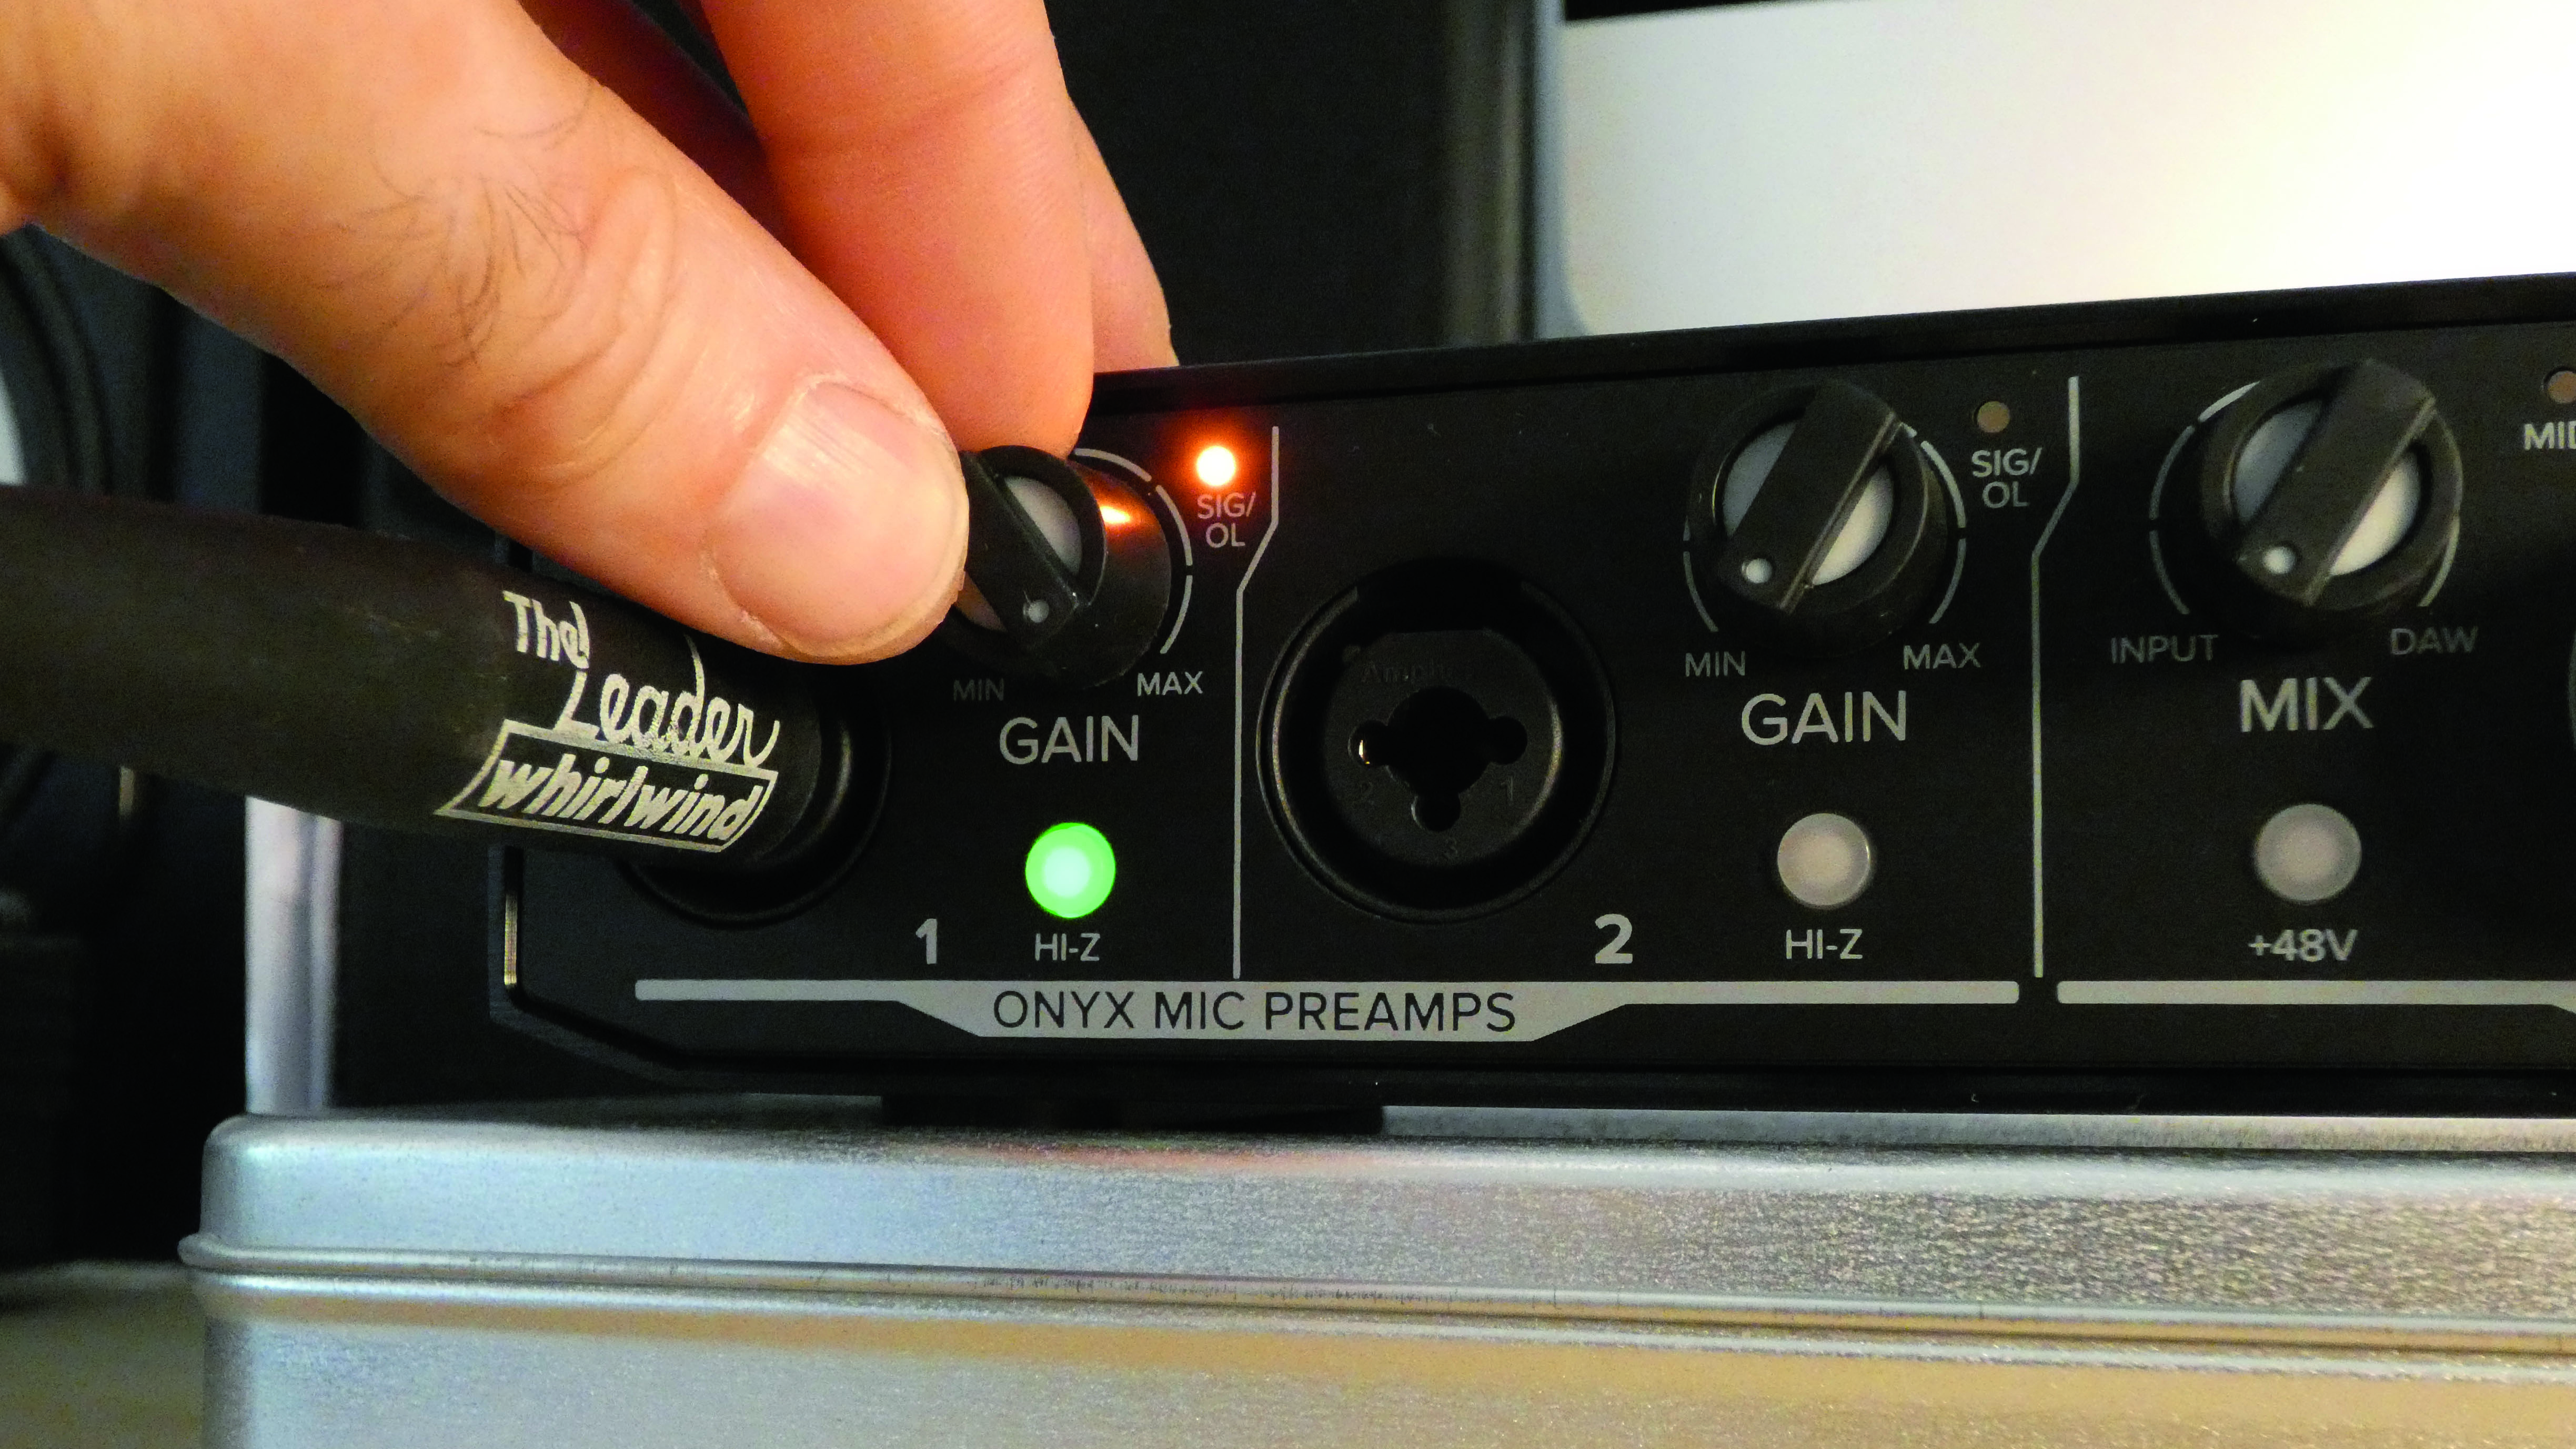
Once you’ve set the levels, never just assume that it’ll be good for the rest of the session. Most musicians aren’t robots that play the same way every time, so make certain to keep checking your levels throughout to make sure you’re still hitting the sweet spot.
A drummer may suddenly decide they want to hit a lot harder in a certain section, or a guitarist might take a gentler approach to plucking their strings and if you don’t adjust the input gain accordingly you could ruin a great take.
A note on using guitar plugins
For a long time, it was presumed that the same way you record in the studio would apply to using direct input guitars and guitar plugins, but recent research into the topic indicated that this isn’t necessarily true.
In fact, for a lot of audio interface and guitar VST combinations, you should leave the gain knob set near zero. If you’re using an amp simulator plugin for your recordings then check out our article on how to use an amp simulator with an audio interface for a deeper look into this.
Conclusion
Setting your preamp gain will be different for every instrument, and even for every musician you record. There's no one-size-fits-all approach, so make sure to consistently check your metering and most importantly, listen with your ears and not your eyes to nail that perfect sound.

Matt is a Junior Deals Writer here at MusicRadar. He regularly tests and reviews music gear with a focus on audio interfaces, studio headphones, studio monitors, and pretty much anything else recording-related. Matt worked in music retail for 5 years at Dawsons Music and Northwest Guitars and has written for various music sites, including Guitar World, Guitar Player, Guitar.com, Ultimate Guitar, and Thomann’s t.blog. A regularly gigging guitarist with over 20 years of experience playing live and producing bands, he's also an alumnus of Spirit Studios, where he studied studio engineering and music production. When not writing for MusicRadar, you'll find him making a racket with northern noise punks Never Better.