How to plug mics and instruments into your audio interface
Not sure how to plug into your shiny new audio interface? Get set up for recording like a pro
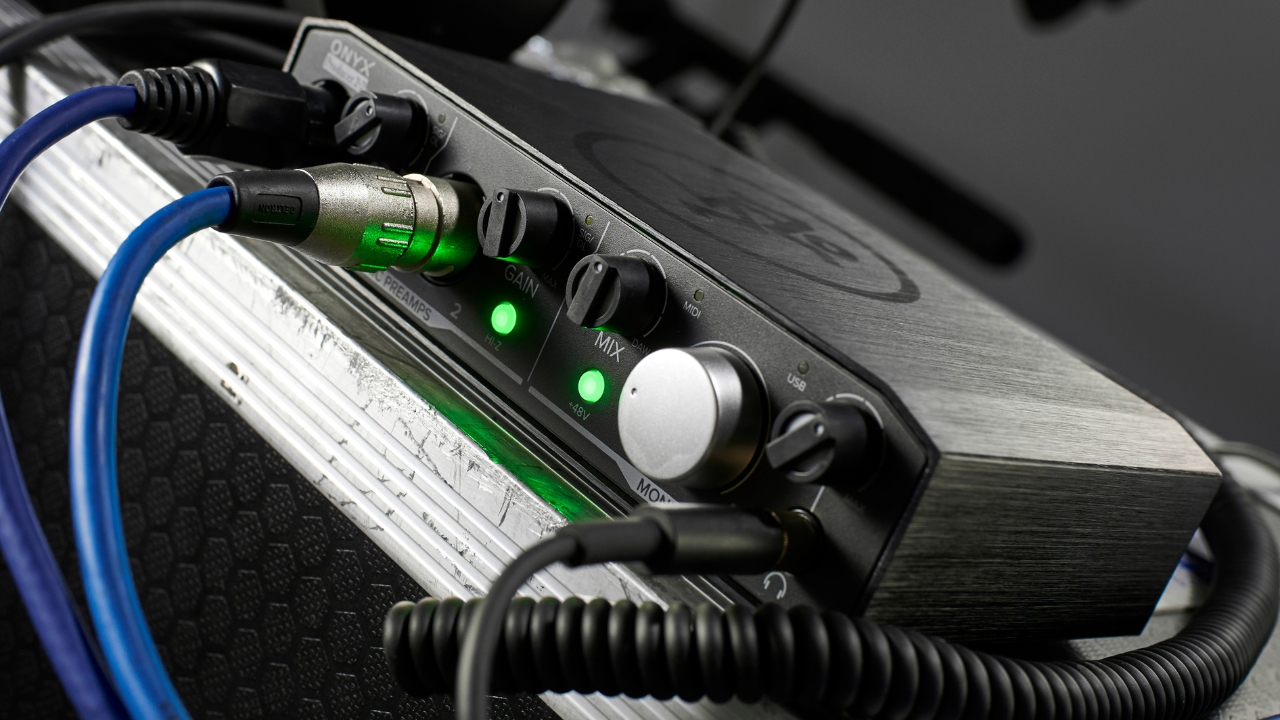
Plugging a mic or instrument into an interface is an easy process right? Just whack them in and away you go sort of deal. Well, not quite. There are a few things you should know before you jump into recording your next song, and if you’re using an audio interface for the first time, these tips will ensure you’re recording the right way.
Home recording is so accessible nowadays that pretty much anyone can get to grips with it, but there’s still something to be learned from those who record in professional environments. Using your mics and instruments the right way with your audio interface not only delivers better recording quality, but also makes sure your equipment lasts longer. Let’s get to it.
Step 1 - Mic & stand position
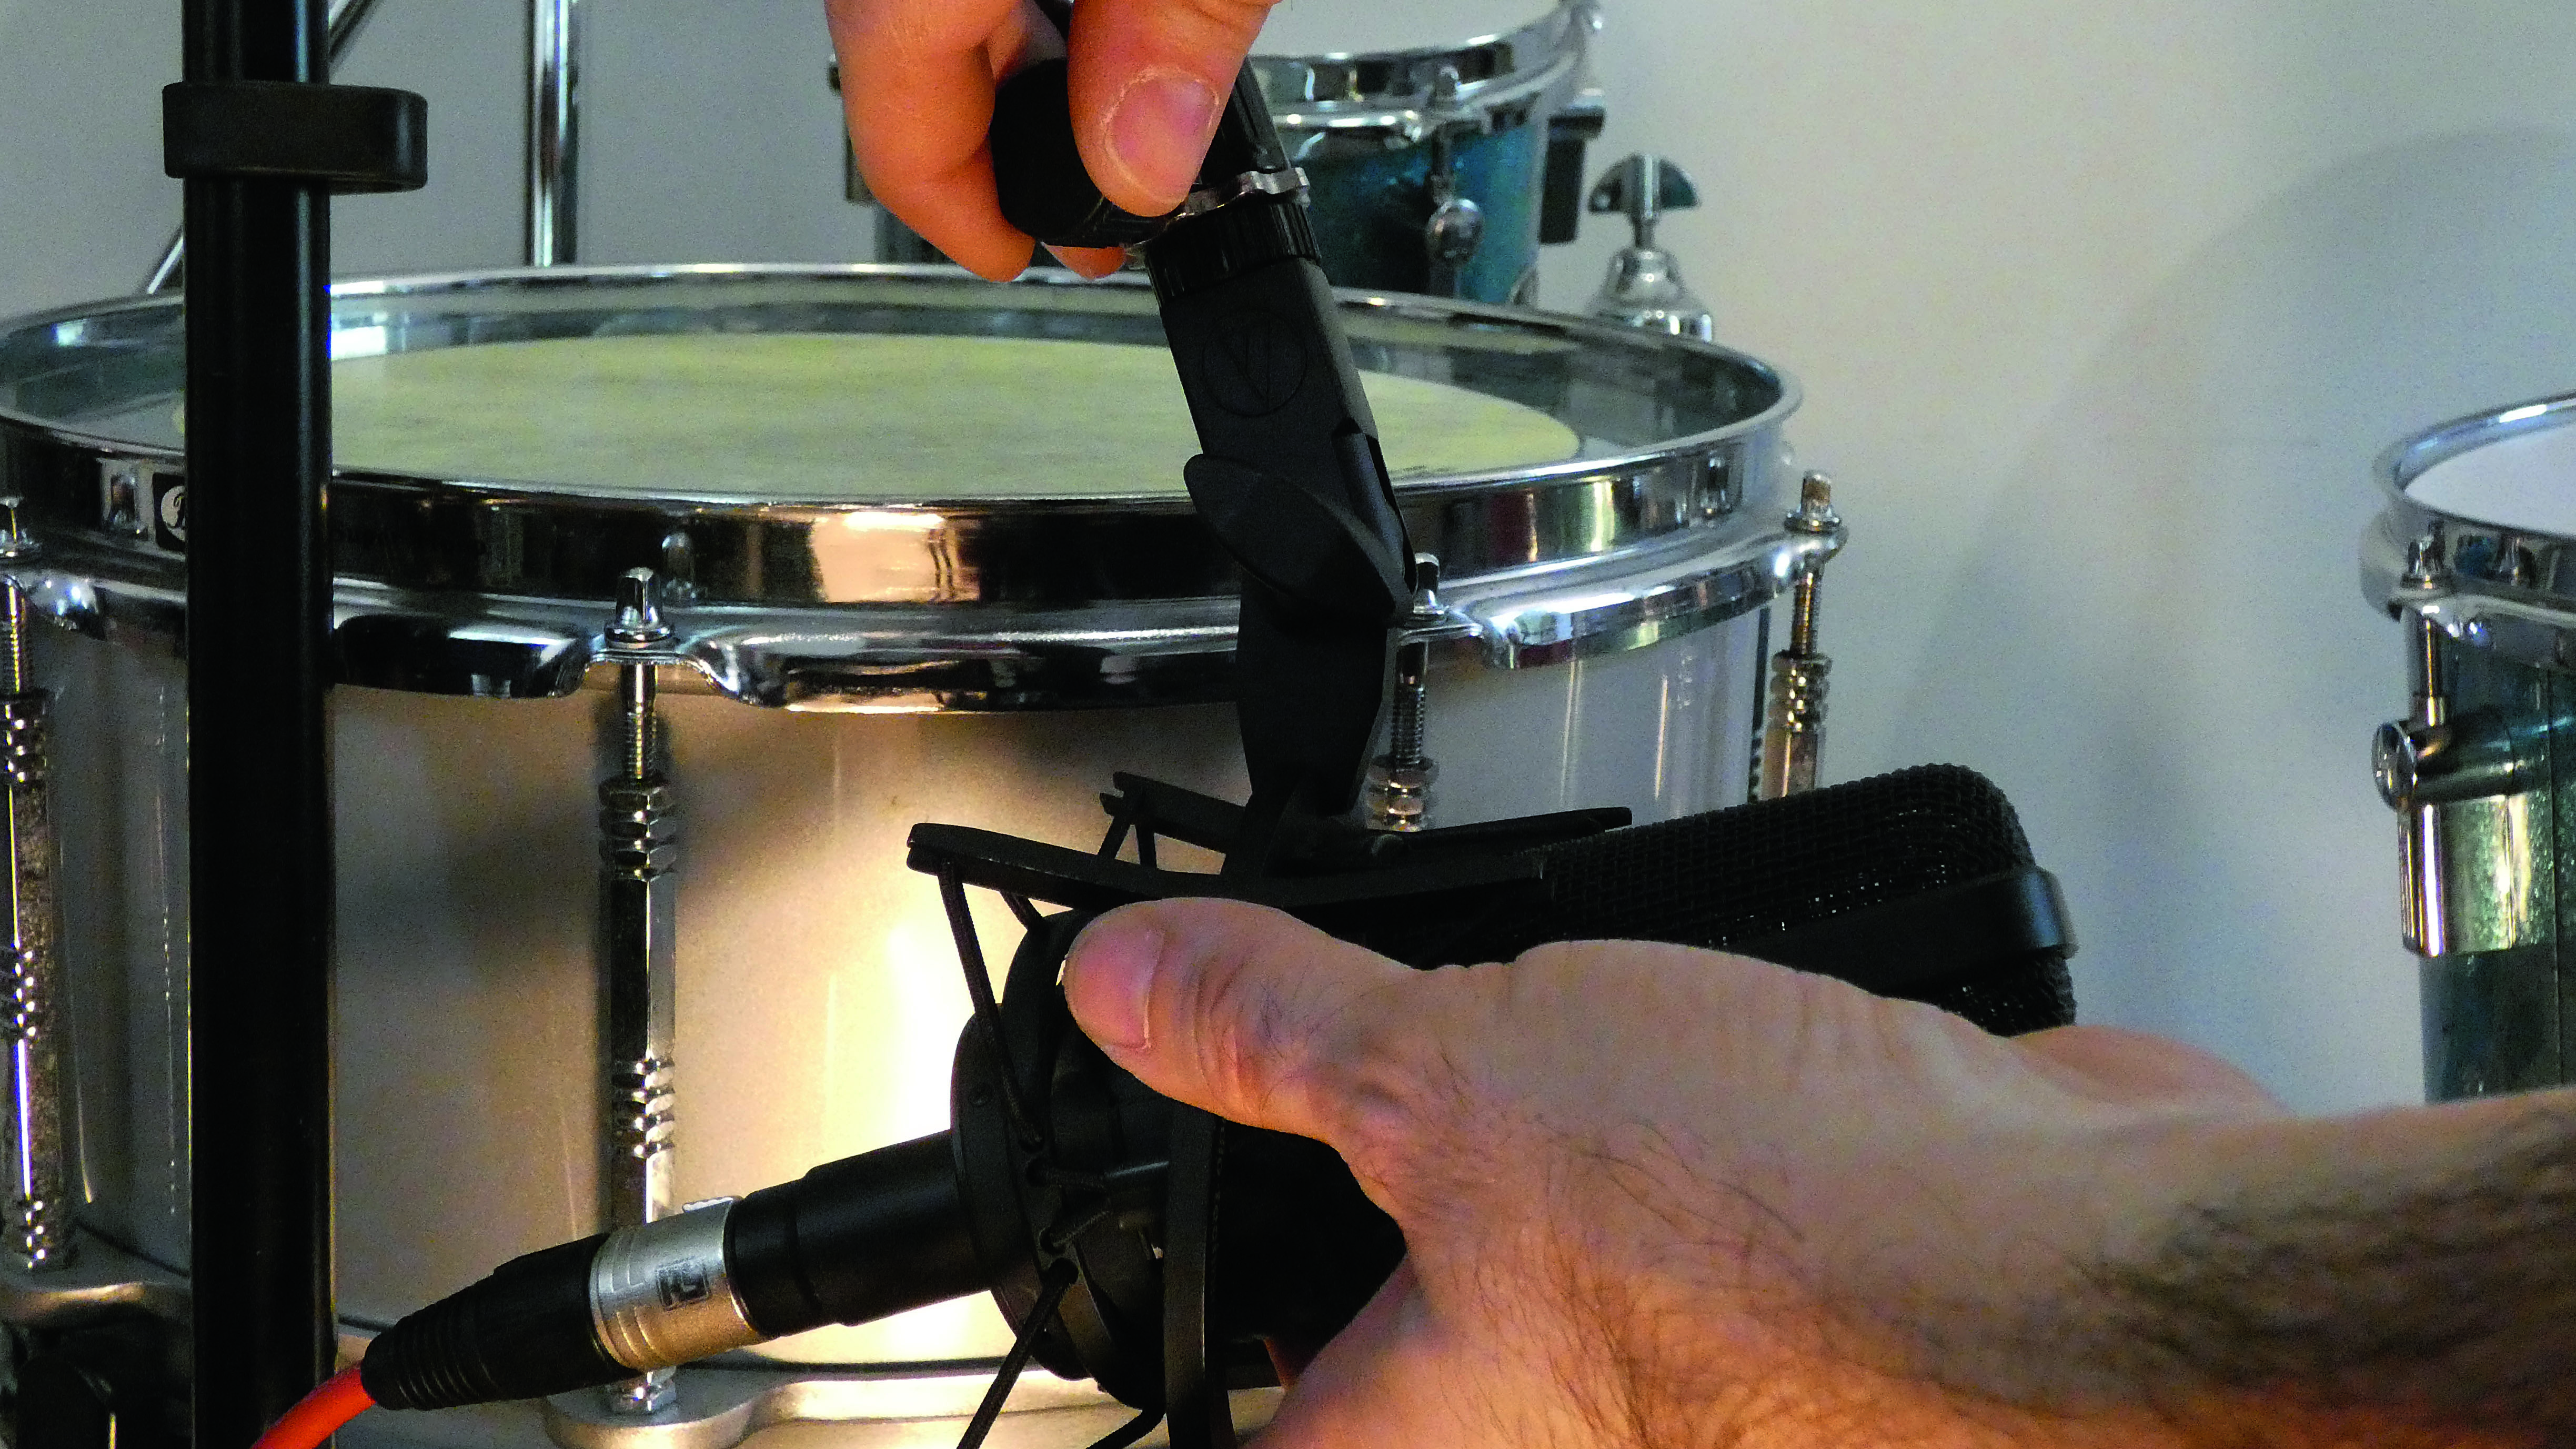
Before you start plugging things in you’ll need to get your mic and mic stand positioning right. Getting this correct ensures you don’t have any accidents with falling mic stands that can spell disaster for your painstakingly placed rig.
When setting up your microphone on a stand, make sure that you’re holding onto the mic itself whilst positioning the mic stand to prevent it from falling onto your instruments or the floor. If you’re using a boom stand, position one of the tripod legs so it's in line with the boom for extra support, and consider placing a counterweight on the base of the stand if you’re reaching over a long distance or have a particularly heavy microphone.
Once the position is set, make sure you have a cable that’s long enough to comfortably reach the input of your audio interface with plenty of slack in it. Hooking a cable around a mic stand can help keep it out of the way of any flailing arms or legs, and running the cables in an organized manner not only helps you keep track of what’s plugged into where, but prevents anyone tripping over them too.
Step 2 - Volume down
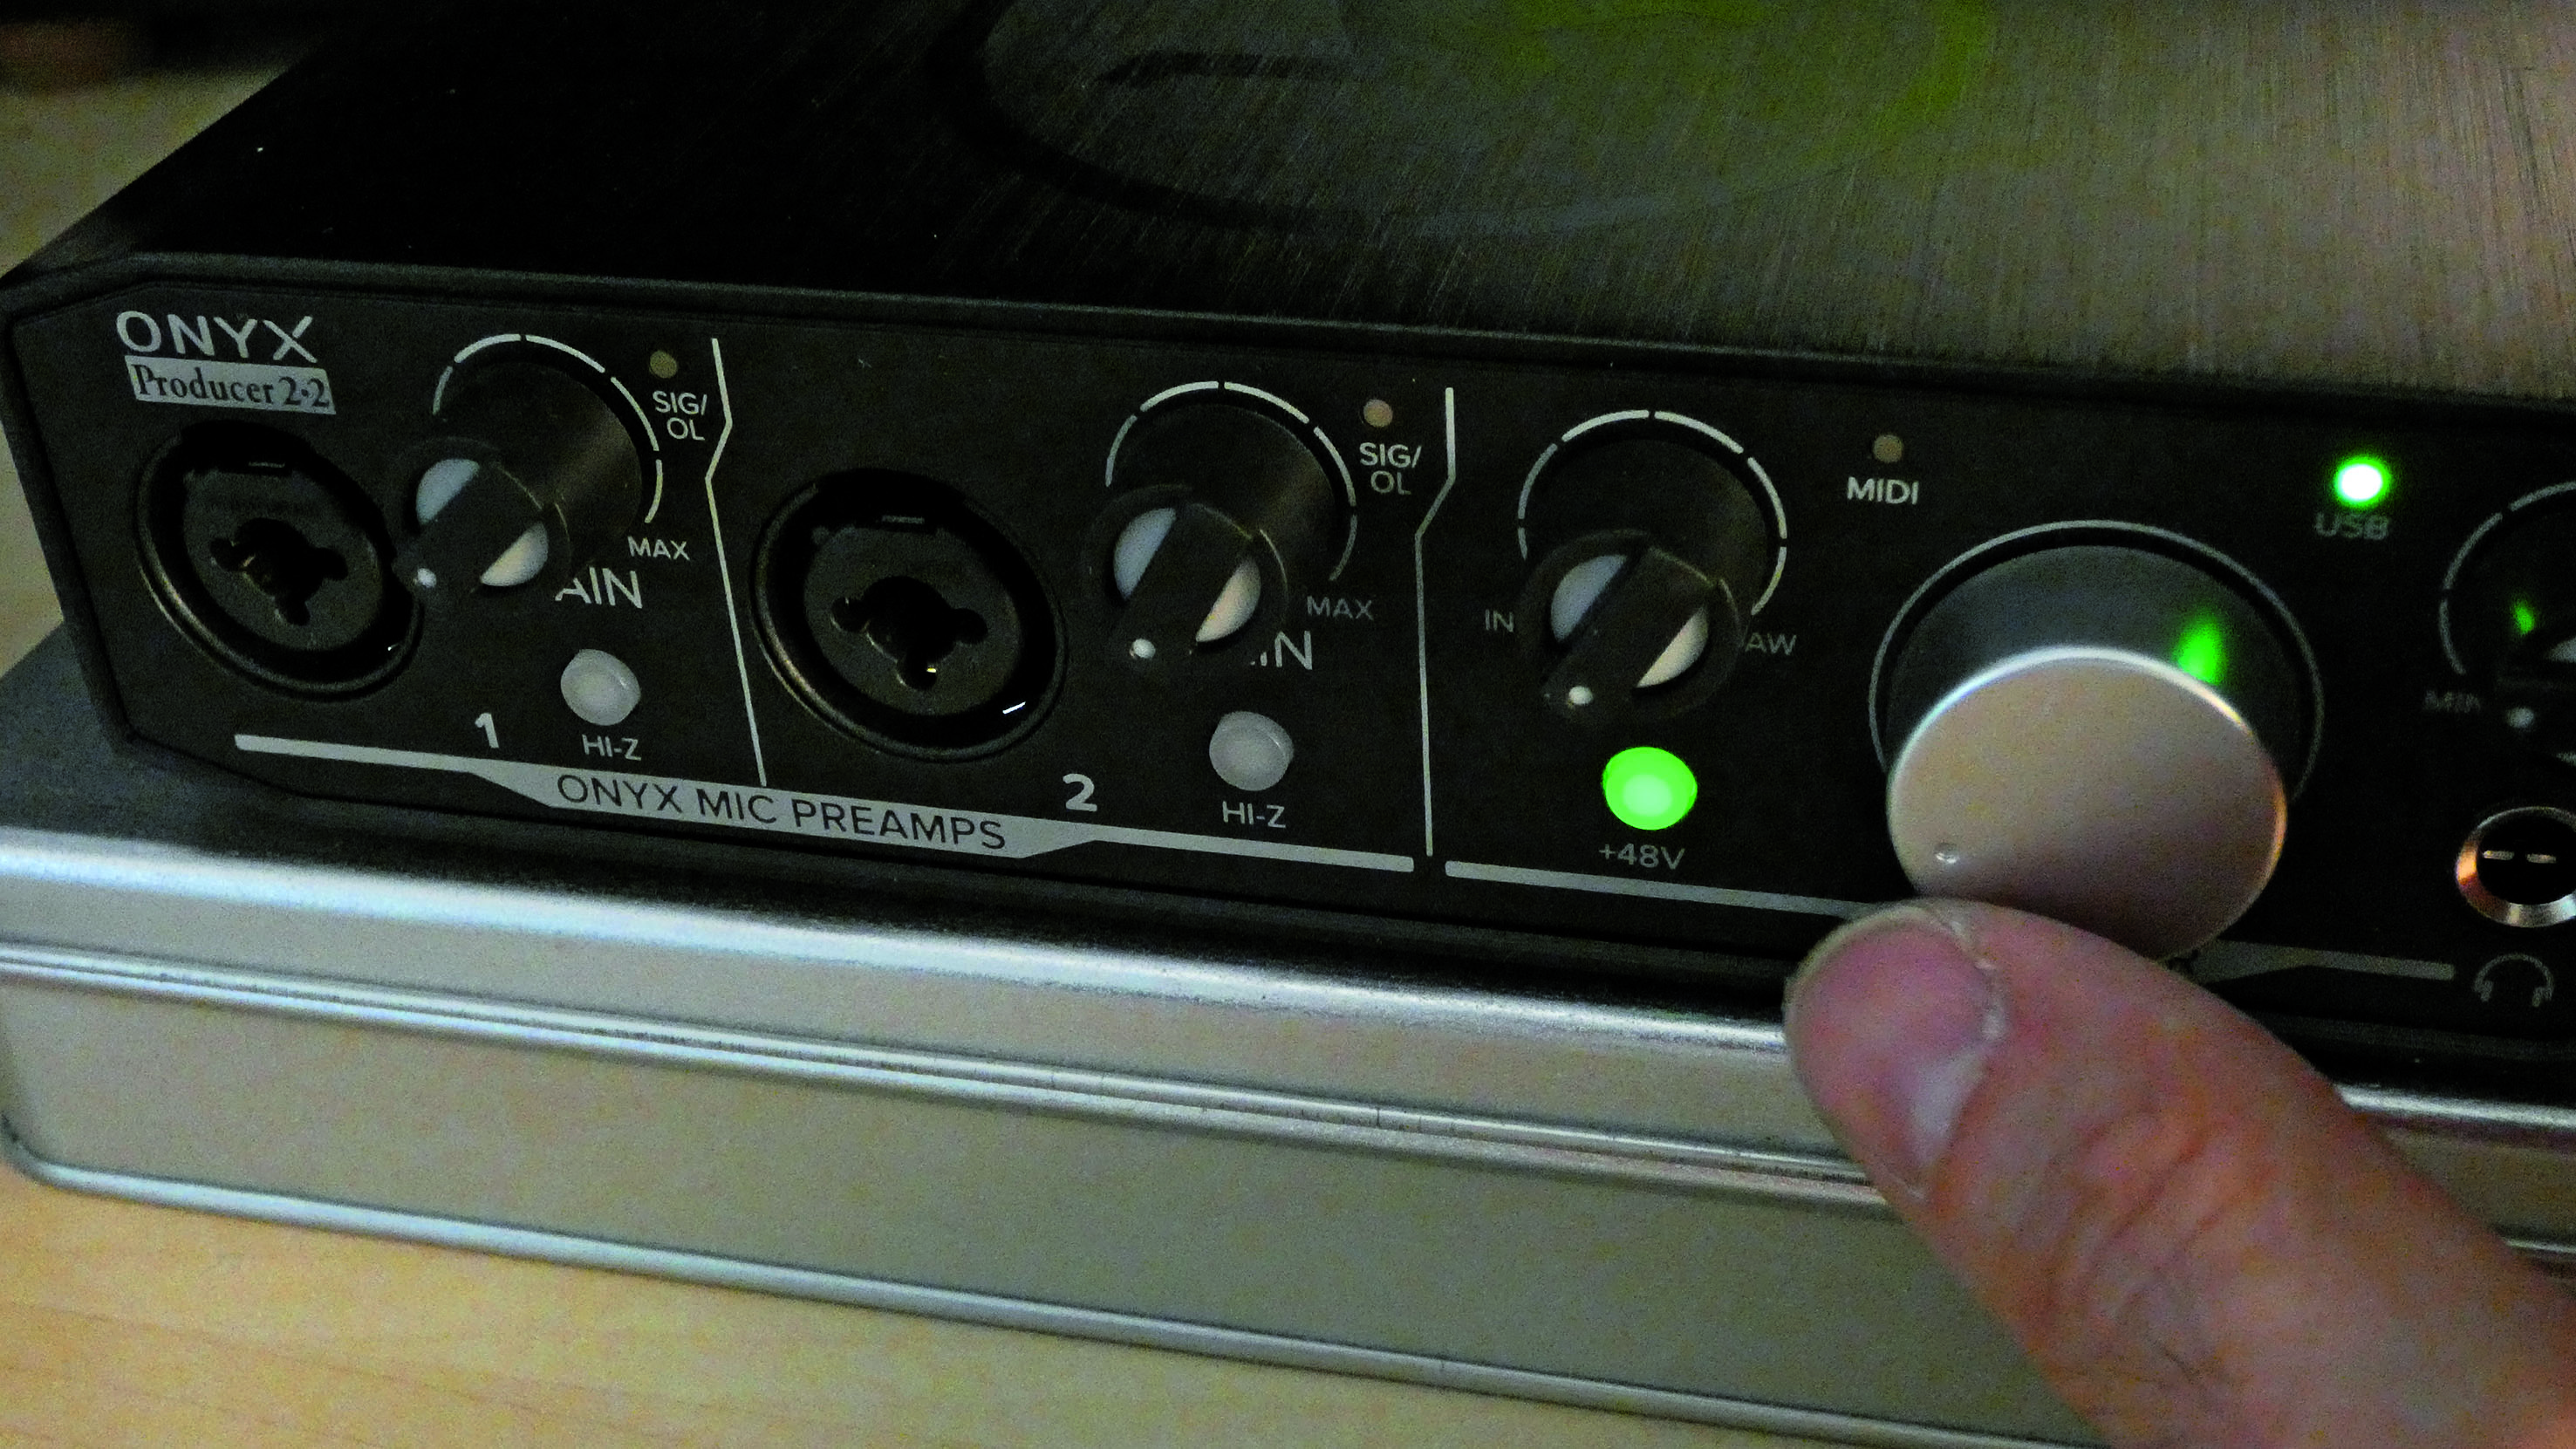
One of the most crucial things you need to do before plugging your mic into your audio interface is to ensure that your studio monitors are either turned off or the master volume on your interface is down.
Plugging in with the volume up will result in a loud pop through your speakers. This won’t damage them if done a few times, but done repeatedly over time adds wear and tear to your monitors and in extreme volume cases can damage them.
Want all the hottest music and gear news, reviews, deals, features and more, direct to your inbox? Sign up here.
Step 3 - Phantom power off
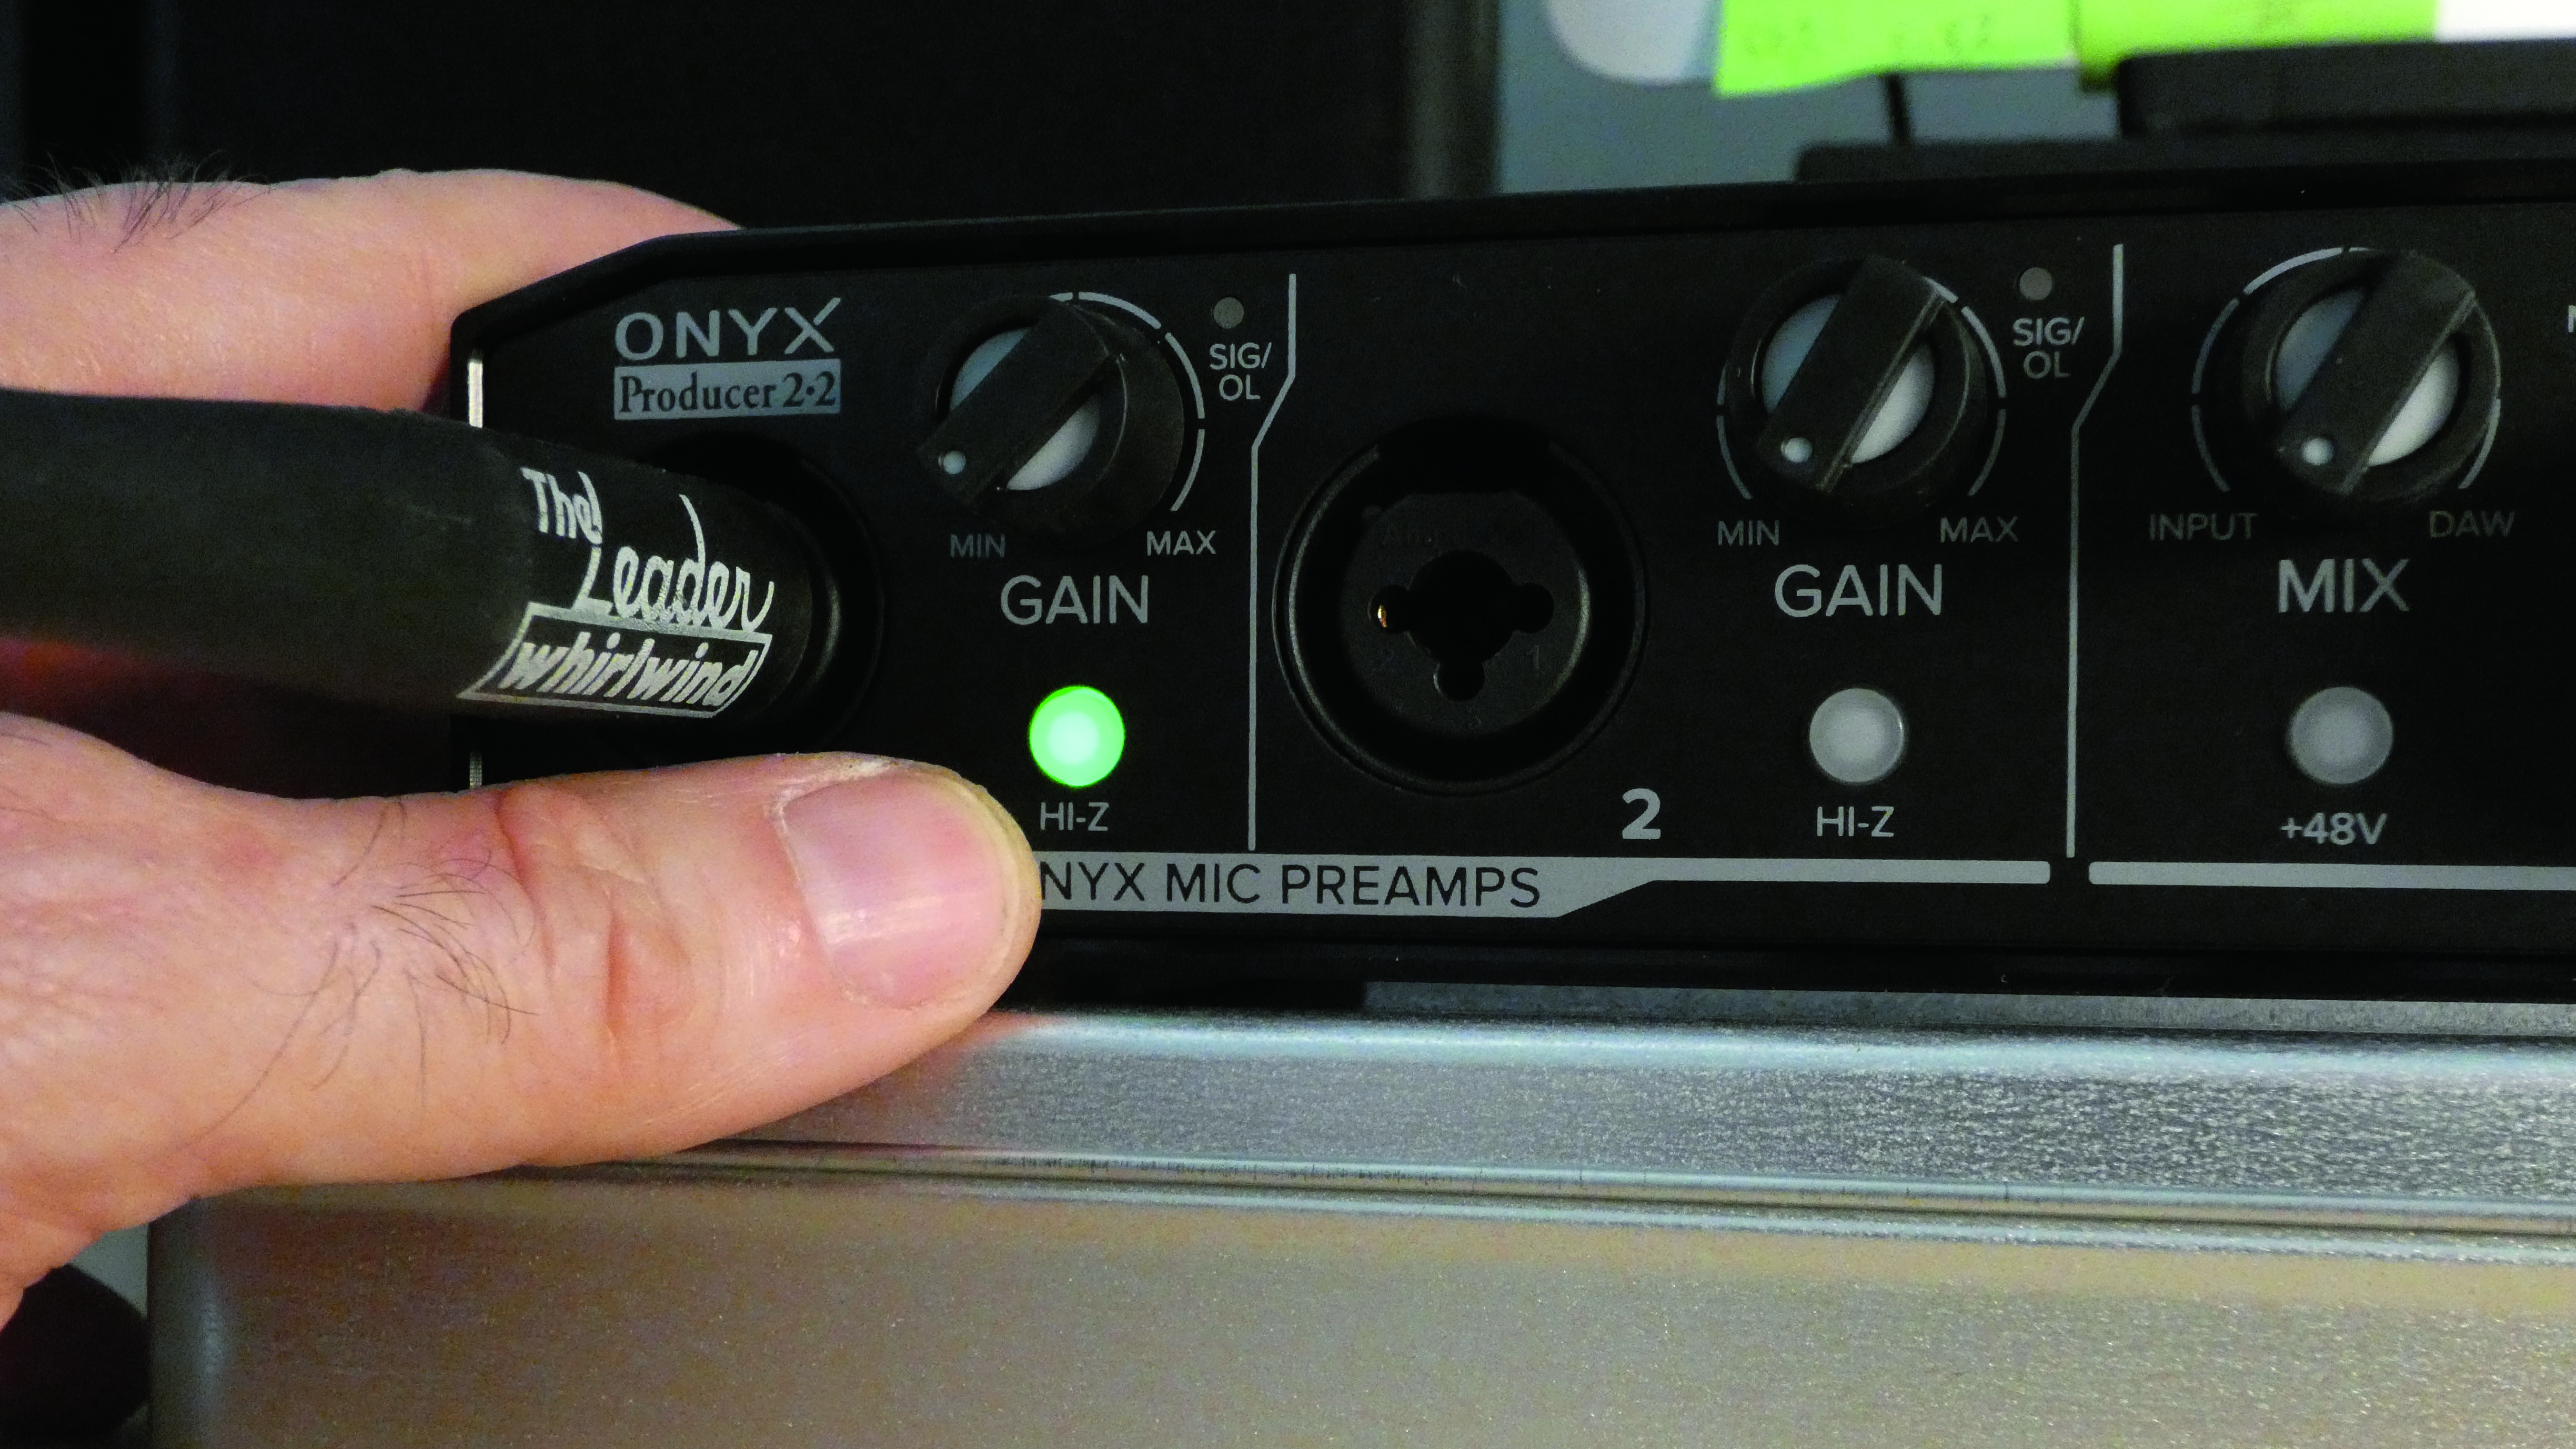
Even if you’re not using a condenser microphone that requires phantom power, always make sure that phantom power is turned off before plugging your mic in. Although having it on when plugging a condenser or dynamic mic in isn’t likely to damage your gear, it can potentially be disastrous for sensitive ribbon microphones.
Step 4 - Power down
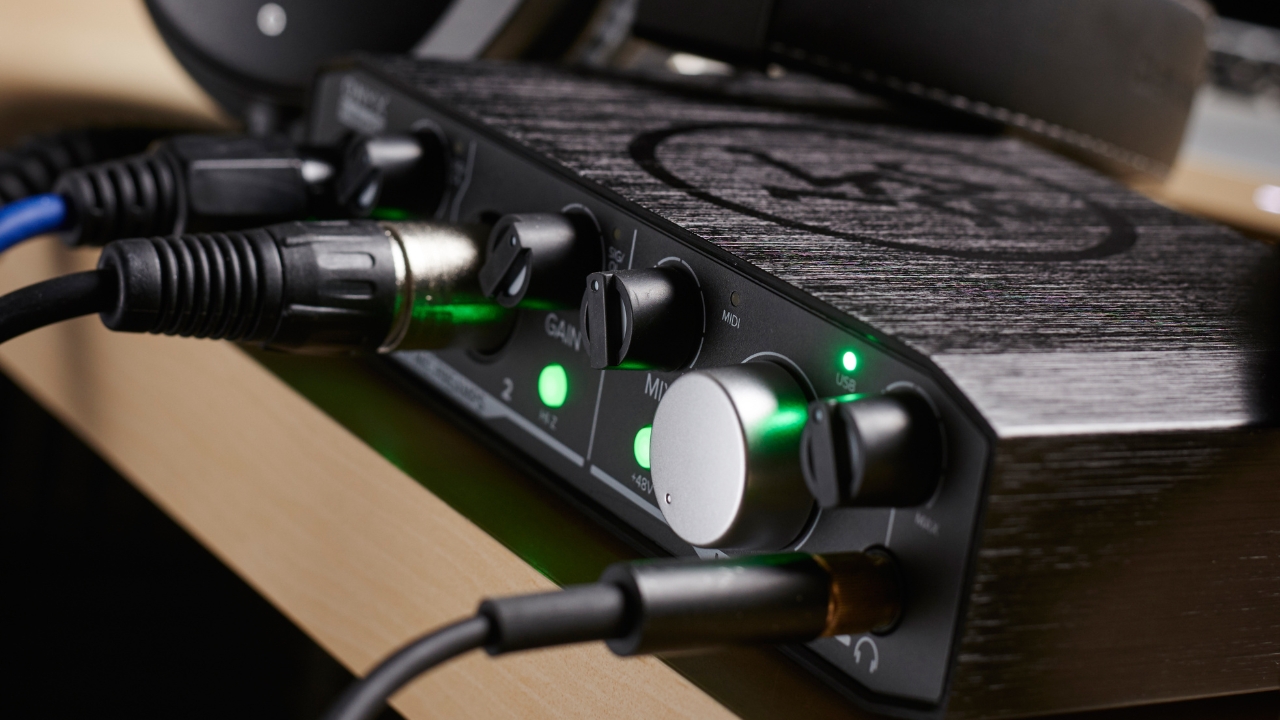
Once you’re done with your recording and ready to shut down your DAW, make sure that you turn the volume down or monitor power off before you start unplugging your microphones. If you don’t do this once again you’ll get a loud popping sound that’s bad for your ears and those of the musicians you’re working with.
If you’re using phantom power, make sure to turn this off as well before unplugging to ensure no damage occurs to your gear. We’re not saying that damage is likely in either of these cases, but it’s good practice to prevent loud pops from damaging your hearing or over time, and potentially your speakers.
Read more

Matt is a Junior Deals Writer here at MusicRadar. He regularly tests and reviews music gear with a focus on audio interfaces, studio headphones, studio monitors, and pretty much anything else recording-related. Matt worked in music retail for 5 years at Dawsons Music and Northwest Guitars and has written for various music sites, including Guitar World, Guitar Player, Guitar.com, Ultimate Guitar, and Thomann’s t.blog. A regularly gigging guitarist with over 20 years of experience playing live and producing bands, he's also an alumnus of Spirit Studios, where he studied studio engineering and music production. When not writing for MusicRadar, you'll find him making a racket with northern noise punks Never Better.