
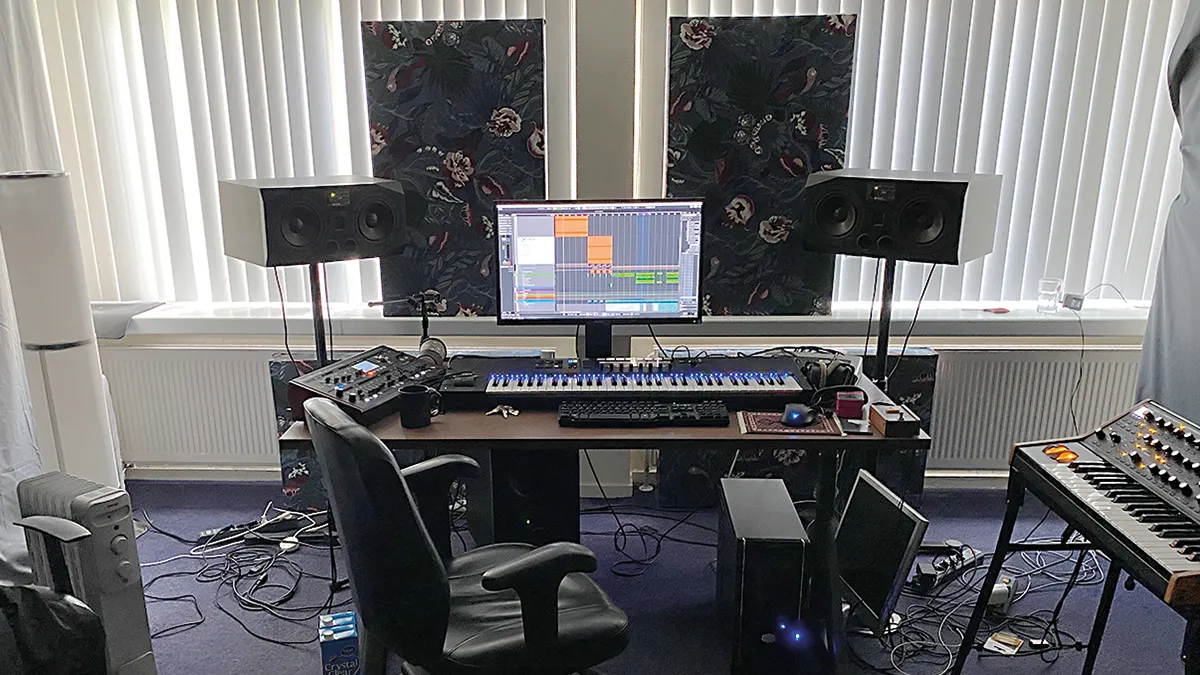
RECORDING WEEK 2022: So, you're building a home studio. Once you've set up your control room, it’s time to consider the recording room.
All the treatments discussed for the control room apply equally to the rooms we want to actually make noise in. Let’s be honest: you’re never going to achieve a large, neutral, ambient space in the average home, so unless you have a hall with a minstrel gallery, you need to aim for dry.
The issue that usually first springs to mind when thinking about making a studio space at home is soundproofing. Unfortunately, unless you’re purpose-building a control room or live room and you want to spend a fortune and render the space pretty much unusable as a part of your house, there’s very little you can do about this.

Double and triple glazing will do a good job of keeping out general noise, but it’s almost impossible to keep 100% of noise out (or in) unless you’re physically isolated from your surroundings. Low frequencies will arrive in your room by physical transmission from outside, and nothing you can stick on your walls is going to make any difference – you just have to work around it.
How to build a home studio: speaker positioning and room correction
If you live in a flat or a terraced house, you might want to think twice about attempting to set up anything more than a small control room with some high-quality headphones for your musicians.
Sometimes even the physical sound of someone playing a keyboard can be a nuisance to neighbours living on the floor below. We know that from experience…
Windows are often cited as a weak point, and all you can really do is shut them tightly, use thicker glass, or seal them (with mastic, say) if it’s safe to do so. If the window is in a recess, you could try cutting a 100mm-thick MelaTech shape (we don’t have shares in MelaTech) to fit snugly in it, but this will only earn you 1-2dB of reduction at most. Using tightly fitting fire-doors with acoustic seals can also help a bit.
Whatever you do, avoid the following totally useless sound isolation treatments – not only because they don’t work, but also because most are fire and/or health hazards.
- Egg boxes
- Carpet on the walls
- Furniture foam on the walls
- Cavity wall insulation
- Fibreglass insulation panels on the walls
- Plywood or MDF on the walls
- Rubber matting on the floor
- Any kind of ‘soundproofing’ paint
Noise reduction hardware and software
Alongside the proliferation of computer-based home studios, we’ve thankfully also seen a vast improvement in the quality of noise reduction software. Waves X-Noise and Z-Noise are great for tackling broadband noise like computer cooling fans, while iZotope RX and Accussonus Era are very useful for dealing with everything else including planes, trains, birds, creaking chairs and kicked mic stands. Used with care, these tools really can help solve noise pollution.
If your studio is a one-room affair (that is, just a control room), you’re obviously going to find it very difficult to record soft vocals or acoustic instruments in there – especially picked acoustic guitar – without also capturing the sounds of your computer’s fans. It’s well worth, therefore, getting your computer into a different room if you possibly can, or just out into the hall. USB and other extenders are affordable, and make it easy to ferret that noisy gear away.
You can also do a fair bit to quieten your computer. Macs are pretty quiet, by and large, but if you find yours is spinning too much, it’s generally because you have too many apps running. PCs are much easier to modify, and if yours is making a racket, it might not be too difficult to replace your stock CPU cooling fans with another cooling system.
Noise reduction tactics
There are some awesome bits of software out there that can help you sidestep many of the traditional noise and loudness problems that are intrinsic to recording live musicians, particularly in a home environment.
Even in a well-soundproofed building, you can still hear a band playing, especially at night. A drummer hoofing a kick drum alongside a hefty bass amp powering a 15-inch cab is always going to make an undefeatable racket.
So, if you don’t have one already, make it a priority to get hold of a high-quality amp/cab simulation software suite such as Native Instruments Guitar Rig, IK Multimedia AmpliTube and the like. If you’re a Logic Pro user you’ve already got some good options in Amp Designer and Bass Amp Designer.
These can give your bassist and guitarist a really great sound, enabling them to perform to the best of their ability while you capture their performance via DI. You could always re-amp it later if the sim doesn’t do it for you – in the daytime, maybe?
Another realistic option – particularly for rock and metal bands – is a MIDI drum kit (the Roland TD series, for example) combined with a drum ROMpler like FXpansion BFD, perhaps with some real cymbals and hi-hats thrown in for good measure.
This shouldn’t upset anyone (apart from maybe the drummer) and could actually get you a better result than recording a real drum kit – not the easiest of tasks in the average house. This won’t be so good for soft, more expressive playing, but if that’s the vibe you’re going for, then a softly played real kit may well be a viable option anyway.
Earthing
As soon as you start sending a signal from one device to another, it becomes susceptible to all kinds of interference that can show up on your track as unwanted buzz, fizz and hiss.
The most common sort is earth hum. In a perfect setup, all your audio equipment would be grounded at a single, very effective earth. That way there would be no current flowing in conductors and cable shields, and consequently no current introduced into circuits and signals.
Your home probably has reasonable earthing, but the actual earth points can be numerous, shared between houses and sometimes a good distance away. Installation may not be up to ‘broadcast’ standards, and the distribution of power in your house may be on ‘rings’, which can cause further problems.
The best thing you can do to keep your audio clean is to use only balanced connections wherever possible. Connecting mics to audio interfaces using XLR-to-mono-jack cables is simply not allowed, we’re afraid, and mono jack leads are for connecting guitars, pedals, amps and unbalanced instrument outputs (such as old synths) only. If you’re serious about recording, this is an unbreakable law.

For all microphones, you must use balanced XLR cables. Balanced connections use three wires: ‘hot’, ‘cold’ and ground (earth). On an XLR, these are pins 2, 3 and 1 respectively, while on a TRS jack they’re tip, ring and sleeve. The cold wire carries no signal, but will pick up the same interference as the hot wire. When one is electronically phase-reversed, the noise cancels itself out, leaving a clean signal.
Guitars, pedals and amps are more problematic to connect over distance, and prone to earth hum as they can’t take advantage of balanced connections. The walkthrough that follows shows how this can be dealt with.
Earth lifting
To solve earth hum, it’s standard practice to ‘lift’ or disconnect the earth (ground/pin 1/sleeve) at the input of an audio interface, for example. This can be done on an individual cable, on a loom or across a section of your patch bay. Be sure to label wherever you’ve lifted an earth, though, as while it may get rid of any hum, it could also allow different interference in.
Great care should be taken with lifting earths on guitars and amplifiers; electrocution is a real possibility. Use a specialist unit for earth-lifting guitars if possible (again, see the walkthrough below). It’s not the most exciting thing to blow 200 quid on, but it’ll make your home recording experience much more pleasant – and safe.
Getting clean signals over a distance

Step 1: This is the transmit end of a buffered line driver system: a powered unit with a high-impedance instrument input. The first step is to plug the guitar into the input. If the guitarist is in the control room, a DI output can be taken direct from the transmit box to your DAW for later re-amping or processing through an amp sim plugin.

Step 2: A balanced XLR cable takes a clean, boosted and balanced instrument signal as far as you need it to go in order to reach the amplifier. You can even join XLR cables together without fear of interference creeping in. This particular system uses its own signal type; you couldn’t plug the other end of this cable into a mic input!

Step 3: This is the receive unit, and it lives at the other end of the house, next to your amp. This particular unit also lets you take two amp feeds from a single signal and drive two amps at the same time without worrying about an earth loop between the two – a feat that can be difficult to achieve at the best of times.

Step 4: The Gig Rig Humdinger is a simpler and more economic solution for signal cleansing and dual-output operation. If, for example, your guitarist wants to be with the band rather than in the control room, the Humdinger enables you to feed and record an amp, and take a second feed for a DI or amp sim at the same time. Boring, maybe, but very useful for home recording...
