How to finish an EP in 30 days: Week 4 - mixing and mastering
Up next in our guide to writing, producing and finishing an EP in 30 days is the crucial mixing and mastering stage
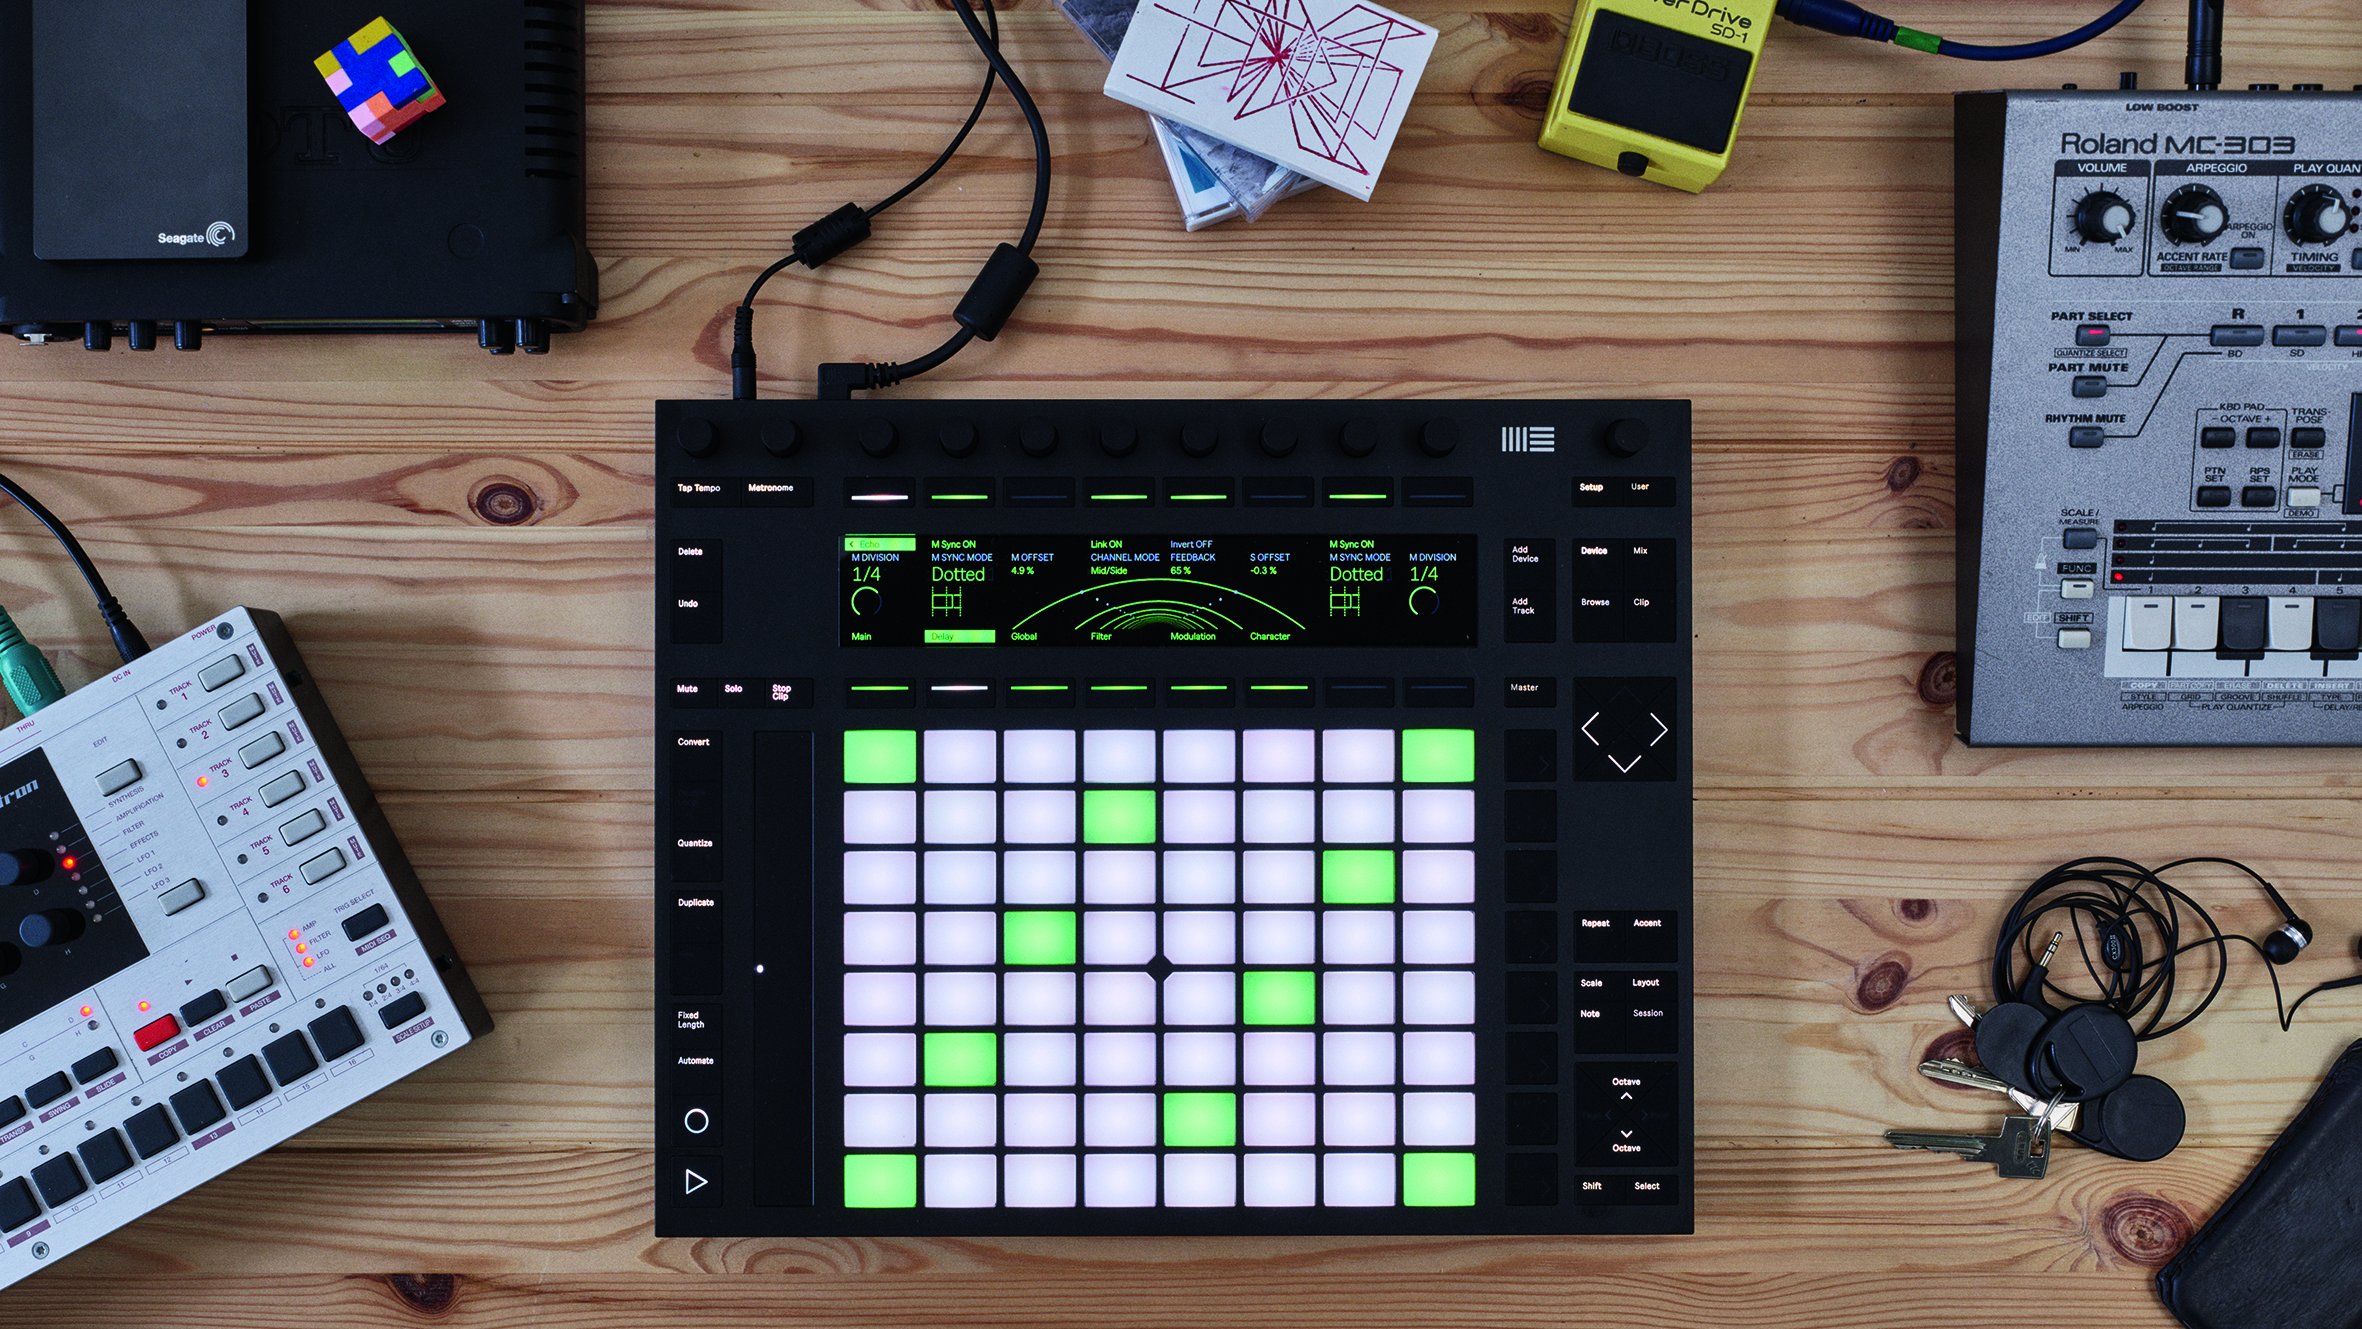
Our guide to writing, finishing and releasing a three-track EP in 30 days kicked off earlier this month. If you're just getting started, head over to the first instalment to begin there. If not, read on for week four..
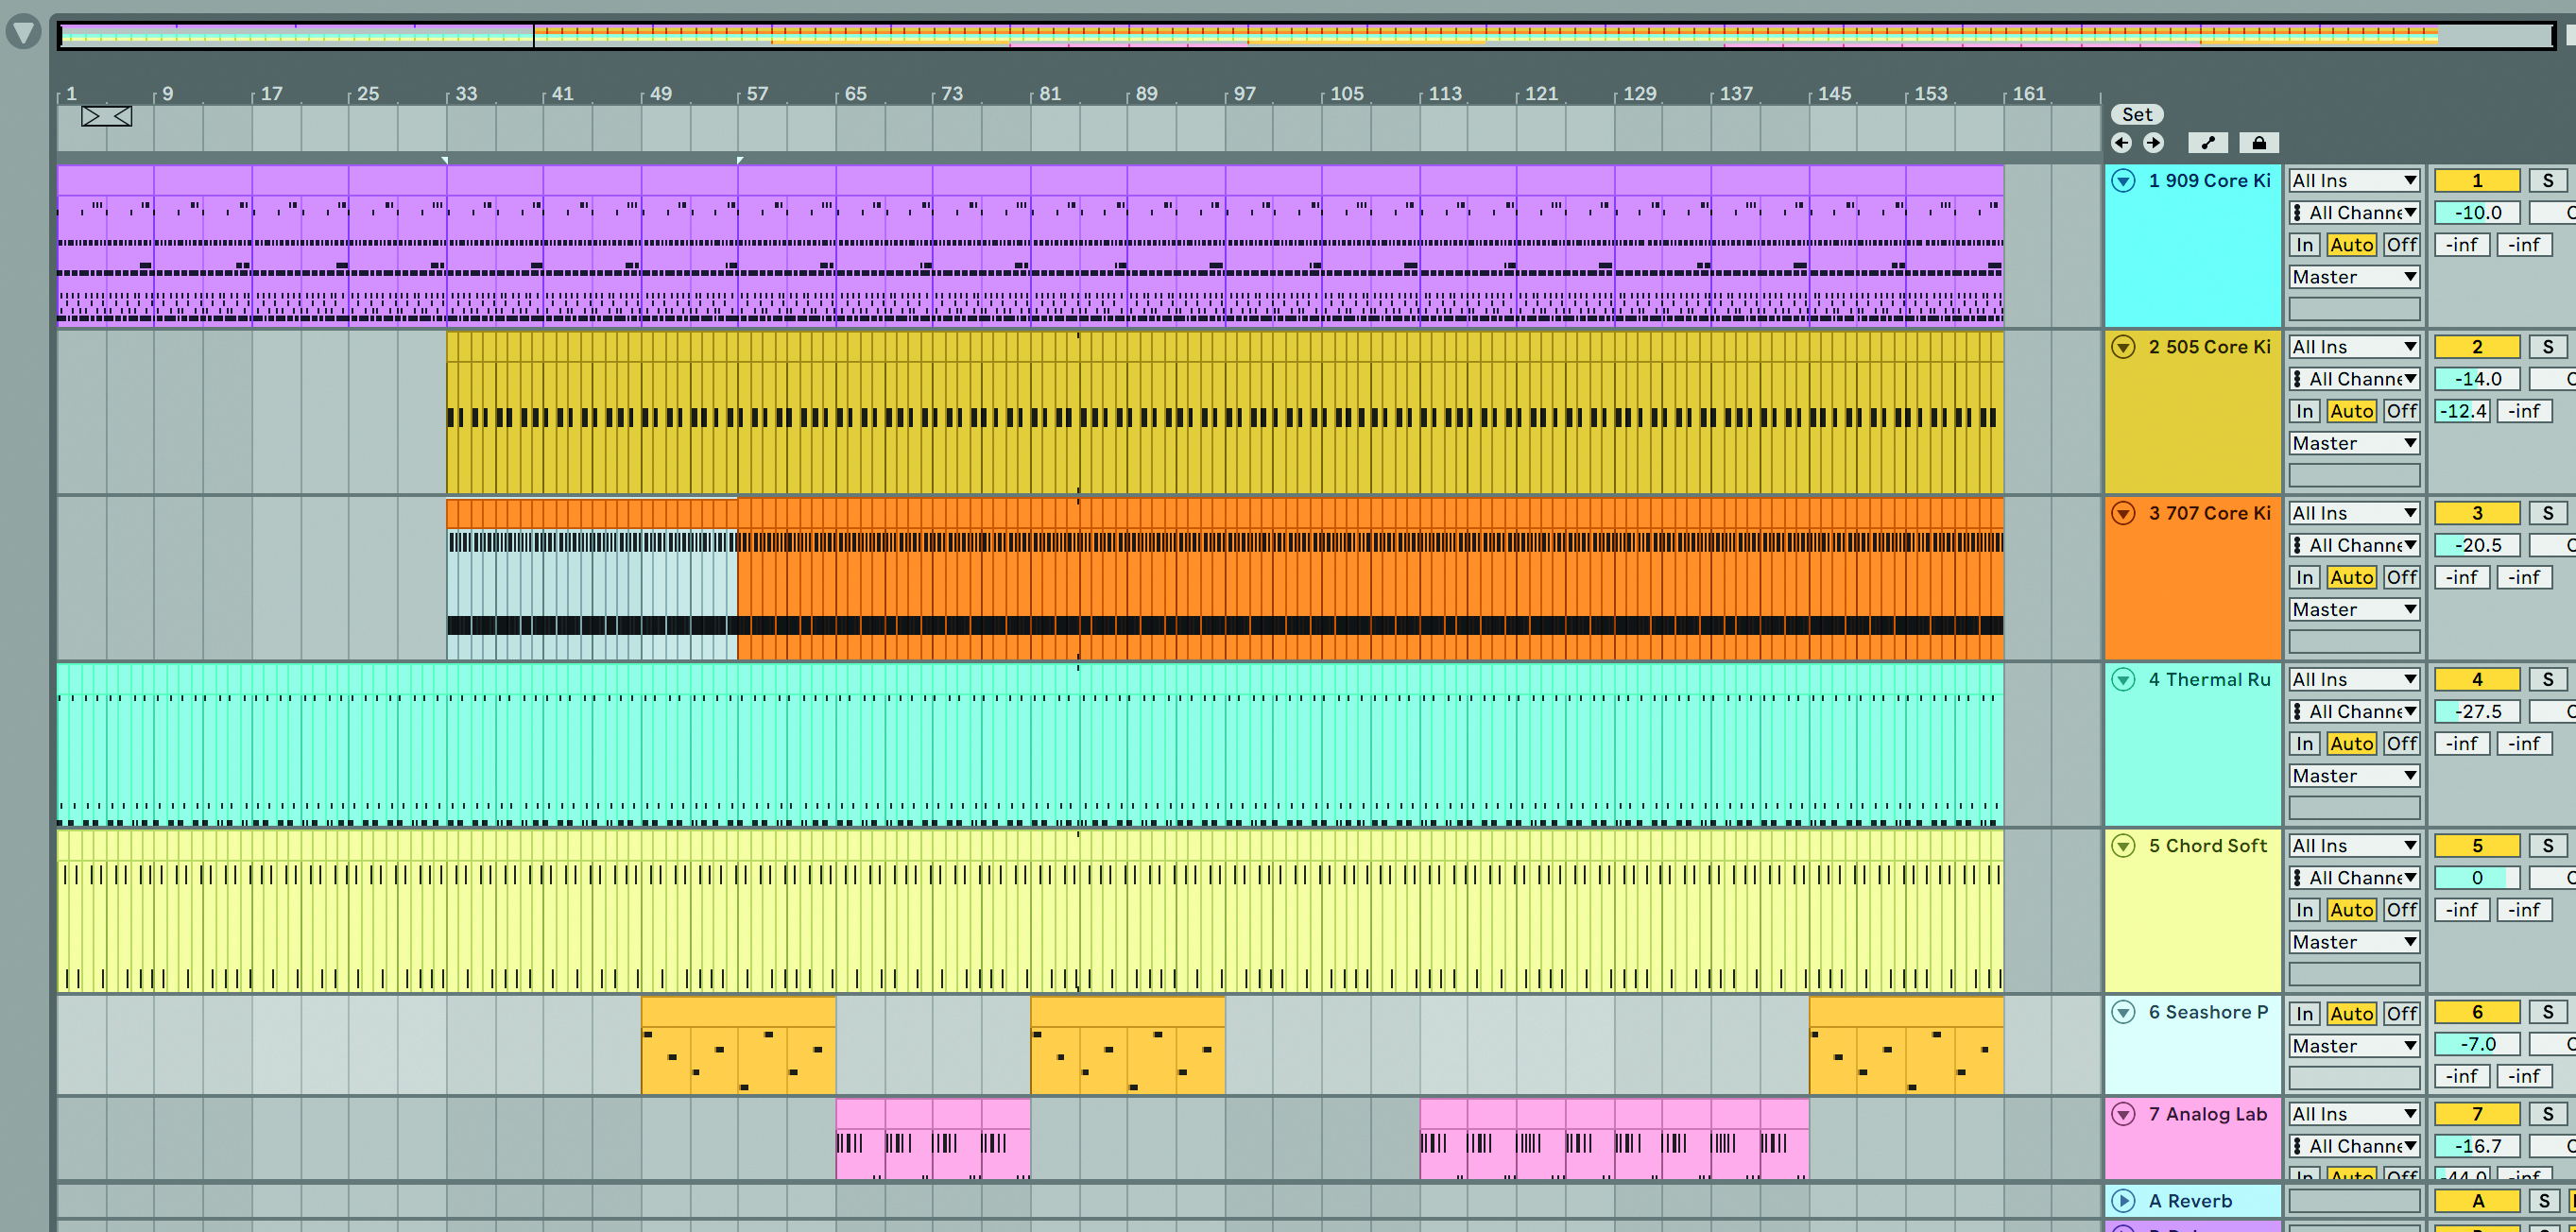
How to finish an EP in 30 days: Week 1 - inspiration and ideas
Now that we’ve created our three tracks, our next step is to mix them and apply some DIY mastering. We can’t tell you exactly how to do this. The needs of your track will be unique to the instruments and effects you’ve used, and precisely what sound you’re aiming for. In this article, we’ll offer up some broad advice, demonstrating some quick mixing tips and explaining a standard off-the-peg mastering chain.
Aims for this week
- Mix your three tracks
- Apply DIY mastering to each track
8 tips for a better mixdown
1. Reference!
Remember those reference tracks we compiled into a playlist in week 1? Drag those into your DAW to use as reference tracks as you mix and master. Use a spectrum analyser to compare the frequency content and dynamic range of these professionally mixed tracks and your own work.
Article continues below- How to A/B against commercial reference tracks in your DAW
- How to reference your masters against pro material
- 8 pro tricks that will help you to reference your tracks more effectively
2. Gain structure
Before you begin your mix session, it’s worth considering gain structure. With classic mixing desks, the gain dial could act as a ‘sensitivity control’ for the potential level of each channel. In a DAW, we don’t tend to have a dedicated gain control and, worse still, one of the ways manufacturers of third-party plugins attempt to impress us is by making presets sound loud.
These factors can combine to create an overloaded mix output, even before you’ve add the rest of your instruments. Either insert a gain plugin at the top of each channel or build headroom into your mixes by dropping the level of all plugins by 6-8dB before you make any other mix considerations.
3. Mixing vs. mastering
Slapping an ‘output chain’ on your master track as your ears grow tired is often hard to resist. But we’d encourage you to think of the process of mixing your track and mastering it as two separate projects.
Of course, it doesn’t hurt to check how your mix ‘might’ sound at the mastering stage as you go, but if your mix sounds very different and hugely unbalanced when you remove this chain, get rid of it and get the mix right first. The mastering stage isn’t there to save a bad mix; it’s there to enhance it. If your mix sounds good without anything on the master chain, that’s half the battle won.
Want all the hottest music and gear news, reviews, deals, features and more, direct to your inbox? Sign up here.

4. Pan and width
Of all of the tools most ignored by DAW-based producers, the pan dial is too often overlooked. Place each sound in its own space and your mixes will benefit enormously. Similarly, adding subtle width with effects like delays or autopan can instantly make your mix sound a bit more ‘pro’.
5. High-pass for bass control
High-pass filters can be an extremely useful tool beyond the more showy DJ-style effects they’re often known for. This is particularly true if you have a number of parts contributing to the bottom end of a mix and you’re looking to do some sculpting.
Let’s suppose you’ve got a synth part with lots of low-frequency content. Adding in a high-pass filter with a 6dB/octave slope below 250Hz will just ease out unwanted content a little bit. This can help avoid bloat without audibly weakening the synth sound. Increasing the slope to 12dB/octave and raising the cutoff point will create a more overt effect.
6. EQ after effects
Insert an EQ after every auxiliary effect you add. It’s too much of a gamble to hope or assume the frequency response of a reverb will be a perfect match for your track. Be ready to scoop out unnecessary content from effects channels as well as instruments and audio tracks.
7. Saturate your drums
Subtle saturation is the secret sauce that can help gel percussive elements and make beats feel ‘warm’ and full bodied. Trust us!
- How to use saturation on a drum buss
- How to enhance drums with analogue-style distortion
- How to stack subtle stages of saturation for a fat and punchy mixdown
8. Dynamic EQ
Using an EQ to rein in troublesome frequencies is a standard technique, but what if these ‘problem frequencies’ change in volume through your track? This is where Dynamic EQs come in. These can apply frequency-specific compression to a sound that adjusts the attenuation ‘dynamically’.
Working with a synth line that gets a little too unruly as you crank the resonance? Set your EQ to match the spikes and set a threshold so that the volume only ducks when the input level gets too hot.
How to set up a standard mastering session
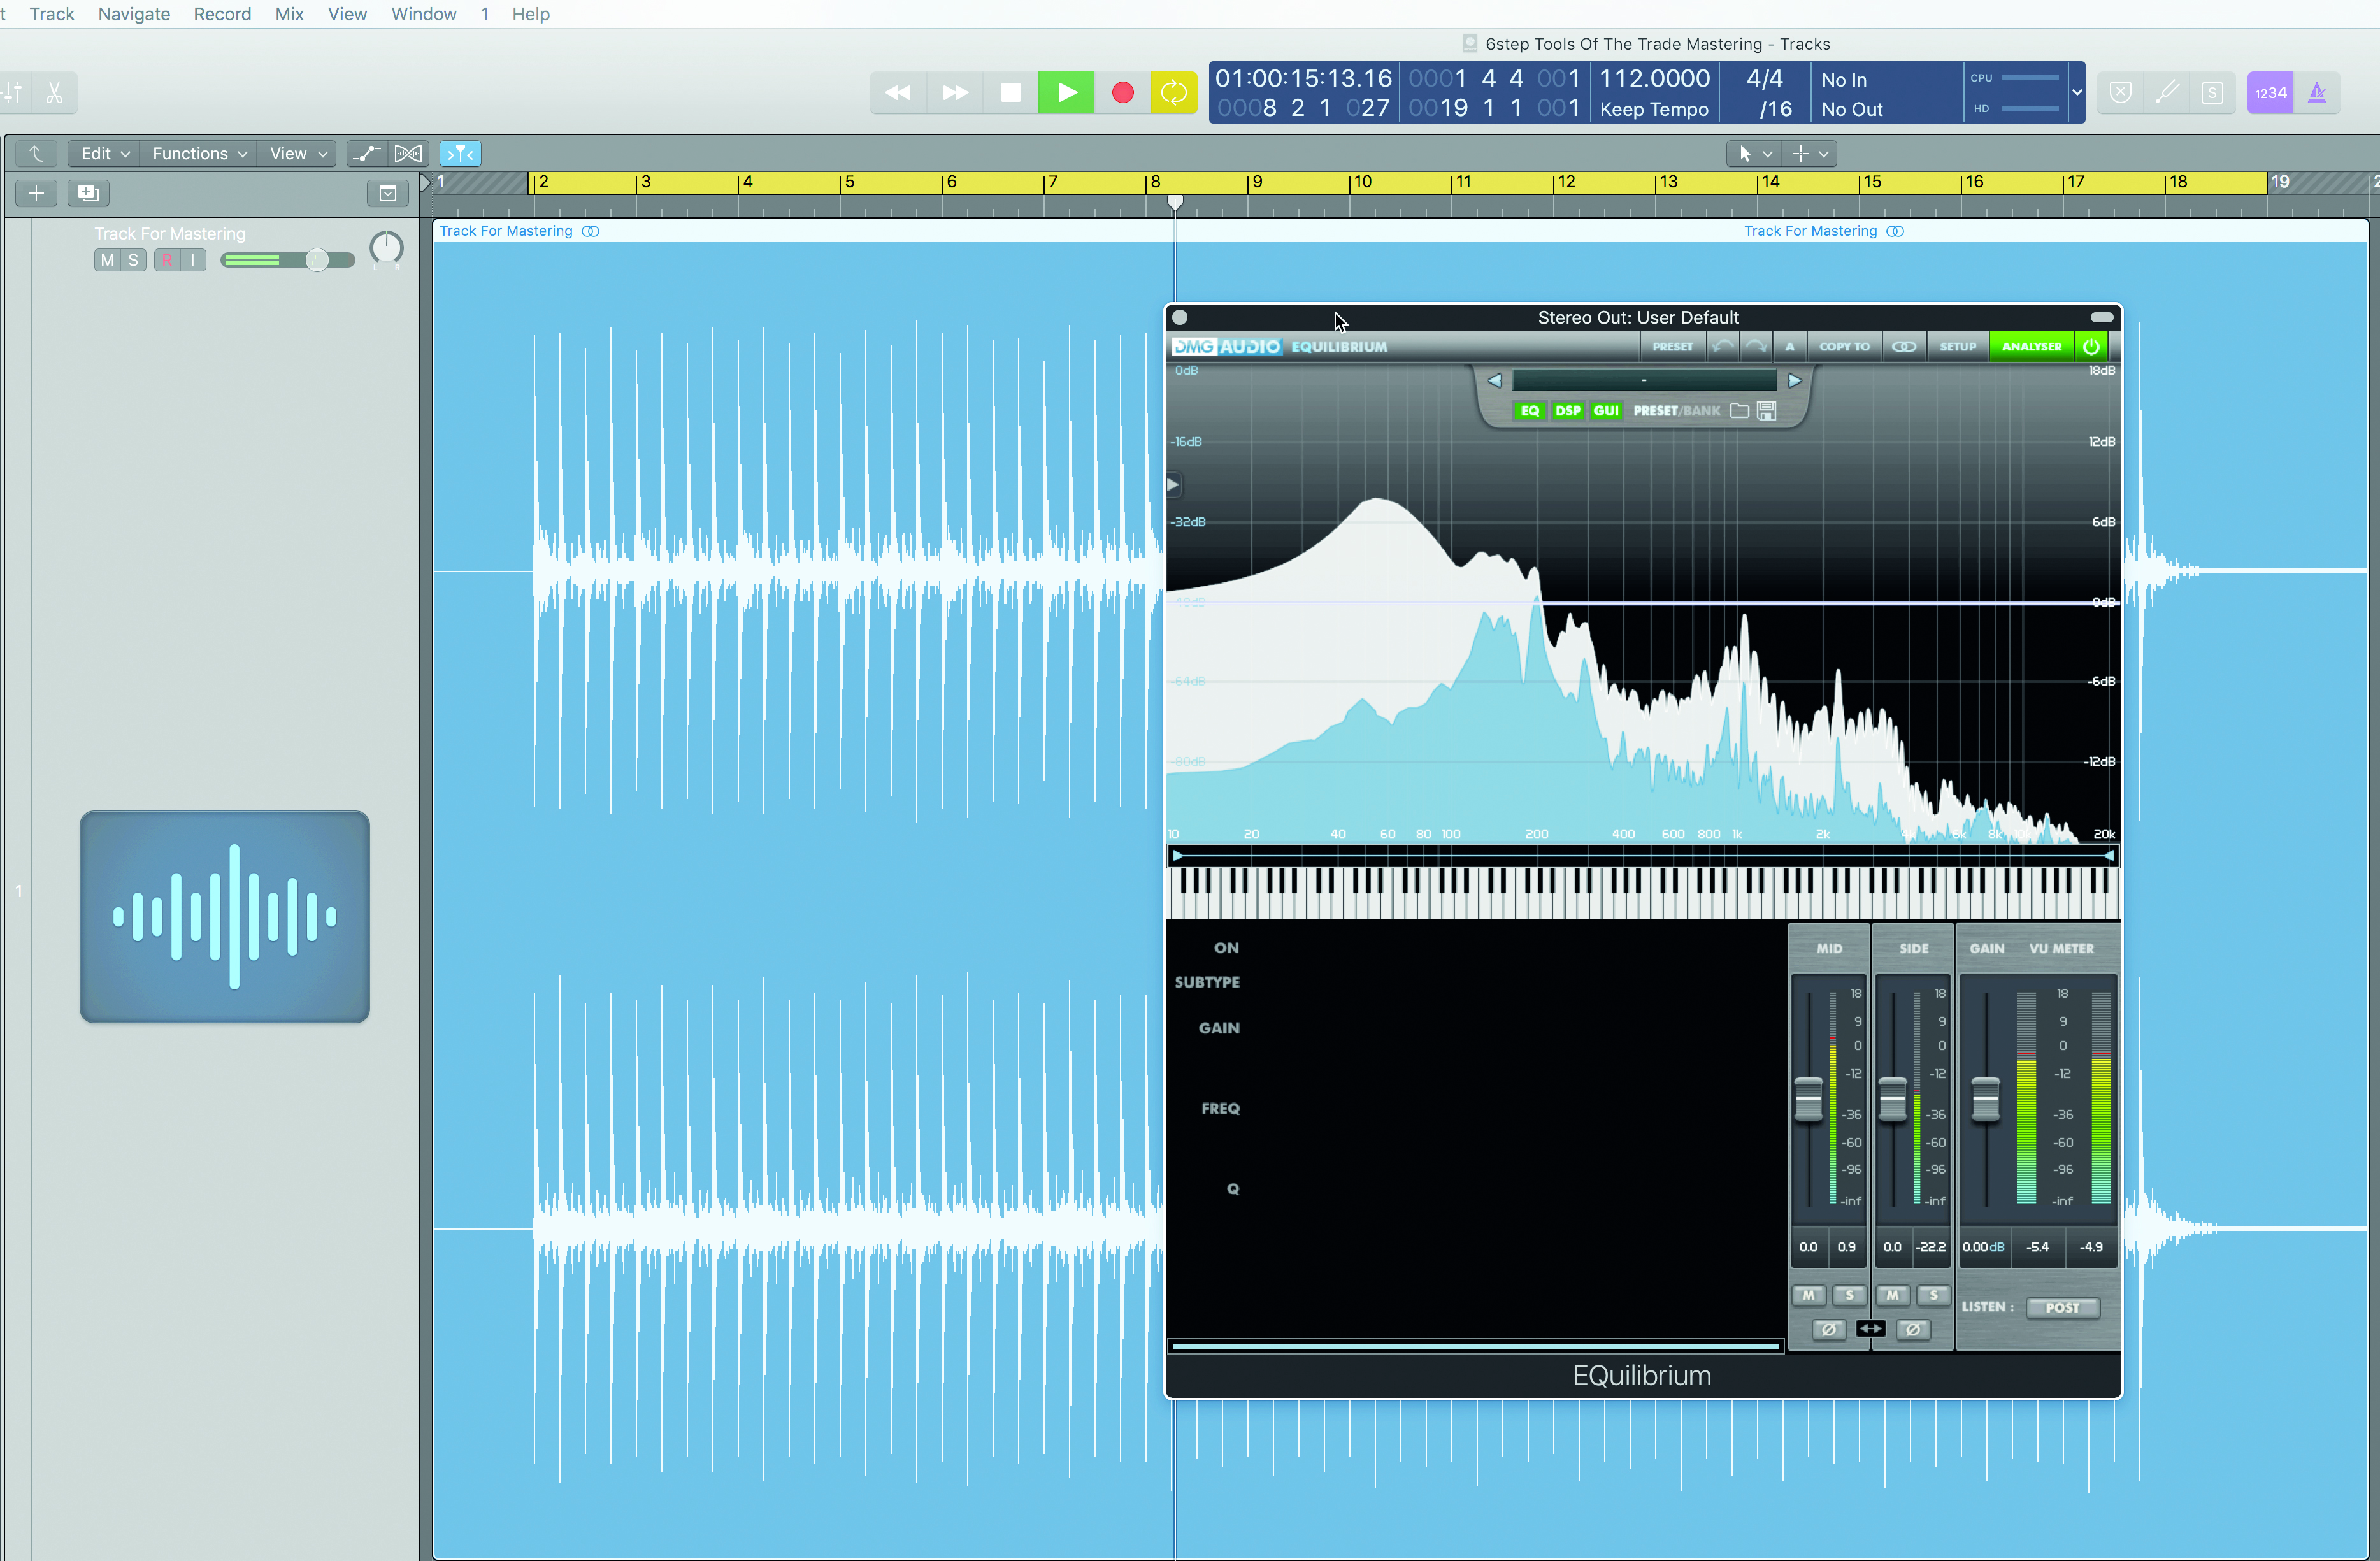
Step 1: We start by importing our mix file into a new project. We’re using Logic Pro but any DAW will work for this purpose. We’ve left 2dB of headroom in our mix file and we start by setting up DMG’s Equilibrium. Any EQ which allows for precision frequency-targeting will work well.

Step 2: We’re keeping our EQ flat for now. Next we set up FabFilter’s Pro-MB Multiband Compressor. This allows us to make individual compression choices for different areas of the frequency spectrum. We gently tighten sub and low-mid frequencies before taming a little harshness between 1.2kHz and 5kHz.
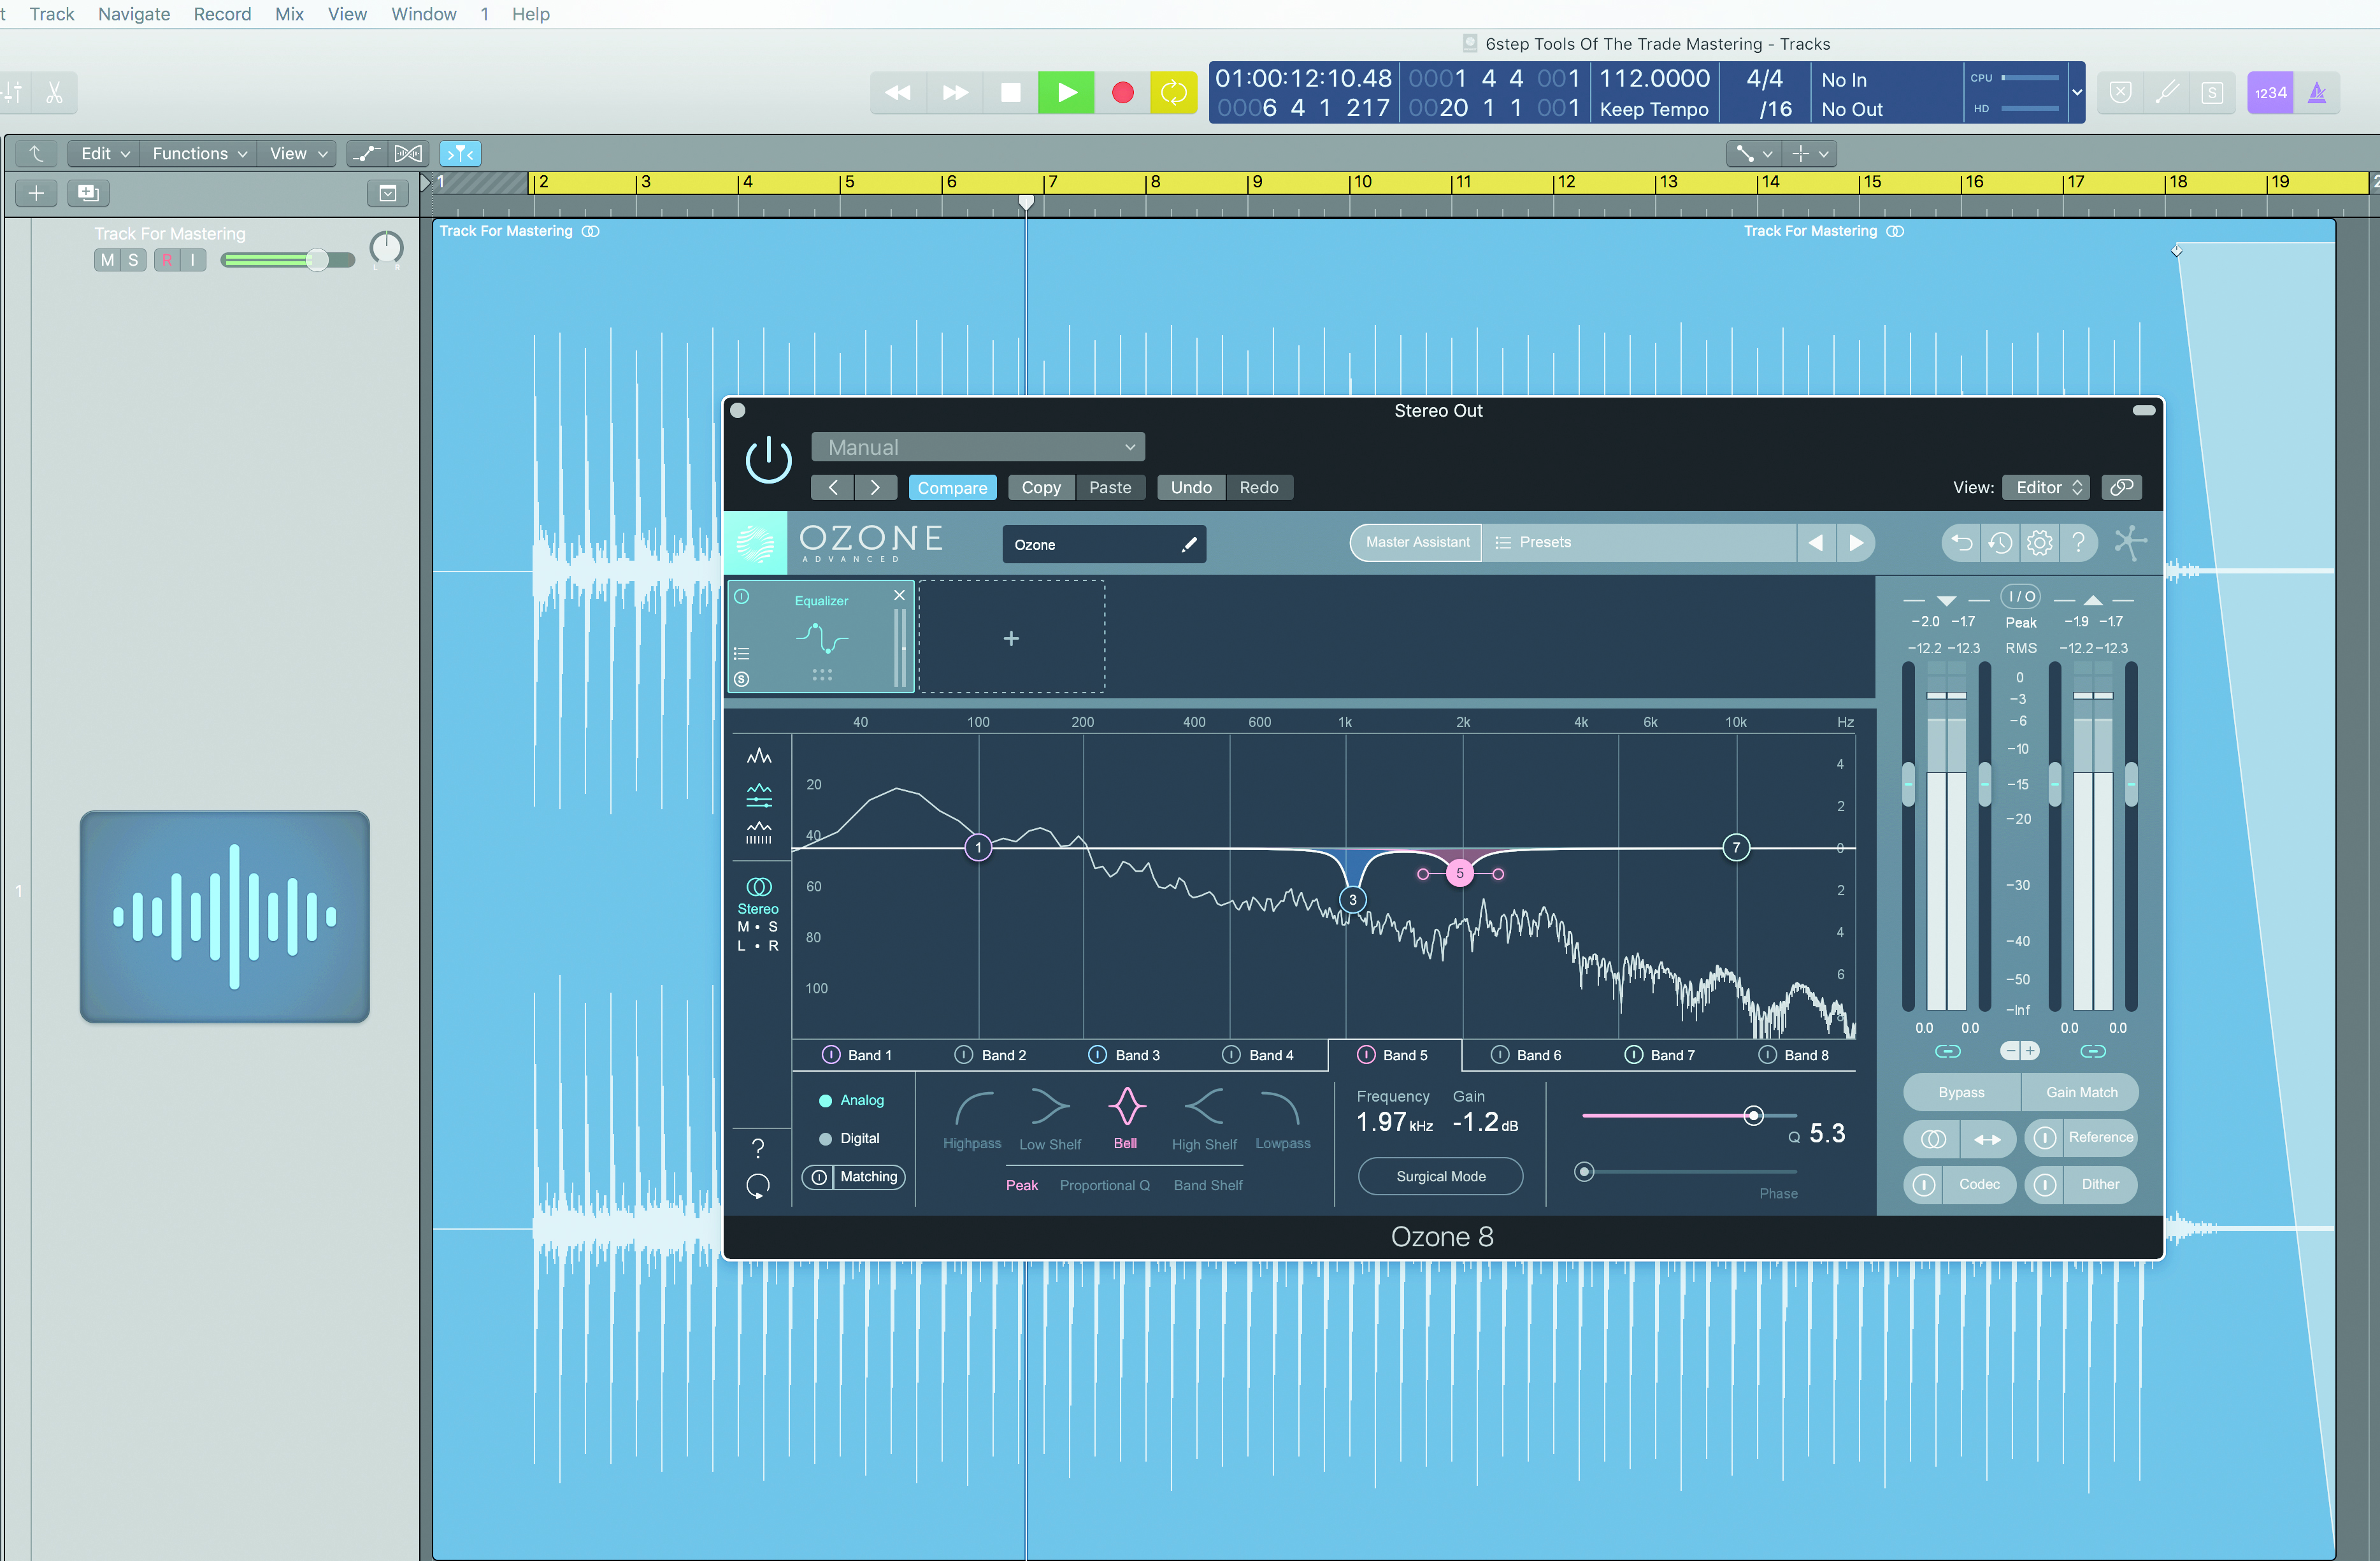
Step 3: Next we set up iZotope’s Ozone plugin. We start with the EQ module again here, making surgical, post-multiband compression choices to gently pinch frequencies at 1.04kHz and 1.97kHz. Settings here are subtle; anything needing dramatic tone-shaping would be better addressed at the mix stage.
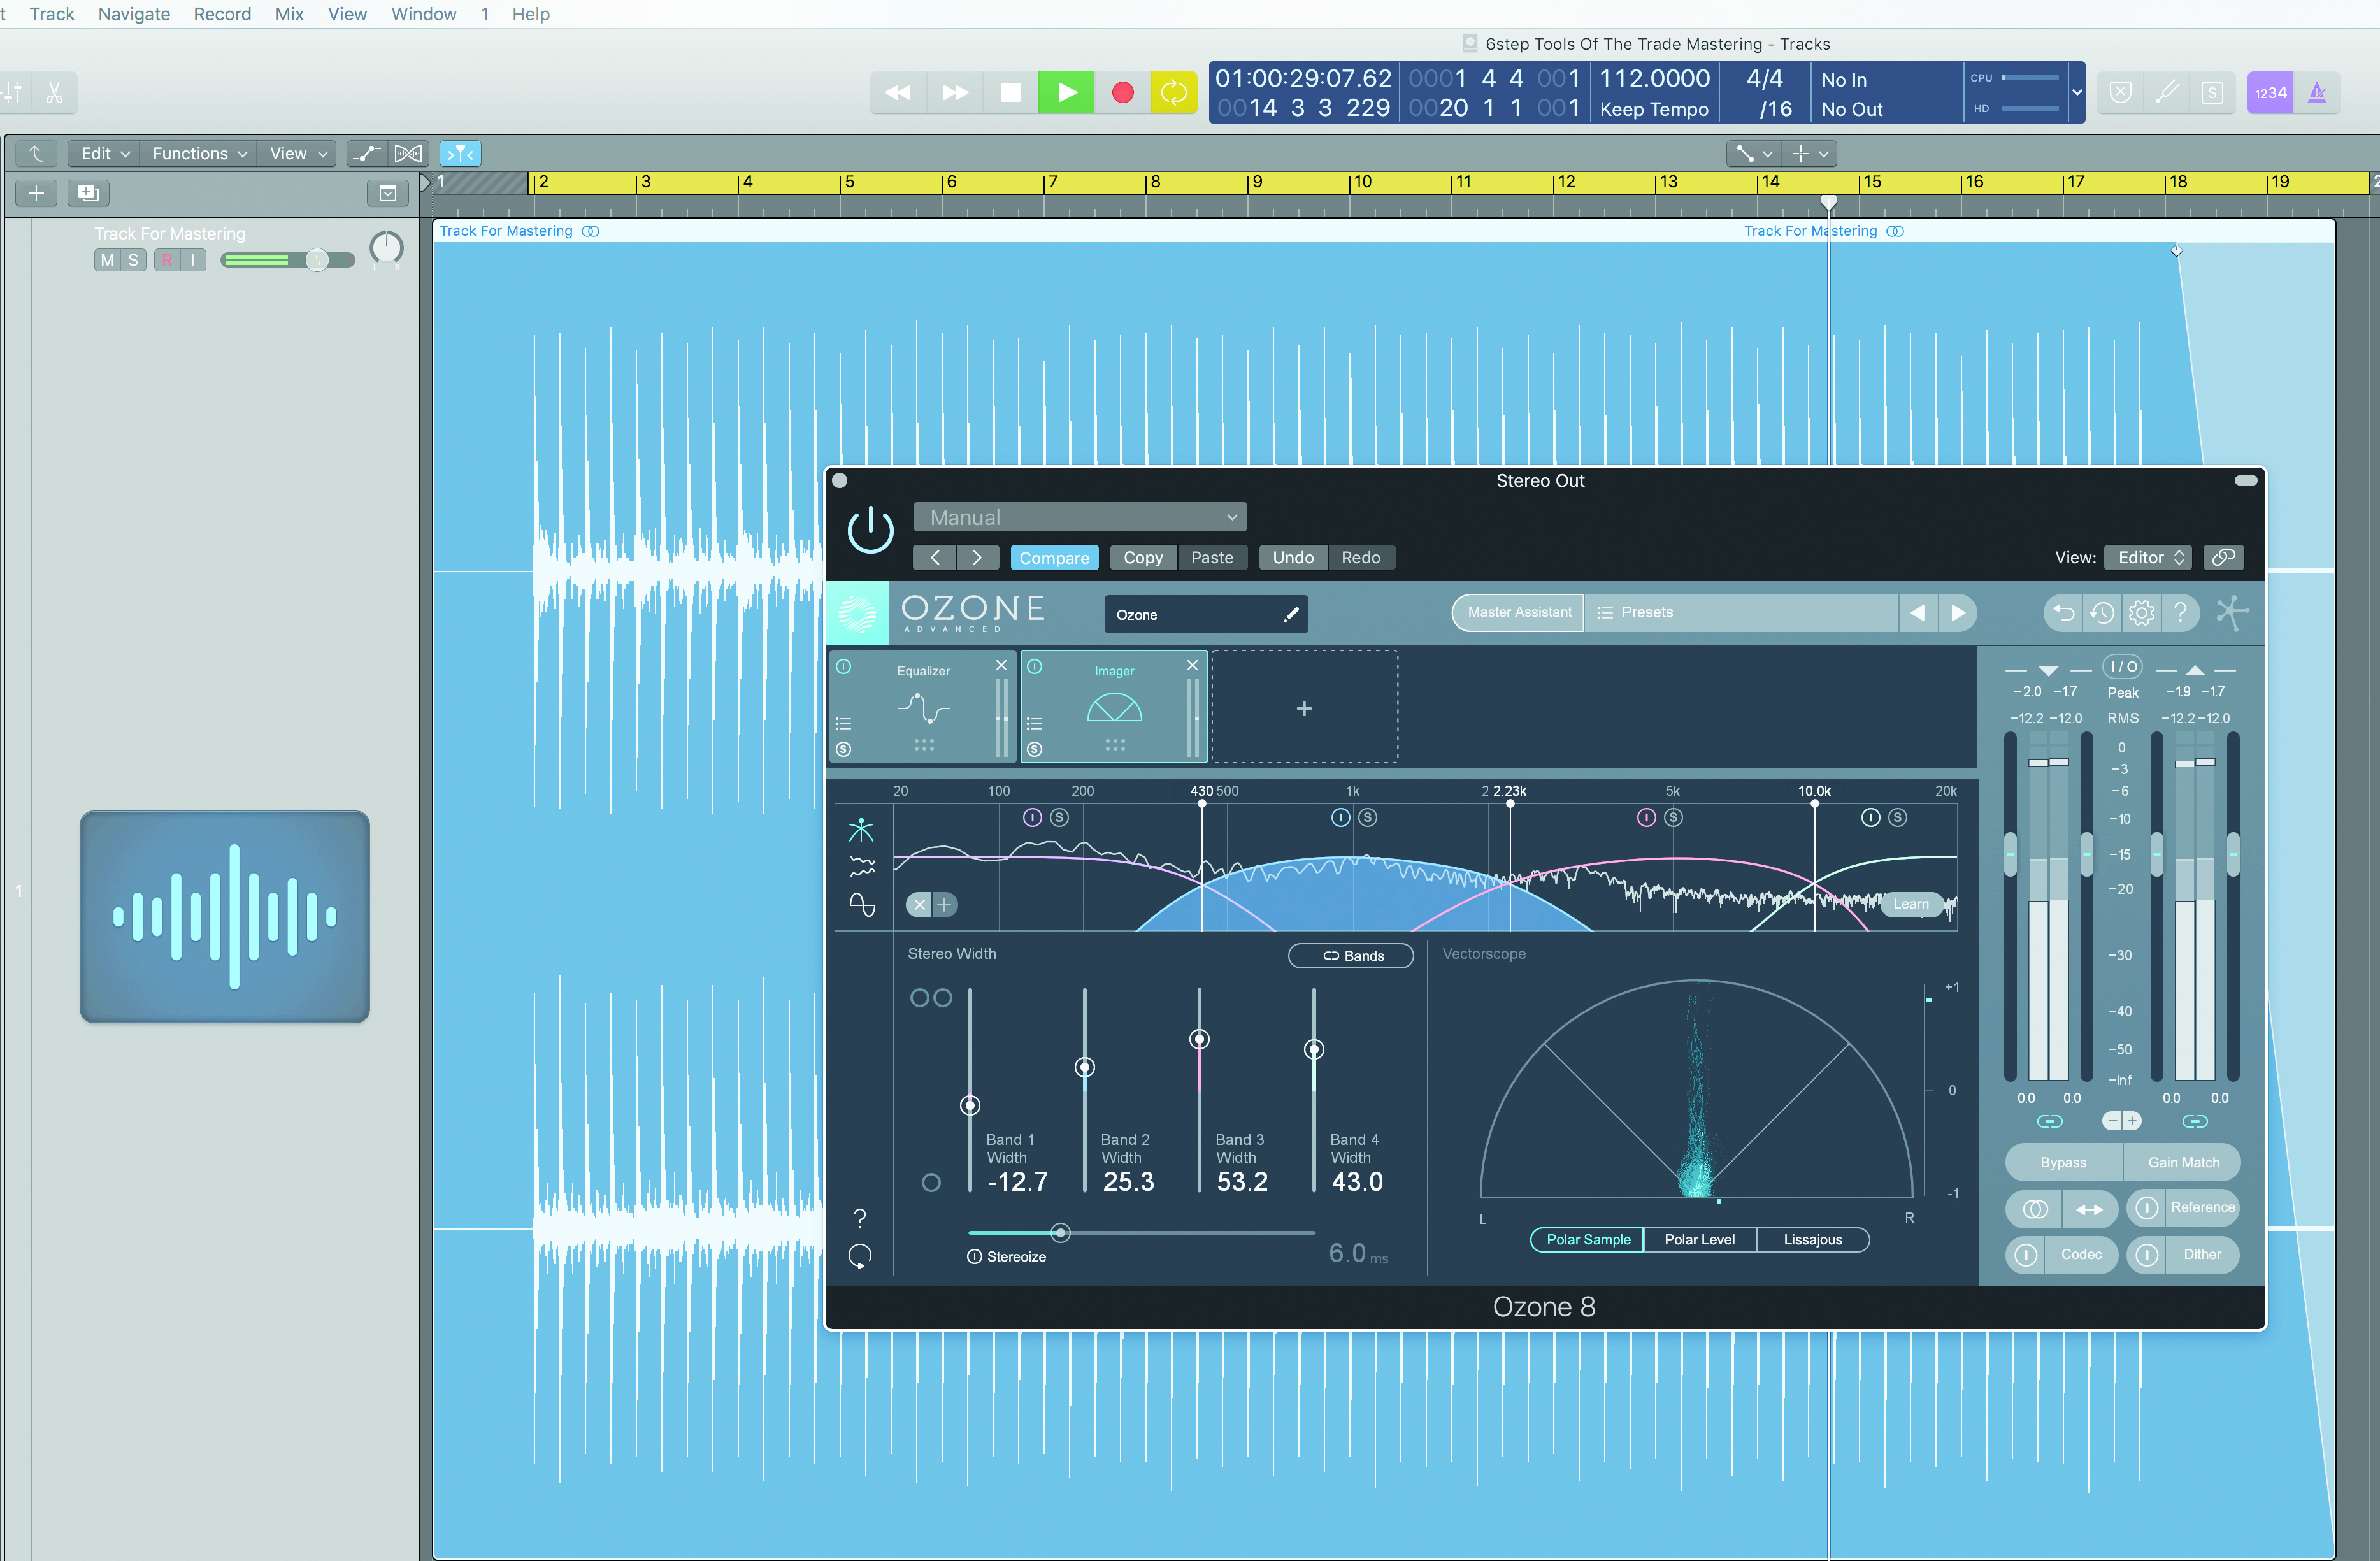
Step 4: We turn to Ozone 8’s Imager module. This lets us tighten the stereo image in the lower frequencies while slightly opening them out in the three upper frequency groups between 430Hz to 2.23kHz, 2.23kHz to 10kHz and from 10kHz upwards. This makes the mix broader and deeper, increasing its presence.
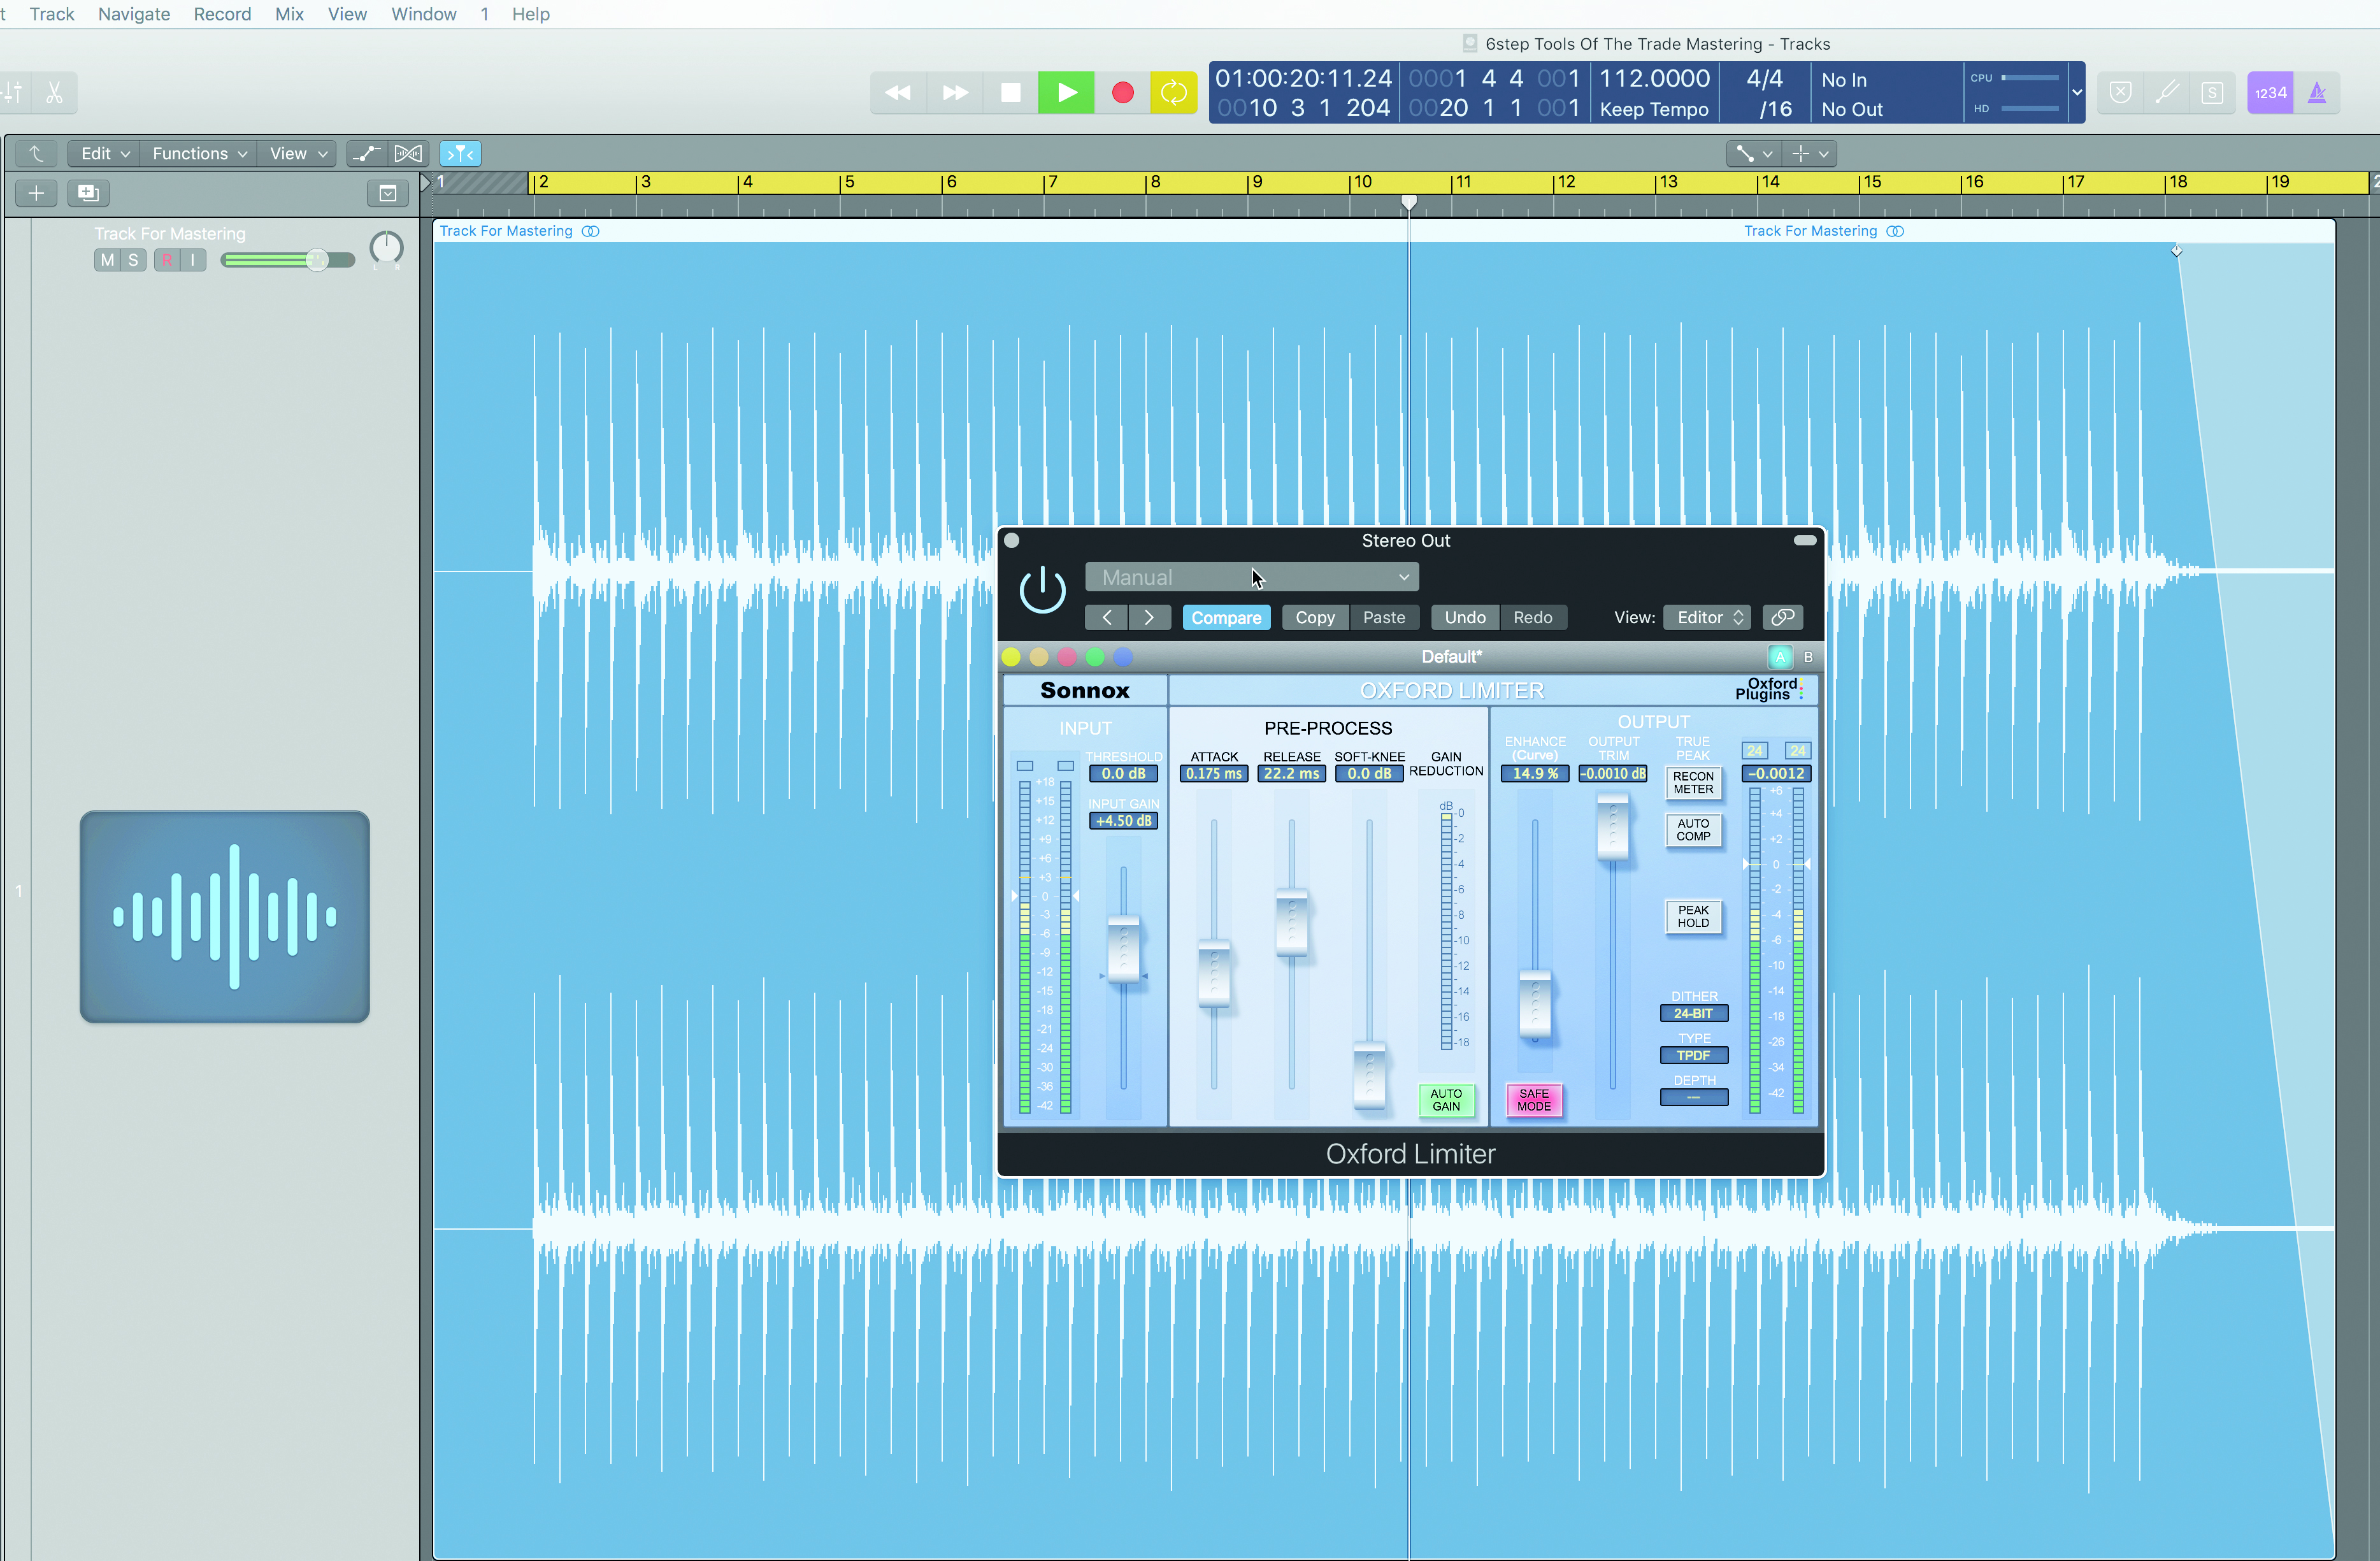
Step 5: At the end of the chain, we use Sonnox’s Limiter to apply loudness maximising. We aren’t looking to smash the mix, but instead to add energy and some additional Volume. We set the Output Ceiling at -0.01dB before adding 4.5dB of Input Gain adjusting Attack and Release times to suit the mix.
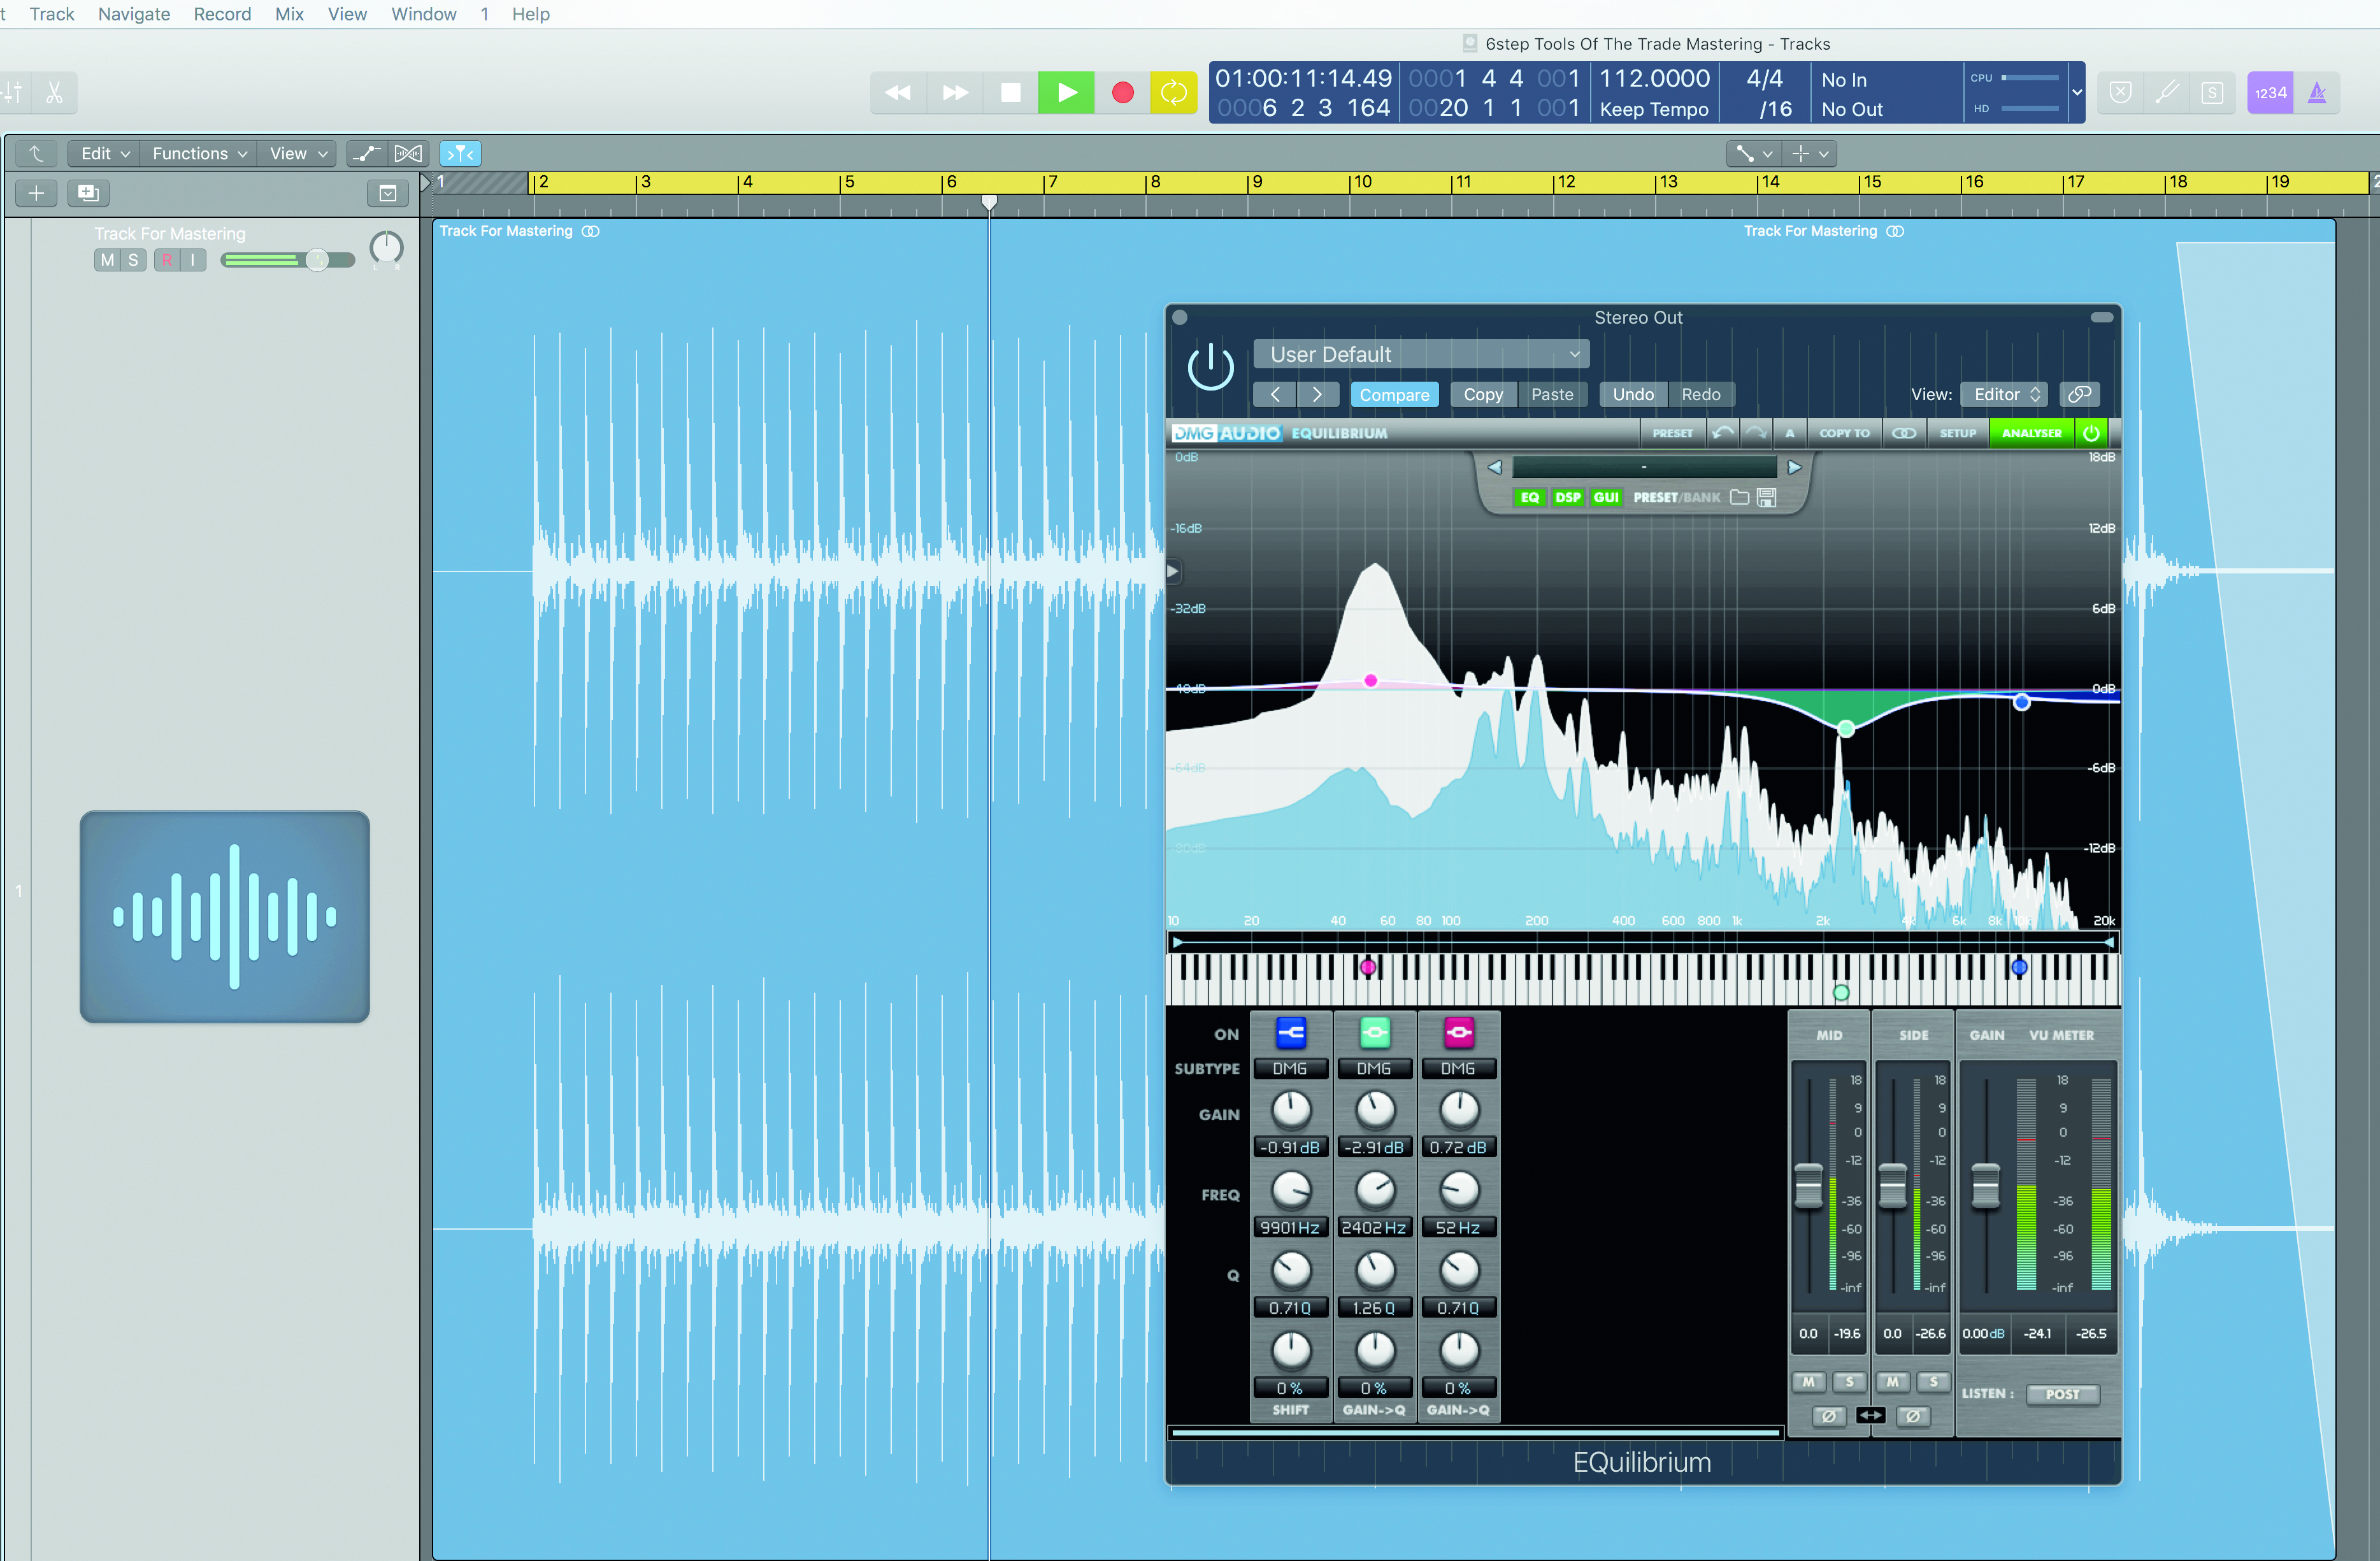
Step 6: This is sometimes the best moment to return to the EQ in Step 1. If tone tweaks are required once the other effects have been added, it often helps to apply these at the start of the chain. We make subtle changes at the fundamental frequency of the kick, at the very top and around 2.5kHz.
Return to MusicRadar on Tuesday 29th March for the final edition of our 30-day EP workshop...
Or browse more tutorials below:
- 11 tips and tactics for better song arrangements
- 9 creative strategies that’ll improve your track arrangements
- 22 creative arranging tips and tricks to try
- 14 ways to turn your song ideas into a great arrangement
- 3 successful track arrangements for pop and EDM, explained
- 11 productivity hacks to get that track finished
- 9 ways to get better at finishing tracks in your DAW
Future Music is the number one magazine for today's producers. Packed with technique and technology we'll help you make great new music. All-access artist interviews, in-depth gear reviews, essential production tutorials and much more. Every marvellous monthly edition features reliable reviews of the latest and greatest hardware and software technology and techniques, unparalleled advice, in-depth interviews, sensational free samples and so much more to improve the experience and outcome of your music-making.
