7 ways to use filters more effectively
Get more out of your plugins and hardware

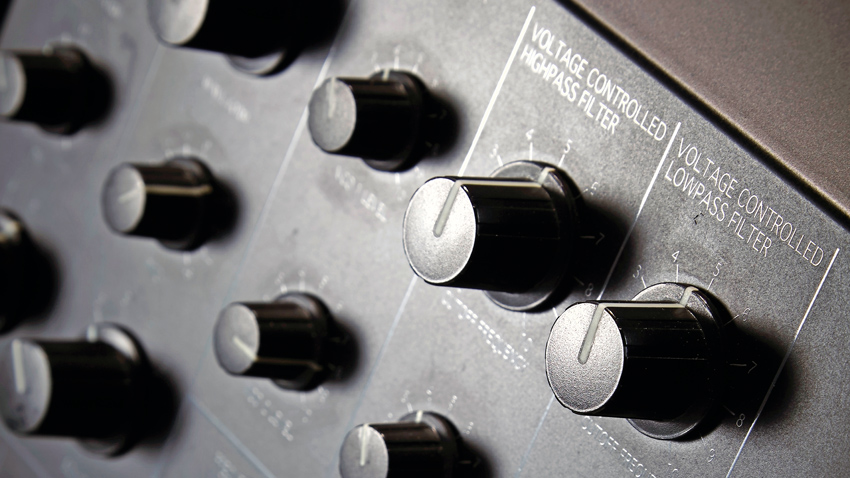
Think of the word 'filter' and, if you're an electronic musician or producer, the likelihood is that you'll immediately think of the tone control module within a synthesizer. Ever since the first synths offered a three-stage flow from oscillators, through a filter, to an amplifier, we've taken for granted that tone tweaking will always play a huge part in the synth sounds we program.
However, tone control via filtering stretches way beyond the capabilities of synthesis alone, and it can be employed in all manner of ways. Here are seven filtering techniques that you might not have considered before.
For a producer's guide to filters check out Future Music issue 279.
Avoid Mass Bass Build-Up
Mixes can quickly get woolly without careful attention to the bass end. A couple of synth bass parts, a prominent kick drum, a couple of pads with low notes and soon the sub bass region can become overwhelmed, all of which will suck the life out of a mix as soon as it hits an output limiter.
Using a high-pass filter on sounds that don't require all that sub can often be the most effective way to back it off - set a 2-pole high-pass at around 120Hz, slowly move the cutoff point downwards and clarity should return. Being selective about sound choices helps too, but filtering can provide a pleasing, if surgical, solution.
Band aid
Don't ignore band- pass filters. They might not get the 'cred' of their high- pass and low-pass brothers, but they're great for biting sequences that dominate the bass and treble ends, and they have a pleasing telephone-like nature.
Pare back bombastic percussion
If you're a soundtrack writer using sampled percussion libraries, you'll have noticed that the reverberant nature of these often leads to them becoming frequency-content heavy. As you try to blend these sounds with a broader orchestral or electronic palette of sounds, they can take over.
Want all the hottest music and gear news, reviews, deals, features and more, direct to your inbox? Sign up here.
The reverb generated by capturing the sounds from a distance is usually the reason, as the mid-range and high- frequency content is amplified here. Try putting a low-pass filter on these sounds, with cutoff set at around 600Hz and with a gentle slope. This will help roll out some of the top and leave you more mix space.
The whole shebang
Experiment with 'whole track' filters. Put down a mix without a limiter in the output and import this into a new song for level maximising. Try chopping a couple of bars, putting these on a new track and applying a filtering effect for a show- stopping moment.
Avoid using filters in the output channel
Setting up a filter in the output channel for on-the-spot 'whole track' effects can seem like a great idea, but there are better ways to do this. Moog's UAD filter plugin's highest output frequency is 12kHz, so even if the cutoff is fully open, the plugin will still be affecting the mix during the sections where you want it to be transparent.
This is true for lots of filter plug-ins which subtly alter tone even when idle. If you want whole track effects, either duplicate your tracks and route them to a new auxiliary where your filter plug-in is set up, or chop your stereo mix file, dragging sections you want to globally affect to a new audio track.
Go outboard
If you have a hardware synth with an external input that lets you access its filter section from an outside signal, don't automatically make do with a filter plugin instead. Incorporating external gear into a DAW has never been easier, and nothing beats tweaking a synth's filter in real time.
Get extra life into synth pads
To get extra life and air into a synth pad, it's tempting to turn to an EQ and boost the top-end or to add an exciter. These techniques will deliver, but they won't provide more stereo width, and often this is the missing ingredient.
Send your synth to a new auxiliary and set up a filter with a high-pass mode and a high cutoff to leave only the upper mid-range and treble ends audible. Pan it hard to the left. Repeat with a second auxiliary, using the same filter settings, panning this one hard right. Now you'll have a huge, bright pad, which occupies the complete stereo image of your mix. If it's too much, turn down the auxiliary return levels.
Future Music is the number one magazine for today's producers. Packed with technique and technology we'll help you make great new music. All-access artist interviews, in-depth gear reviews, essential production tutorials and much more. Every marvellous monthly edition features reliable reviews of the latest and greatest hardware and software technology and techniques, unparalleled advice, in-depth interviews, sensational free samples and so much more to improve the experience and outcome of your music-making.
