How to finish an EP in 30 days: Week 1 - inspiration and ideas
Our month-long bootcamp will guide you through creating and sharing your first release-ready EP by 1 April
Want all the hottest music and gear news, reviews, deals, features and more, direct to your inbox? Sign up here.
You are now subscribed
Your newsletter sign-up was successful
Creativity is hard sometimes. For music makers there are no shortage of potential roadblocks on the way to finishing a new project.
For some people that might come at the start, as a paralysis of choice sets in when confronted with an empty DAW and a wealth of potential tools and influences. For others, the hardest part comes later, when it’s time to turn those initial ideas into a fully realised arrangement.
Whether you can relate to either of these situations or not, it’s a rare thing to find a producer or musician who has never encountered some kind of creative stumbling block – and that’s why our 30 day workshop is here to help.
What we’re not going to do is tell you exactly how to write or produce your tracks. You can find plenty of specific genre, instrument and mixing tutorials on MusicRadar. But no two readers’ aims and influences are going to be identical, so there’s no point in us trying to tell you exactly what type of beat to sequence or what key your bassline should be in.
What we are aiming to do is provide a structured workflow, ideas for overcoming common creative roadblocks and a guide to writing, recording and releasing electronic music.
Whether you’re starting a new project and want to work on your first release, or an established music maker looking for a way to shake up your process, we hope you’ll find some fresh ideas and approaches over the next few pages.
Why a three-track EP? We wanted to aim for something achievable but still substantial in our 30 day window. We’ve tried to offer a few different approaches at each stage, and working on three tracks at once allows you to try a few different ideas.
Want all the hottest music and gear news, reviews, deals, features and more, direct to your inbox? Sign up here.
That said though, there’s nothing here that can’t be scaled up or down. If you’re short on time, aim for a single track. Want to challenge yourself more? Why not try a full album? Whatever feels right for you.
- How to finish an EP in 30 days: Week 2 - generating ideas
- How to finish an EP in 30 days: Week 3 - creating an arrangement
- How to finish an EP in 30 days: Week 4 - mixing and mastering
Days 1 to 7: inspiration
Aims:
- Find inspiration
- Plan our tracks
- Gather sounds and creative ideas
There are a lot of producers and music makers who are happy to sit down in front of an empty DAW, or start a studio session with no preparation, and see where inspiration takes them. That’s great, but it’s not an approach that works for everyone every time.
Moreover, while starting a new project can often feel easy and exciting, developing those initial ideas is often much harder. Electronic musicians from beginner to pro can likely identify with the ‘16-bar loop’ problem; the peril of creating a great initial idea but then getting stuck after listening to it on loop, unsure how to take it further, and eventually losing enthusiasm for it altogether.
Planning and preparation aren’t essential, but it can help you defeat these hurdles when you come to them. It might seem like a waste of time to spend the first seven of our 30 days on things that don’t involve making any actual music, but knowing exactly what we’re aiming for will go a long way towards speeding up the creative process later on.
Taking inspiration
Music does not exist in a vacuum; however revolutionary a track might sound, it can always be related to something that’s come before. There’s nothing disingenuous about using an existing track as a jumping off point for your own creative ideas. That’s exactly what we’re going to do here.
Before getting to work on your own tracks, start by making a ‘mood board’ playlist of music you enjoy that exists in a similar genre space to what you want to create. Add a decent number of tracks with a fair amount of variety. Listen to the tracks together and make notes on common characteristics, such as mood, BPM, track elements. Try to establish what it is that appeals to you about all of those tracks, and what you’d like to capture in your own music.
The next step is to establish what exactly we want each of our three tracks to ‘do’. Aiming to make the exact same track three times is going to be boring, not just for your listener, but you yourself. Think how each of your three tracks can complement one another. Perhaps you want one hook-centric ‘A-side’ followed by two more spacious or leftfield tracks?
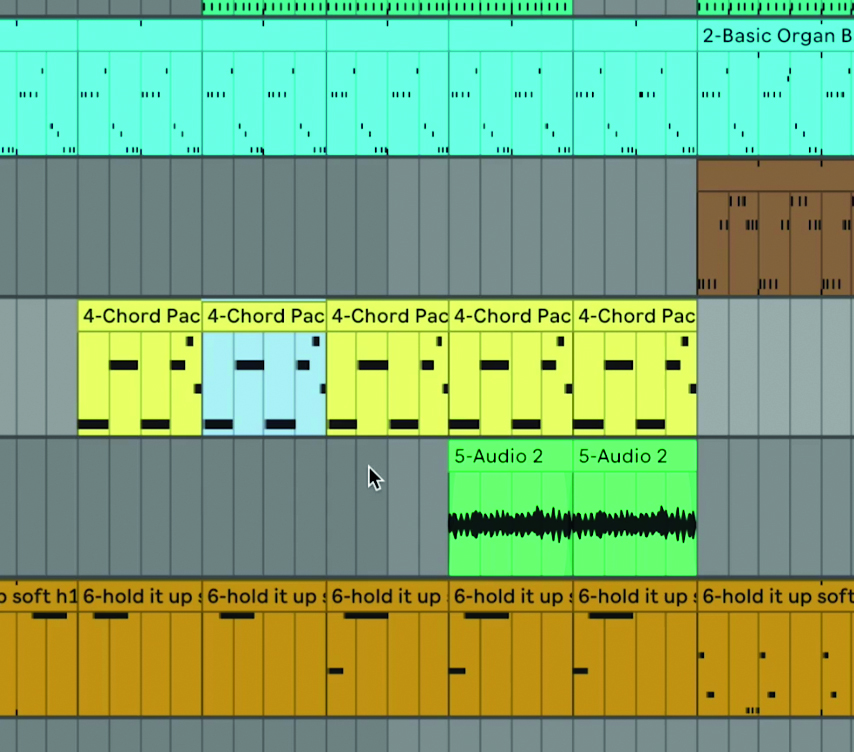
10 bullet-proof tactics for turning loops into finished tracks
Maybe choose to switch tempos or even genres – following a techno track with something at drum & bass tempo, then finishing off with something beatless and ambient? Maybe one track will focus on melody, another more on rhythm and percussion? For each track, write down a rough bullet point list of qualities and ideas you hope to capture.
Once we’ve established a rough idea for each track, let’s make a ‘placeholder’ EP. We’ll do this by selecting three songs from our ‘mood board’ playlist that most closely match what we want our tracks to sound like.
These don’t have to be too similar to your intended result – the aim here isn’t to rip off an existing song – but rather to provide a broad jumping-off point for the exercises on this page. We can also use these as reference tracks when it comes to mixing and mastering later on.
Building a template
A great way to overcome the ‘16-bar loop problem’ is to create a rough song template before you even begin creating any sounds. Do this by creating empty MIDI clips across your DAW’s arranger for each major track element, sketching out a map of how you expect your song to progress. This doesn’t have to be a final arrangement you end up sticking to rigidly, but it will be much easier to ‘remix’ this rough idea than start with a totally empty timeline.
An easy method for creating these kinds of templates is to base them around a reference track. Drag one of your ‘placeholder’ reference tracks onto your DAW’s timeline, and follow the steps below to create – and reshape – a template from it.
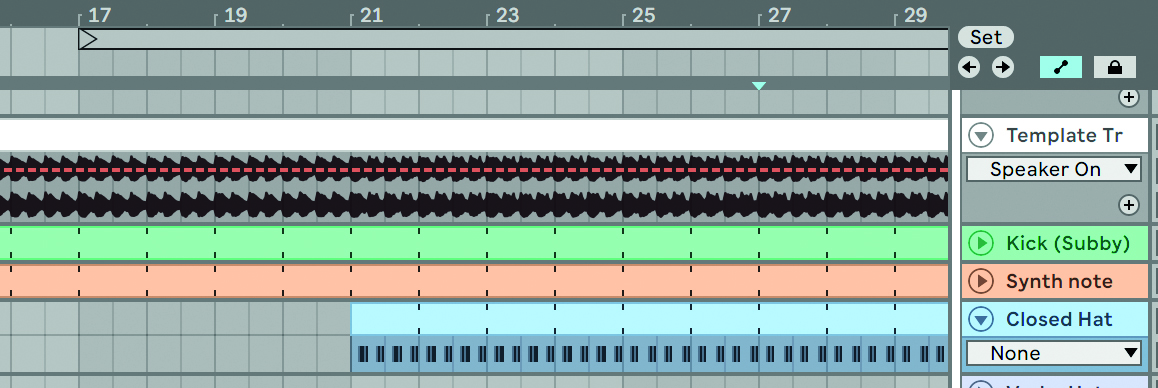
Step 1: Play through your reference track one 16-bar section at a time. Whenever a new element is introduced, create a new MIDI track and add an empty MIDI clip to represent this new part. Duplicate parts as you listen to the track, but remove any part that cuts/fades out. Listen through to the reference track a couple of times to make sure you haven’t missed anything.
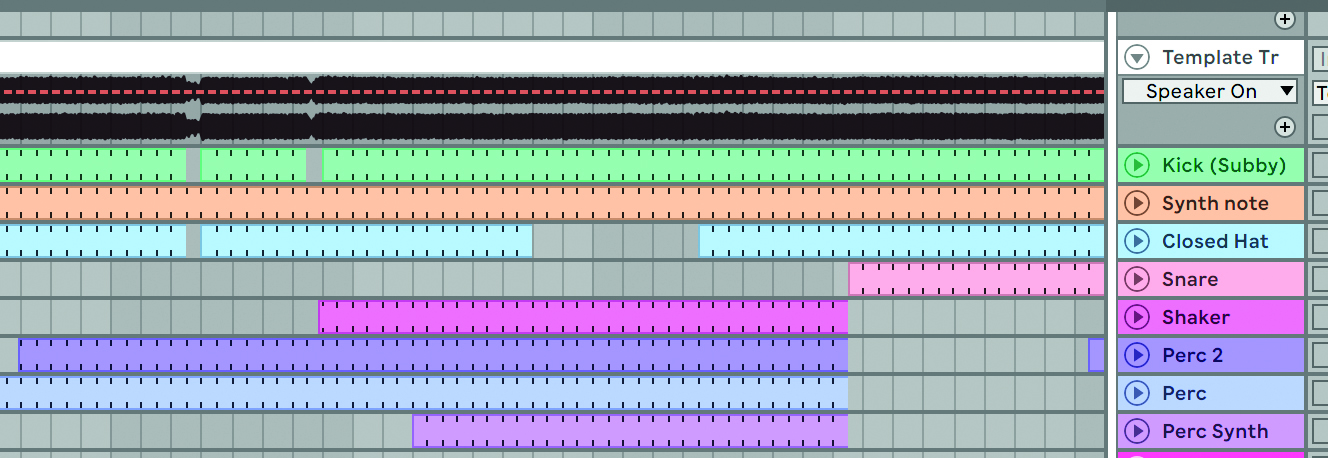
Step 2: Label each element. No need to be too specific – we’re not trying to replicate our reference track – simply tagging elements as percussive or melodic would do. Or use rough labels such as ‘kick’, ‘bassline’, ‘pads’, ‘chords’. Try using colour coding to show how a part progresses throughout the track – eg make a synth’s clips a light colour as the filter opens.
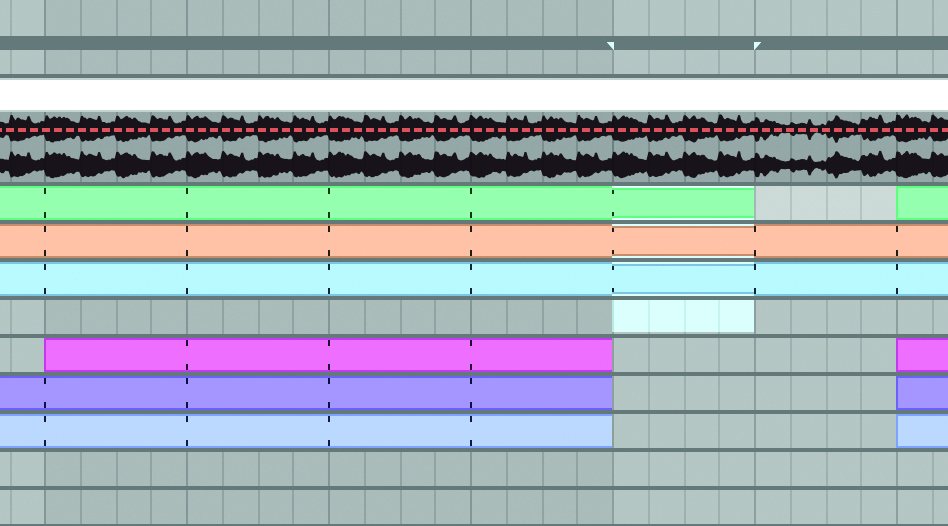
Step 3: Now we can start ‘remixing’ our reference track, even before creating any elements of our own. Try extending sections, or moving the breakdown. Does your reference track start with just drums? Try swapping it out for a melodic element. Again, we don’t have to stick to this, but it will provide a starting sketch to work around later on in the process.
Make a 'shopping list'
Based on the exercises on the previous page, we should now have a few things: reference tracks for each of the three songs we’re going to create, a list of the qualities we’d like to capture for each track, and a rough arrangement template.
From these, we can now create a ‘shopping list’ of the elements we’ll need for our track. List everything you think each track will need, from drum elements to melodic parts – eg 8-bar chord progression, bassline 1, bassline 2 – to one-off stabs, hooks or FX.
You don’t have to match the parts in your reference track like-for-like, but if you decide to ditch something, consider what role it was filling and whether you need something else to replace it. You may not want a lush synth pad in your track, for example, but is losing it going to make the mid-range feel too empty? Try replacing it with some reverb-drenched piano chords.
Searching for samples
Whether you choose to use samples in your track is up to you. You may want to create something entirely from chopping and layering loops, or compose around a central sampled hook.

On the other hand, you might forgo samples altogether in favour of synths and drum machines. If you are planning on incorporating them, it’s worth compiling a sample pack before you set to work. For something unique and inspirational, vinyl bargain bins and YouTube are tried and tested sample sources. But remember, using samples with unknown or uncleared copyright could hinder your ability to release your tracks!
Don’t forget, for guaranteed royalty-free one-shots, chords and loops, you can head over to SampleRadar, where we've collected over 75,000 free music samples for you to use in your own productions.
Processing samples
Building a library of appropriate samples is half the battle, but applying some simple processing can go a long way too. For one-shot drums in particular, it’s worth doing a bit of prep to make sure your beats hit the mark when it comes time to sequence. For weaker-sounding samples, layering is often a good idea – try adding high-mid ‘clicks’ to help kicks cut through.
Alternatively, cutting unnecessary low or sub frequencies from elements that don’t need them can help prevent muddiness later on. For percussive sounds, applying some light compression, transient shaping and a touch of room reverb to individual hits can make the difference between a beat that jumps out of the speakers and one that needs a lot of work at the mixdown stage.
Set up a toolkit
Whether you plan to use samples, plugins, hardware or a mix, it’s worth deciding on the tools you plan on using before you begin. Consider what’s right for the sound you wish to capture. Certain genres lend themselves to specific sounds – eg TR-909s for techno, MPCs for hip-hop or breakbeats. Feel free to subvert these conventions.
If you’re not sure what gear suits a particular style, do some research. MusicRadar's YouTube channels are crammed full of studio tours and track breakdowns that allow you to see what a variety of producers are using. One final tip: set limitations – paralysis of choice is a real problem. Decide in advance on a few instruments to use for your tracks and try to wring as much from them as possible.
Ready your setup
The final step before we begin is to make sure your setup is optimised for quick creativity. If you’re working in the box this is fairly simple, but it’s still worth making sure your software is up-to-date and any sample folders are organised and accessible.
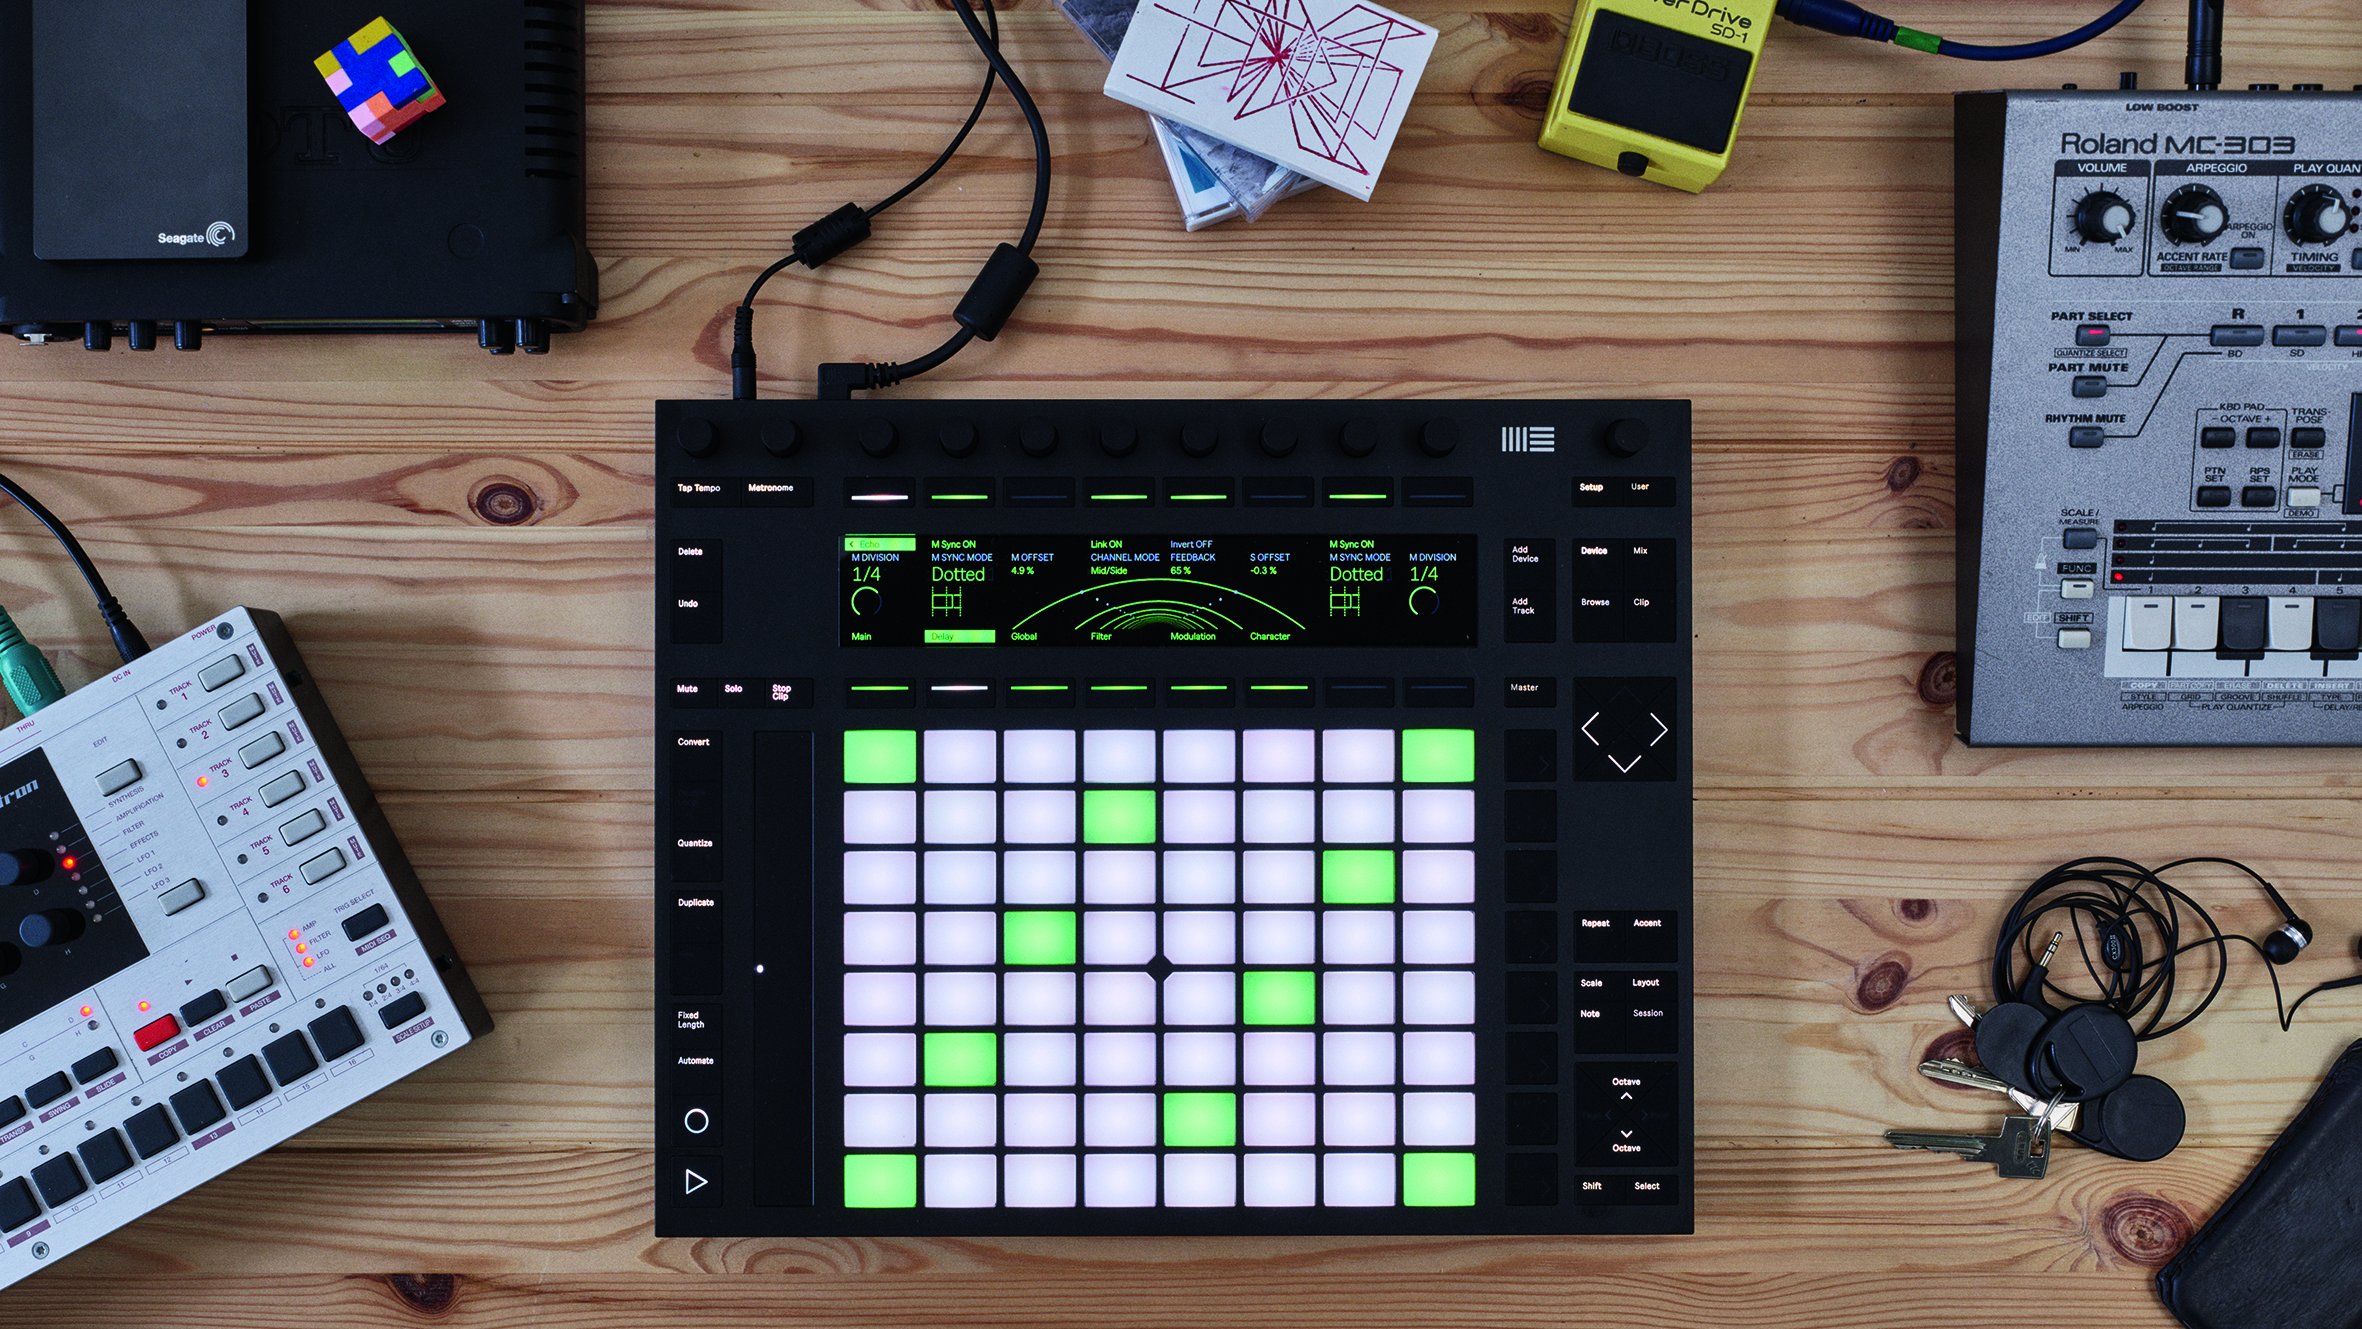
The more hardware you’re using, the more you’re at risk of setup issues. Make sure all your audio inputs are appropriately routed, listen out for unwanted noise/electrical hums and check for sync or latency issues – all factors that can derail your creative sessions.
Finally, make sure your studio is a pleasant and inviting place. Clean and tidy the space. Set your lighting how you like it. Ensure your gear is ergonomically positioned.
Return to MusicRadar on Tuesday 8th March for the next edition of our 30-day EP workshop...


Future Music is the number one magazine for today's producers. Packed with technique and technology we'll help you make great new music. All-access artist interviews, in-depth gear reviews, essential production tutorials and much more. Every marvellous monthly edition features reliable reviews of the latest and greatest hardware and software technology and techniques, unparalleled advice, in-depth interviews, sensational free samples and so much more to improve the experience and outcome of your music-making.
