
Our guide to writing, finishing and releasing a three-track EP in 30 days kicked off earlier this month. If you're just getting started, head over to the first instalment to begin there. If not, read on for week three..

How to finish an EP in 30 days: Week 1 - inspiration and ideas
Hopefully by now you should have a variety of ideas that fit the brief you set yourself with week 1’s exercises. It’s this next stage of the track creation process that can trip up a lot of music makers; transforming an idea we’re excited about into a full track without draining all of our enthusiasm for it in the process.
This is where the templates created in week 1 come in. Take your ideas, loops and track elements and – as best you can – lay them out in, or record them into, your DAW’s arrangement window to match the structure of your MIDI template.
This won’t instantly give you a finished track – you’ll undoubtedly find plenty of areas that need refinement. Hopefully though, refining your tracks based on these initial frameworks should feel less daunting than staring at a 16-bar loop and wondering where to go next.
Your first step should be to decide what’s missing or needs moving. Does your track’s intro feel too long or short? Do your chords need backing up with a synth pad? Is the bassline carrying the weight of the track or do you need an extra sub to back it up?
You might find that certain sounds don’t feel quite right now that they’ve been placed in a wider context, in which case it might be worth swapping or rerecording elements.
The second stage is to edit your arrangement for movement and tension. If sounds remain static throughout the track, you’re unlikely to hold listeners’ attention. This is particularly true in dance music where build and release – aka ‘the drop’ – is key to engaging the dancefloor.
This is achieved in a variety of ways, the most obvious being through automation – changing the parameters of a sound – or the addition of ‘transition FX’, ie pieces of audio designed to bridge the gap between track sections. The most obvious example of these latter elements are the white noise builds heard regularly in dance music.
Read on for some essential tips that should help you flesh out and add movement to your arrangements.
Two alternative techniques for turning loops into full tracks
1. Subtractive arranging

Subtractive arranging works on the principle that it’s easier to remove things from your track than add them. It works like this: stack every element you have for your track into a single looped phrase at the very start of your DAW’s arrangement window. Now duplicate this loop enough times to fill a rough duration you’d like for your track.
Your task now is to delete elements in order to ‘carve out’ an arrangement. Delete major elements to create a simple intro/outro, have riffs, basslines and chord progressions swap in and out, strip things back to create a breakdown and then bring them back in for a sensational ‘drop’.
2. Go live!

A good way to make arrangements feel more natural and progressive from the get-go is to perform your track live. There are several ways to do this. If you’re using hardware or real instruments, you might choose to record your track as if it’s a multi-tracked session with a band, adding overdubs as needed.
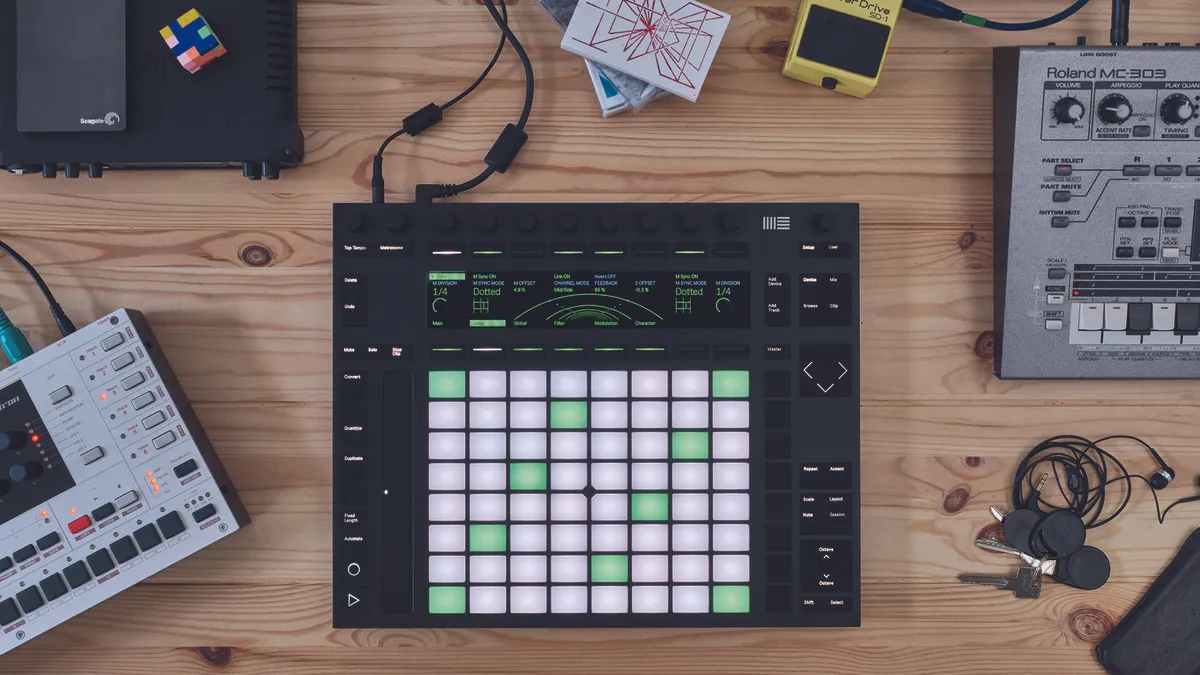
In software, the clip launchers found in DAWs such as Live, Logic and Bitwig allow a similar method. Break your ideas down into individual clips and scenes and lay them out within the clip launcher. Then, using a pad controller or mouse and keyboard, trigger clips in an order that feels ‘right’ as you’re listening, without concerning yourself with what it looks like on the timeline.
6 tricks for adding movement and tension to your arrangement
1. Reverse it!
Reversing sounds can be a real ‘get out of jail free card’ at the arrangement stage. The sound’s ‘rising’ nature means it’ll smoothly sweep in, so it’s great for patching gaps between song sections. Try flipping any atonal cymbal or ‘impact’ sound back to front for a riser effect, then place the audio so it leads into your build-up.
Reversing also works well with tonal sounds such as vocals, chords or synths, as the harmonics of the sound will fade in and act as an additional melodic component.
2. Work with what you have

Place a creative effect (eg, an interesting reverb or delay plugin) on a return track in your DAW, then automate sends from your existing elements to shoot these signals into the effect and create spot builds and edits. Render the results and manipulate further for fresh FX material.
3. Silence is golden

Use tiny gaps of silence to emphasise switches between eight- or 16-bar sections. For example, roughly truncate all your drums, bass and sounds just after the last snare of a bar, then whack everything in on the next downbeat.
4. Emphasise an impact

If you’re about to drop a new element into the track, think how you can lead it in creatively. If your hook is about to go in, say, why not fade in a repeating first note to introduce the hook more gradually?
Alternatively, you may want to embrace the abruptness of your new sound coming in, in which case you can help the other sounds emphasise this. Perhaps volume-fade your drum bus, other sounds or master down a little in level before this impactful sound enters.
5. The washout

One of the most common yet creative ways to build and release tension in a dancefloor track is through the use of a ‘washout’ technique. This is where a particular sound in the mix – or the entire mix itself – becomes more and more effected with reverb or delay over time, building and building towards some kind of drop moment, whereby the entire effect is removed to slam everything back in.
6. What to automate?

There’s pretty much no limit to what you can automate or modulate. Filter cutoffs are one choice, allowing you to ‘reveal’ a sound as you adjust the cutoff of a low- or high-pass filter. Volume automation is another one – even subtle changes in the level have an effect. Try automating the threshold of a sidechained compressor, to increase or decrease a rhythmic ducking effect. Or play with spatial awareness by automating the size, depth or dry/wet of a reverb or delay.
Return to MusicRadar on Tuesday 22nd March for the next edition of our 30-day EP workshop...
Or check out more tutorials below:
- 11 tips and tactics for better song arrangements
- 9 creative strategies that’ll improve your track arrangements
- 22 creative arranging tips and tricks to try
- 14 ways to turn your song ideas into a great arrangement
- 3 successful track arrangements for pop and EDM, explained
- 11 productivity hacks to get that track finished
- 9 ways to get better at finishing tracks in your DAW
