As with so much in music, the term lo-fi means different things to different people, but no matter what angle you take, there’s crossover, of expression as well as terminology and techniques.
For most, lo-fi will elicit thoughts of slower tempo beats, retro voicings and, in many cases, less space in the mix. Whether it’s casually arpeggiated or loosely strummed guitar chords, velvety Rhodes tones, or ’80s synth pads, they will most likely occupy a wider frequency range, adding to the lushness of the end result.
That doesn’t, however, mean that they aren’t ‘produced’; just that the goal isn’t the same as a modern pop song.
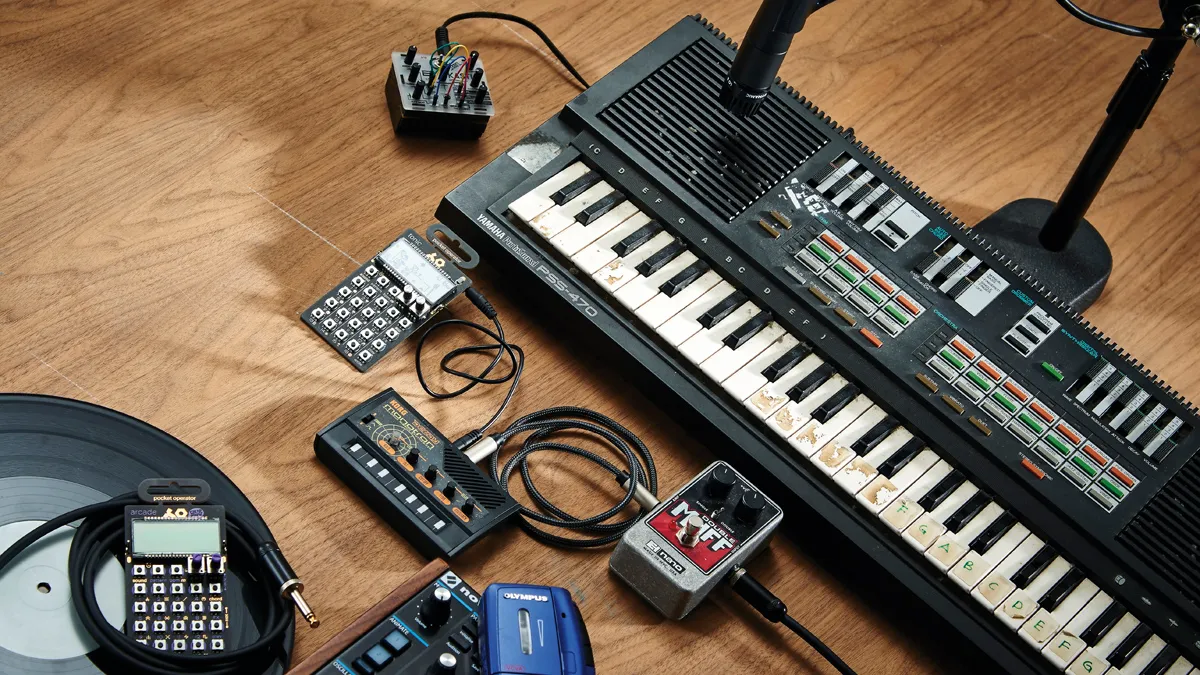
In these tutorials, we're taking a look at some of the core sounds, tools and techniques that can form the heart of a lo-fi session, using your DAW, plugins and some analogue gear from classic synths to tape decks and even a little modular too.
There is no right or wrong method to this but hopefully you’ll pick up a few tricks to inject some lo-fi goodness into your own projects. While you're at it, check out the tracks from Panda Bear, DJ Seinfeld and Knxwledge scattered throughout this article for great examples of artists integrating lo-fi techniques into their sound.
Much of this can be achieved with simulations and digital recreations in the box (in this case we’re using Logic, but any DAW will work), so don’t be put off if you don’t have access to hardware versions.

How to give your beats personality with lo-fi and distortion effects
In some cases you can get creative with automation and drawing curves, so you won’t even need plugins… but more on that later.
Capturing a ‘lo-fi’ vibe can be about more than just gear though. As much as it can be hugely rewarding to bounce a track to tape, warp it and send it back to your DAW, you might end up feeling somewhat underwhelmed by the results.
This isn’t likely to do with your own abilities but could be to do with aspects like chord progressions. The nature of genres becomes somewhat distilled, training our ears to expect certain voicings.
Lo-fi often has strong connections to jazz and hip-hop or trip-hop, which informs our choices here, so aim for progressions with a sprinkling of minor 7ths and maybe an add9, for an easy start.
What we’re looking for is a sense of relaxed playing, with a mellowness often associated with analogue gear, without too much of the fizz and sparkle you’d often associate with other genres.
This means we will be rolling off a lot of top end, adding breadth and space but also using some motion to create that slightly dreamy sound that is so often heard in chillwave and other lo-fi subgenres.
With that in mind, break out the tape deck, grab the electric piano (or a grand if you want that chill Ghibli vibe) and we will get started.
What's all the noise?
Lo-fi, trip-hop, chillwave, techno and similar genres often relish a bit of noise. It can add some mojo as well as working quite effectively at glueing the whole track together. But where is the best place to add this magic dust?
Although there is no real right answer, our choice is always on the master output in one way or another. This could be via bouncing the full track to a tape deck or reel to reel, using a vinyl emulation or using a synth or modular rig to create a noise track. Plugins make it easy and much of the work is done for you but you lose out on ultimate control.
You could get away with some minimal use of bitcrushing or distortion; although that can sound a little too clinical. No matter which method you use, keep it subtle and be aware of adding noise, wow and flutter in multiple places – you risk messy sounding results.
This means you will want to make decisions about methods fairly early on. Of course, you can mix crackles and pops from vinyl with mechanical noise friction artefacts from a tape machine.
1. EQ for lo-fi drums

Step 1: No matter what method you use to capture your drums, even for a lo-fi sound it’s best to EQ them individually as per normal. It’s always best to start with a clean result. We used Logic’s drummer for this example, then bounced down to a single track when ready. Alternatively (and recommended for most projects) send the drummer track to a bus for the EQ. For this we kept it simple for clarity.

Step 2: Load an EQ. Logic’s EQ is great but for this we opted for the Focusrite Red EQ plugin which is simple but effective and sounds great. We started by adding a high-pass set to around 100Hz and a low-pass set to 12k. This reduces some of the dynamics and makes for a more vintage sound.

Step 3: To bring back a little life, without accentuating the sparkly end too much, give the mids a boost of a few db, around the 400 and 6k mark. Adjust the envelope to suit. We went for an exponential shape for this.

Step 4: Your drums may now sit a little low in the mix and be lacking in clarity. To counter this we added a 4db boost with the high shelf set to 9k and increased the overall gain by 5db to lift the drums back into place amongst the other instruments.
2. DAW to reel to DAW

Step 1: To start with, we need to take a bounce, either of the full song, or the instrument track, with a good clean signal, and output that via your interface to your tape deck. Be sure to use a bounce, rather than playing from the DAW, to ensure there are no latency issues that could interfere with the recording.

Step 2: To start with, we need to take a bounce, either of the full song, or the instrument track, with a good clean signal, and output that via your interface to your tape deck. Be sure to use a bounce, rather than playing from the DAW, to ensure there are no latency issues that could interfere with the recording.

Step 3: Next, we connect the deck to the input of the interface and record back into Logic, ensuring all audio is lined up with the Logic project. Some tape isn’t accurate for speed so timestretching could have been needed. The resulting effect adds some noise tape saturation and a hint of flutter from the playhead friction. We then EQ the recording to fit the rest of the track.
3. Modular downsampling

Step 1: Here we’re using Mutable Instruments’ Beads module as a hardware downsampler for our drum track. Beads does many things and is mostly seen as a granular module but it has built-in downsampling, where the algorithms emulate varying levels of warmth, named accordingly.

Step 2: For this we bounce our drum track and connect our interface’s output to the modular system, using the Expert Sleepers ES-9 to get the audio into Beads. For this we’re using both of Beads’ inputs to retain the stereo image, as well as the stereo outs.

Step 3: Being a granular module, most of the controls are to be ignored. In fact, we zero out all of the knobs except for the mix knob, which is cranked up to maximum. We make sure to use the correct sampling mode so as to not introduce any unwanted effects to the final results.

Step 4: Setting the downsampling is simple. A single button is pressed in order to choose the preferred setting. For this, we opt for the red ‘Scorched Tape’ which has a rate of 24kHz at 8-bit. If this is overpowering, try Sunny tape instead, which is 12-bit.

Step 5: This technique relies on running the audio live and re-recording back into your DAW, via the stereo outs of Beads, as the internal buffer size is limited to a maximum of 32s at the lowest bit rate, in mono.

Step 6: Once recorded back into Logic we notice a little EQing is needed to slightly boost some high mids and to knock out some of the noise in the top end. Once this is done we add a little light compression.
