How to combine reverb with other effects
Create unique sounds and textures by fusing reverb with other effects
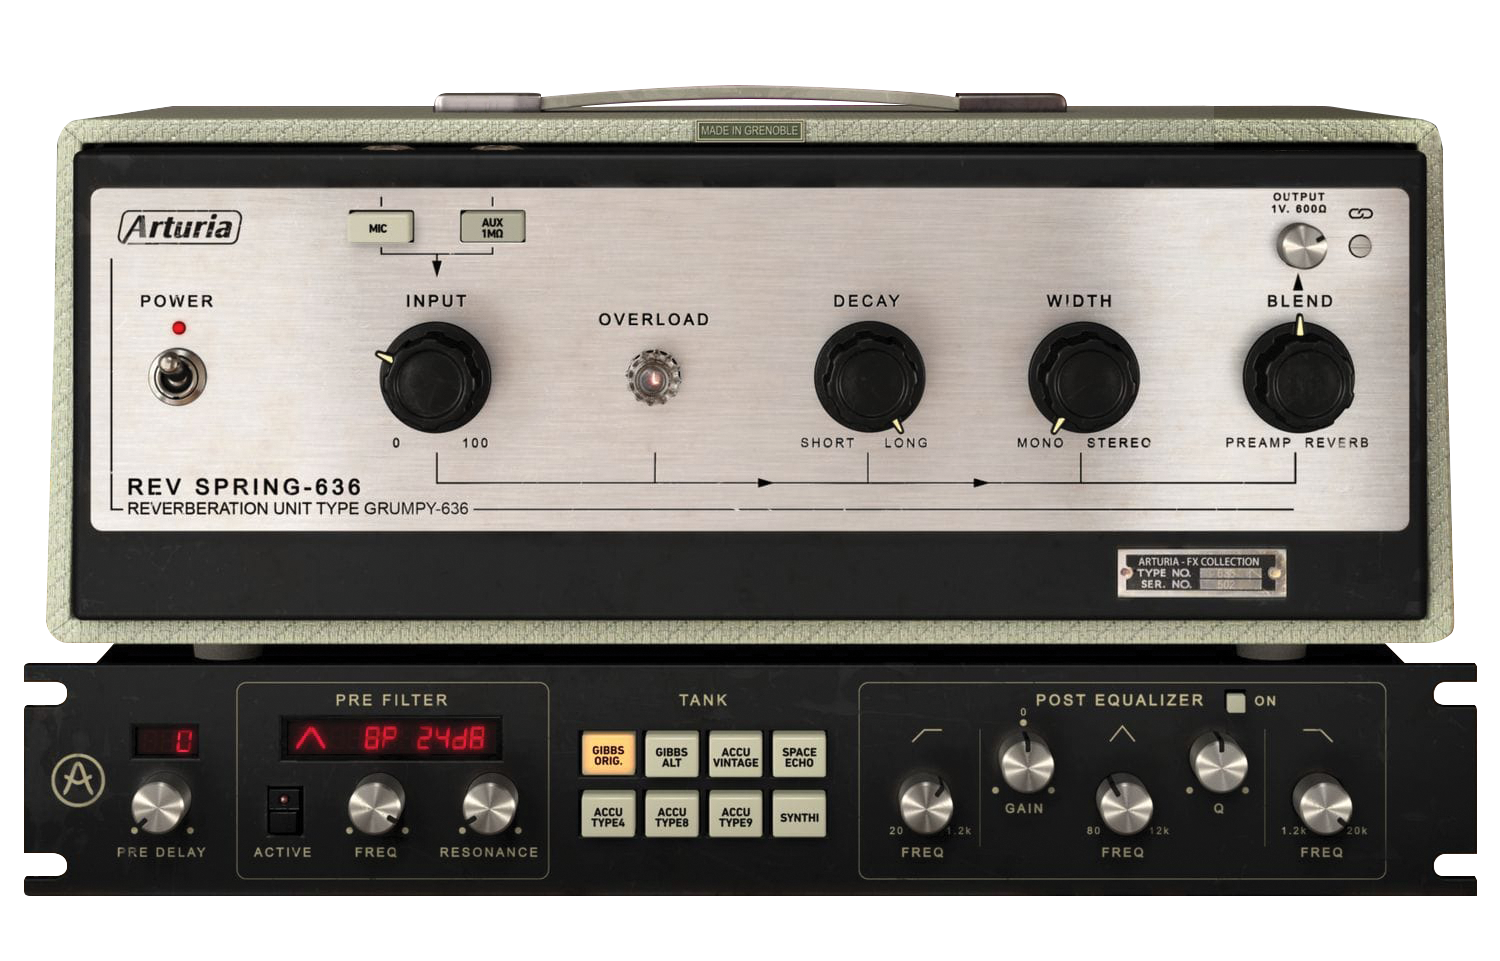
Arturia's Rev SPRING-636 is an excellent software emulation of a spring reverb
(Image credit: Arturia)Want all the hottest music and gear news, reviews, deals, features and more, direct to your inbox? Sign up here.
You are now subscribed
Your newsletter sign-up was successful
We've been talking all things reverb this month on MusicRadar, and today we continue our adventure into spatial manipulation by showing you how to combine reverb with other effects to create unique sounds and textures.
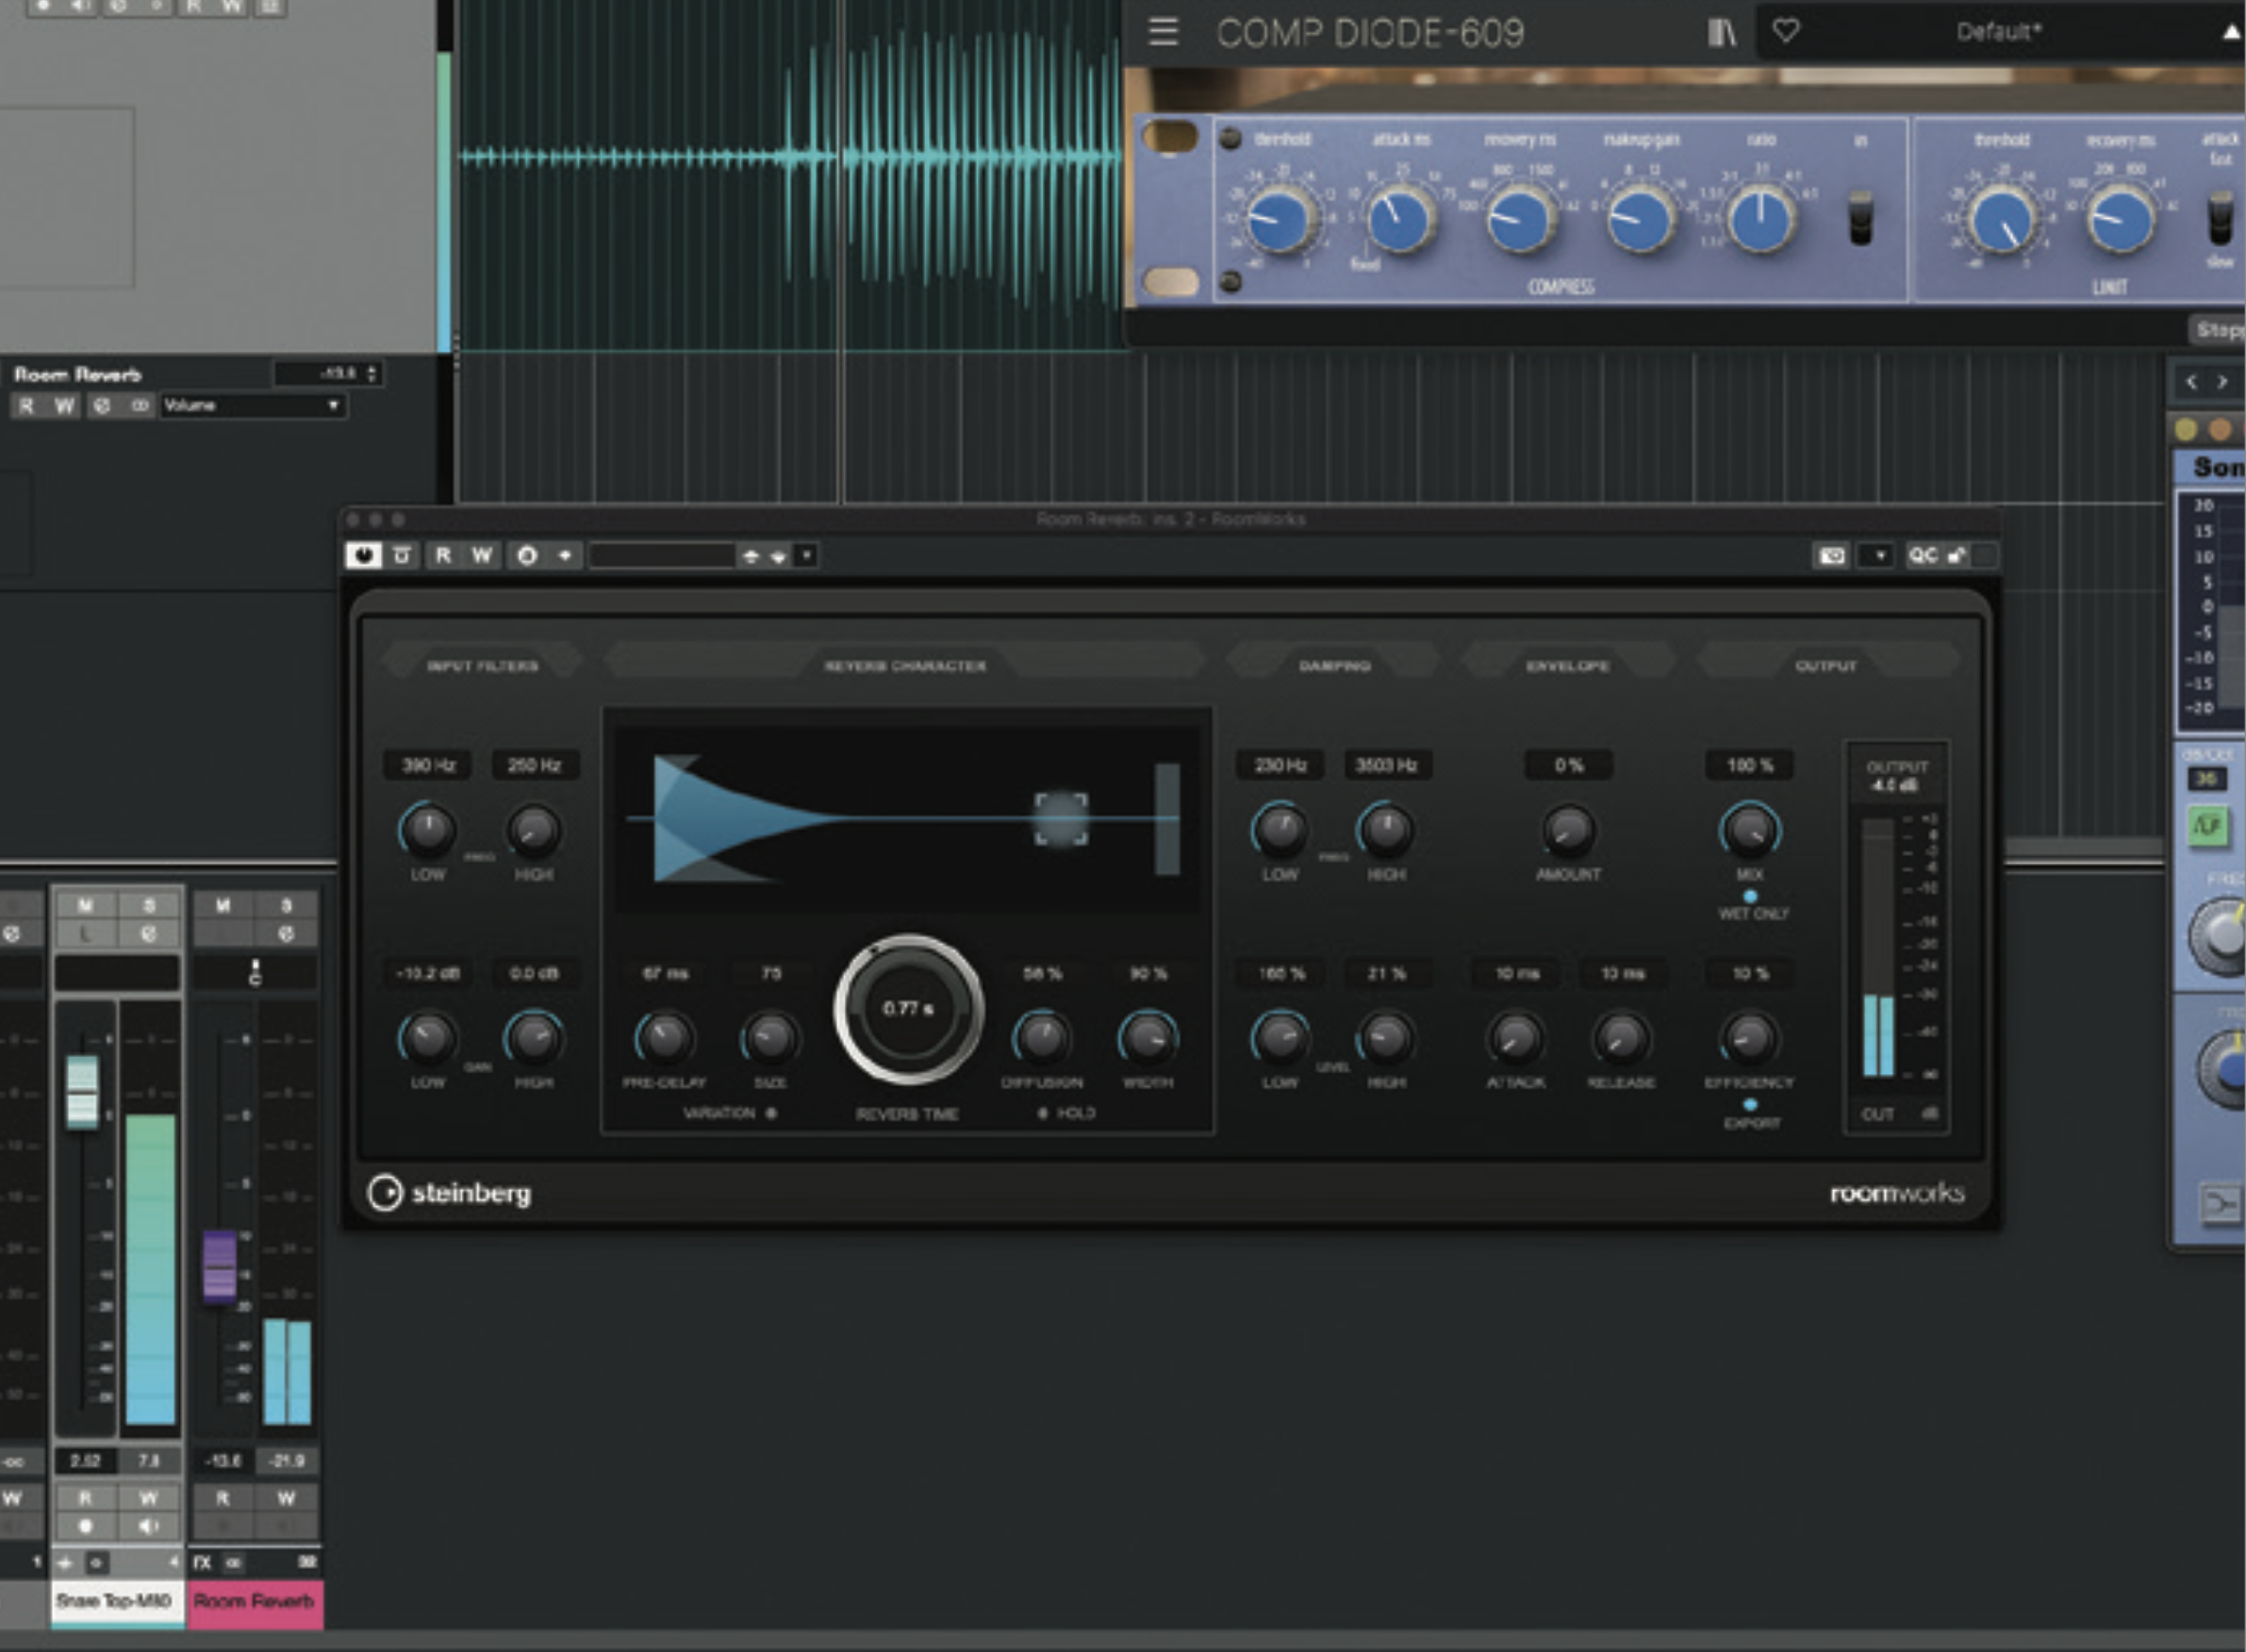
We’ll start by combining two reverbs on a snare drum. Load a project containing multi-tracked drums and solo the snare, or create a few bars of a snare drum pattern using a sampler or drum instrument. Add EQ and dynamics if needed. Also create an FX/Auxiliary track, label it ‘Room Reverb’, and configure a room simulation reverb on it.
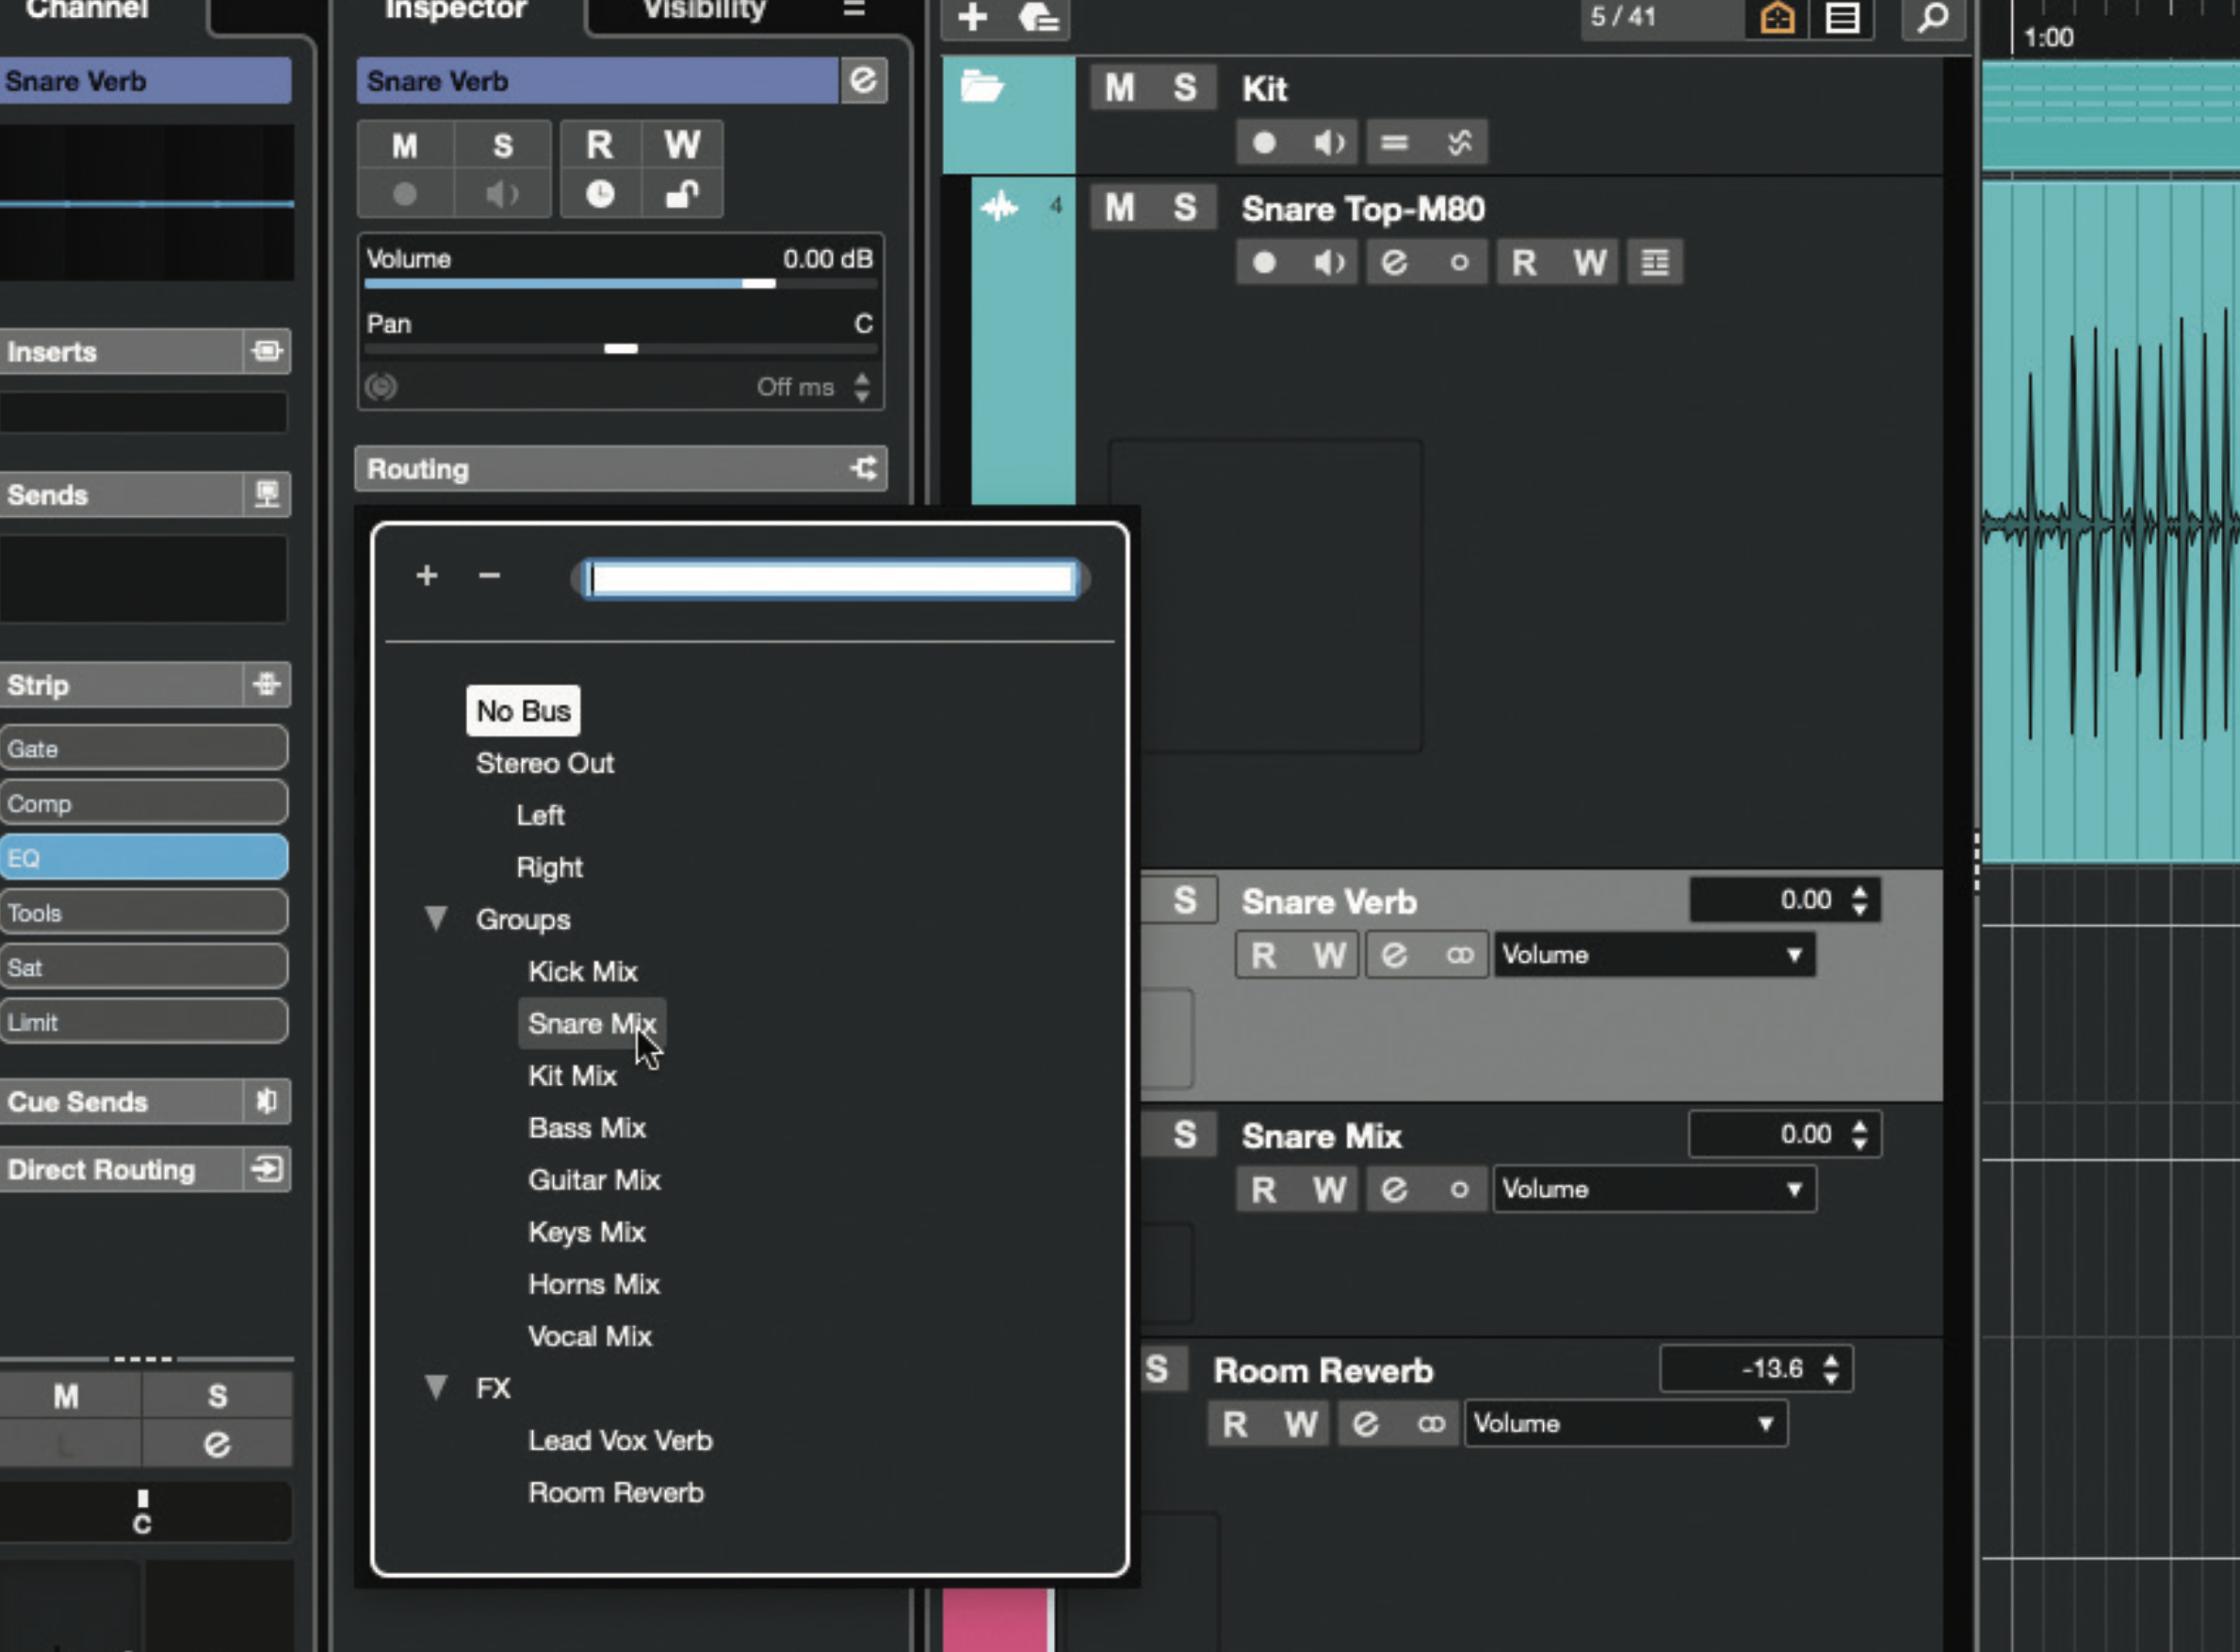
The actual snare of a snare drum – that is, the springs on the underside of the drum – are essentially a reverberator, hence why reverb works well to reinforce snare sounds. Create a new FX/Auxiliary track named ‘Snare Verb’, and a new Group/Submix track called ‘Snare Mix’. Route the main snare track and Snare Verb outputs to Snare Mix.
Article continues below 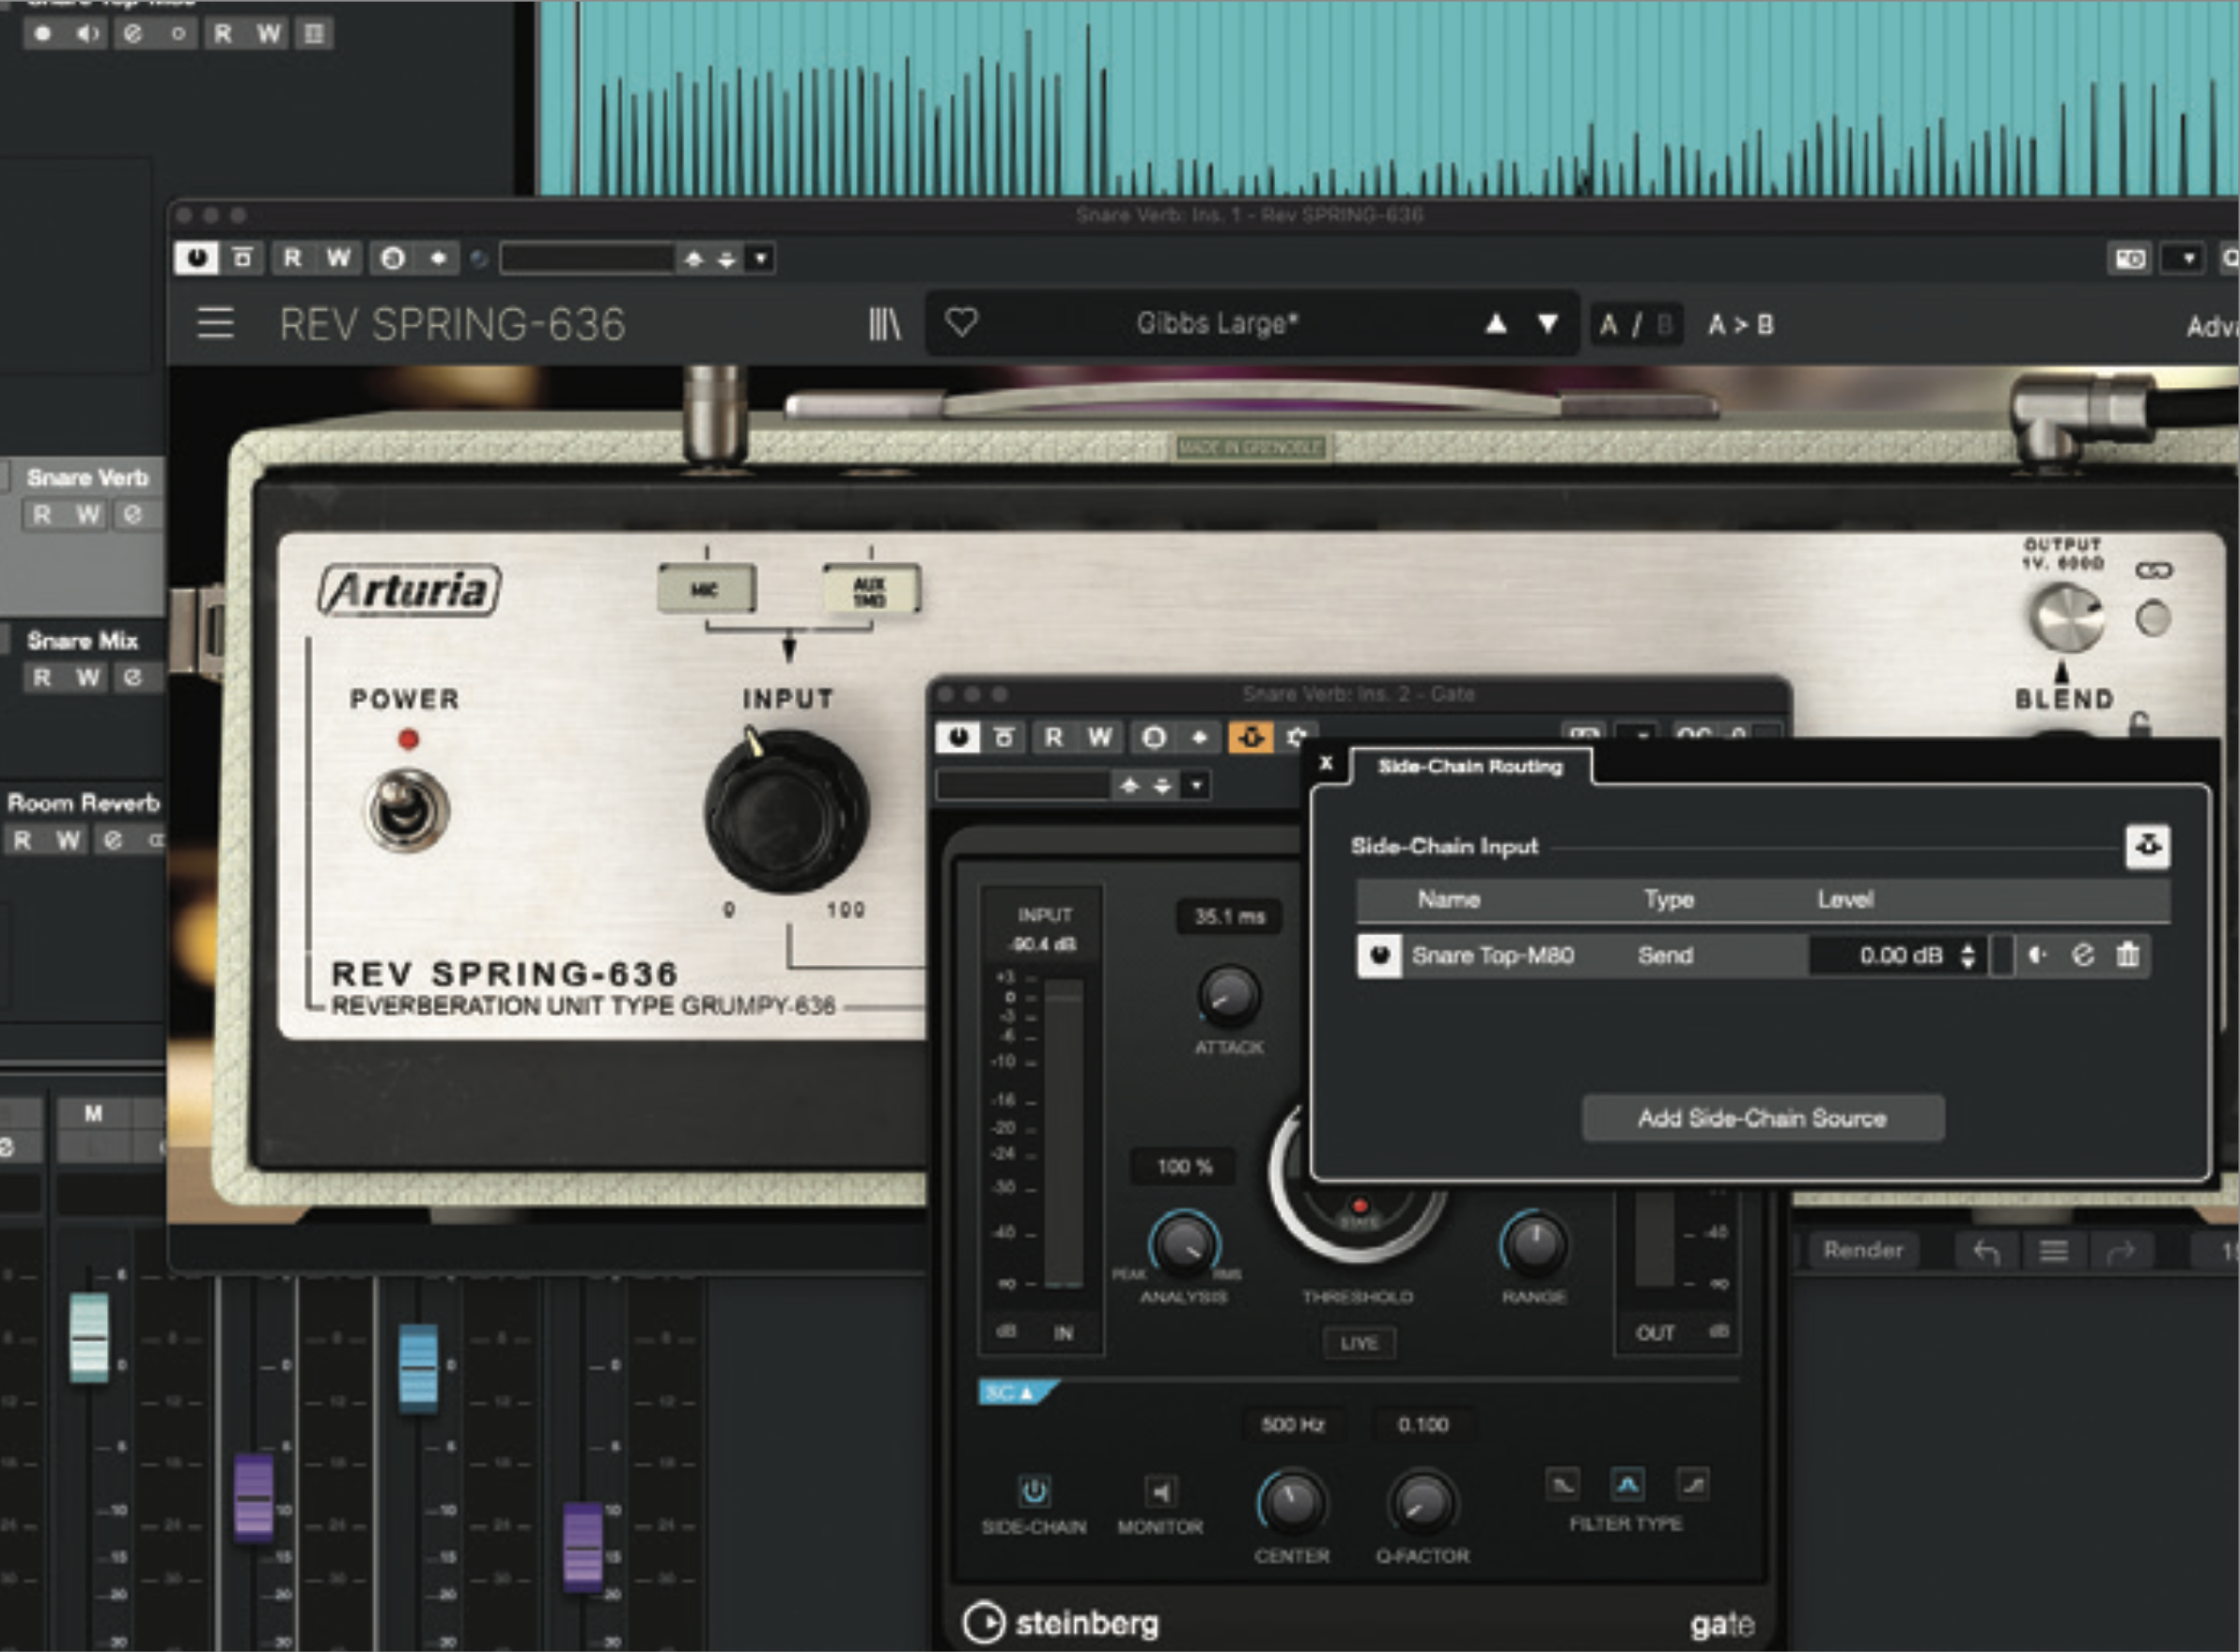
Insert a reverb on Snare Verb and create a send to it from the main snare track. Create a snappy ’verb with a bright tone, medium decay time and 100% wet mix (you can tweak the reverb sound later if you wish). Insert a gate after the reverb, and configure it to use the source snare track as its external sidechain source.
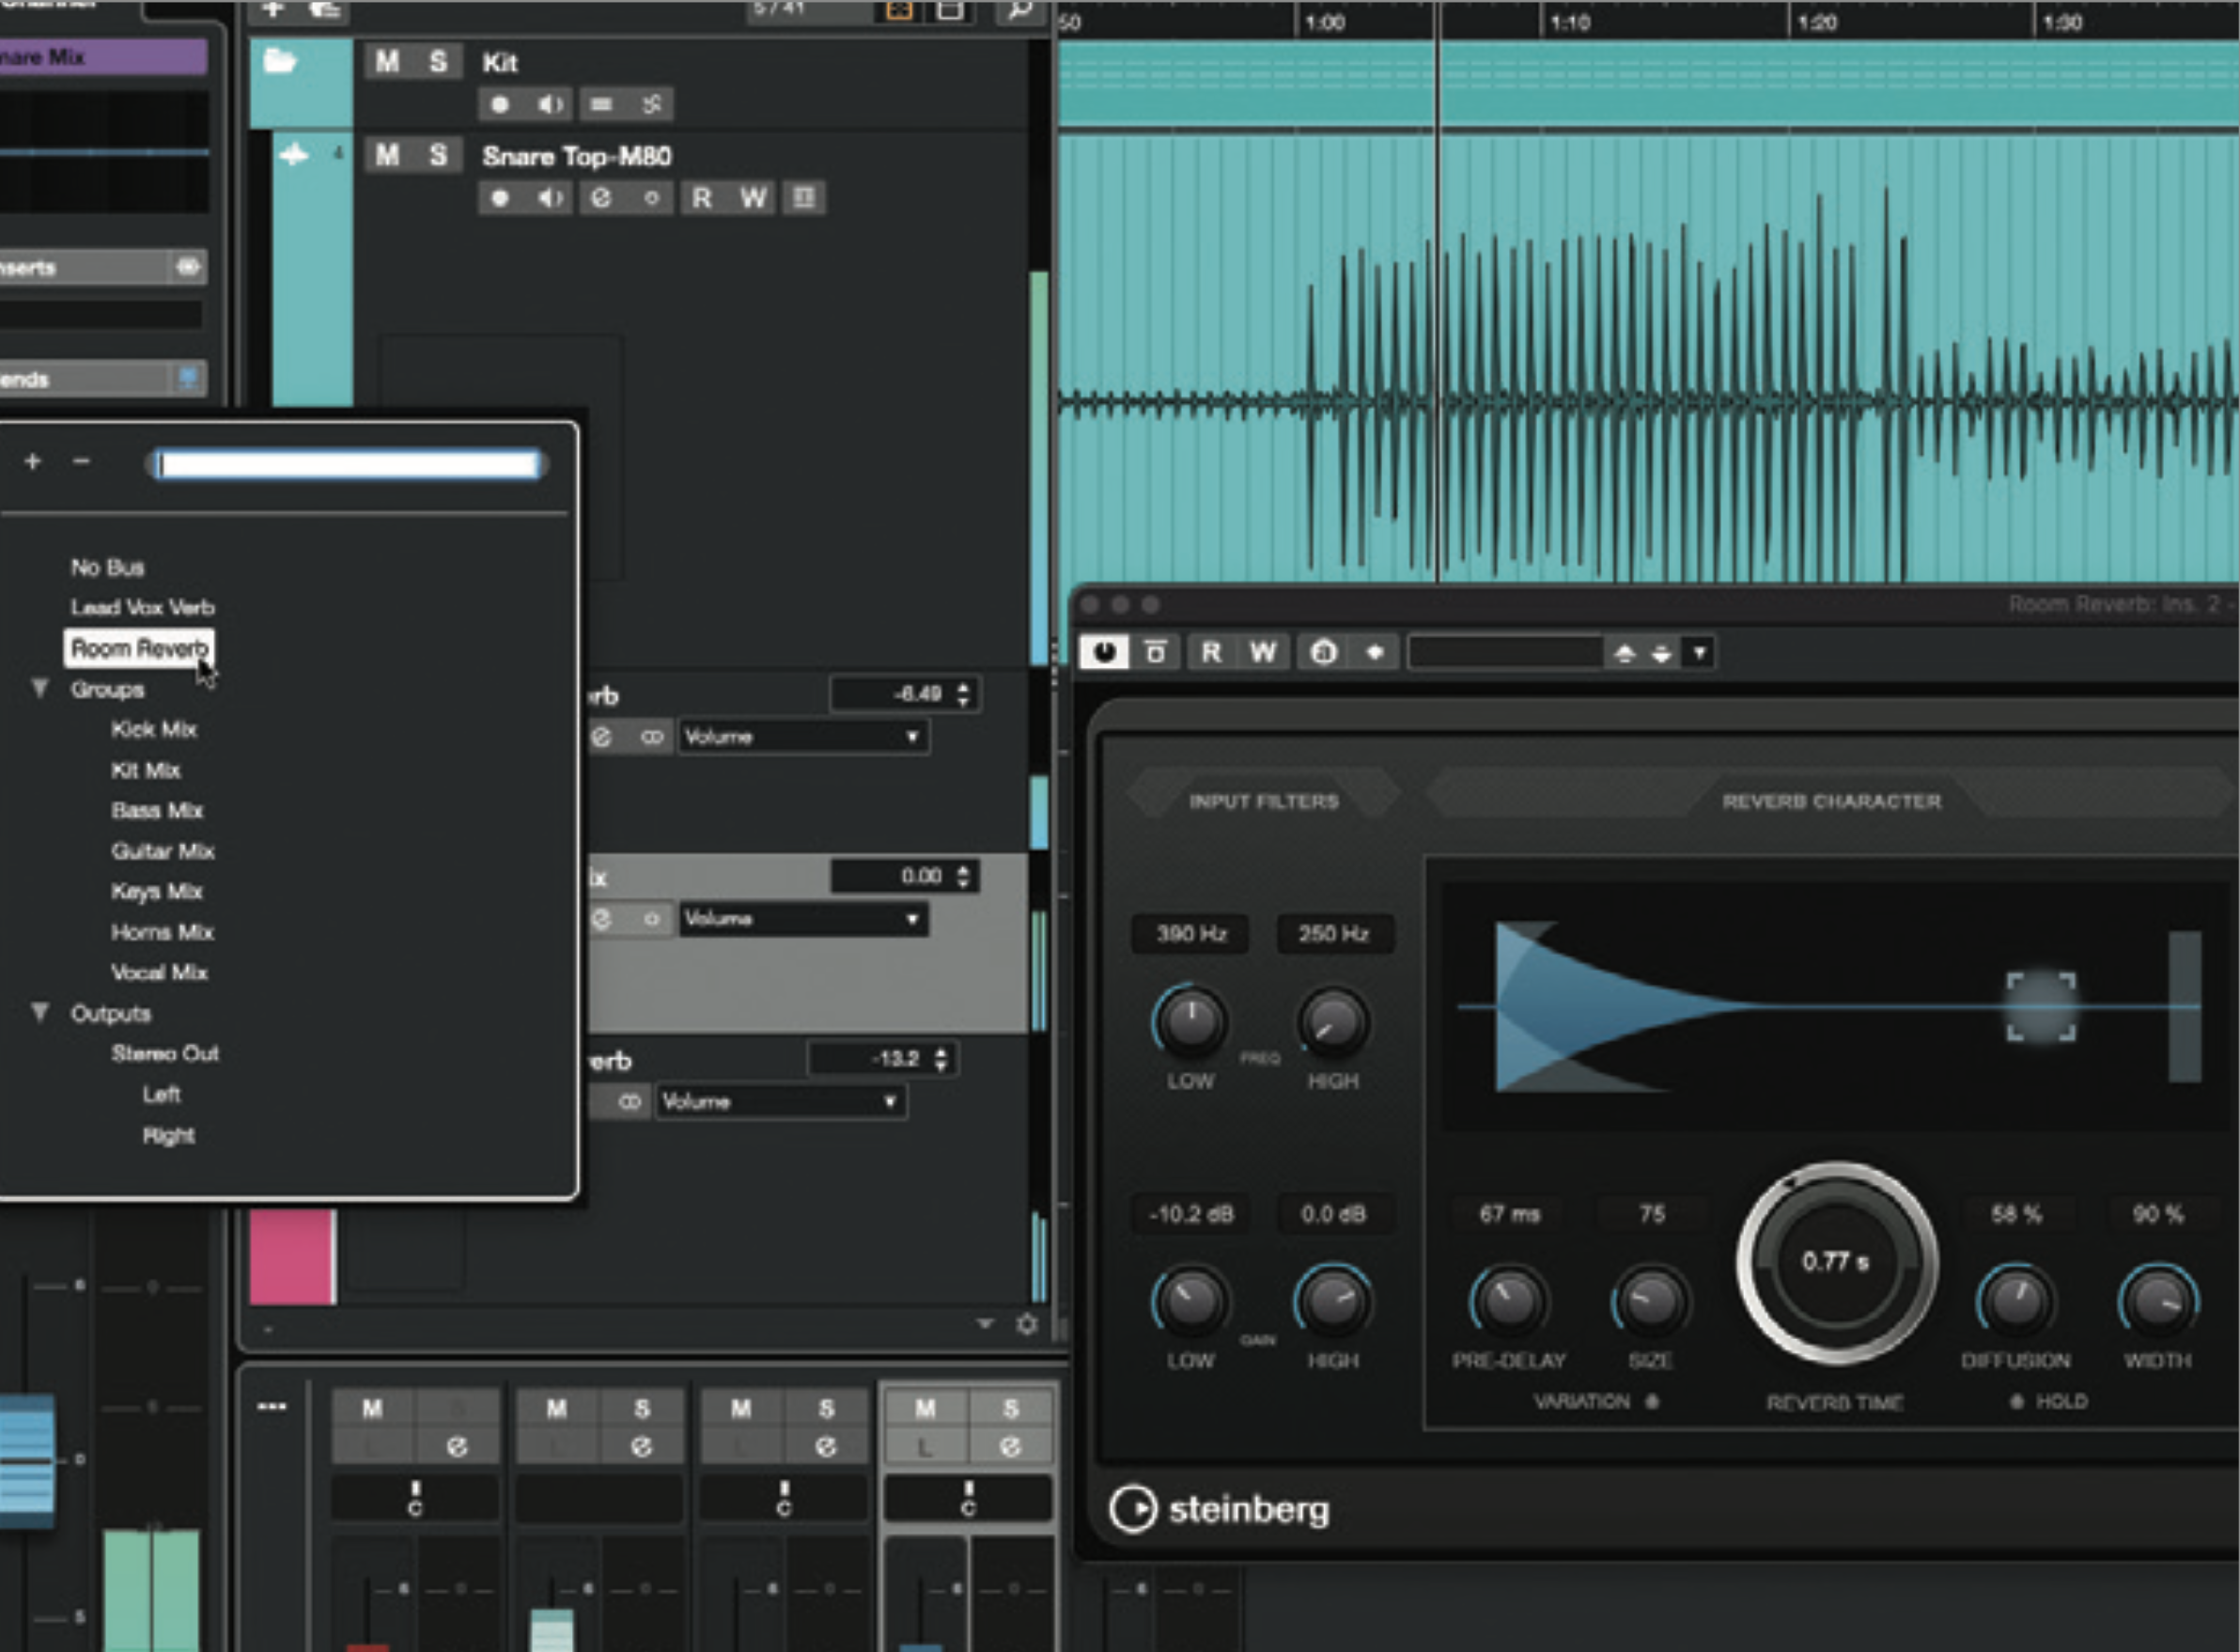
Set the gate’s threshold such that it lets through a burst of reverb each time the snare is hit, and use the gate’s envelope settings to shorten and shape the reverb tail. Adjust the reverb settings too if needed. Balance the Snare Verb level with the source track, and create a send from Snare Mix to Room Reverb. You now have stacked reverbs configured and routed.
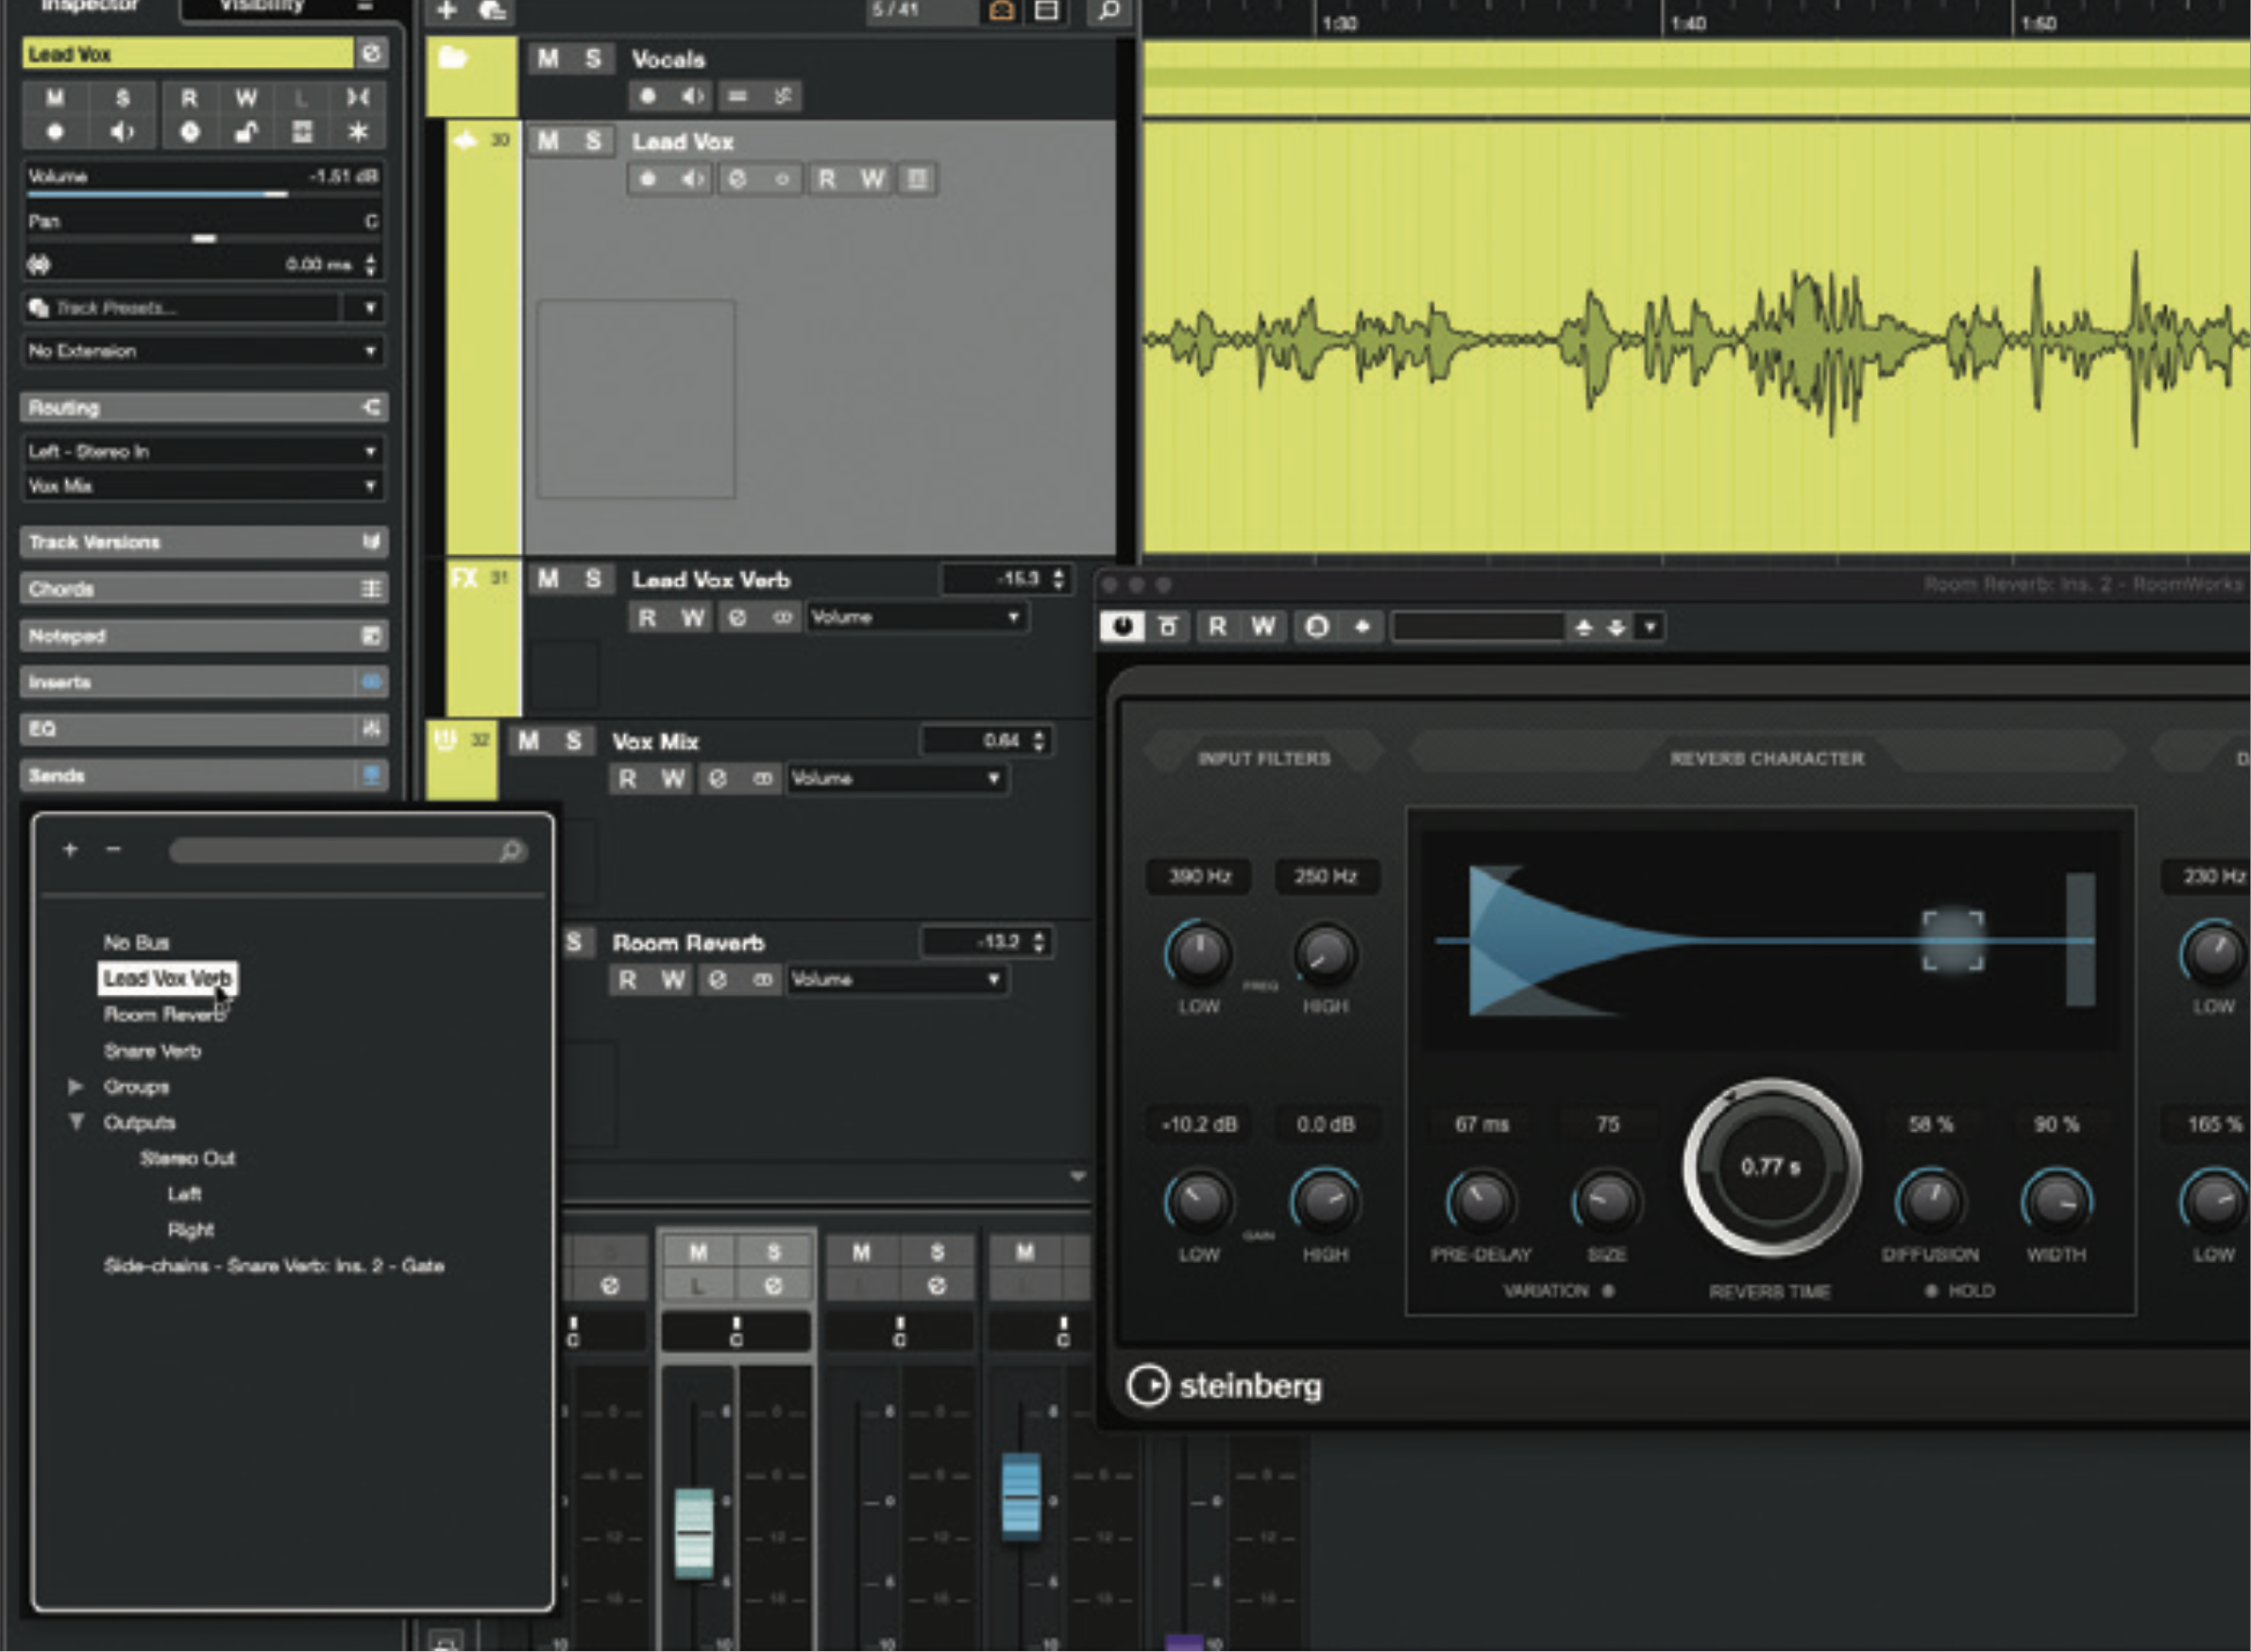
Switch to a project that includes a vocal (or lead) line. As before, create a Room Reverb track, an FX/Auxiliary track for processing the vocal (Lead Vox Verb), and a Group/Submix track that combines the vocal track with the vocal effects track (Vox Mix). Create a send from the source vocal track to the Lead Vox Verb track.
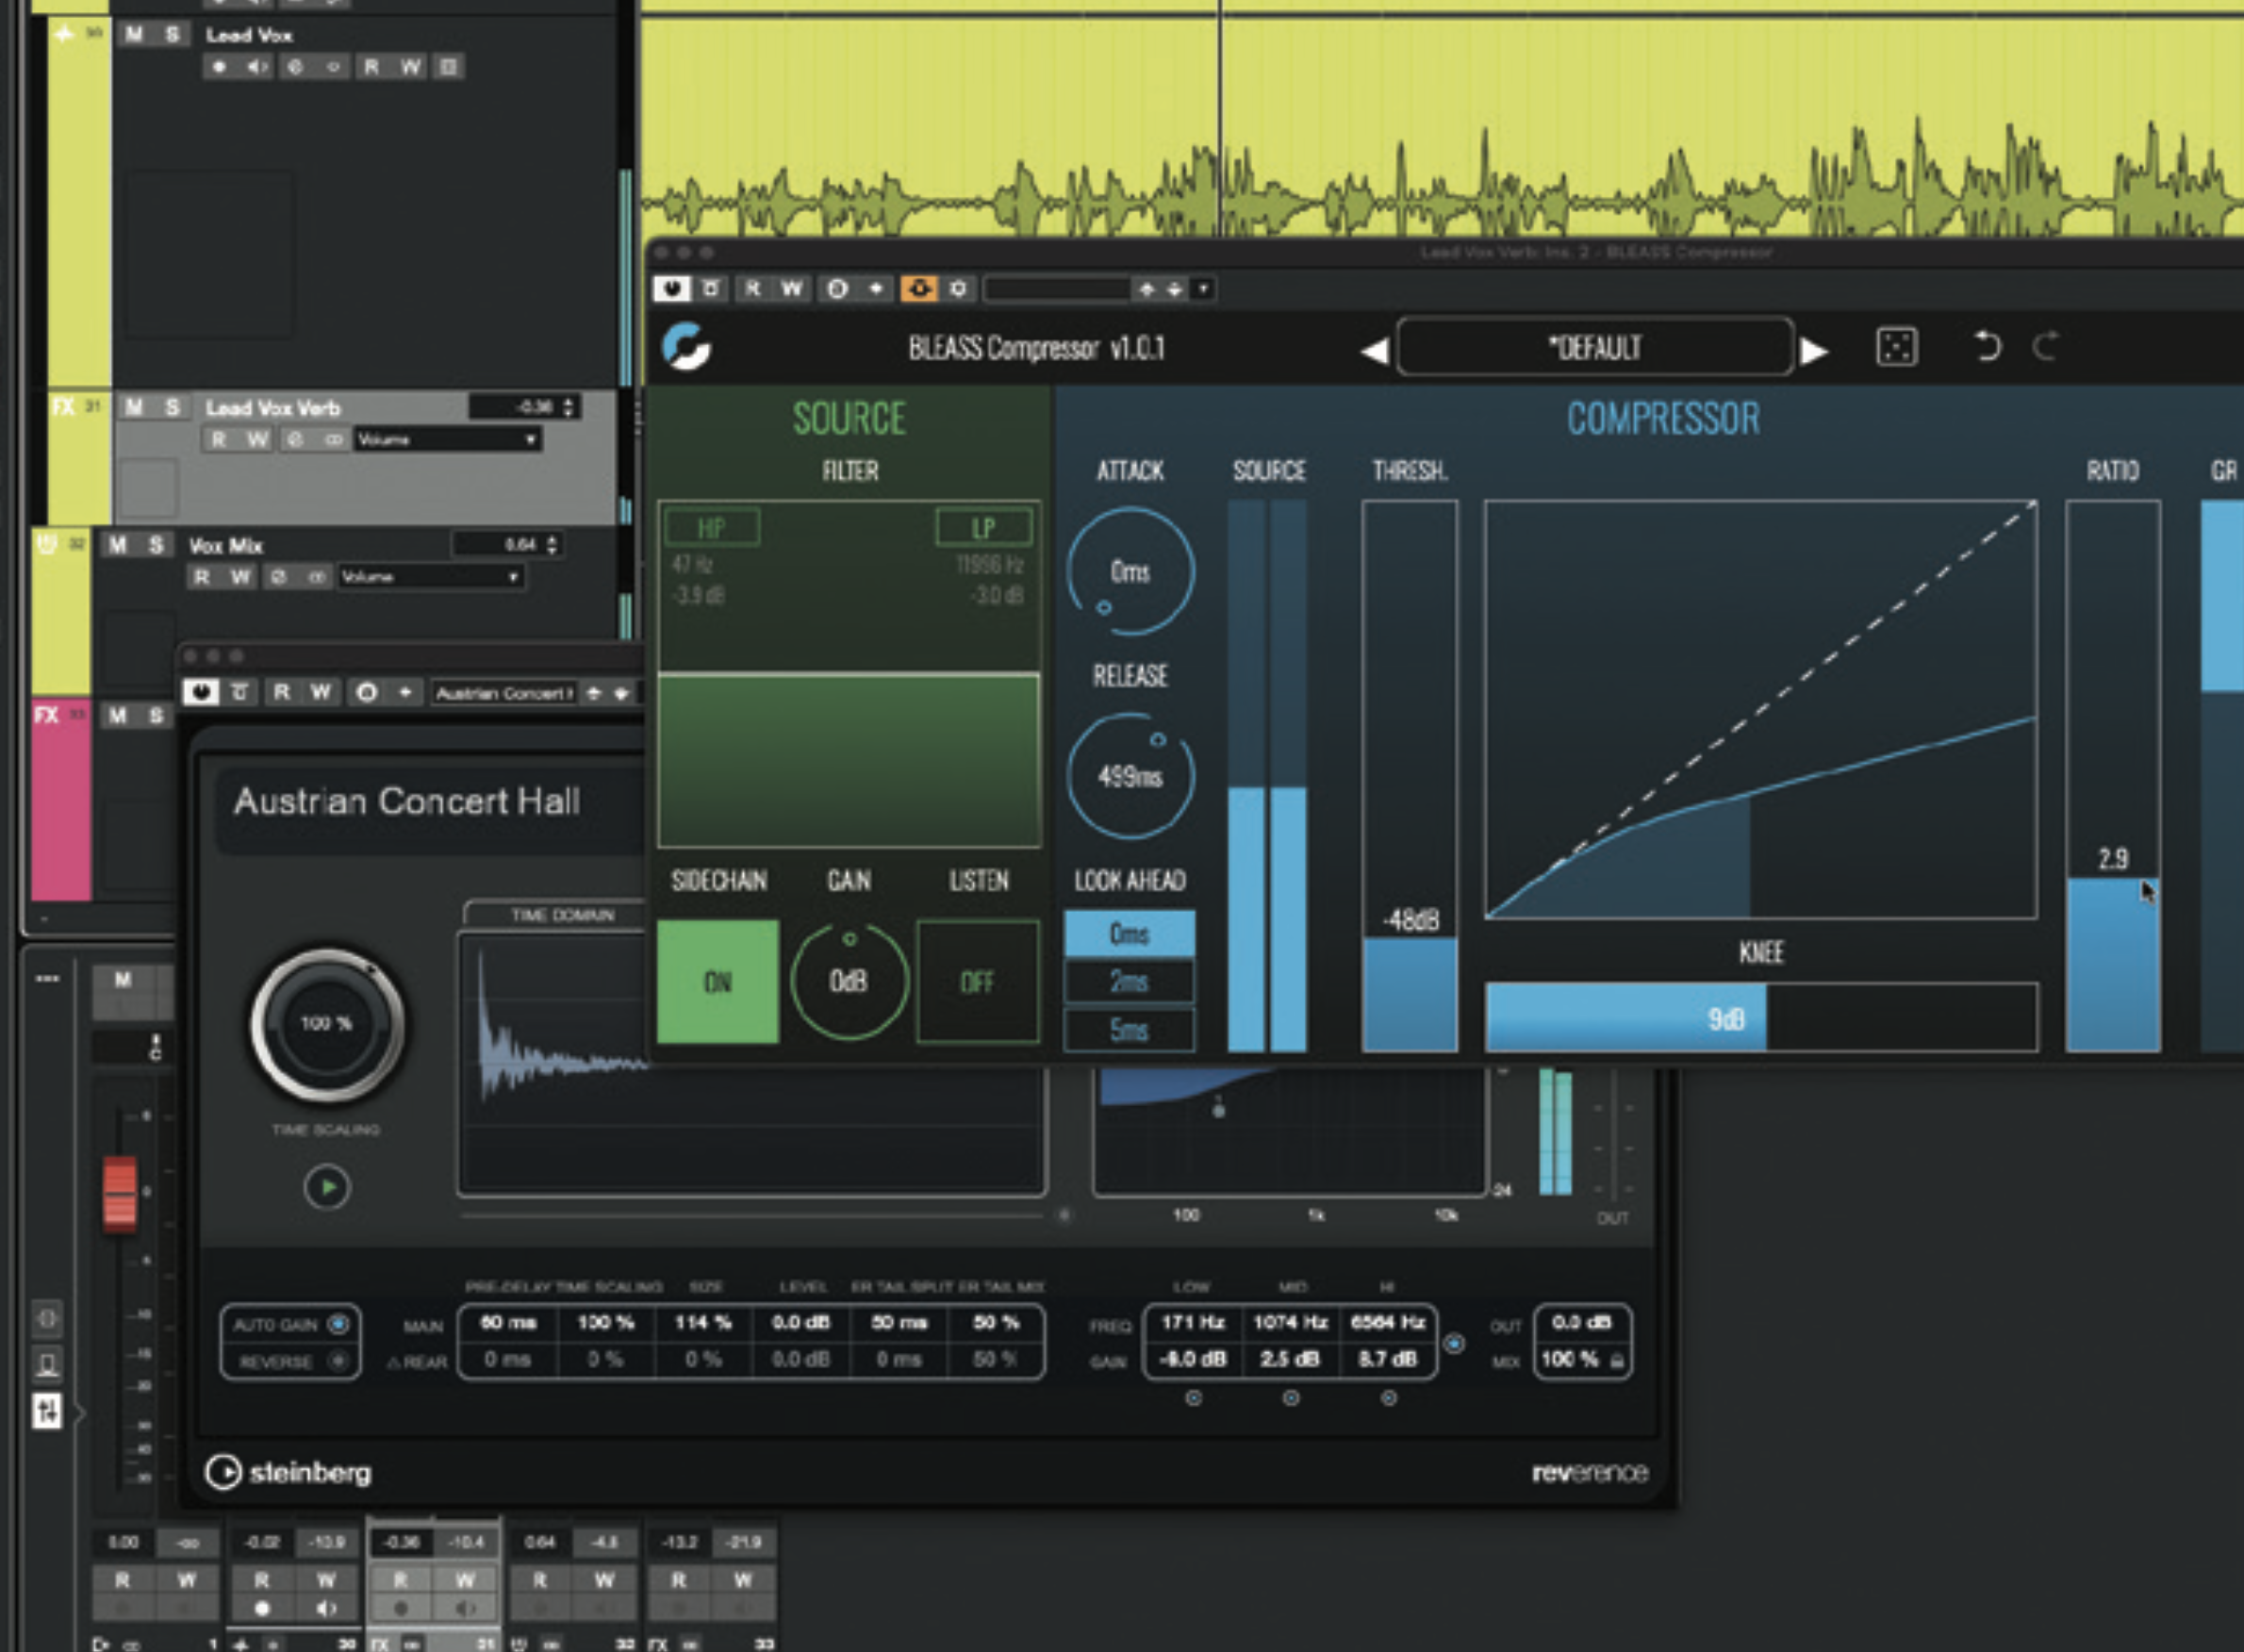
Insert a long-ish, 100% wet reverb on the Lead Vox Verb track. Insert a compressor after the reverb and configure it to key its sidechain from the source vocal track. Configure the compressor threshold so that the vocal exceeds it, and adjust the ratio and envelope controls for the desired strength and smoothness of ducking. Rebalance the effect track with the dry one.
Want all the hottest music and gear news, reviews, deals, features and more, direct to your inbox? Sign up here.
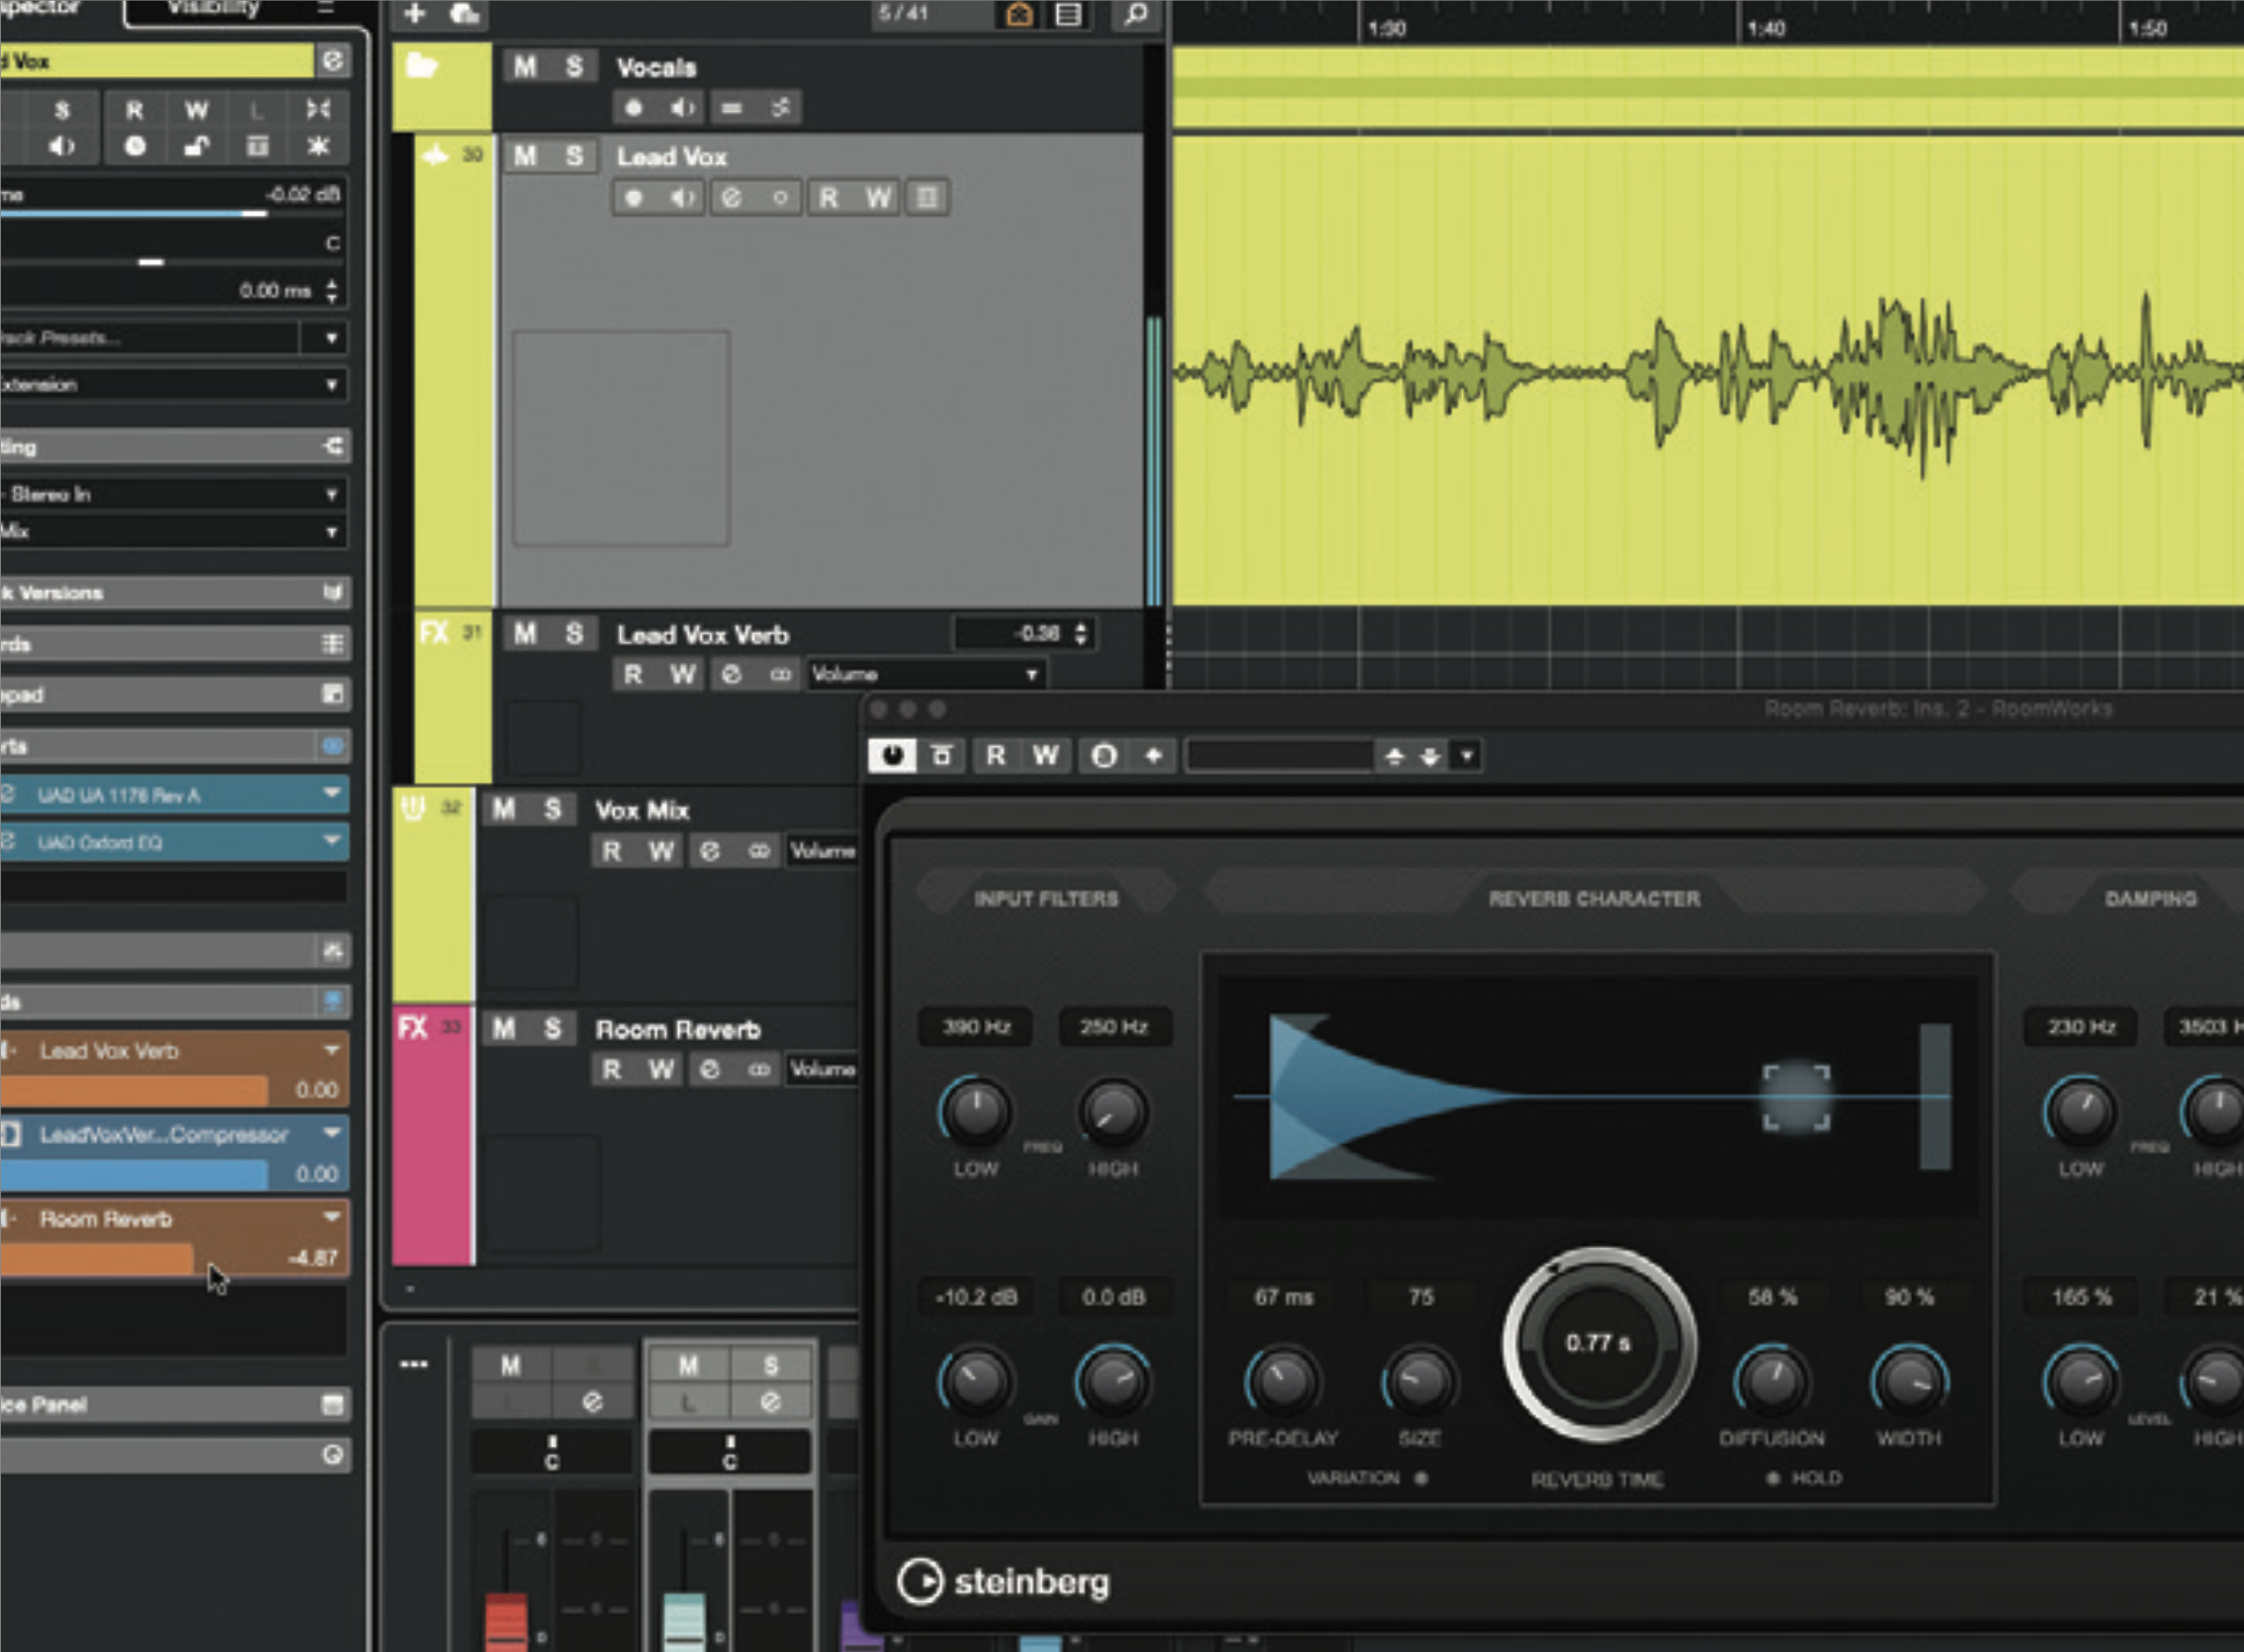
In this instance, we want the main vocal track to be included in the overall room reverb but not the ducked reverb effect, so create a post-fade send from the source vocal track to the Room Reverb track. Work on the balance between the dry track and the two reverbs, adjusting the relative levels until everything sits together nicely.
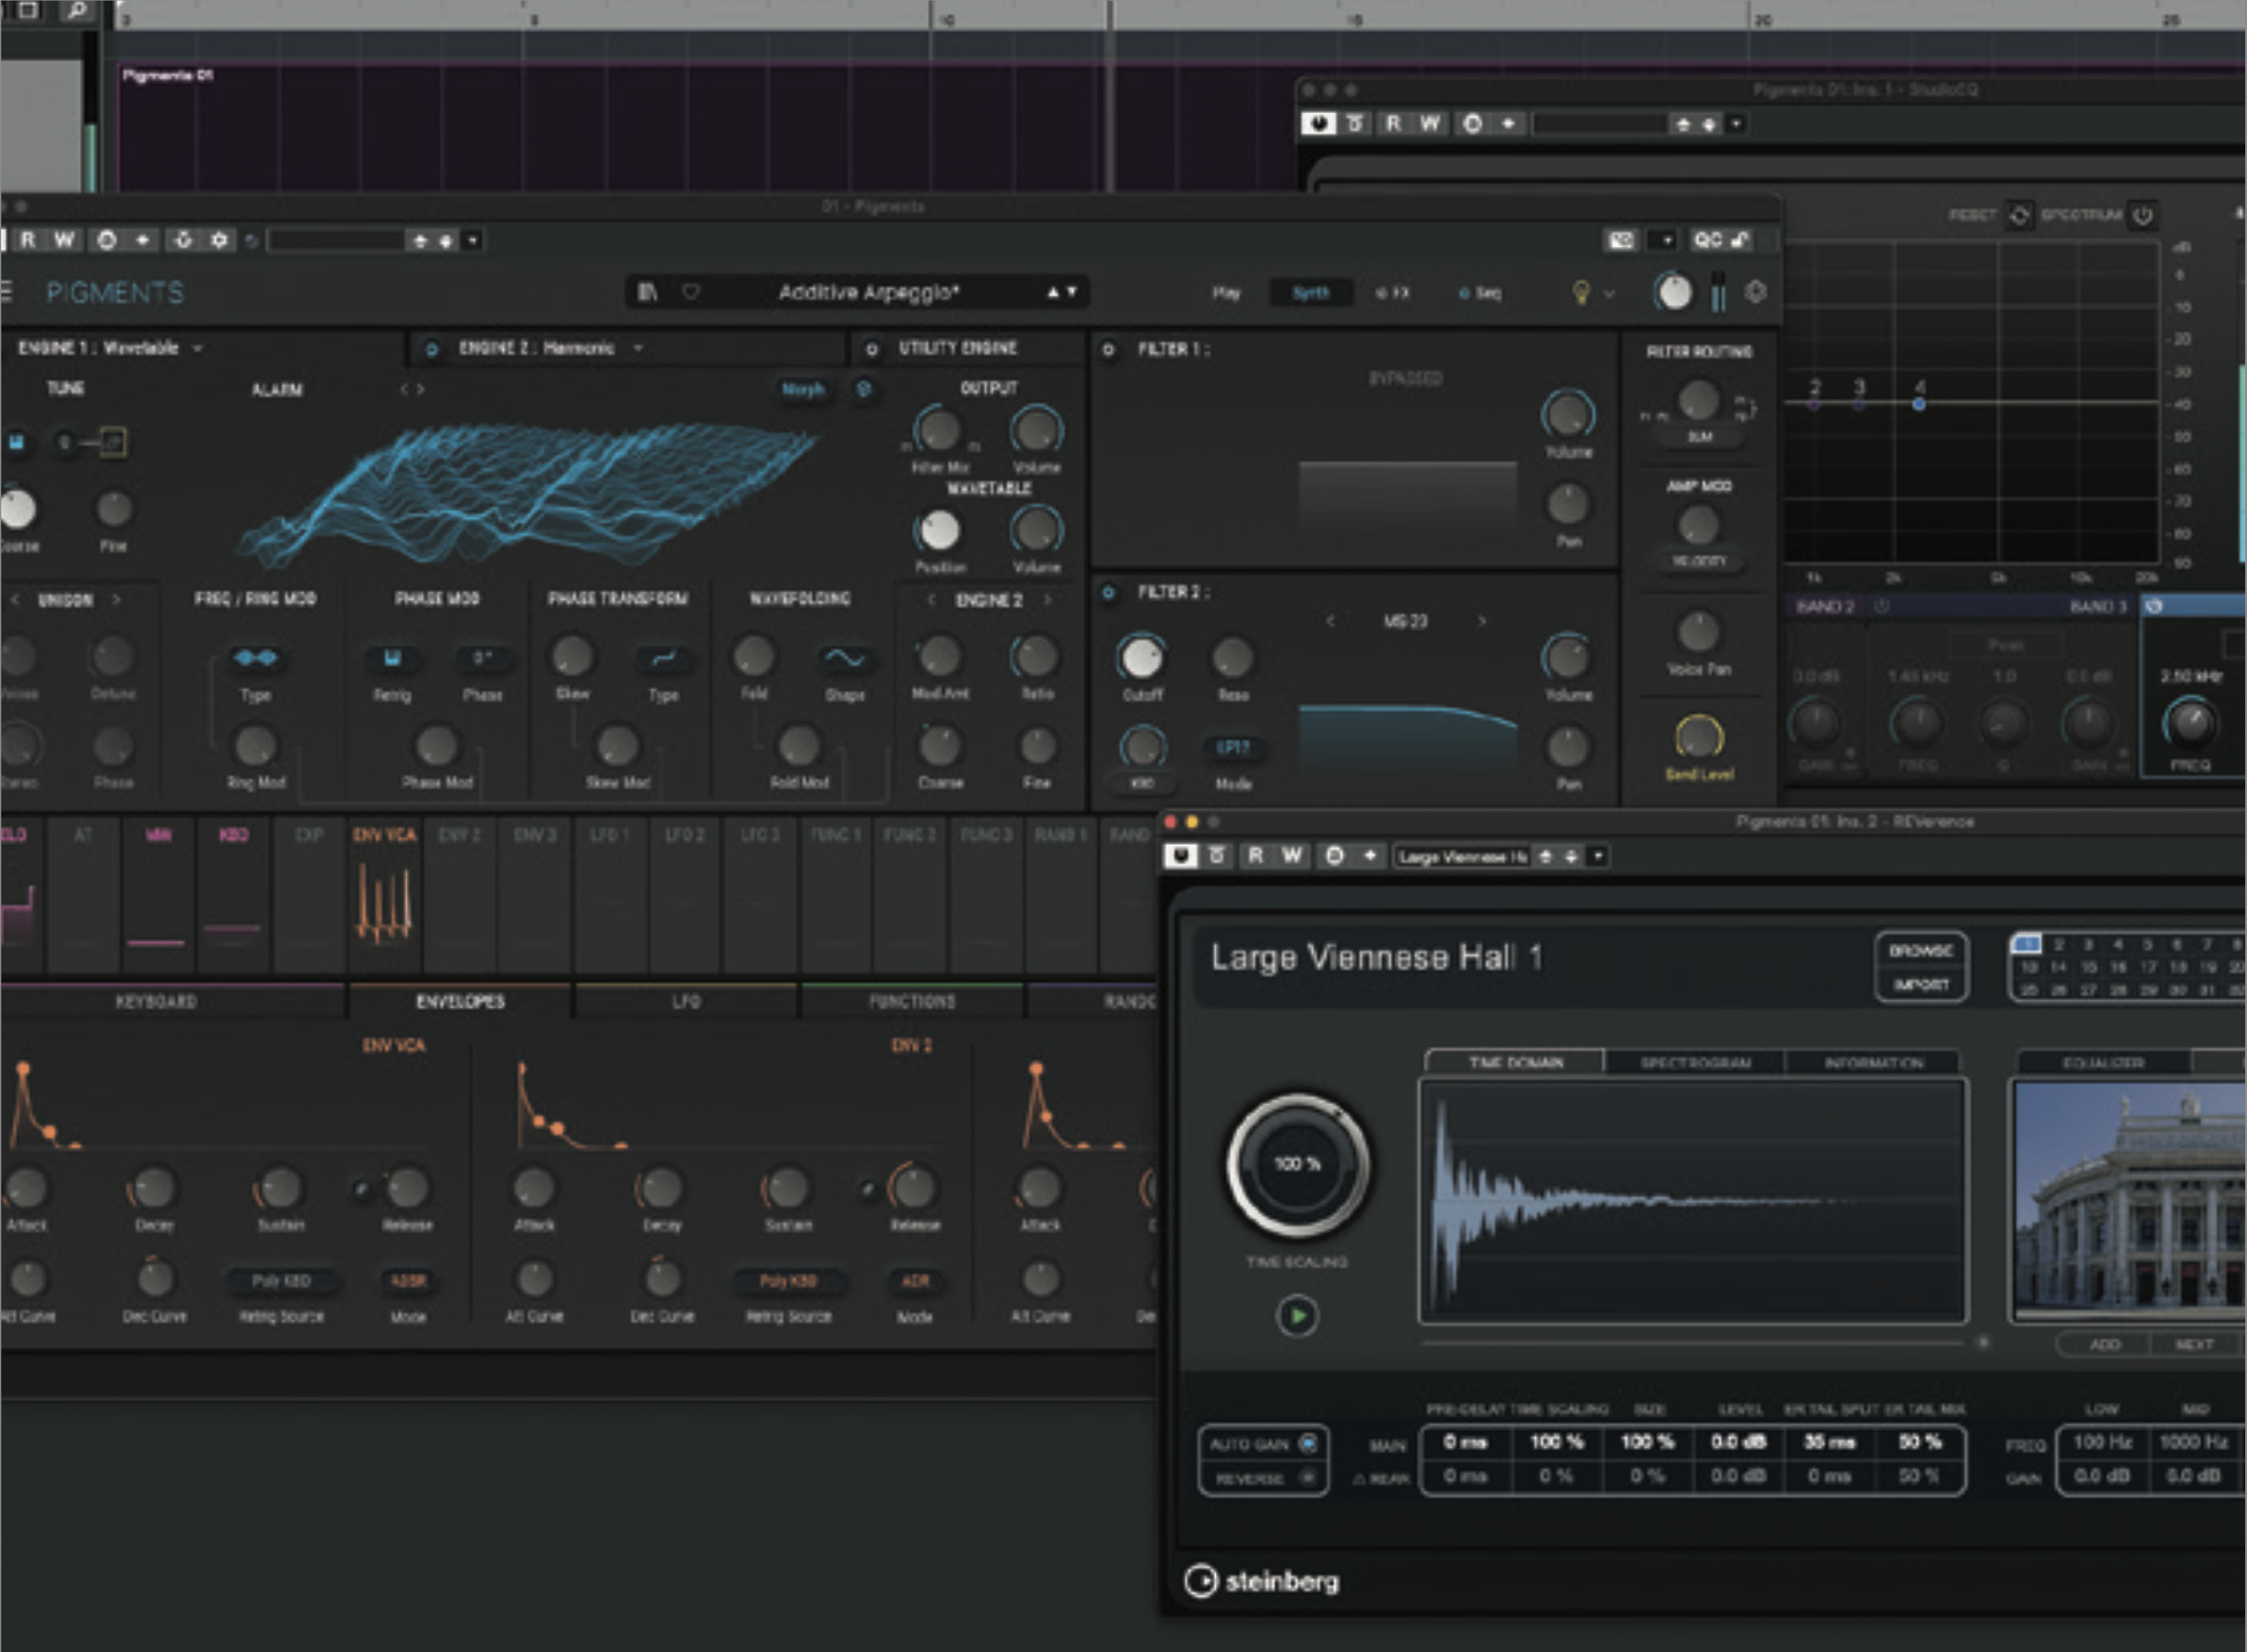
Now for some quasi-3D positioning. In a new project, load a nice synth patch and disable any effects it uses. Insert a high shelf EQ at around 2.5kHz, followed by a reverb. Create a pattern or arpeggio, and open automation lanes for (or create modulators to control) panning, reverb wet/dry balance and pre-delay, and high EQ cut/boost.
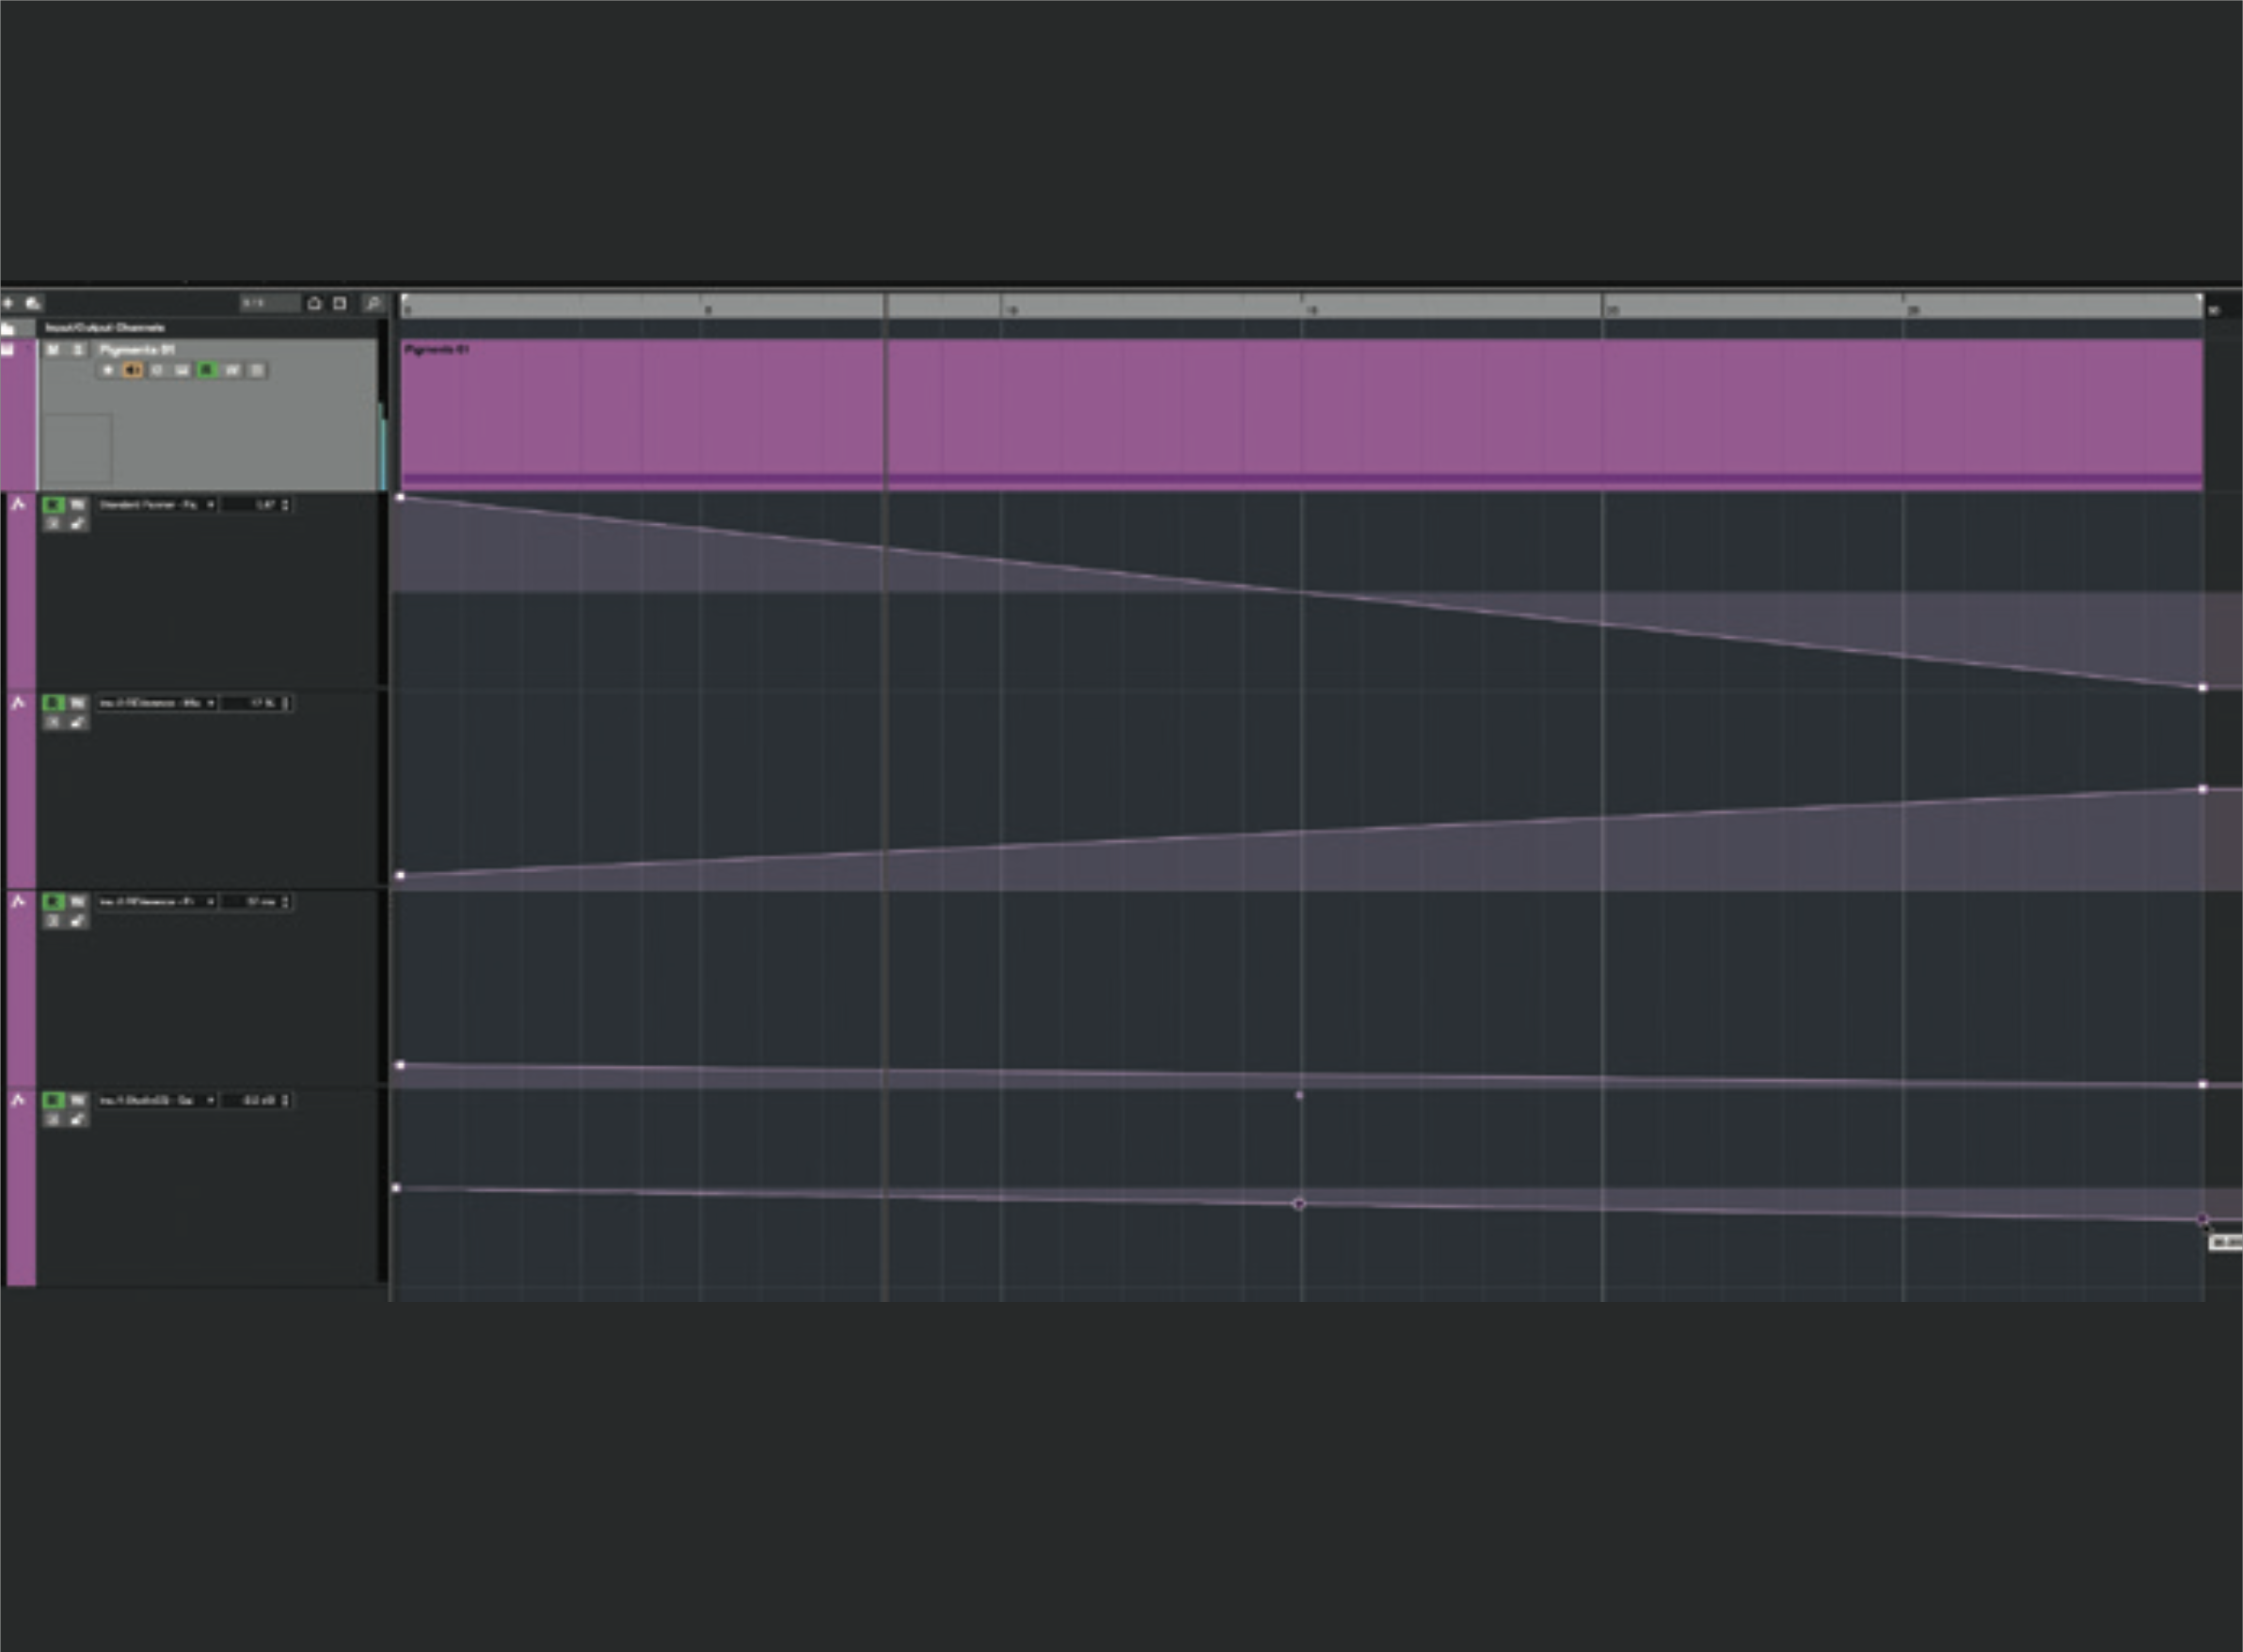
Create a left-to-right curve on the panning lane, a 15% to 60% curve on the wet/dry lane, a 50ms to 0ms curve on the pre-delay lane, and a 0dB to -8dB curve for the EQ high frequency lane. Hit play, close your eyes, and listen to how the sound source moves from close to distant as it pans across in front of you.