Gone are the days of musicians needing a fully tricked out studio to lay down high-quality tracks, yet recording acoustic drums still comes with a number of its own difficulties. From finding the right space to record, keeping your gear sounding on point and well tuned, to the mountain of expensive gear required to do the job properly - being a recording drummer can be a battle.
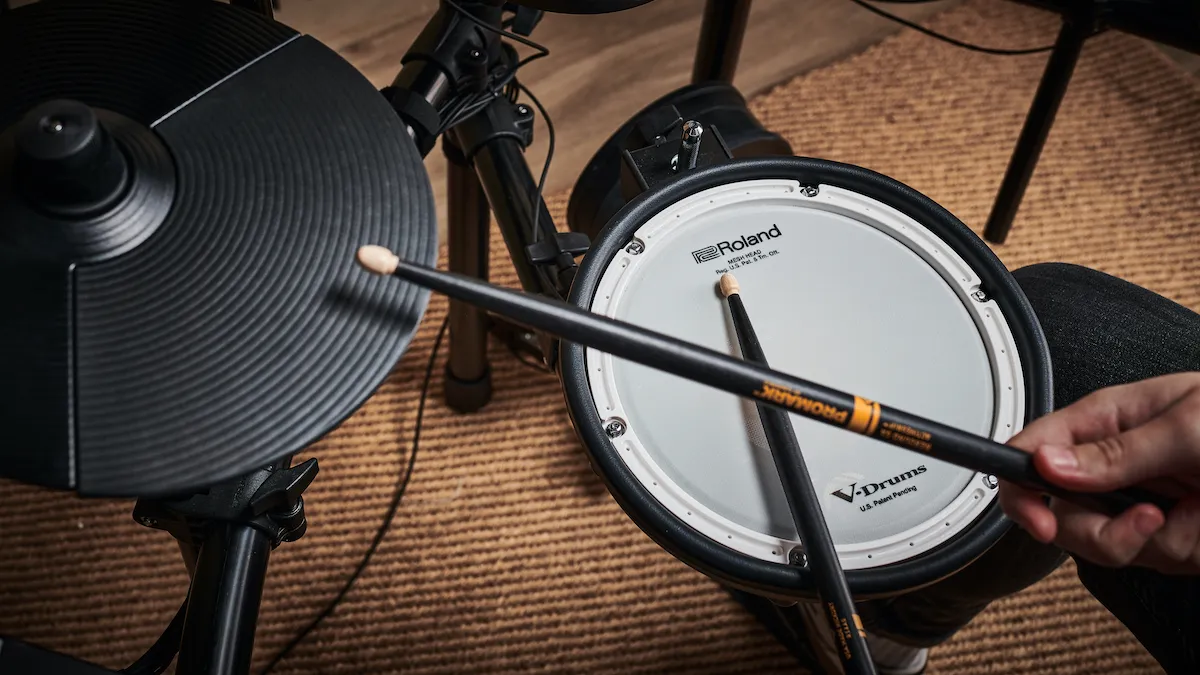
In certain situations an electronic drum set is a much more convenient option and could be just the ticket if you’re thinking about recording band demos or drum covers to boost your profile on social media. We love laying into an acoustic kit as much as the next drummer, but e-drums can be a worthy substitute and offer us a convenient (not to mention quiet) alternative.
Here we’ll be taking a look at how to record electronic drums, with a step-by-step look at five easy methods, in addition to the advantages and potential pitfalls when compared with tracking acoustic drums.
Recording electronic drums: pros & cons

Let’s start with the most obvious advantage of an electronic setup - volume. Ideal for a home setup where keeping the neighbours onside is key; staying quiet usually also equates to more time behind the kit, boosting productivity. In most circumstances there is no need to soundproof or acoustically treat the space which saves on setup costs. Unlike acoustic drums which are impacted enormously by the acoustic properties of the room or background noise picked up by microphones, the e-kit will of course sound the same regardless of where it is played and makes barking dogs or noisy kids a non-issue.
Rather than needing separate microphones and cables for each element of an acoustic kit, some setups will only require a single connection direct to a computer, allowing for multichannel audio. This saves lots of time on setup, particularly if you already have an e-kit in place. It also allows for complete isolation between the individual elements of the drum kit and a consistent and perfectly tuned drum sound without even the need for a drum key.
Ditching the big tubs in favour of an electronic alternative isn’t a complete no-brainer though as there are a few potential drawbacks. First and foremost is a loss of tonal nuance and dynamic range. Even the crème de la crème of e-kits struggle to replicate the amount of different sounds that can be drawn out of an acoustic snare drum for instance. Cymbals also suffer this problem and can be a weak point of the overall electronic sound.
Now let's take a look at how you can record your electronic drums.
Method 1 - USB Audio
This is the most straightforward way of recording an e-kit as it only requires a single USB connection between the module and a computer. The vast majority of modern modules have this capability even at the entry-level, but if yours doesn’t then check out the other methods. Most e-kits also come supplied with the cable to enable you to do this.
This digital connection allows the computer to recognise the module as a sound card, sending and receiving separate audio channels all on the same cable. Basic modules will provide two channels (left and right) while the big-boy models can send up to a whopping 32-channels.
It is worth noting for those sending just two channels that there will be no way to change the drum mix once recorded so make sure you’re happy with the balance beforehand. You may want to also consider disabling any inbuilt effects such as reverbs or ambience settings as it will give you more control in the mixing stage.

1. Connect the module to the computer. Be sure to install the relevant manufacturer drivers so that the computer can see the module.
2. Open audio settings of your laptop of PC - the module will be recognised as an audio device (sound card) by the computer. This page will show you how many individual in/out channels your module has. The least we’ll see here is two inputs for left and right audio channels but more advanced modules will carry enough to transmit each instrument individually. In the case of this Roland TM-6 Pro module it appears as 6 in and 8 out.

3. Open your DAW (digital audio workstation) software. These range from industry standards such as Logic, Pro Tools and Ableton Live through to free alternatives such as GarageBand, Reaper and Audacity.

4. Open your audio preferences and choose your kit as the audio input device.

5. Create a stereo track and select input channels as 1 and 2.

6. Turn on input monitoring - plug your headphones into the computer (find your perfect pair with our guide to the best headphones for drummers) and make sure that input monitoring is turned on so that you can hear the drums through the DAW.
7. Check your gain levels and adjust if needed - ensure that the output level of the drums isn’t too quiet or too loud causing it to clip or distort. Now you’re ready to record.
Method 2 - Module outputs to computer input jack
This is an extremely basic workaround if your module doesn’t support USB audio. For this method you’ll need an input jack on your computer which some modern laptops unfortunately don’t have. Often this input will be mono which does mean losing the left and right separation in our mix. As mentioned in the above method, make sure your balance is spot on as there is no way to mix the kit after it has been recorded.

1. Get yourself one of the following cables - 3.5mm to 3.5mm jack cable or a 1/4” jack to 3.5mm jack splitter cable.

2. You could either use the single jack cable from the headphones out of the module or the splitter cable from the master outs (left and right). The other end will then connect to the mic input of the computer. Both will result in a stereo signal being taken from the module, so take your pick.

3. Open your DAW software and in preferences select the microphone jack as your sound input.

4. Create a mono track and select the input as channel 1.

5. Turn on input monitoring - plug your headphones into the computer and make sure that input monitoring is turned on so that you can hear the drums through the DAW.
6. Once again you’ll need to adjust the volume from your module to ensure that the sound is played through at a suitable volume for recording.
Method 3 - Using an audio interface
Another option for those using older modules without USB audio - this one uses elements of both method one and two. Here we will take the analogue audio feeds from the module and use a USB audio interface to send them to the computer digitally.

1. Connect the interface to your computer. Once again, make sure any relevant drivers are installed so that it can be recognised correctly.
2. Using 1/4” jack to jack or jack to XLR cables, take the left and right master outputs from the module and connect them to channel one and two on the audio interface. Alternatively, some modules have additional outputs called ‘direct outs’ which allow different elements of the kit to be routed separately. The TM-6 Pro pictured here has four which could be used for kick (1), snare (2) and toms (3&4). The cymbals would then continue to be sent through the master outputs, giving a total of 6 separate channels. This can climb to eight on top-end modules but will of course require a larger interface with more inputs.

3. Open your DAW software and in preferences select the interface as your sound input. This should also set the default output through the interface for monitoring.

4. Create the relevant tracks for the number of inputs. Here we could use one stereo track or two mono tracks for the separate inputs.

5. Turn on input monitoring and connect your headphones to the interface so that you can hear your drums while you’re recording.

6. Use the gain controls on the interface to dial in a suitable level in the DAW and you’re ready to go.
Method 4 - MIDI and VST
This is probably the most technically demanding setup but will offer fantastic results for recording. MIDI is a universal language that allows electronic instruments to communicate with each other. In this scenario we will be using the e-drums as a controller for a virtual instrument (VST) on the computer. Several DAWs actually have VST sound libraries built in which are a great place to start. There are also plenty of dedicated drum VSTs which either work as plugins or as standalone software. Popular options include Superior Drummer, EZ Drummer, Steven Slate Drums and GetGood Drums. Not only do these provide access to an incredible array of high-quality samples but also offer unparalleled post-take editing ability.

1. The module’s USB connection can be used to transmit MIDI data in addition to audio. Alternatively your module will have dedicated MIDI ports. If you’re using the latter then you’ll need a MIDI-USB interface too.

2. Install your chosen VST along with its sound library packs. Here we’re using Superior Drummer 3.

3. Using the VST as a plugin within your chosen DAW is usually the most convenient place to have it, making it easier to record multiple tracks.

4. In order for the e-kit to control the VST each pad must be ‘MIDI mapped’ to the relevant drum. This is as simple as striking a pad and then changing it to the desired sound.

5. When triggering a software instrument in real-time we can experience latency. This can be overcome by lowering the sample rate value. The lower the number the less latency but the harder the computer is worked.

6. Recording a take with MIDI works similarly to audio except only MIDI data is actually being recorded. This means that any rogue notes can be moved or deleted easily without any engineering trickery.
Method 5 - Direct to module

There’s no need for a tutorial for this process but it’s worth mentioning that many modules allow recordings to be saved directly to internal memory or to an SD card. This can be a fantastic feature for recording your practice or quick groove ideas when inspiration strikes, but this method is no substitute for the power of a DAW.