“I’m not getting any sound from one of my pads!”: 10 common electronic drum set issues and how to troubleshoot them
Don’t let annoying gremlins spoil your playing. From no sound to too much noise, most problems can be solved with some simple settings or affordable upgrades - here’s how

Want all the hottest music and gear news, reviews, deals, features and more, direct to your inbox? Sign up here.
You are now subscribed
Your newsletter sign-up was successful
DRUMS WEEK 2025: Electronic drum sets offer the best in space-saving convenience, quiet practice and a diverse set of sounds right at our fingertips. But as a famous East Coast rapper probably once concurred, with mo’ features comes the potential for mo’ problems.
If you’ve got a head-scratcher of an issue that’s spoiling your enjoyment of your e-kit, check out our breakdown below where we detail some of the most common causes – and hopefully solutions – to your electronic drum kit problems.
Issue 1: “When I hit a pad, I hear other sounds coming from the module”
This is one of the most common issues with electronic drums, but thankfully it’s very easy to solve. ‘Crosstalk’ occurs when the sensors inside your pads pick up vibrations coming from striking another pad. The fix can be one of a few things. The first thing to check is that all of the pads are physically isolated. The chances are you’ll be able to hear which unwanted sound is triggering by mistake, but take a look around the kit and make sure none of your pads are touching each other. Likewise, vibrations can travel through your rack and mounts and cause other pads to trigger. Double-check that everything is mounted securely and all of the mounting hardware is sound.
If the problem is still occurring, it’s time to get under the hood with some module settings. Many modules have built-in crosstalk elimination controls, which will help the module to determine between an intentional strike and unwanted vibrations. Experiment with different degrees of crosstalk filtering and you should find that the problem goes away. However, depending on your sensitivity settings (see below) for each pad, you might find that one or more of your pads is set to register a strike at very low velocities.
Issue 2: “I have to hit the pads really hard to get a full sound, everything sounds like ghost-notes!”
When playing acoustic drums, we govern how loud a drum or cymbal sounds simply by hitting it harder or softer. The same is true for electronic drums, but our strikes are converted into an electronic scale rather than air pressure. Because of this, an electronic kit is likely to respond differently to any two players. Sometimes that could be subtle, or more extreme, but to combat this effect many modules are equipped with controls to help tailor the response to your playing. The sensitivity control is a great place to start, and can be adjusted to make the pad more or less sensitive to your stick striking the playing surface. You’ll need to dial it in to maintain dynamic response (so that you still get a variation between hard and soft sounds).
As well as the sensitivity setting, many modules are equipped with multiple velocity curve controls for each pad. This setting determines the power required from the player to transition between the softest soft and hardest hits, and can have a big impact on how your kit responds. Common velocity curves include: linear, logarithmic and exponential.
A Linear curve gives an even scale from the lightest to hardest strike, and is a typical ‘universal’ starting point. Logarithmic velocity curves tend to lend themselves to softer hits, requiring less effort to create a higher velocity strike. Conversely, an exponential velocity curve sees the jump from soft to harder strikes jump steeply. The result of this is that soft and medium-level hits are easily achievable, while the maximum-volume sounds will require more effort. An exponential curve is great if you’re a hard hitter and find yourself constantly triggering your pads at maximum velocity.
Want all the hottest music and gear news, reviews, deals, features and more, direct to your inbox? Sign up here.

Issue 3: “Everything keeps moving!”
There’s nothing more frustrating than hitting a pad and watching it rotate with every strike. To fix this, give all of the fastened parts of your electronic drum kit a good check. Be careful not to overtighten things - you don’t want to break any of the mounting hardware, but it should be firmly secured. Some rack clamps include a finger-fastened bolt, as well as fixings that will require tightening with a drum key. If you’re setting up your kit for the first time, it’s worth spending a few minutes making sure that the frame is securely fastened. This includes checking that all of the supporting legs and crossbars are flat, even and level, and that the clamps are fixed in place with enough grip that they won’t rotate or slip when you’re ready to start hitting the pads.
The same applies if your kit has recently been moved, or has simply been left set up for a while without being checked. Get the frame solid at this point, and it’ll make your playing experience much more enjoyable.
Issue 4: “I’m not getting any sound from one of my pads!”
The first thing to check are your connections - your drum pad will most likely only have one socket for connecting to your module, so first, make sure that the cable is plugged into the pad properly. Still not working? Try swapping the jack from a pad that is to test it (be aware, the pad that you’re testing will now create the sound from the pad you’ve borrowed the cable from). If you hear sound, then you probably have a broken cable.
Some kits use individual jack cables to connect the pads to the kit. In this case, you can buy a new trigger cable and your pad will be back up and running. If your kit uses a cable loom or ‘snake’, the good news is that it’s replaceable, but the bad news is that you’ll have to replace the whole cable loom (these are available as replacement parts).
Alternatively, if you’re handy with a soldering iron, it’s possible to locate the break-point, cut the cable and attach a new one. We’d only suggest the latter if you (or someone you know) are confident in basic soldering, otherwise you risk damaging the other cables in the loom.
If testing the pad with a known-working cable doesn’t help, then unfortunately the pad itself might have developed a fault which requires repair, or worse, complete replacement. In this instance, it’s best to contact your kit’s manufacturer.
Issue 5: “My pedals are slipping around on the floor”
This is a common problem with electronic and acoustic drums, but when it comes to e-kits, the solution will depend on the type of hi-hat controller and bass drum pad you’re using. With an acoustic-style hi-hat stand, you should have rubber feet which are designed to grip the floor surface. While a hi-hat controller pedal will most likely be equipped with some short spikes to help it stay put. The same goes for your bass drum tower or shell. If you’re playing the kit on a hard floor, we’d advise placing your kit (or at least the pedals) on a rug, this way you won’t ruin your flooring. You can extend the spikes by turning the thumbscrew if you require a little more grip, just be careful not to go through the rug into your hard flooring, and remember that the spikes are there if you need to move the pedals. They’re unlikely to do major damage, but are often sharp enough to hurt and possibly draw blood if you grip them with your hand!

Issue 6: “My housemates complain about the noise, even though I’m wearing headphones!”
Noise is perhaps the drummer’s worst enemy, and while this might come as a surprise, hitting things with sticks and stomping on pedals is inevitably going to result in making noise.
Electronic drums go a long way to improve this, particularly if your kit is equipped with mesh-headed pads, but even then, you run the risk of annoying those around you by hitting pads hundreds of times just to play along with a song.
All is not lost, though. The first thing to work out is exactly what the problem is. If it’s simply that you’re playing at a time of day that causes irritation to your friends, family or even neighbours, a simple, cost-free solution could be to work out a better schedule.
If that’s not possible, though, there are a number of solutions. With the actual drum sounds confined to your headphones, it’s unlikely that it’s the sound you’re listening to is the problem. Rather, the airborne sound of your sticks hitting the pad, or the vibrations being transferred from your bass drum and hi-hat pedals and the kit’s rack are the culprit.
Airborne pad sounds tend not to travel too far, but can be reduced by using rubber stick tips, or possibly even dowel-style sticks to reduce the noise.
Vibration transfer is a slightly larger problem, particularly if you’re playing in an upstairs room. A popular DIY solution to killing the thud from your pads is to place your kit on a ‘tennis ball platform’. This requires building two platforms from wood, with tennis balls sandwiched between them to stop the vibrations reaching the floor.
If you’d prefer a pre-made solution, products such as Roland’s Noise Eater range are designed to absorb the vibrations from your stand and pedals, while its KDB-200 and KDB Quiet beaters can be fitted to any bass drum pedal, providing a reduction in impact noise.
Issue 7: “My pad has two zones, but I want different types of sounds on each, how do I do it?”
With a dual-zone pad, you’ll have a head and rim zone. These are completely separate, but share the same output, using a TRS (stereo) connection. Just because the pad is one physical unit, though, doesn’t mean you have to treat it as one.
Now, in the context of an acoustic-style drum kit preset, these zones are usually assigned within the module to give appropriate corresponding sounds. So, if it’s your snare drum pad, you’ll get a centre hit of the snare drum on the head zone, with a rimshot assigned to the rim zone. But, you might want (for example), a snare drum on the head zone and a hand clap on the rim. This is easily done, and it’s a case of telling the module which sound to play on each zone. Hit the zone you want to assign, then scroll through your module’s instrument list until you find the correct one. On Roland kits, you might need to unlink the Head and Rim - this feature is designed to pair different articulations of the same instrument to all zones on a pad, but in this case we want them to be treated like two individual single-zone triggers.
Issue 8: “How do I connect my electronic drum kit to a computer?”
First, it’s important to understand that there are two types of ‘recording’ when it comes to hooking your electronic drums up to a computer: Audio and MIDI. Audio is the recording of the sound that you play and hear in your headphones, while MIDI is captured as data which can be used to play back sounds from other equipment or software.
Depending on your kit’s module, you’ll either have a built-in interface (in the form of a USB connection) that can transmit and receive audio signals as well as MIDI, MIDI-only (over USB), or MIDI sent and received via traditional five-pin DIN sockets.
The first example means that you can take the correct USB cable, plug it into your module and connect the other end to your computer. From here, your kit will be recognised by DAW software such as GarageBand, Logic, Cubase, Ableton Live etc. as an audio and MIDI device. You’ll be able to send the sound of your kit into the software for recording, while also hearing any other tracks recorded in the software in your headphones while you play.
A MIDI interface built into your module will allow the transmission and receiving of MIDI data, so, you can play your kit, and the software will recognise the notes you’re playing along with controller data (for example, from your hi-hat pedal). MIDI is not sound, it’s a stream of instructions for MIDI-equipped musical instruments. So, instead of recording your playing as an audio sample, the software will use the MIDI information to play a plugin instrument, or back to your kit’s module. From here, the instrument receiving the MIDI data will interpret it, and trigger the corresponding sounds, which you will then hear in your headphones. This is how drummers are able to play impressive sampled sound libraries such as Toontrack Superior Drummer and BFD from affordable electronic drum sets.
If your kit is a bit older, it may not have a USB connection, and instead, MIDI will be provided via MIDI in/output sockets. In this case, you can still connect your kit to a computer, but you’ll need a little help from a third-party Audio/MIDI interface (we’d suggest looking for one that does both). This will allow you to record your sound straight out of your module’s audio outputs, while also giving you the facility for capturing MIDI if you want to play and record your performance as data for use with software sound libraries.

Issue 9: “How do I add more pads to my kit?”
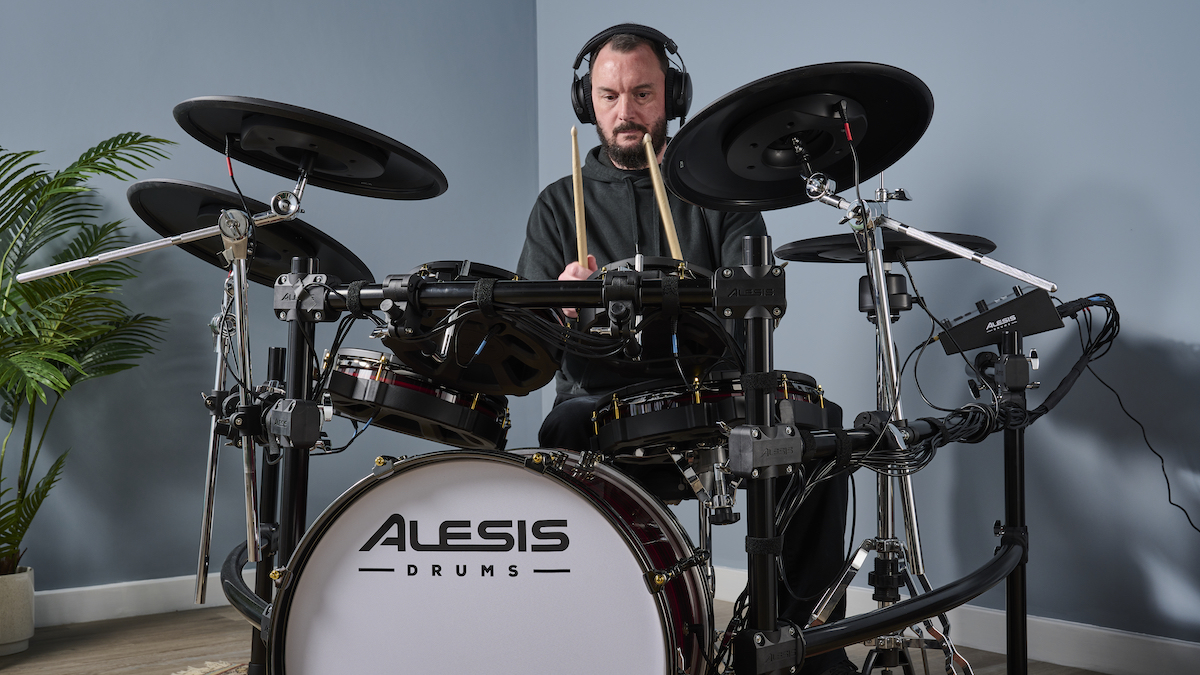
Expanding your electronic kit is easier than you might think - in some cases, such as many Alesis electronic drum sets, the kit is shipped with a cable snake, which provides connections for all the included pads. But, a quick look at the back of the module will reveal additional sockets for adding extra pads. In these instances, it’s as simple as looking at your module, and hunting down the corresponding pad to connect. Alesis makes an all-in-one solution for its Nitro Max, which includes an additional tom and cymbal pad as well as the cables and mounting hardware you’ll need to add it into the kit.
A key point when it comes to adding pads to your kit (regardless of the brand) is the number of additional trigger inputs your module has, and how many zones they offer. It’s also a good idea to check the manual for your module (these are usually available on the manufacturer’s website) to confirm which pads are compatible with your module. In the case of digital pad-equipped Roland modules, it’s important to realise that any digital trigger you have connected to the module overrides the corresponding analogue trigger input. So, if you have Roland’s fantastic PD-140DS digital snare pad, you won’t be able to add another pad connected to the analogue connection labelled ‘snare’.
Issue 10: “How can I jam to music from Spotify with my electronic drum set?”
We should point out that this tip isn’t just for Spotify - it will work with any sound that your playback device is capable of generating. If your module has Bluetooth, you can hook it up wirelessly to a phone, tablet, computer or any other Bluetooth audio player. The method for this will be different depending on your module, but usually you can begin pairing the module to your device via a Bluetooth button, or if not, switching Bluetooth on in the module’s setting.
Next, you’ll need to go into your playback device’s Bluetooth menu and allow the connection. Once it’s setup, you should hear the music in your headphones which are connected to the drum module.
If you don’t have Bluetooth, there’s every chance that your module has an auxiliary input. These normally use a 3.5mm mini-jack connection, so you’ll need to buy a cable.
Look for a stereo connection. Assuming you’re plugging it into a phone, tablet or headphone output from your laptop then you’ll want a stereo mini-jack cable. Remember that little adapter that came with your phone? You’ll need that, as most phones don’t have a dedicated headphone output, and instead can send audio through the charging port. For hifi’s or CD players, check your output options - it might be that you need an RCA (phono) to mini-jack cable.

Stuart has been working for guitar publications since 2008, beginning his career as Reviews Editor for Total Guitar before becoming Editor for six years. During this time, he and the team brought the magazine into the modern age with digital editions, a Youtube channel and the Apple chart-bothering Total Guitar Podcast. Stuart has also served as a freelance writer for Guitar World, Guitarist and MusicRadar reviewing hundreds of products spanning everything from acoustic guitars to valve amps, modelers and plugins. When not spouting his opinions on the best new gear, Stuart has been reminded on many occasions that the 'never meet your heroes' rule is entirely wrong, clocking-up interviews with the likes of Eddie Van Halen, Foo Fighters, Green Day and many, many more.
You must confirm your public display name before commenting
Please logout and then login again, you will then be prompted to enter your display name.