You might have explored ways to speed up your creative workflow, but you can get faster at carrying out more prosaic tasks in your DAW, too.
Here, we show you quick methods of hunting down plugins and samples in five DAWs, and walk you through the process of creating a custom sample collection that you'll be able to navigate at speed.
Ableton Live
The fastest way to locate plugins and samples (and more) is with the Find function (Cmd-F). If the results are mysteriously empty, be sure to select the right Category/Place down the left-hand side.
VST (but not AU) plugins are displayed using the folder structure on your drive. To customise the plugin list, head to your VST folder and arrange the VST files (.vst or .dll) into folders of your choosing. To have a plugin appear in more than one place, create an Alias (Mac: Cmd-Alt- drag) or Shortcut (PC: Alt-drag) to the VST file. To see the changes, reload Live or click Rescan in Preferences (where you'll also find options to use a VST Plug-In Custom Folder in addition to or instead of the system one).
As for samples, drag favourite folders onto the Places area to pin them there. If you already have a sample in your project, right-click its clip or waveform and select Show in Browser to see the others in its folder.
Bitwig Studio
Search plugins by name in the Browser pane (Alt-B), and sort by developer or drive location - click the Search icon to choose. Star a plugin to add it to the active Collection - by default, a generic Favourites Collection, but you can define your own with a right-click. Select which to view in the Collections tab, and right-click to set the Target Collection, to which starred items will be added.
Adding plugins 'in place' (eg, by clicking the '+' on a track) invokes the Pop-up Browser, offering further filtering options. If you find yourself filtering and searching for the same things over and over - for example, all effects by Cableguys - save that search as a Smart Collection. You'll be pleased to hear that filtering and organising samples (and other content) works in a similar way.
Steinberg Cubase 8.5
Cubase users can search plugins by name - even if you misspell it, it'll show you the closest matches. What's less obvious is that you can create custom plugin lists, selectable with the arrow dropdown next to the search field. To define them, head to Devices » Plug-in Manager.
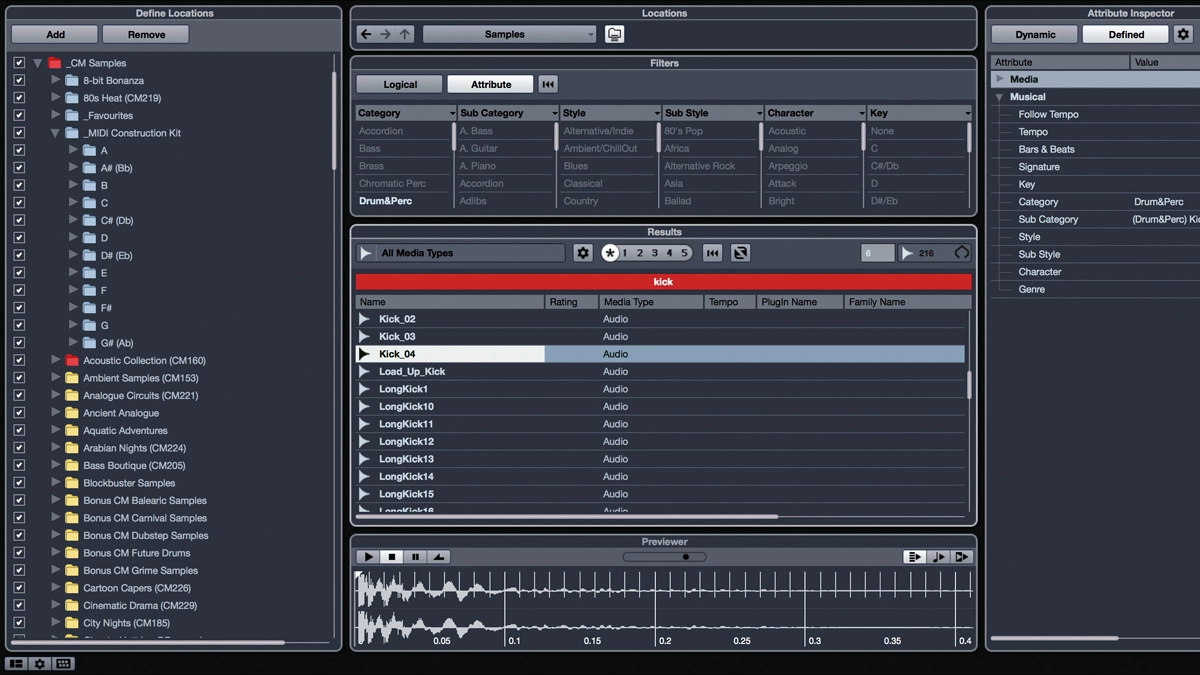
When it comes to organising samples, Cubase's mighty MediaBay (F5) is one of the most powerful systems of any DAW. Add folders and tag samples (or other media, as the name suggests), rate them out of 5, search by name or filter by attribute, and preview them. Be sure to give the manual a good read on this one, as it's rather deep...
PreSonus Studio One 3
Hit F6/F8 to browse and search instrument/effects plugins, viewed four different ways according to the topmost Sort By selector. Find your last-used plugins in the Recent folder. To Hide plugins or add them to the Favourites folder, use the right-click menu, or click the small spanner icon to enter edit mode.
For samples, head to the Files tab (F9), where you can right-click preferred folders and click New Tab From Here to pin them for future use. As well as dragging samples straight onto the timeline or receptive instrument, you'll find a bunch of useful right-click options.
Apple Logic Pro X
Once upon a time, Logic users were stuck with boring-old 'by vendor' AU plugin categories. That all changed when v10.1 introduced the Plug-in Manager, found under Logic Pro X » Preferences » Plug-in Manager. It's a basic system, but it allows you to divvy up your plugins into categories.
The Browser (F) is similarly basic - select the All Files option in the right-hand browser pane to get at your system files. If you're not seeing the option, head to Logic Pro X » Preferences » Advanced Tools and select Show Advanced Tools.
How to find your favourite samples every time with a custom collection

Step 1: Browsing sample packs can be slow, but you can drastically speed up your sessions by compiling your favourite sounds in one folder. Start by making a folder named _Favourites. The underscore ensures the folder appears at the top of the list when folders are viewed alphabetically on a Mac - a space works too. Inside, create subfolders for each category of sound (Kick, Snare, Bass, etc).

Step 2: You can manually copy files from your favourite libraries into the _Favourites folder, but we prefer to use the free cross-platform MetaDigger. To compile kicks, we Choose Work Folder... as _Favourites/Kick, then Scan Files on our main samples folder. When it's done, we search for kick, then preview sounds and click Copy To Work Folder (Shift-C) for the ones that stand out.

Step 3: Often, you'll end up with a jumble of meaningless filenames, but your OS can rename them sequentially. On PC, select the lot and rename as, say, Kick and the number is added automatically to each. On Mac, right-click the selection and choose Rename X Items..., then the Format and Name and Index options. Before long, you'll have a best-of-the-best collection ready to fuel your productions.
