How to record studio-quality electric guitar tracks at home
Get your tone up to scratch with these in-depth tips
Introduction
With the constant advances in digital modelling technology, it's becoming increasingly easy for just about anybody to plug a guitar into their DAW via a simple audio interface and record high-quality sounds.
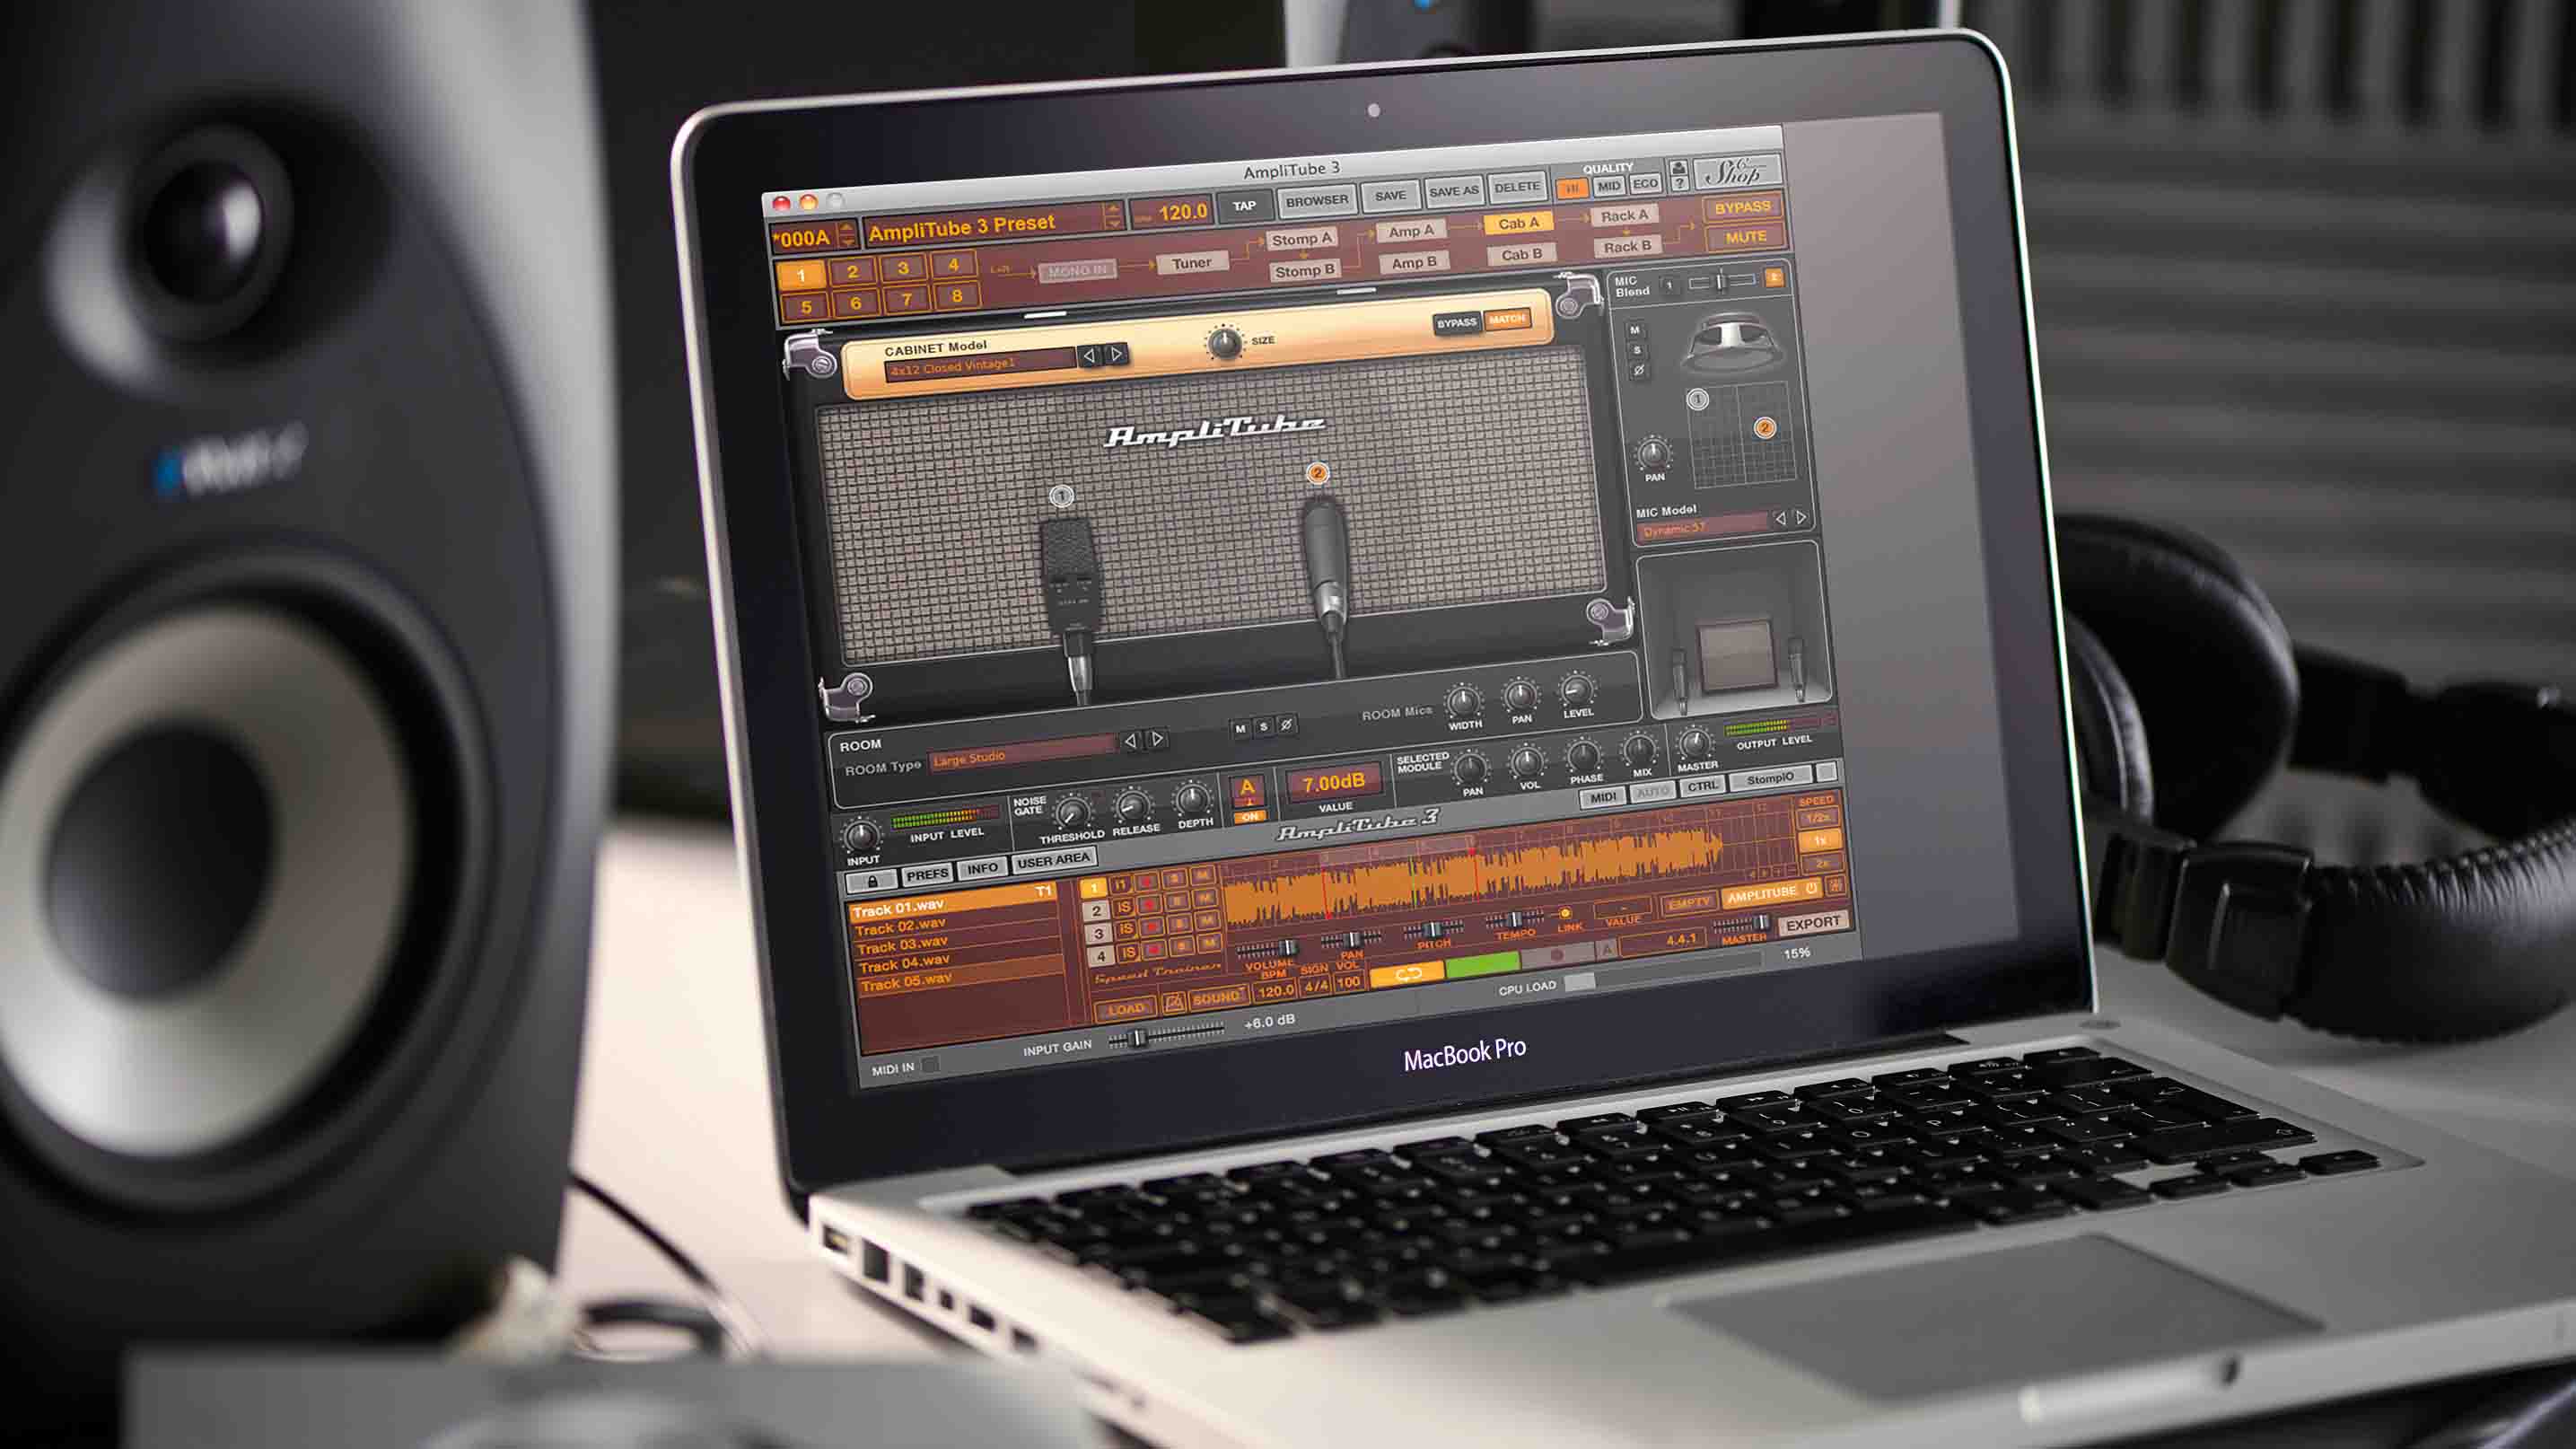
Even built-in software modellers like Guitar Rig; widely available plugins like AmpliTube and Slate Digital/Scuffham S-Gear; or something as inexpensive as a secondhand first-generation Line 6 POD can produce results that will easily exceed an indifferently mic'd amp and speaker.
With high-end modelling technology like the Fractal Axe-Fx, Kemper Profiler and even the recently released Line 6 Helix appearing in more and more home studios, not to mention tools like the Two Notes Torpedo Live making it ever easier to capture a real amp, it now seems almost ridiculous to produce a bad sound.
Yet professionally recorded guitars - mic'd, digital or otherwise captured - still tend to stand out. What is the difference and how can we recreate it at home?
Don Stick is an online session guitarist and writes for music agency Bands for Hire.
Tuning and setup
It sounds obvious, but how many of us have played a great take and later realised the tuning wasn't right? How many times have you clicked on a painstakingly assembled gear demo only to find that something as fundamental as tuning or extraneous noise spoiled the overall picture?
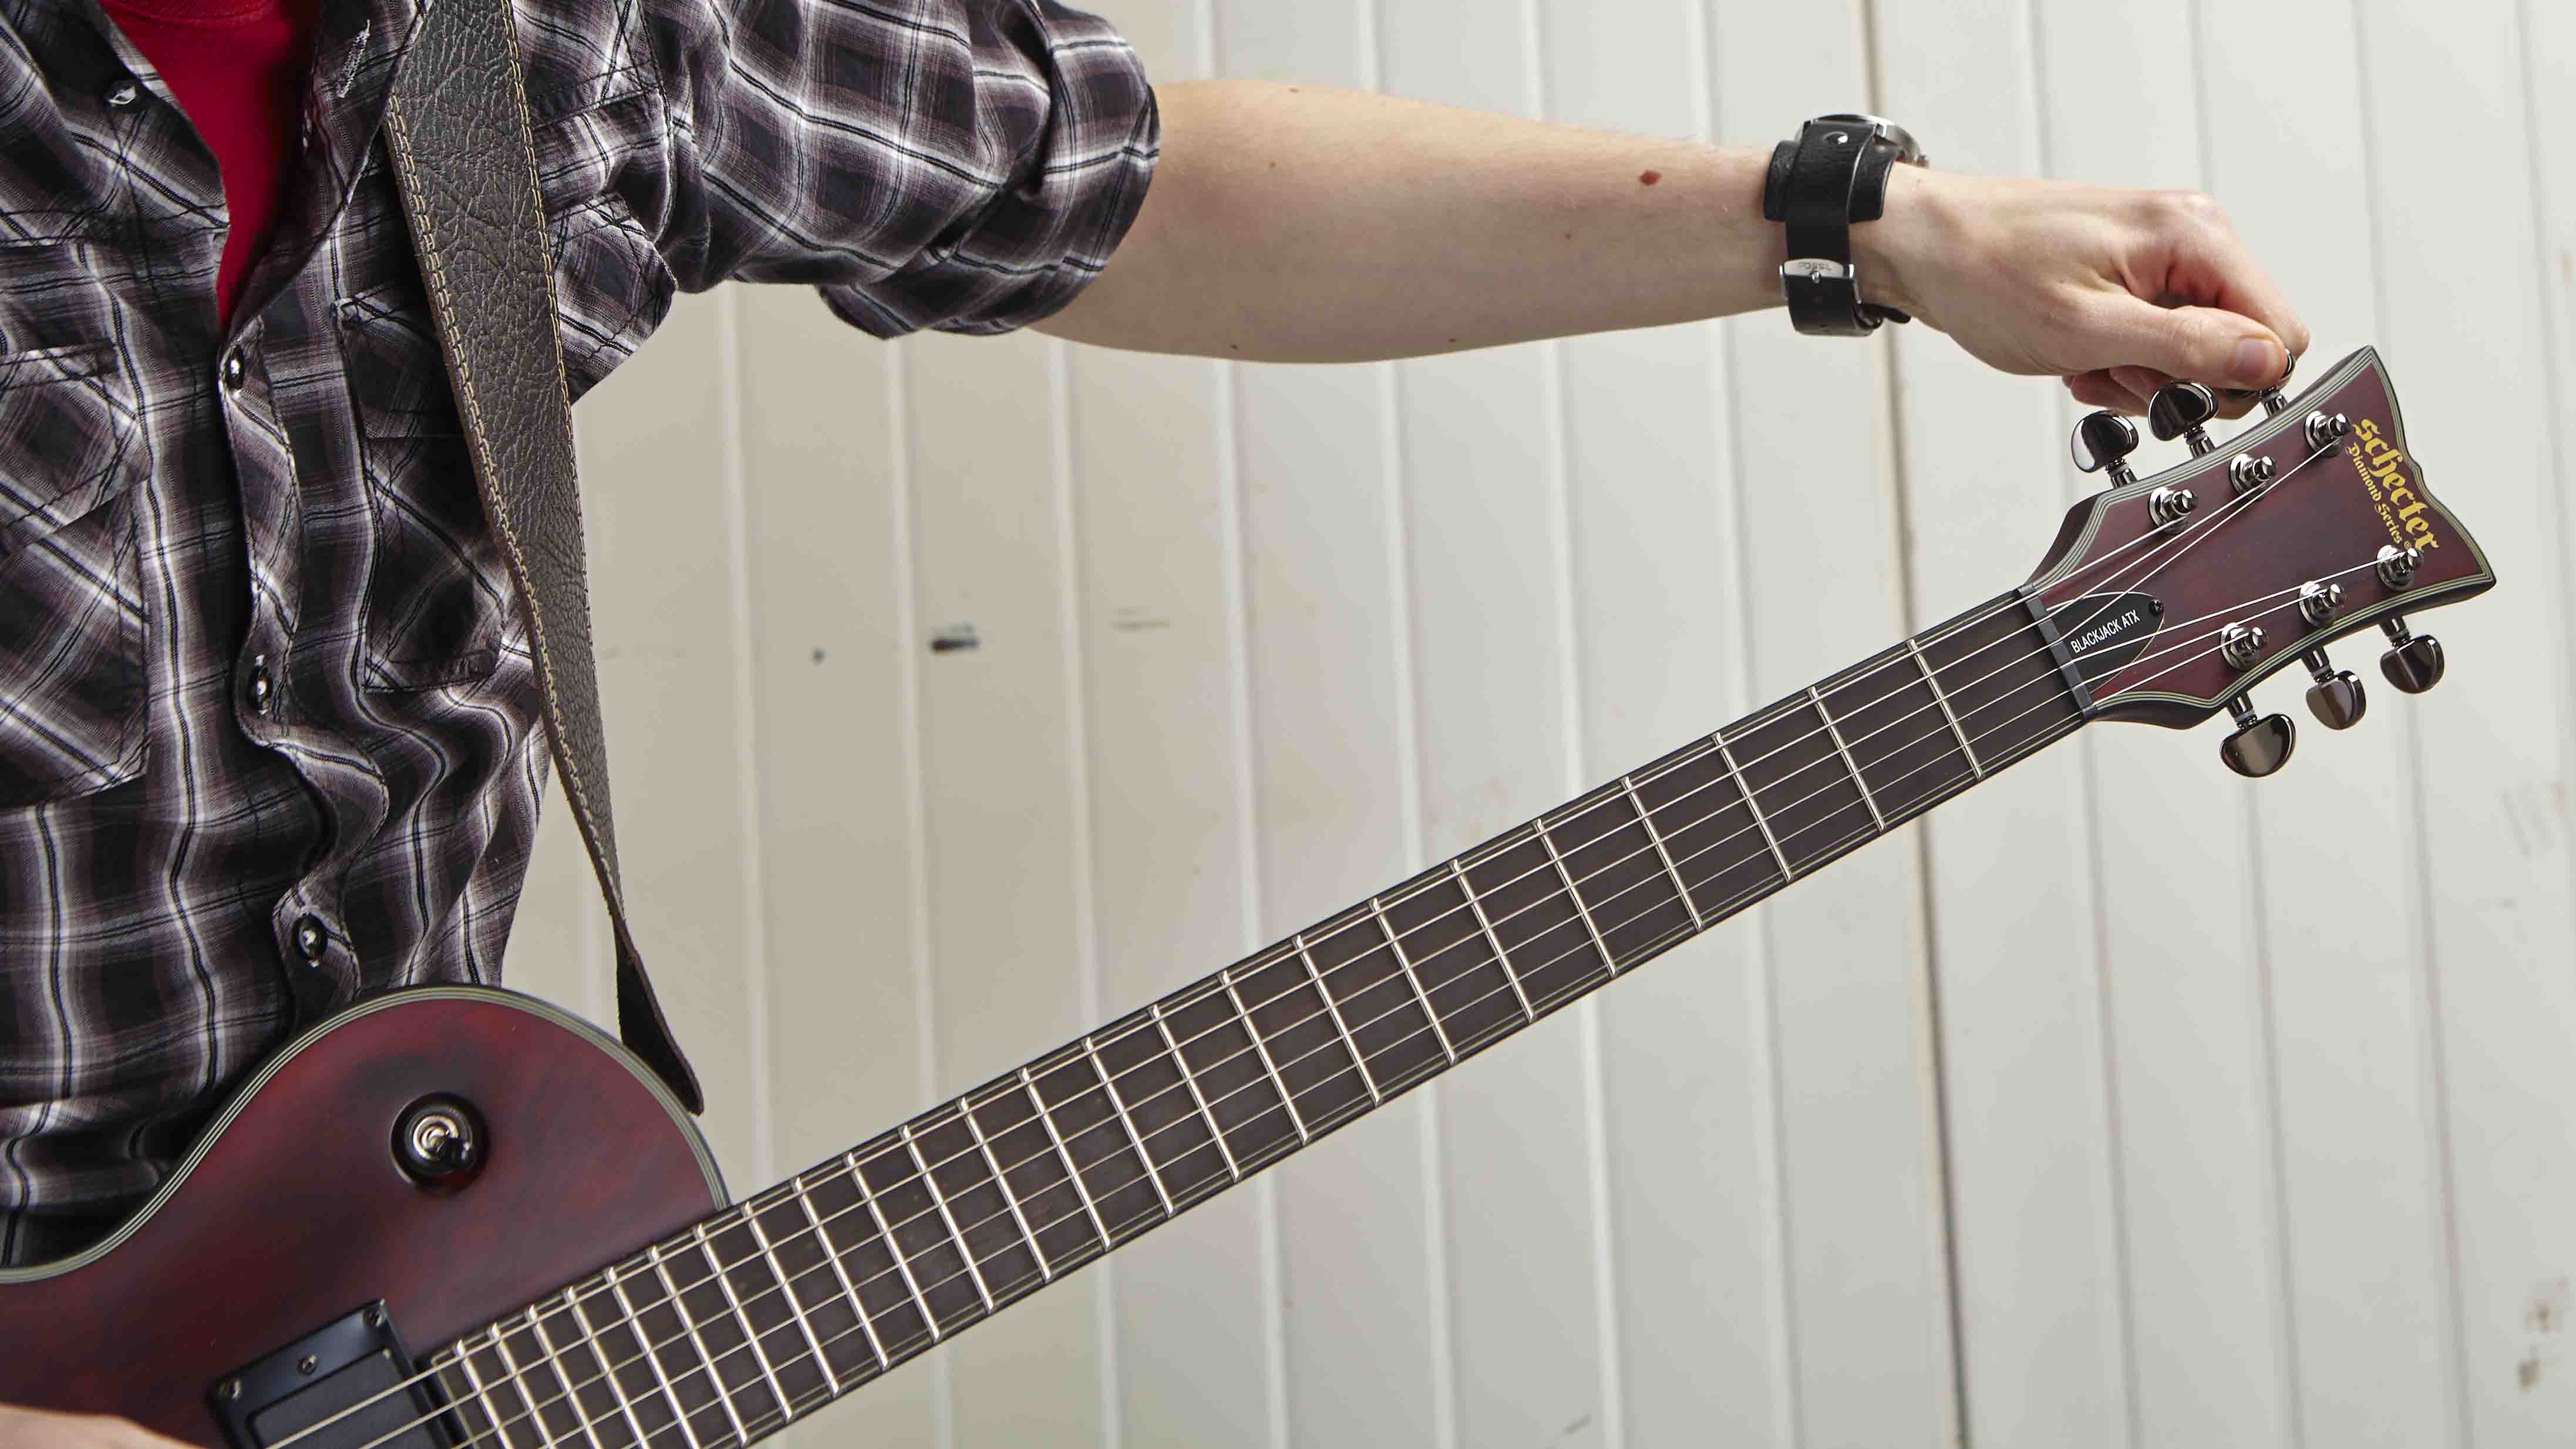
In a long recording session, even the best ears get tired, studios get hot and humid, and instruments go out of tune. Simply keeping a clip-on tuner available (out of the signal path, as we'll discuss later) and checking your tuning before each and every take can cut down dramatically on wasted time and frustration.
The short breathing space between takes can even aid the quality of the take itself. Excellent software tuners are available, of course, but many will tend to increase latency if running during the take, at the expense of playing feel and timing accuracy.
A well-maintained £200 guitar in the right hands will record much better than a poorly maintained £2,000 guitar
Obviously, a well-maintained guitar will perform better, too; something as simple as noisy electronics, ringing tremolo springs or old strings will instantly undermine all the money you've spent on recording equipment!
Look at this another way, and a well-maintained £200 guitar in the right hands will record much better than a poorly maintained £2,000 guitar every time. All of this makes a setup job with a good tech appear rather good value.
Signal path
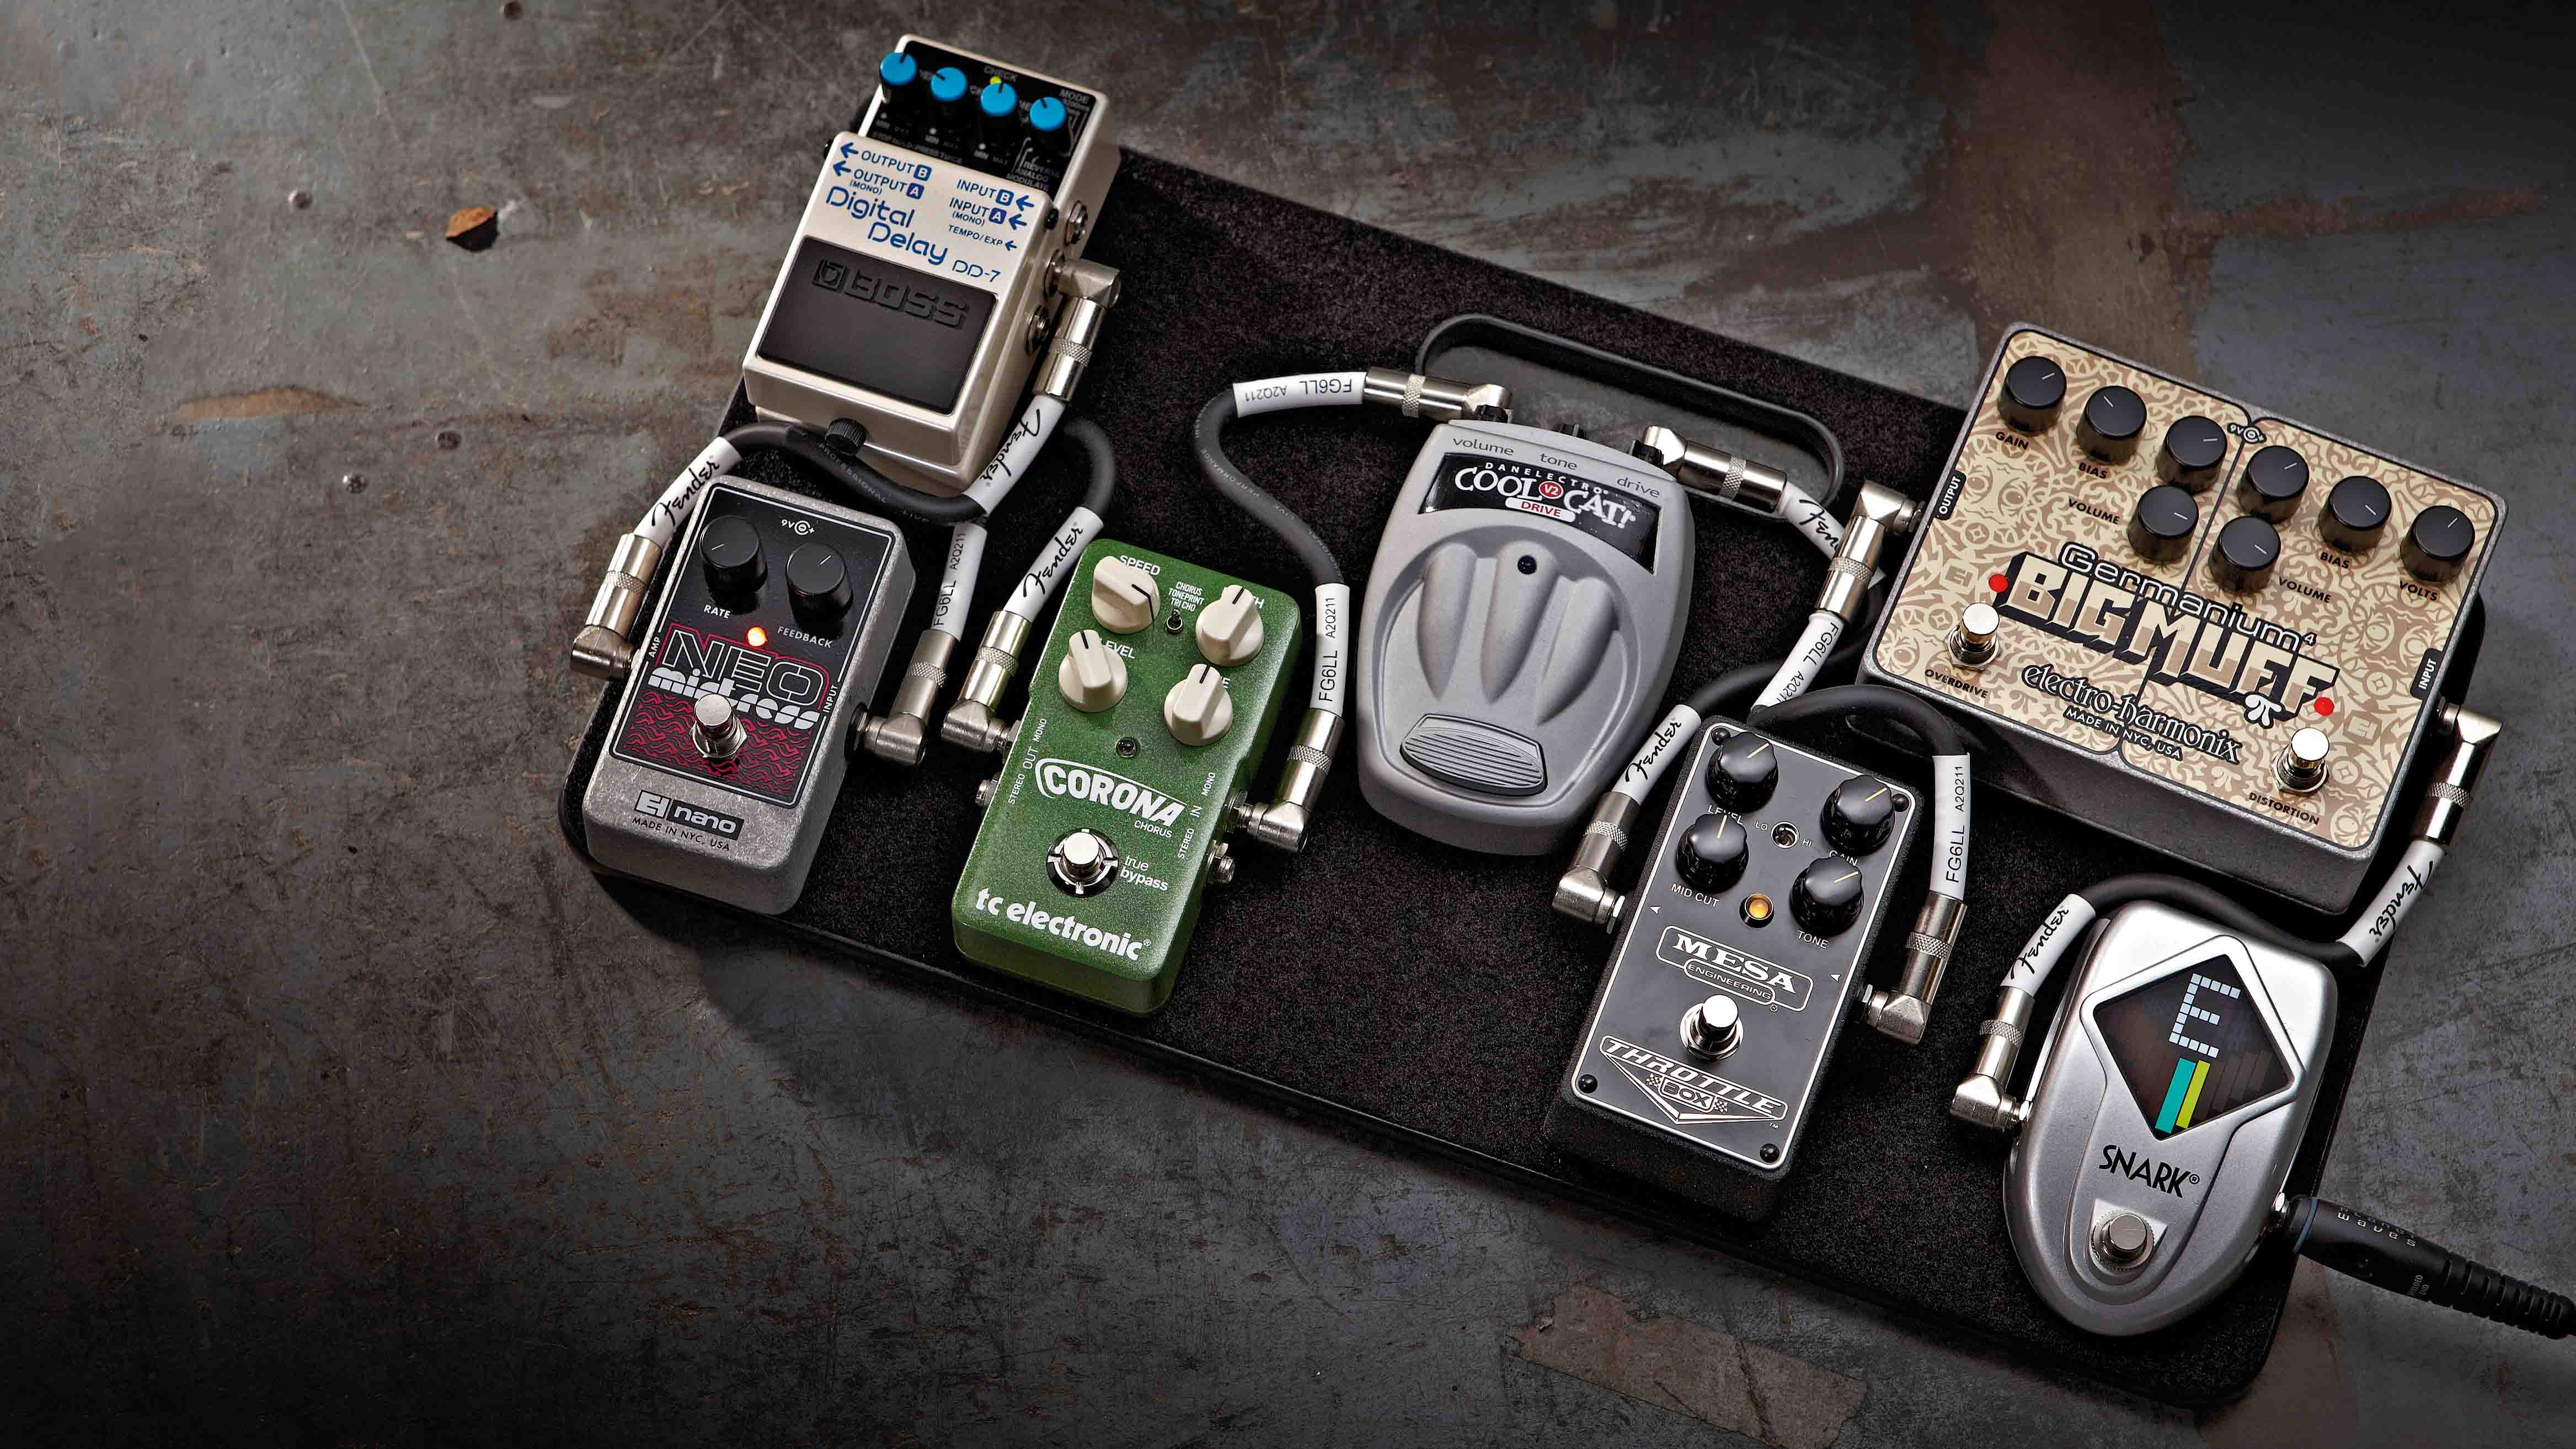
This should be as simple as possible - in the studio, everything matters. Your ears may be good enough to pick out the difference between Chinese or NOS valves, or between a vintage or reissue Marshall. As guitarists, most of us are borderline-obsessive over this stuff, yet so many of us use poor-quality cables or load down our signal with extraneous pedals.
The simplest solution when recording is to put as little as possible between you and the interface; even to the point of only plugging in a wah pedal when it's actually needed for a part.
If you can hear the difference between two brands of preamp valves, you can hear this stuff. Unless 'tone suck' is actually part of your desired result, you should either remove the offending article or buffer your signal somehow.
A cheap and easy solution for buffering is to make the first and/or last pedal in your chain a quality buffered type like, for example, a Boss chromatic tuner (which you will of course be using before every take!).
If you prefer pure unbuffered tone, insert each pedal only when actually needed, or consider investing in a pedal looper/switcher to get them out of your signal path.
Choose your weapon
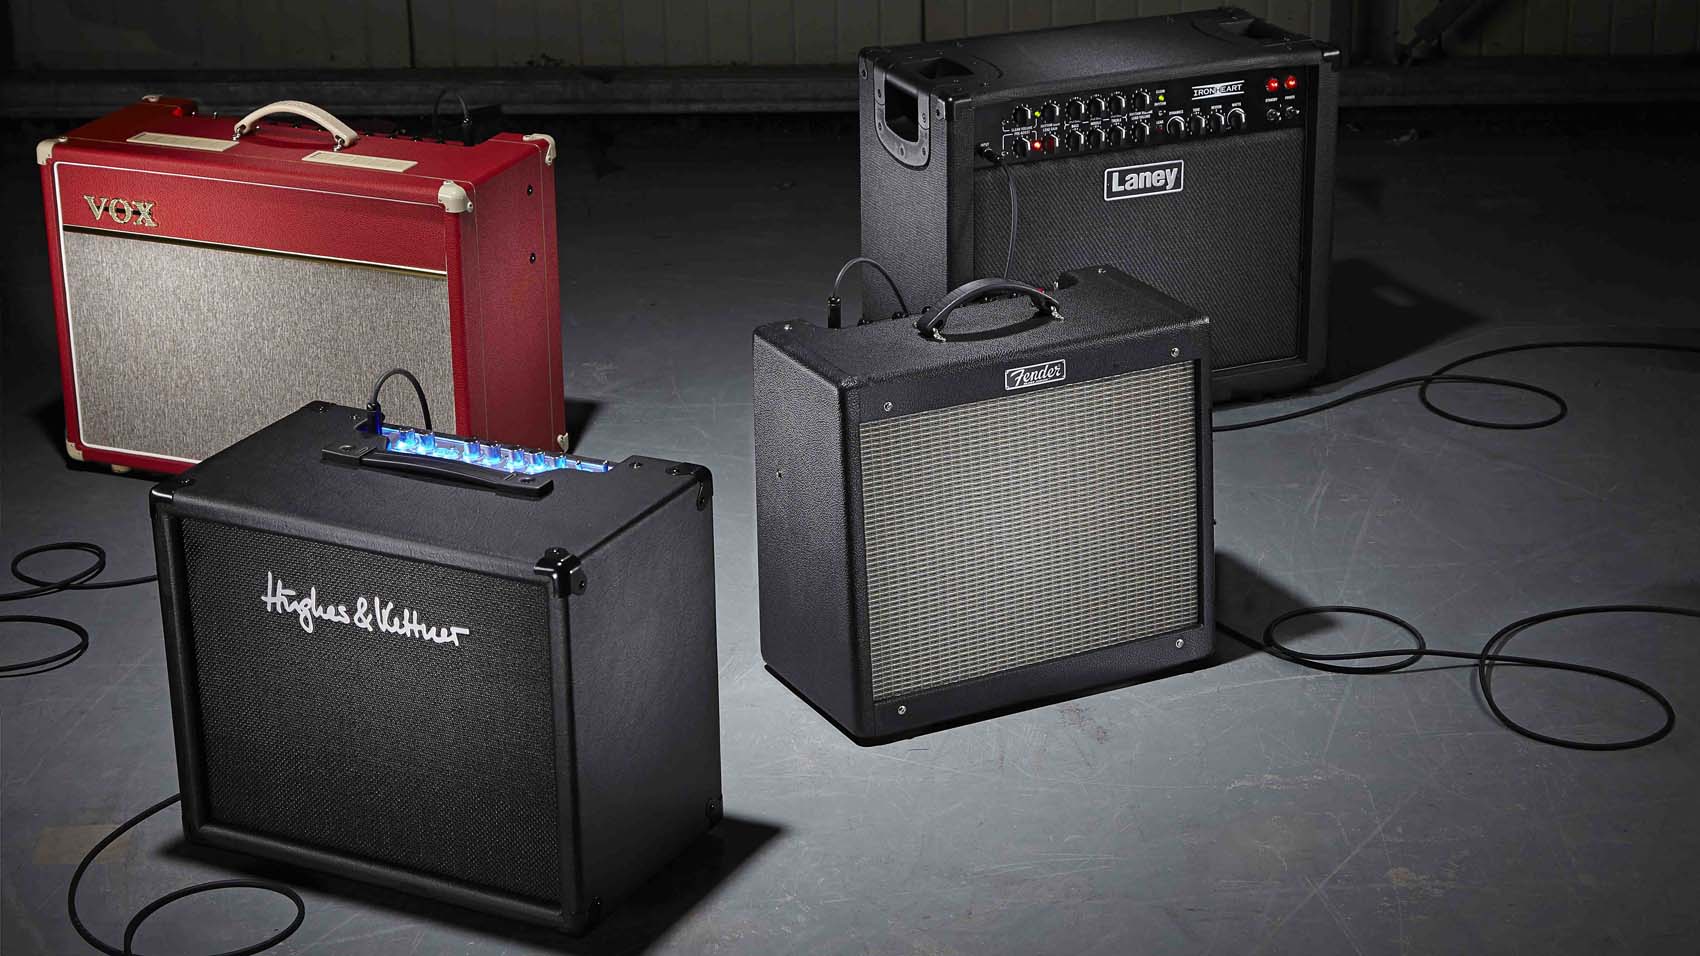
Digital or otherwise, your amp matters. Choose something that's appropriate for the task at hand - and if it's a real amp, make sure it's well-maintained and not overpowered for the job.
If your 100W Dual Rectifier sounds great on stage but your studio situation doesn't allow you to turn it up, you may actually be better off with a digital alternative when attempting to convey that sound and feel on a recording.
A great compromise is to load down the amp using something like a Suhr Reactive Load, which allows you to record silently by providing a line-level signal which you can then run to some high-quality speaker simulations/impulse responses.
Again, it's in your interests to keep your speaker simulation pre-DAW, as it's relatively memory-intensive and may cause latency or even crashing. In general, if your recording latency is much more than 10ms or so you will feel it when playing, which will of course affect the quality of your timing. Some guitarists are better than others at playing with higher levels of latency, but why compromise?
If your recording latency is much more than 10ms or so you will feel it when playing
An excellent solution is to run your chosen load box directly into a hardware cabinet simulator like the Two Notes C.A.B., thus freeing up your DAW for the important job of recording sound! Alternatives include the aforementioned Two Notes Torpedo Live which performs the roles of both load and simulator to a very high standard.
Simple analog solutions like the Mesa/Boogie CabClone or even the ubiquitous Tech 21 SansAmp range still have the potential to compete if EQ'd by an experienced pair of ears.
If you don't consider yourself an expert at dialling in a tone, simply try it with 10% less gain, 10% less bass and 10% more midrange than you think you need. It's a useful rule of thumb that will help train your ears towards what actually records well.
If it's a real valve amp, turn it up to stage level, moderate the EQ, and most tonal problems will disappear. When doubling parts, apparent gain will also double, so use only as much gain as you need to comfortably execute a part with the necessary feel and sustain.
Mic'ing
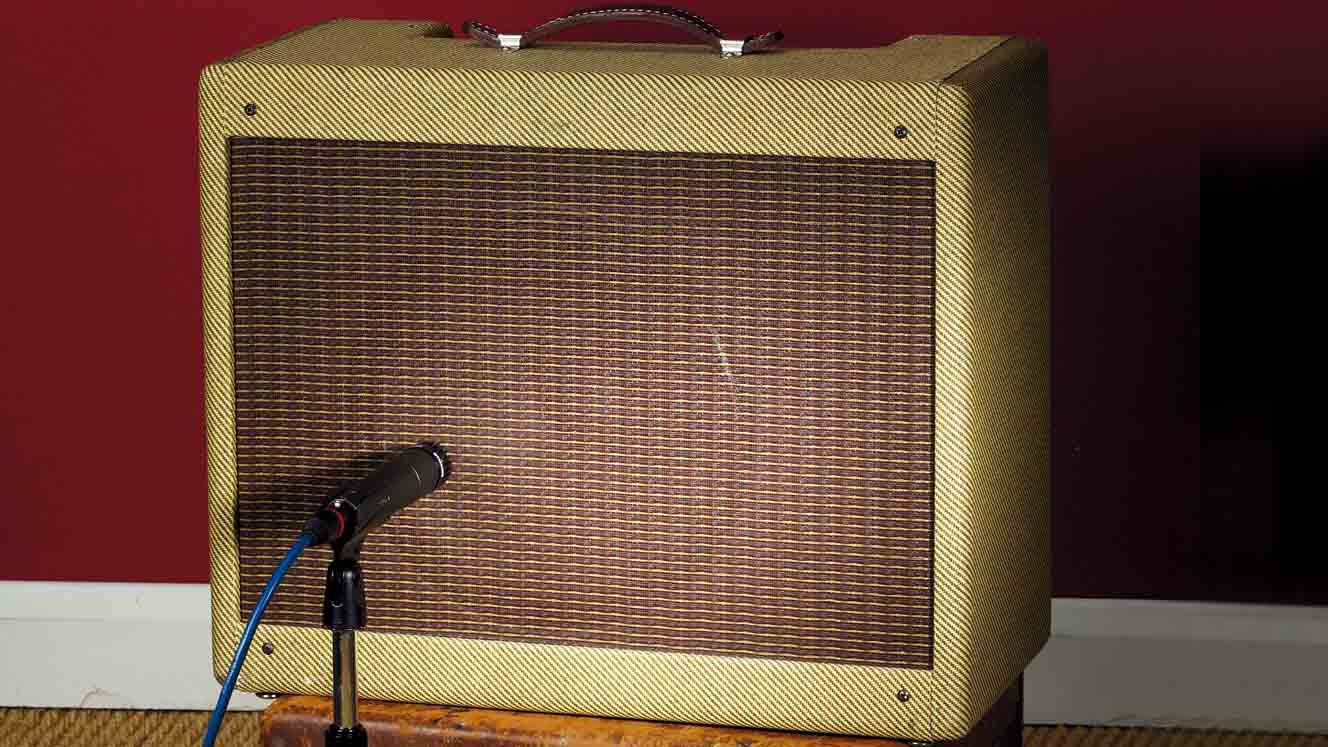
If you choose to mic a real speaker cabinet, you're entering a field of knowledge wide enough to fill several books. The best advice is to do some research and at first emulate what the guitarists/engineers you respect are doing.
Keeping things very simple at first will help you to develop a feel for mic placement; remember that many of the sounds we all love were achieved with a single Shure SM57 aimed directly at the edge of a speaker's dustcap, right up against the grille.
Learn how to get the best possible results from this simple formula - remembering at all times that the best mic position is normally the one that captures the sound in the room with the absolute minimum of effort and post-EQ.
Many of the sounds we all love were achieved with a single Shure SM57
If you find the SM57 a little papery in the high-end (arguably part of its appeal for rock guitar), the Sennheiser MD421 presents a slightly smoother alternative with a less aggressive midrange, and is also an industry standard.
Once you've got a good feel for manipulating the placement of a single dynamic microphone, you can experiment with a second microphone placed at an angle - always checking phase coherence - which will capture a more three-dimensional low end.
A popular technique is to combine a close dynamic mic with a high-quality condenser or ribbon mic placed a few inches back. The second mic will add warmth and dimension to the overall sound, and can be placed on a second fader for later mixing to taste.
Popular choices include the AKG C414, Neumann U87 and Royer 121. None of these are cheap, so you owe it to yourself to master the use of an SM57, MD421 or the other popular dynamic choice the Sennheiser e609, before expanding your horizons.
Gain structuring
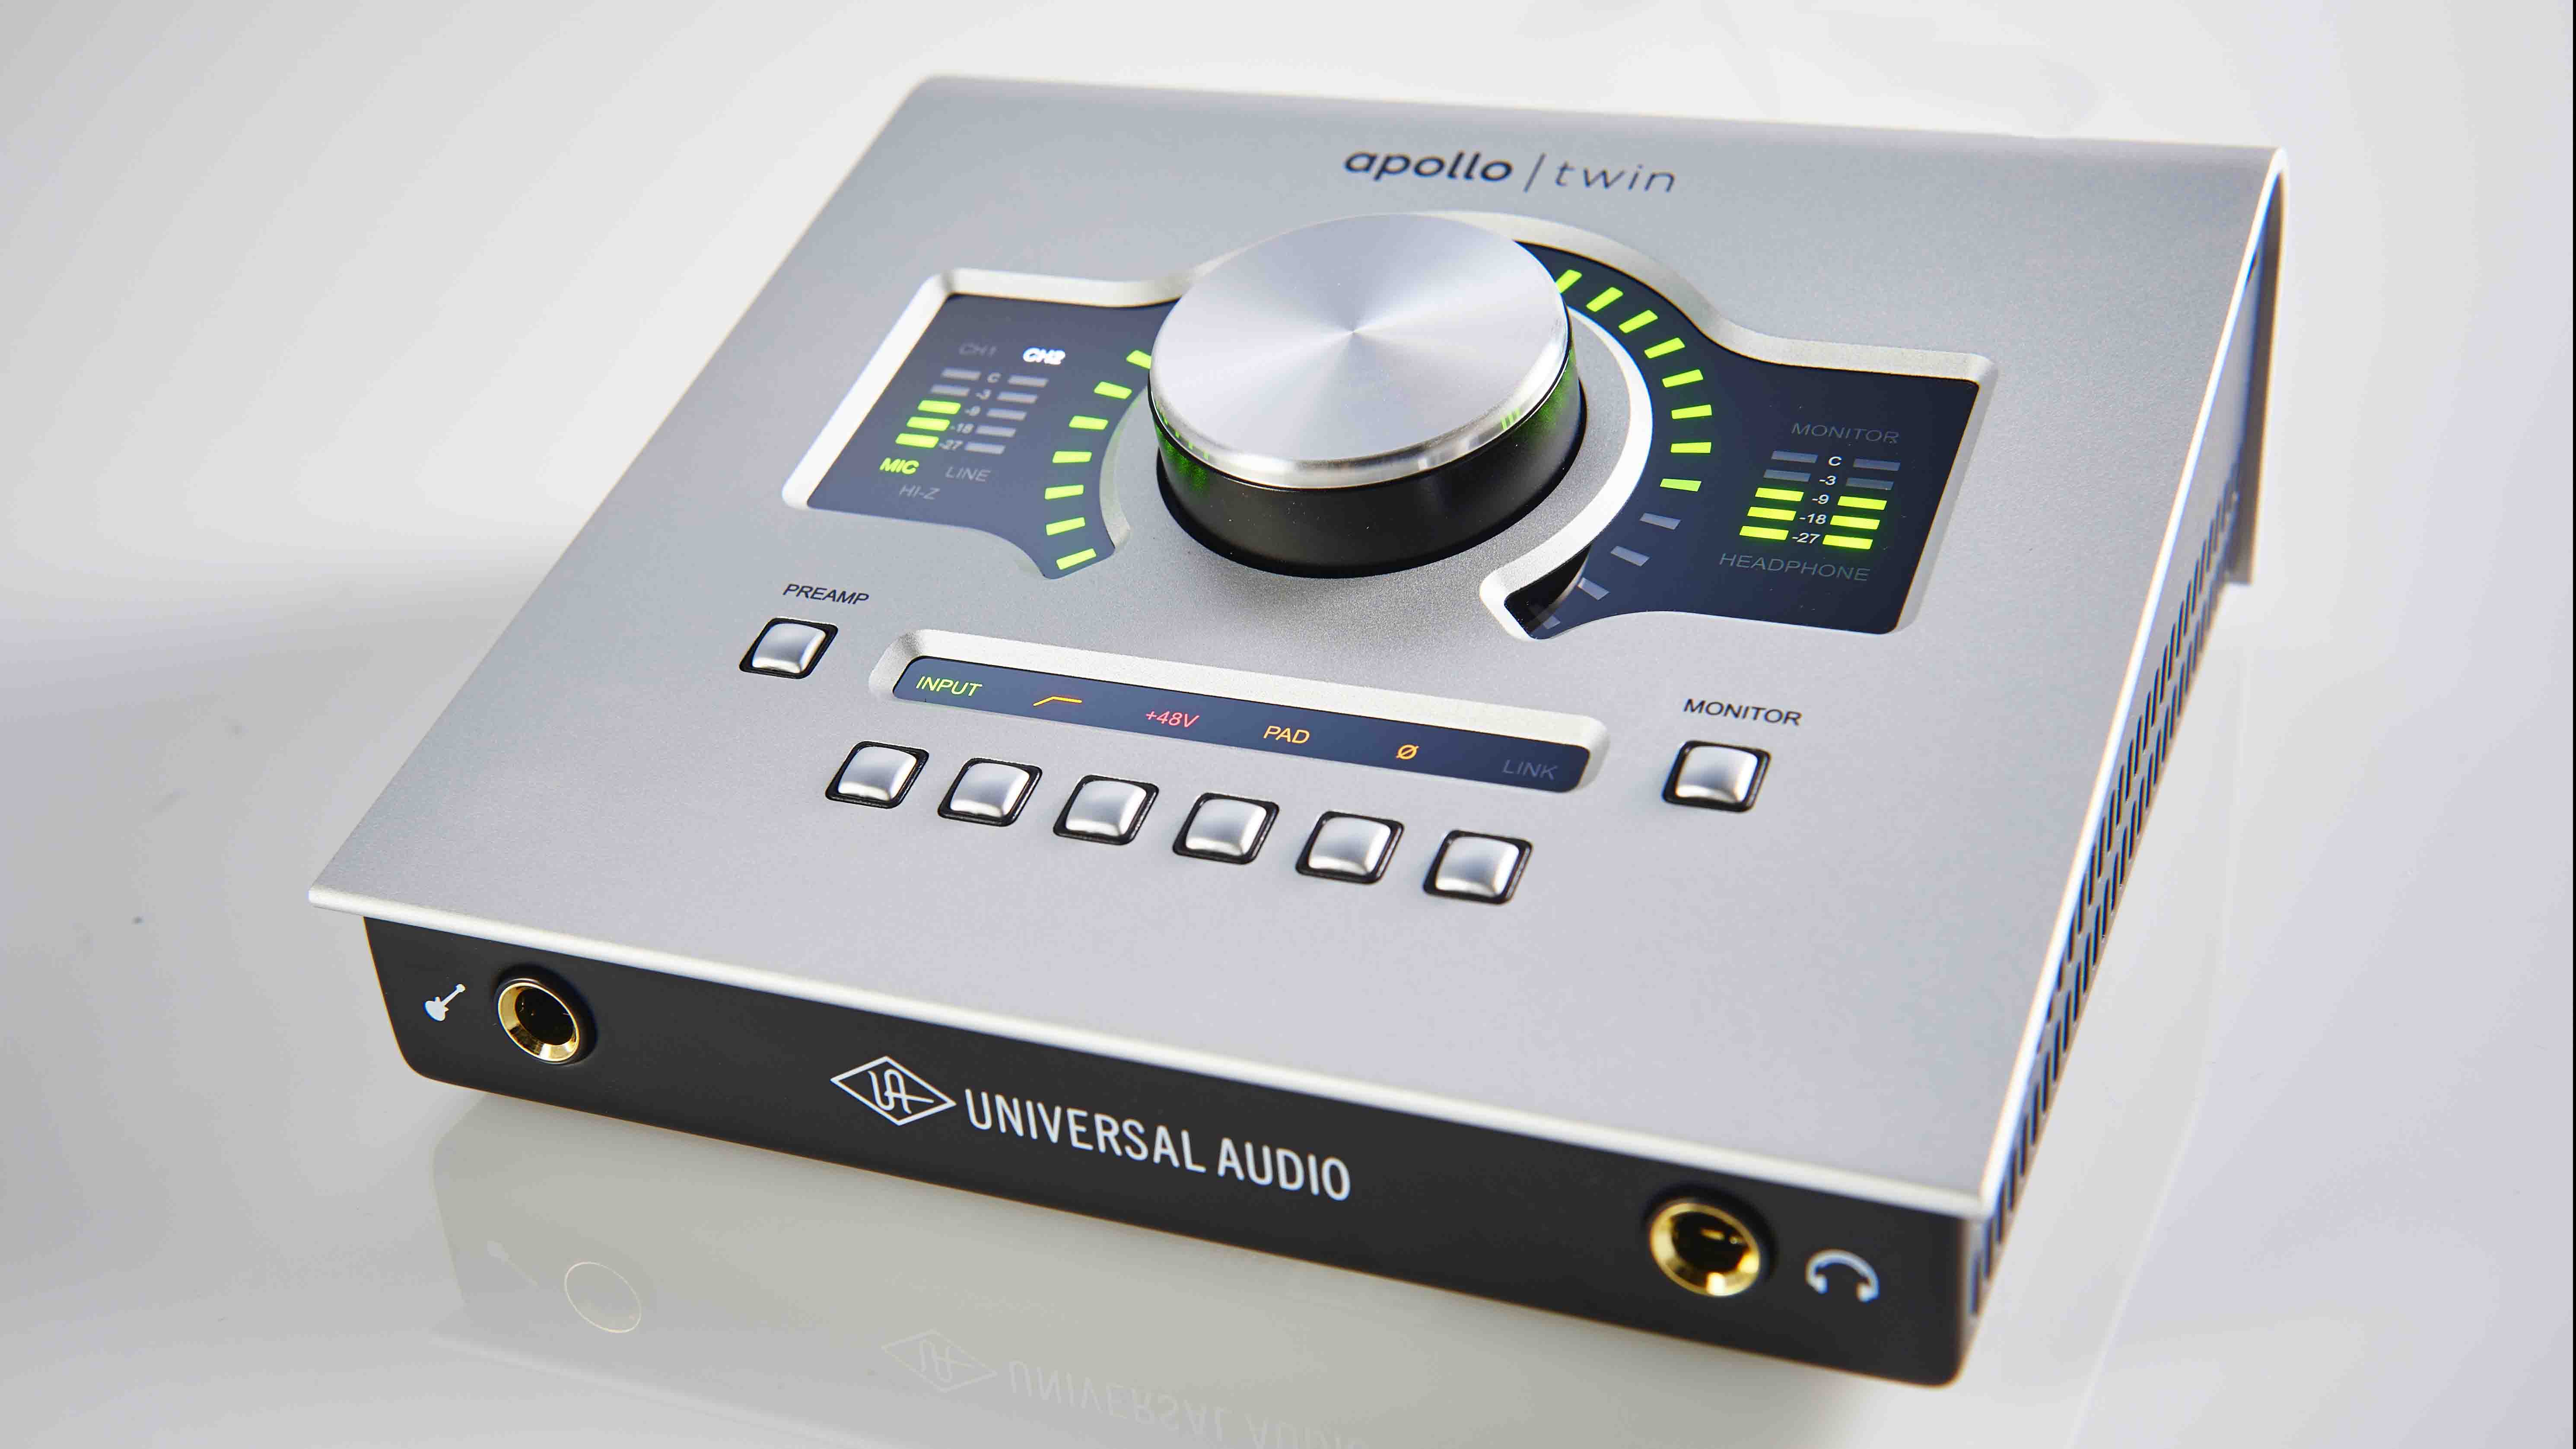
This is a fancy way of thinking of the signal-to-noise ratio at every stage of your system. In short, you want a healthy signal at every stage without clipping.
You will normally set the gain at the input and output of any device, and most guitar-centric equipment will offer a helpful red light to let you know when you've gone too far.
Your interface (and the channel strip on your mixer if you're using one) will normally each provide a gain control. Instead of just setting these on the side of caution, spend time experimenting to squeeze a healthy level through without clipping.
It usually takes no more than a few palm-muted powerchords on your most aggressive amp setting to establish a ballpark for your maximum input level.
Another source of noise - especially from tube amps - can be the cabling. It's always a good policy to separate your signal and power cables, and avoid long coils of extraneous cable wherever possible. It's always so much easier to fix this than to try and edit it out with a noise gate afterwards.
Fixing it in the mix
It's normally a good idea to capture a great-sounding rig pre-DAW. If your dry, flat signal closely resembles the sound you are aiming for, you will have a much easier time of massaging it into its final shape.
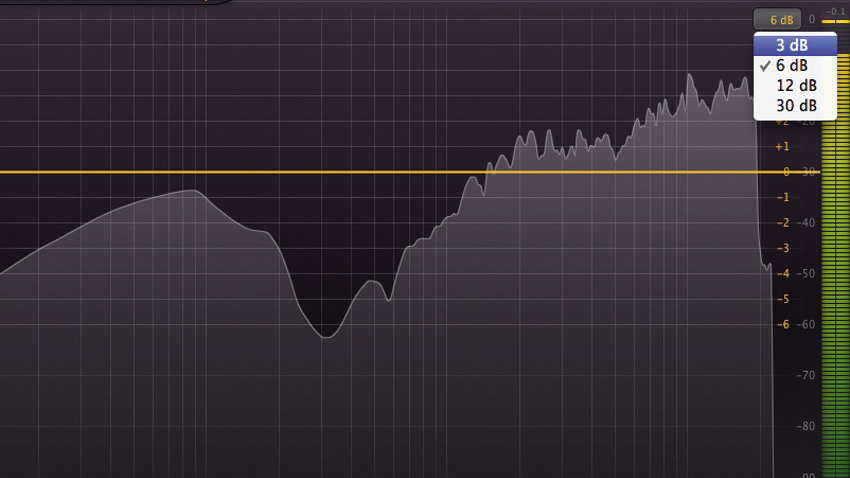
As a rule of thumb - unless you are aiming for deliberately striking or unusual results - it's a great policy to never post-EQ by more than 3dB or so at any one frequency. Wider, flatter Q curves will always sound more natural and less hyped.
If you cut, say, high-mids to reduce harshness, it may be an idea to consider boosting a neighbour frequency (like low treble) by a corresponding amount. This type of considerate EQ'ing will allow you to fix any minor irritations while maintaining the overall shape of your sound.
Try to avoid repeatedly hyping frequencies until they are fighting each other - test yourself by reducing the gain of your DAW's EQ until it matches that of the input signal: does it actually sound better, or was it just louder?
If the take wasn't good or the amp didn't sound right in the room, you will waste far longer trying to fix it than it would take to do it right
Similarly, it's a good policy to adjust to apparent unity gain through any plugins, so that you can easily bypass and judge their true effect. Compressors are another repeat offender: often, the inexperienced hand will set a compressor doing nothing but making the signal louder and noisier. Set it to apparent unity gain, bypass it and get the real picture.
As guitarists, we are mostly experienced at using effects. It's often helpful to add them in the DAW during mixing so that you can fully judge their effectiveness; and, normally, less is more. After adding reverb or delay, go and have a sandwich or a coffee, come back and be amazed to find your sound was 10% wetter than it actually needed to be! Works every time.
As usual, don't try and 'fix it in the mix'. If the take wasn't good or the amp didn't sound right in the room, you will waste far longer trying to fix it than it would take to do it right. Be a musician, not a turd-polisher!
Nearly every professional studio will 'top and tail' and high-pass filter guitars. As a rule, for rock or pop guitars, almost everything below around 55 to 75Hz is doing nothing but sucking away headroom (affecting the final maximum loudness of your mix) and muddying up the low-end (making it difficult to mix the bass drum and bass guitar).
A fairly aggressive HPF starting at 65Hz is a great starting point - I know one great engineer who swears by 100Hz and gets great-sounding guitars.
A final top and tail simply gets rid of unwanted noise in your silences. Use a well-judged fade, tucked right up behind the start of your first note and the end of your last - and save the guy mixing your music a job!