What do I need to record on a computer?
Get the lowdown on audio interfaces, DAWs, mics and more

Want all the hottest music and gear news, reviews, deals, features and more, direct to your inbox? Sign up here.
You are now subscribed
Your newsletter sign-up was successful
RECORDING WEEK: Using samples and virtual instruments in the box provides incredible creative freedom when producing tracks. However, there may well come a time when you want to expand your sonic palette to incorporate sounds you’ve recorded yourself. Thankfully, most DAWs are also powerful multitrack recorders, perfectly capable of capturing everything from a single tambourine hit to a full multi-miked band.
Are you someone who likes the idea of recording but aren’t entirely sure how to get started? Then this back-to-basics feature is for you. Let's take a look at the essential hardware and software requirements, looking at what you do and don’t need, and running through the advantages of certain features.
• Recording Week is brought to you in association with Universal Audio
1. Audio Interface
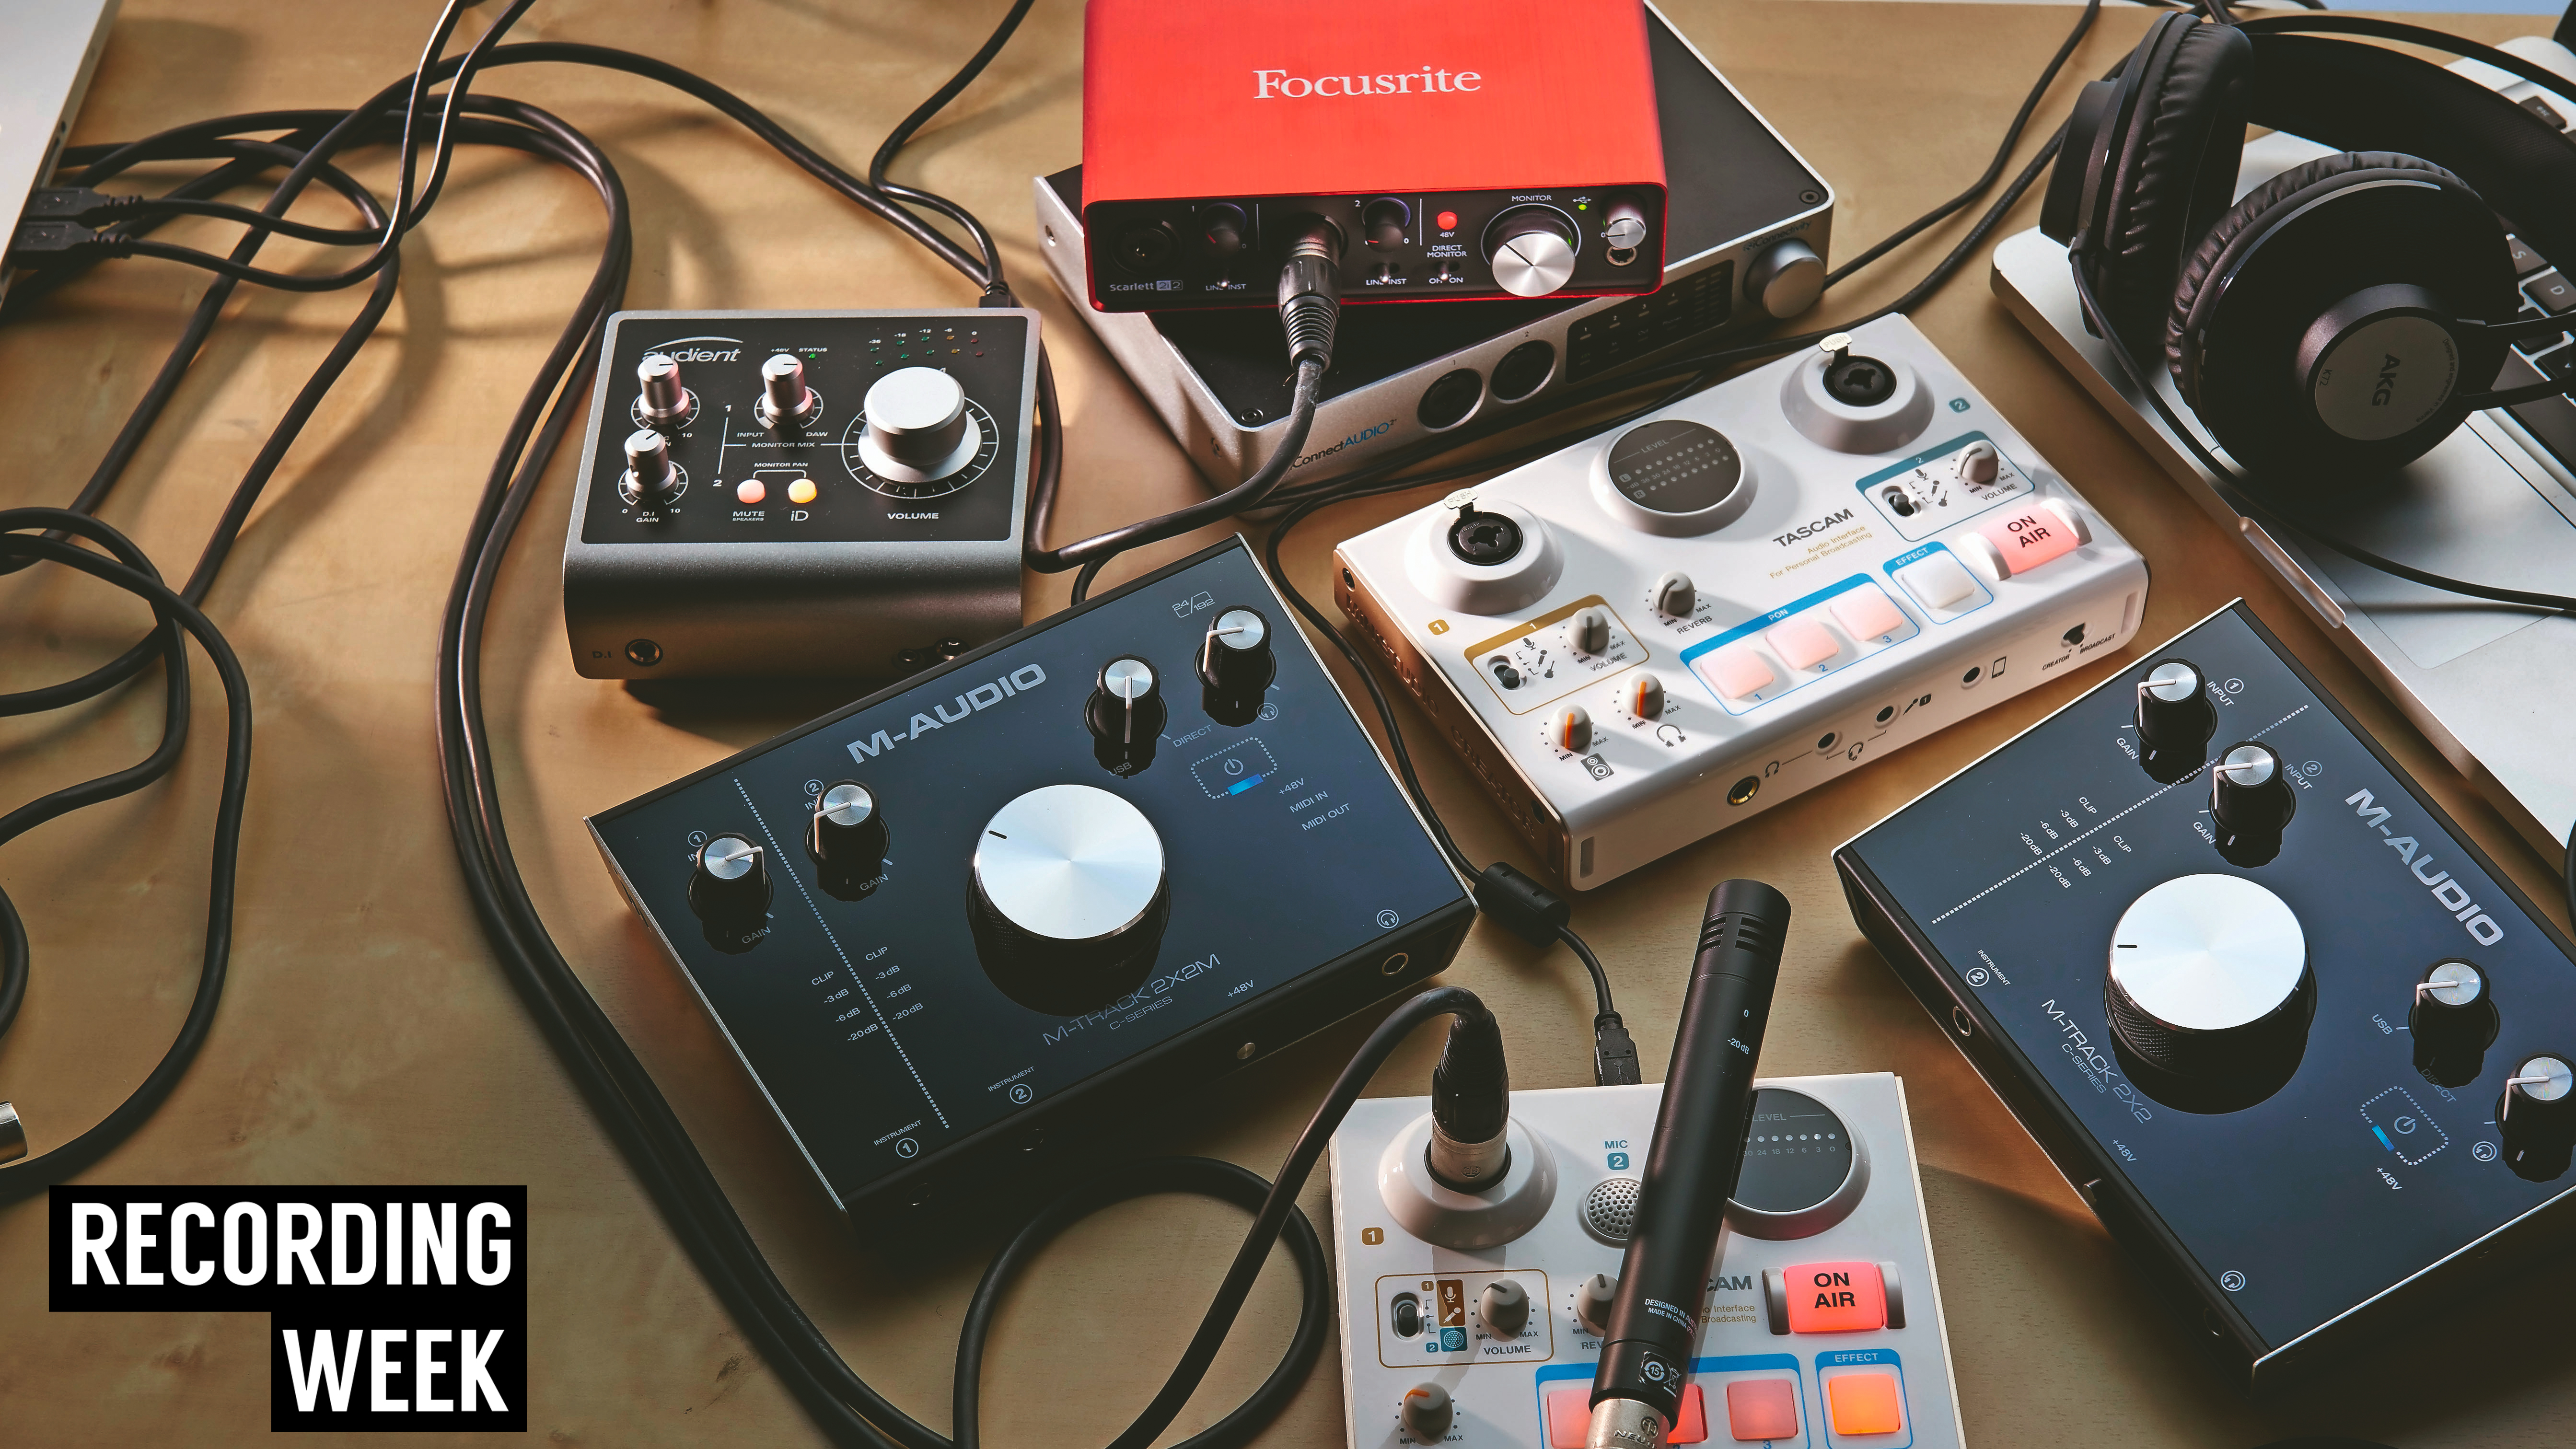
An audio interface combines with your computer and DAW to create a complete audio and MIDI-based production system. The interface itself gets audio (and possibly MIDI) signals into and out of your computer, so it’s the ‘box’ to which you connect your mics, instruments and line level signals, and that handles output to your monitors and headphones. It may also have MIDI ins and outs, enabling older MIDI-based hardware – synths, keyboard controllers, etc – to be plugged in. Most keyboard controllers these days incorporate direct USB connection to your computer, so the inclusion of MIDI I/O on your interface might be unnecessary.
The first thing to consider when choosing an audio interface is how much connectivity you actually need: think about the number of microphone inputs, instrument inputs, headphone outputs and main monitor outputs you’ll be using simultaneously. Clearly, just recording a single vocalist doesn’t require much in the way of specs, but recording a drum kit or a whole band is much more demanding. These factors will have a bearing on the type of interface you need.
An audio interface connects to your computer using one of several connection protocols, the most common of which is USB 2.0. This ubiquitous standard is available on most computers and includes bus powering capability, alleviating the need for an external power supply. However, most affordable USB 2.0 interfaces only offer up to around 20 streams of simultaneous recording at 24-bit/48kHz, so, if that’s not enough, there are other more expensive options to consider. These include certain higher-end USB 2.0 systems; PCIe card-based systems using Ethernet, MADI or proprietary connections; Thunderbolt (versions 1, 2 and 3); and Firewire (400 and 800).
The next thing to consider is how the interface handles headphone monitoring. Typical options are either a simple mix control on the front (great for a simple vocal session), or more capable but complex software-based monitoring (for a band setup). Finally, most recordings are made at 24-bit, at either 44.1kHz or 48kHz, but many interfaces offer higher sample rates – 96kHz and 192kHz – so you also need to decide whether or not this is important to you.
Want all the hottest music and gear news, reviews, deals, features and more, direct to your inbox? Sign up here.

2. DAW
With a suitable interface sorted, you can record your microphones and instruments in any application that supports audio input, and whether you’re on Windows, MacOS or Linux, there are a raft of free apps available to get you started – Audacity and GarageBand, for example. However, these are comparatively limited in their functionality, and when you get into the realms of adding recordings one at a time (overdubbing) or recording multiple inputs together, you’ll need a professional quality digital audio workstation (DAW) that can perform such tasks effortlessly and, most importantly, reliably.

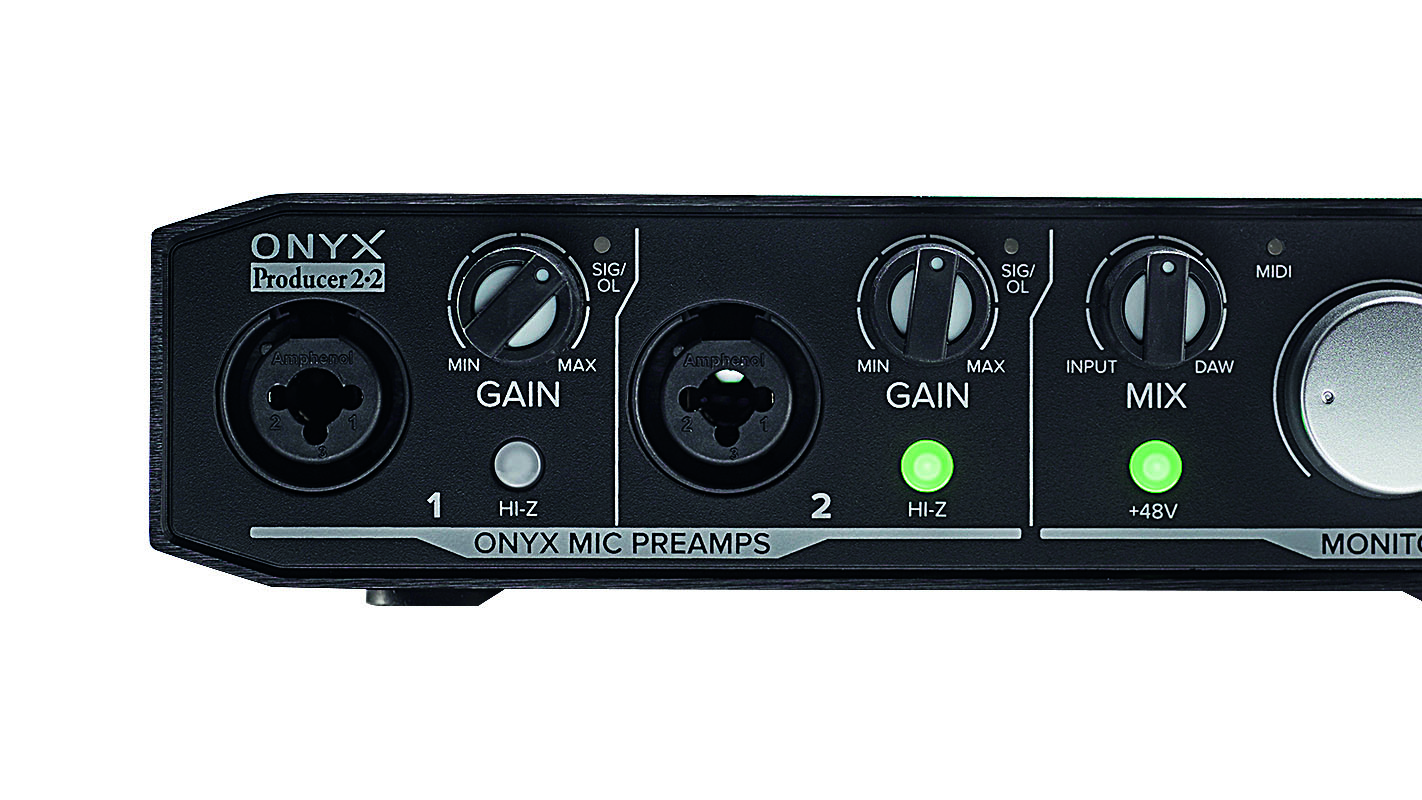
Recording an electric guitar (or bass) straight into the audio interface, rather than via an amplifier, is called a DI (direct injection) connection, and it will get you a nice clean signal that you can process later in your DAW. However, you need some way of handling the very high impedance output of the instrument. Historically, you would use a DI box for this, and these are still useful when you want to record both the amplifier output and DI, as they also split the signal. To record just a DI, however, look out for a high impedance (Hi-Z) input on your audio interface.
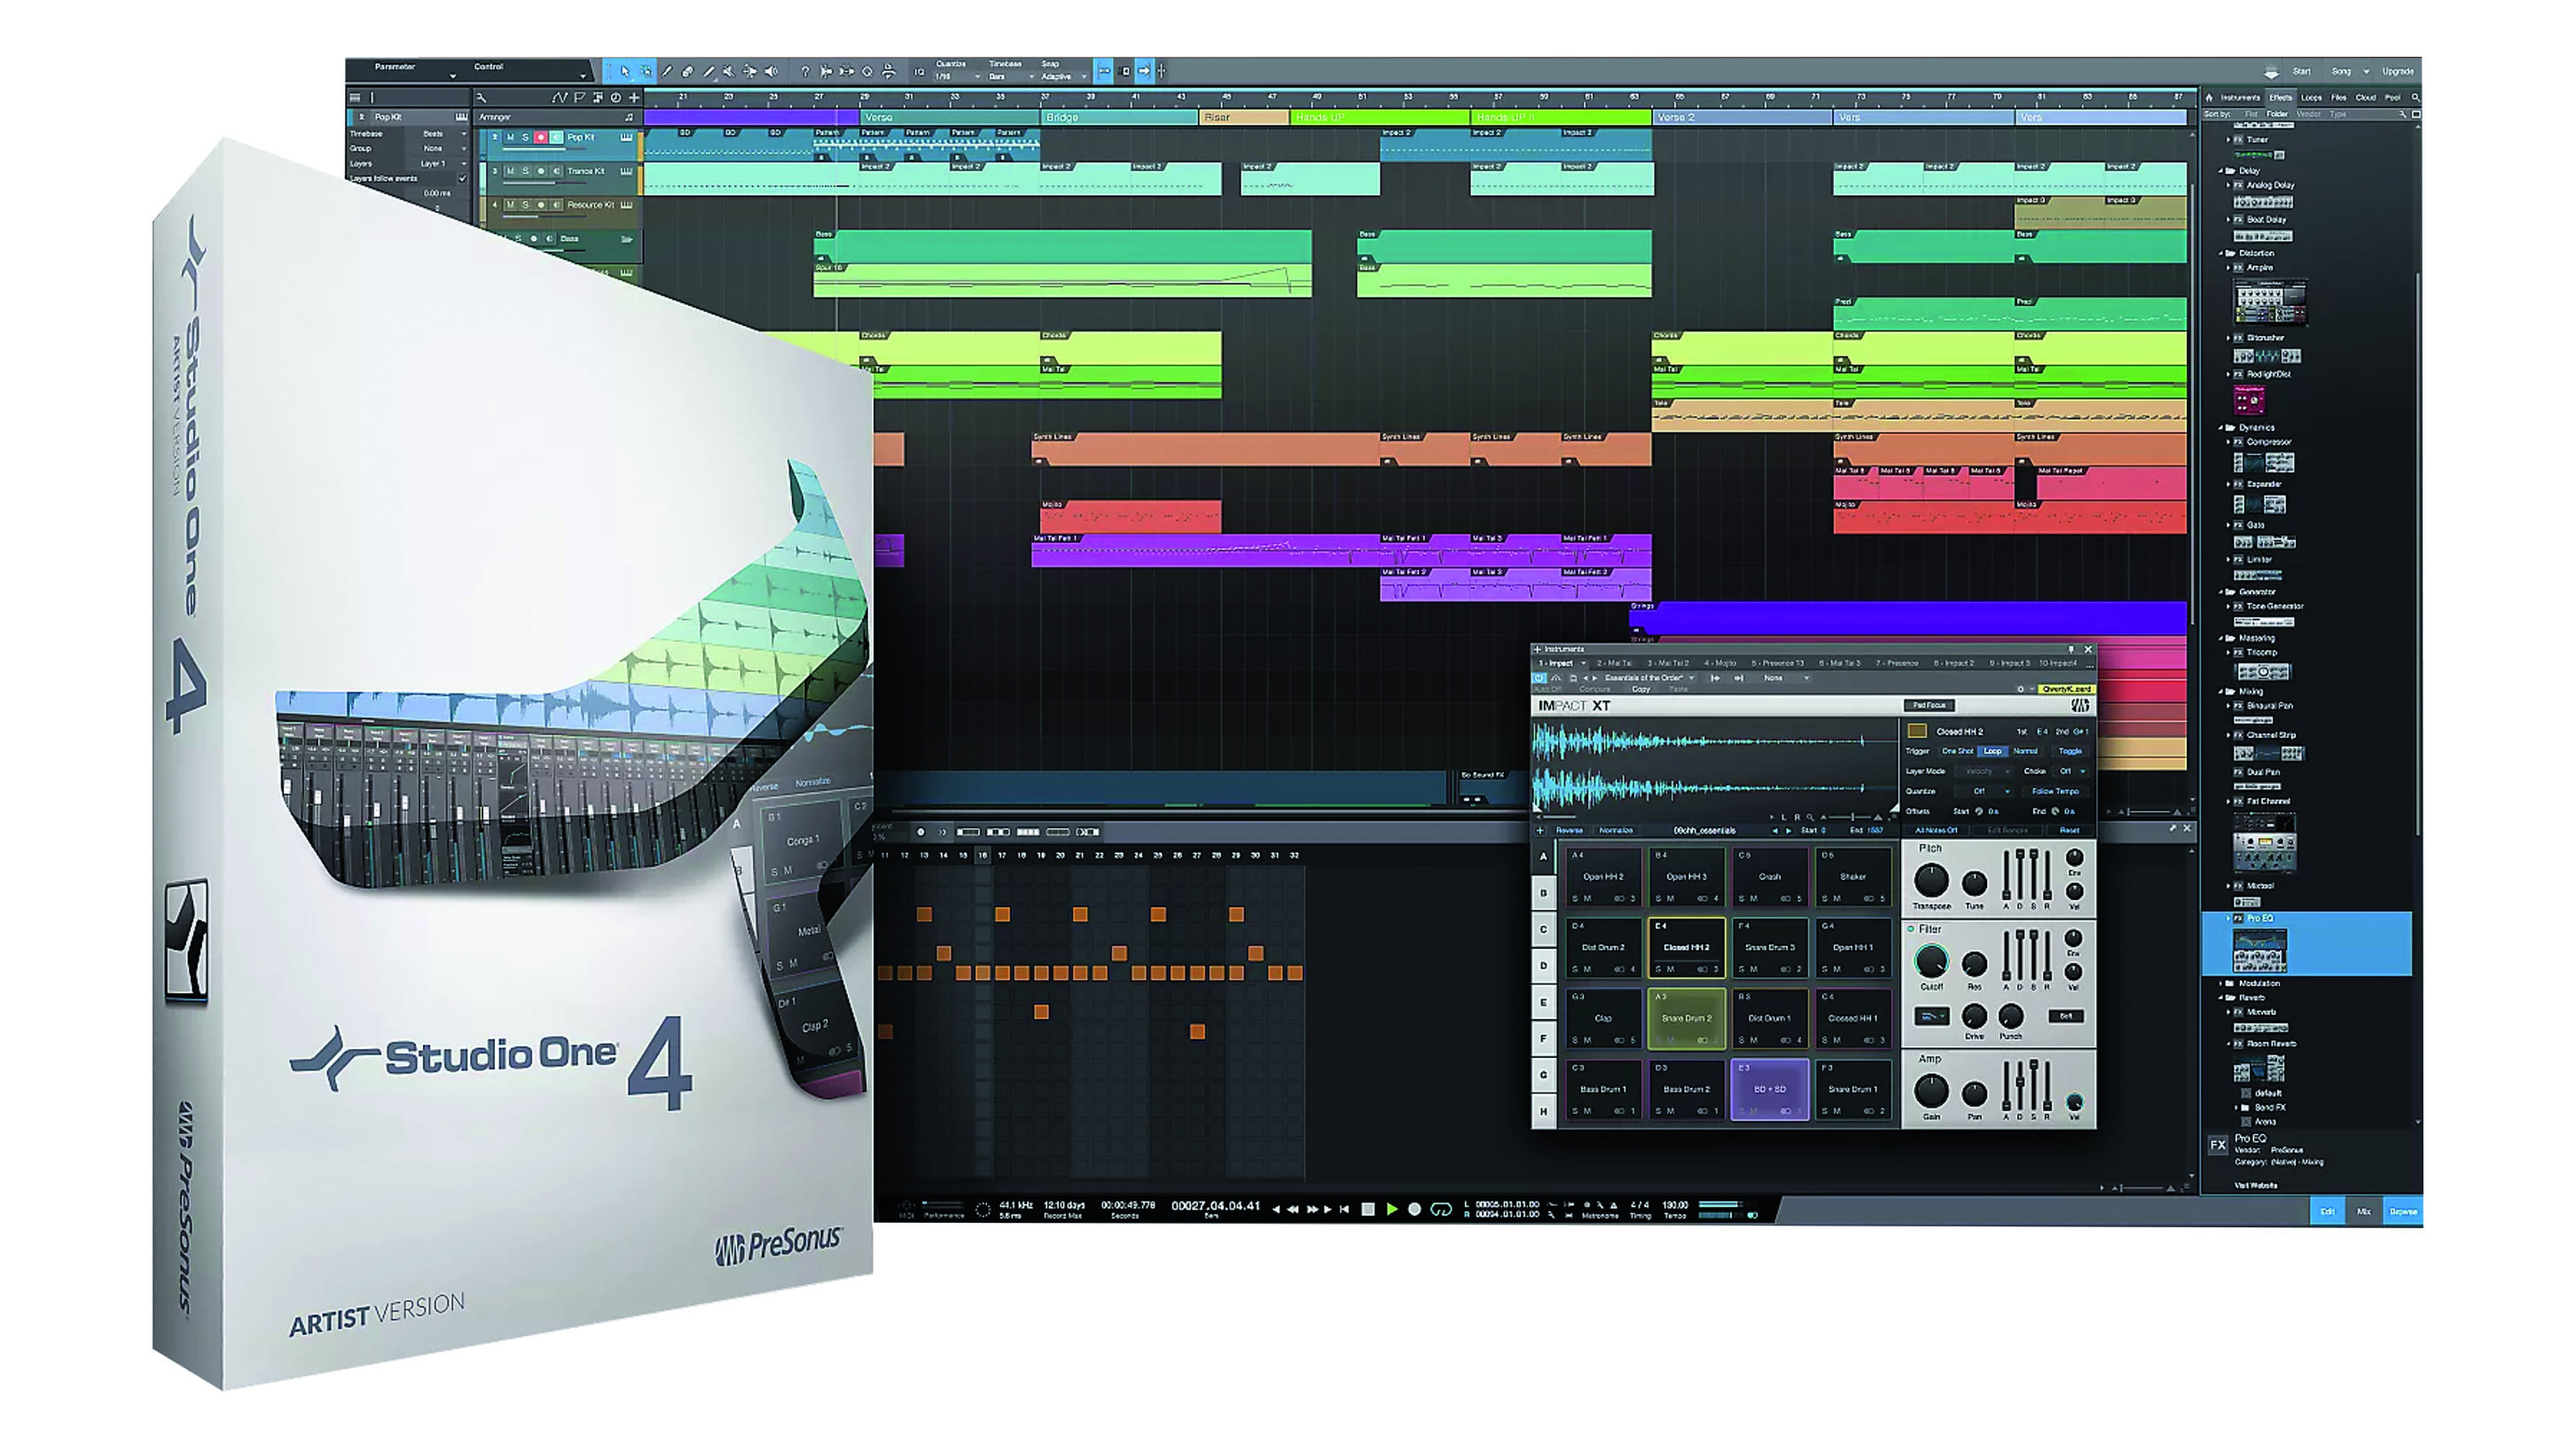
It’s quite possible that your audio interface includes a free bundled DAW (Ableton Live Lite, Steinberg Cubase LE/AI or PreSonus Studio One Artist, for example). These are usually feature-limited versions of each company’s full-priced offering, and for simple recording sessions they should suffice. What’s more, most of them put you on a discounted upgrade path to the more fully-featured sibling.
Nonetheless, there’s still a definite advantage to having the full version of any DAW: flexibility. You’ll typically get unlimited tracks, multiple sends and returns, the ability to record many inputs simultaneously, a bundle of additional plugin effects, virtual instruments and audio content, and advanced editing features such as pitch correction and audio warping. Indeed, if pitch correction is important, PreSonus Studio One comes with an embedded version of Melodyne, while Avid Pro Tools incorporates excellent flexible time adjustment in the shape of Elastic Audio. For bundled content, Apple Logic Pro X includes an impressive library of Apple Loops and a ton of softsynths and plugin effects, while for creativity, Ableton Live features both the traditional timeline-based Arrangement View, and the ‘non-linear’ clip-based Session View.
The final thing to consider is your personal preference with regard to DAW design, layout and workflow. Most DAWs essentially take you to the same end product in different ways, and thus share many core features; but until you try a particular DAW for yourself, it’s hard to know whether or not it will suit you. Again, those bundled ‘lite’ editions and free versions let you try before you buy.

3. Microphones
Microphones turn soundwaves into electrical signals, which can then be recorded. It’s a simple enough concept based on some pretty fundamental physics, but there are variations in how they work and what they ‘hear’.
Each type of microphone has its own particular ‘polar’ or ‘pickup’ pattern. An omnidirectional mic picks up everything around it reasonably equally, while a cardioid directional mic picks up the signal in front of it more than that at the sides or rear. Another common type is the ‘figure-8’, which picks up the front and rear equally but rejects the sides; while the hypercardioid provides a narrower directional pattern. Some mics even have multi-pattern capabilities, allowing you to choose from two or more patterns. It’s important to understand what any given mic is actually hearing, so you can choose one that suits the task at hand and the space you’re in.
The most ubiquitous type of mic is the cardioid, because it’s directional, so by pointing it at your source, you’ll hear that more than everything else – particularly useful when you want to try and isolate what you’re recording from other sounds. A cardioid mic does still pick up sound from behind it and to the sides – it’s just less sensitive there. It also exhibits something called the proximity effect, creating an obvious bass boost as you get closer to the capsule. All this adds up to a design that’s functionally useful but not completely transparent in its behaviour. In larger spaces with good acoustics, an omnidirectional mic will deliver a more natural sound; they also work well used as spaced pairs to record in stereo.
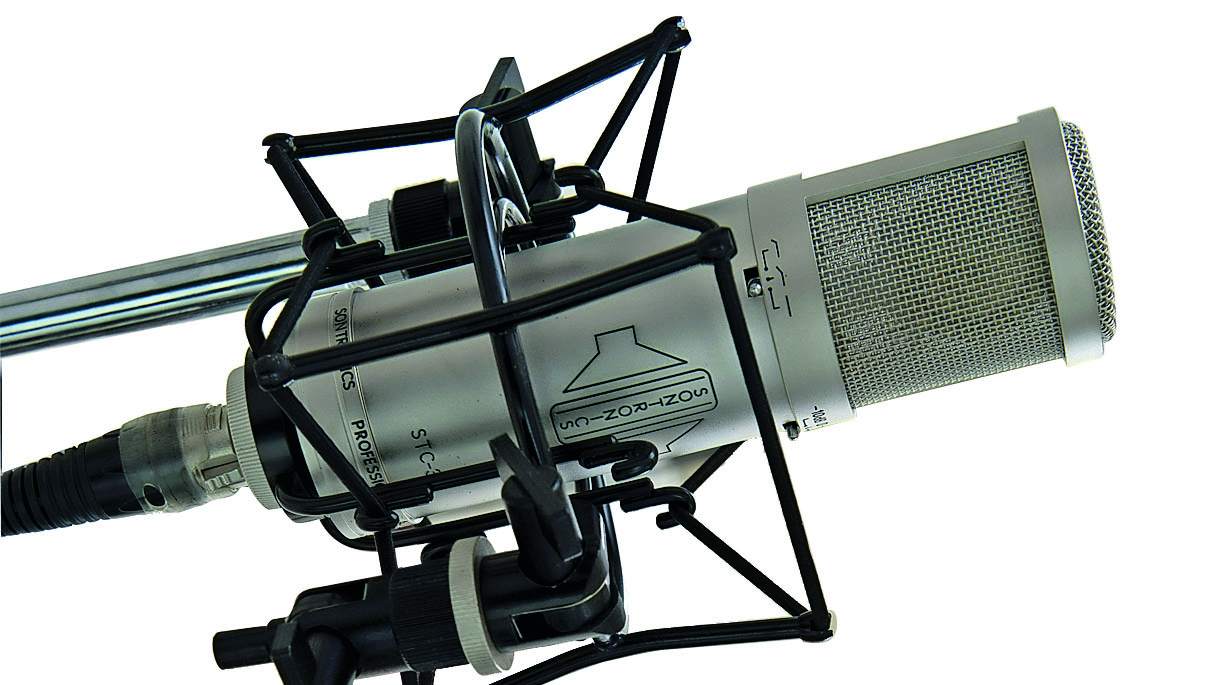
The other important consideration with any mic is the way in which it converts soundwaves into electrical signals. There are three main types: dynamic, condenser and ribbon. Dynamic mic capsules incorporate a moving coil and magnet. They’re robust, reliable, affordable and typically used for live vocals, kick drums, toms and other ‘high-impact’ sources. A condenser mic capsule is a capacitor, so it requires some type of power (often 48V phantom power via the mic cable) and is less robust, but more sensitive and accurate than a dynamic. Condensers are well suited to studio use and popular for recording vocals, guitars, pianos and room signals.
Finally, the ribbon mic employs a thin metal foil or ‘ribbon’ and a magnet in its pickup. This is very fragile, and has a low output level and – by design – a figure-8 pickup pattern, for smooth, natural results. It’s also excellent at handling bright, complex sounds such as cymbals and brass.
4. Accessories
It’s wise to allocate most of your budget to decent microphones, but there are a few other extras that you’ll need, too.
Mic stands can be acquired reasonably cheaply or second hand, but aim for the best quality you can afford, as cheaper stands are harder to adjust and tighten, and may droop or topple over with heavier mics. Stands also vary in height, and it’s practically impossible to mic up a snare drum with a full-sized stand, as it gets in the way – so be prepared for the instruments you’re recording.
New mics usually include a clip, cradle or both to attach the mic to the stand. The cradle is excellent for insulating the mic from vibration, and so should be used if possible, but may not be easy to position for certain instruments. Universal clips are available and often come in handy.
For recording vocals with a cardioid condenser, some form of pop shield is a must. If you’re strapped for cash, you can make one from a coat hanger and a pair of tights, but a proper one is easier to set up.
Finally, make sure you have enough long mic cables to get the signals from the instruments that you’re recording with to your interface.
Computer Music magazine is the world’s best selling publication dedicated solely to making great music with your Mac or PC computer. Each issue it brings its lucky readers the best in cutting-edge tutorials, need-to-know, expert software reviews and even all the tools you actually need to make great music today, courtesy of our legendary CM Plugin Suite.
