How to get more out of your audio interface
We look at what you’re not doing with your audio interface, and how you can expand its usability
Want all the hottest music and gear news, reviews, deals, features and more, direct to your inbox? Sign up here.
You are now subscribed
Your newsletter sign-up was successful
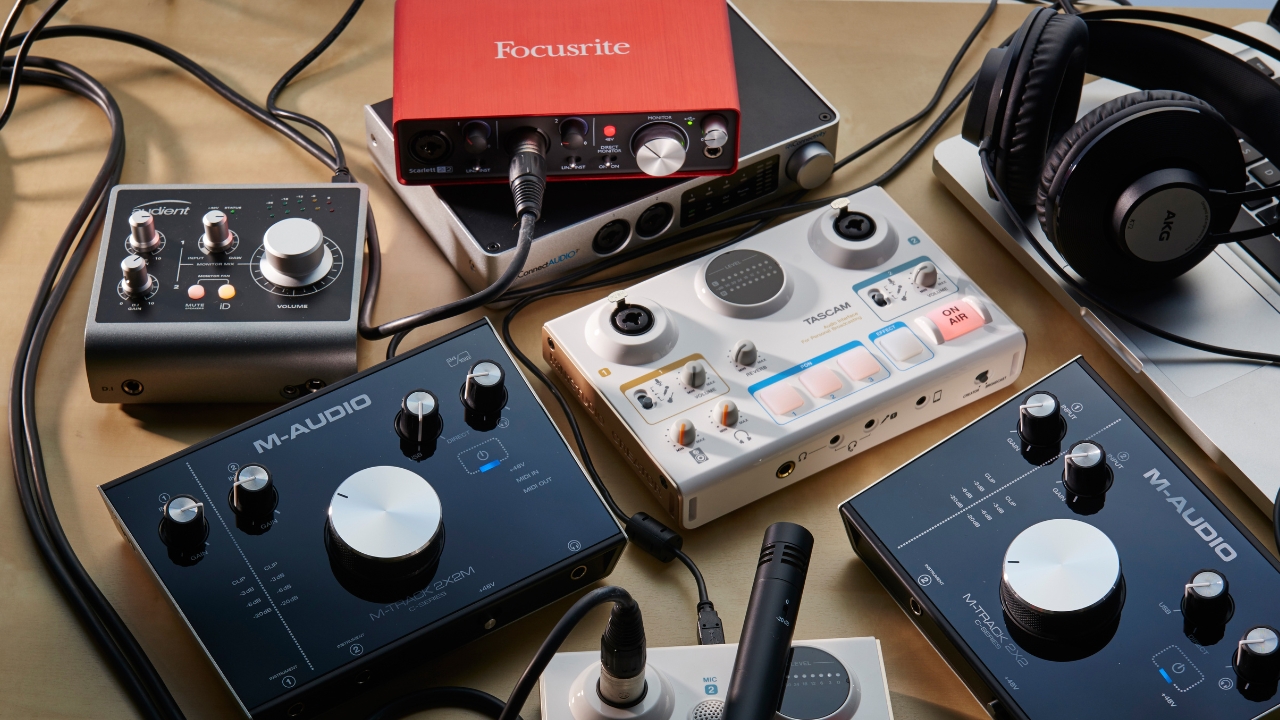
So you’ve bought yourself an audio interface for your home recording setup, got your studio monitors in place and your listening position perfected. You might be tempted just to leave it there, but there’s a whole lot more you can do to improve the flexibility of your home studio setup.
As well as adding to your setup with fresh gear, there’s a lot more your interface is capable of that can help improve your workflow, often with extra functionality hidden beneath the hood. You might not even know it’s there, so to help you get the utmost out of your home recording, we’ve broken down six simple ways you can get more out of your audio interface.
Add more inputs
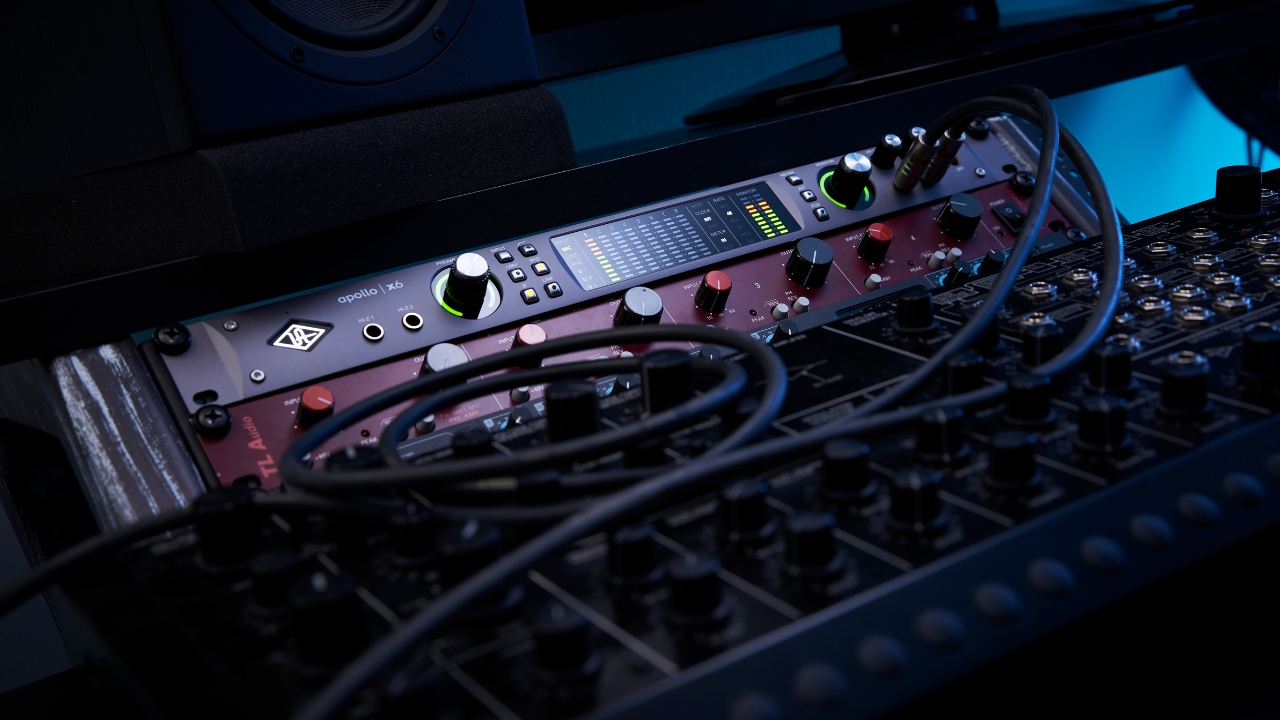
Probably the number one most common question when it comes to enhancing an existing audio interface is about adding more inputs. Whether you’re recording drums or wanting to mic up multiple musicians at the same time, it’s almost inevitable once you go down the rabbit hole of recording that you’ll want to add more inputs.
So how do you do this? Well, there are a few options. The easiest is checking if your interface has ADAT. Typically found on pricier interfaces with more inputs it’s usually marked as ‘optical input’ on the connections panel. ADAT allows you to connect up to 8 extra channels using an ADAT cable with another compatible interface, or a specific mic preamp.
You’ll need to set them up properly and most importantly synchronise the ‘clocks’ of each interface by making one a master and one a slave. As far as adding extra connectivity it’s undoubtedly the easiest method, but granted it’s not the cheapest. If you’re budget-conscious, or your interface doesn’t have ADAT then move on to our next step.
Aggregate interfaces
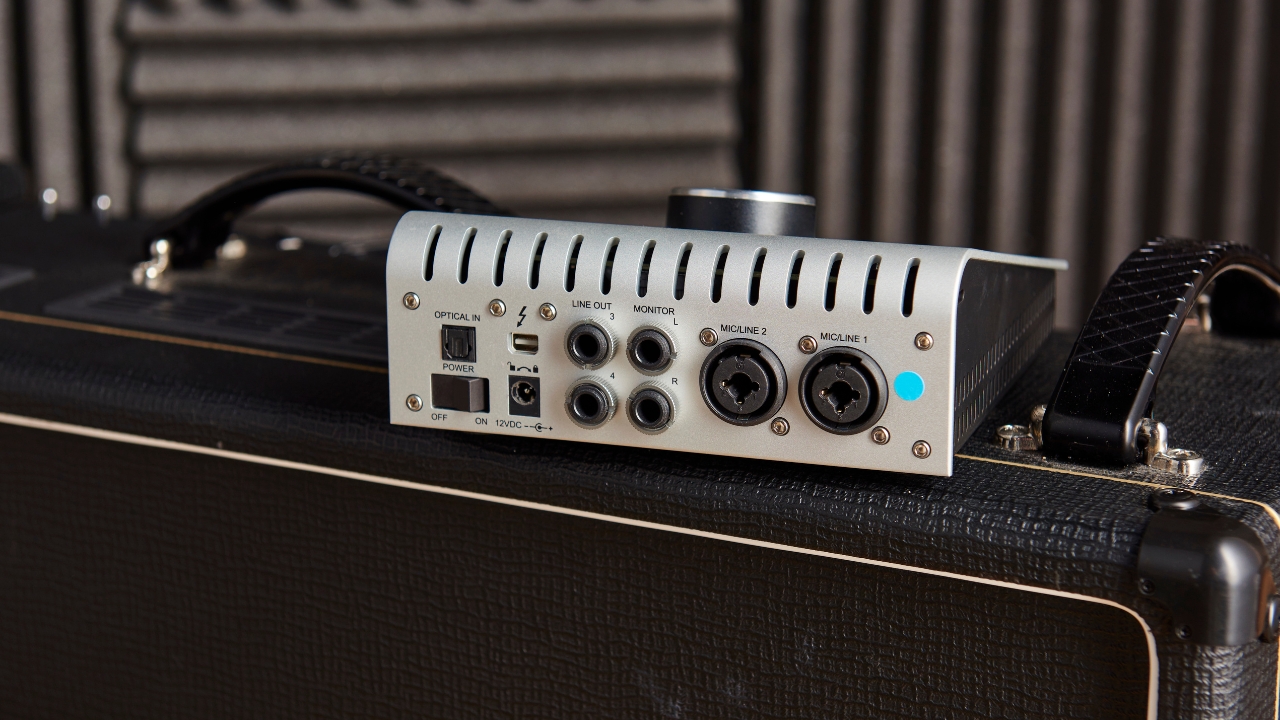
Aggregating multiple interfaces is a workaround to gain extra connectivity via software. Say you’ve got an old interface lying around not doing anything, you can leverage the inputs to expand the connectivity of your current one without having to buy something pricier with more inputs. Some manufacturers allow you to connect multiple instances of the same interface together but where you have two different interface brands there’s usually a way around that.
Doing this is easier on Mac, because both Garageband and Logic allow you to select different devices as inputs. There's a built-in solution in Mac OS too, as the Audio MIDI setup menu will allow you to connect multiple hardware devices together if you’re using Pro Tools or a different DAW that doesn't have
Want all the hottest music and gear news, reviews, deals, features and more, direct to your inbox? Sign up here.
Windows users will require 3rd party software to do the same thing, you can use ASIO4ALL or VB-Audio Voicemeeter. Just configure the software for your chosen devices, select the software as the main audio input and you should be able to use the extra inputs.
Add a mixer
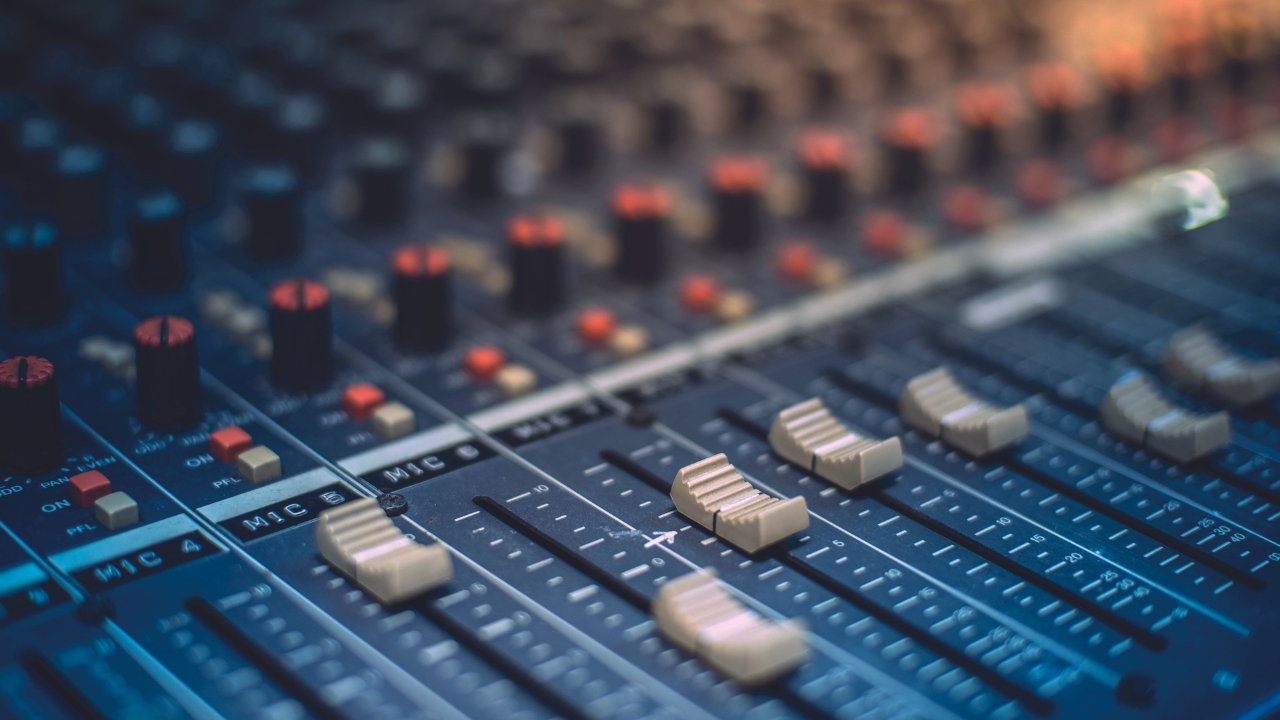
Suppose you’re not too fussed about recording multiple sources simultaneously, but still want the flexibility of not having to plug and unplug cables constantly. In that case, it’s a good idea to set up a mixer to run into your audio interface. This is common for users who have multiple synths or other instruments running more permanent setups.
To make it work you just need to hook the outputs of the mixer to the ins of your interface, then plug your instruments or mics into the mixer. You can then set your levels and then mute at will when you want to bring a different mic or instrument into the mix. You could even use this to combine instruments and effects at the same time for some extra gnarly sounds.
Use an amp modeller
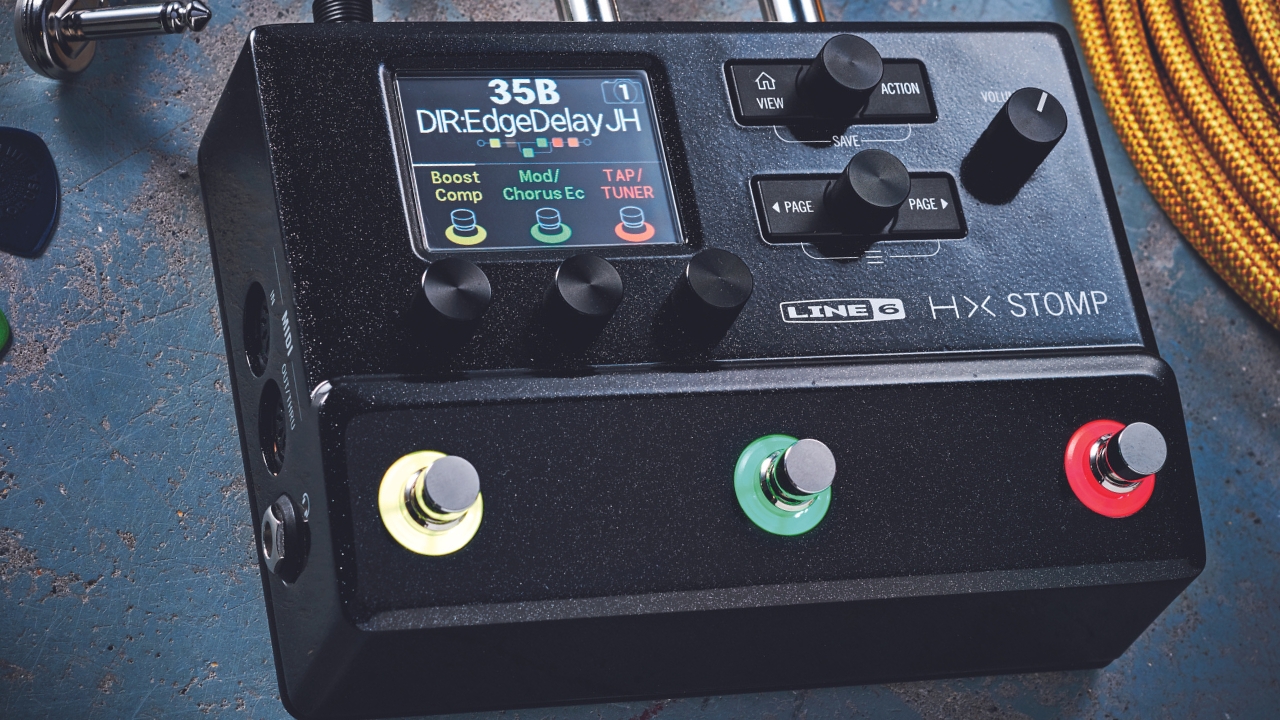
If you have an amp modeller, it doesn’t just need to stay on your guitar recordings. You can quite easily use it as a preamp for vocals, and synthesizers, adding effects on your signal path without having to invest in expensive outboard gear. Most amp modellers come with EQs, compressors, and boost pedal simulations that can enhance the tonal qualities of your sounds.
You could also do some reamping of synth plugins by routing the audio out from your interface and then feeding it back through the amp modeller and into your inputs. There are plenty of DAWs that make it super easy to feed signals out, so you can use this method with any effects you have lying around as outboard gear without spending loads.
Use loopback
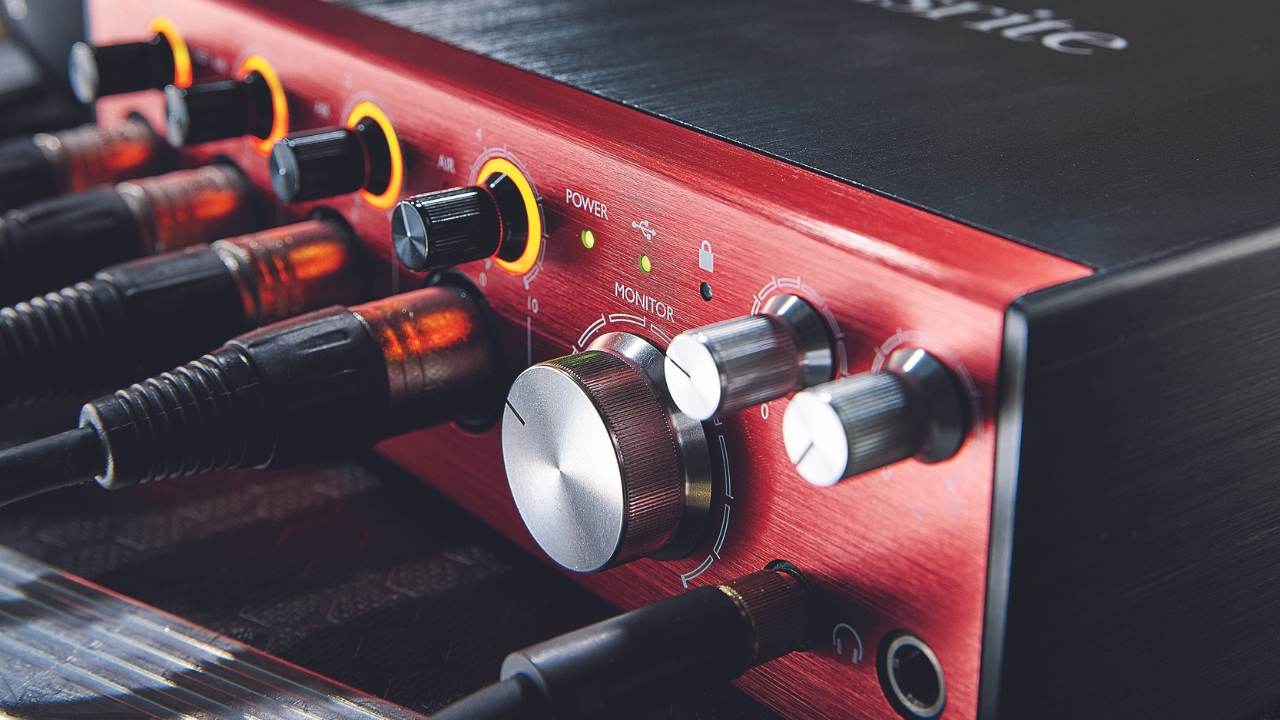
Loopback is all about routing internal audio signals from your computer to the inputs of your interface. With the rising popularity of streaming, many audio interfaces now feature this as standard, usually accessed via the companion app or software. You can also do it using third-party software if your interface doesn’t have it built in, again using ASIO4ALL or VB-Audio Voicemeeter.
Loopback allows you to take audio from other sources on your computer quickly and easily, routing them into your DAW. You could use it to capture royalty-free audio for sampling or to load in reference tracks to help improve your mix. If you’re into streaming or podcasting then there are multiple uses there too, from recording game audio to recording a podcast with a remote guest.
Use standalone mode
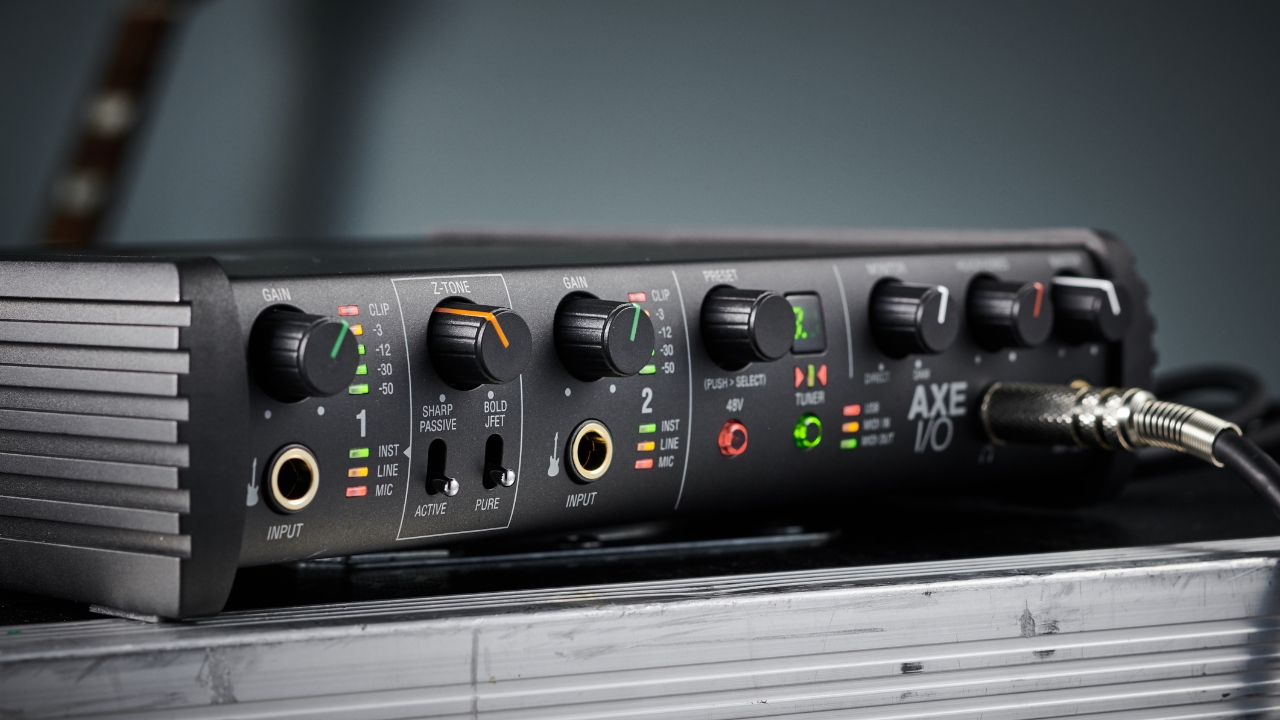
Many audio interfaces allow you to use them standalone minus the computer. Even if not connected via USB, an audio interface will typically remember its last settings, so you could potentially use it as a standalone mixer. Whether that’s just using it to play an instrument through your monitors without switching your computer on, or as a way of utilizing an interface as part of a live setup without having to bring your computer with you every time.
Of course, you’ll need a computer for the initial setup, but once this is done many interfaces will remember the settings for next time, provided you haven’t connected it to the computer again in the meantime. You can’t record like this, but you can use your interface as a preamp in a variety of scenarios in this way. It varies from interface to interface, but generally, you’ll need one with a dedicated power supply to run it this way.

Matt is a Junior Deals Writer here at MusicRadar. He regularly tests and reviews music gear with a focus on audio interfaces, studio headphones, studio monitors, and pretty much anything else recording-related. Matt worked in music retail for 5 years at Dawsons Music and Northwest Guitars and has written for various music sites, including Guitar World, Guitar Player, Guitar.com, Ultimate Guitar, and Thomann’s t.blog. A regularly gigging guitarist with over 20 years of experience playing live and producing bands, he's also an alumnus of Spirit Studios, where he studied studio engineering and music production. When not writing for MusicRadar, you'll find him making a racket with northern noise punks Never Better.