Create the famous wobble bass sound from scratch using Logic's ES2 synth, and get inspired to make your own new sounds
Recreate the sound that's beloved for its womp-womp and wallop
PLUGIN WEEK 2023: This tutorial is aimed at recreating the wobble synth bass that you’ve heard so many times in drum'n' bass and dubstep, but what we're going to walk you through for Plugin Week 2023 should also inspire the type of experimentation that will help you come up with your own unique sonic qualities.
After all, at some point the wobble was an innovation rather than a recreation. Experiment, understand the techniques, then go off and forge sounds of your own.
Although the wobble (or the wub, as some people called it in the ’90s) is thought to go back to the acid house scene, the first notable track that I remember hearing, in days gone by, that used the technique was 1999’s Flat Beat by Mr Oizo. (Amazingly, this track still feels exceptionally fresh in 2022).
Dubstep in the ’00s is pretty much synonymous with wobbles and growling synth bass so it’s interesting to see how the techniques evolved. But what’s next? It’s time to get your experimentation hat on!
Those who’ve followed my tutorials previously will know that I primarily use Logic, and for this I’m going to use the stock synth plugin ES2. However, there are core elements of the ES2 synth that match many synths, meaning that you may still be able to take a lot of the concepts from this tutorial even if Logic isn’t your DAW of choice.
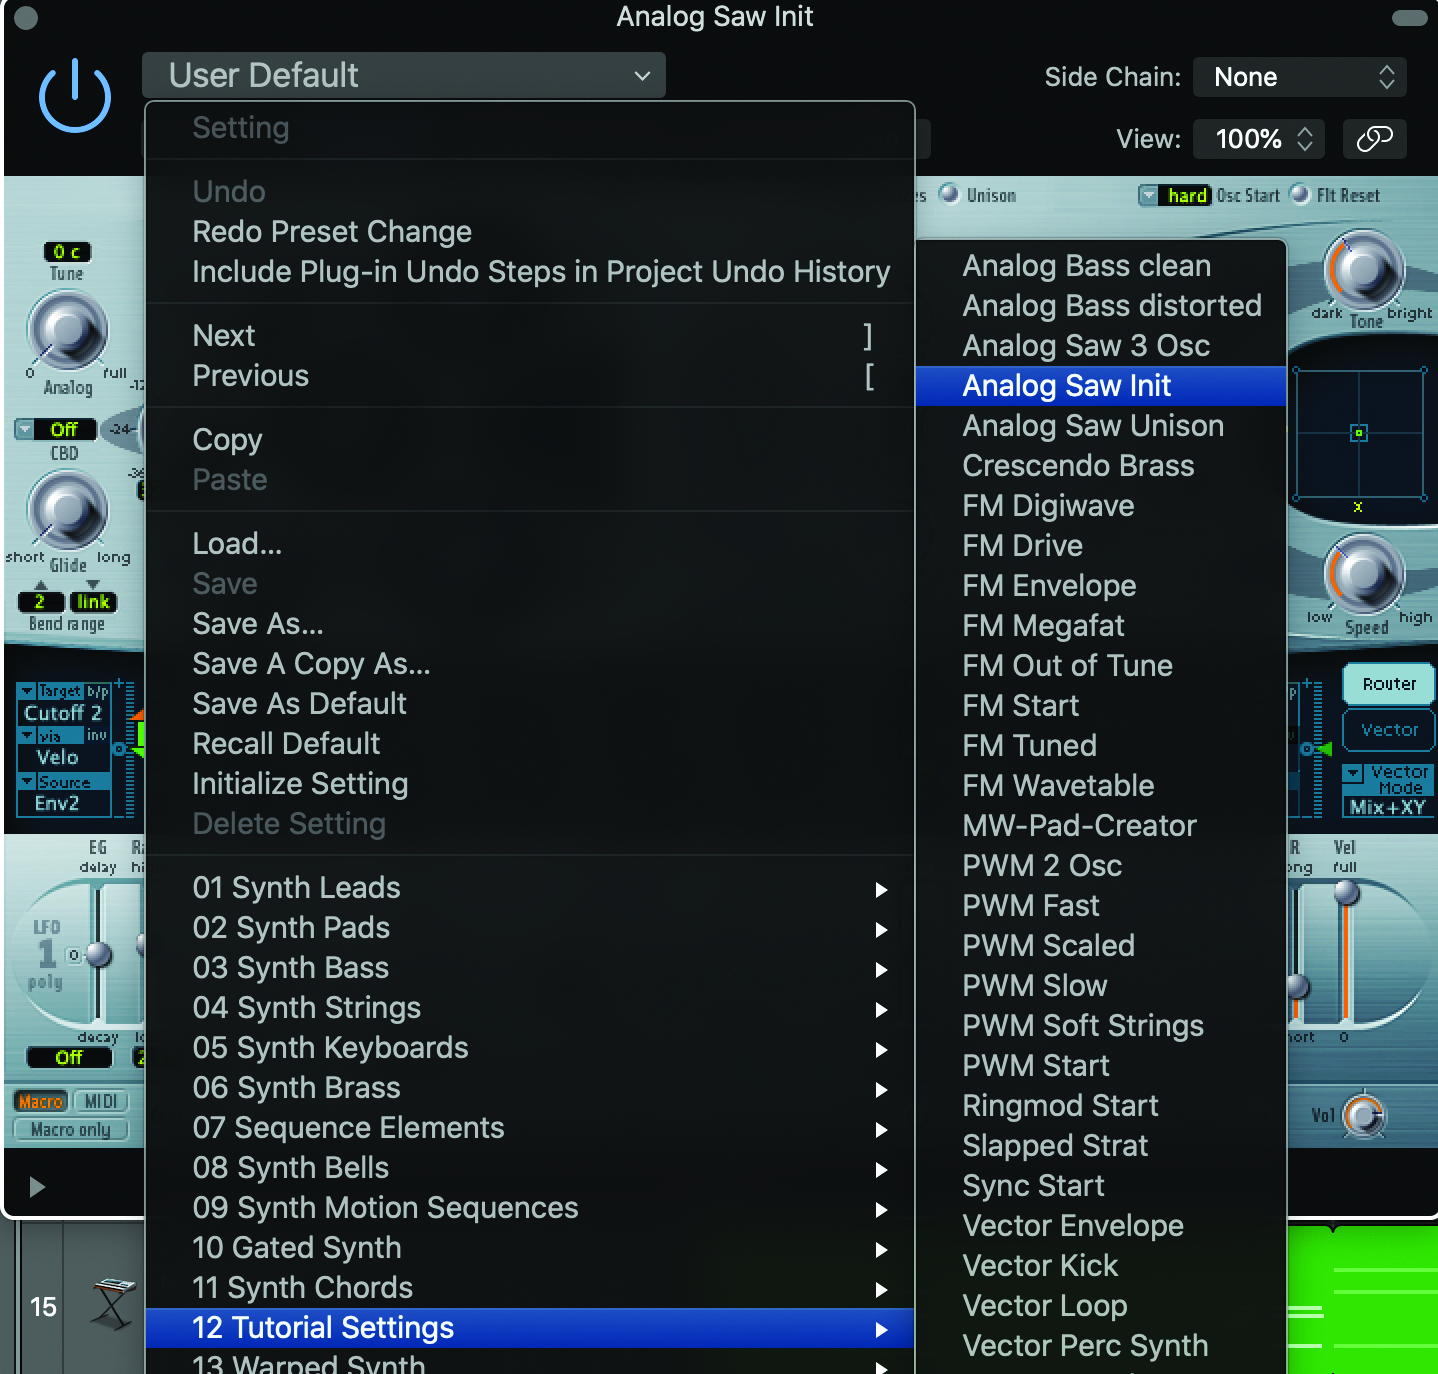
Step 1: Once you’ve opened Logic, add the ES2 plugin to an instrument channel. The default sound is not what we want here. So under the ‘User Default’ dropdown menu select ’12 Tutorial settings’ and then select ‘Analog Saw Initialized’. This basic sawtooth wave will be our foundation sound.
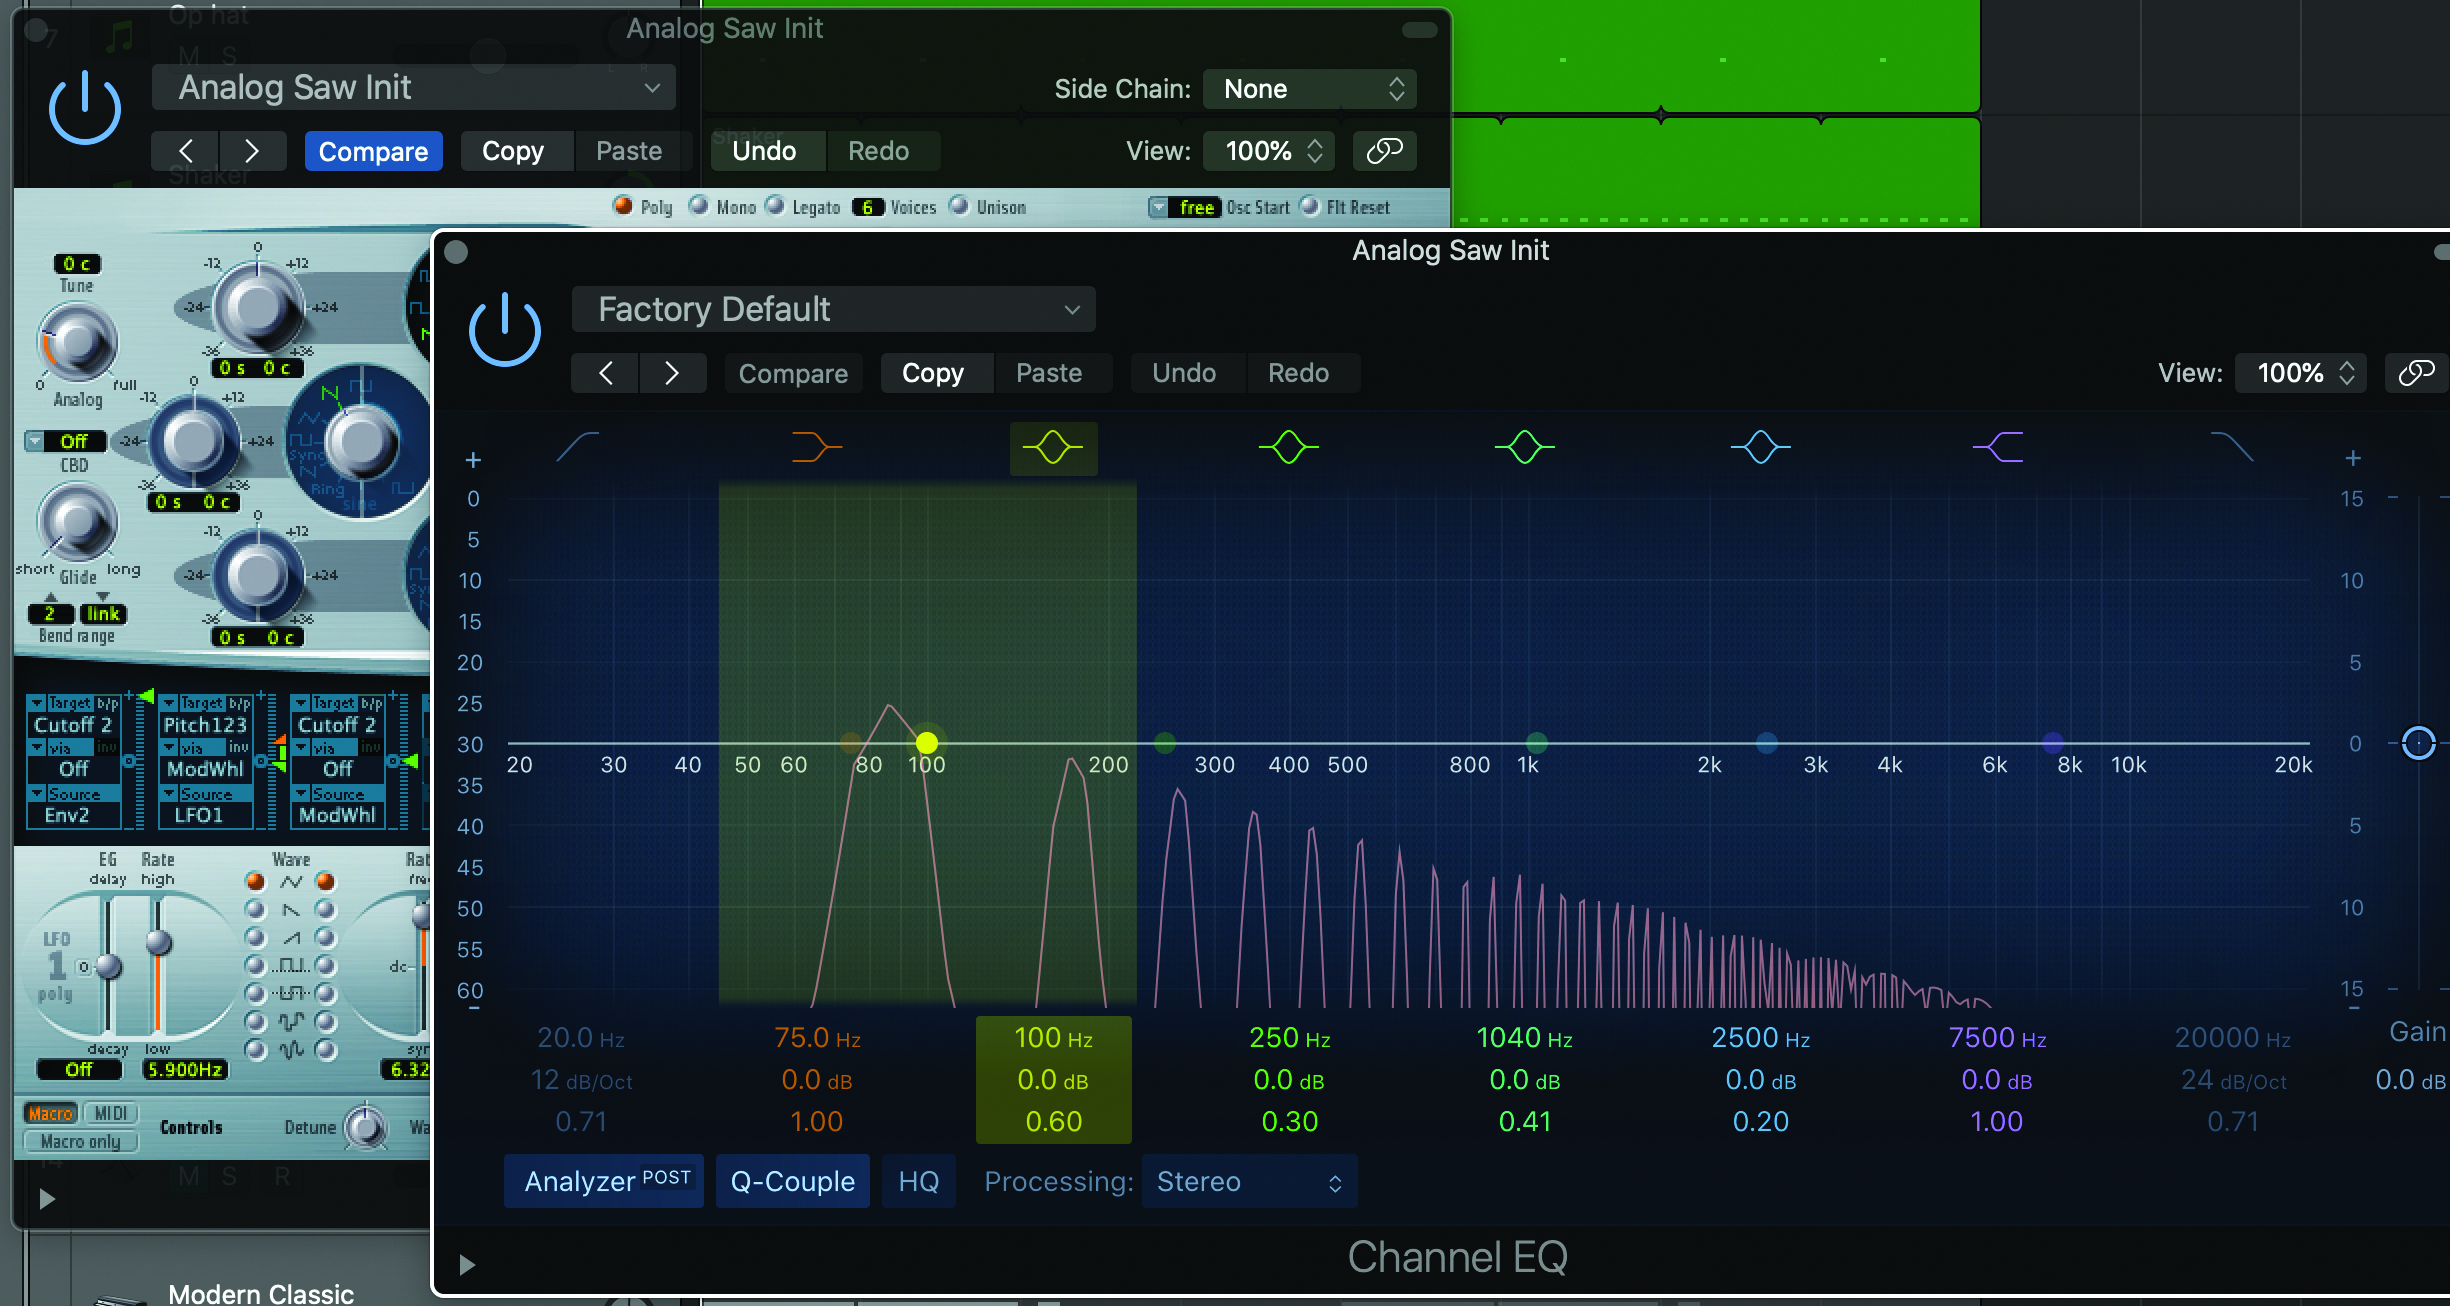
Step 2: Open up a channel EQ, hit a low note on your midi keyboard and take a look at the waveform of a sawtooth wave. You’ll visually see the progression of the harmonics on the frequency spectrum. Our job today is to alternately filter between the lower and higher harmonics to create the wobble.
Want all the hottest music and gear news, reviews, deals, features and more, direct to your inbox? Sign up here.
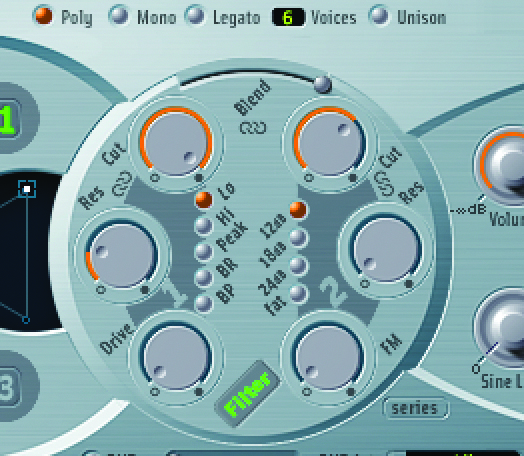
Step 3: The wobble effect is essentially making use of low pass filters to mask the higher frequencies in the synth sound we’ll create. In the filter pane of the ES2 synth (the circular dial with numbered sides 1 and sides 2) we’ll be using filter 2’s cutoff to achieve our goal.
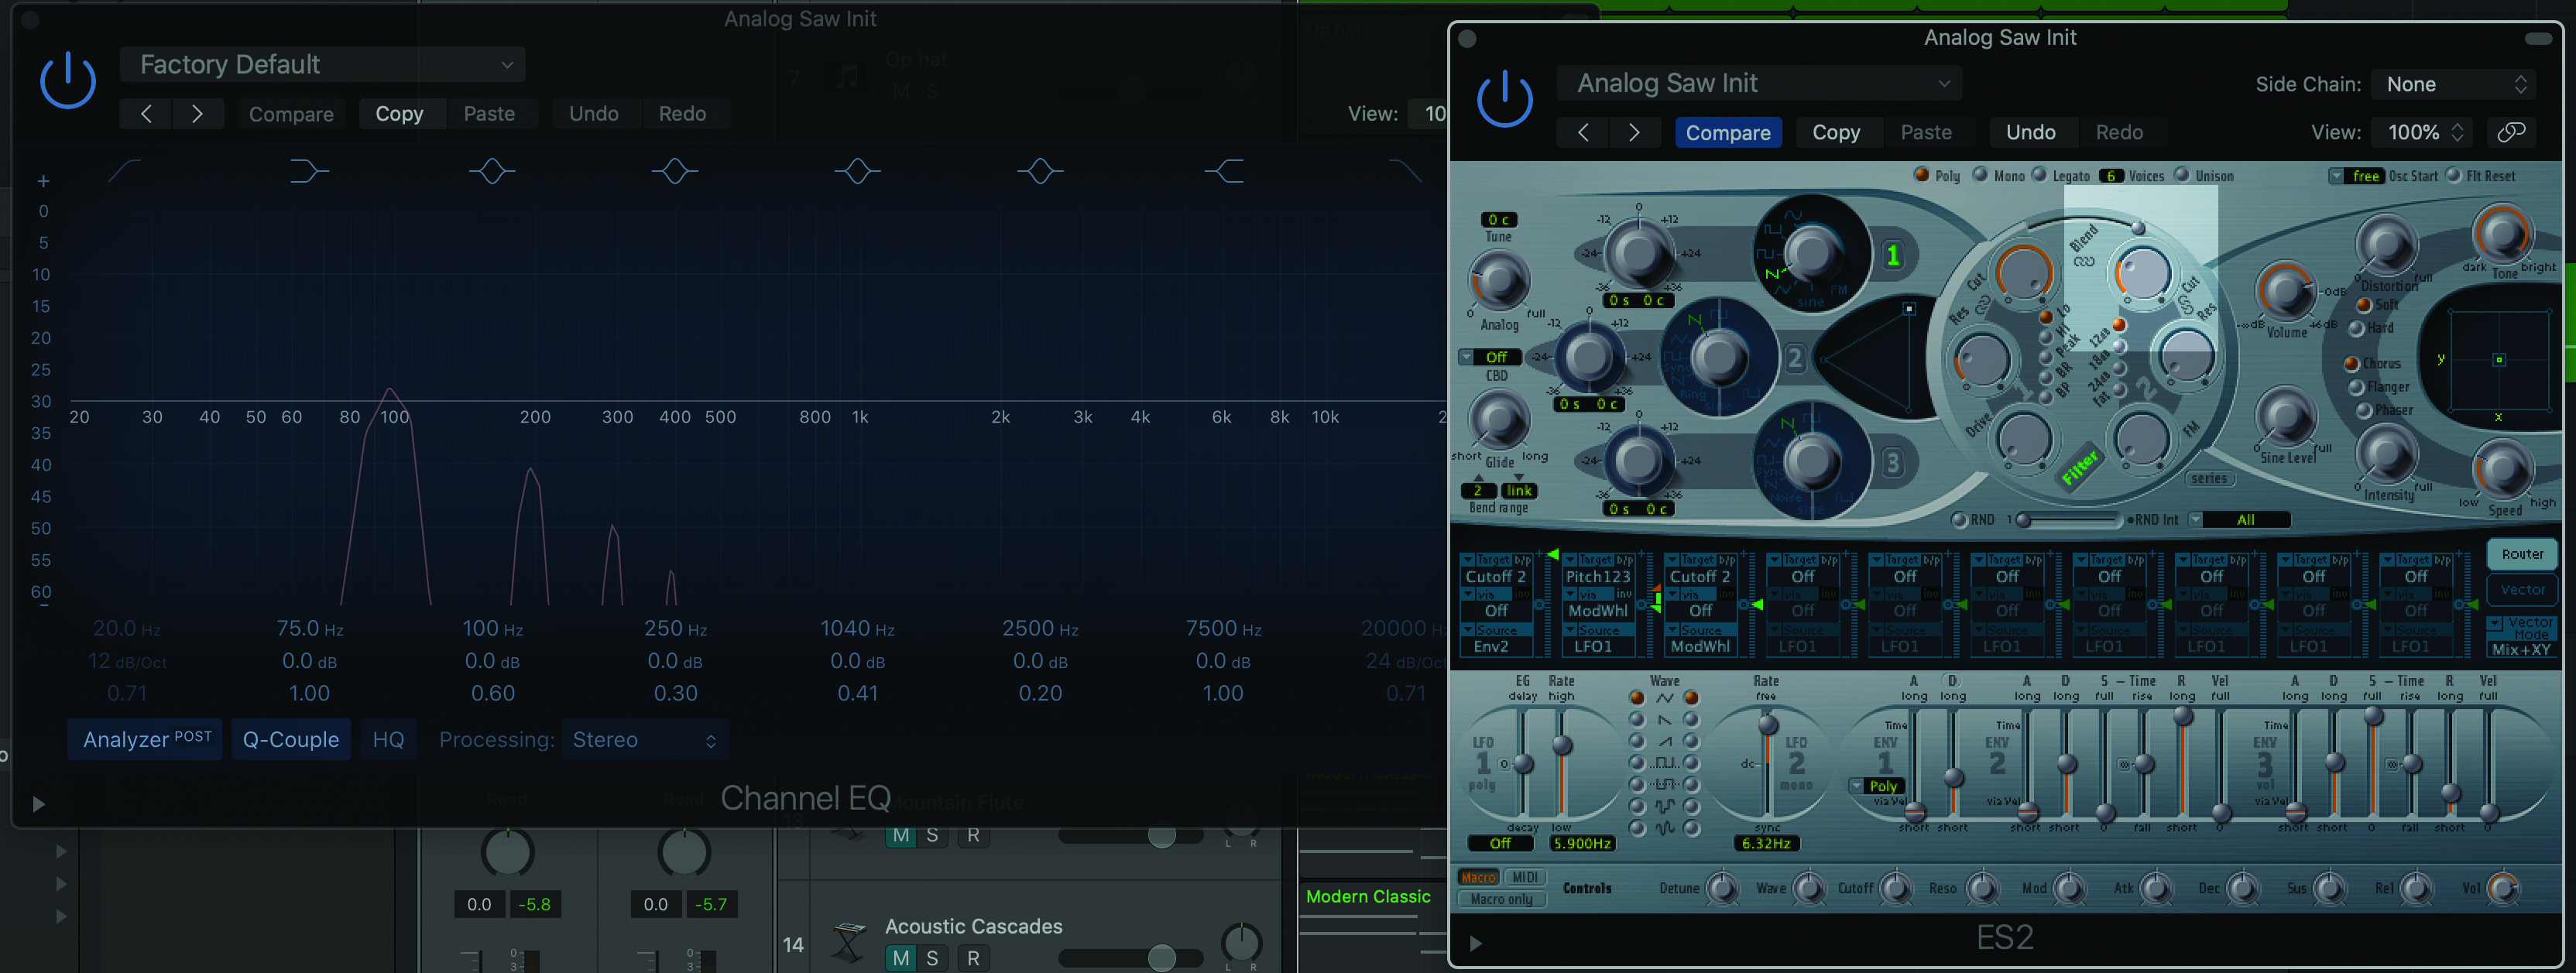
Step 4: If you, again, hold down a key on your MIDI keyboard, while turning the cutoff filter down too, you’ll hear the higher frequencies being masked and will see them disappear in real-time on your channel EQ. Push the cutoff back up and the higher frequencies will return.
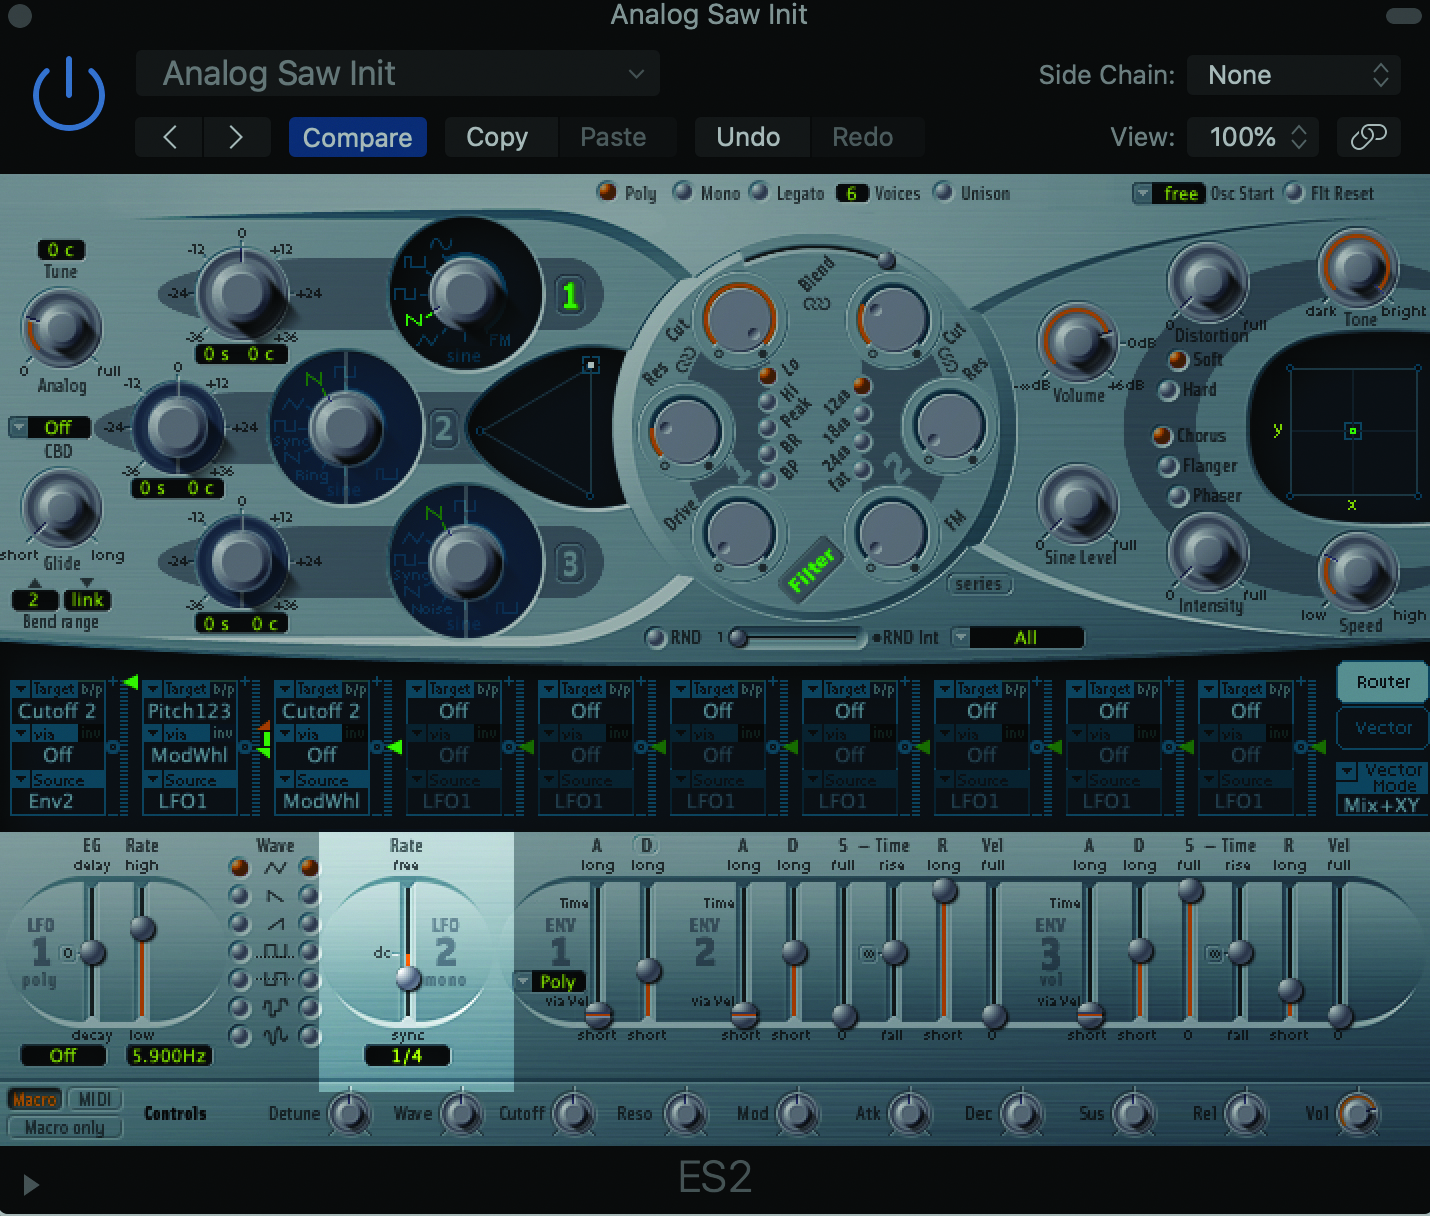
Step 5: The effect we’ll create is basically just a faster version of this to create the wobble sound! And of course we’ll automate it rather than doing it manually. We’re going to use an LFO (Low Frequency Oscillator) to essentially act as a remote control for the cutoff parameter.
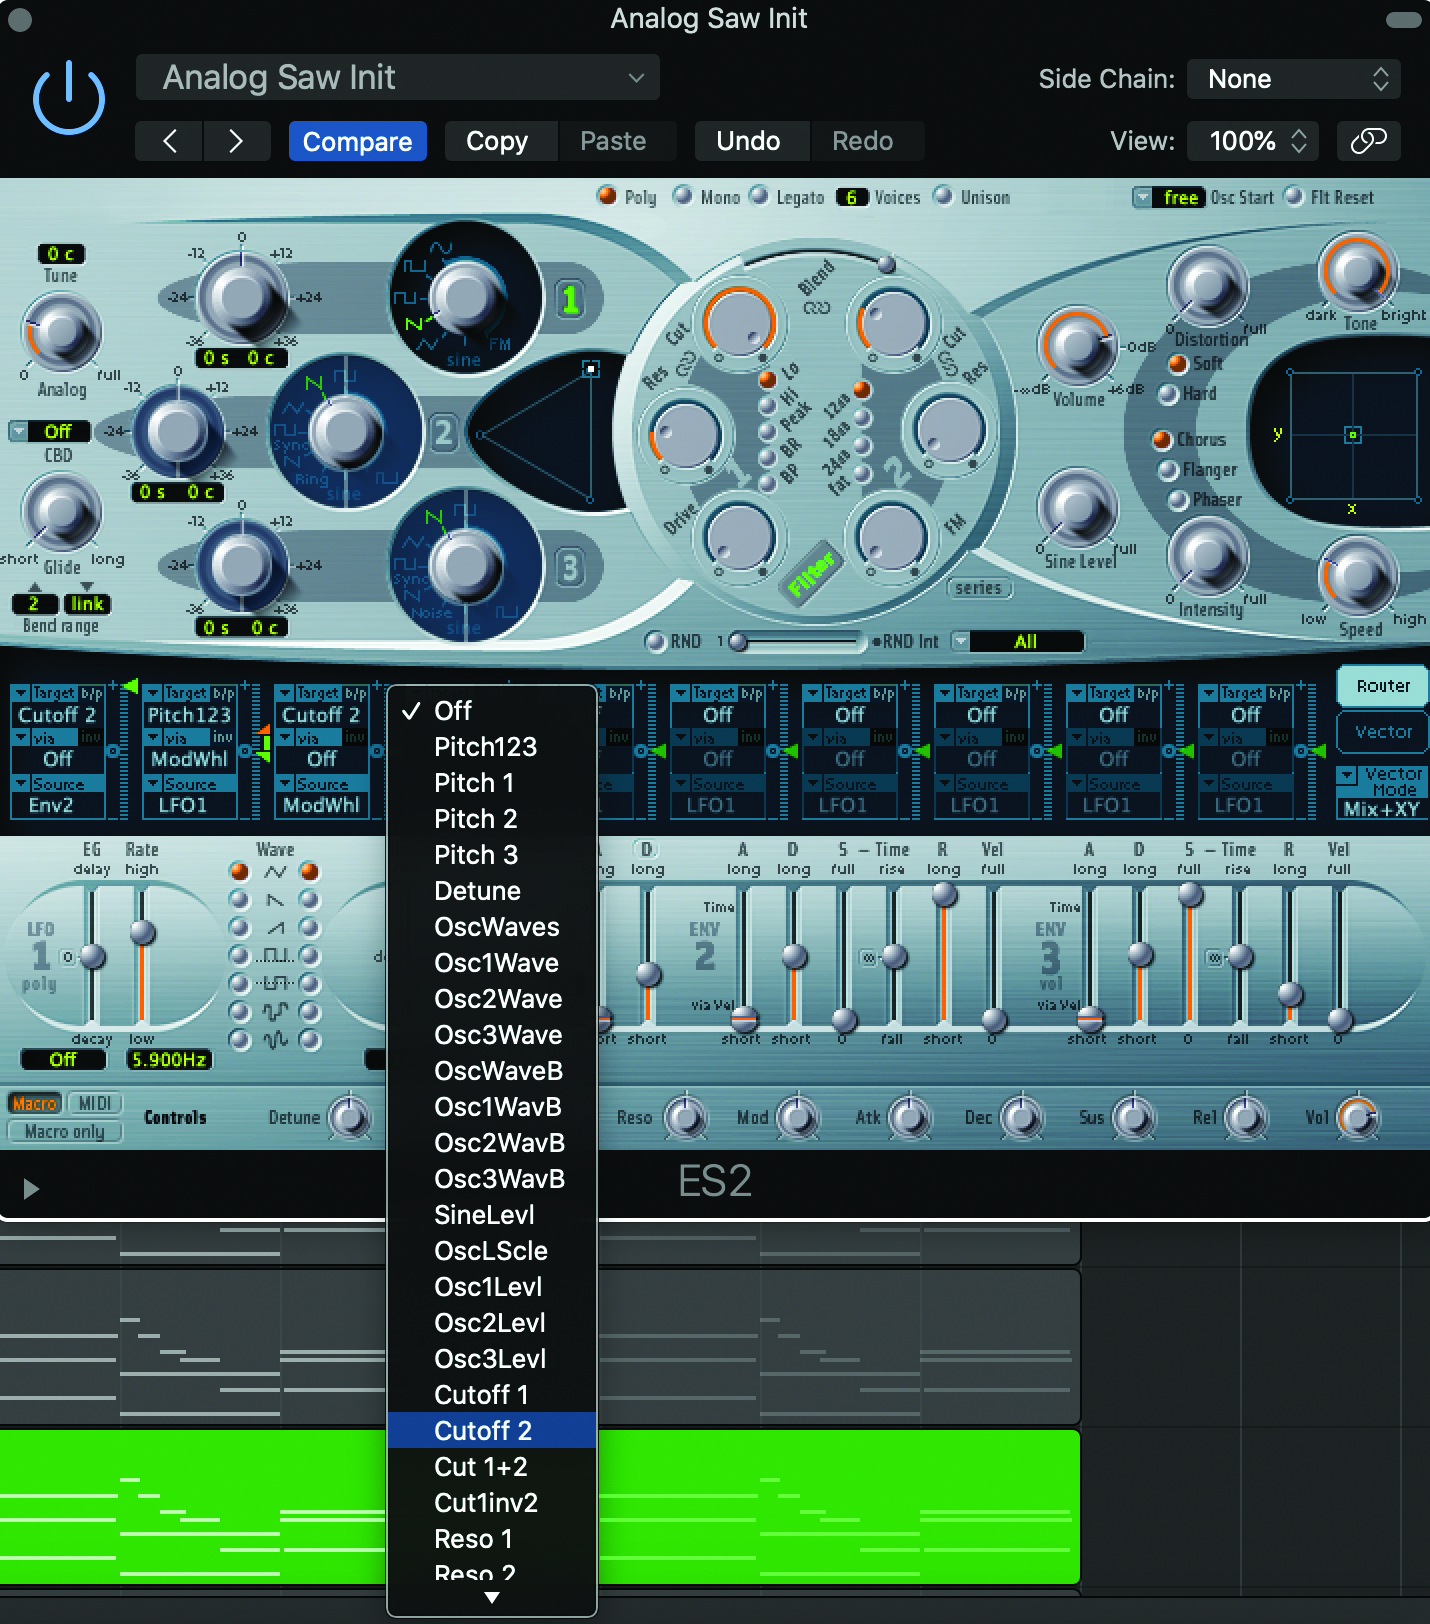
Step 6: Using LFO 2, you can set the oscillator rate by frequency but also, for our purposes, by grid type (grid 1/4 in my case). We then need to switch the LFO target from ‘Off’ to ‘Cutoff 2’ to ensure the LFO controls what we want it to.
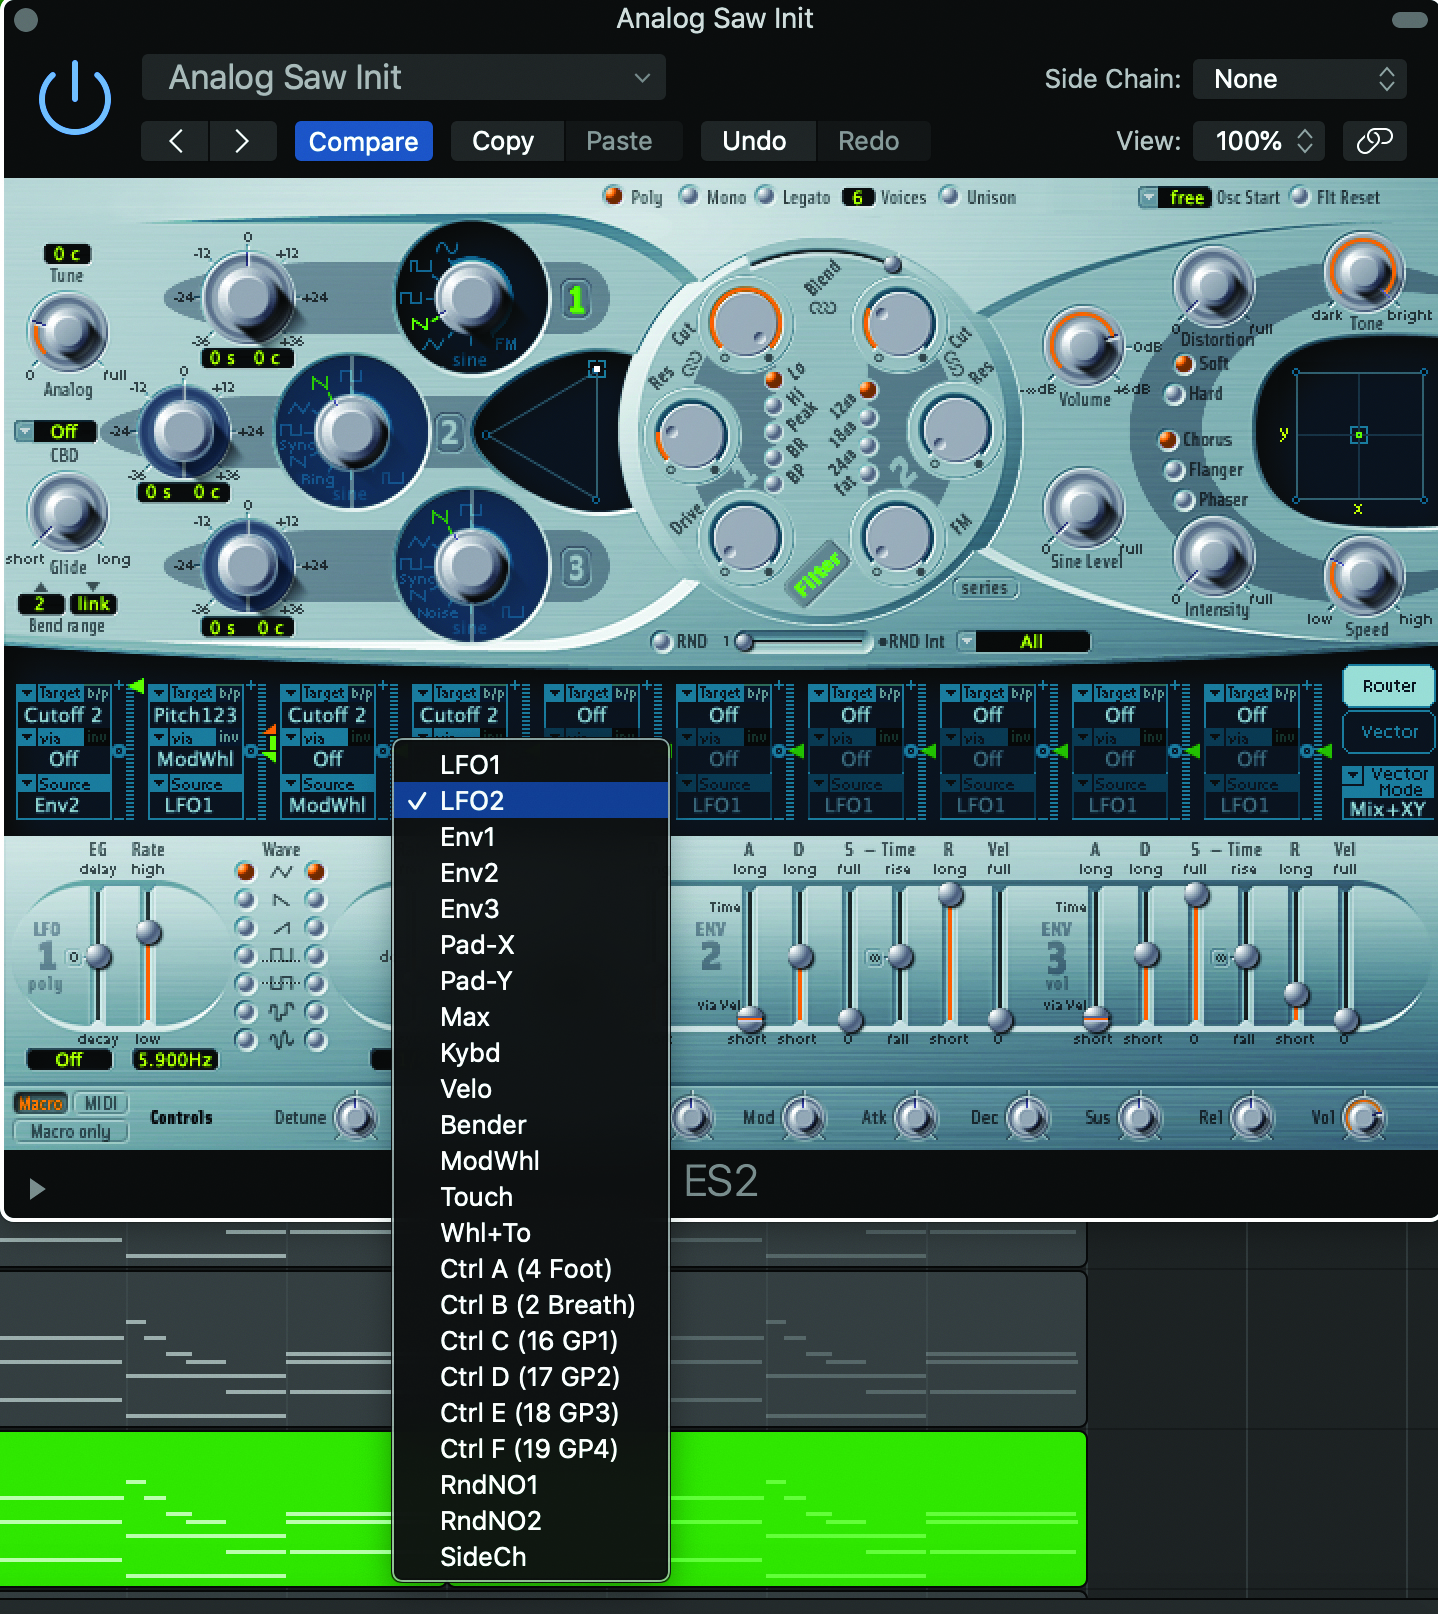
Step 7: After the target has been set correctly, change the source from ‘LFO 1’ to ‘LFO 2’. Then we get to the fun part! Raise the slider to the right of the LFO target and source parameters and this will change the amount by which the LFO will affect the cutoff.
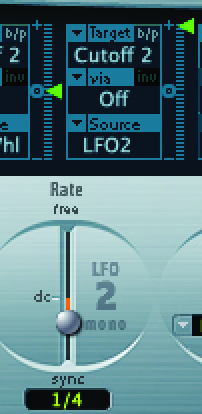
Step 8: You’ll now hear the LFO automatically shifting the cutoff filter. If you raise the slider to its highest point, it will maximise the effect. You can also adjust the ultimate range of the cutoff filter by going back to the filter pane.
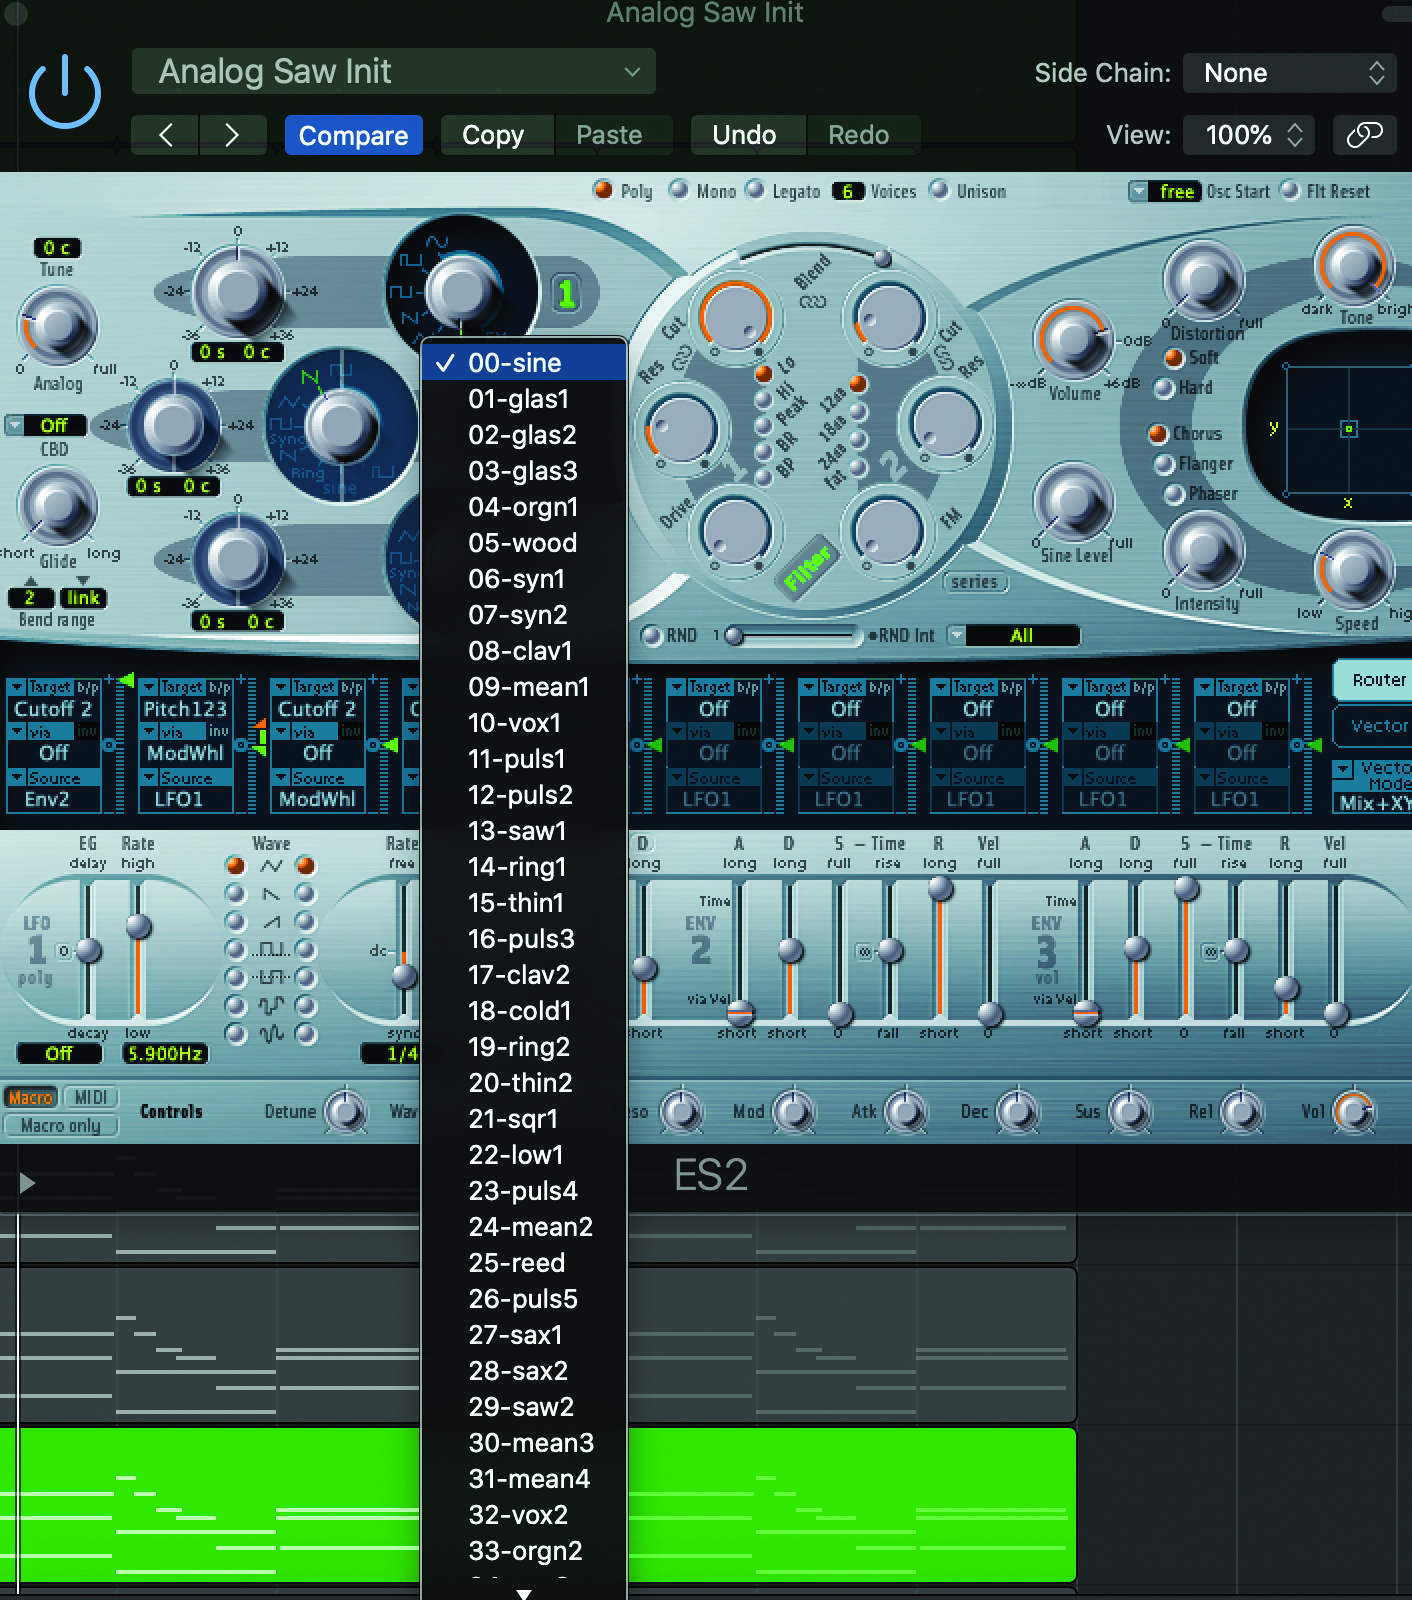
Step 9: That’s your basic wobble effect using a single type of sound wave. However, there is plenty of room for experimentation beyond the typical sound wave types. Let’s go back to Osc 1 and switch from sawtooth to sine wave. If we right click on sine, we’ll see a whole bunch of digi wave options to expand our palette of sound.
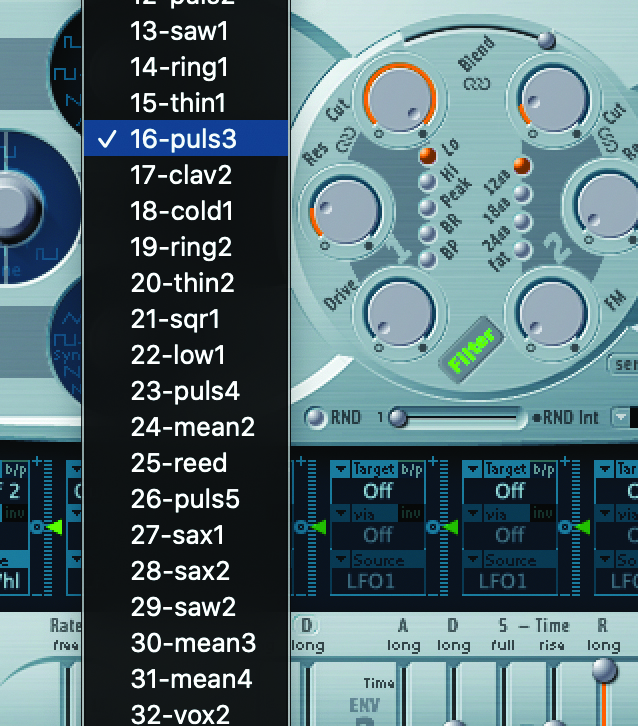
Step 10: If there are Massive users here, these options are very similar to the wavetables in that synth. They go over and beyond the simple sine, square, triangle and sawtooth waves giving your synth a whole lot more character.
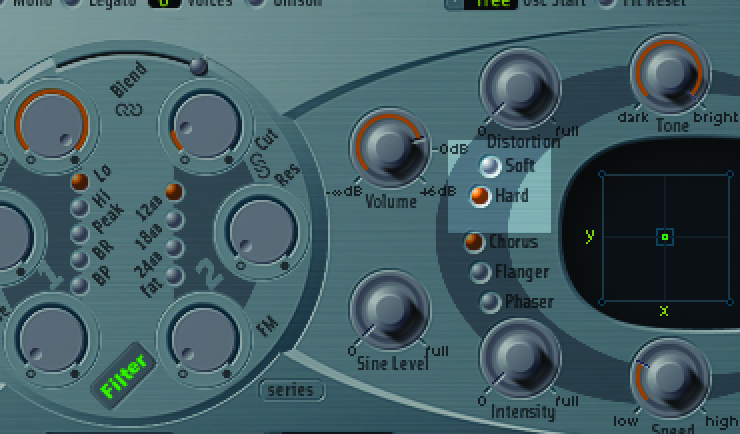
Step 11: To go even further with sound design, you can use the settings on the right pane of the synth. You can add distortion to the sound or make a sound hard rather than soft for example. I recommend just having a go at creating sounds and saving anything you like the sound of as a preset.
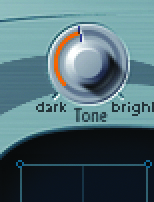
Step 12: You can also make the tone of the synth brighter or darker as fits the type of overall soundscape of the track you’re working on. All of this experimentation might inspire a new track immediately, or you might come back to presets you save at a later time when the right track comes along!
Tools of the trade...
Native Instruments Massive
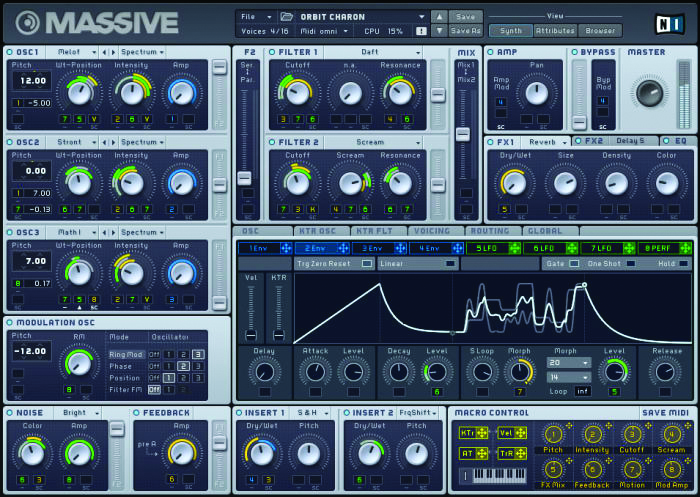
There’s a reason Massive is so popular. It’s a super broad wavetable synth that is incredible for musicians and sound designers alike. Native Instruments get a lot right in their array of programs, and Massive has been a sure-fire winner. While I’ve used the free tool that comes with Logic in this tutorial, for practitioners who want to expand further, I highly recommend trying this, or the plugin's older brother, Massive X.
Cableguys Shaperbox 2
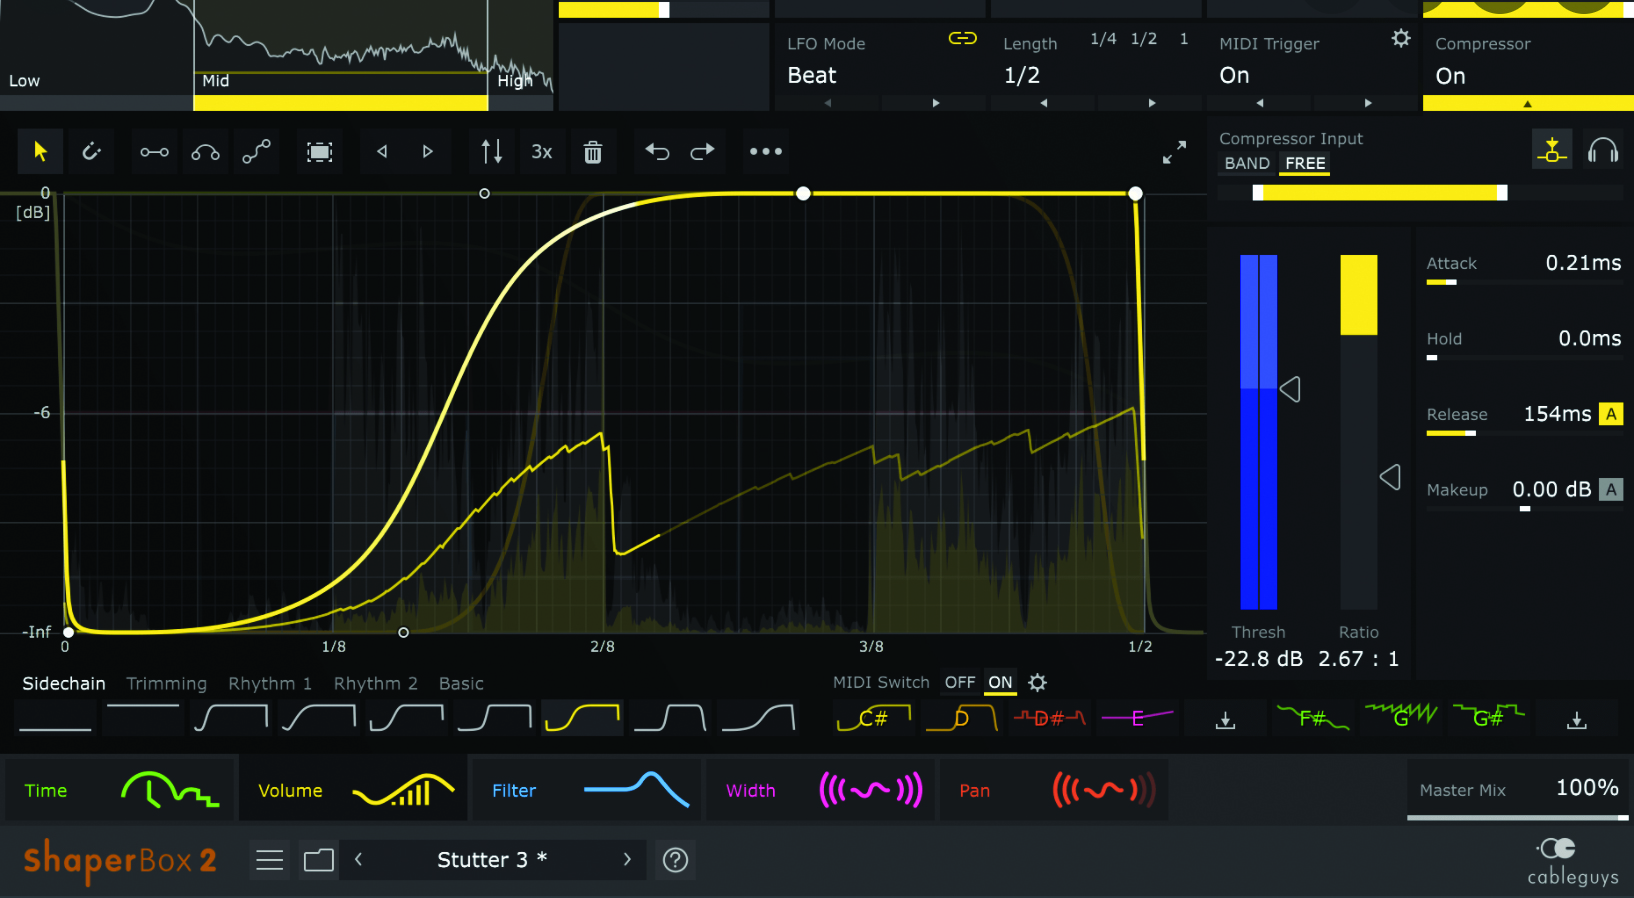
Since I left Windows and FL Studio for Apple and Logic Pro X many years ago, I’ve been looking for a tool that matches the inbuilt plugin Grossbeat. Finally I found something great for time effects, stutters, scratches, and filters in Cableguys ShaperBox 2. If you’re looking for creative bass experimentation then this is a great tool. I am a little bit in love with what I’ve been able to accomplish on a simple sine wave bass with minimal effort.
Ashley Thorpe (aka Breezewax) is a producer and musician who has created electronic music for over a decade. He typically uses a
mix of samples, field recordings, synthesis and live instrumentation in his work, which covers a variety of styles including hip-hop, chill-hop, neo-soul and RnB. He also works as a music facilitator and freelance audio engineer.
