There's a lot to consider when setting up a pair of studio monitors, beyond the speakers themselves and their basic positioning.
In this expansive guide, we've pulled together 11 proven tips, techniques and ideas for you to work through, with the ultimate goal of optimising the accuracy of what you hear in your mixing and mastering sessions.
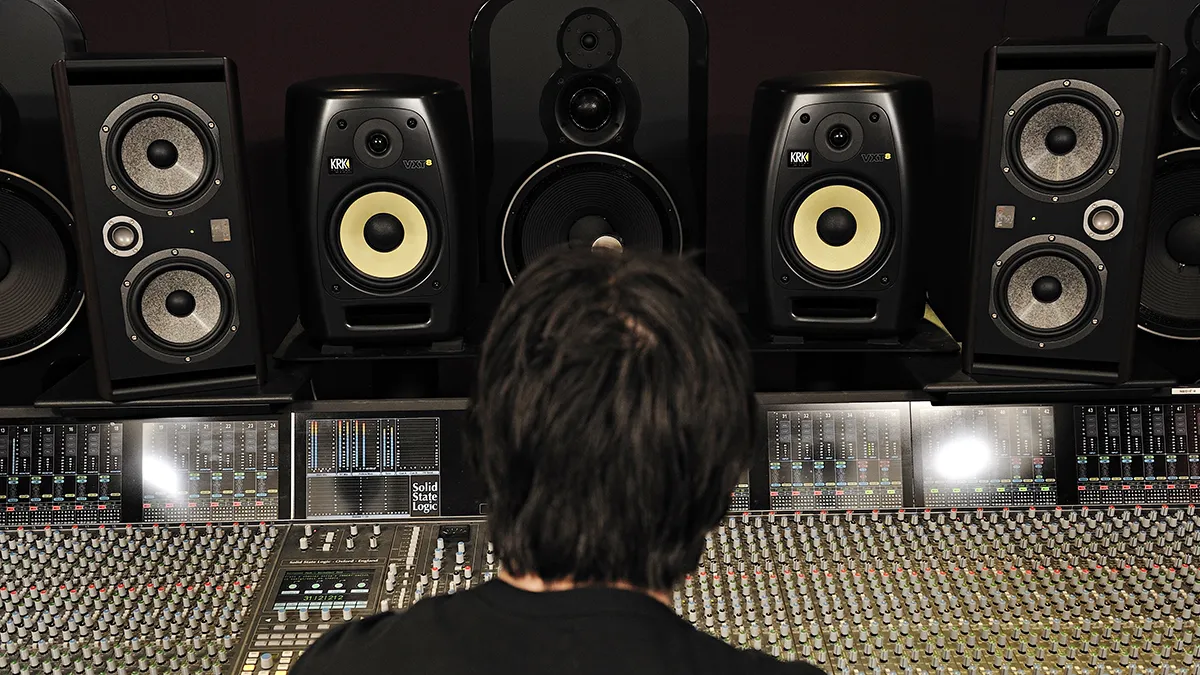
• The 10 best studio monitors: affordable to high-end speakers
Article continues below 
1. Use a second pair
Switching between different pairs of loudspeakers can be both revealing and confusing, and we’re certainly not advising you to spend all day flipping between two. But having another pair of monitors on hand can give a different perspective, shedding a new light on a mix every so often.
2. Monitoring levels
It’s easy to blame our equipment or room for failing to deliver, but our own behaviour is often to blame. Keep your monitoring level reasonable and consistent the majority of the time, but don’t forget to check the mix at low levels - particularly helpful when trying to fine-tune the balance of lead instruments and voices - and at high levels, to hear how your track sounds on a much bigger scale.
Also, for a real ‘club’ perspective on the mix, try cranking the master level right up, then listen from another room in your house!
3. Calculation mode
Use room mode calculator software to establish which frequencies could be problematic in your specific space. Enter the dimensions of your room and the calculator will list the frequencies that should be problematic and how strong those modes will be. Even if you can’t resolve these issues completely, at least you’ll know what frequencies to look out for.
4. Reference on a small device
Pro mix engineers like to check their tracks on small, radio-style monitors such as Auratones (aka ‘Horrortones’) to make sure the mix translates properly on smaller systems. As tablets and smartphones are now the primary playback devices for many people, make sure your mix sounds good - no, great! - on puny speakers as well as monitors!

5. Get a room correction plugin
If you're in a particularly tricky studio, such as a small, square room or an L-shaped space, it could be worth investing in a room correction plugin. Options such as IK Multimedia’s ARC 3 and Sonarworks Reference Speaker are sold as complete kits including a proper calibration mic, so you can’t go far wrong.
6. Be aware of desktop comb filtering
Most of us don’t have an open space in front of our monitors, and at best there’ll be a clear desktop. This creates additional reflections and further potential peaks and troughs at the listening position. One solution is to raise the monitors slightly - even 10cm can be helpful.
7. Extreme measures
If you’ve followed our advice on setting up your listening position, you should be reaching for a tape measure and actually mapping it out. Don’t forget to include the ceiling-to-floor measurement in this as well.
8. Furniture as room treatments
If you empty out your room with a view to treating it from scratch with panels and bass traps, you’ll have created a surprisingly reverberant space. Furniture, carpets and curtains all absorb sound, and shelves help to diffuse sound. Often it’s better to leave these in the room and add panels to fine-tune things.

9. Build your own panels
If you have time on your hands, building basic broadband panels and bass traps is quite straightforward and uses widely available building materials. Rockwool inside a basic frame covered in sound-transparent fabric is the preferred method. Opt for denser Rockwool (80 or 100kg/m3) as it’s reasonably rigid, so your frame can be more lightweight.
10. Test your room
Although room dimensions can reveal the theoretical modes, testing the space will reveal its actual behaviour. Room EQ Wizard is a donationware application for Mac and PC, and all you need to add is an omnidirectional mic. The resultant frequency, waterfall and energy/time curve plots can then be used to assess problems.
11. Get an SPL meter
Monitoring for long periods at high levels is counterproductive for mixing and balance judgement, and damages your hearing. There are now plenty of apps capable of measure sounds levels (SPL) quite competently. The government recommended workplace level is 85dB SPL or below at your ears, although we think you’ll find continuous exposure at this level pretty tiring.
