

Unlike electric guitar, where 'direct inject' Hi-Z audio inputs can give you a clean, perfect signal every time, recording a picked acoustic guitar - where a microphone is required - requires a little more care and effort.
Nevertheless, by following our simple guide below you too can make perfect recordings of your playing.
Here, in three simple steps, is how to do it.

Step 1: Acoustic guitar picking can be very quiet, so you'll need a high mic gain - that is to say turning the mic input up loud. That means you'll need a very quiet recording space, so keep those windows and doors shut.
For acoustic guitar, use either a small or large capsule cardioid condenser microphone as they're perfect for both the sound levels and the tone of an acoustic guitar.
And for a balanced sound, avoid pointing your mic directly at the guitar's sound hole and instead aim the mic directly at the point where the neck joins the body.
Start with the mic about 30cm away from the guitar and make an initial test recording.
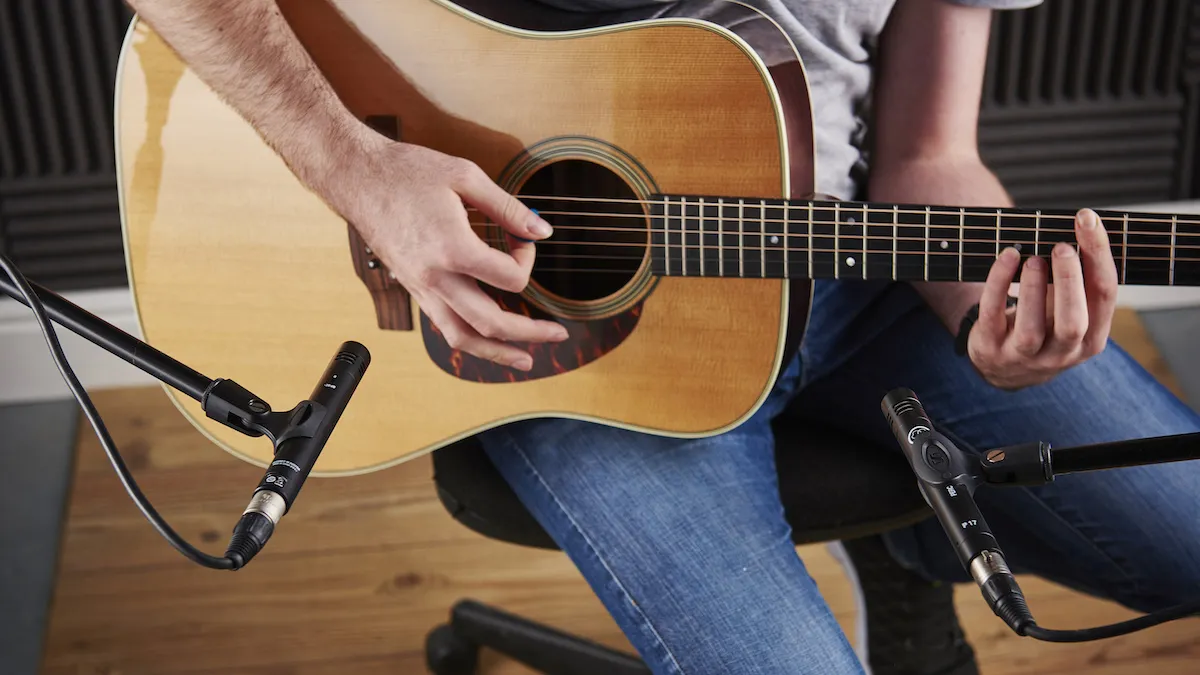
Step 2: Listen back to your test and decide on the tonal and room balance you’re after. To adjust the amount of sound captured, move the mic nearer to or further from the guitar.
At about a metre away from the guitar you’ll really notice the room. This might be a good thing. A 'lively' room gives you a more organic, natural sound that feels like the player is right in the room with you while you listen.
Alternatively you may want a close, 'perfect' recording that you can perhaps tweak and enhance with delay, chorus and reverb later. If that's the case move your mic closer to the guitar in order to block out the sound of the room around it.
Finally, to adjust tonal balance (how harsh, bright, dark your playing sounds) you can angle the mic up towards the low strings or down towards the high strings to enhance or mute the tones you want.

Step 3: The mic position on an acoustic - particularly if you're very close up - is very sensitive to changes, so encourage the guitarist not to move when playing.
The creaking of a guitar moving on a player's knee or the slipping and sliding of a guitar strap can ruin the magic so encourage your player to be as still and consistent as possible. Unless you're going for a rickety, DIY-type sound of course.
Things like watches and jewellery are a complete no go zone… Make sure you, or your player, take them off first.
Try to capture all your takes in one go, as reseating in exactly the same position for exactly the same sound will prove nigh on impossible.
For that reason then, it's advised you only end a recording session when you've got ALL the takes you need.
