How to make a Justice-style bass sound
A free route to their mighty low-end

Justice´s throbbing bass is one of the duo´s signature sounds - it can be heard throughout their debut album ‘Cross´. We´re going to show you how to create something similar on your Mac or PC, and we´ll be doing it in a piece of software that you can download for free.
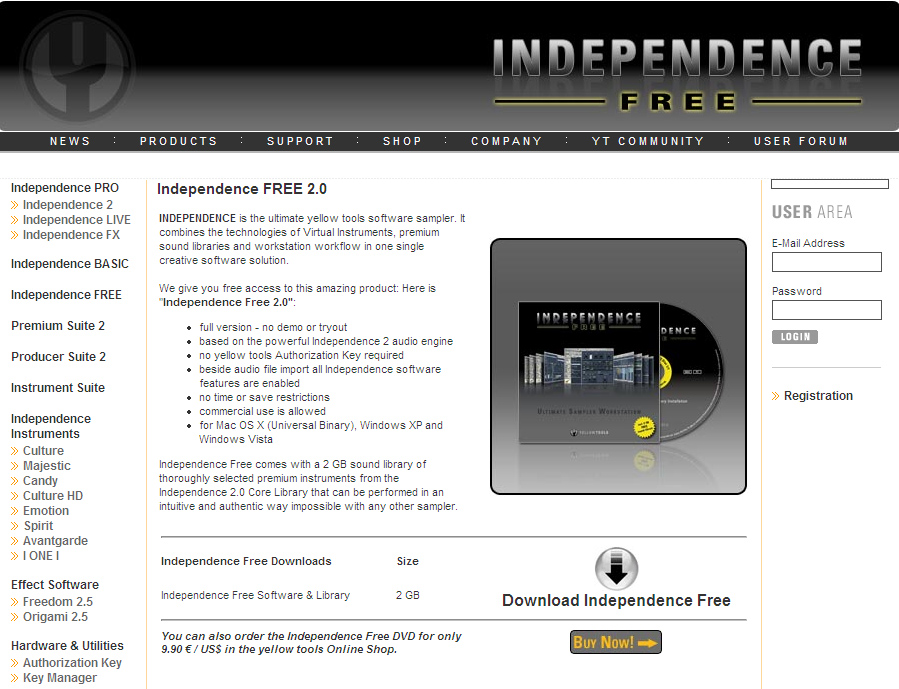
Step 1: French electro-funksters Justice like to use the bass sound that comes supplied with the Akai S2000 sampler, run through a ton of distortion and other effects. If you haven´t already, download and install Independence Free from the Yellow Tools website. It´s a pretty big download (2GB), but well worth getting.
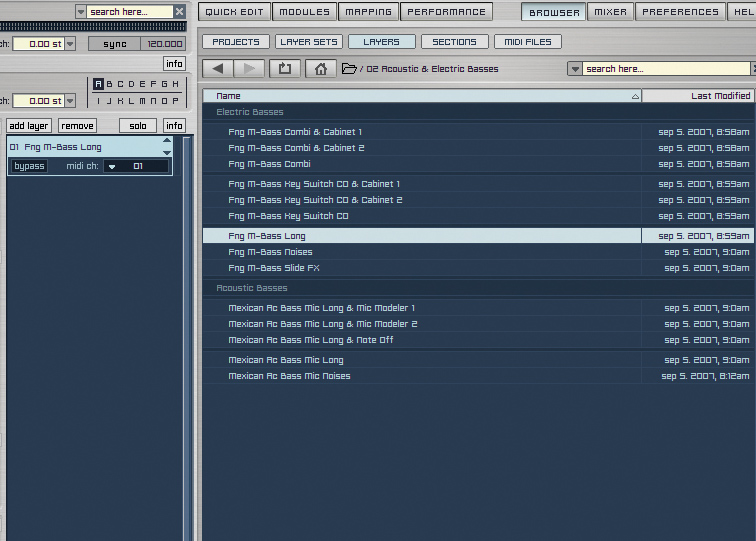
Step 2: Once you´ve installed the software and library sounds, open Independence Free in your plug-in host and load the Independence Free - Instruments/02 Acoustic and Electric Basses/Fng M_Bass Long patch from the Browser page.
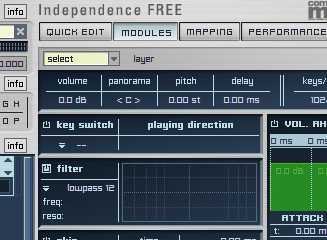
Step 3: This gives us a vanilla electric bass that we can mess with. While this raw sound has plenty of low end (pretty essential in a bass sound), it doesn´t have the crunchy funky mids and tops that the Justice bass sound has. However, we can use Independence Free´s effects to bring out that sound. Click the Modules button.
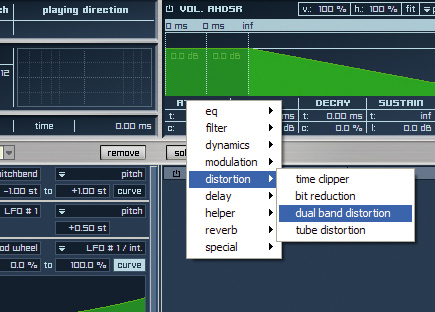
Step 4: Click the Insert FX button on the right-hand side of the interface. Now you can access Independence Free´s built-in library of effects and order them however you like - useful when sculpting a bass guitar sound such as this. Click Add Insert FX and select Distortion»Dual Band Distortion.
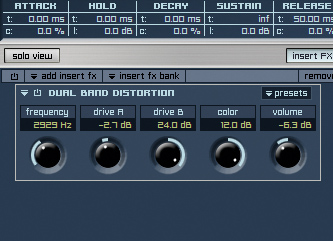
Step 5: Dual Band Distortion is particularly useful for bass sounds, with its filter and two distortion effects working in parallel. We´re going to concentrate on the mids and highs at the moment, so set the Frequency to about 3000Hz, and the rest of the controls as shown above.
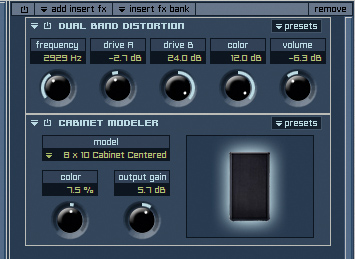
Step 6: To get a rocking tone, add the Cabinet Modeller, using the same settings as we have here. This should be placed after the Dual Band Distortion in the signal chain, which means it will appear below that effect in Independence Free´s interface, as shown.
Want all the hottest music and gear news, reviews, deals, features and more, direct to your inbox? Sign up here.
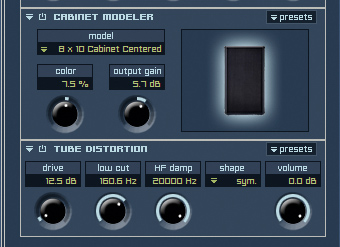
Step 7: Depending on the exact sound you´re after, you can also add the Tube Distortion effect, which brings out the mid-range of the sound, but also sucks out some bass. Copy the settings shown above, then try the patch with and without the effect - the power button bypasses the distortion.
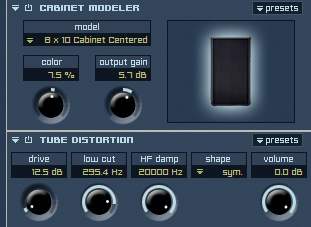
Step 8: The Low cut knob on the Tube Distortion has a radical affect on the timbre of the sound. You may actually find you get a more satisfying tone with a higher setting, as this stops the prominent lows from getting distorted and grungy. Remember, you can always layer the part with the unprocessed patch to get some solid lows back.
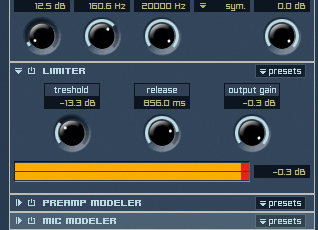
Step 9: Finally, let´s tame those peaks with Independence Free´s built-in Limiter. Longer Release times and lower Threshold settings make for a smoother sound. If you´re still not happy with the tone, try adding the Preamp Modeller and Mic Modeller from the Special section of the effects menu.
Computer Music magazine is the world’s best selling publication dedicated solely to making great music with your Mac or PC computer. Each issue it brings its lucky readers the best in cutting-edge tutorials, need-to-know, expert software reviews and even all the tools you actually need to make great music today, courtesy of our legendary CM Plugin Suite.

