6 tips for a great monitoring setup
Speaker placement, acoustic considerations and more

It's often said that bedroom musicians are more prone to neglect their monitoring setup than any other part of their studio, but that's only because it's true. However, the bottom line is that you can't expect to produce great mixes if you're not listening to them in the right way.
If you want to make sure that your monitoring environment is as good as it needs to be, read on…
1. Listen before you buy
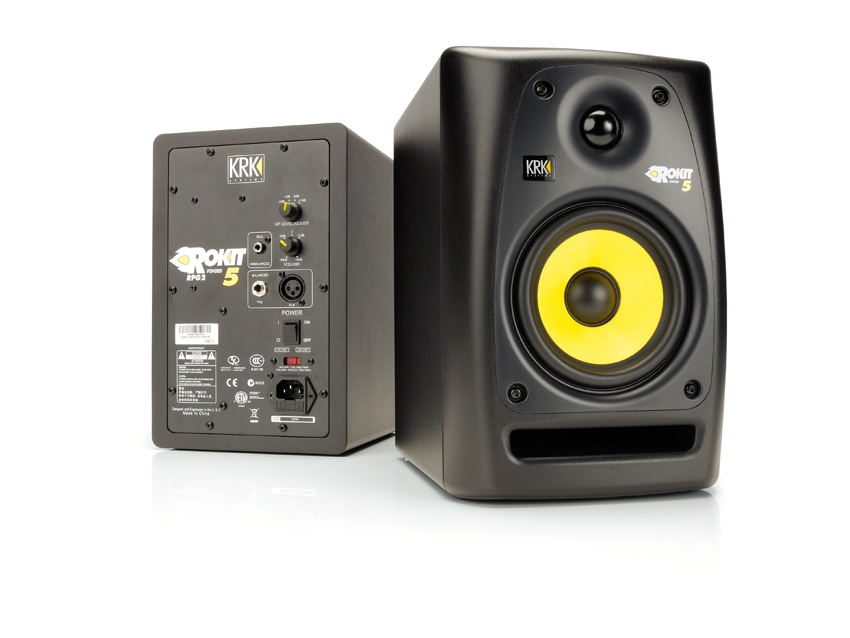
Unless you really have no other option, you should never buy monitors without hearing them first. You can probably listen to those you're interested in at your local dealer. Take along some CDs that you're familiar with and see which monitors are the most revealing - you're not necessarily looking for a 'nice' sound but a truthful one.
Some dealers will let you lay down a deposit as security and take them home to try - speakers that sound great in the shop's demo room may sound poor in yours due to differences in room acoustics, and vice versa. This also gives you the chance to make music with them rather than merely listen to other people's.
2. Give them the finger
If your monitors are having trouble reproducing the bottom end of your mixes, try placing a finger lightly on the edge of the woofer cone to feel the vibrations, or take DnB producer Sub Focus's tip of temporarily placing a low-pass filter on the master bus, so that only bass is audible. Quality headphones with a decent bass extension are also useful as a back-up.
3. Tweak with EQ
IK Multimedia's ARC System and KRK's ERGO automatically compensate for wonky room/speaker responses, but you can make manual corrections using plain old EQ (although note that ARC, for instance, is more than just EQ, as it corrects time-domain issues too). The usual method is to play pink noise (filtered white noise with equal power in each octave) through each speaker in turn, using a flat-response measurement mic at the listening spot and a frequency analyser (eg, Voxengo's freeware SPAN) to spot troughs and peaks. These can be compensated for with a stereo EQ on the master bus of your DAW.
4. Don't throw things away
Keep the packaging for your monitors in case you ever need to transport them. And don't bin the manual, as it probably contains useful specs and tips on how to get the best performance from them.
Want all the hottest music and gear news, reviews, deals, features and more, direct to your inbox? Sign up here.
5. Use acoustic tiles
Kits of acoustic tiles (to diffuse high frequencies) and bass traps can be found at Advanced Acoustics and Studiospares. A typical strategy is to place tiling on the rear wall (behind you), and a cluster on each side wall. Have a friend place a mirror flat against a side wall while you sit at the listening position - have them move the mirror until you see the speakers reflected in it. That's the point where sound waves are bounced back at you, so put some tiles there.
6. Thing about positioning
Your monitors should be placed symmetrically (left-to-right) within the room, to give a similar sound for each speaker. In a rectangular room, it's best to use the longest dimension for the front-to-back aspect, as using the shorter one will make rear-wall reflections and bass response more pronounced/skewed. And of course, you shouldn't place anything directly between yourself and the speakers!
Computer Music magazine is the world’s best selling publication dedicated solely to making great music with your Mac or PC computer. Each issue it brings its lucky readers the best in cutting-edge tutorials, need-to-know, expert software reviews and even all the tools you actually need to make great music today, courtesy of our legendary CM Plugin Suite.
