
The kick and snare drums in a track are typically the most dynamic sounds in the mix, and not only define the rhythm of the piece but also provide its fundamental frequency and weight.
Along with the bassline, they’re the most important sounds in the mix by far, and are usually the base for everything else in the song. This makes getting them right from the very start extremely important – do a sub-par job here and you’ll waste a huge amount of time making tweaks and adjustments to solve problems that could have been avoided.
In this tutorial we’ll show you how to select, tune, edit and process your kick and snare samples so that they sit together perfectly and provide a solid jumping-off point for your project. We’ll pay particular attention to the frequency content of our drum sounds, as it’s the movement of the kick and snare through the frequency spectrum that gives them most of their impact.

Free music samples: download loops, hits and multis from SampleRadar
Tuning drum samples is a process that’s questioned by some producers, who regard it as a waste of time. We believe that nothing could be further from the truth, however – by tuning our drum sounds we can quickly and easily make them sit correctly together, and avoid hours spent searching for the magical combination of samples that ‘just works’.
We’ll also show you how to adjust amplitude envelope settings to get just the right balance or loudness and dynamic range without having to resort to dynamics processing, and prove that something as simple as adjusting the start and end points of your samples can dramatically alter their sounds.
Finally, we’ll show you that if your beats have been sensibly prepared as we’ve suggested, it’s possible to boost them up to the level of a current, commercial dance track or beat-laden song in any genre, with ease.
Click here to download the tutorial files
Selecting and tightening up a kick drum

Step 1: We’re going to use Ableton Live for this tutorial because its straightforward built-in sampler and browser make it quick and easy for this kind of beat-building, but you can, of course, follow along with any DAW or sampler you like.

Step 2: Load up Live. Leave the tempo at the default 120bpm and draw in a standard four-to-the-floor kick drum pattern. In Live’s browser, open the Kicks folder, and click the first sample to audition it. To cycle through the rest of the kicks, press the down arrow.

Step 3: Choosing the right drum sounds is vitally important to creating a successful music mix, and if you pick inappropriate ones, you’re going to make life difficult for yourself from the off – see Natural Selection, p61, for more. Download Kick Basic.wav from the Tutorial Files folder – or use your own sample – a sound with a very natural-sounding balance of attack and body, and a fairly neutral character.

Step 4: This makes an ideal kick for creating a standard beat that can be customised to a specific style later. Select a MIDI track and drag Kick Basic.wav onto its device chain. A Simpler instrument will automatically be created. We know how this kick sounds already, but let’s take a closer look at it.

Step 5: Put Voxengo SPAN (visit their website to download the plugin for free) on your master bus. Now when we play the kick back, we can see where its low end peaks. This gives us an accurate impression of what’s going on in the low end, which is especially helpful when working with less than ideal monitoring. Use the horizontal scrollbar to zoom in on the low end of the frequency spectrum.

Step 6: If you move your cursor over the spectral analyser’s graphical display, you’ll see that the frequency in Hz and key at its position are displayed along the top edge of the window. Play the kick back on C3 (its original pitch) and move the cursor over where it peaks – this is somewhere around E2, or 82Hz. This information will help us make informed mixing decisions as we go forward.

Step 7: Create a one-bar MIDI part on the MIDI track and sequence an eighth-note C3 on each beat. The length of the note is extremely important, as we’ll soon see. Set Live to loop around the MIDI part, and play it back with SPAN’s interface visible. Click the MIDI track again so you can see Simpler’s interface too. (Audio: Original kick loop.wav)

Step 8: A kick drum sound moves from high to low frequency quickly, so we can dramatically affect the frequency content of the sound simply by changing the sample start or end points. Zoom in on the start of the kick drum waveform and drag the start point over to the mid-point of the first cycle, as shown. (Audio: Shifted kick loop.wav)

Step 9: Because we’re now missing part of the high-frequency content at the start of the kick, we have a different sound – still solid, but with a less aggressive character. Move the start point to the start of the next cycle, as shown above, and you’ll get a more muted sound still. (Audio: Muted kick loop.wav)

Step 10: A drum’s solidity is dependent on a consistent volume level as it moves from high pitch to low. EQ can detract from this, so moving sample start and end points to alter the sound is a much more elegant solution. Return the start point to the beginning of the sample and drag the end point to the left as you play back the loop.

Step 11: You’ll notice that the sample still peaks at around 80Hz until the end point reaches almost the very start of the sample. Practically all the energy and character of the kick is created by the first few cycles, with the rest of the sample providing the weight and body. We can get more detailed control over the tail using Simpler’s ADSR volume envelope.

Step 12: Move the end point back to the end of the sample and set the Sustain to -69dB. Turn the Decay knob down and the kick will fade out rather than simply stopping dead. This gives us a smoother sound. Set the Decay to 1.25s for a snappier feel. We can demonstrate the power of the volume envelope even more clearly with other drum and percussion sounds – such as a snare, which we’ll look at in the next walkthrough. (Audio: Decay kick.wav)
Tuning a snare drum sample

Step 1: Next we need a snare drum to complement our kick, so let’s take a look through the snares folder. Find something that has a plain but solid quality to it that will work well with the kick, so select the next MIDI track and drag the sample into its device chain.

Step 2: Typically we wouldn’t use a big snare sound in a house beat, so let’s change our pattern to a DnB one. Set Live’s tempo to 174bpm, and change the kick pattern so that the kick plays on the first and seventh eighth-notes. Create a MIDI part on the snare track, and have the snare play C3 eighth-notes on the second and fourth beats. (Audio: 2-step DnB.wav)

Step 3: Thanks to our sensible sound selection, the snare works well immediately, but it can still be improved. Start by soloing the snare track and opening SPAN again. In our case, the snare’s low end peaks at F#3, almost an octave above the kick. By tuning it to the same key as the kick, we can make the two sit better together.

Step 4: Set the Simpler snare’s Trans(pose) parameter to -2 or whatever your snare requires. Now both samples are in the same key and sounding more natural. This tuning does take some of the shine off the snare, but we can fix that with some EQ. Insert an EQ Eight on the snare track. (Audio: Tuned 2-step DnB.wav)

Step 5: We can see from looking at SPAN that the snare’s fundamental frequency is now around 168Hz. Set the second band of the EQ Eight to the bell shape and tune its frequency to 168Hz. We can now use the Gain control to adjust the weight of the snare. Make the bell curve tighter by raising its Q to 2.80.

Step 6: Turn the Gain up to 3.5dB to give the snare a more weighty DnB feel. We still need to bring the sparkle back into the highs, which we can do using band 4, set to the high-shelf filter by default. Set its frequency to 500Hz and use the Gain knob to control the brightness of the snare’s highs. Set it to 2.5dB. (Audio: EQed 2-step DnB.wav)

Step 7: The snare is quite loose and flabby, so let’s tighten it up. This time we’re going to use a combination of amplitude ADSR adjustment and shortening the MIDI notes to get as much control as possible over the decay of the sound. Start by opening the snare’s MIDI clip and turning Live’s snap-to-grid mode off (Alt+4).

Step 8: Now we can fine-tune the length of the MIDI notes. Set the length of the snare to about a 16th-note. This makes it stop very abruptly, but only because the Simpler’s Release time is extremely short. Turn the Release knob up to 500+ms to loosen up the tail of the snare slightly. (Audio: Snare release.wav)

Step 9: With the tail sorted, we can use the Decay time and Sustain level to control the body of the sound. Set the Sustain to -34dB. This makes the snare sound less loud because it isn’t audible for as long as it used to be, but also adds punch by increasing the dynamic range. (Audio: Snare sustain.wav)

Step 10: The Decay knob allows us to set the timing of the drop in volume. Lower values give a snappier, punchier sound; longer settings give us a loud but less defined one. For a good balance of loudness and punch, let’s go with a Decay time of 600ms. (Audio: Snare decay.wav)

Step 11: Now our kick and snare are both punchy and tight, but the kick is a little loud. Reduce the kick Simpler’s Volume. The kick and snare should sound well-balanced now, and a look at SPAN should confirm it – the fundamental frequencies of the kick and snare peak at approximately the same level, and the snare’s bright high end is at about the same level, too. (Audio: Balanced 2-step DnB.wav)

Step 12: This snare is quite bright, which could work if you’re not planning on using many other high-frequency elements in your track, but is otherwise going to clog up the mix. Let’s preemptively dull it a little. Set EQ band 3 to 7kHz and -2dB. This reduces the perceived volume of the snare, so turn the Simpler’s Volume up to -11.5dB. (Audio: Dulled 2-step DnB.wav)
Preparing the kick and snare to work in context

Step 1: We’ve controlled the low end of our drums to some extent with their amplitude envelopes, but we can do even more by filtering them. Let’s scoop out some low end with a high-pass filter, which can always be adjusted to fit with the bassline once that’s added. Set the filter cutoff on the kick to 70Hz and the snare to 140Hz. (Audio: Hi-passed 2-step DnB.wav)

Step 2: We can see from SPAN’s level meter that the mix is peaking at about -7.5dB RMS, which is sensible. If we were to A/B our kick and snare with a mastered commercial track at this stage, we’d find that they were much quieter, so let’s give them more oomph. Insert Ozone (download a free demo on iZotope's website) onto the master track before SPAN.

Step 3: Activate the Maximizer and bring the Character fader down to 0dB to put the module into clipping mode. We’re using Ozone, but any clipper plugin will do. We can now boost the signal into the Maximizer, which will stop it exceeding 0dBFS. Add Live’s Utility effect before Ozone 5 and turn up the Gain knob.

Step 4: You can turn the Gain up to +12dB before you begin to hear any detrimental distortion of the signal. It’s important to bear in mind that these sounds only really give the track its punch and weight; the highs and character will have to come from other elements. (Audio: Clipped 2-step DnB.wav)
Natural selection
Being able to select the right drum sounds for your mix is an important skill for any producer. If you pick inappropriate drums you’ll probably end up spending a great deal of time tweaking and processing them in order to get them sounding right – and even then, they won’t sound as good as if you had chosen appropriate sounds from the off. So how do you know which sounds are going to work in a given project?
Naturally, experience plays a huge part in this – the more projects you work on, the more you’ll begin to understand the characteristics you need to look for in a kick or snare sample. A big part of this is developing a finely honed appreciation for the genre of music you’re making. A common mistake made by novices is to simply listen out for the most aggressive, heaviest-sounding kick or snare, and go with it. While these types of sounds might be perfect for a high-octane dance track, they’d be difficult to fit into a deep house or liquid DnB mixdown.
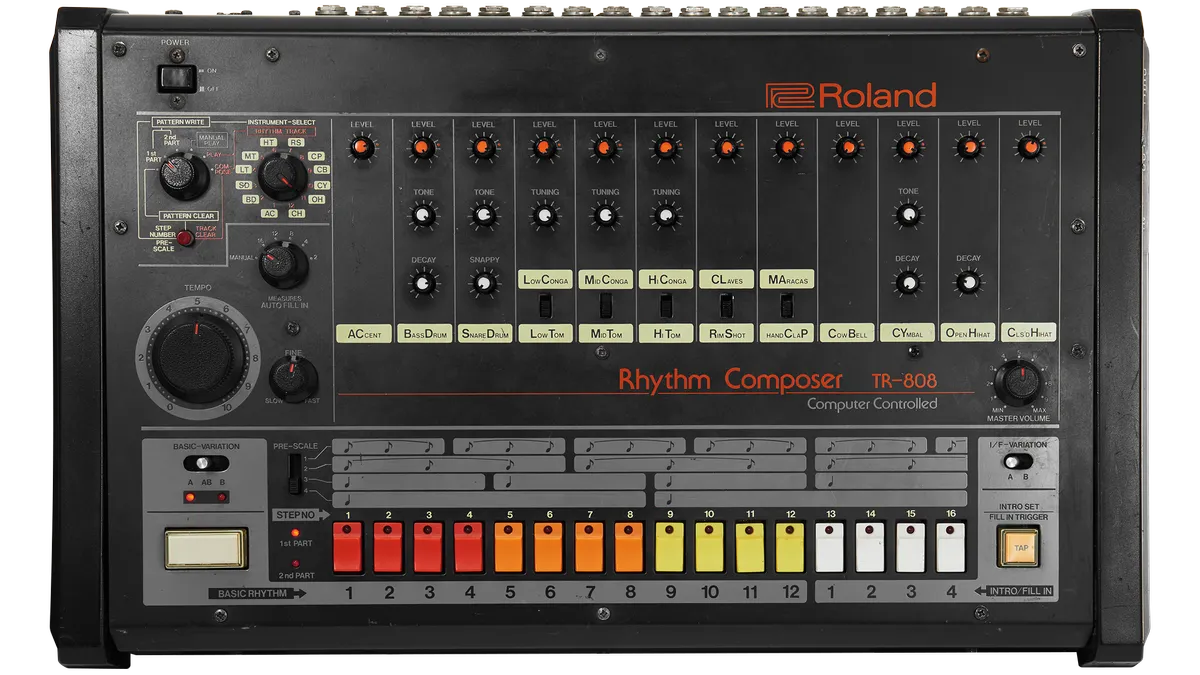
How to recreate classic analogue drum sounds in your DAW and with hardware
In this tutorial, we’ve deliberately chosen sounds that aren’t particularly aggressive or characterful but rather are solid and clean. This is because these kinds of sounds are far easier to work with than sounds that have already been pushed to the limit. For example, it’s much easier to add character to a solid-sounding kick by layering it with, say, a ride cymbal, than it is to tone down the character of a kick that’s been processed to within an inch of its life already. By selecting sounds that are easy to work with, we give ourselves maximum scope for customisation and experimentation, and thus more chance of creating an effective, satisfying mix.
With thousands of sample packs already available, and dozens more released each month, it can be hard to know which to spend your hard-earned cash on. We suggest listening to demos of as wide a variety of packs as possible, and, of course, checking out the latest soundware reviews on MusicRadar.
