
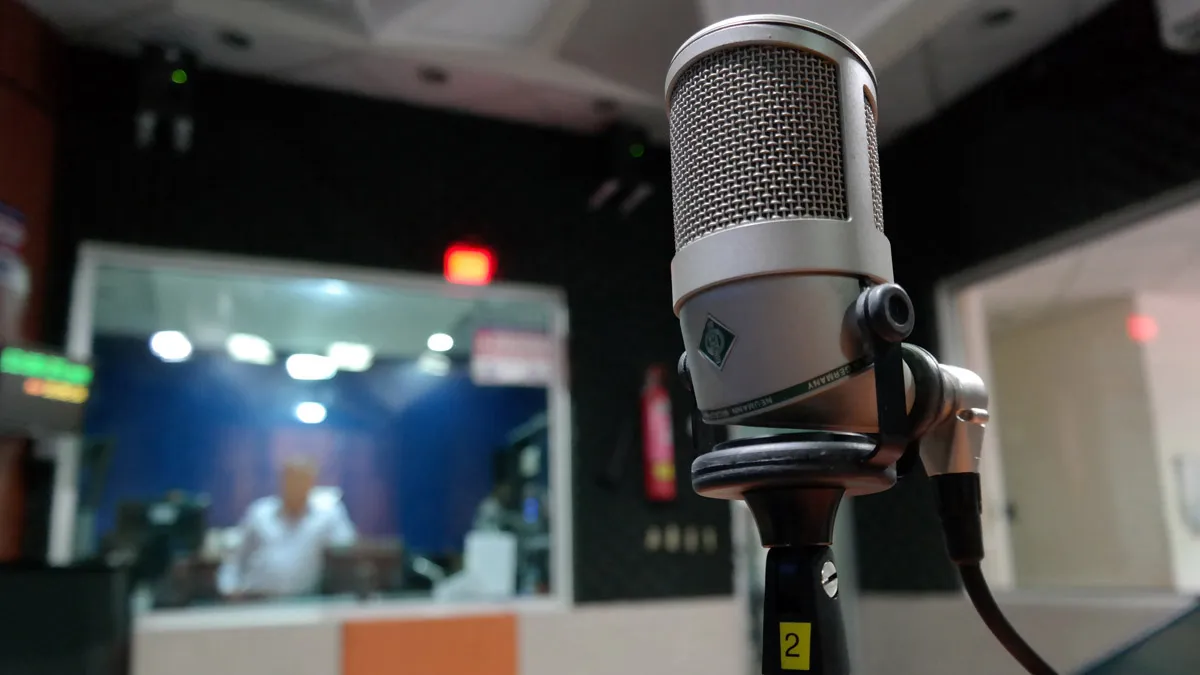
The space you play and record in will play a key role in the sound of your projects, but this fact is often overlooked by budding music producers, especially those more accustomed to making music using virtual instruments and pre-recorded samples.
With spaces come acoustics, and that means ambience, reverb, echo and general sound reflections, all of which will colour the sound. This isn’t a big deal if you like to get up close and personal with your favourite mic. But move that mic back a bit and the room and instrument will begin to combine to form the overall sound picture, and at this stage you’ll want that room to enhance, rather than detract from, the sound.
Needless to say, the variables are endless and the science behind it all can be complex. If you take a look at pictures of a pro studio you’ll see all sorts of acoustic techniques at work in any one room, and there are plenty of underlying factors, such as room dimensions and building structure, that influence the sound of the space as well.
Even so, one thing you may spot is that studio control rooms often have a lot more acoustic treatment than the recording or ‘live’ spaces (yes, the clue is in the name). That’s because control rooms are designed to create a flat frequency response for wide-ranging monitoring levels at a specific listening or ‘sweet’ spot. Live spaces, on the other hand, are usually designed to offer a combination of ambient reverb, surface reflective sound, atmosphere and space for a few or many more performers.
This may seem like pie in the sky territory as you approach a vocal recording in a small room that also doubles as your control room, office or even bedroom, but the distinction is important. The bottom line is, all spaces have their uses.
In a typical house you’ll find everything from dead bedrooms to lively tiled bathrooms, and reverberant hallways to wooden-floored living rooms. So before you even start thinking about treating or modifying your spaces, listen to how they sound in the first place.

Acoustics primer
OK, here’s the science. Acoustics revolves around sound waves. A sound wave is simultaneously a longitudinal and compression wave and it needs some kind of medium to travel in, such as air or water. Without this (in a vacuum) it won’t get very far, and as you probably already know, in space, no one can hear you scream.
The wave itself has typical wave-like properties, including amplitude (loudness) and frequency (pitch). When you ‘hear’ the wave, it vibrates your eardrum, and this is transferred via the middle ear to the cochlea and then the auditory nerve. Just as with other nerve stimuli, the brain then interprets that information (eg, ‘that’s not in tune’). Average human hearing is limited to frequencies in the range 20Hz to 20kHz, but instruments and recording gear can easily operate beyond these limits.
So far so good, but things are complicated by the way the sound travels around a room. When it hits a surface, some of the sound energy is lost through a process of absorption (and typically converted to heat and vibration), but most of it is reflected, so that it continues its journey until it hits another surface.
The problem is, our ears (as well as microphones) will ‘hear’ a sound source directly, and from a number of these reflections. Early reflections could arrive around the same time as the direct sound, sounding like a bunch of quick short delays, while others may be far more scrambled or diffused with a much longer ‘feedback’ (reverberant field). It’s the combination of these reflections that gives a space its acoustic character, and this can vary from amazing (a church) to pretty unpleasant (a tiled bathroom).
Treatment and design
Theory is one thing, but we all know that in practice we can produce music in even the most unusual spaces. What this inevitably means is that there’s plenty of room for trial and error and making it up as you go along. But empowering though that undoubtedly is, there’s no need to reinvent the wheel, so here’s some practical advice for treating your own space.
Without a doubt, the most significant device you can add to a space is the absorption panel. Unfortunately, producing a panel that can successfully (and evenly) absorb frequencies across a full frequency spectrum is impossible. So as a compromise, we have to use panels that suit some frequencies better than others.

13 ways to improve your home studio's acoustics and make it sound better
Typically you’ll encounter broadband panels (which cope with low mid frequencies upwards) and bass traps (low frequencies specifically). You may also come across far more specific devices, such as the Helmholtz Resonator, designed to remove a very narrow frequency band. Thankfully, lots of manufacturers now make all sorts of panels and some can be quite affordable - and if you can't come up with the cash, you can always make your own.
Diffusers are another treatment option. These can help small spaces sound less claustrophobic. To be fair, you’re unlikely to worry as much about diffusers, purely because they may have a less significant impact than a few strategically placed bass traps. However, there are plenty of easily installed and cheap options available.
Positioning treatment panels is a combination of practicality, purpose and science (and has been the cause of more than a few headaches). Typically, in a listening room you’d put broadband absorbers on the walls either side of and behind the listening position. For bass traps, the corners (both top and bottom) are a good starting point. Diffusers can be used in any remaining gaps. Obviously in a live space things become a bit more flexible, but the same principles apply.

Cheaper, home solutions
Acoustic treatment is big business, not least because all sorts of open spaces, offices, factories and workplaces are required to meet guidelines. However, in your own studio, you’ll probably already have some very useful items, and it may be simply a case of repositioning them or using them in the correct way.
Sofas, often found at the back of studio control rooms, can serve a useful function acting as bass traps. Add a few people and they’re even better! In a home environment, a strategically placed sofa or two can help tame low frequency modes.
The average bookcase is a natural diffuser, with its combination of vertical items (books, CDs and so on) and the horizontal shelves themselves. Obviously, given that they come in all different shapes and sizes, results may be variable, but if you just want to introduce some extra spread in an empty room, don’t rule them out. The CD rack, meanwhile, may have seen better days, but like the bookcase, it makes an excellent cheap diffusion device. And smaller ones can be wall mounted.
A good set of heavy curtains can tame the high and mid frequencies in your studio room (and give you a bit more privacy), while no discussion of recording at home would be complete without mention of the humble duvet. This quilted bedding can act like a super-thick acoustic curtain, and you can easily hang one in a strategic place, such as behind a performer. Don’t expect miracles, but if you want to tame mid and high frequency reflections, then duvets are incredibly useful.

Soundproofing
So far, our discussion has centred on treating the acoustics of your room. Now we’ll touch on the subject of soundproofing. If you’ve ever lived next door to a musician, you’ll know how important this can be.
For our purposes, it also demonstrates the two-way nature of the problem: basically, if sound is capable of escaping your room or house, it can also penetrate someone else’s.
Probably the most annoying noise pollution is produced by bass frequencies, which are transferred structurally. Mid and high frequencies, on the other hand, use the available medium (air), so leaving a window or door open can make an enormous difference to their transmission.
At a professional level, dealing with these two types of acoustic isolation (while also factoring in the acoustic treatments we’ve already discussed) can be extremely complex. What’s more, the resultant spaces are often heavily upholstered and oppressive, with little or no natural light.

Assuming you haven’t just won the lottery, things in your recording space will likely be a bit more modest. So what are the options?
Probably the easiest way to get a quick improvement is to seal your doors and windows. Although double-glazing can improve isolation, it’s often the sealed nature of replacement casement windows that improves their effectiveness. If you have older windows, consider DIY sealing strips, which can also help around door frames, and don’t forget the gaps at the top and bottom of the door.
Once you’ve done all this, you may find that typical ‘studio odour’ creeping in. If you can’t afford proper air conditioning, opening the doors and windows when you’re not making any noise is surprisingly effective.
Problem areas
In addition to creating reflections and diffusions, a room’s size, shape and construction all have the potential to cause some annoying problems. Top of the list are room modes. In the simplest terms, these occur when a frequency’s wavelength exactly matches the dimensions of a room, creating what’s called a standing wave. This ‘natural frequency’ becomes amplified. As an example, two parallel walls 12 feet apart will create a standing wave at roughly 94Hz.
In addition to room modes, you can also experience problems with boundary reflections, where a direct sound wave combines with a reflected one. This effect can happen perfectly in phase, perfectly out of phase or anywhere in between, and to human ears, it will make certain frequencies sound appreciably louder or quieter.
The good news is that both situations are only really problematic at lower frequencies (which have longer wavelengths). The bad news is that the problems can be quite marked, making particular bass notes far too loud, or alternatively, causing them to disappear completely.
To give you an idea of the frequencies that could be problematic in your room, there are a number of freeware mode calculators. A good starting point is RealTraps’ ModeCalc (PC only). RealTraps also have a useful application for pinpointing boundary reflections.

Isolation
Harder to achieve, isolation in the domestic environment should always start with the floor. Depending on your budget, everything from placing your monitors on isolating mats, to using a carpet underlay can help.
Using a mineral-loaded barrier matting under the carpet can also be useful, as well as sealing up any gaps in the floorboards and skirt. Without going the whole hog and building a room within a room, you may also benefit from building a floating floor, or a small floating riser for drums and amps.
Should that lottery ticket come good, you might want to consider the ‘room within a room’ approach. Although it’s not always immediately obvious, this system is the backbone of most modern studio design. The aim is to isolate a space by building an internal shell separated from the surrounding structure.
In fact, doing this completely is impossible; however, addressing all the points where structural transmission can occur, and using plenty of mineral-filled cavities, can be pretty successful.
Just like in a normal room, problems can be encountered with windows and doors, and often you’ll find the windows get ditched completely. The door issue is typically resolved by using a twin door system with a small air gap between the two.
Built from the ground up, the starting point is a floating timber floor. This is basically a wooden frame ‘floated’ on some form of rubber barrier matting and in-filled with cavity insulation. Plywood is often used as the flooring material because it’s strong and flexible (though expensive). The stud walls are then constructed on top of the floating floor, again using mineral wool infill, and dry-lined with two or more layers of plasterboard. A timber frame ceiling is then attached to the walls.
The whole thing requires a serious amount of work, and aside from the isolation of the structure, much of the soundproofing comes from the large quantities of absorbent materials used, including mineral wool insulation and plasterboard. Having done all of this, you still need to make the room as airtight as possible, and achieving airtight seals on the doors can be annoying and/or expensive.
You’ll still need to address all the acoustic design elements already discussed, so it’s not uncommon during the planning stage of such a project to factor in ideal room dimensions.
If DIY isn’t your thing, there are a number of companies that make self-contained isolation booths – you may have seen these at a music trade show. Although they can be expensive they provide a quick solution. However, it’s worth mentioning that they don’t provide complete isolation, and will work much better when positioned inside an existing structure that already has some level of isolation.
Sound isolation shouldn’t be confused with acoustic design, and true isolation can be a tricky business. In practice, unless you’re regularly recording loud bands or monitoring at very high levels, sealing your space and reducing transmission at source will bring instant benefits.
As you can see, acoustics is a complex science, but a little knowledge and application can go a long way towards making your home a great environment in which to play and record music.
10 simple and affordable ways to improve your studio's acoustics
You’ll still need to address all the acoustic design elements already discussed, so it’s not uncommon during the planning stage of such a project to factor in ideal room dimensions.
If DIY isn’t your thing, there are a number of companies that make self-contained isolation booths – you may have seen these at a music trade show. Although they can be expensive they provide a quick solution. However, it’s worth mentioning that they don’t provide complete isolation, and will work much better when positioned inside an existing structure that already has some level of isolation.
Sound isolation shouldn’t be confused with acoustic design, and true isolation can be a tricky business. In practice, unless you’re regularly recording loud bands or monitoring at very high levels, sealing your space and reducing transmission at source will bring instant benefits.
As you can see, acoustics is a complex science, but a little knowledge and application can go a long way towards making your home a great environment in which to play and record music.
Make your own DIY absorption panel
There are times in music production when you have to become a bit of a DIY enthusiast. Constructing your own basic absorption panel is a pretty easy task, provided you have the right materials. Here’s a shopping list:
1. Planed timber or planks of MDF to make a frame
2. Medium density cavity wall insulation slabs (not loft insulation) plus appropriate dust mask and gloves
3. Acoustically transparent cloth to cover it with (something you can blow through should be fine)
4. Some screws, nails and fittings for holding the frame together and a staple gun to fix the fabric
5. Hardboard to hold the slabs in place at the back
Start by making a frame with the timber and brackets. Lay the fabric out on the floor, placing the frame over the fabric. Pull the fabric back over the frame and staple it firmly in place, making sure it’s nice and tight. Put on your dust mask and gloves before laying the insulation slabs in. Finish off by nailing on the hardboard back.
Alternatively, some companies make DIY bags to which you can add your own acoustic insulation slabs. If you’re simply looking for some absorbent slabs to place in corners, you can just bundle up a pack of medium density cavity wall insulation in some fabric, or even re-use an old bean bag.
