Sure, your beats and instrumental parts are important, but a vocal can make or break a track, so if you're going to record one, you need to get it right.
Here are ten things to do if you want to capture better vocal recordings in your DAW...
1. Get a pop shield
To avoid those demons of vocal recording – the plosive sounds that are excessive ‘b’ and ‘p’ sounds that can come through with singing – employ a pop shield.
This simple and largely inexpensive item sits between the vocalist and mic - in the middle, around three to four inches distance from each - and will be your saviour in many a recording situation. Some mics come with one bundled in, but they can cost just a tenner, so invest!
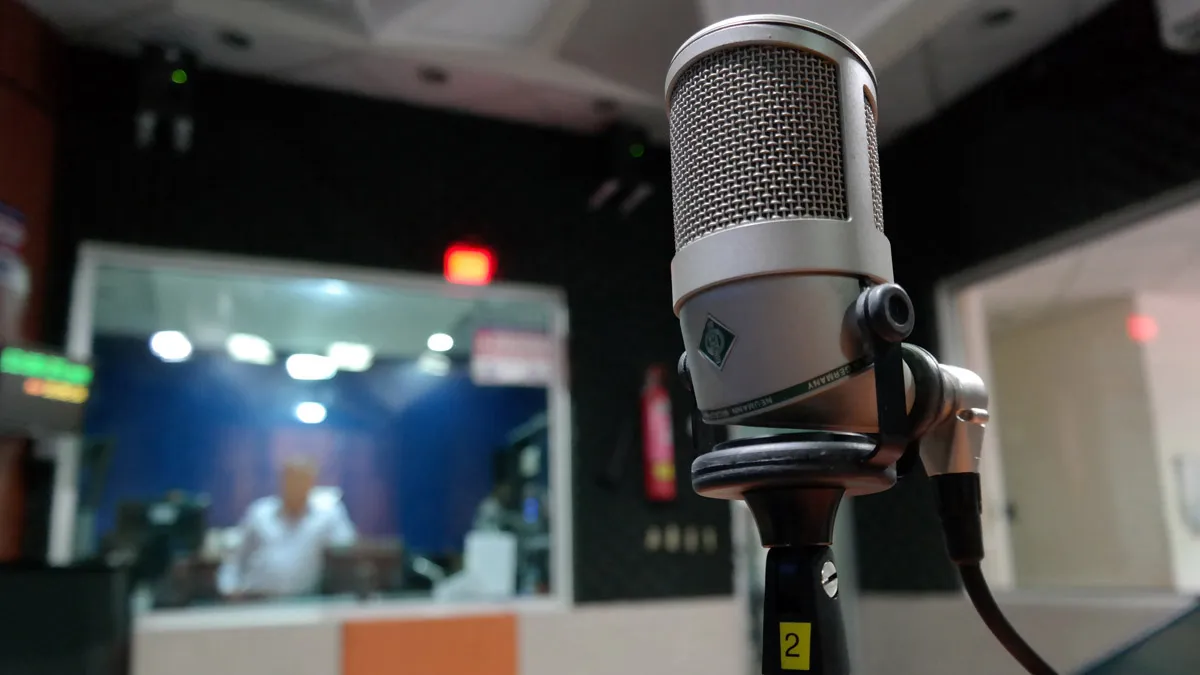
2. Get the right mic
The type of microphone you use will often depend on the singer. Top studios will have a selection of mics, and engineers have favourites for particular types of vocalist.
Generally speaking, dynamic mics are a more robust solution for louder parts of a recording and also tend to be used in the brash world of live singing. A decent condenser - the more sensitive option - should capture all vocal recordings. Choose one with a cardioid pattern – that is the sweet recording spot in front of the mic.
Lower budget recommendations include the AKG C7, Rode NT2A, Aston Spirit, Audio Technica AT2020 and Shure SM58.
3. Use a decent shockmount
A good shockmount will reduce vibrations during the recording and therefore any rumble that might ensue. Again, many mics come with their own shockmounts; indeed some come with the complete recording kit of shockmount, headphones and pop shield usually in a pack with quite a saving. But why include headphones? Well…
4. Sort out your monitoring setup
Vocalists will need to monitor themselves while recording. It’s not an ego thing (usually); they will just need to know they are hitting the right notes, and a set of headphones allows them to hear themselves as a part of the mix which they can then follow.
Use headphones for this so the mix won’t be picked up on their vocal recording. With that in mind, choose headphones with good isolation so they won’t ‘bleed’ audio that can be picked up in the recording. Good isolation is a great asset for mixing, too – closed-back headphones tend to be the best option here. And make sure that you have the mix level set up correctly at the start of the recording. Too loud and the vocalist might sing too loud to compensate!

5. Capture multiple takes
We go into more detail with comping later, but make sure you know how your DAW deals with multiple-take recordings as it it’s great for vocals allowing you to assemble the best parts of a not-great recording into a great one!

6. Record dry
Record all of your vocals dry. Sure, they may sound stunning recorded through a reverb, but you can always add that later. You can’t – unless you are using some pretty hit-and-miss or expensive restoration software – remove effects after the recording event, but it is very easy to add them, so it’s dry every time.
7. Record everything
Once you have hit that red button, don’t bother hitting it again until the session is over. It’s not like hard drive space is expensive any more, and you know full well - because it’s one of the laws of recording - that if you do press stop when you go to the loo, the vocalist will give their best-ever performance while practising during your refreshment break. Record, record, record and don’t stop.

8. Sort your levels
Get your levels set up correctly before you record. That way you won’t be stressed during the recording. Get the vocalist to practise the loud passages before the sessions start and adjust accordingly. Go on the low side if you can, as anything recorded red will be difficult to correct.
9. Prepare
Have as much as possible set up for a recording before the vocalist arrives at a session. You don’t want to be faffing about, and your stress will make them stressed and result in bad take after bad take. You might be a technological whizz-kid but they need the technology to be as invisible as possible.
10. Create the right mood
And leading on from that, keep your singer as relaxed and happy as possible and you will get the best performance from them. Keep the studio atmosphere convivial and encouraging; low lighting and (very) constructive criticism helps, or you may just end up singing the parts yourself!
