10 simple and affordable ways to improve your studio's acoustics
Getting your room sounding right might be easier than you think...

You might think that, once you've decided to create a home studio, the biggest challenge is buying the right gear and plugging it all in. However, this is only half the battle, as you also need to think about the sound of the room itself.
You could easily spend thousands on sorting out your studio's acoustics, but most of us don't have the time, money or patience to do this. However, there are some basic things you can do if you want to get your room sounding a little sweeter - these things, for example...
1. Start with the basics
One you've chosen your studio location, you need to make it as acoustically correct as possible. What does this mean in practice? Well, mostly you want to cut down reflections. Hopefully the room isn’t too square-shaped but, even if it is, you can cut down sound reflections by fixing big curtains on a window, a sofa behind the listener, or even a lot of books on one side.
We say one side because if one surface is reflective, it doesn’t matter so much if the opposite isn’t. And that goes for clear ceiling versus carpeted floor too. These are basic options, yes, but also cheap solutions to start with.
2. Don't use egg boxes
Yes, some people insist that old egg cartons will do the job of absorbing reflections, but the truth is they aren’t that good. They look terrible - like you’ve stuck a load of egg boxes to a wall like at a school nursery. Revisit Tip 1 and do some basics instead.
3. Get in position
You’ll need to be at the third point of an equilateral triangle away from each speaker and, if you can, just under 2/5ths of the length of the room away from the front wall. This cuts down reflective phasing and the dreaded bass null, which is the spot in the middle of room where reflections can cause a drop off in the bass end of your speaker response; avoid sitting in the middle of the room, basically.
And don’t position yourself with a wall directly behind you if possible. Being a couple of metres distant from the speakers (and then that distance apart from one another) is a good one to start with.
Want all the hottest music and gear news, reviews, deals, features and more, direct to your inbox? Sign up here.
4. Thing about speaker placement
Speakers should not be placed directly against a wall, but some 50cm away if possible, although many speakers (like the excellent Kali Audio IN-8 monitors) will have setup options where you adjust small switches according to the speaker position.
These allow you to move speakers about - but not too dramatically. You still want the distances measured in the last tip but there is a little leeway over wall distances.

5. Consider panels, bass traps and speaker stands
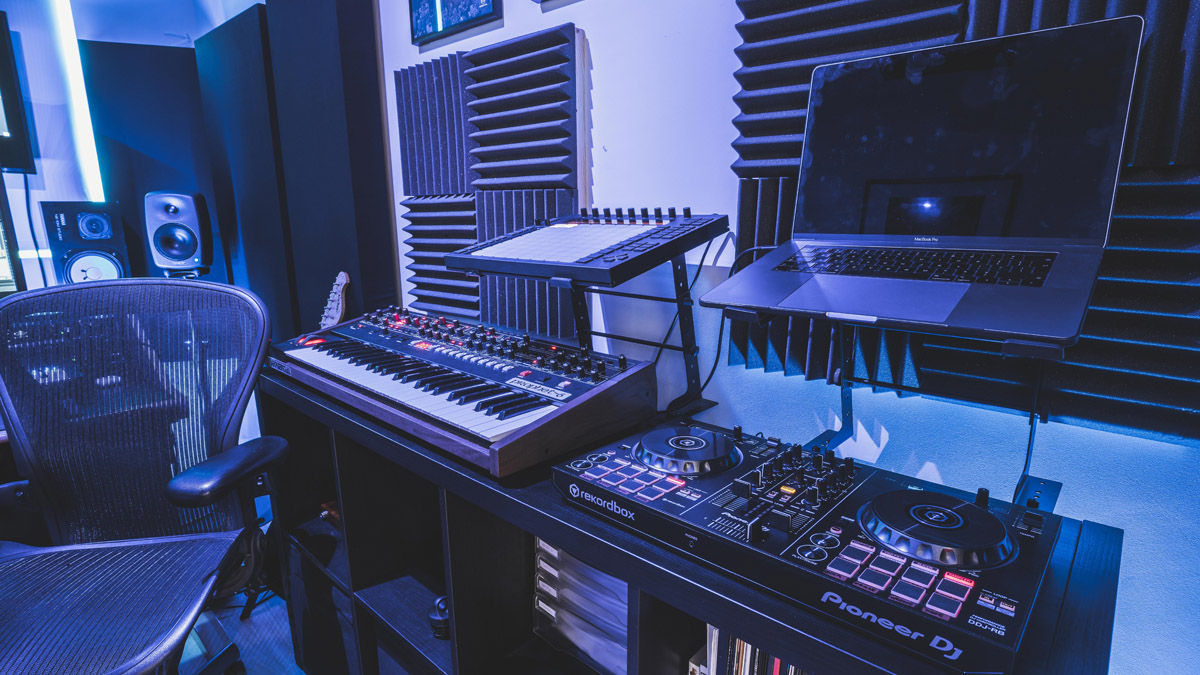
Absorb and scatter. If your room is still too ‘live’ you can buy panels from companies to deal with troubling frequencies. High frequency panels can be placed on walls to cut down HF ringing while bass traps absorb lower frequencies that can often be tuned for the bass end.
Use stands… or shelves. Dedicated speaker stands are our preferred option as they are designed to both cut down the vibrations of the speakers - which could give you a distorted response - and also adjust the height (see next tip).
You can put speakers on shelves but you’ll need to be sure they have rubber-like feet or special acoustic diffusers like the IsoAcoustic ISO-Pucks that help reduce vibrations.
7. Sort your speaker height
It probably won’t surprise you to learn that speakers should be at the same height as your ears and pointed at them. This speaker height, and therefore your ears, should be at least 1.2m from the floor, although if you are a giant then don’t get too hung up on this!
The reason we suggested earlier that you sit in an equilateral triangle - or at least equidistant from each speaker - is that the sound arrives at the ‘sweet spot’ at your ears at the same time. Higher frequencies are more directional, so it’s important that the tweeters they emanate from are pointed directly at your ears.
That is the sweet spot we are talking about, and some advocate imagining that this meeting point is just behind your head. Sweet.

8. Test your room
You can test the acoustic properties of a room with certain apps that use a microphone to record the response of a frequency sweep and then report any issues. Companies like Room EQ Wizard offer free software to do this but you’ll need to pick up a mic.
9. Calibrate your speakers
Calibration systems set certain speakers and headphones up to adjust themselves for your room, the thinking being that you then need to worry less about the room acoustics. These are available from Sonarworks, IK Multimedia, Genelec and more, and they’re often designed in tandem with their hardware.
10. Consider nearfield monitors
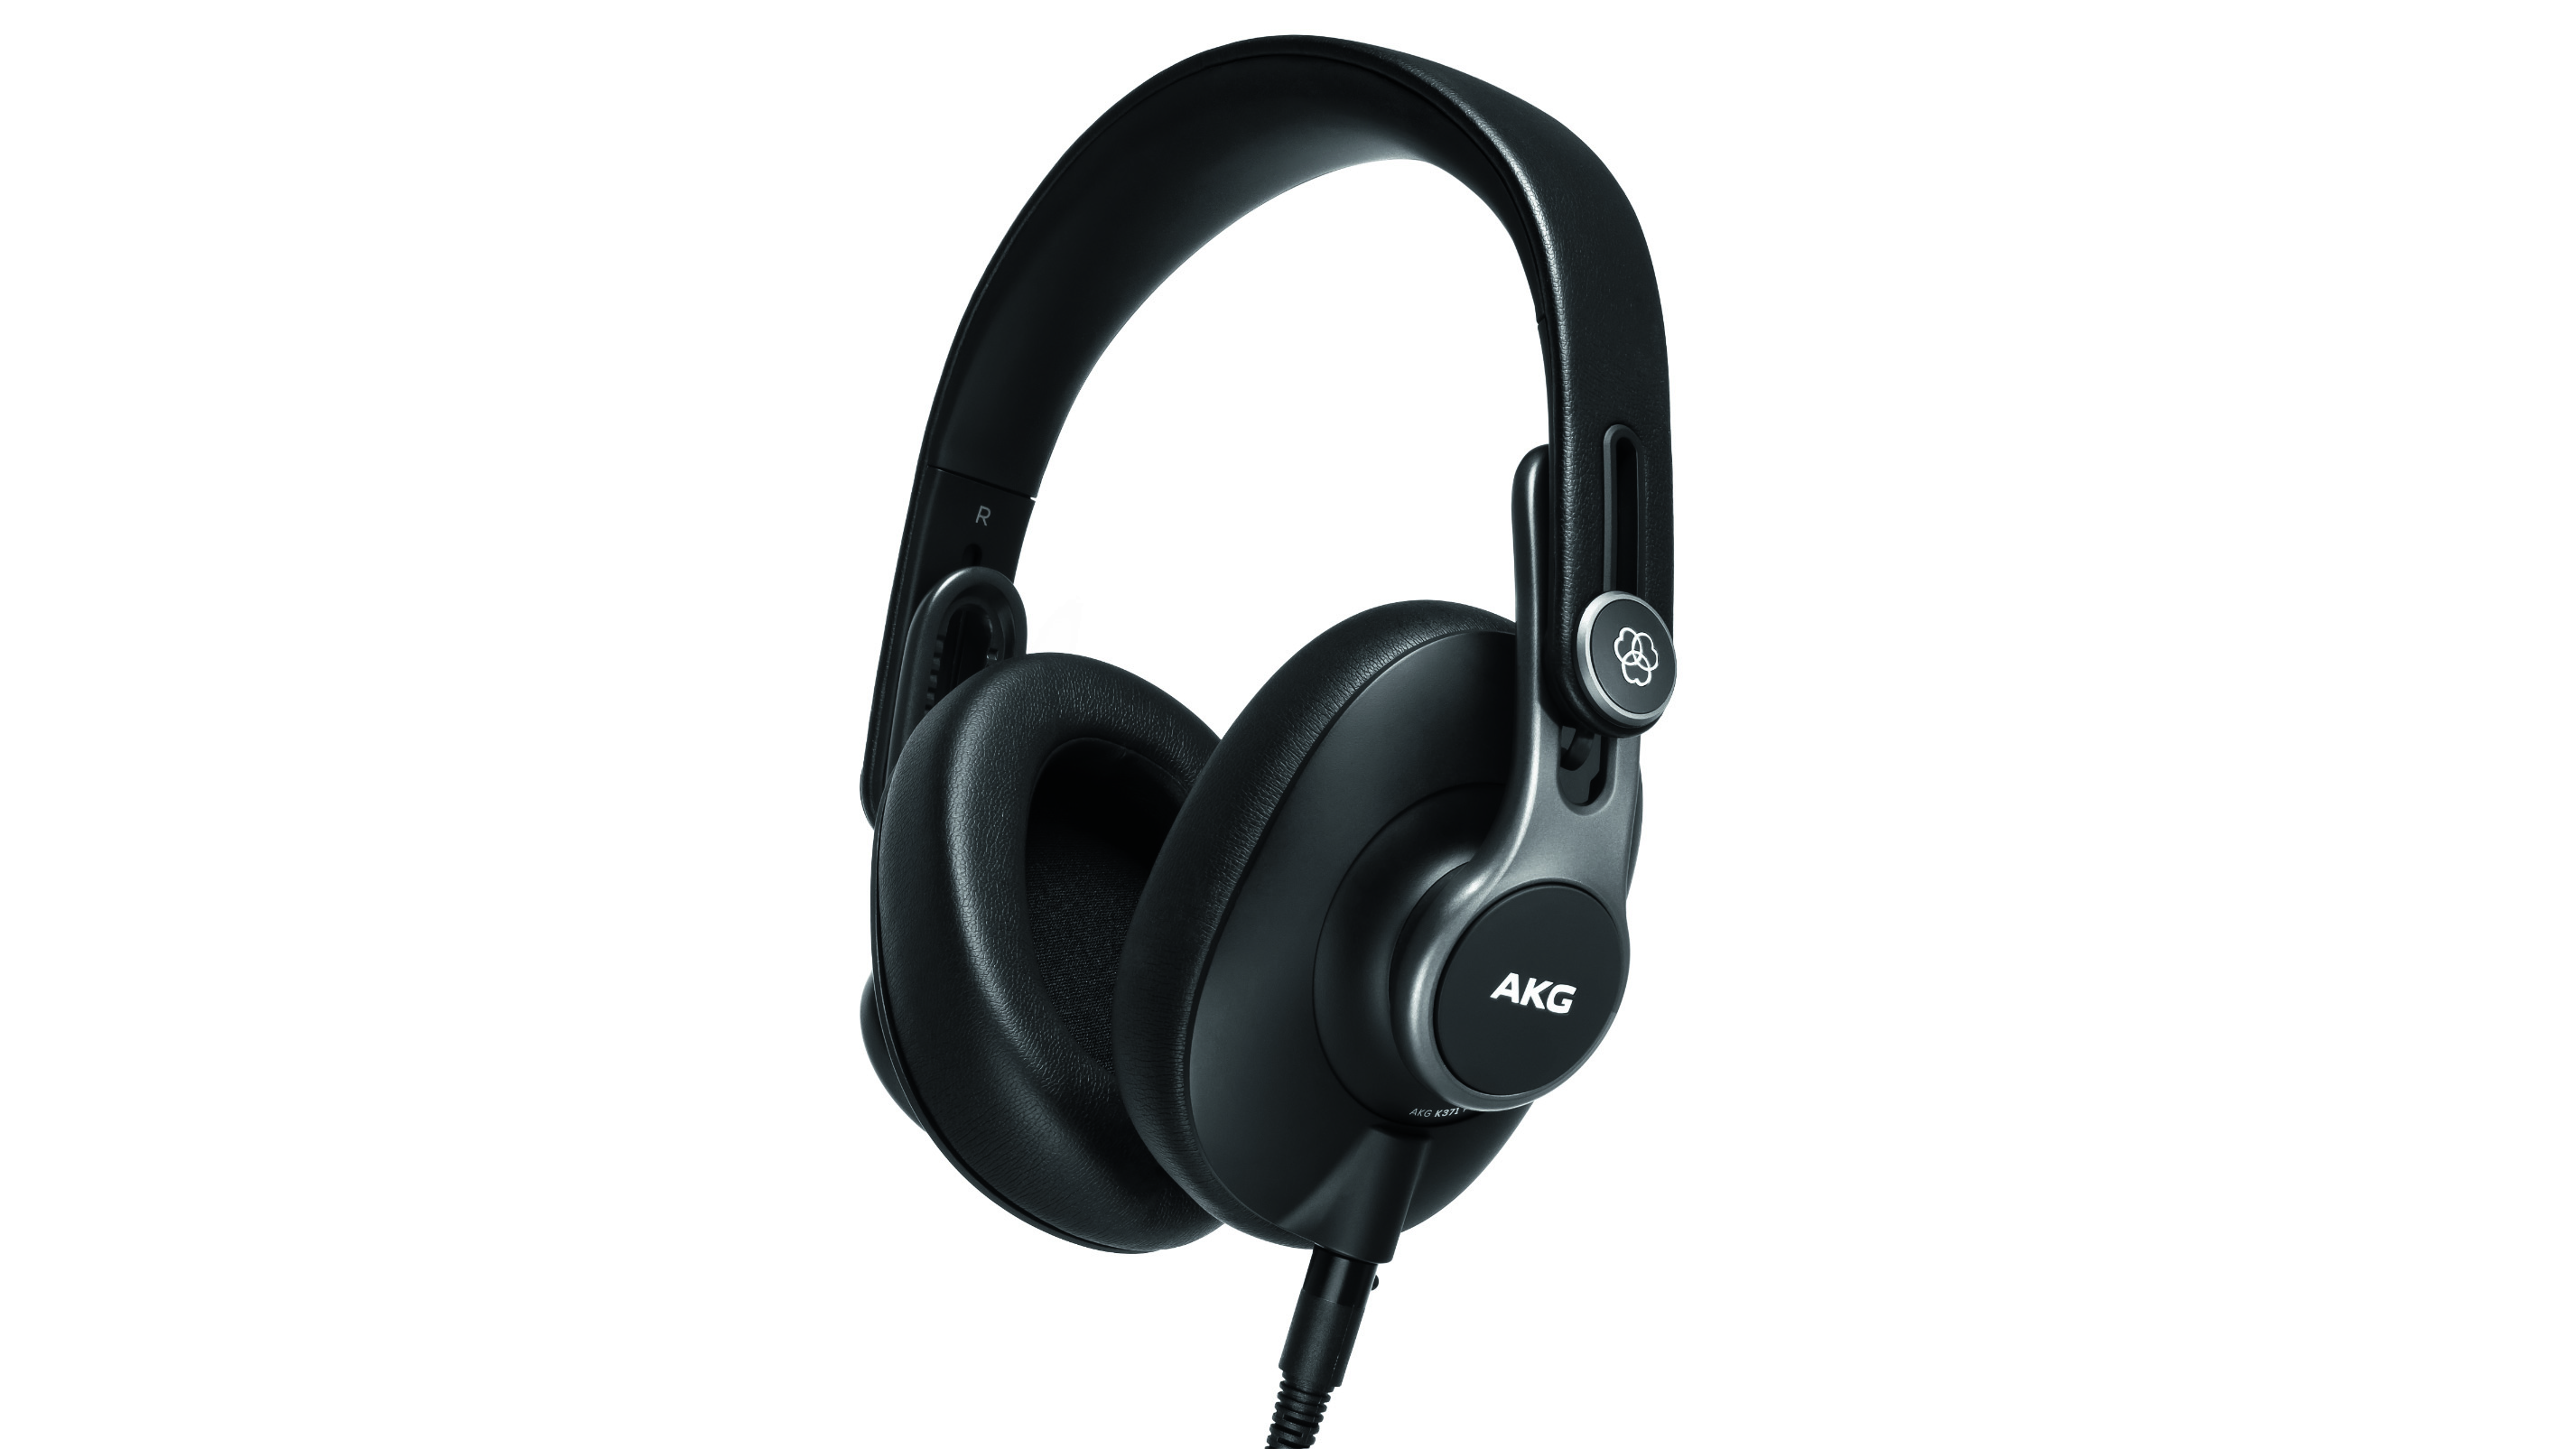
Not getting the acoustic ‘thing’? Don’t worry, nearfield monitoring can be your friend here as the room is not so important. And ‘ultra-near monitoring’ - a term we just made up - means that you don’t need to worry about room acoustics at all! So what does that consist of? Simple: using a pair of decent headphones!
Computer Music magazine is the world’s best selling publication dedicated solely to making great music with your Mac or PC computer. Each issue it brings its lucky readers the best in cutting-edge tutorials, need-to-know, expert software reviews and even all the tools you actually need to make great music today, courtesy of our legendary CM Plugin Suite.
