6 home studio construction hacks
We show you how you can use duvets, rugs and cardboard boxes to fine-tune your acoustic treatment

Want all the hottest music and gear news, reviews, deals, features and more, direct to your inbox? Sign up here.
You are now subscribed
Your newsletter sign-up was successful
Our guide on how to build a home music studio has covered a number of different ways to amp up your music-making space, from putting together the perfect control room, to soundproofing your recording room, to making DIY bass correction panels and getting your monitor placement just right. To finish off, we've put together six home studio construction hacks to make sure your home recordings end up sounding just right.
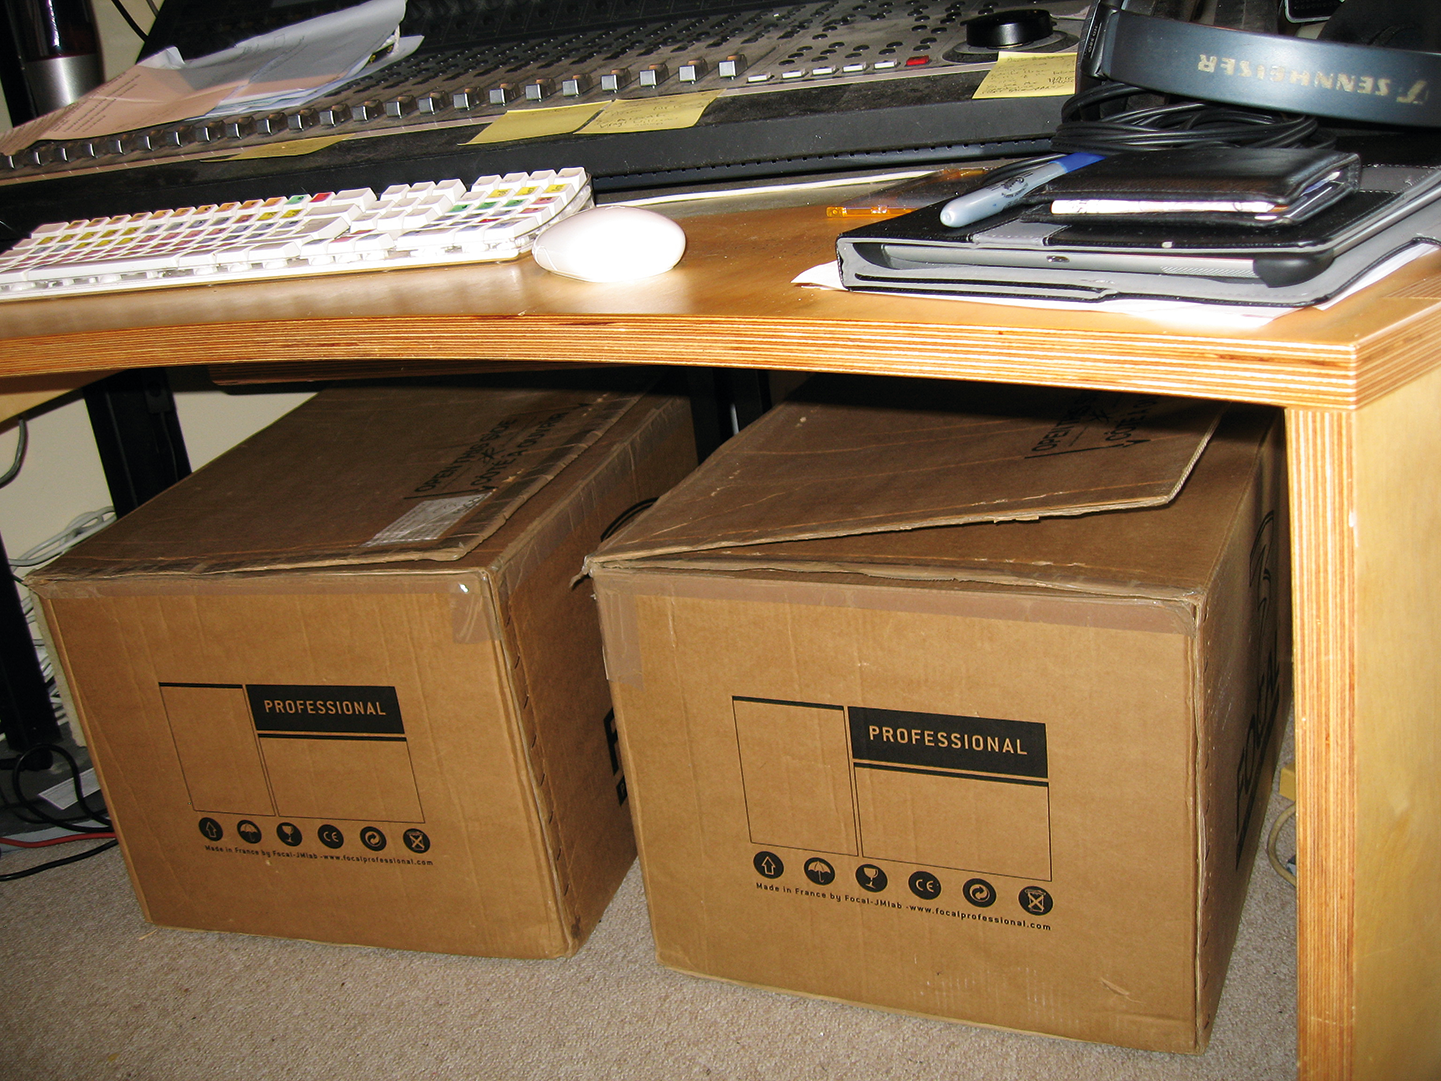
1. Keep those cardboard boxes
Empty, closeable cardboard boxes can really help clean up the low-frequency response of a room. They’re just closed volumes of air that will resonate at those key frequencies – the bigger the box, the lower the frequency. This trick is often discovered by accident when unpacking new monitors – ever wondered why they sound worse when you tidy away the packaging?
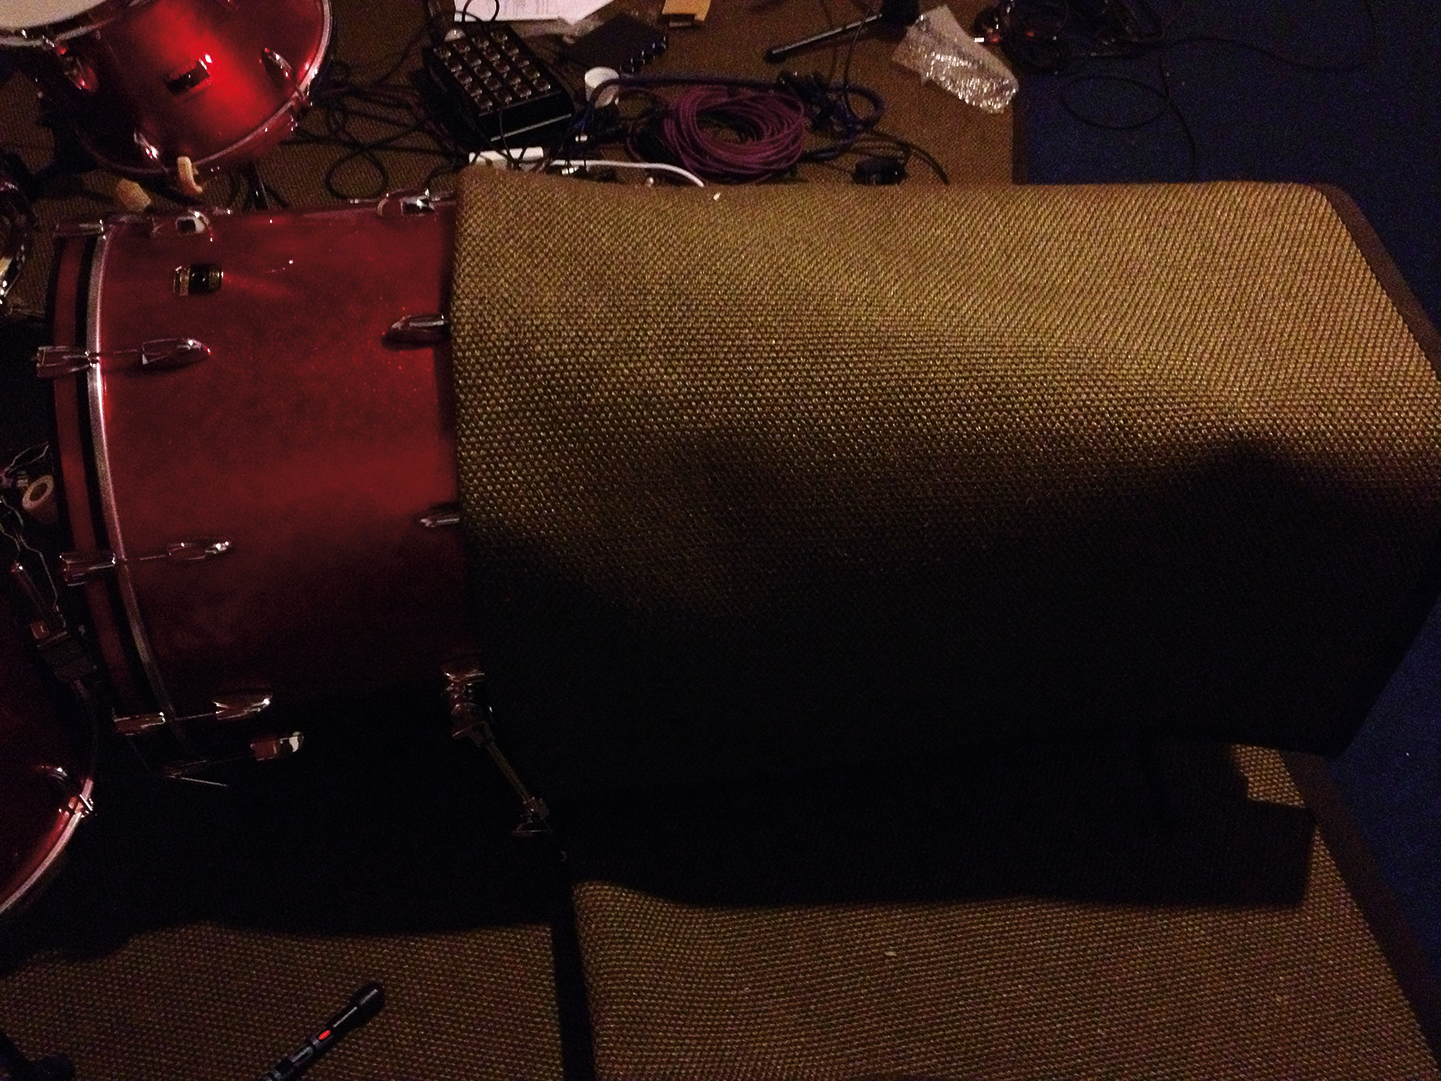
2. Muffle your kick with a rug
A rolled-up, stiffish rug around the kick drum delivers dual benefits. First, it can augment the low resonance and ‘note’ of the drum and help boost the bottom octave; and second, it acts as a physical barrier, so you can wind some serious top end in on your kick mic without adding high-frequency kit spill.

3. Tame wall reflections with a duvet
Domestic walls tend to be painted plasterboard, which has a natural sound that you could only describe as ‘quacky’. Patio doors and windows are equally unhelpful. Luckily, your home studio already contains just the thing for diminishing these unpleasant reflections: a duvet. Use cable ties on curtain poles or rails, and try and get the duvet a few inches away from walls if possible to maximise its effect.
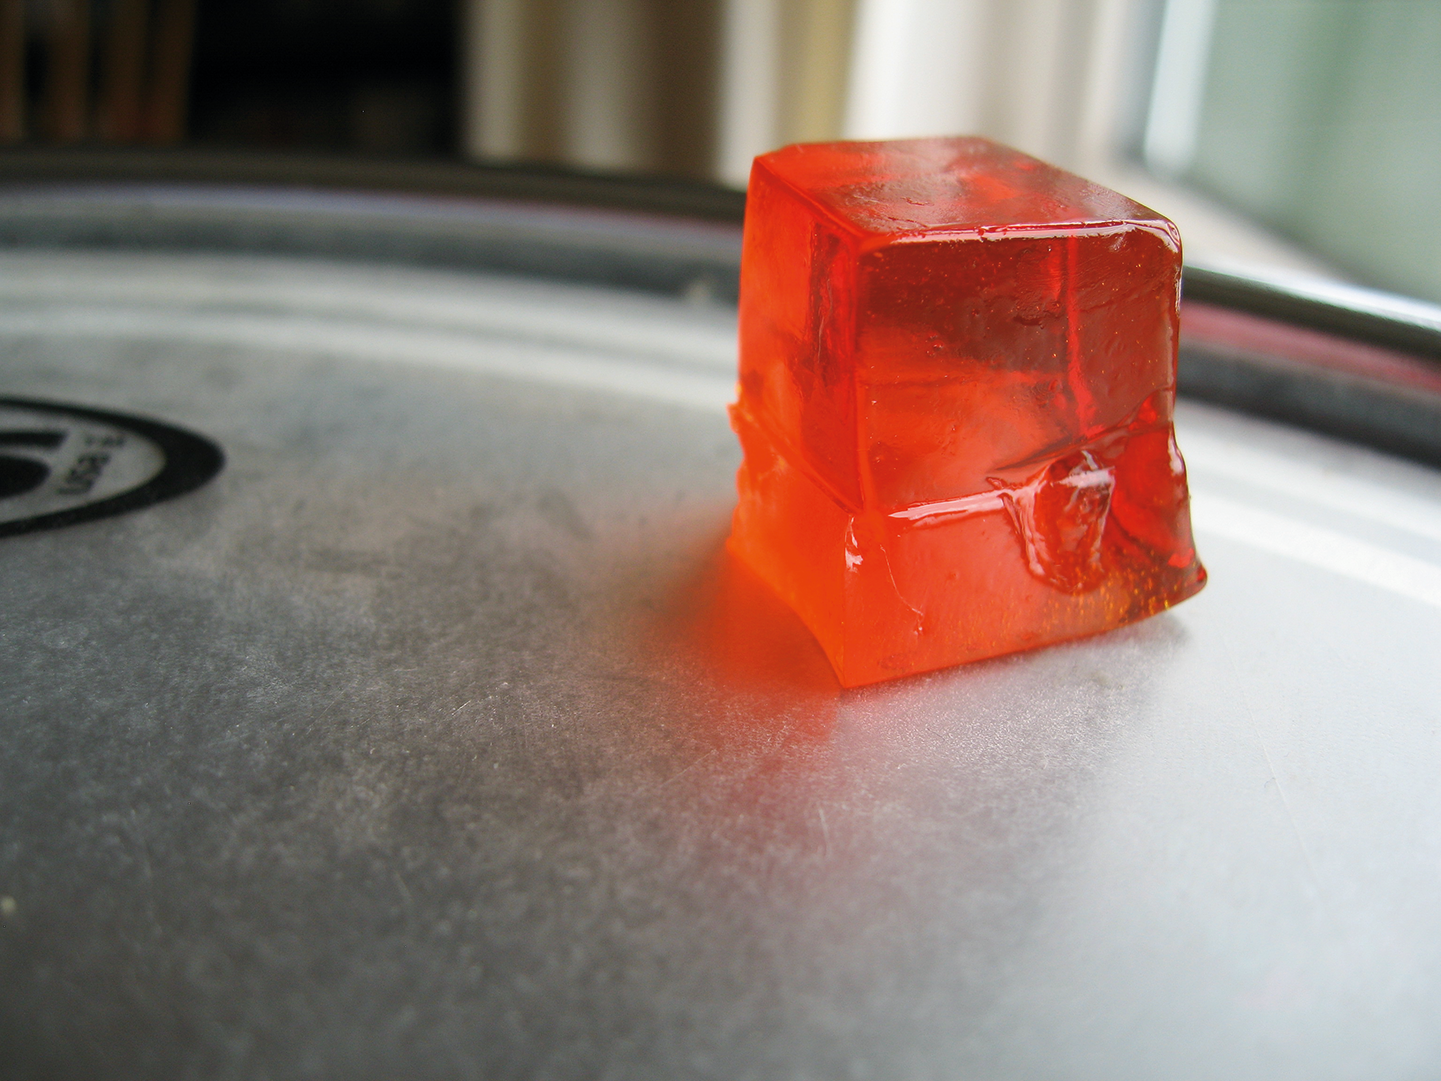
4. Use moongel pads to improve your snare sound
Moongel pads are small, sticky gel rectangles that you can stick to drum heads to reduce unwanted ringing and general flappiness. Most good studios will have some, but a square of jelly from your kitchen cupboard or local shop (any flavour will do) will be just as effective in helping to get that perfect snare sound.
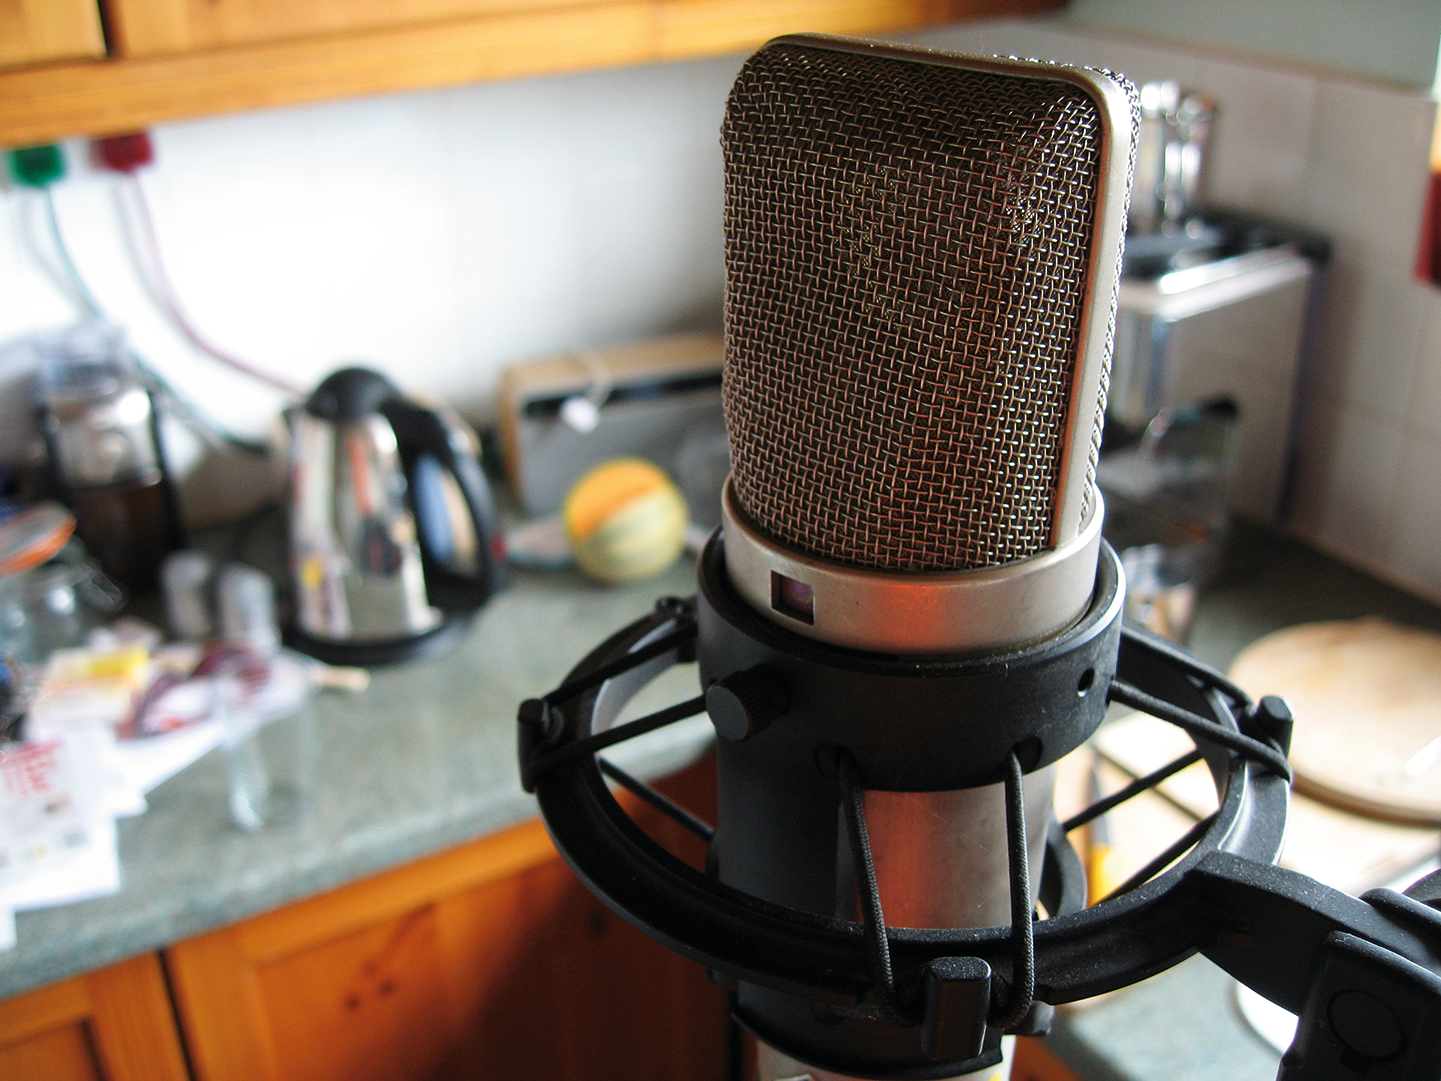
5. Capture reverb in your bathroom or kitchen
One of the problems with killing the reflections of our rooms is that we then can’t get any natural ambience into the recordings we make in them. If possible, stick a mic in the bathroom or kitchen – these will be bright and bouncy-sounding rooms – then record your drums or amp in an adjoining room, with the doors open. Delay this ambient signal by a few milliseconds for extra ‘size’.
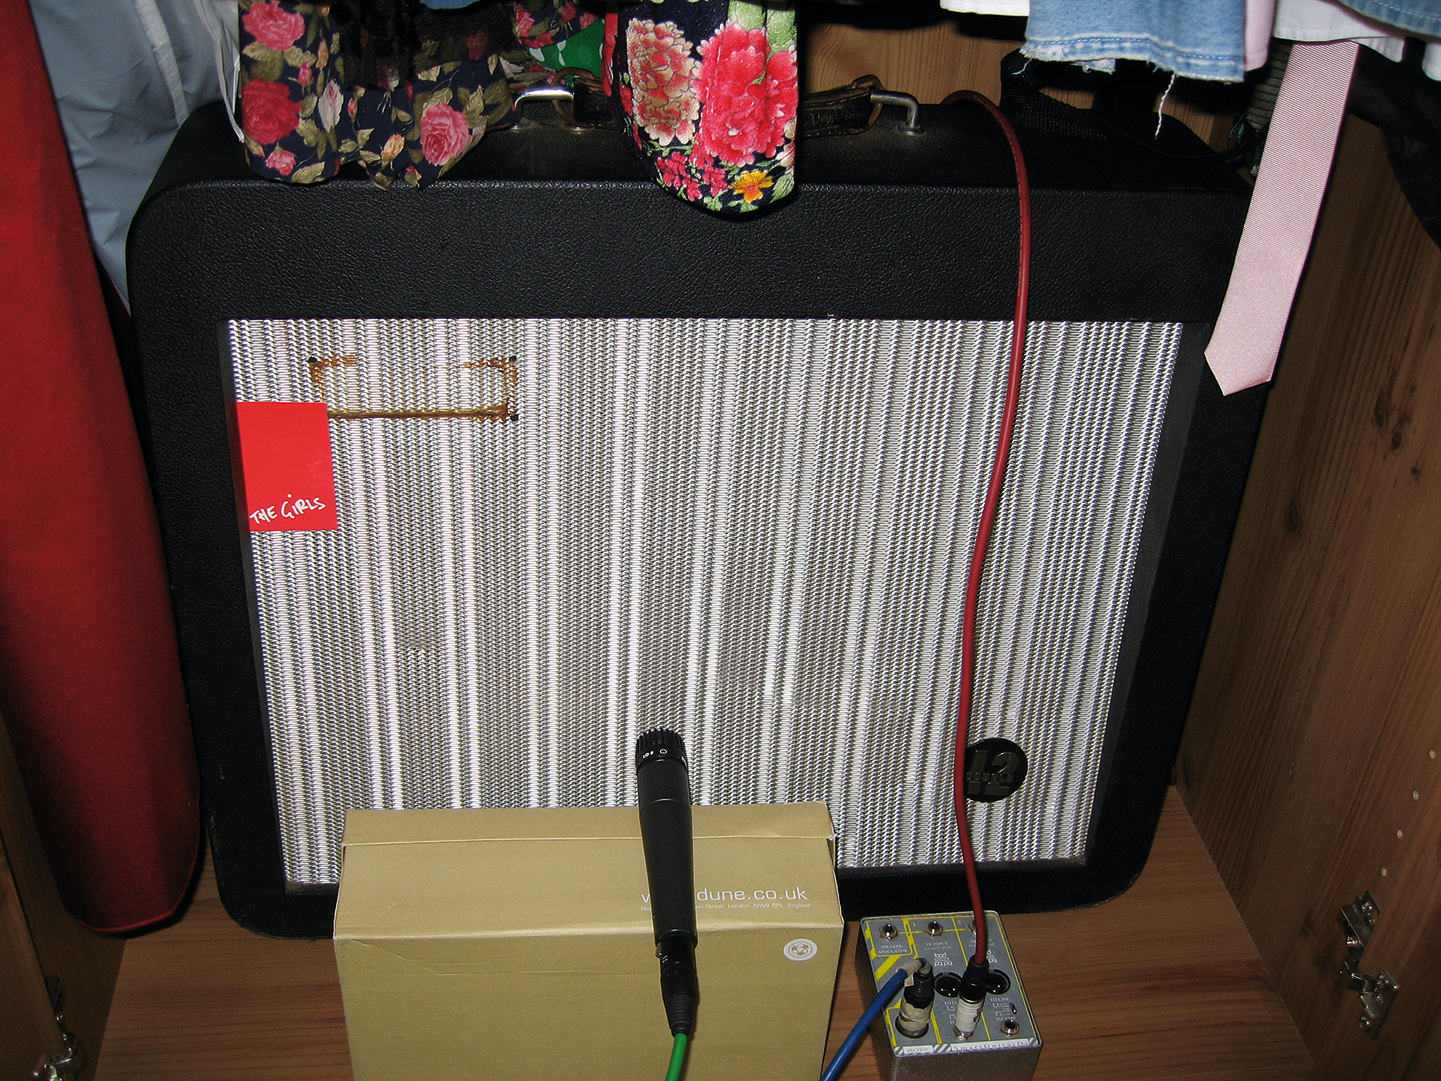
6. Stick your amp in the cupboard
Sometimes, a surprisingly big sound can be made by a small amplifier. 1x12 combos or smaller are great for tucking away in cupboards or under stairs and miking up, so that they don’t bleed into your drum or vocal mics. The perfect place is a wardrobe filled with clothes – good isolation and no nasty room reflections.
Want all the hottest music and gear news, reviews, deals, features and more, direct to your inbox? Sign up here.


Computer Music magazine is the world’s best selling publication dedicated solely to making great music with your Mac or PC computer. Each issue it brings its lucky readers the best in cutting-edge tutorials, need-to-know, expert software reviews and even all the tools you actually need to make great music today, courtesy of our legendary CM Plugin Suite.
