
If you’re thinking about getting into playing live and getting out there on the road and doing some touring, there are a few things to consider when it comes to the gear that you’ll be using.
As guitar players we tend to default to wanting to emulate our idols and play in front of a wall of amp stacks with a rack of 25 vintage guitars, all running via a pedalboard that could shame NASA. Unfortunately, in the real world of touring, a lot of this dream scenario is impossible. But you can still make your rig, and the prep behind it, ideal for your needs.

You will most likely need to tour with a stripped-back rig, sometimes even hiring gear depending on the financial and logistical challenges you may encounter.
I started gigging on a very regular basis in 2006 and I still spend at least a quarter of the year on the road each year. I’ve clocked up a lot of miles since 2006 and learnt a lot of new things from issues that have shown up.
I’m going to share with you nine essential gear tips I’ve learned in my time as a gigging guitarist. Check out the video below and read on for more.
1. Pack Sensibly

Being prepared for time on the road is essential. When you’re putting together all the gear you need, you first need to consider how it’ll be used, how it will be transported and all the logistical and spatial issues that might arise.
If you’re playing smaller venues, you certainly want to keep your rig size in check. Smaller amps, fewer guitars and smaller pedalboards are the way forward in these situations. If you’re touring on a smaller scale, the chances are you won’t have a guitar tech which means you’ll be carrying and setting up your own gear.
If you’re touring in bigger venues, louder amps and extra bits of gear can be useful, but not essential as you can run through the PA. Build your rig for the gig it’s playing. And an amp backup doesn't have to be a second physical amp anymore – amp pedals and multi-fx modelling units are a much more portable option.
You also need to pack your essentials. I never leave for a gig without the following in my case:

- DI Box for my amp sim backup pedal
- Lots of plectrums
- Spare Strings
- CAPO
- Backup cables: including guitar lead, amp power and pedal patch cables
2. Use the best cables you can afford

Guitar cables are an integral part of your entire live rig. Everything is connected with cables, but it’s often an area we try to save money.
Cables vary massively in price. You can get very cheap cables and you can also get very, very expensive cables. You should always aim to buy the best cables that you can afford. This is an investment you do not want to skip because it's a long-term investment your whole rig depends on.
Having good cables not only improves their reliability but also the tonal transfer. Higher quality cables are made from higher quality materials which gives a better overall transfer of the tone from the guitar to everything else.
The same applies to pedalboard patch cables. Always use the best patch cables you can afford so that they are durable and don’t affect your pedal tone too much.
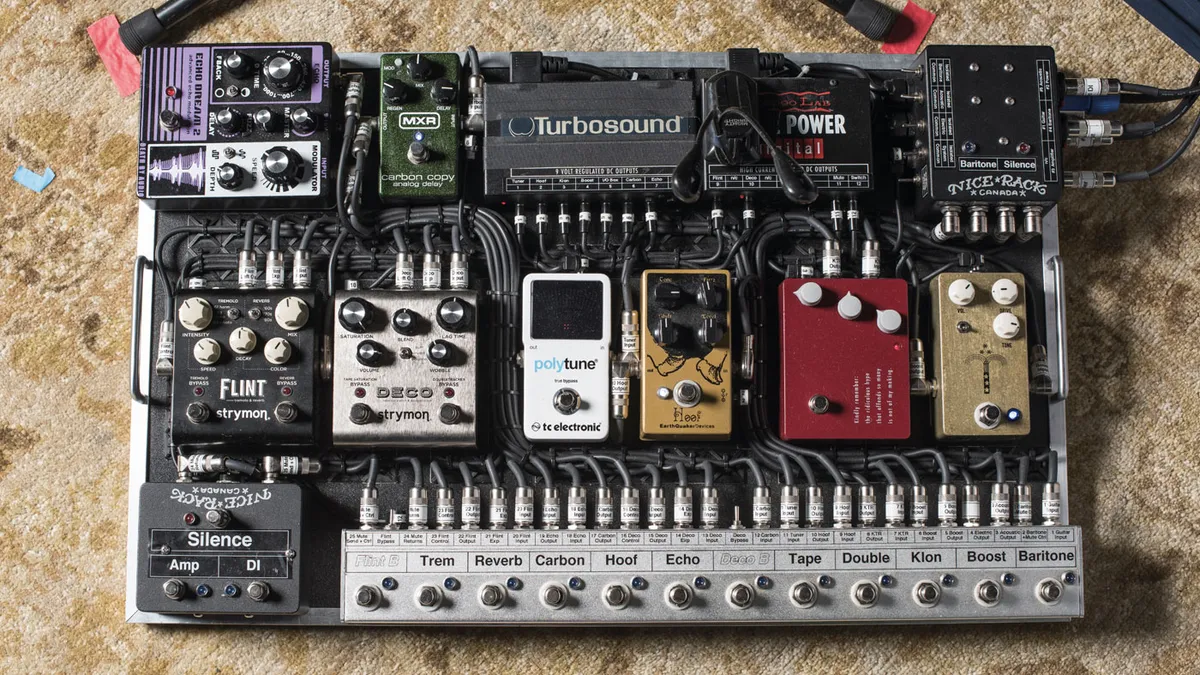
3. Get an Isolated Power Supply for Your Pedals

If you’re using a pedalboard you will need to power it. If you’re only running one or two pedals you may be able to get by with a simple daisy chain-style pedal power supply, but these are not suitable for larger setups.
If you’re running a bigger 'board with more pedals you will definitely want to look into power supplies with isolated outputs. This will minimize the chances of you experiencing any issues with power-related noise or him, and also give you a durable power supply that delivers an even and clean voltage to your pedals.

Each output on the power supply feeds a single pedal and the power from these outputs is isolated. This helps is reject any unwanted noise or interference, and it also means if one output goes down, you can still use everything except the pedal connected to the socket that went down.
4. Understand your signal flow

When you’re putting a pedalboard together, there are some tone best practices you can follow to ensure you put your pedals in the best possible order. This is not a set rule, you can put your pedals in any order you wish, as long as the sound inspires you.
However, there are some pointers you can follow to get the best results.
Start with your guitar tuner pedal. This allows you to give a direct signal from the guitar to the tune for the best results with tuning.
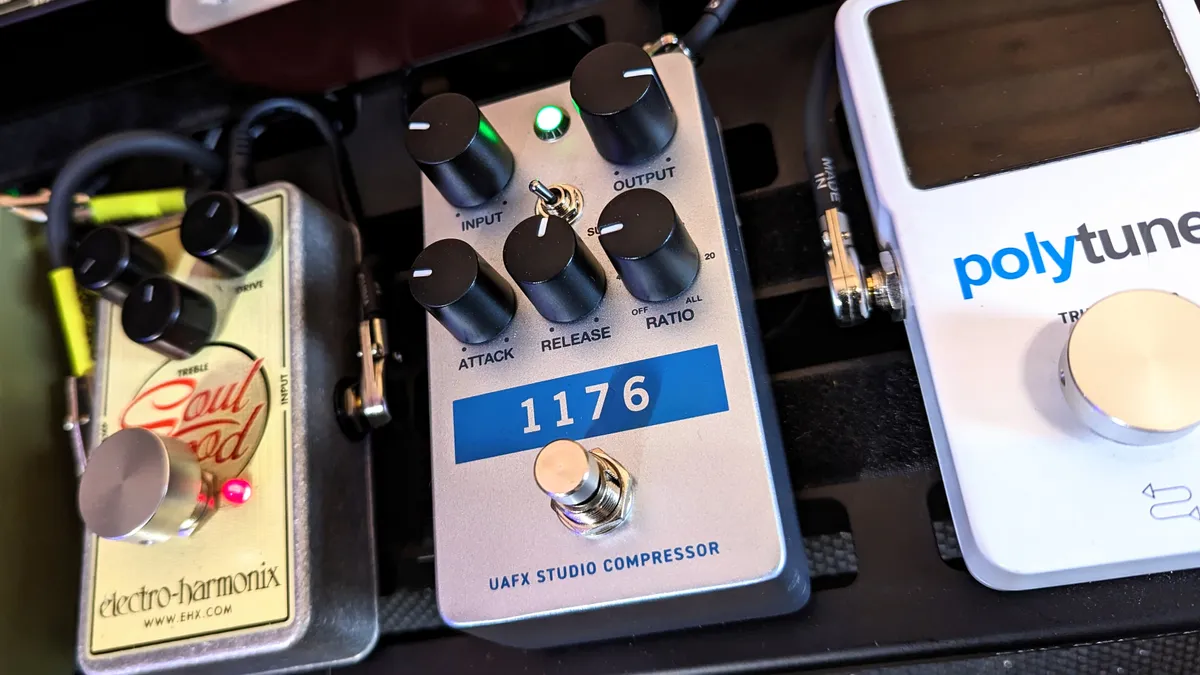
Next, position your wah pedal, pitch pedals and your compressor pedals. These types of pedals always react best to a dry, clean tone. The closer they are to the beginning of the signal chain, the best results you get.
I like to stack gains from low to high gain
Then you have your drive section, you could also consider adding your compressor here depending on how you will use it. In this section, you can put your gain pedals in any order. The final pedal in the overdrive pedal chain gives tone its main, overall shape. If you have a favourite drive pedal that best represents your tone, put it last. Anything before it will impact it, but the final pedal in that block will have the biggest tonal effect. I like to stack gains from low to high gain – more on that later.
Next up you can put your modulation effects like chorus pedals, tremolo, vibrato and anything else that modulates the signal. After modulations, it's usual best is to put delays and finally, reverb pedals are the end.
5. Learn to dial in a great tone consistently

If you’re lucky enough to tour with your own gear, the chances are you will know how to get a great sound. Sometimes on tour or even turning up to a jam, you are subjected to rental backline or in-house backline, which means you could be plugging into an amp you aren’t necessarily comfortable with. But the principals of dialling in a good foundation tone apply to borrowed backline and your own gear for gigs.
Most guitar players will want to set up a clean amp to use as a pedal platform, or use a light crunchy sound to add extra gain on top of. The hardest part of dialling in an amp, especially one you are unfamiliar with, is getting the EQ just right.
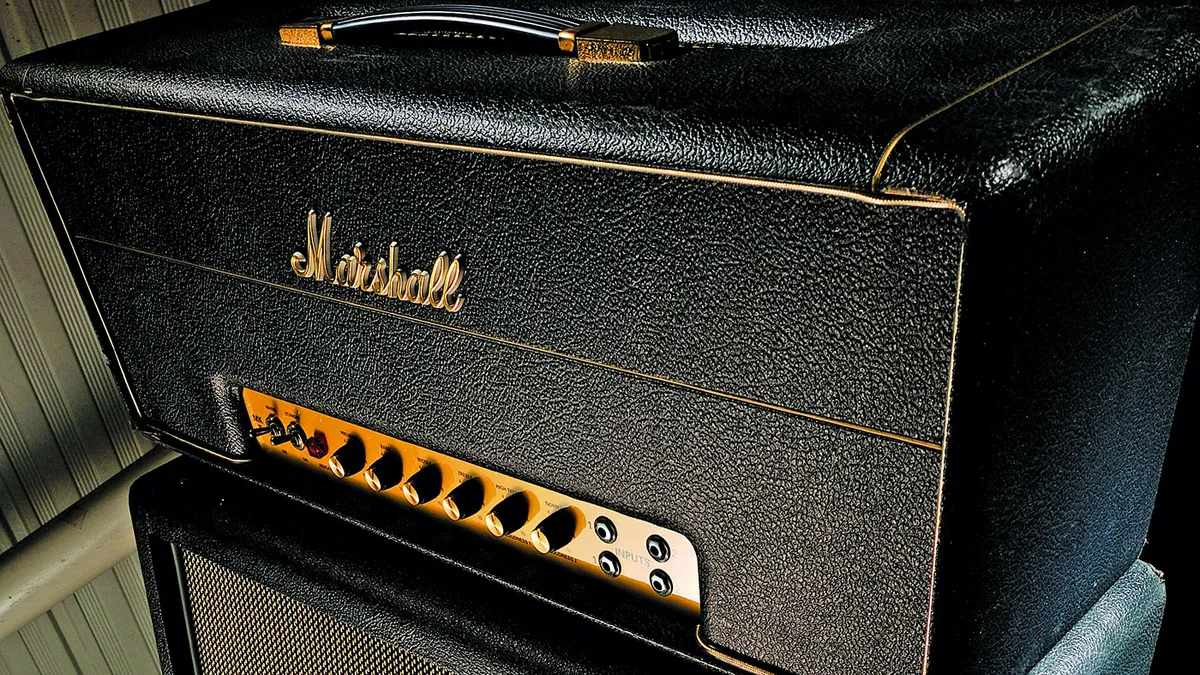
Take a moment to play and move an EQ control from 0 to 10 to hear its range. This allows you to hear how that EQ parameter is working on your tone. Once you’ve done this, set everything on the amp to 12 o clock. With the EQ in this position, it gives you the closest to a neutral, flat EQ’d tone.
Most amps sound great in this setting. Once here, you can make small adjustments to each of the EQ parameters to fine tune your tone.
6. Understand Gain Pedal Stacking

Gain stacking is when you use multiple overdrive pedals to build your ideal drive tone. This is something that a lot of gigging guitar players are very fond of because you can produce some unique tones.
Stacking can be used for boosting the overall level of gain, or simple shaping the EQ of the gain you have. Stacking low to high is a best practice so that you can use the lower gain drives to push the high gain ones more. Or use the high gain drives to sit on top of your low-gain tone to push it over the edge.
The final overdrive pedal in the block will impart the biggest EQ shift on the overall tone.
7. Use pedals to enhance or cut through
Once you’ve got your basic rhythm tones dialed in you need to consider how you can stand out in a dense live mix. Every instrument on stage occupies a frequency space. You want to find a way to cut through this and get heard when you need it.
You can use pedals to apply different EQ signatures to your tone. For example, an overdrive early in the chain with a very bright tone. This will add some top end sheen to your riffs. A compressor pedal can also be dialled in to enhance sustain too.
You can also set the volume high on overdrive pedals later in the chain to boost your guitar in the mix for lead guitar parts.
8. Learn your guitar's tonal capabilities

You can unlock a huge world of tone from just understanding how your guitar works. Each guitar is different, but the overall principle of this point is the same. You can use the guitars onboard volume and tone controls to shape and create a tone for yourself.
- Pickup switch – An obvious one – use it to change between the guitar's pickups. Each pickup will give you a different overall tone, and this can be used to enhance parts within a song – like switching to the brighter bridge pickup or creamier neck position for a solo.
- Volume control – use the volume control to clean up your tone a little. Set it to 7 or 8 and dial in your rhythm tone and you also have a little inbuilt boost when you turn it back to 10.
- Tone control – the guitar's tone control rolls off high end. You can use it to darken up a bright tone.
- Picking dynamics – guitars are very responsive to harder and softer playing. This opens up some great textural sounds from your guitar. Softer picking is slightly cleaner and harder picking causes move breakup and overdrive.
- Picking location – where you pick also makes a huge difference. If you pick closer to the bridge you get a brighter, twangy sound. If you pick by the neck the tome is warmer with less of a pronounced low end.
9. Have a backup plan
ALWAYS have a backup plan. Things can go wrong on the road, and they almost certainly will at some stage.
If you’re running a real amp, consider an amp sim pedal or a spare amp on the road to get you out of any situation. You never know when an issue can arise and when it does, you’ll be ready!

You should also build a backup plan into the first tip from this article. Pack doubles (and more) of all the essentials. Take plenty of spare cables, strings, picks and everything that you should never be left without at a gig.
Having a backup plan will allow your gig to carry on with minimal disruption should you run into any gear problems.
