Just like any other audio source, sampled vocals are ripe for slicing and dicing in your DAW in order to turn them into hyper-real sounds and FX.
We've collated our top vocal acapella production tips into one masterclass for you to enjoy.
Here are eight techniques to get you started…

Step 1: We're going to take you on a tour of our favourite techniques for slicing vocal stems and acapellas to create exciting cut-up vocal FX. To try these techniques, download and load the WAV files beginning "Garage…" into a 130BPM project in your DAW, then put a D16 Group Frontier on the master bus to bring the level up -use a little send reverb or delay on the Garage Donna track if you feel it's too dry.

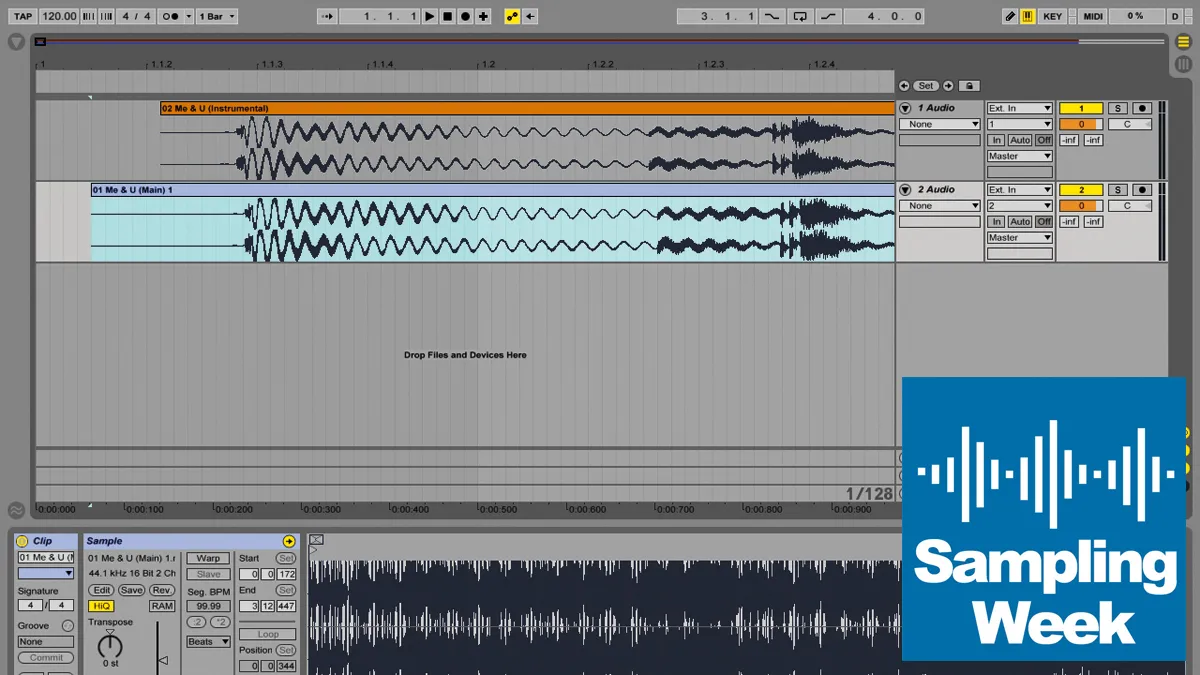
Step 2: Chopping and rearranging a vocal on your DAW's timeline is the most immediate way to create cut-up vocals. Scan through the vocal and play it from different points to locate cool sounds and textures, then snip them out and put them on a new track. Alternatively, mute the vocal and cut parts at random - you never know what you're gonna get!

Step 3: When you've got enough snippets, make another new track and copy them to it to create vocal edits. You may want to send this track to the same reverb as your main vocal, so it doesn't sound too dry. Once you've got the hang of it, try using less obvious sounds like breaths and quiet vocal noises - you may need to boost their level. Again, a little reverb or delay may help them sit in the mix.
Vocal slices sequenced (mix)
Vocal slices sequenced (solo)
Vocal breaths and noises sequenced (mix)
Vocal breaths and noises sequenced (solo)

Step 4: Many DAWs let you transpose individual audio clips using pitchshifting, either in real time or as an offline process, and this can be used to create new melodies. Try the various pitchshift modes, as they each have their own sound. You can timestretch, too - extreme stretches with lo-fi pitchshift modes give a 90s jungle-style sound. Don't forget to try reversing clips, too!
Per-clip transposition used to alter the melody (mix)
Per-clip transposition used to alter the melody (solo)
Clip with no timestretching (mix)
Clip with no timestretching (solo)
Clip with timestretching (mix)
Clip with timestretching (solo)
Reverse timestretching used as a transition (mix)
Reverse timestretching used as a transition (solo)

Step 5: The classic 'tape-stop' effect has crept into loads of pop and EDM songs over the last few years, emulating the effect of a turntable slowing right down. Automating a normal pitchshift effect won't work, as you need to use sampler-style repitching - if you're a Logic Pro X user, this is easily done using a fade set to Pitch mode.
No tapestop effect
Tapestop on 'bass' sound
Tapestop on 'bring' sound

Step 6: To create an exciting and unpredictable flow of effects, set up multiple audio tracks with a contrasting effects chain on each. Try one with a long reverb, one with pitch/formant shifting, one with distortion or bitcrushing, and one with a modulated delay. Pan them differently, too. Now move the vocal
clips between tracks to create rapid effects and alternating switch-ups.
Rapid effects switch-ups (mix)
Rapid effects switch-ups (solo)

Step 7: For a more spontaneous way to work with vocal clips, throw them into a sampler and play or program them via MIDI. Drum machine-style samplers are great for this, as they map one clip to each note, and let you adjust the settings independently. Ableton Live's Impulse is often overlooked, but it's ideal for playing vocal slices, and it even lets you timestretch each clip.
Vocal slices replayed in a drum machine sampler

Step 8: Try looping a sustained portion to create a very playable sound - play this at the same time as the original, unedited vocal phrase to create an unusual effect, where part of the vocal seems to sustain on its own. If you're struggling to get a smooth loop, try using a crossfade in the loop, or snapping the loop points to zero crossings, as we've done here.
Sustained vocal sound using a looping sample

Step 9: Finally, if all that slicing, chopping and mapping seems too much like hard work, some DAWs and samplers will handle it for you - in Live, for example, you can right-click a Warped clip and select Slice to New MIDI Track to have the vocal automatically converted to a mapped sample patch, complete with MIDI to trigger the slices. You can play or program the vocal with MIDI like any instrument.