How to practice the piano: try this 5-step routine for beginners
From warm-ups and arpeggios to playing songs, this routine will help boost your coordination, hand strength and more
In this video lesson from online piano lessons platform Pianote, tutor Lisa Witt talks you through a handy 5-step beginner practice routine for piano players. So, whether you’re getting to grips with a beginner keyboard, or you want a dedicated regime to help you master your new digital piano superstar, this lesson is a great starting point.
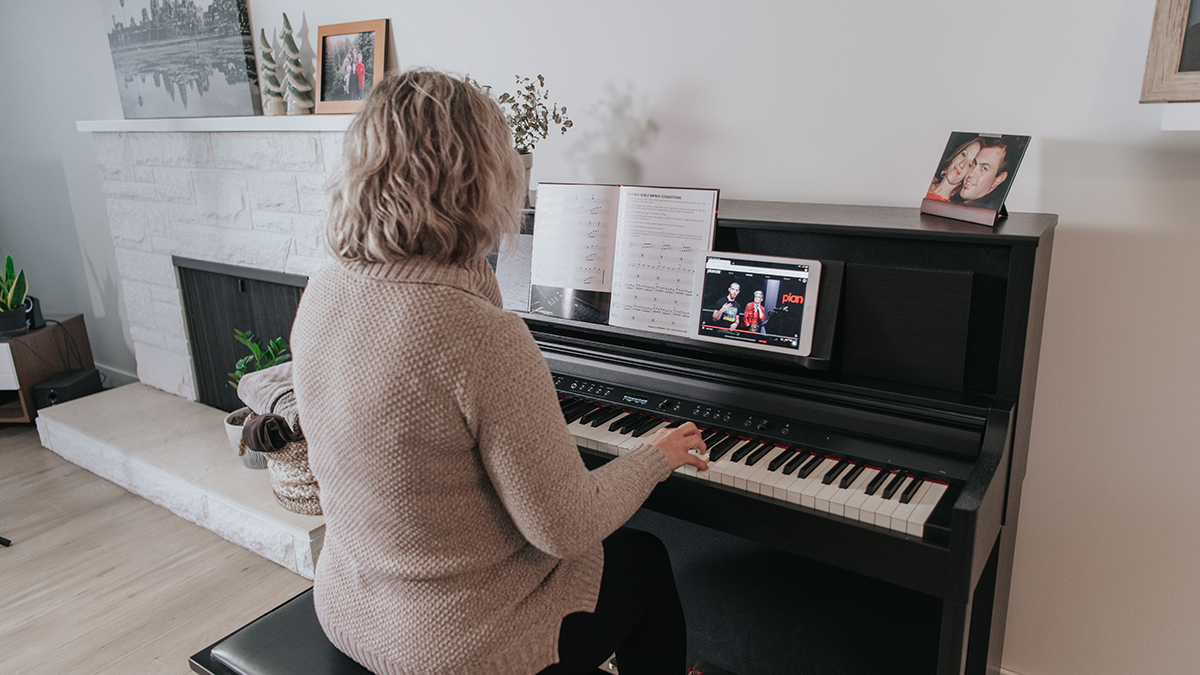
Pianote delivers quality online piano tuition for beginner to pro players, led by expert tutors. Content includes a step-by-step curriculum, playalong songs, live sessions and personal feedback from Pianote coaches. Try Pianote for 7 days totally free.
One of the most challenging things as a new piano player is knowing what to practice and how to practice. In addition, it’s important to know how to have a practice routine that’s inspiring and not boring or just playing scales the whole time.
In this lesson, Lisa will guide you through a complete, step-by-step practice routine for beginner piano and keyboard players. This 5-step routine will focus on a number of things, including getting a good finger workout, hand coordination and comfort moving across the keyboard. You’re also going to play a song and create some pretty beautiful sounds at the end of the lesson. You can follow along with the video at the top of this article.
These lessons are part of a new piano series where we'll be sharing some exclusive how-tos and tutorials provided by Pianote. Missed last week’s lesson? Take a look at where to start when learning the piano.
1. Step 1: Relax
One of the most important things as a beginner piano player is to relax when you’re at the keyboard. When you’re sitting there and trying to play something new, your fingers are still waking up and finding their coordination, it can be very difficult to not tense up. My favourite thing to start any practice routine with is a simple 5-note scale…
2. Step 2: 5-note scale
I’m going to start with my right hand thumb on C and my left hand baby finger on C and I’m just going to play each and every one of the five notes underneath my fingers, one at a time, going up and down the keyboard. If this is feeling too challenging just work on one hand at a time as opposed to both together.
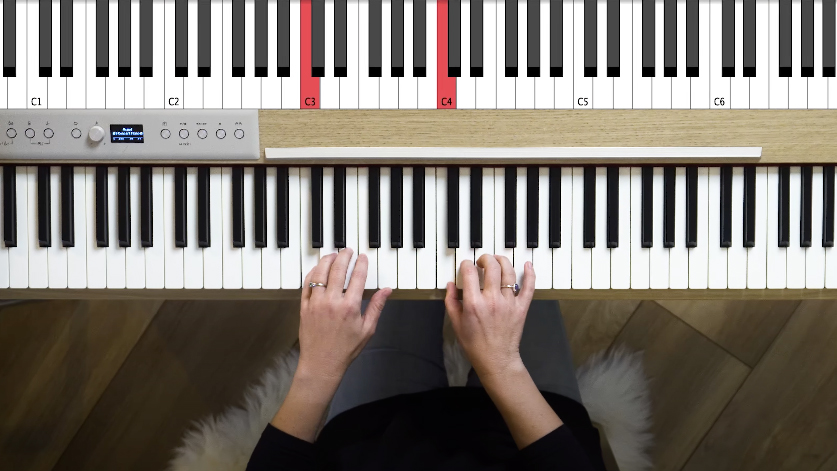
The main focus as you play along with me in the video is to keep your body relaxed. Check in with your shoulders and make sure they’re not tensing up. Make sure you’re breathing. Are you placing weight evenly in each finger. Are your wrists elevated? You don’t want them to be drooping down.
Want all the hottest music and gear news, reviews, deals, features and more, direct to your inbox? Sign up here.
Now we’re going to move hand positions. We’re going to do the same thing, but we’re going to drop our fingers down so we’re on G.
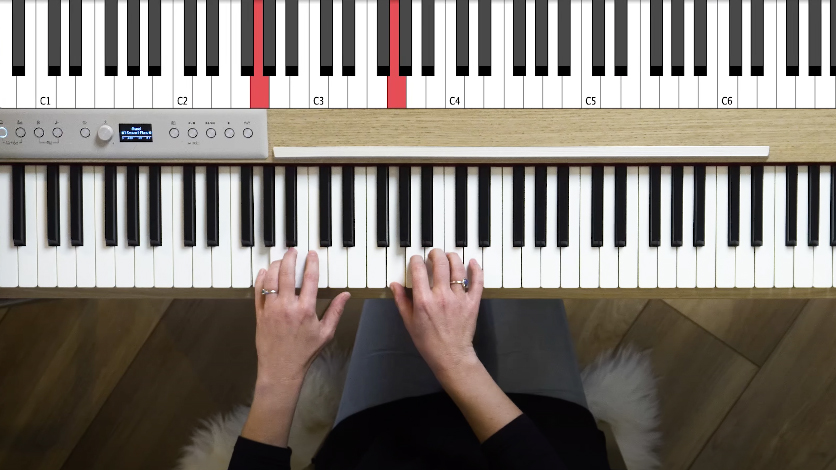
We’re gaining confidence moving around the keyboard and pretty soon you’re going to see how the movements we’re making here are going to set us up for success to play something really beautiful later in the lesson. Once you’re feeling comfortable with this we’re going to be moving our hands up one step to A position.
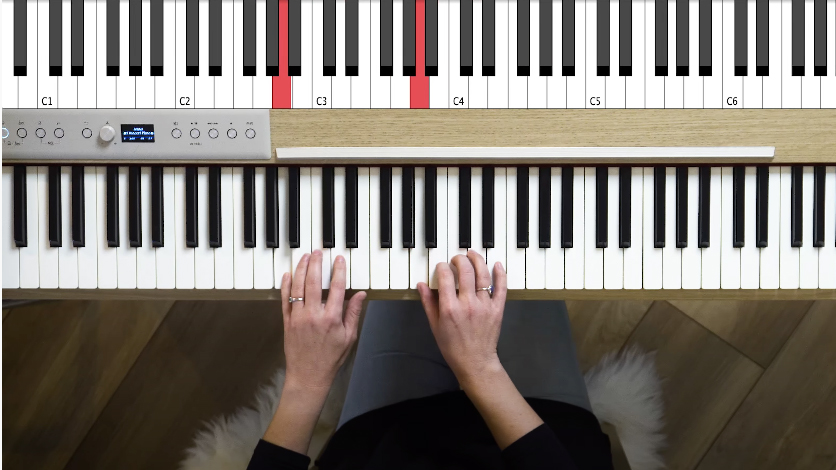
If you’re thinking “this is easy, I want to play faster”, just try and stick with me here. Try to make sure that you’re paying attention to how every single note feels, each little movement between your fingers. Keep relaxed. In the video you should watch my left hand pinky finger. It likes to hop out. So, even after all these years of playing I still have things to work on!
Our final movement is going to take us down to F. When we get down here we’re going to increase the speed just a little bit.
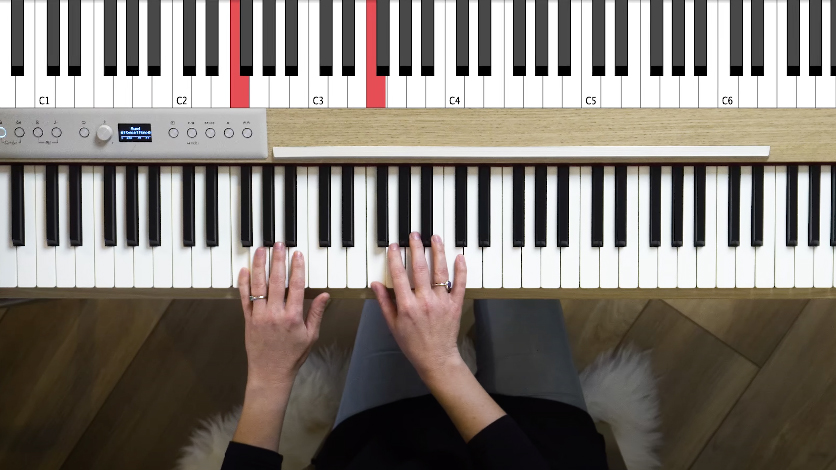
This is a little warm up just to wake up your fingers, get them used to moving around the piano. Trust me, it may look simple, but just the simple art of getting both of your hands to work together at the same time is super challenging for beginners.
3. Step 3: Arpeggio pattern
This one sounds so beautiful. What I want you to do is take your right hand and place your thumb on C, you 2 finger on E, 3 finger on G and five finger on C. This is an arpeggio. Watch how I’m kind of rotating through my wrist as I play. I’m relaxing. Then, with my left hand I’m going to play the notes C and G (also called a 5th) at the exact same time when I land on middle C here with my right hand.
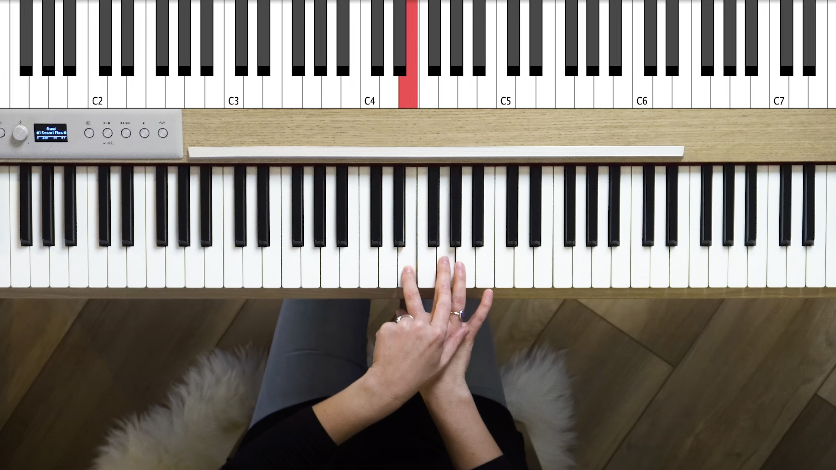
Now we’re going to practice moving our left hand down. We’re going to play that same 5th shape, but on G. I think it sounds kind of tense, or thoughtful. Now we’re going to move our left hand up to an A shape. Then we’ll move the left hand to the F position.
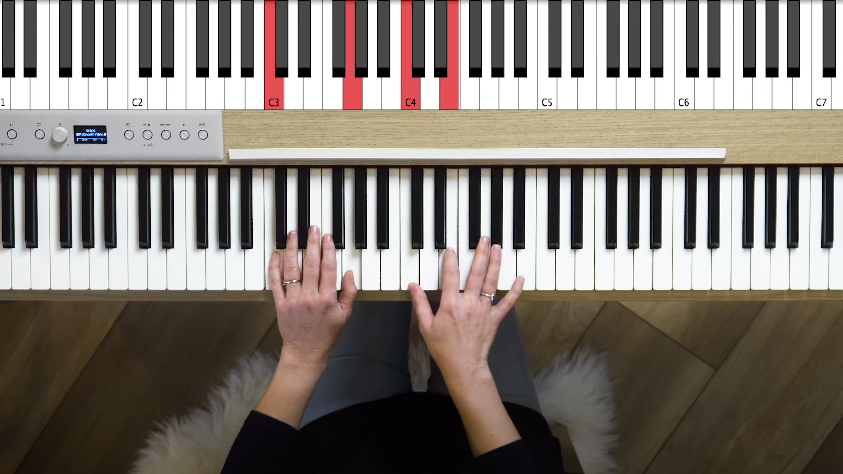
This pattern is going to help you with your wrist movements. It will help you get comfortable and is probably one of the most popular piano techniques to learn. Everybody must learn to play beautiful arpeggios.
4. Step 4: Left hand arpeggio
Now we’re going to transfer the effort over to our left hand. Let’s be honest, beginner piano players often struggle with a left hand that just doesn’t want to keep up with the right.
So, let’s practice an arpeggio in our left hand. We’re going to go C, E, G, C, G, E, C. Just follow the video and settle in with me. Then we’re going to get ready to play a C and G in our right hand. This is working your coordination together.
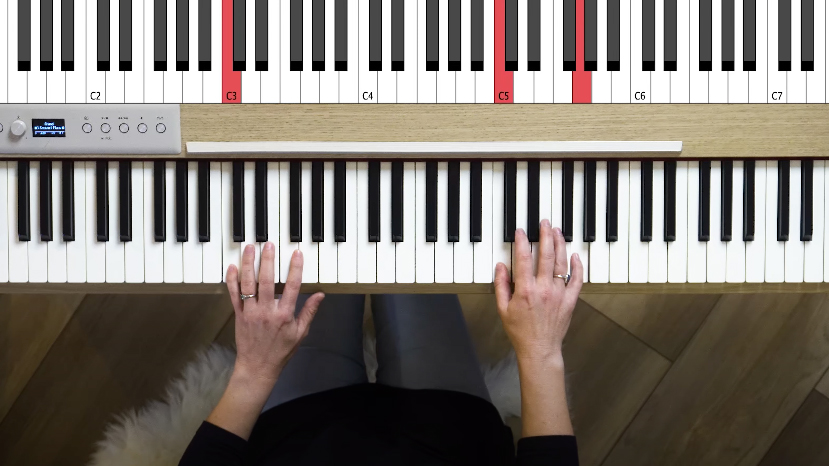
Now our left hand is going to do the moving - we’re going to go to G, B, D, G, D, B, C. Again it sounds kind of tense here, but that’s ok.
Next, move up to A, E, C, A, C, E, A.
Then we’re going to move our left hand down to F, A, C, F, C, A, F. I think that right hand kind of sounds like chimes or bells. So with this exercise you’re working on strength and conditioning and moving both hands around the keyboard, along with coordinating your hands and working on hand independence. And it sounded so pretty!
5. Step 5: Play a song
The final thing I want to look at in this beginner’s practice routine is a song. Now you may be thinking "what!’. There’s no sheet music on my screen. How am I going to do this?" I’m going to teach you a song on the fly. We’re going to be challenging your ears and your sense of creativity here. We’re going to learn something really simple and really pretty. Watch the video between 06.55 and 08.20 for the full explanation.
I want you to place your right hand thumb on C and play C, D, E, E, then repeat that, while playing in your left hand that fifth shape again based on C.
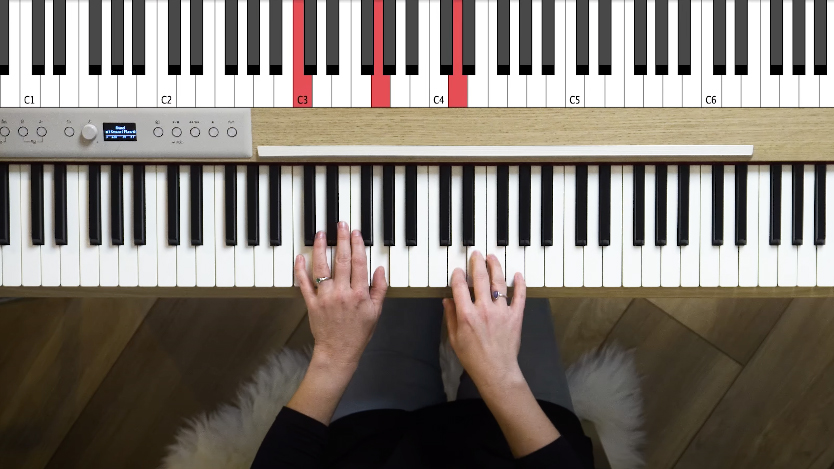
Then I want you to move your thumb down and play C and hold it while you play G. The left hand moves up and you’re going to play that 1, 2, 3 pattern again.
Then we’re going to play F in both hands.
It’s short, it’s sweet and simple. But it's really melodic and really lovely. I hope that it inspired your ears a little bit.
Conclusion
What we’ve done in this short sharp practice is we’ve established a framework that you can begin exploring, as well as some techniques that you can use to just encourage yourself to push forward in your skillset as a piano player - all those things like hand independence, keyboard confidence and finger dexterity and strength. I hope you’ve enjoyed this. I hope you have been able to play along with me, but feel free to go back in and repeat sections of this video. Repeat, do it again and have some fun!
Want to know more about Pianote? Read our full Pianote review, or get a taster by signing up for a 7-day free trial.
- 8 great beginner piano songs to learn
Lisa is one of the lead coaches at Pianote. She has 20 years of piano teaching experience alongside training through the Royal Conservatory of Music. Lisa has embraced all styles of playing which has equipped her to teach just about anything you'd ever want to learn on the piano, whatever you level.
