
Here, Guitar Techniques presents an exclusive masterclass with rock guitar legend Paul Gilbert.
PG exploded onto the 1980s rock music scene with his exciting blend of fast technical soloing and power tools! He has maintained a fabulous solo career and has been part of legendary rock bands Mr Big and Racer X.
Paul finishes his video lesson with a full explanation about core areas of his performance
PG starts his detailed solo analysis with a handy tip for creating a memorable motif. A strong melody frames his playing on Not To Meander and is the launch pad for his solo.
Paul vocalises a melody and then adds lyrics, helping to establish an organic, memorable rhythm: “It’s hard not to meander, when you ain’t got nothing to say,” intones Paul.
The scale of choice for the A section is B Dorian (B-C#-D-E-F#-G#-A), which sounds great against the Bm7 chord but also outlines the E major sound - when the chord moves to E major Paul often targets the G#, the major 3rd of E.
He also adds expression to the melody with long and short notes and a variety of articulations including: string bends, vibrato, finger slides and raking of the pick (fake sweeps) to add attack to the notes.

A key concept that Paul uses is the very melodic sounding triad with the 9th added (R-3-5-9). This breaks up the scales, but softens the potentially stark sound of the triad on its own. This pattern can be learnt and then repeated across three octaves (see our notated examples from Paul’s chat).
The B section contains a string of descending chords and Paul outlines each of these with a well planned arpeggio roadmap. These ideas are extremely well demonstrated and we have notated these concepts in our extra examples. It will be well worth the effort to learn these roadmaps so you can improvise through the B section yourself.
Paul finishes his video lesson with a full explanation about core areas of his performance. These are organised as nine short examples that cover scales, sequencing and arpeggios.
Our notation and explanatory captions revise the video’s content: Examples 1-9 are shown first, to prepare you for Paul’s full performance afterwards. It’s very well worth taking a close look at the highly efficient way he fingers and picks the phrases. And while much of it is pretty advanced, there should be a new technique, lick or phrase here for you to pull out and perfect.
If you find one you like then Paul would surely love you to memorise it and use it in future where the Natural Minor sound is appropriate. Then try creating a solo of your own over Jason’s backing track.
Thought from Paul:
“Every fingering has rhythms living inside of it.”
“I often think this thought. What does it mean? It means that you can take advantage of the fact that on the guitar nearly any set of notes gives you many choices in how they lay out on the fretboard.
“In my teenage years, I would squeeze every scale into three-notes-per-string patterns, so I could rip through them quickly and percussively. And it worked. For that. But those same notes can be laid out horizontally on a single string for superior versions of patterns like descending fours.
“Yngwie Malmsteen and Michael Schenker are masters of this. And it doesn’t end there. Pentatonic shapes can be great for creating a swing feel (like the intro of Lynynd Skynyrd’s, I Know a Little. Sweep picking is great for glissandos, while the same notes played with string skipping lends itself to 16th notes.
My goal is to stomp my foot on 2 and 4. These are the beats that make rock feel like rock
“Do we keep track of all these rhythmic possibilities? And can we sift through and keep the best ones? Sight-reading, for me, is not the answer. I don’t read well enough to have a visual memory of what rhythms ‘look’ like. Since my eyes won’t help me, I need another body part. I’ll take two actually. The foot. And the ears.
“My goal is to stomp my foot on 2 and 4. These are the beats that make rock feel like rock. They are where a drummer typically hits their snare drum. They are where the pickaxe hits the rock in the chain gang. It is the feel of physical labour. It is not the feel of classical music, which provided the soundtrack for aristocrats waltzing and riding horses (good work, if you can get it.)
“So listen to the snare drum, stomp on 2 and 4, then use your ears to listen for how your phrases relate to the beat. You may find that your favourite ‘bedroom’ and ‘guitar store’ phrases don’t lock into the groove very well. (Don’t worry, they might fall into another groove; there are a lot of tempos and grooves out there.)
“And you find that simpler phrases suddenly come to life from how well they attach themselves rhythmically. Complex phrases can work as well. But make sure they hold together, while you stomp your foot.
“If you’ve never stomped to keep time, it may require practice. But this advice is not to give you tedious work for moral goodness. The results of good stomping will breathe musical energy into everything you play. And the fretboard will open up with rhythmic possibilities. I know you’ve got excuses. Discard those. Stomp!"
Get the tone

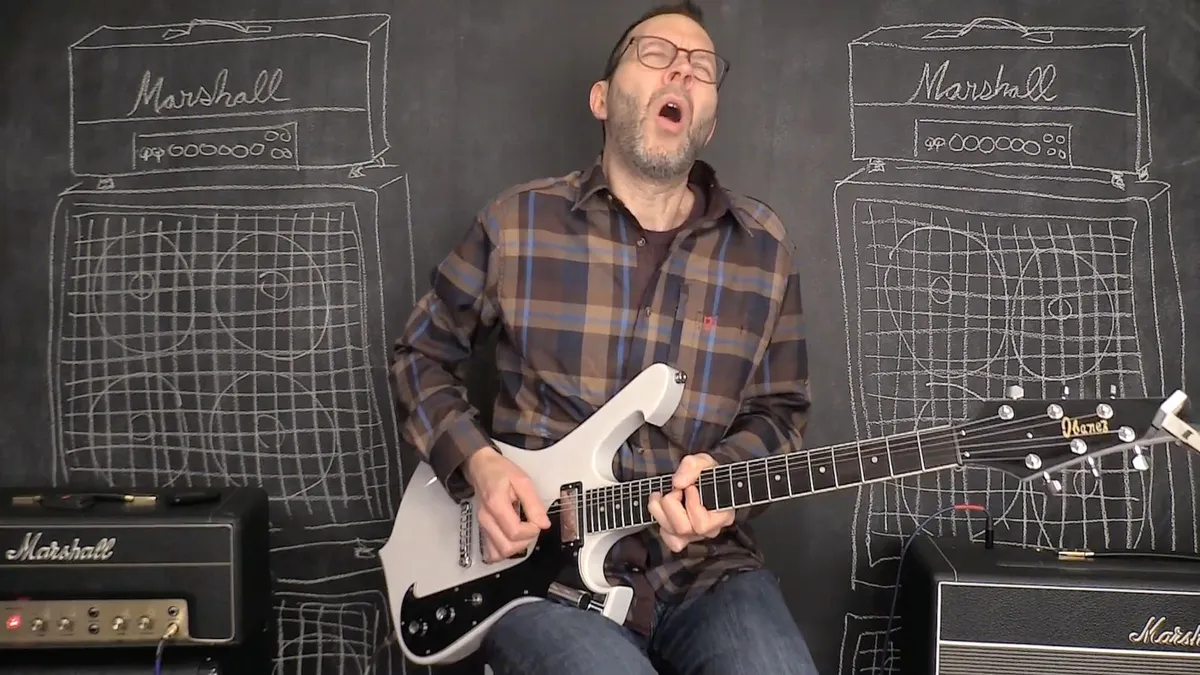
For the recording Paul used his signature Ibanez Fireman guitar plugged into a Marshall amplifier. Bridge pickup tone is very complementary to this style of playing and it’s probably your best place to start.
However, any electric guitar will work for this month’s performance; just dial up a modern sounding overdriven tone with plenty of sustain. Paul’s amp and pedals were set to provide just such a modern sounding rock tone.

Top three licks
1. Bars 1-5 Main Motif
This section features the motif that Paul created and plays variations on throughout his solo. Be sure to learn the basic contour and where Paul adds in his articulations. From here you can free it up and include your own preferred variations to keep the listener interested.
2. Bars 25-26 Fast Trills
Paul uses fast trills to punctuate the end of his phrases. Make sure your hammer-ons and pull- offs are sound, then build up the speed slowly.
3. Bar 40 Two-Notes-Per-String Patterns
This lick features this concept repeated across three octaves. You only need to master the fingering for one octave and then shift the same pattern to the next two octaves. Genius!
Chord chart: Not To Meander

Example 1. A Major Triad

This is the simple triad fingering across three octaves.
Example 2. Aadd9 Arpeggio

This is the simple triad fingering across three octaves used as a foundation for the following concepts. Watch how Paul mixes legato with picking.
Example 3. Extended Aadd9 Arpeggio

Example three is an extended version of Example 2, with opening first-string slide and a constant stream of 16th notes.
Example 4. Aadd9 Arpeggio (Over D Major)

If the Aadd9 arpeggio is superimposed over the D major chord a D6/9 sound is (B), maj7 (C#) and 9th (E). It’s clever and very tasty sounding, and you should try produced. This arpeggio starts on the 5th of Dmaj7 (A) and outlines the 5th, 6th other superimpositions to see what works and what you like.
Example 5. Eadd11 Arpeggio (Over C# Minor 7)

When the Eadd11 arpeggio is superimposed over the C#m7 chord a C#m7addb6 the 3rd, 5th (G#), b6th (A) and b7th (B) intervals. The formula you can try is a major sound is produced. This arpeggio starts on the 3rd of the chord (E) and outlines arpeggio a minor 3rd higher than the underlying m7 chord.
Example 6. Dadd9 Arpeggio (Over B Minor 7)

A Dadd9 arpeggio over the Bm7 chord produces a Bm11 sound. This arpeggio starts on the 5th (F#) and outlines the 5th, 11th/4th (E), b3rd (D), and b7th (A).
Example 7. Arpeggio Improv For Dmaj7, C#M7, Bm7, Amaj7


This example amalgamates the previous arpeggo superimpositions. The effect is one of sophistication as the arpeggios still represent the underlying chords.
String bending
When it comes to bends, Paul loves to put his thumb over the fretboard! This gives him strength and stability while reducing noise from the lower strings. Think of the neck as a baseball bat; clasp it and then bend the string by a tone (as here on the third string) or way beyond!
Playing fast
Here with his trademark mix of fast-picked notes and flurries of legato, Paul’s thumb still shows over the fretboard (minimal hand movement between three-notes-per-string runs and screaming bends) while his fretting fingers are poised over the upper strings and higher frets.

Fretting hand stretching
Stretching out with his fretting fingers! One tip to consider is fingertip fretting vs fingerpad fretting; the first allows for precise fretting while the other allows for muting strings either side of the one being played. Paul is masterful at both so have this as a goal with your own playing.
High fretboard playing
Look at how compact his fingers are. Most guitarists would revert to three fingers this high up, but if you want Paul’s finger flexibility you will need to spend plenty of time playing scales, arpeggios and bends above the 12th. Fretting-hand control never more important then here!
Example 8. A Maj7 Arpeggio (Interval Jumps)

Intervallic leaps add interest into the phrase and makes it sound more sophisticated. As Paul explains in the video, keep an eye out for the transitions and watch out for clarity when using one finger to play notes across two strings at the same fret.
Example 9. Amaj7 Arpeggio (Extended Variation)

Our final example is an extended version of the intervallic idea we looked at in example 8.
Not To Meander tracks
Not To Meander: Paul’s Solo Performance - Section A


[Bars 1-34] The opening features the motif which is repeated and developed. Paul adds expression with long and short notes and articulations including bends, vibrato, slides and raking of the pick (fake sweeps) to add attack. It’s well worth learning this, but feel free to develop it into your own version.
Not To Meander: Paul’s Solo Performance - Section B


[Bars 35-50] The B section contains a string of descending chords and Paul chooses to outline each of these runs with an arpeggio roadmap. It's well worth studying the nine extra examples we have notated at the beginning, as these will help to establish a solid fretboard roadmap for you to use.
Not To Meander Paul’s Solo Performance - Section C


[Bars 51-66] Section C provides an opportunity to re-state the melody. Once you’ve established the 'head' of any tune it's often nice to fine-tune or adapt it as you progress through the piece. Here Paul plays with the phrasing and rhythms, which provides extra interest for the player and the listener.
Not To Meander: Paul’s Solo Performance - Section D


[Bars 67-end] In the outro, Paul builds the soloing into a frenzy before letting rip with the ending phrase. the concept for the ascending phrase in bar 75-79 is well explained by Paul in the video so be sure to study this before moving on to articulate a version of your own.