How to mod your Strat to sound like a Tele with a 7-way circuit
Taking a versatile guitar to a new level; we’ll show you how to strip down, prepare and rewire your Strat-style guitar with some cool tips along the way
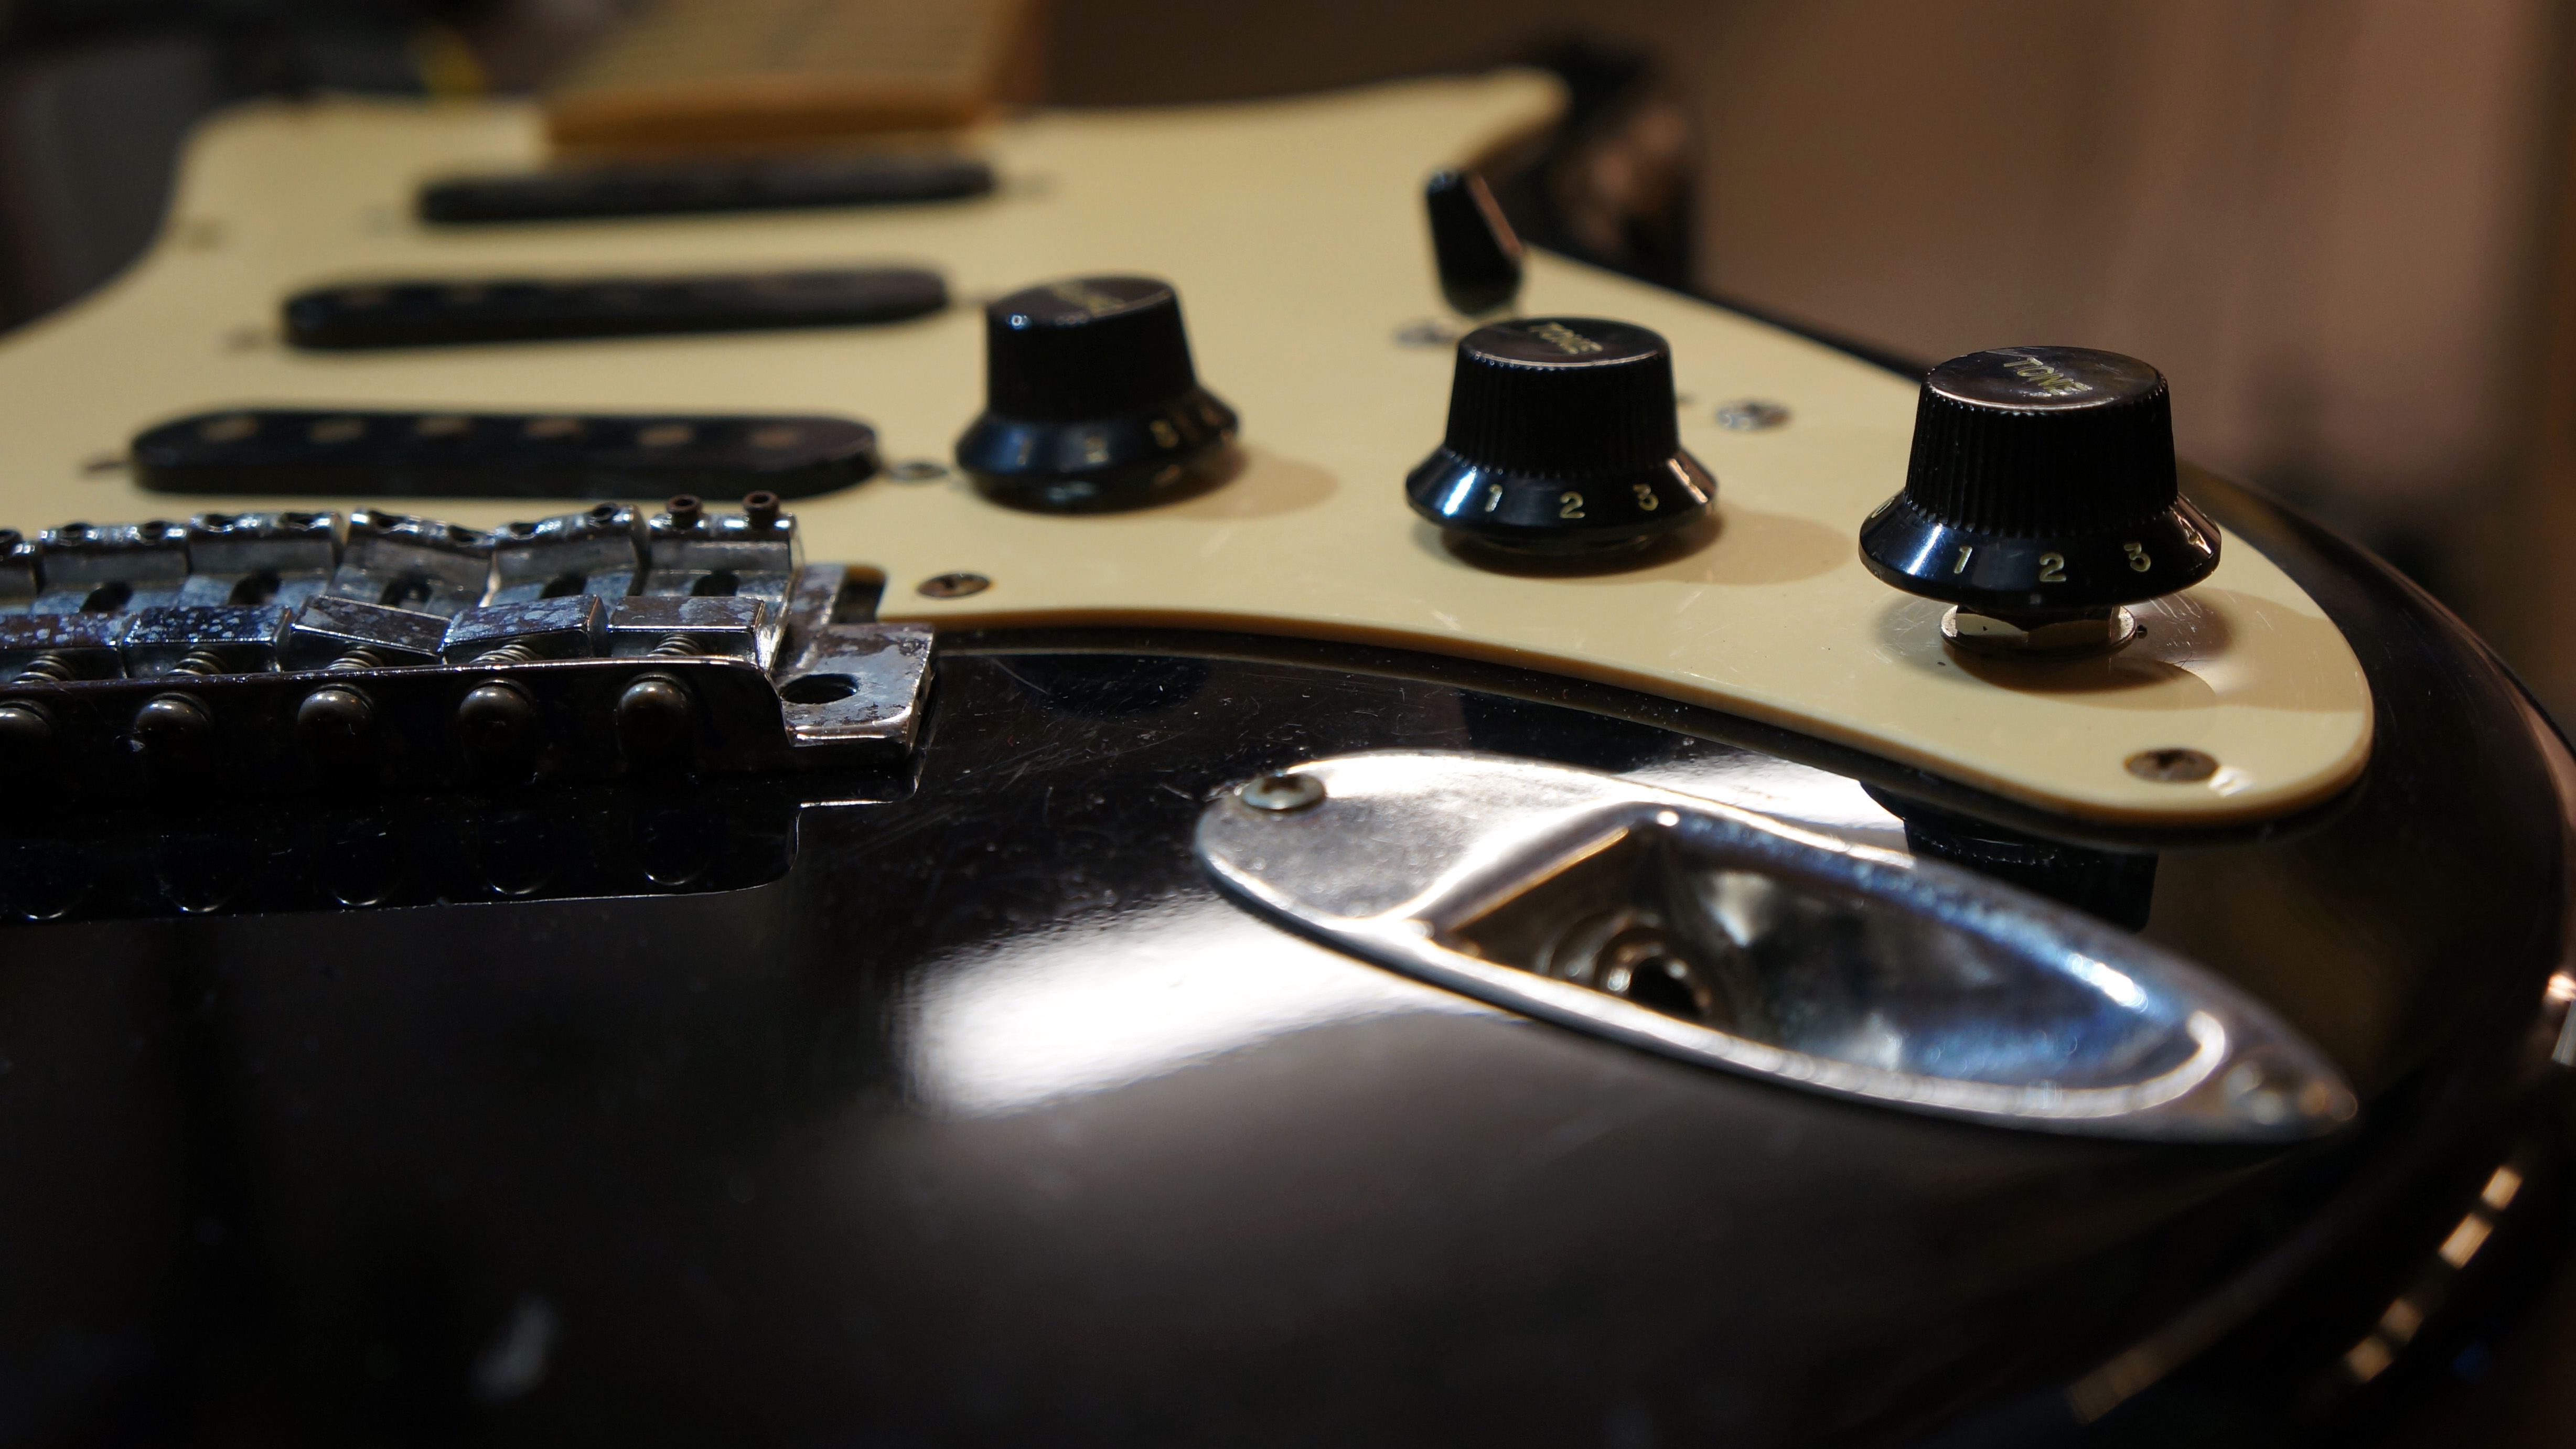
Jack Ellis from Manchester's Jack’s Instrument Services presents a new guide to modding for players looking to get more from their guitars.
We all know Strats are pretty versatile electric guitars, however in twang town there’s the Telecaster’s bridge and neck pickup combination that’s got Strat players beat. Until now. Enter the 7-way Strat-to-Tele mod allowing you to link the neck and bridge pickups together, plus more!
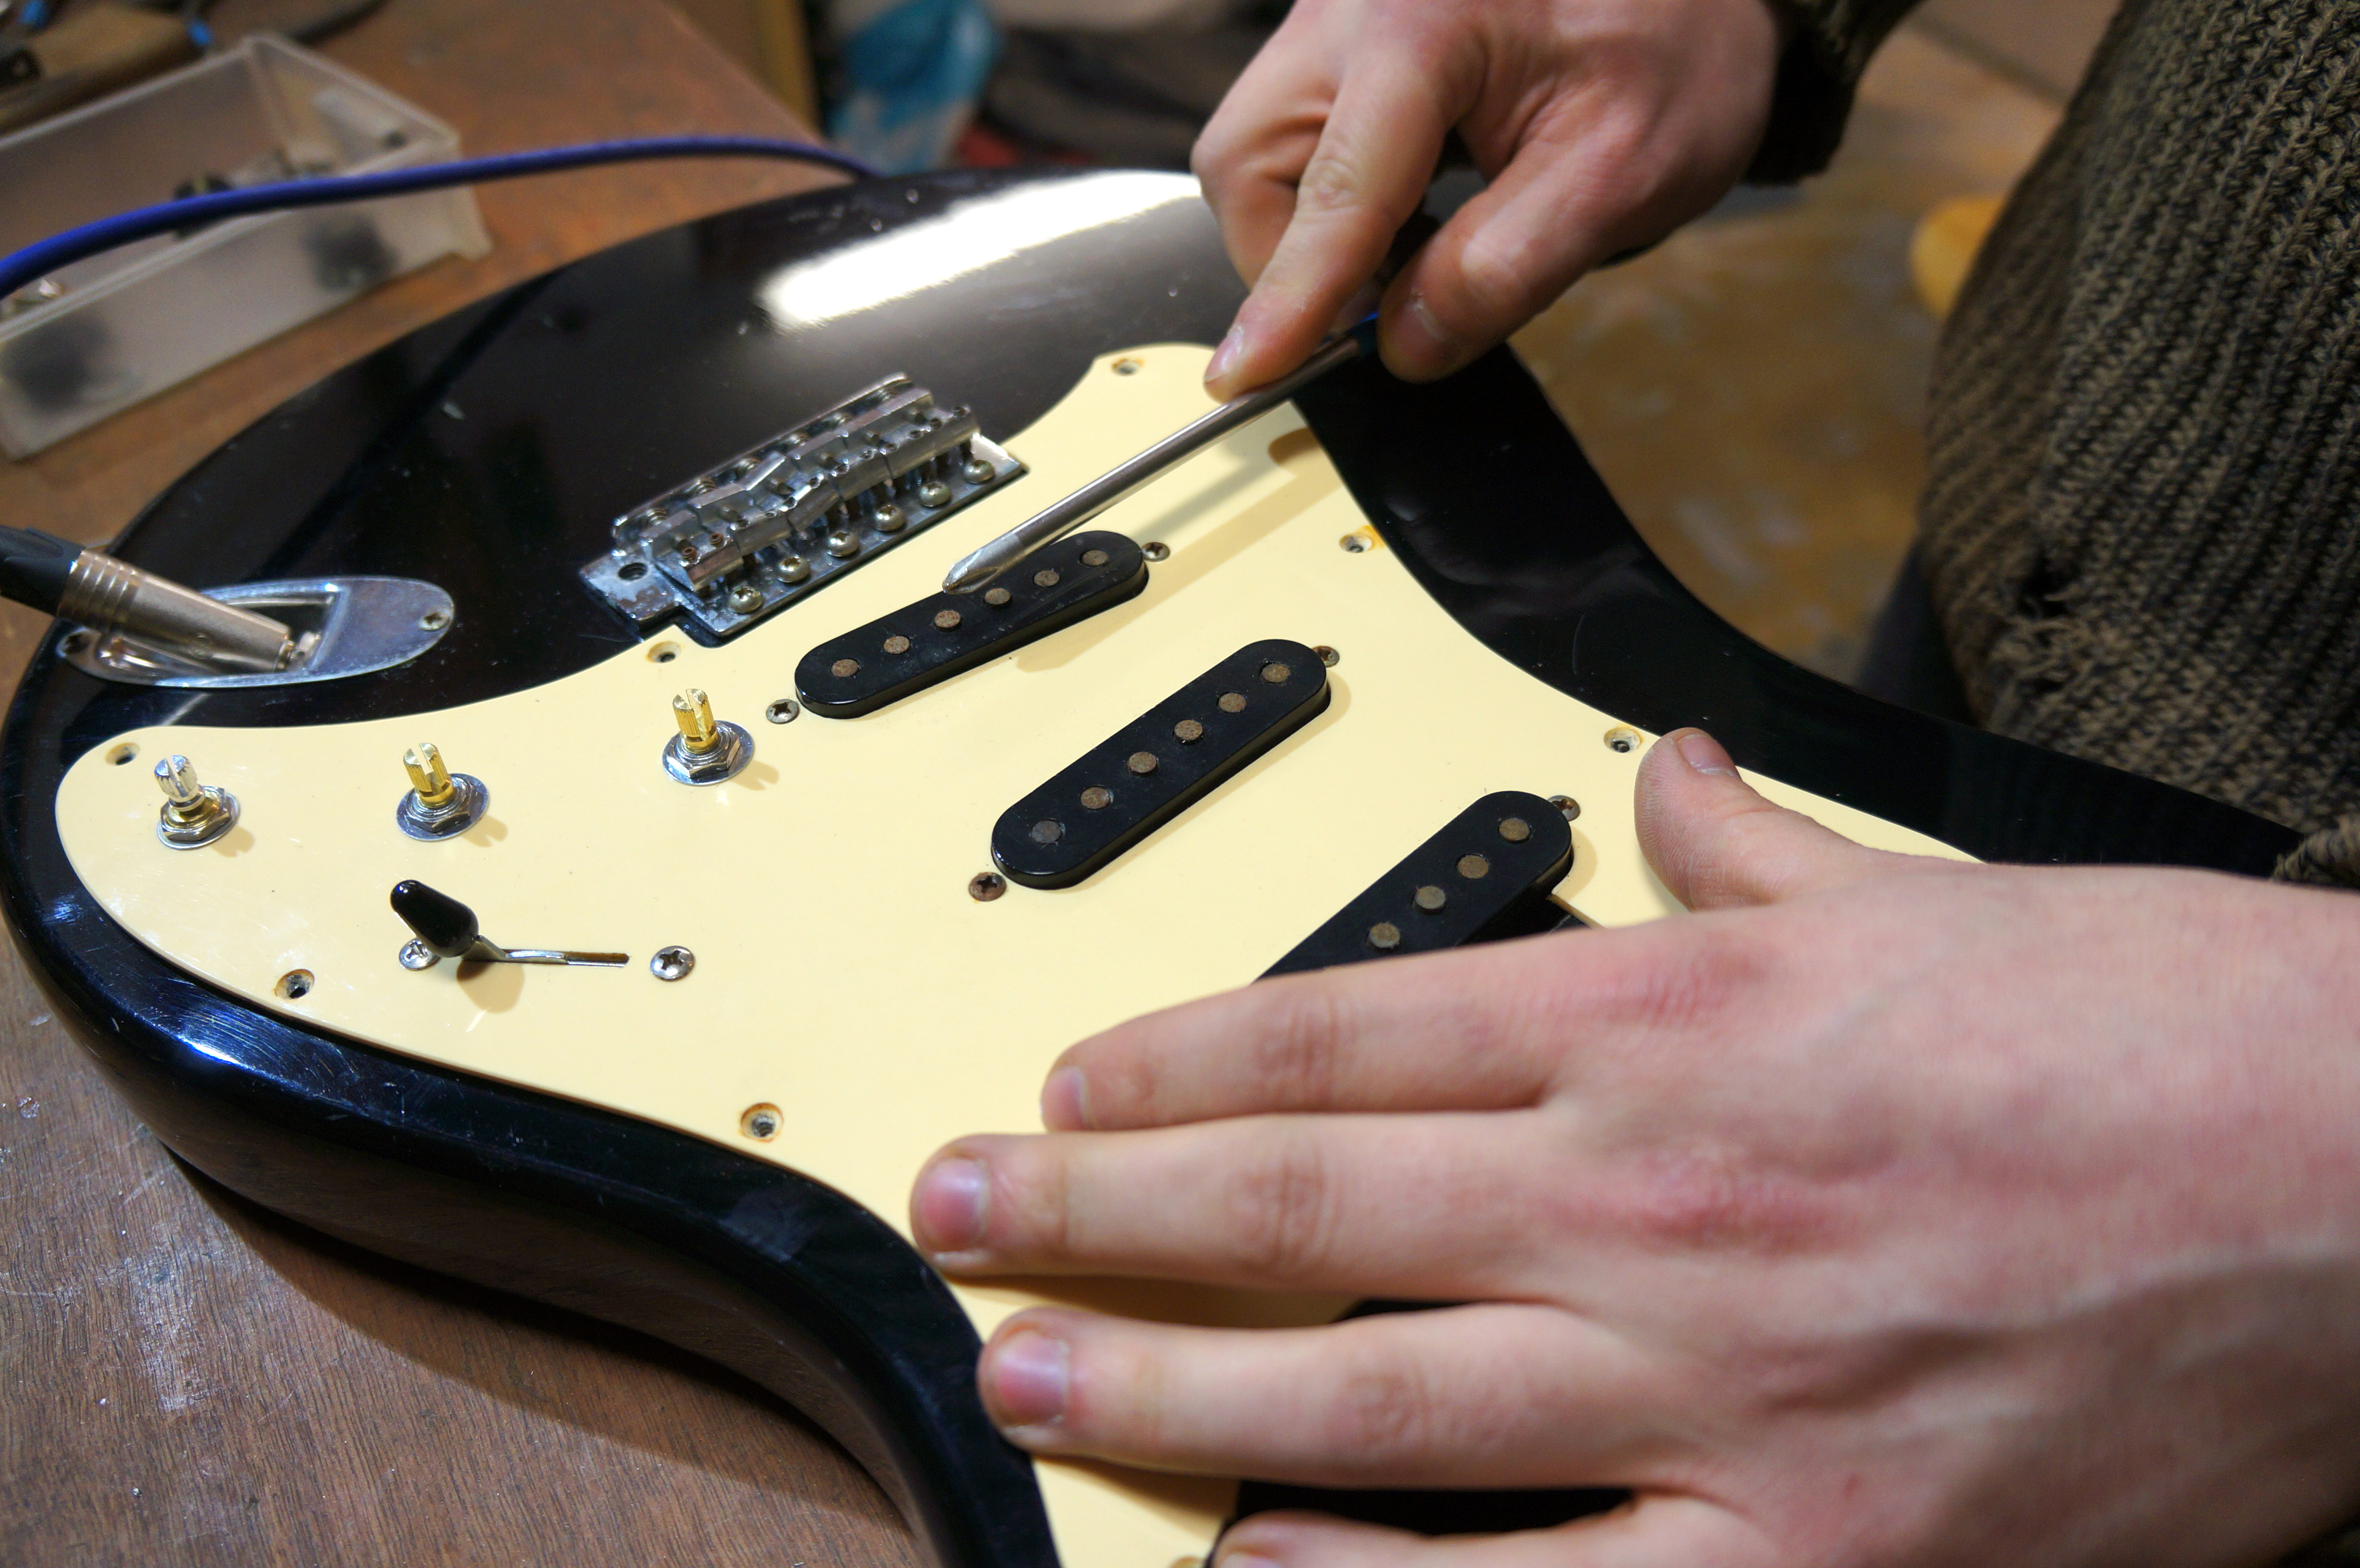
The trickery is all done with an added blend switch, but we are going to hide it using a push/push pot. This is the push/pull pot’s brother chosen because Strat knobs are not so easy to lift up. This wiring scheme is similar to the 'David Gilmour wiring' but will now sport:
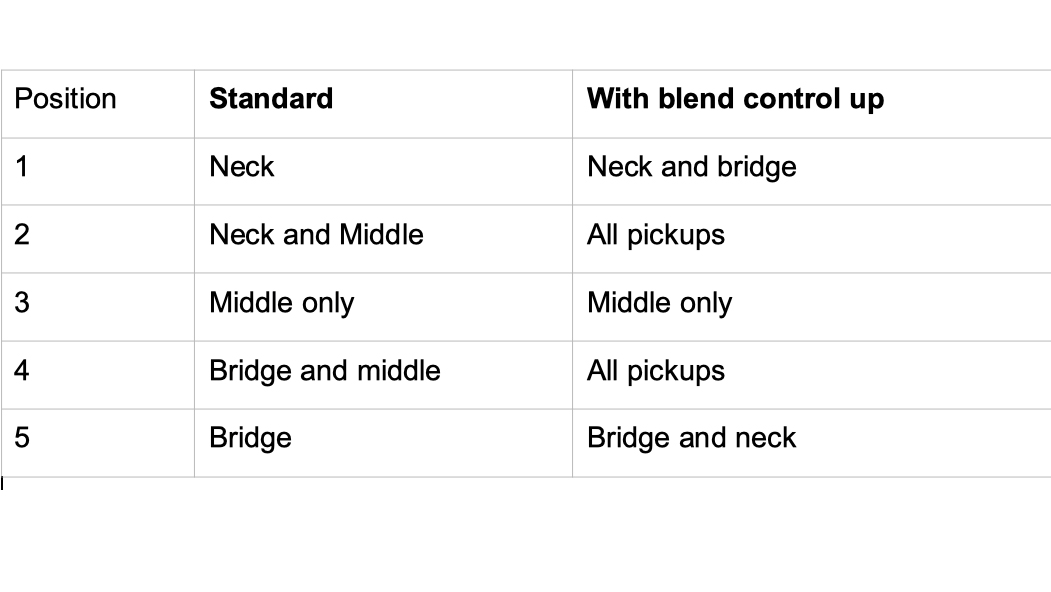
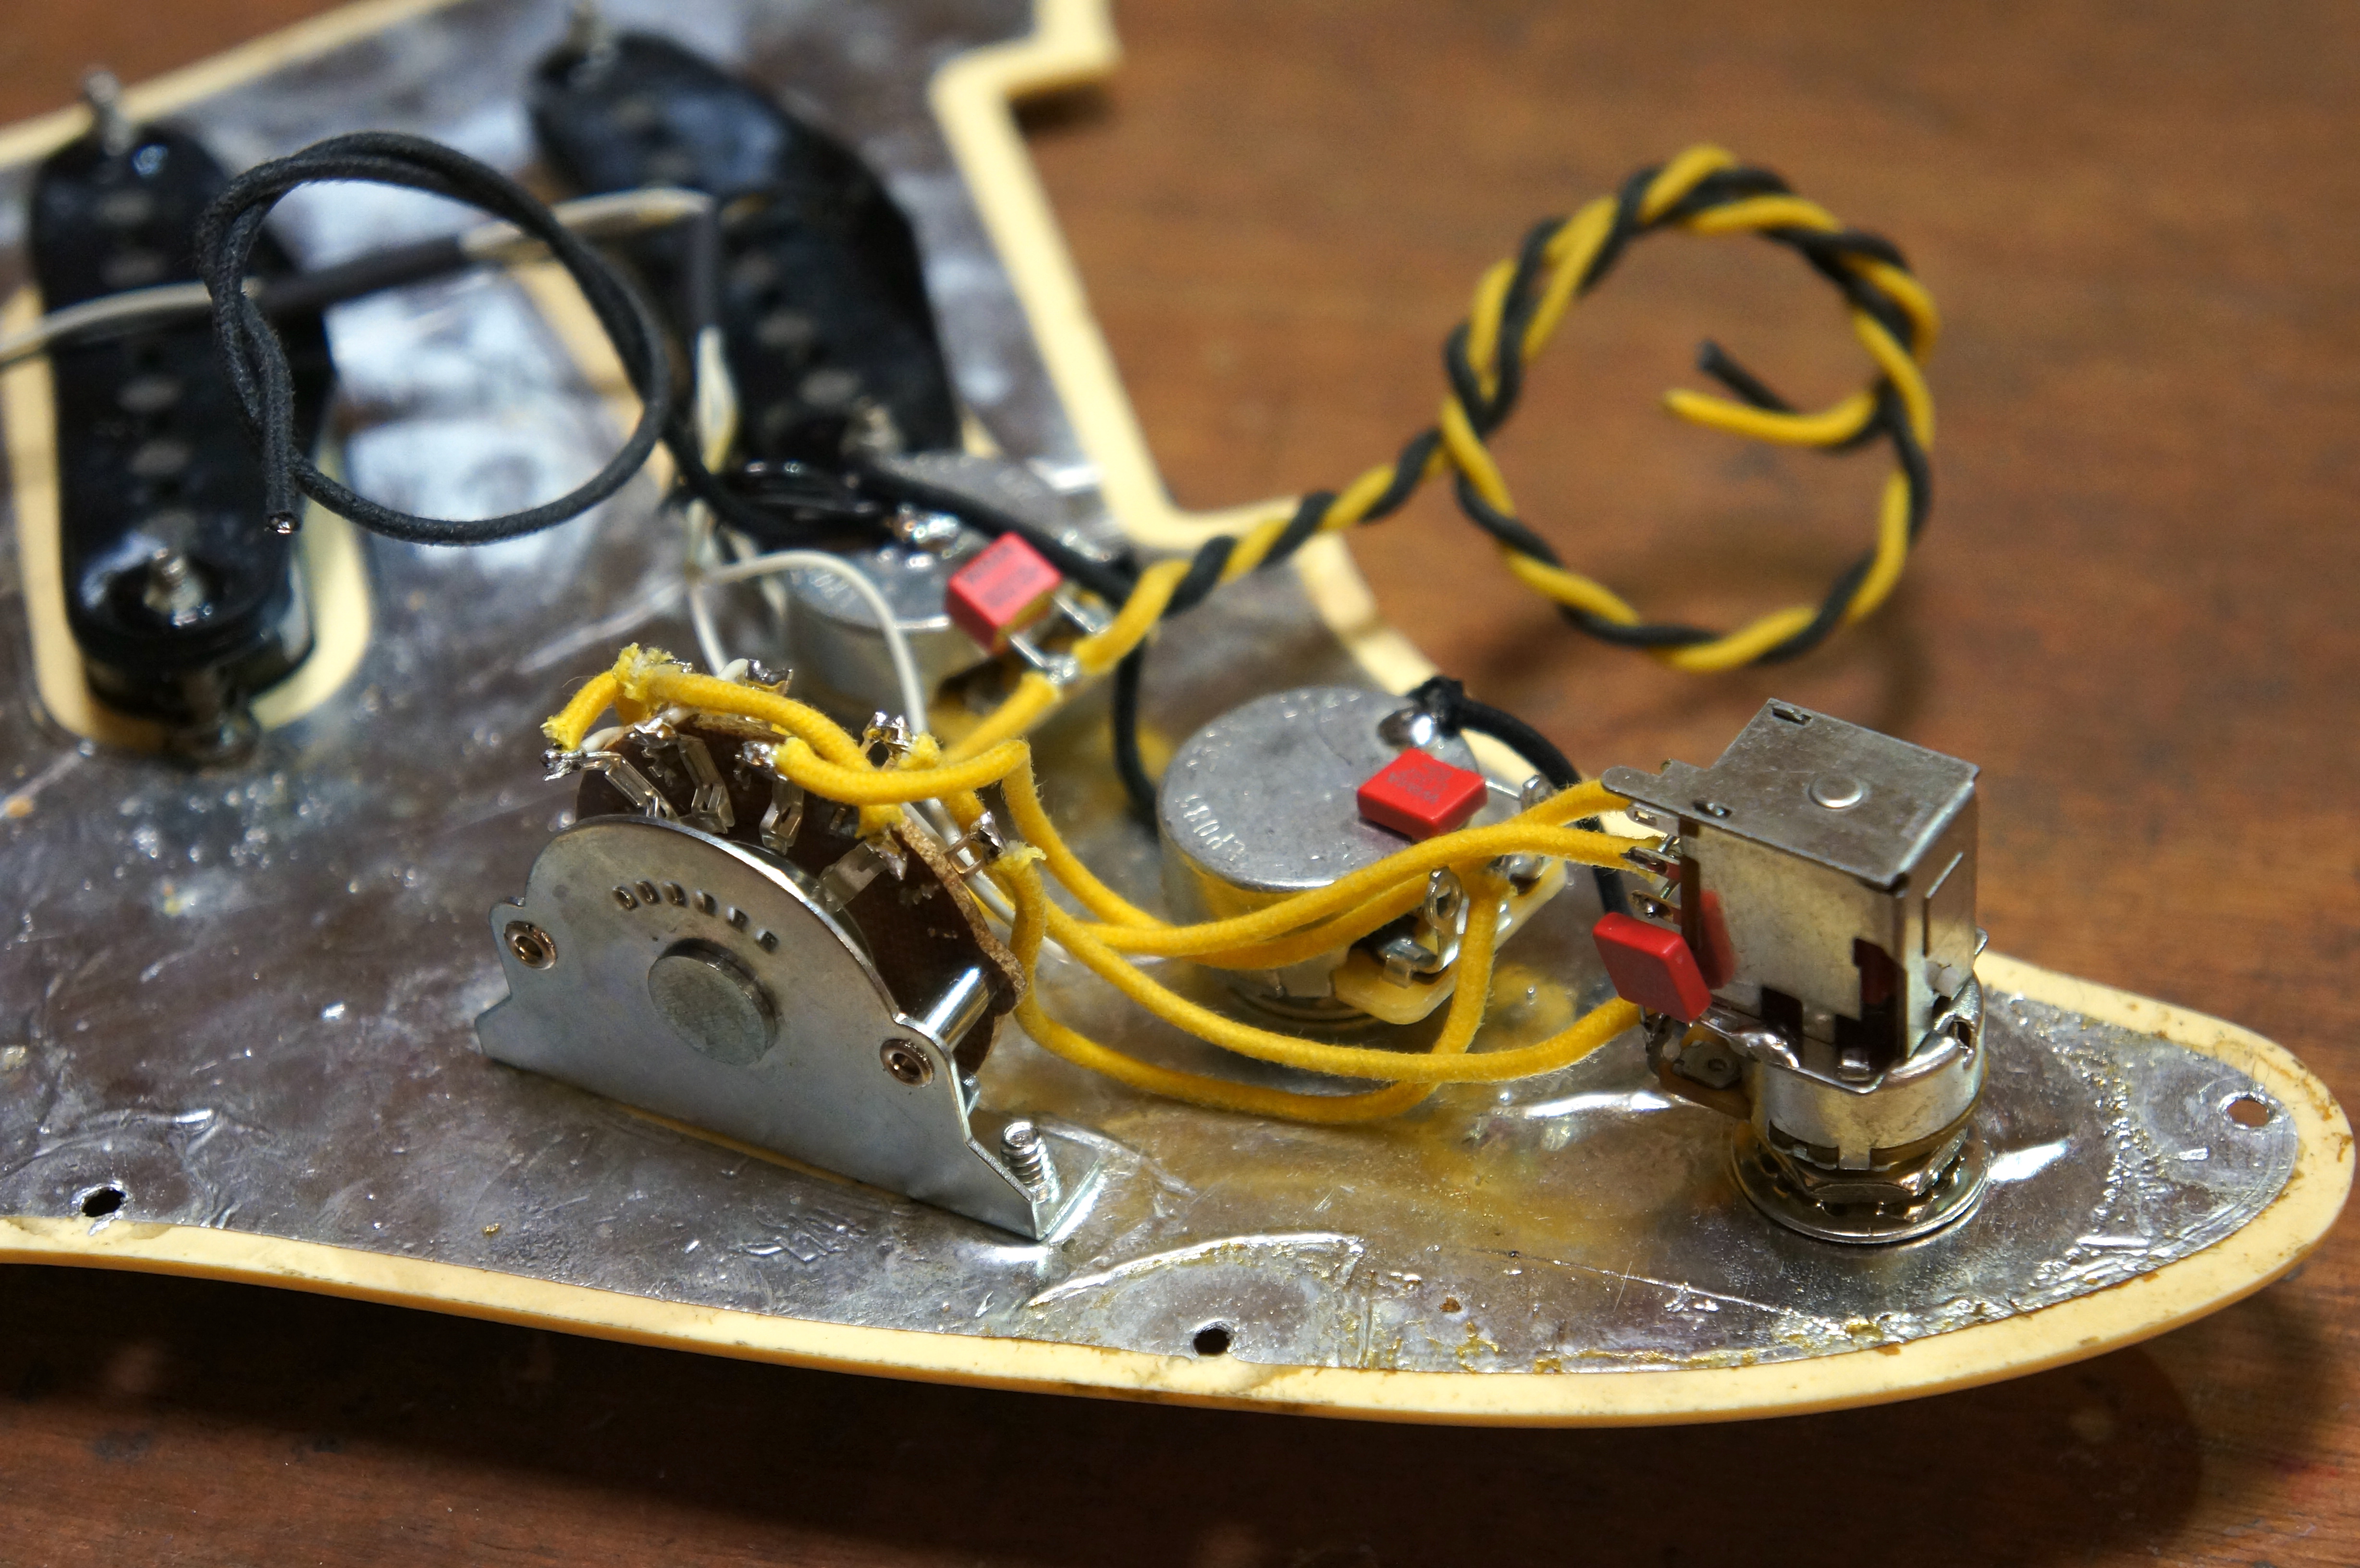
Today’s walk through tutorial will see a Strat-esque Vox Standard 25 operated on, a mean all-maple, all-British solidbody from ‘82 that has the same controls as a Fender Stratocaster. However, the Vox uses a set of DiMarzio FS-1 pickups as favoured by Johnny Ramone; a secret weapon!
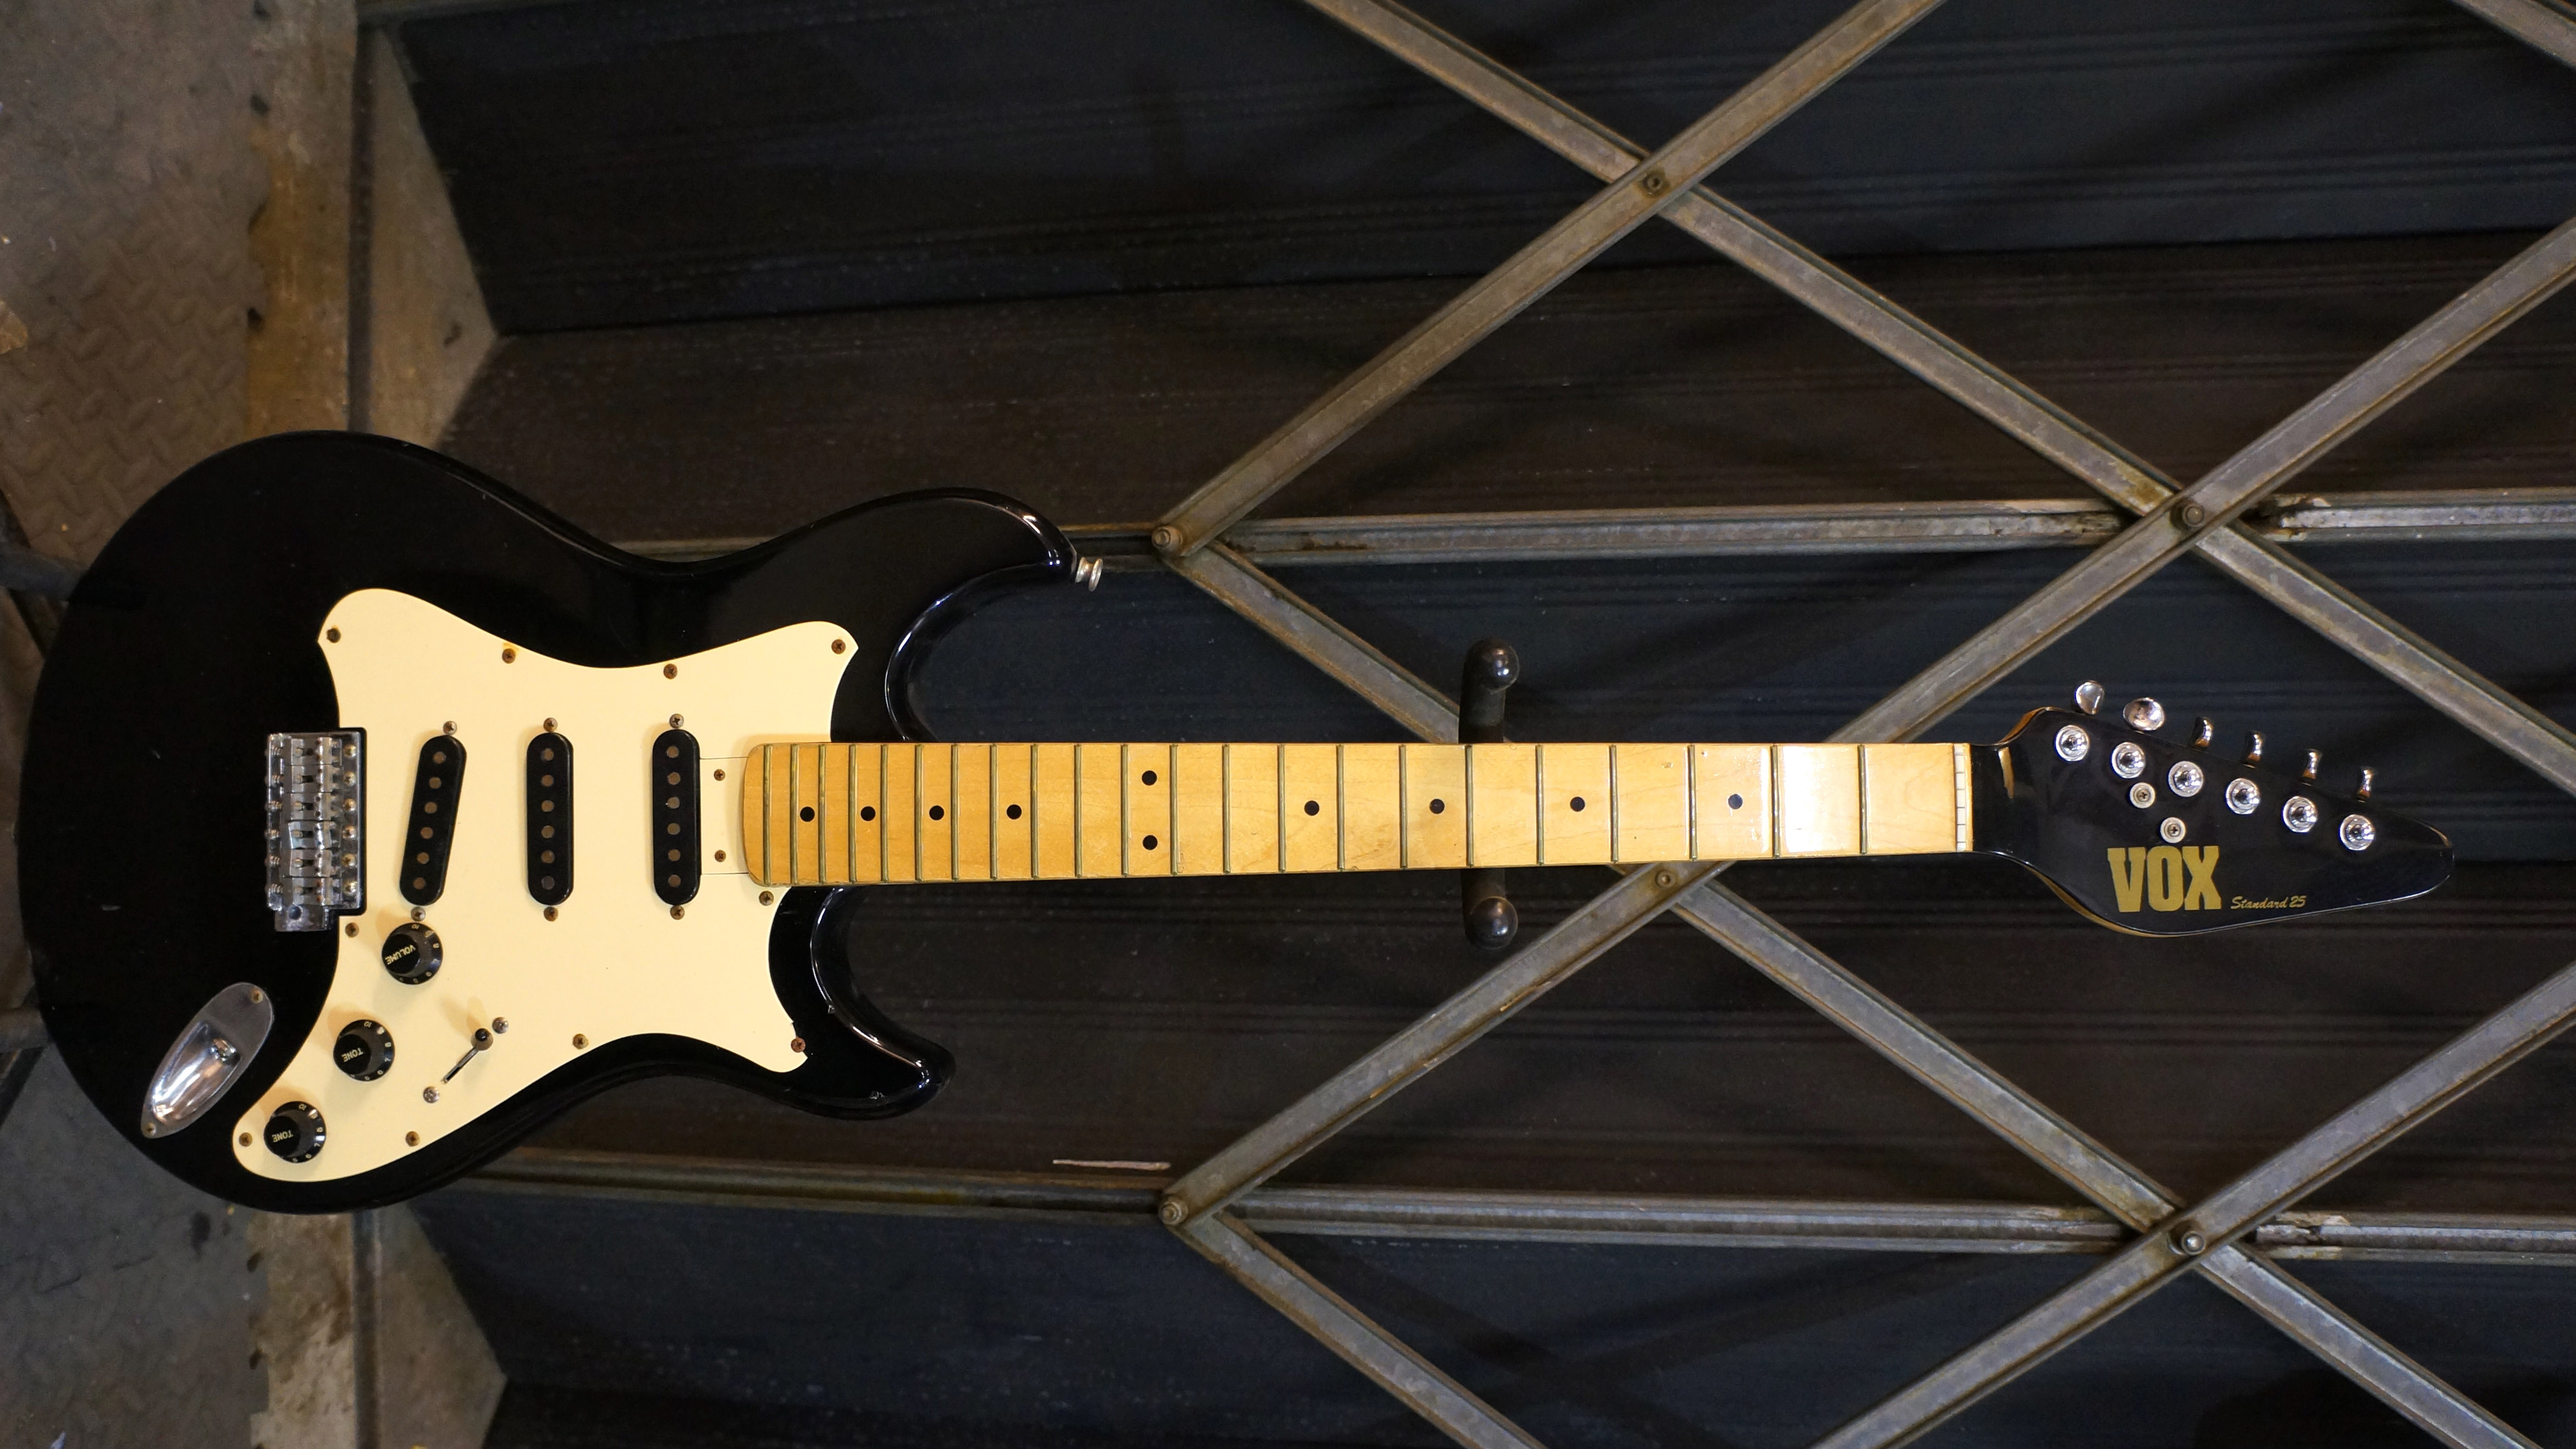
We’re adding in a treble bleed capacitor to retain the high frequencies when you turn down the volume control as well as our new 7-way strat blend switch hidden under the last tone control.
Parts and tools needed
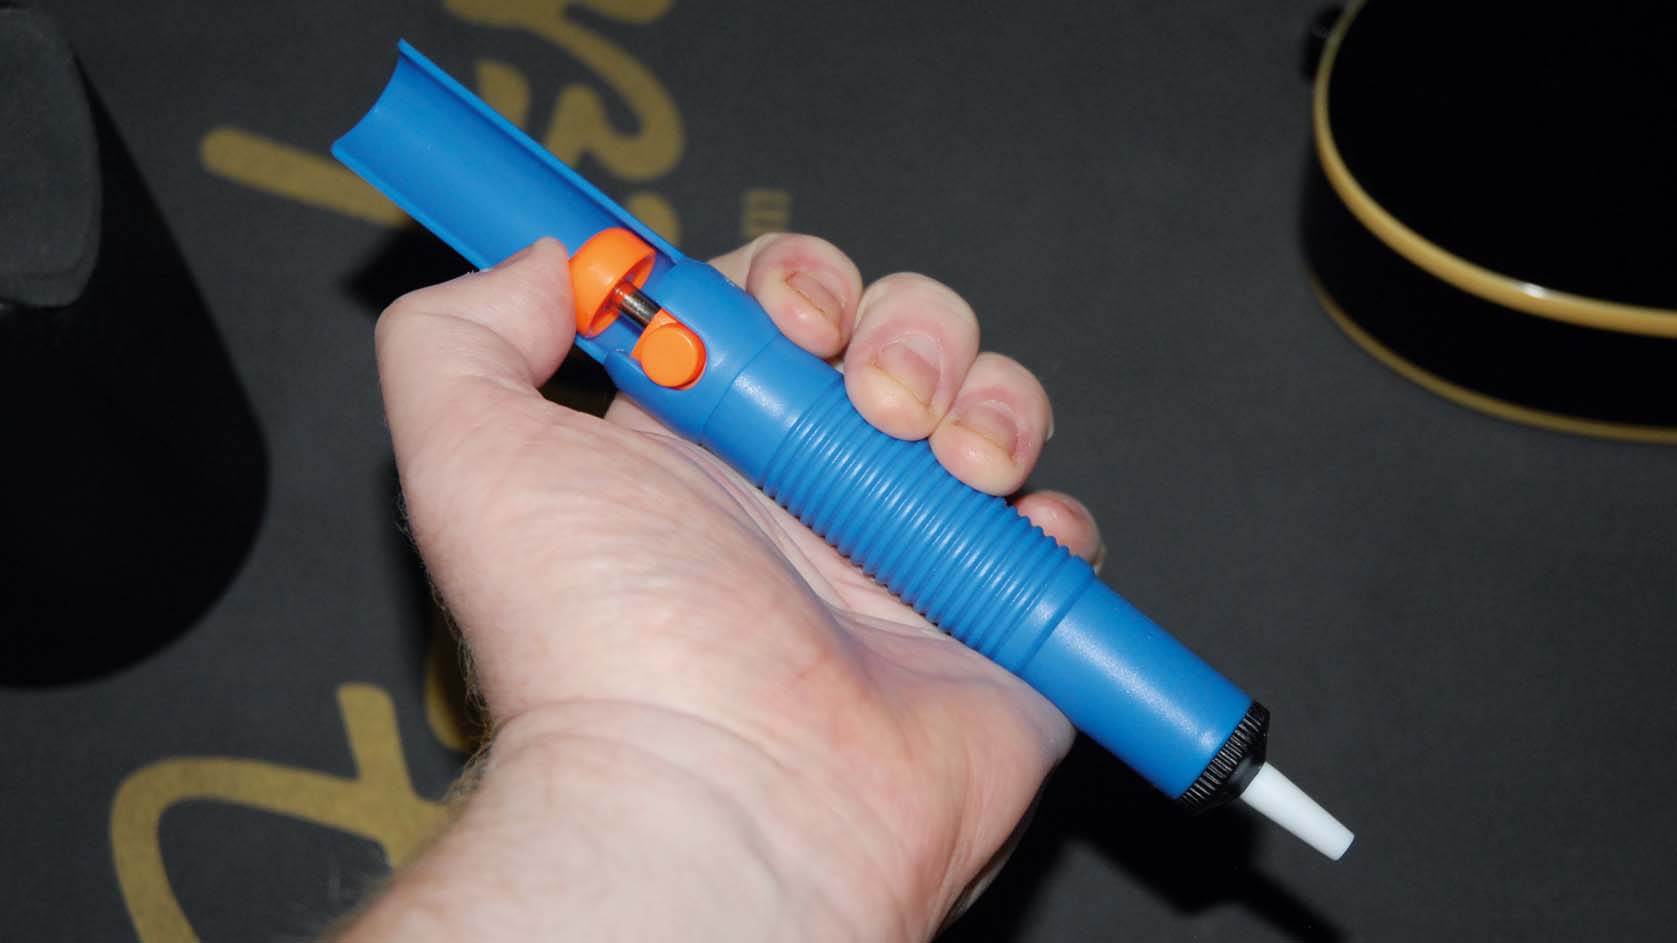
- CTS A250K Pots x2
- Alpha A250K Push/Push pot x1
- 5-Way Oak Grisby pickup selector switch
- Mono Switchcraft Jack socket
- Tone capacitors .047uF x2
- Treble bleed capacitor .0022uF x1
- Cloth covered wire
- 60/40 Solder
- 40-watt soldering iron
- Wire strippers
- Soldering helping hand
- Adjustable spanner
- PH1 and PH2 screwdrivers
- Wire cutters
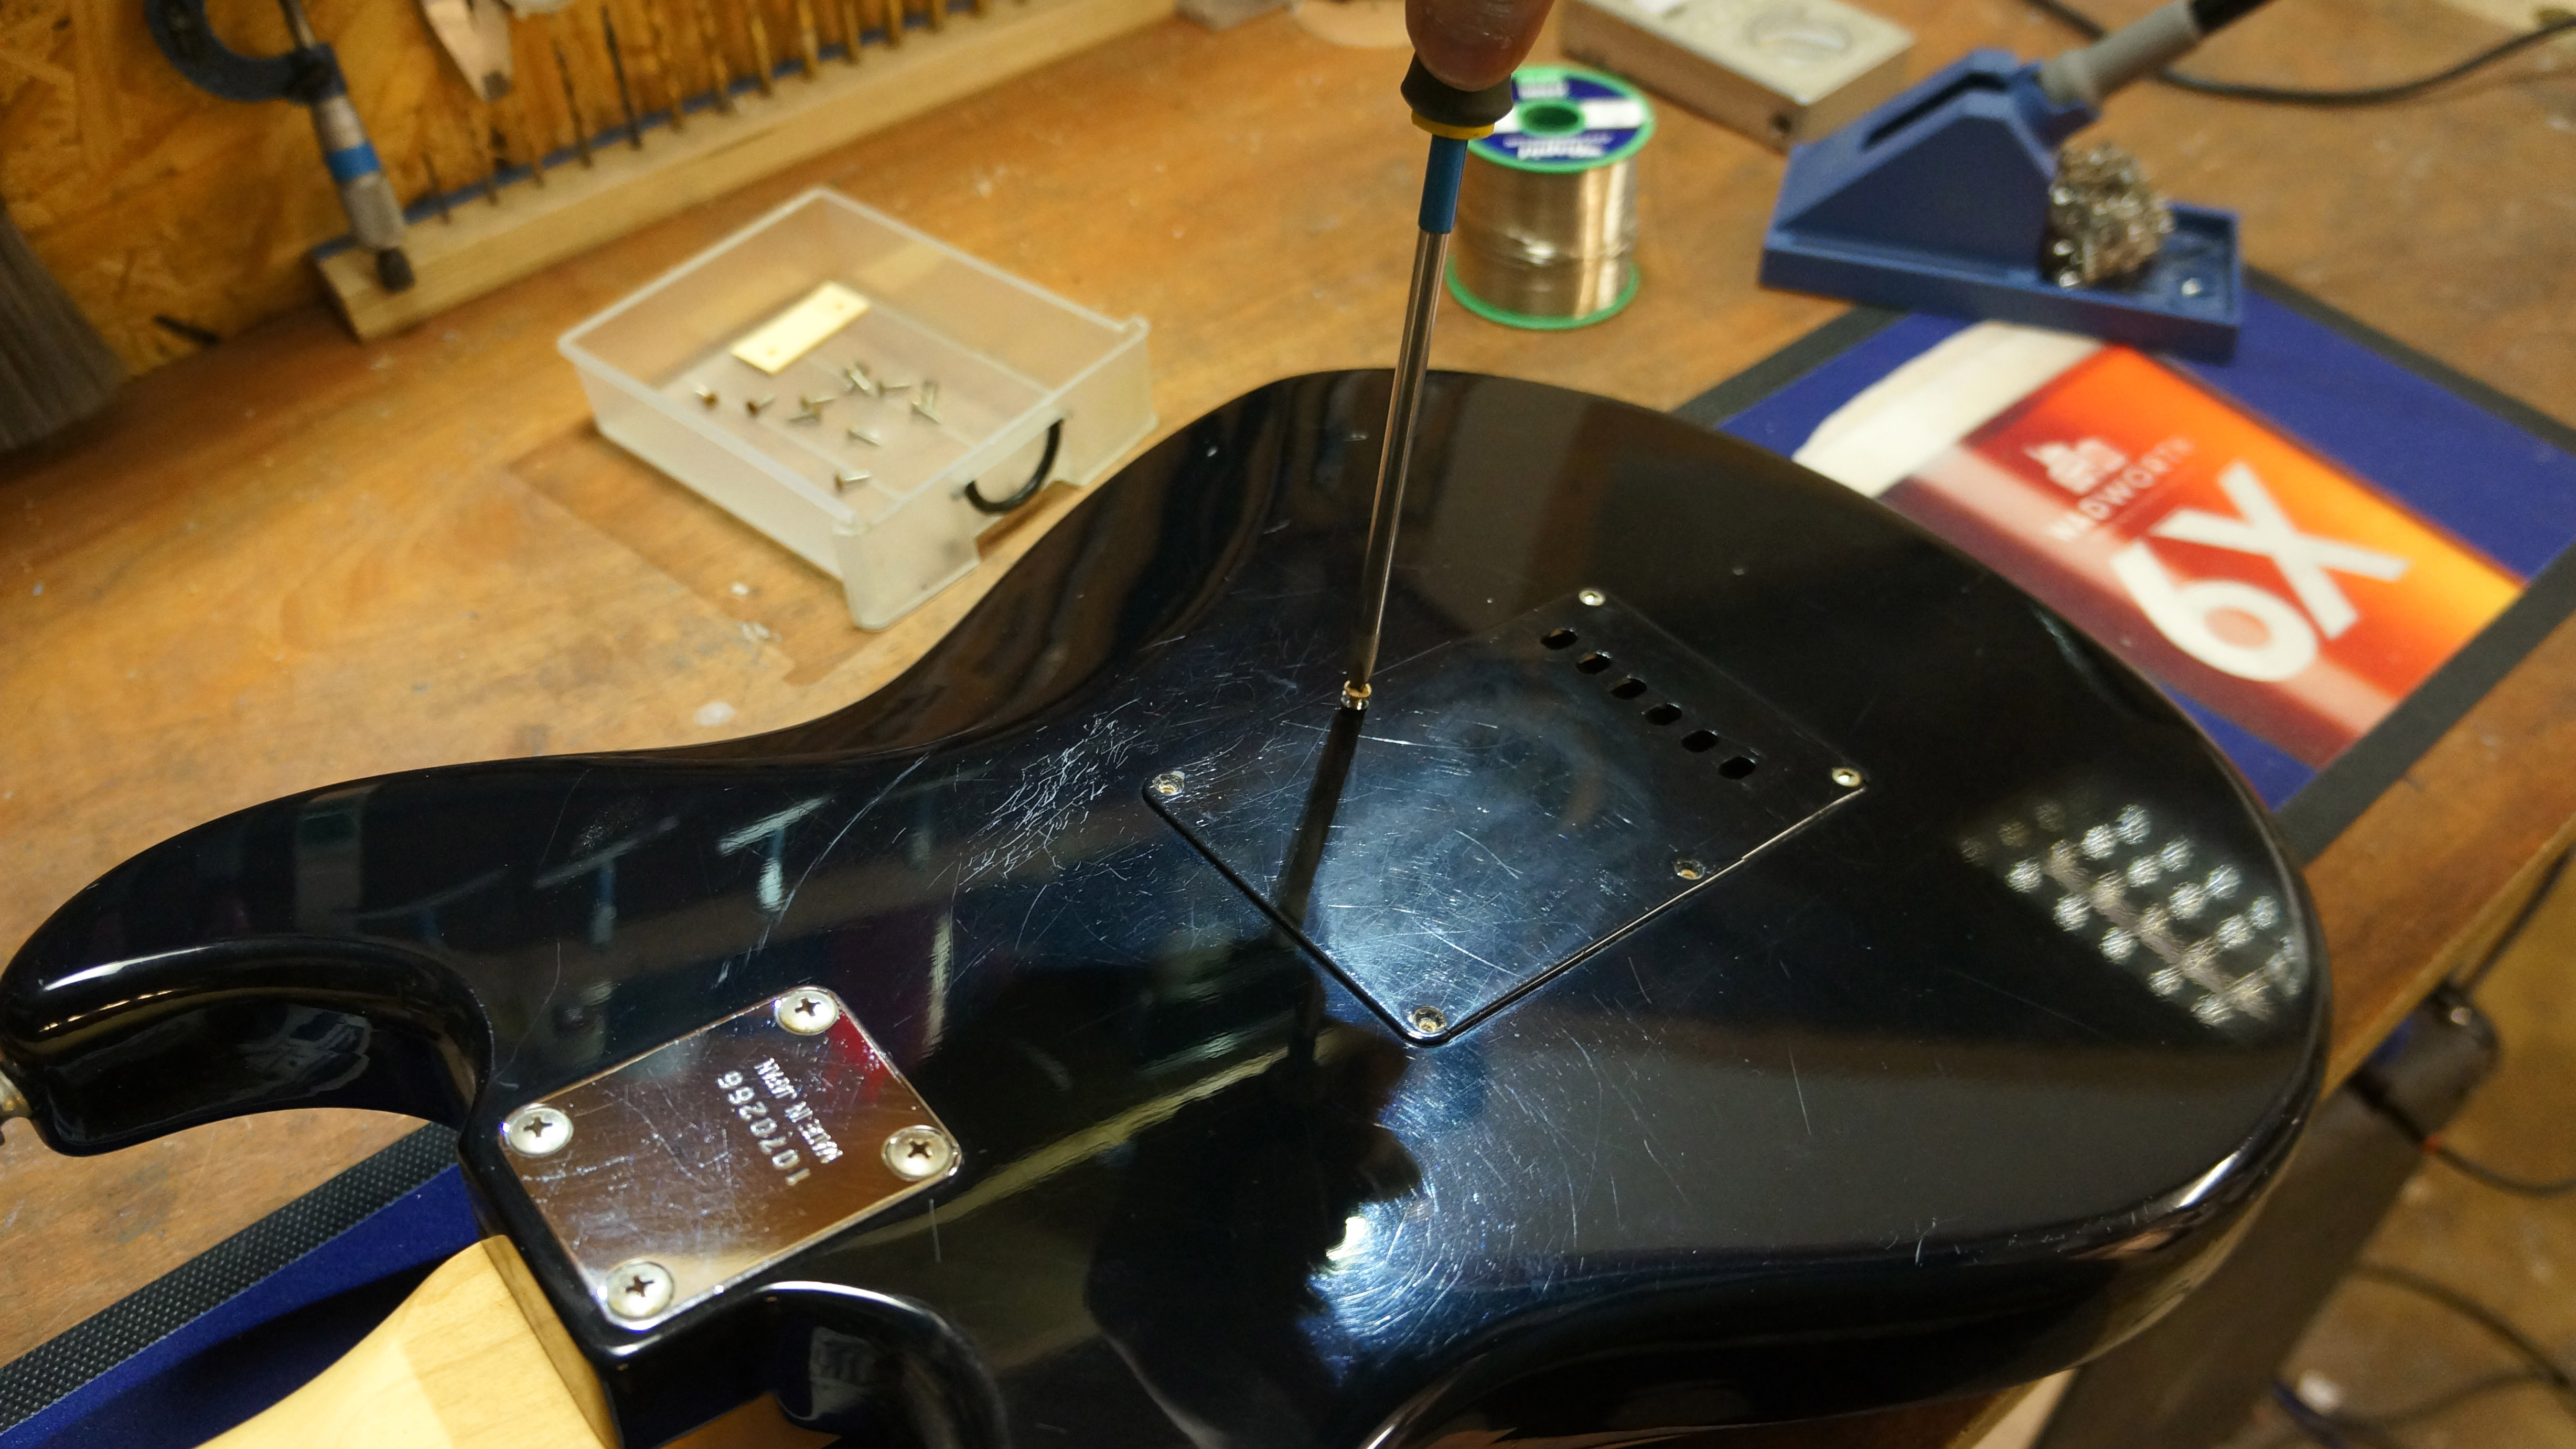
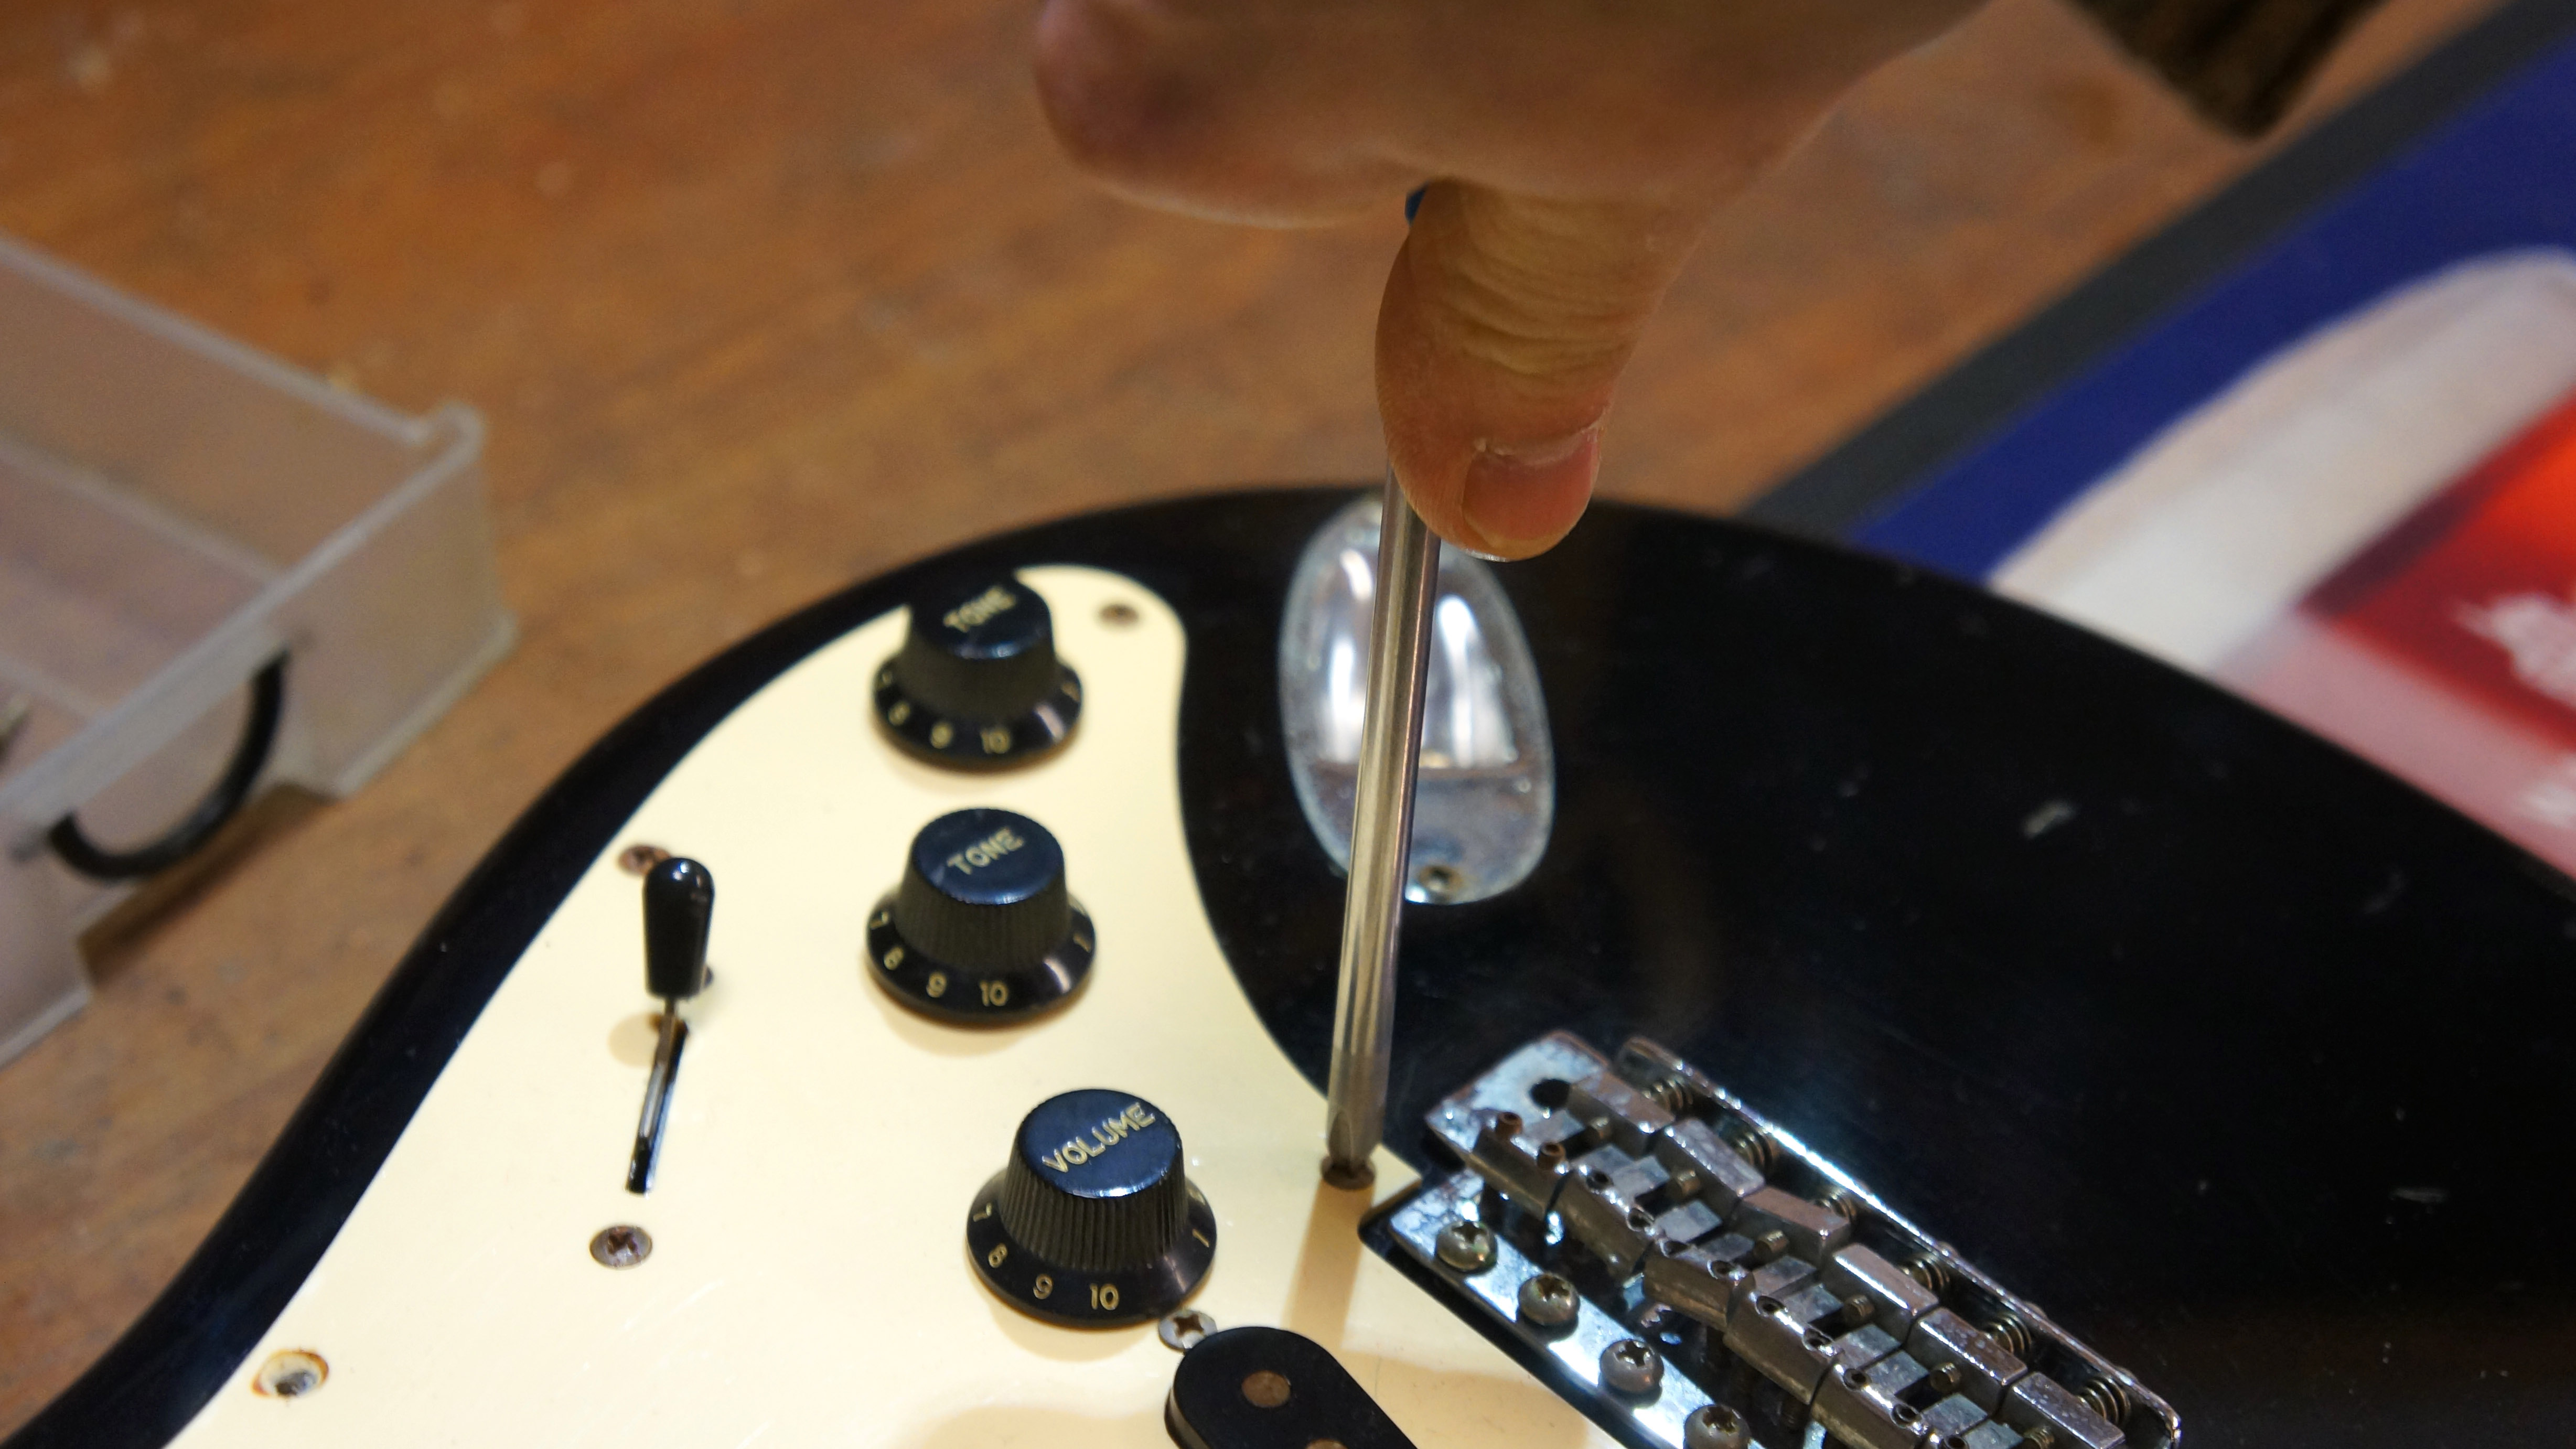
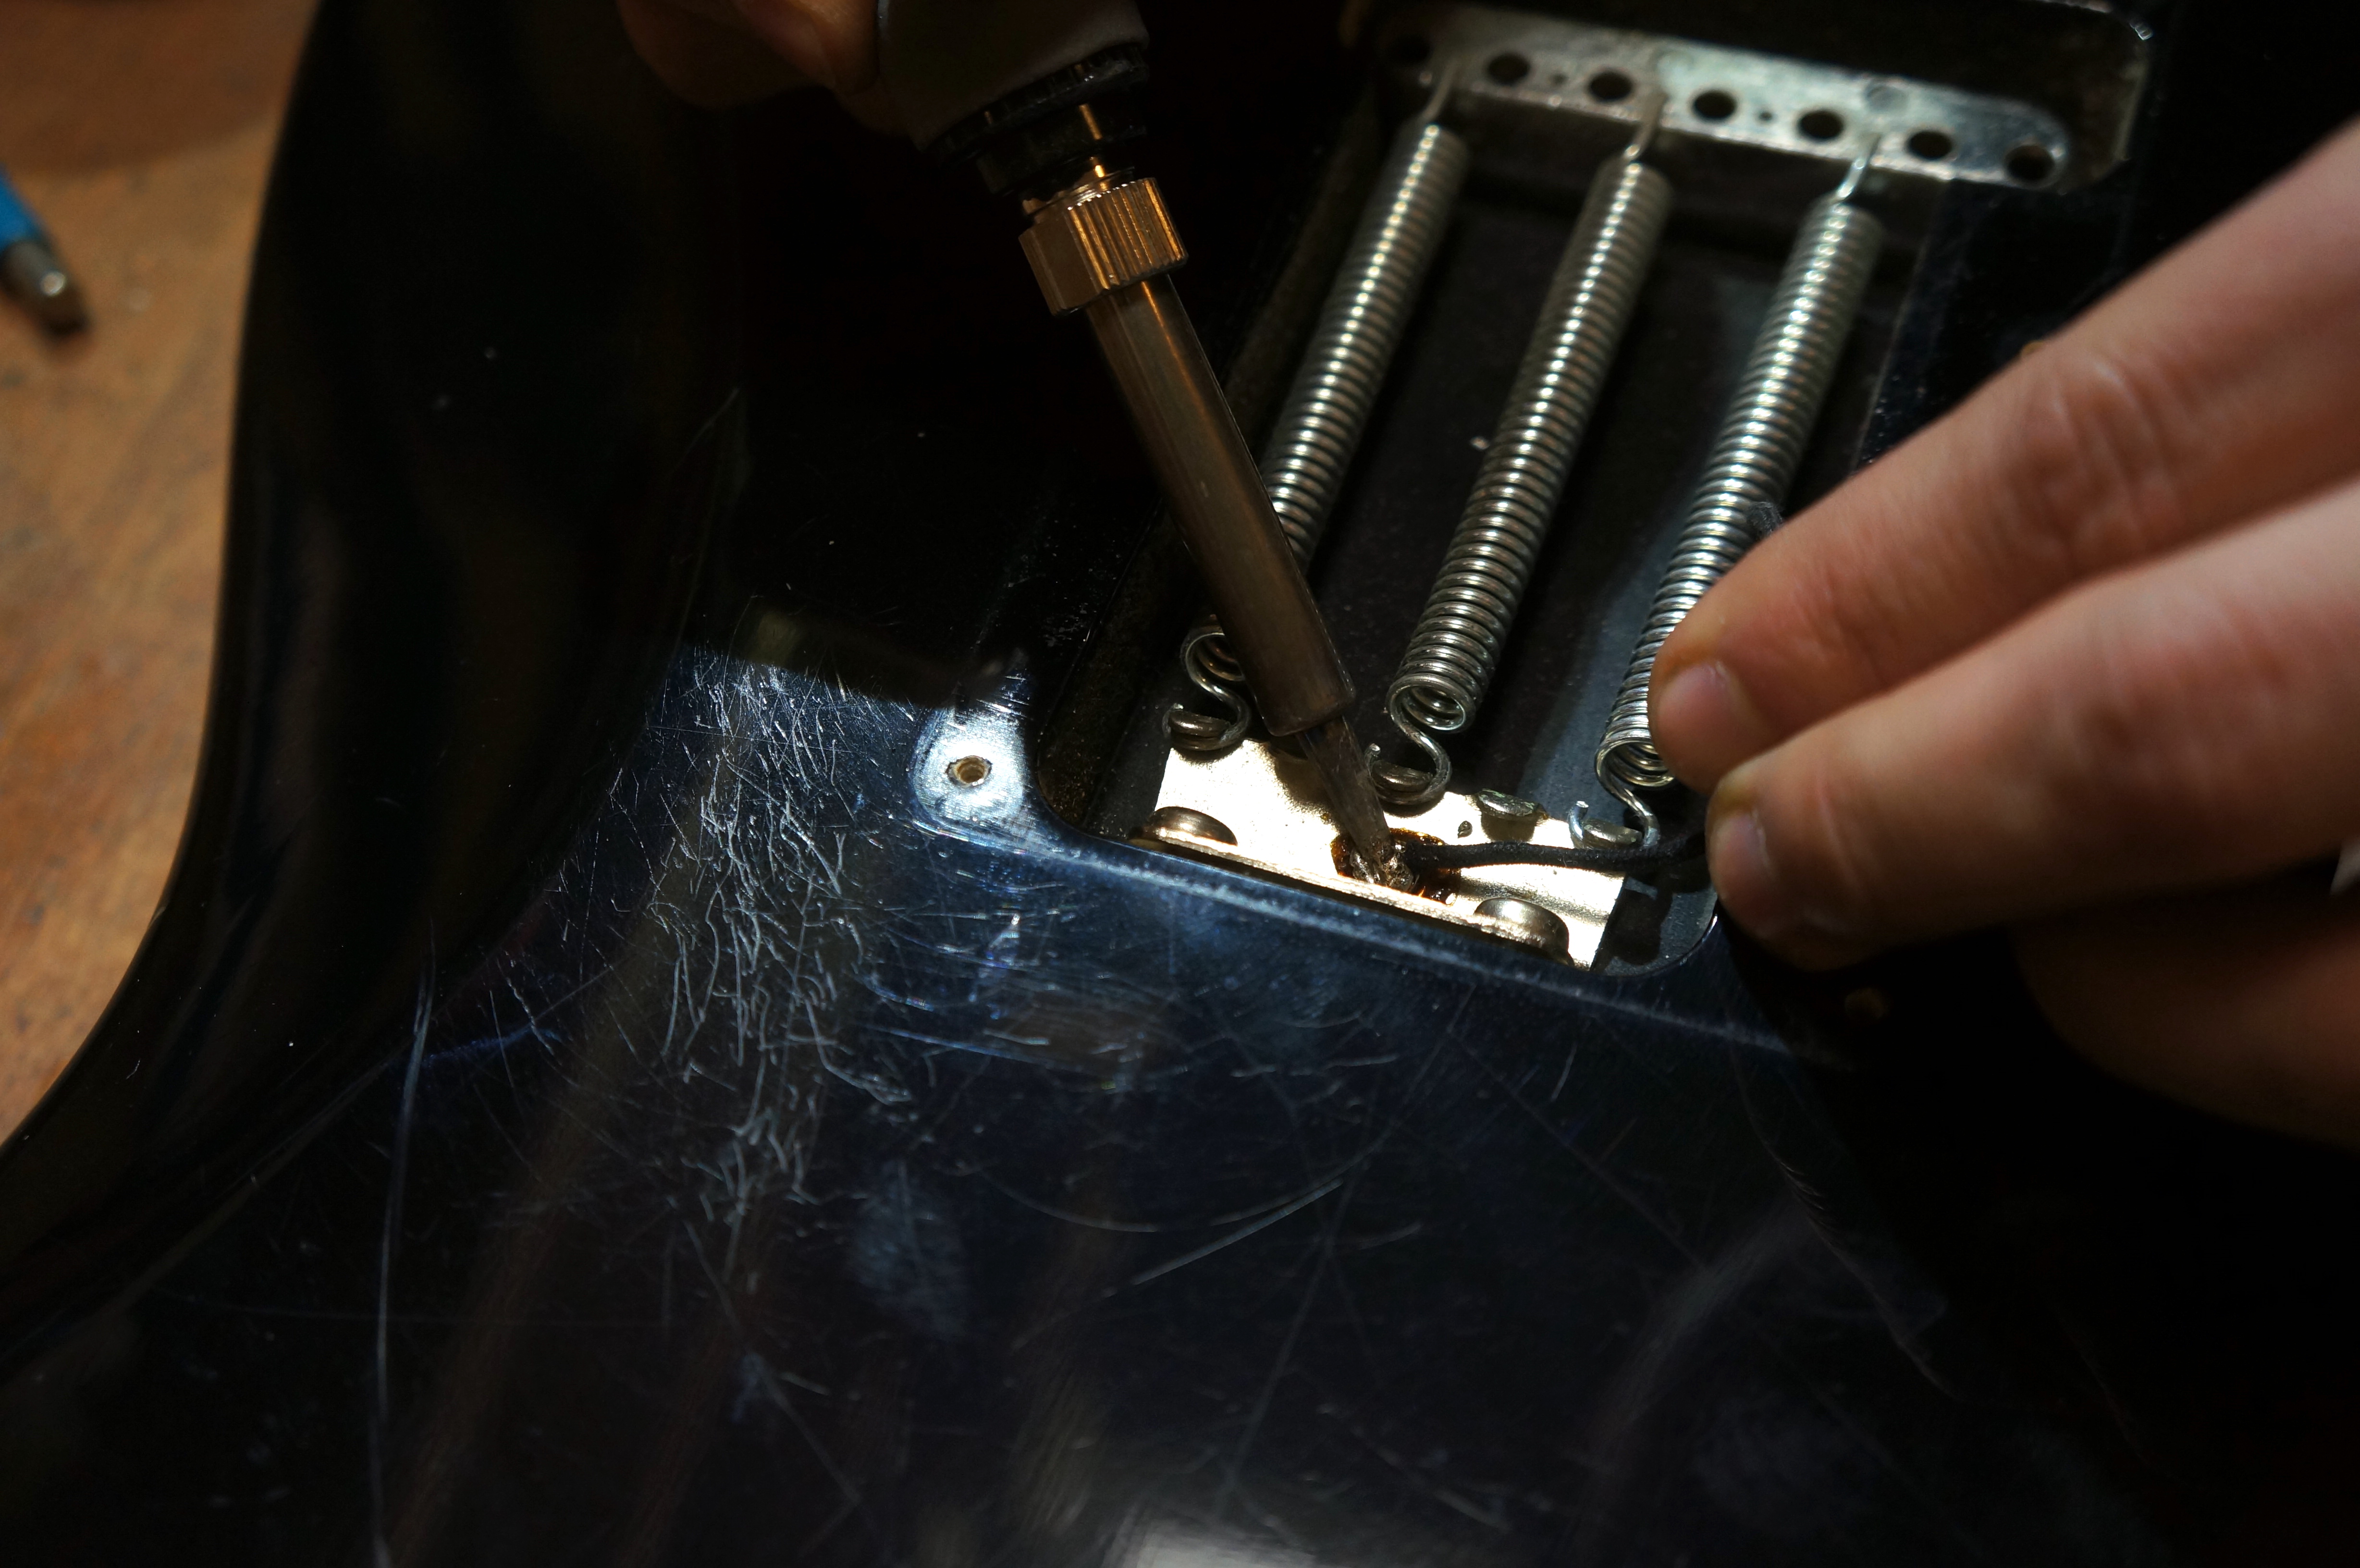
Let's hop to it; take off the backplate to get access to the tremolo claw, there’s a wire in there that we need to unsolder to remove the string ground wire. As it’s such a big blob this might take a while to heat up – be patient.
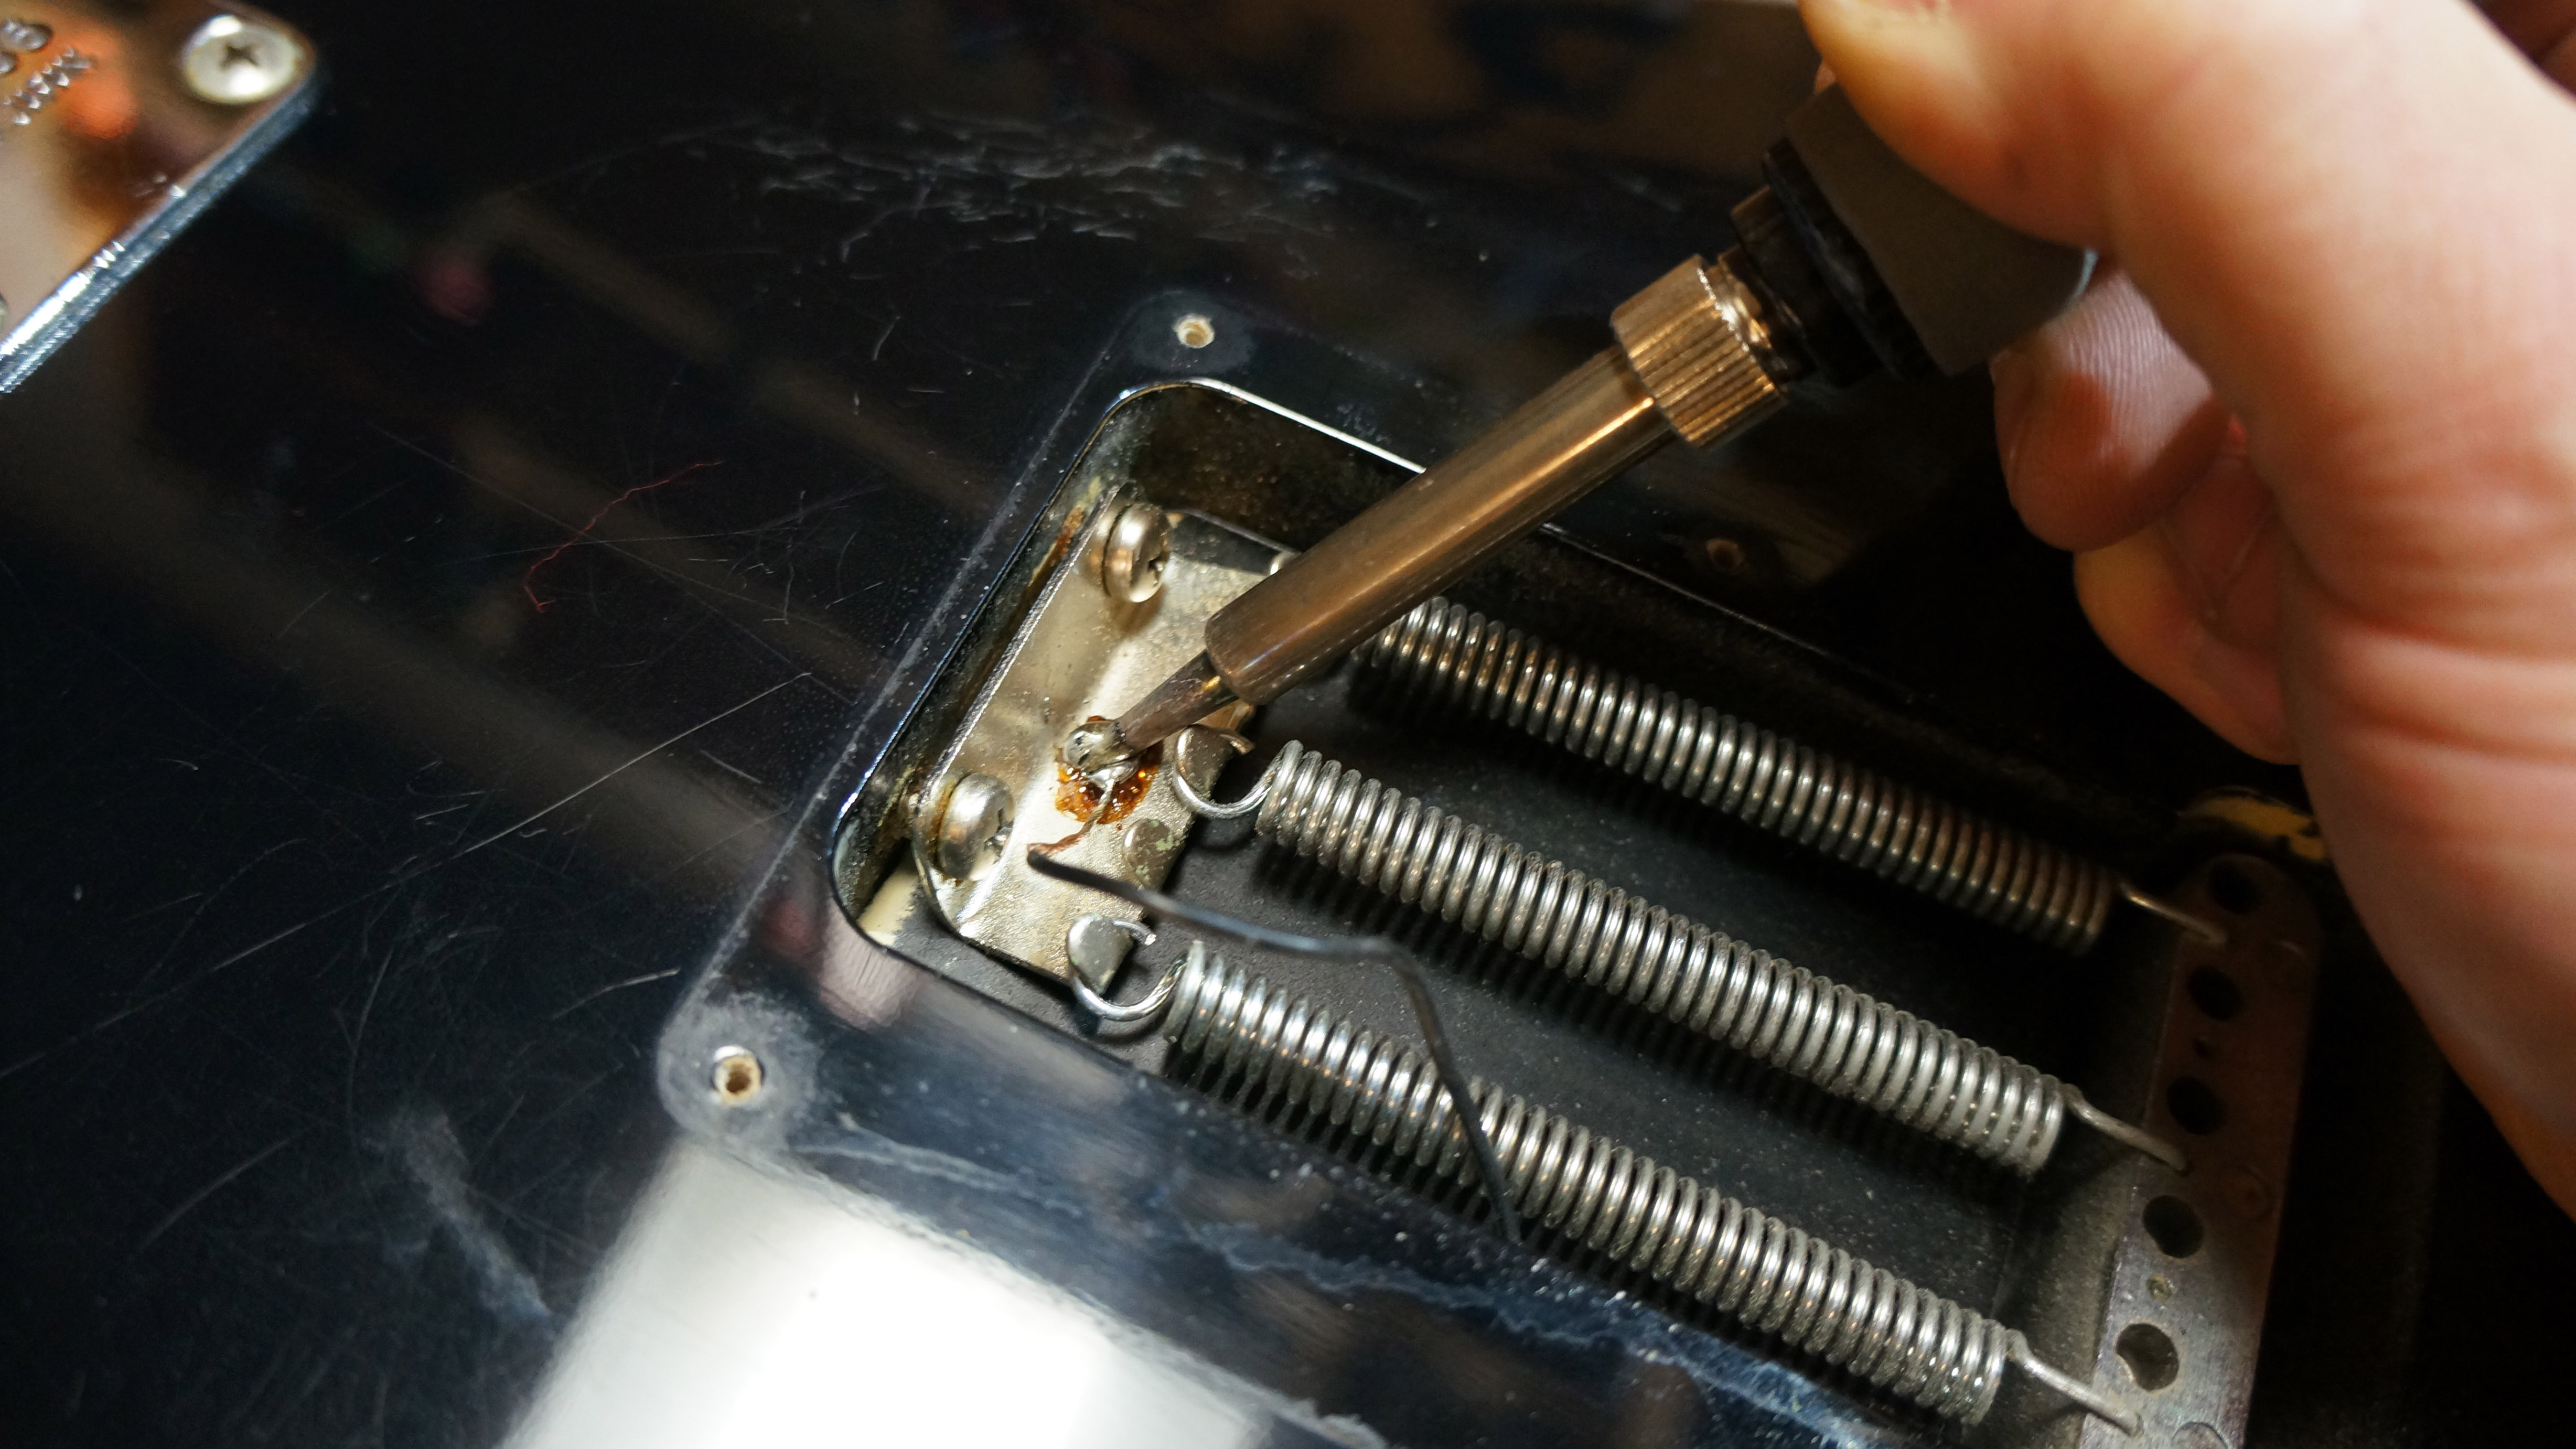
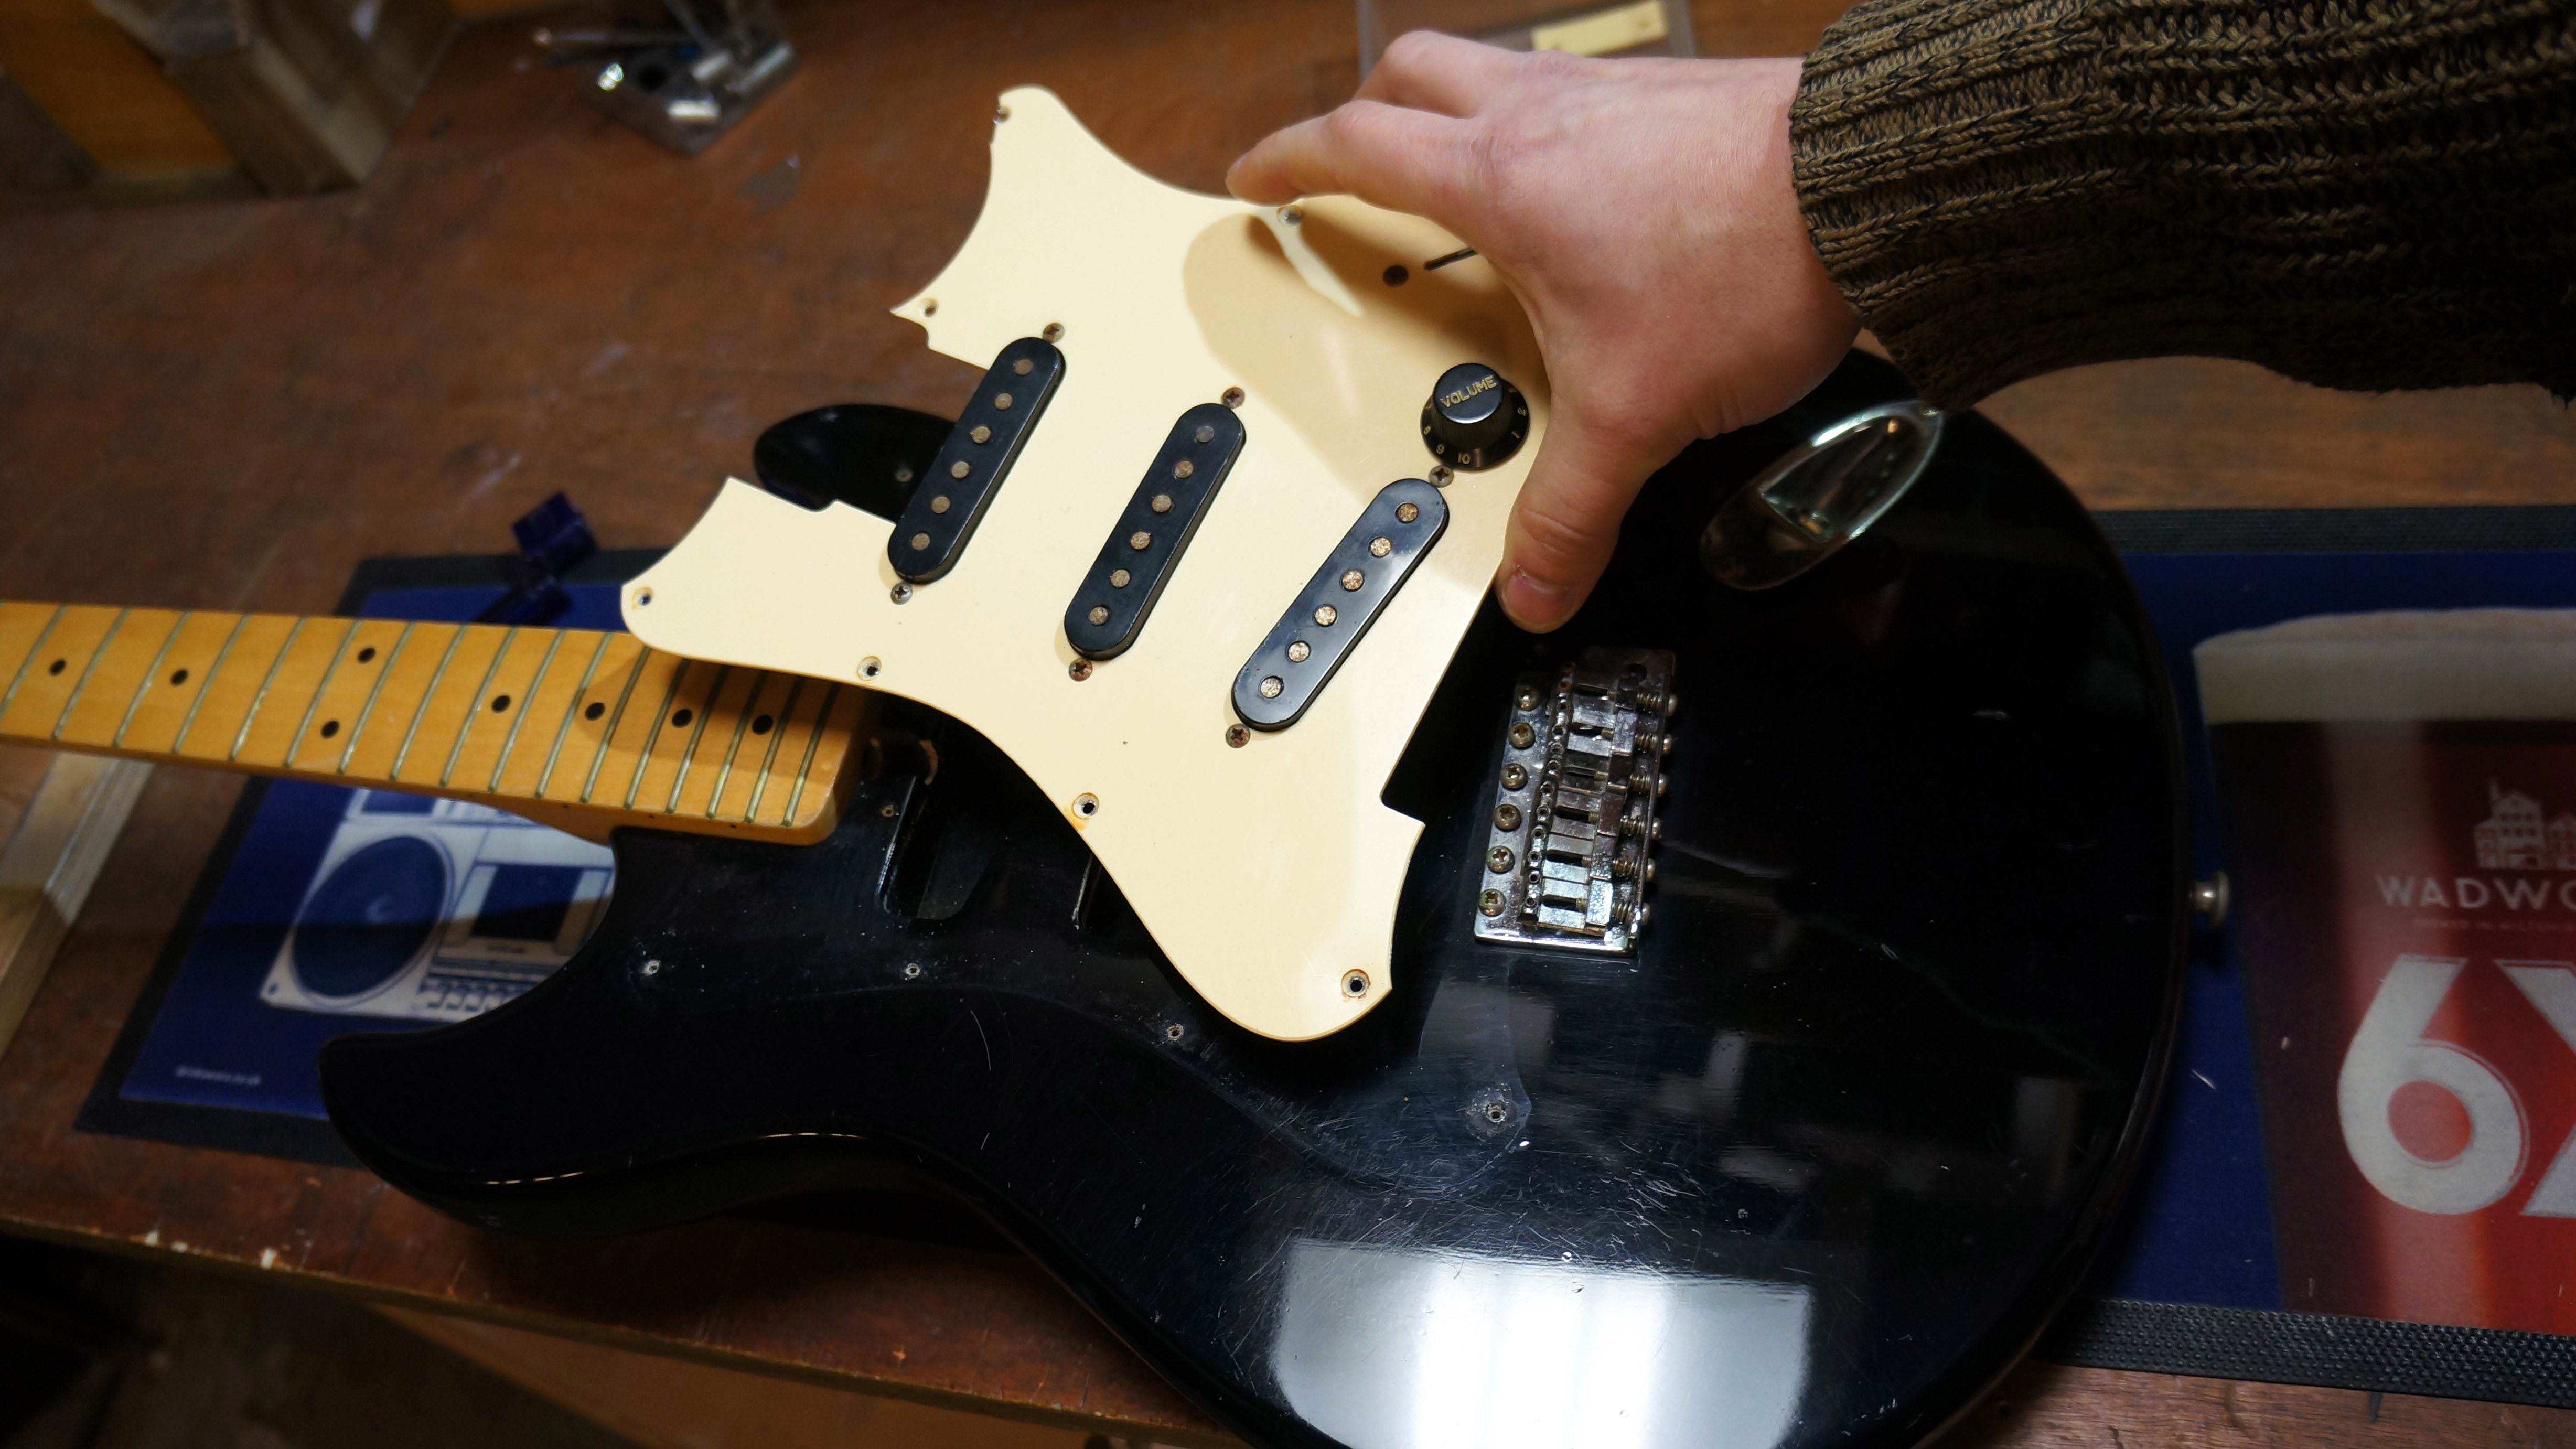
Now we can take off the main scratchplate where the majority of the electronics and pickups are mounted - it’s exactly the same as a Strat’s construction.
Want all the hottest music and gear news, reviews, deals, features and more, direct to your inbox? Sign up here.
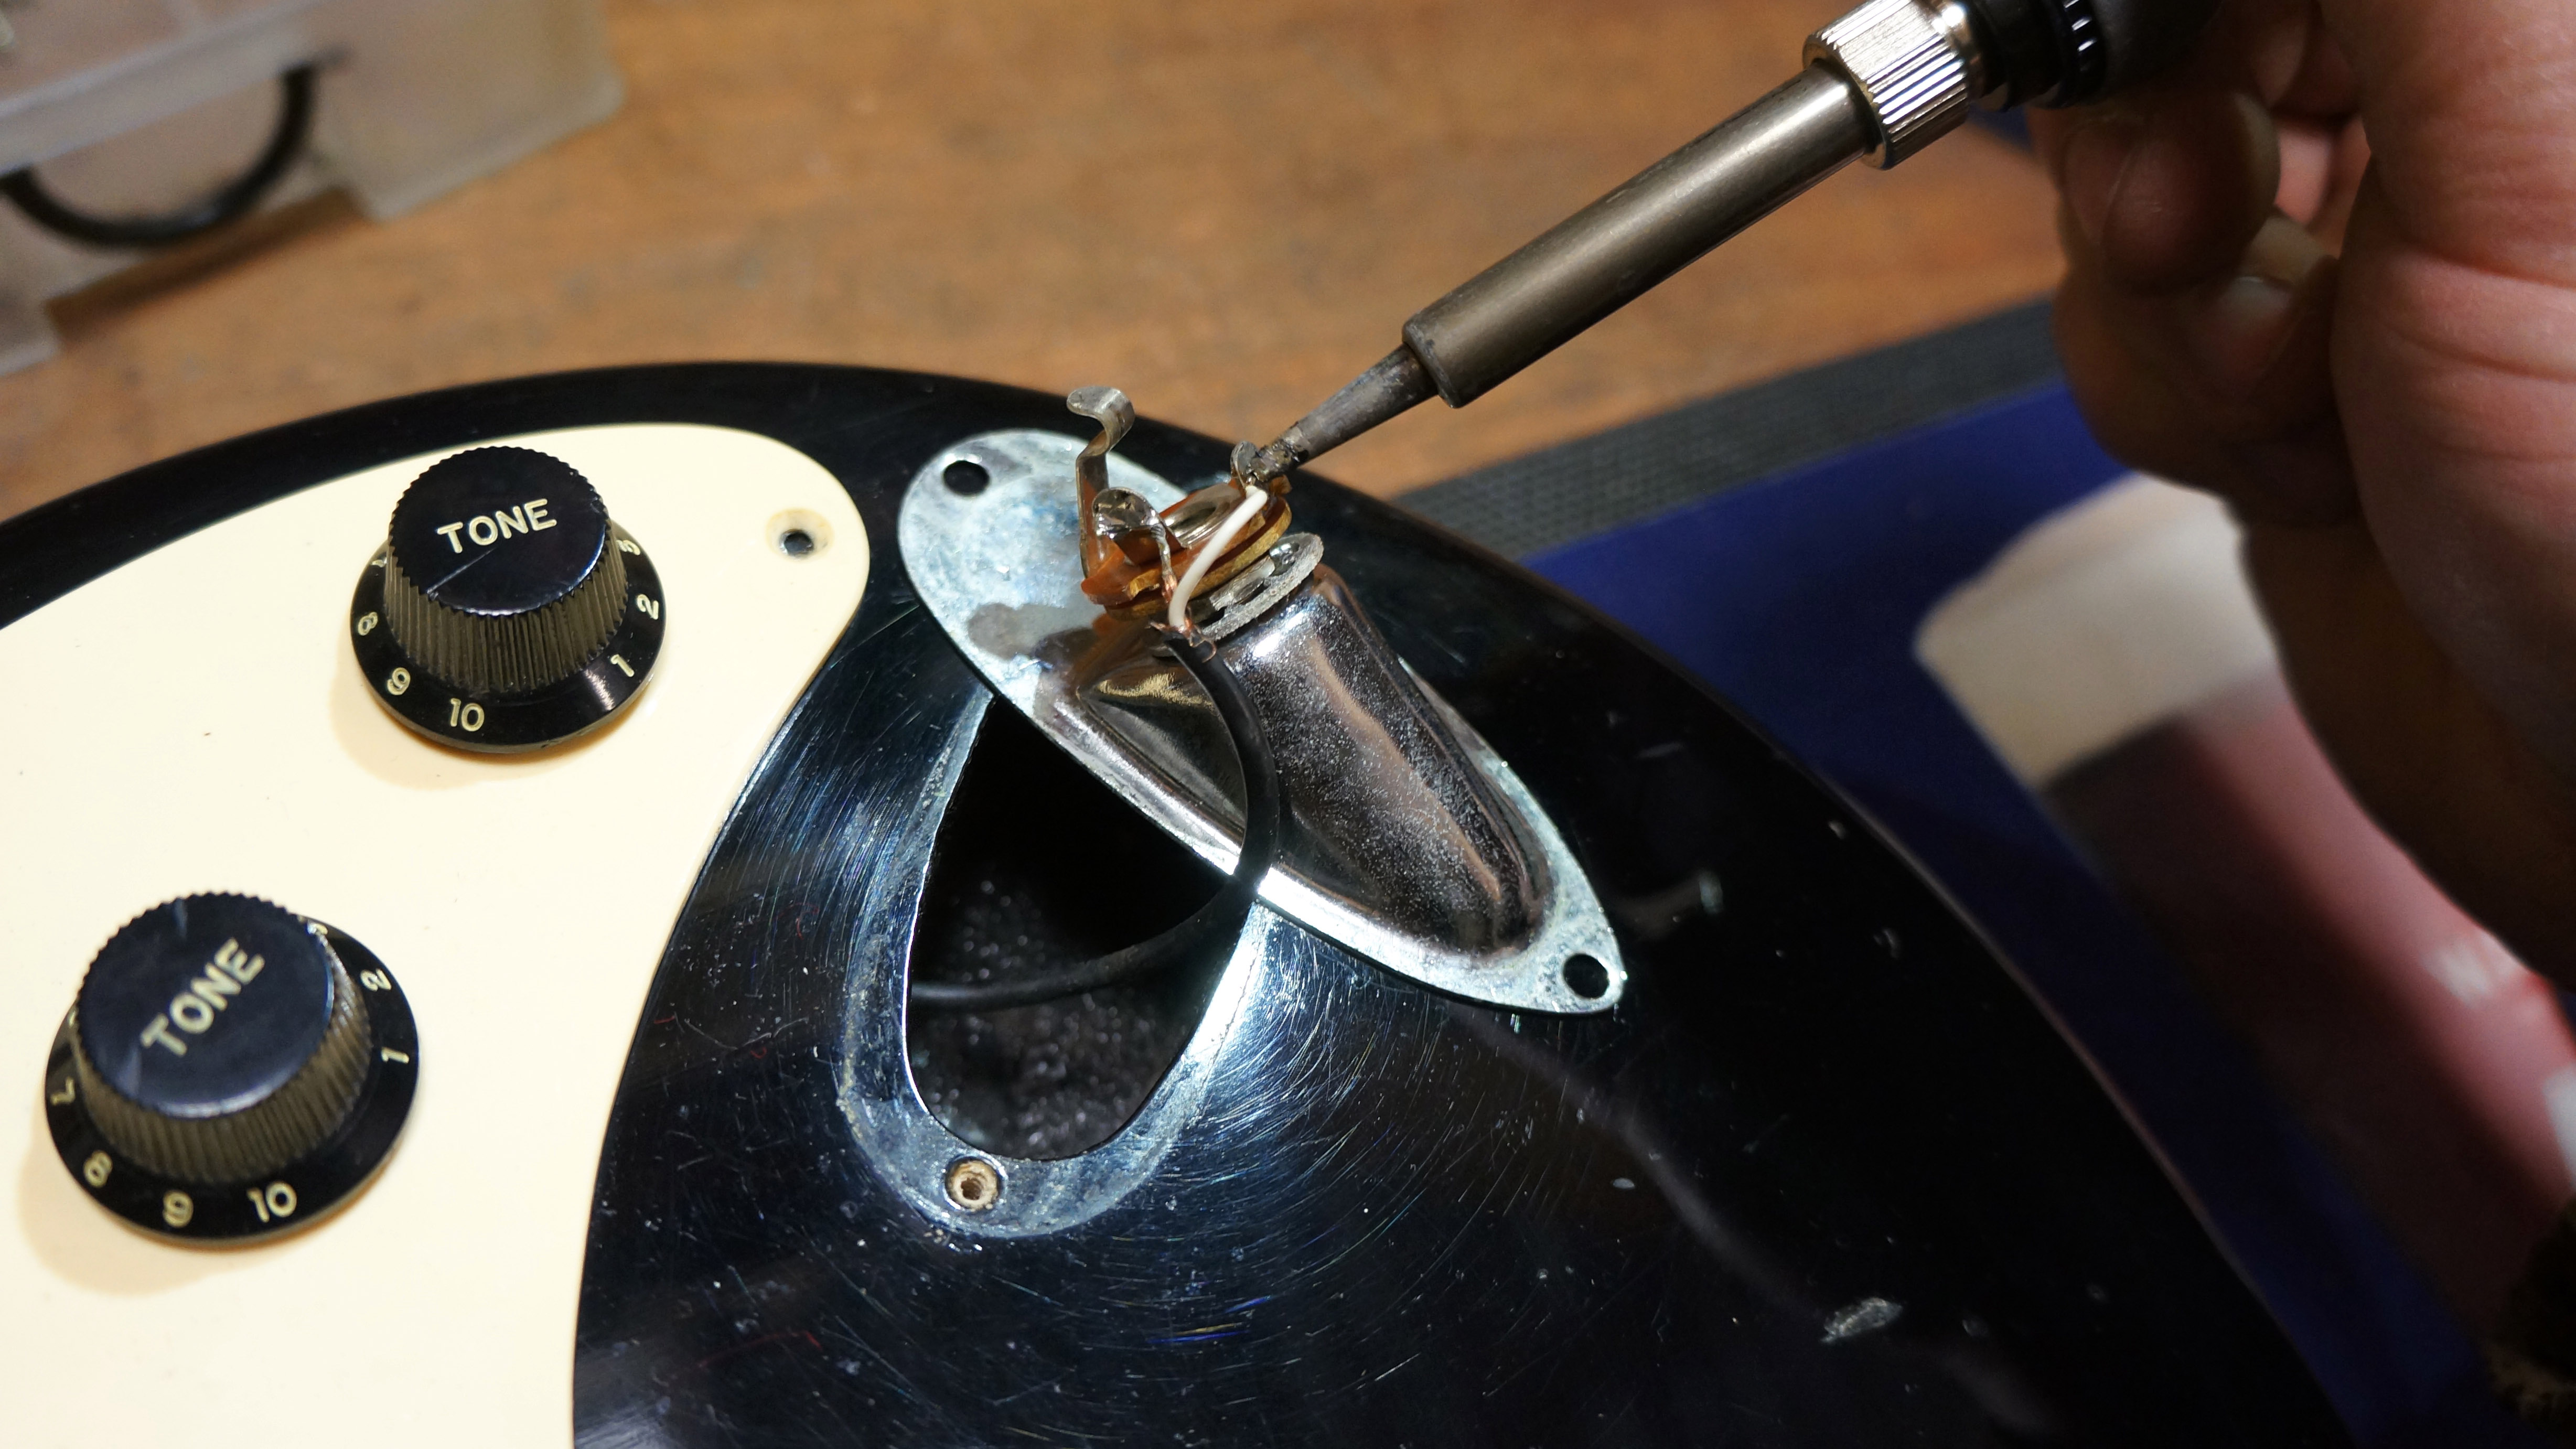
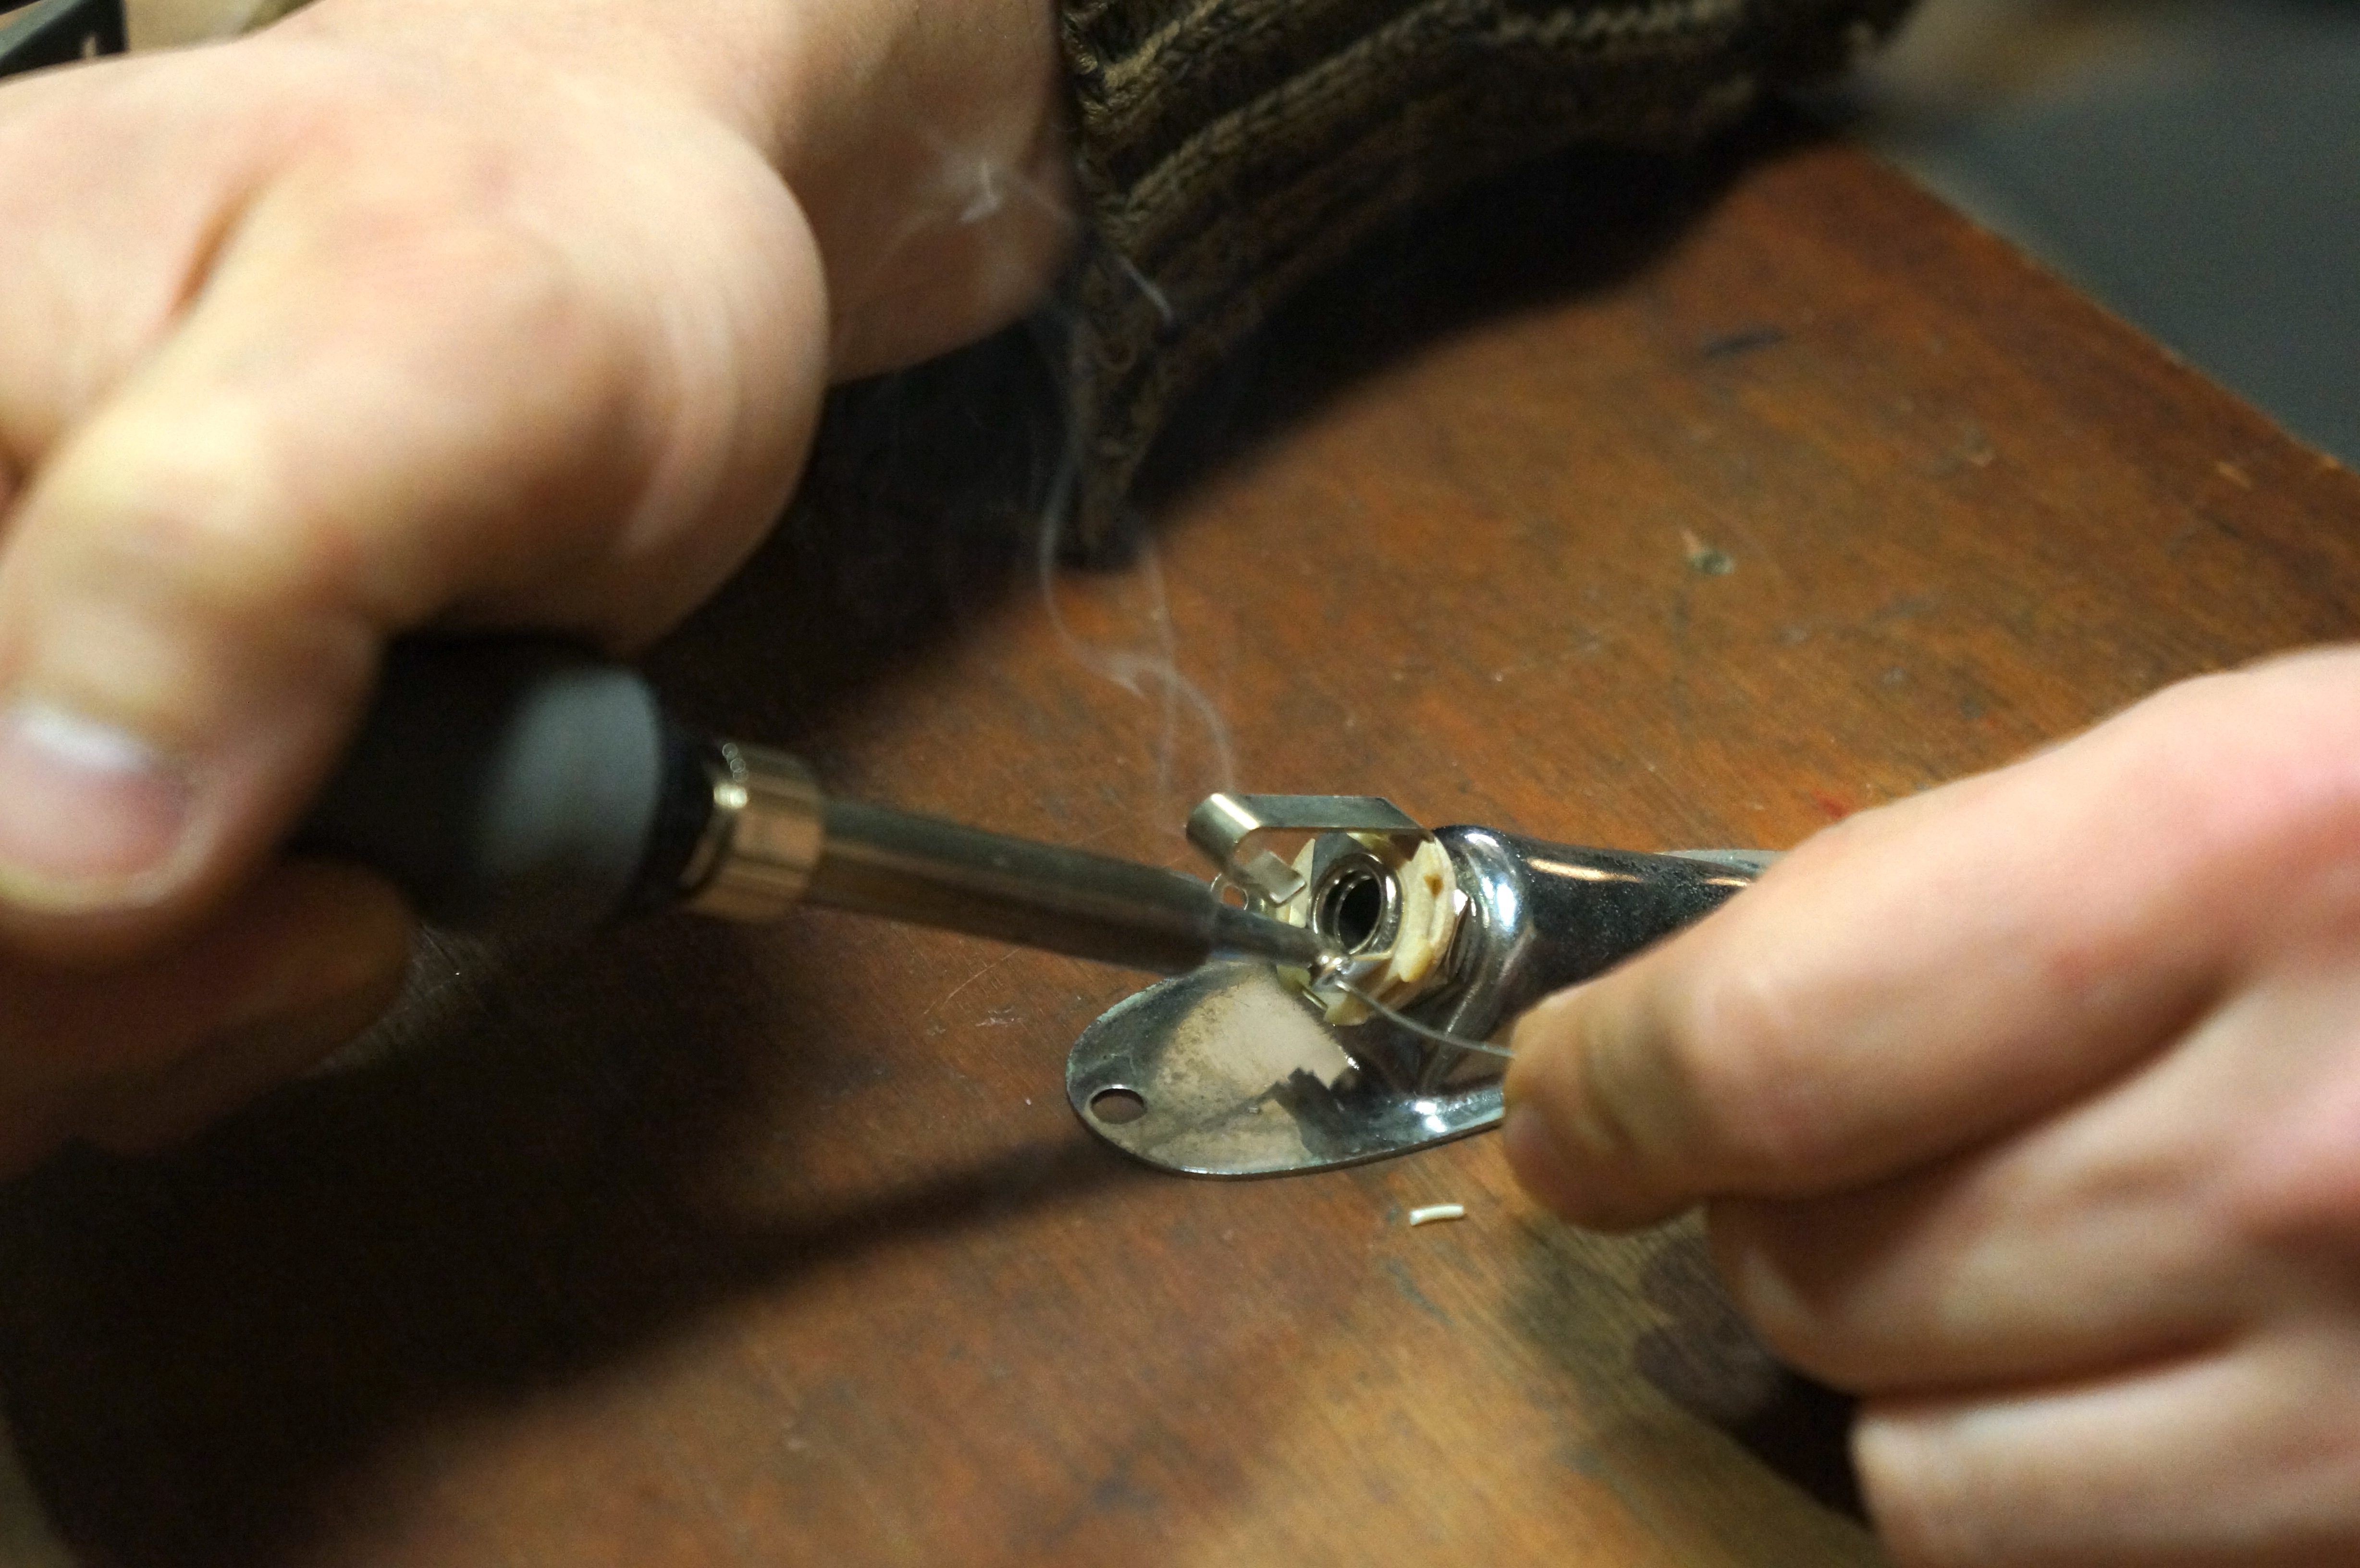
Undo the two screws that hold the jack plate on to unsolder the jack socket component.
Gently lift off the scratchplate, with the string ground and the output jack disconnected you should be free to grab the rest. Be careful just in case, if something snags inside you don’t want to be the one who drops it screws first onto your guitar’s finish...
We’re now truly under the hood. We’ve got some old crummy electronics here that crackle like mad so we’ll automatically cure all this at the same time as our wiring mod upgrade!
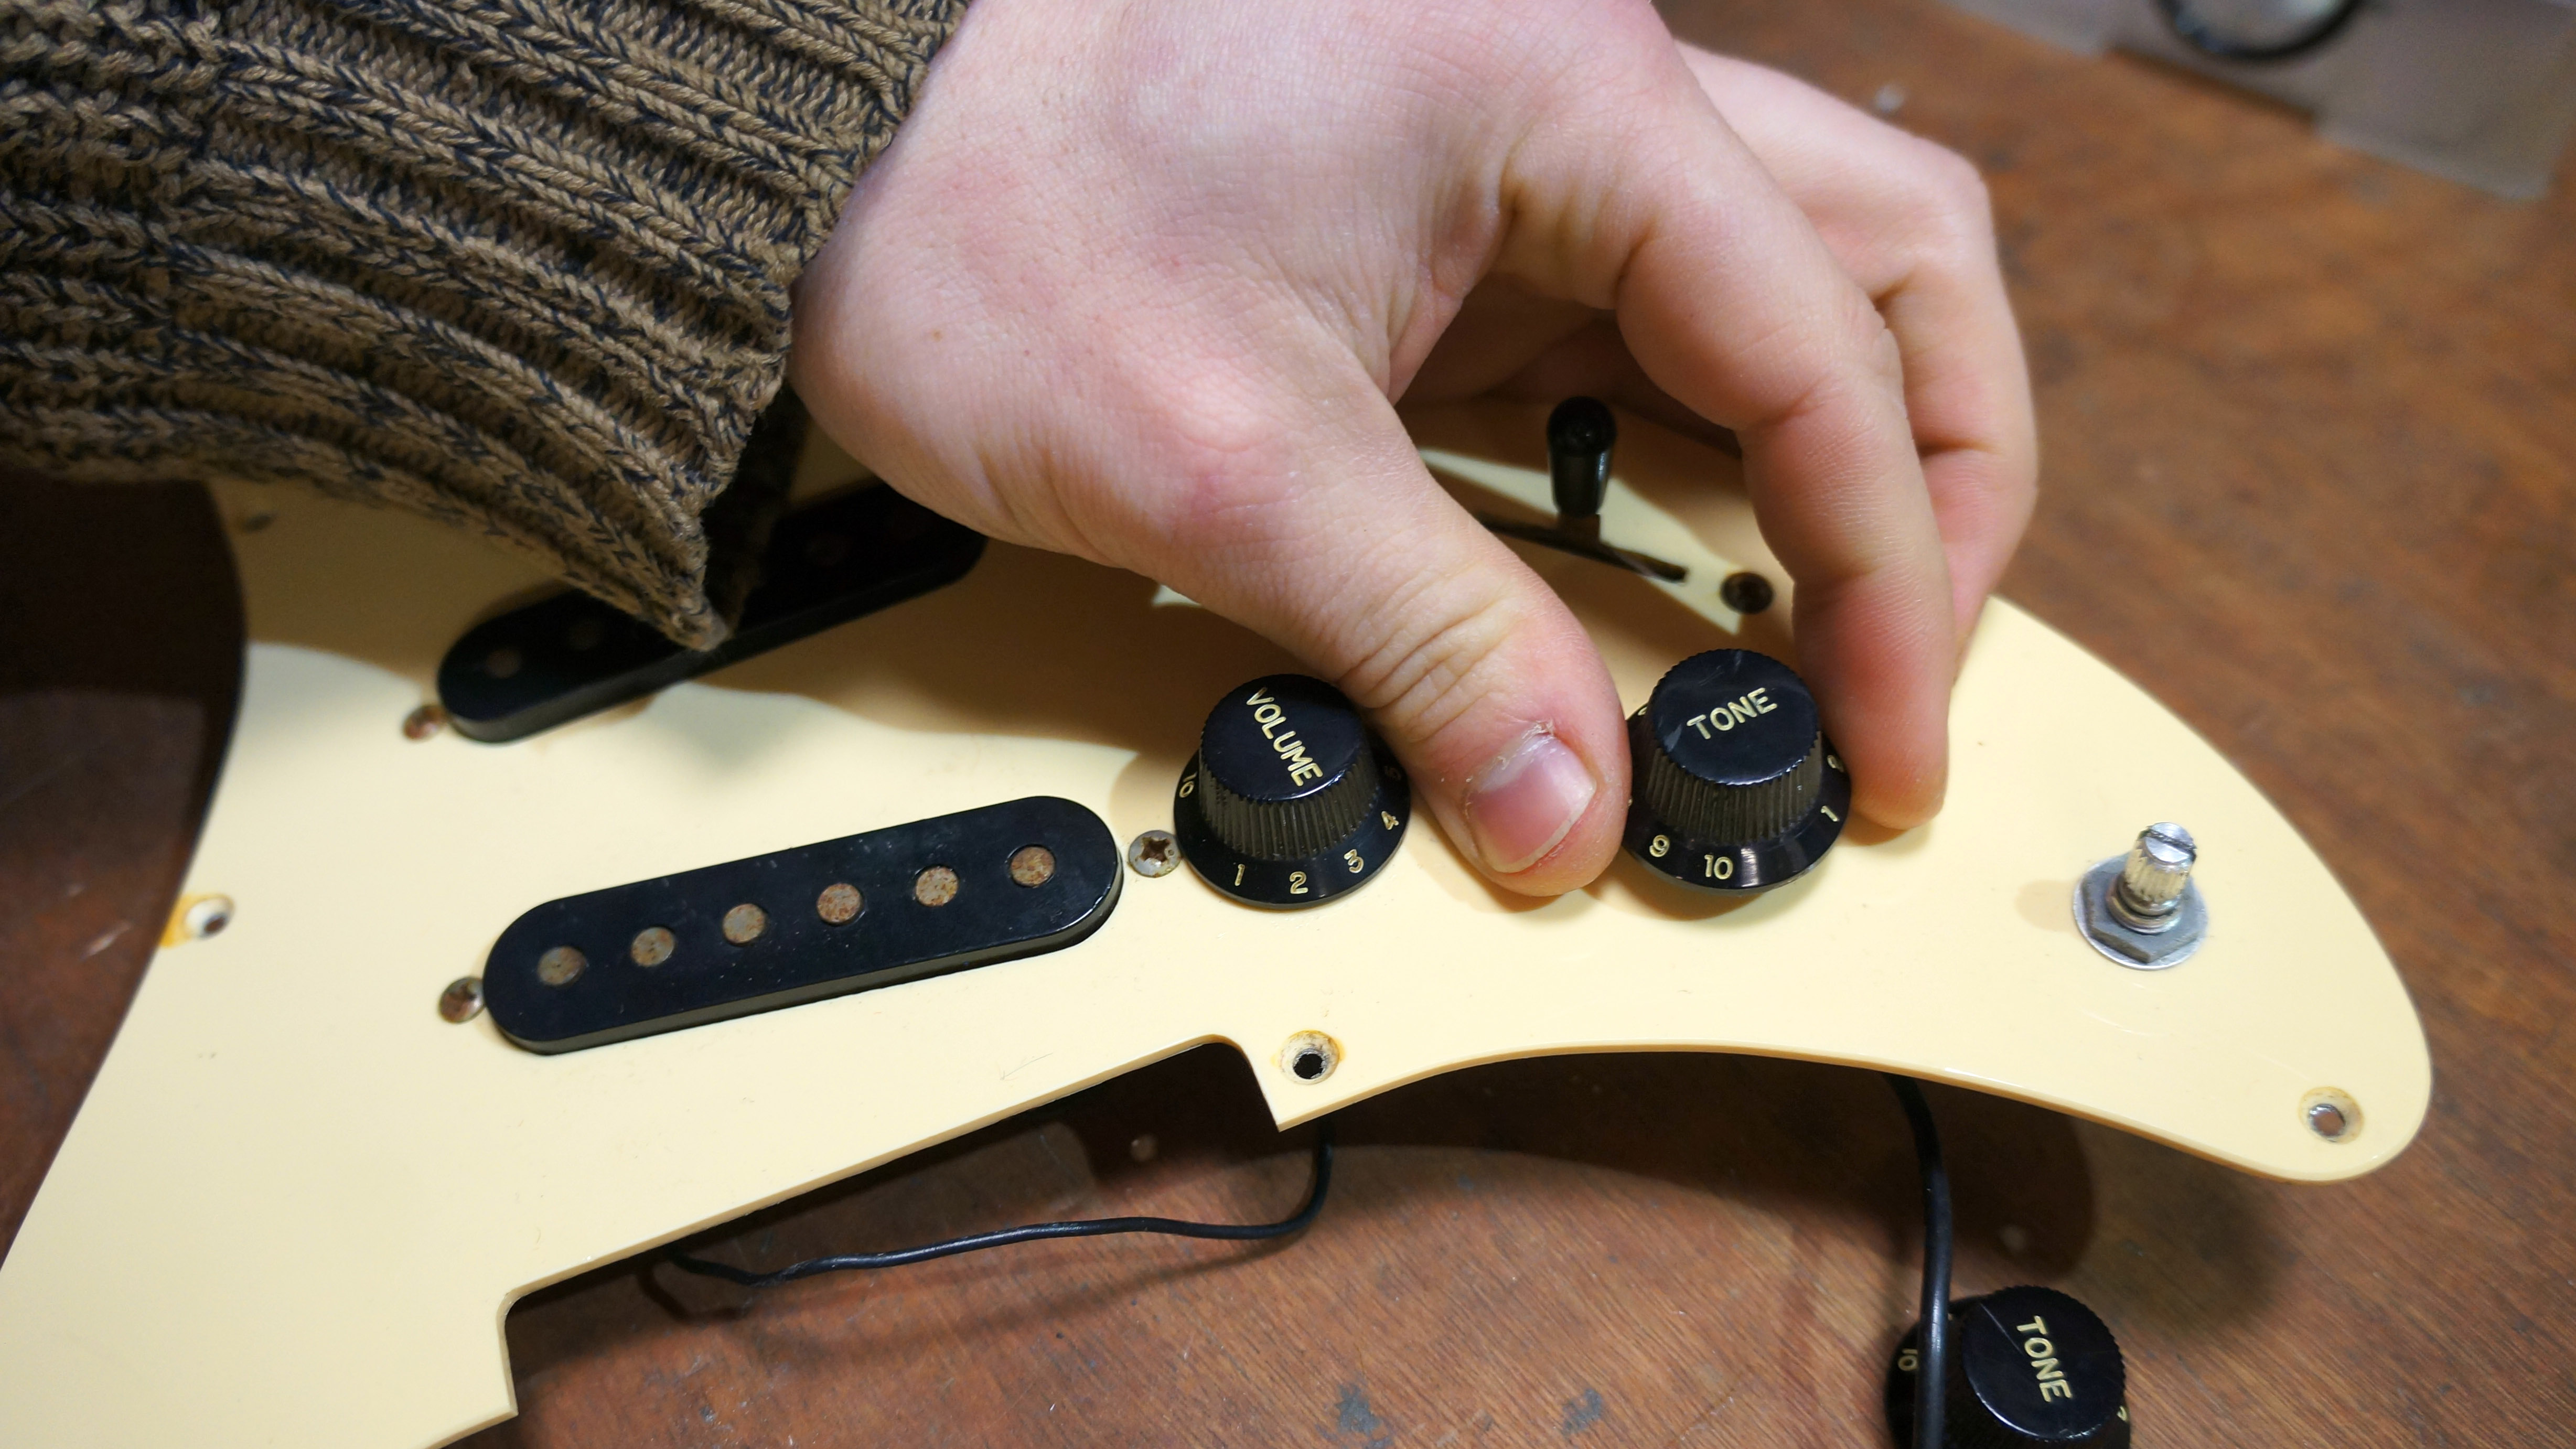
Let's strip the pickguard down, pull off the knobs, switch tip and loosen the nuts off the front. Stash the knobs somewhere safe as we’ll reuse them to keep the look.
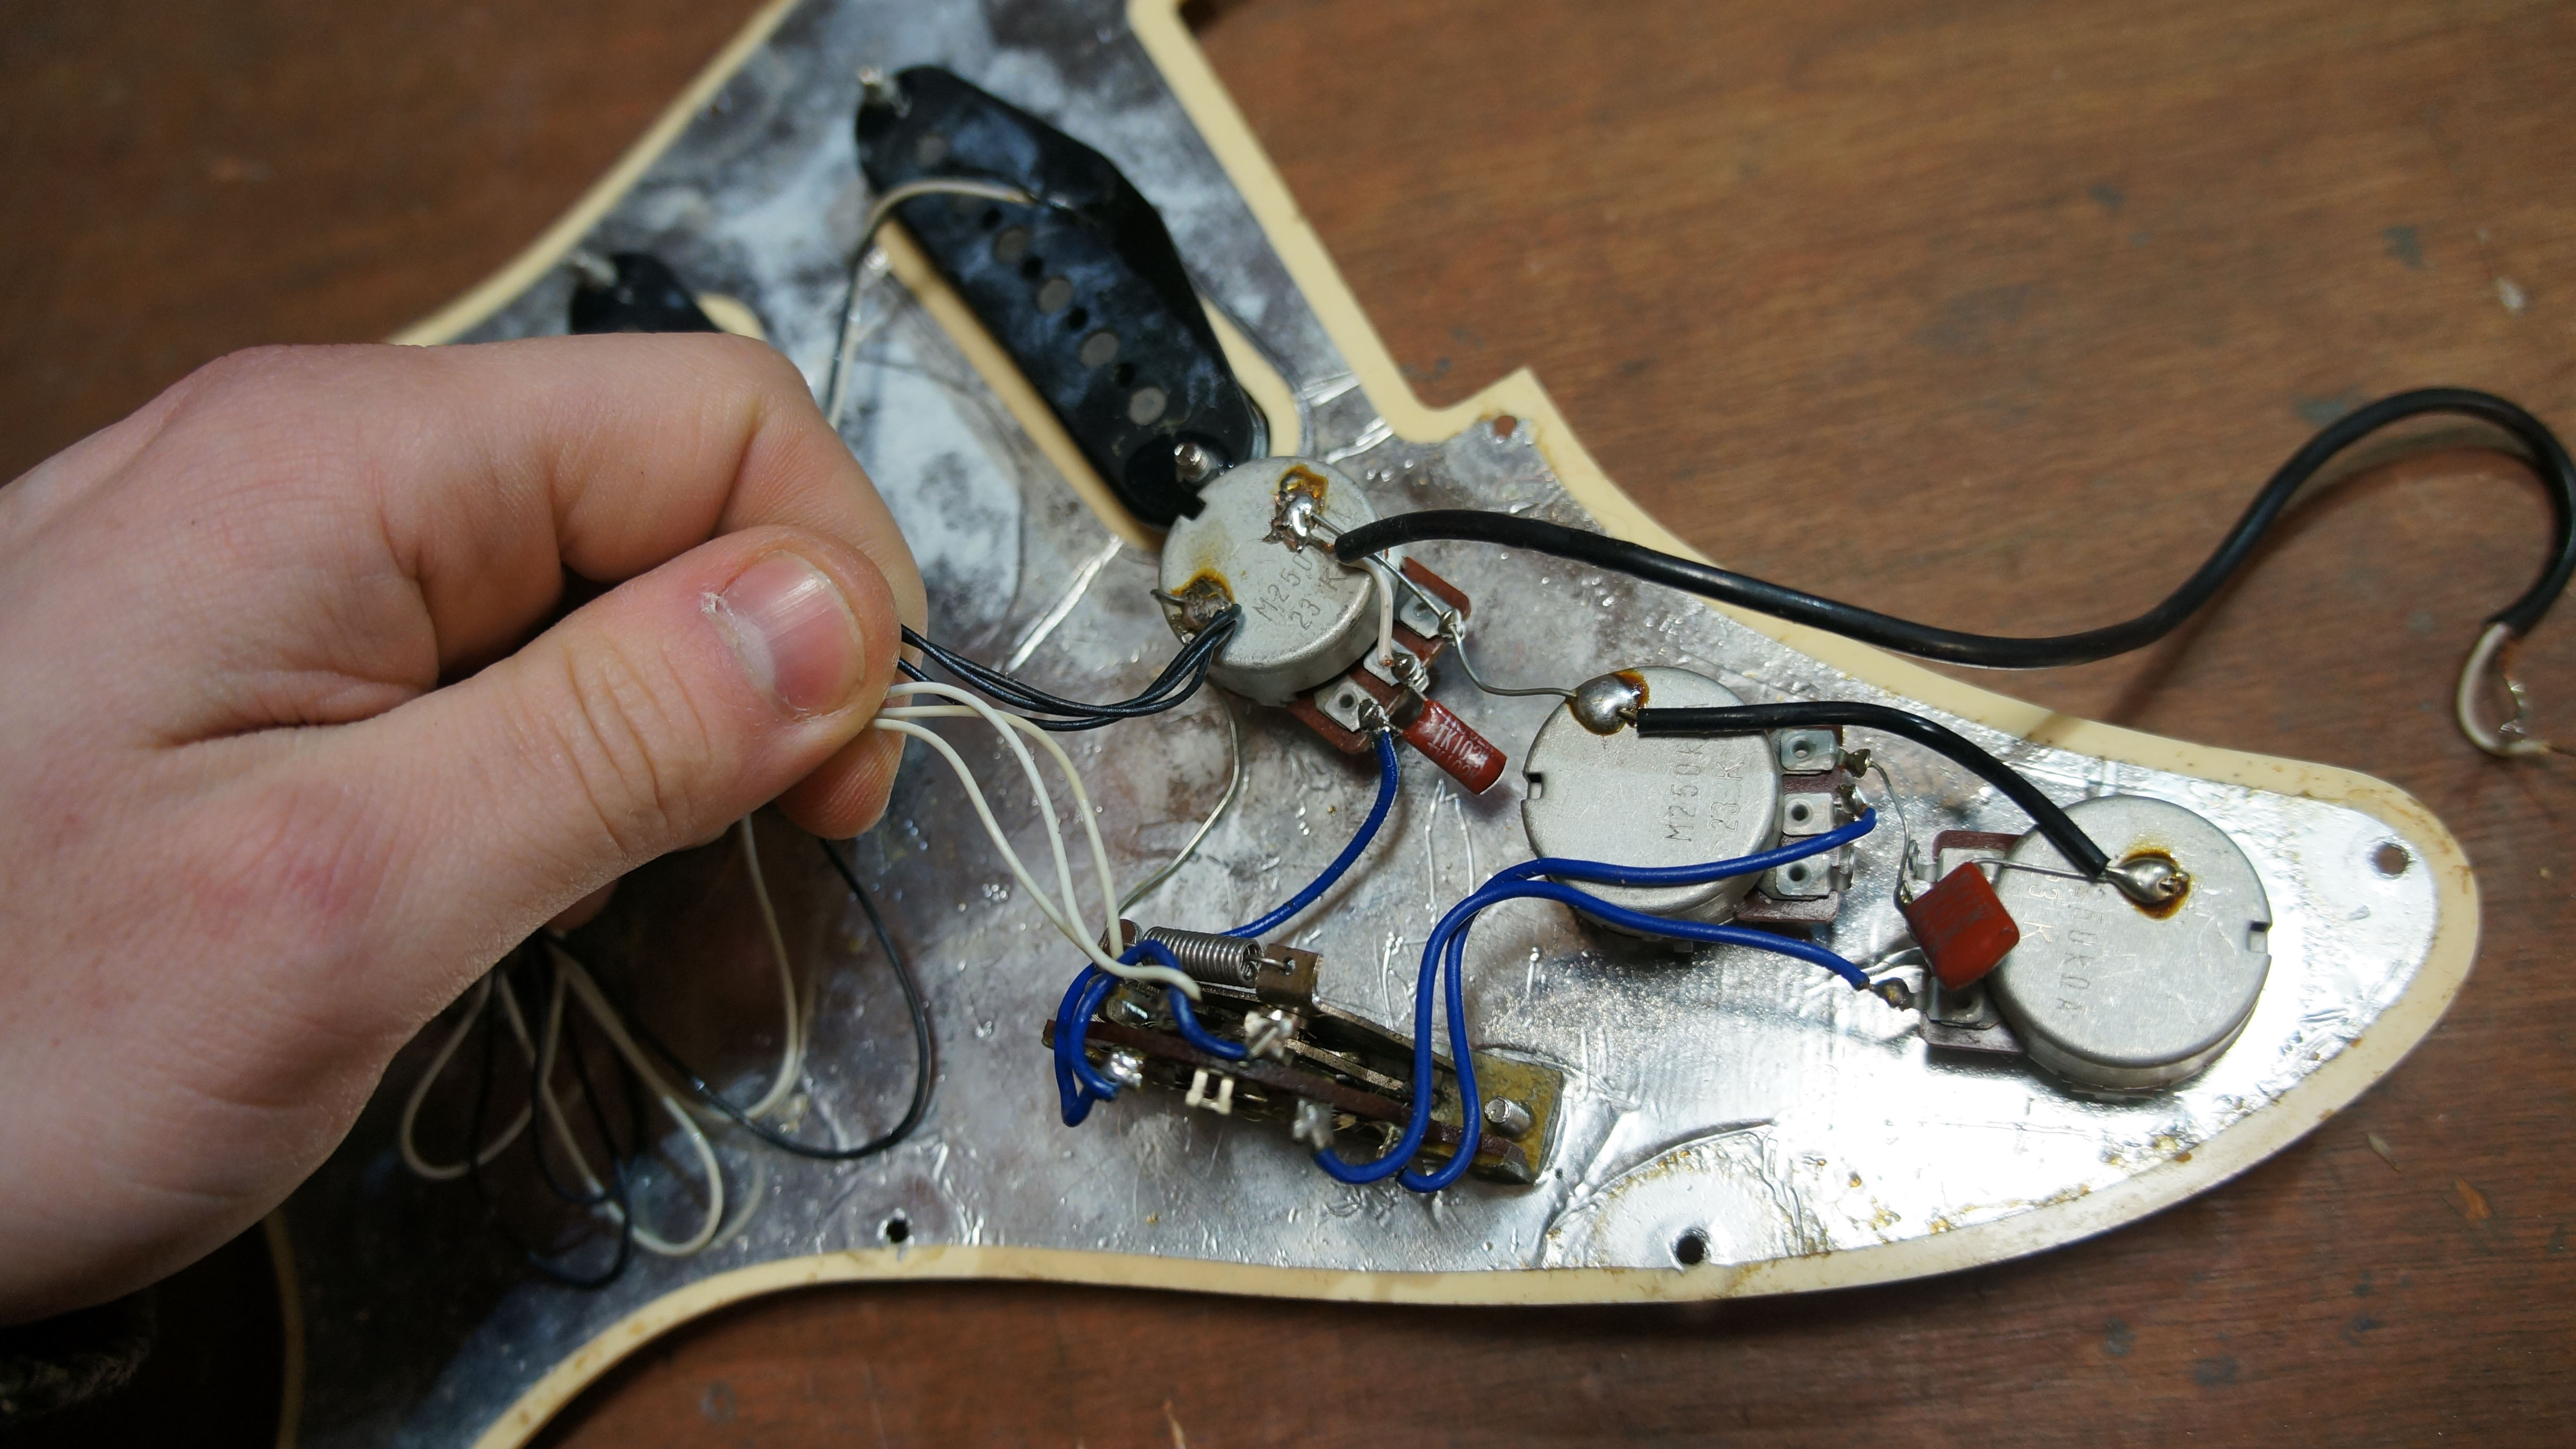
Identify the pickup wires, it’s super easy in this case as you can just trace them back to the pickups. Tradition single-coil pickups only have two wires per pickup – that’s a connection to the start and end of the winding.
Notice how all the black wires go to the same place? That’s a shared earth and the back of a pot is a great large solderable place to stick them all together.
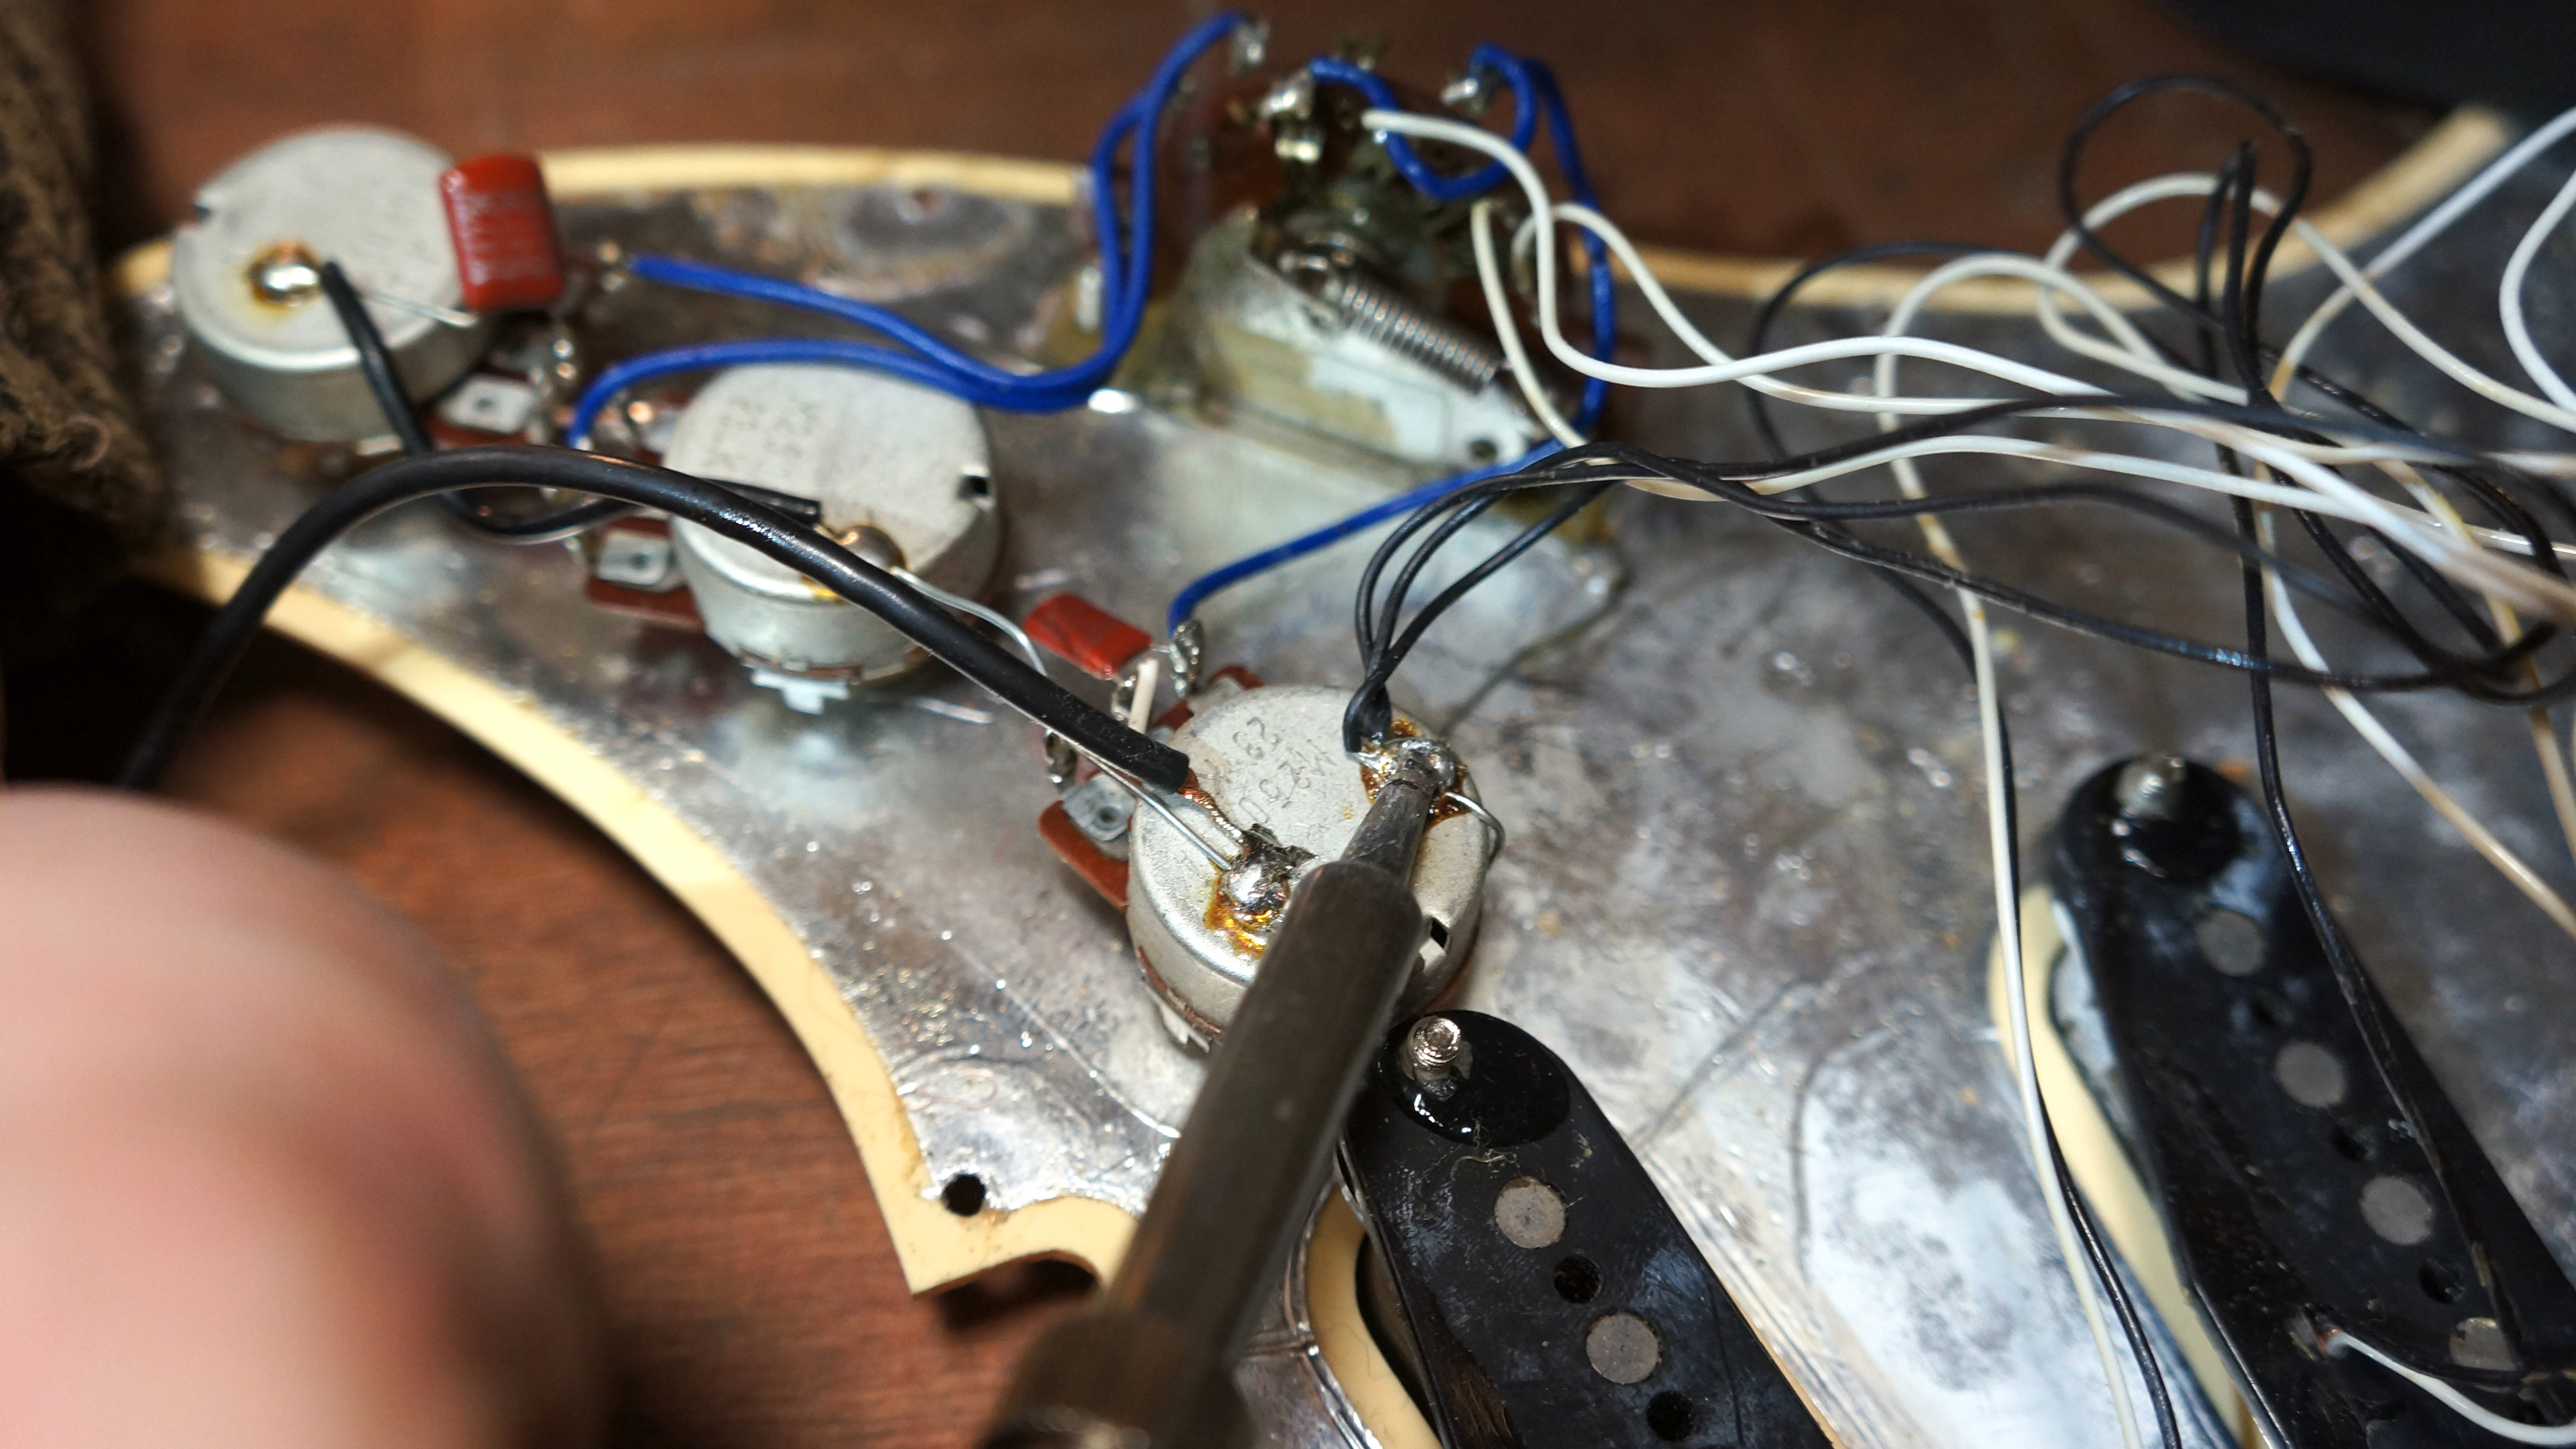
Let’s de-solder those in the interest of keeping the pickup wires as long as possible.
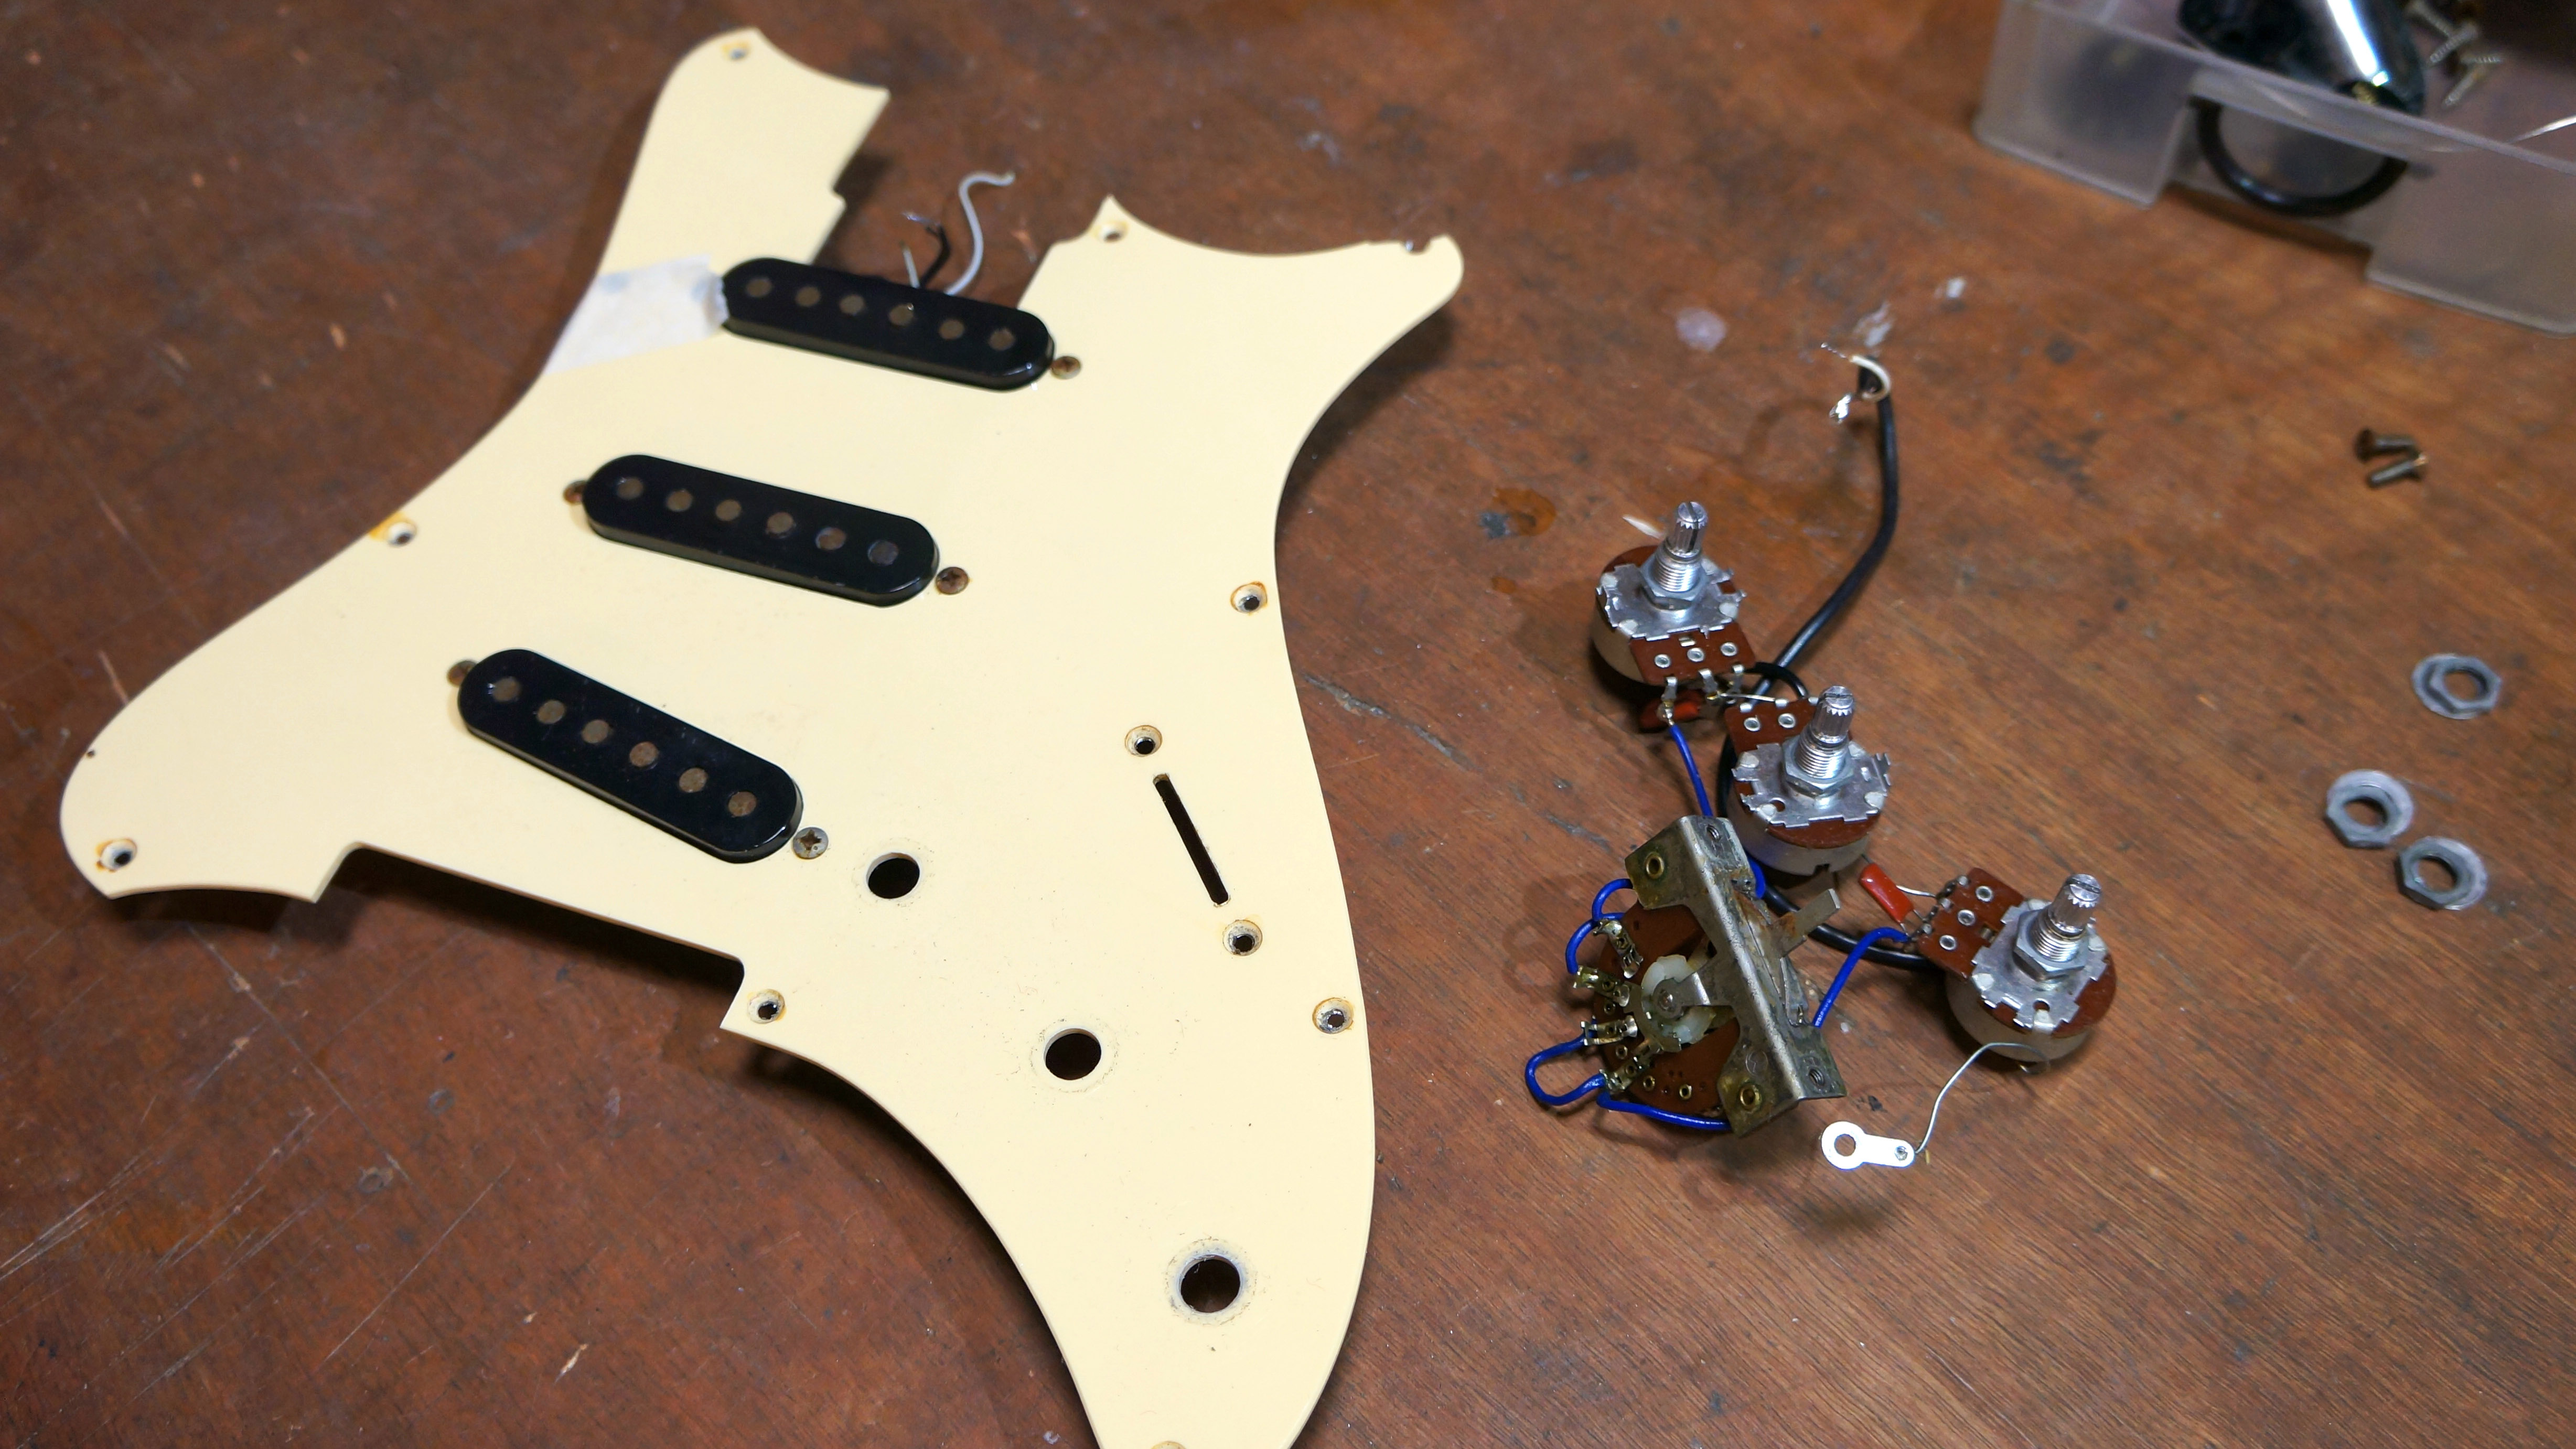
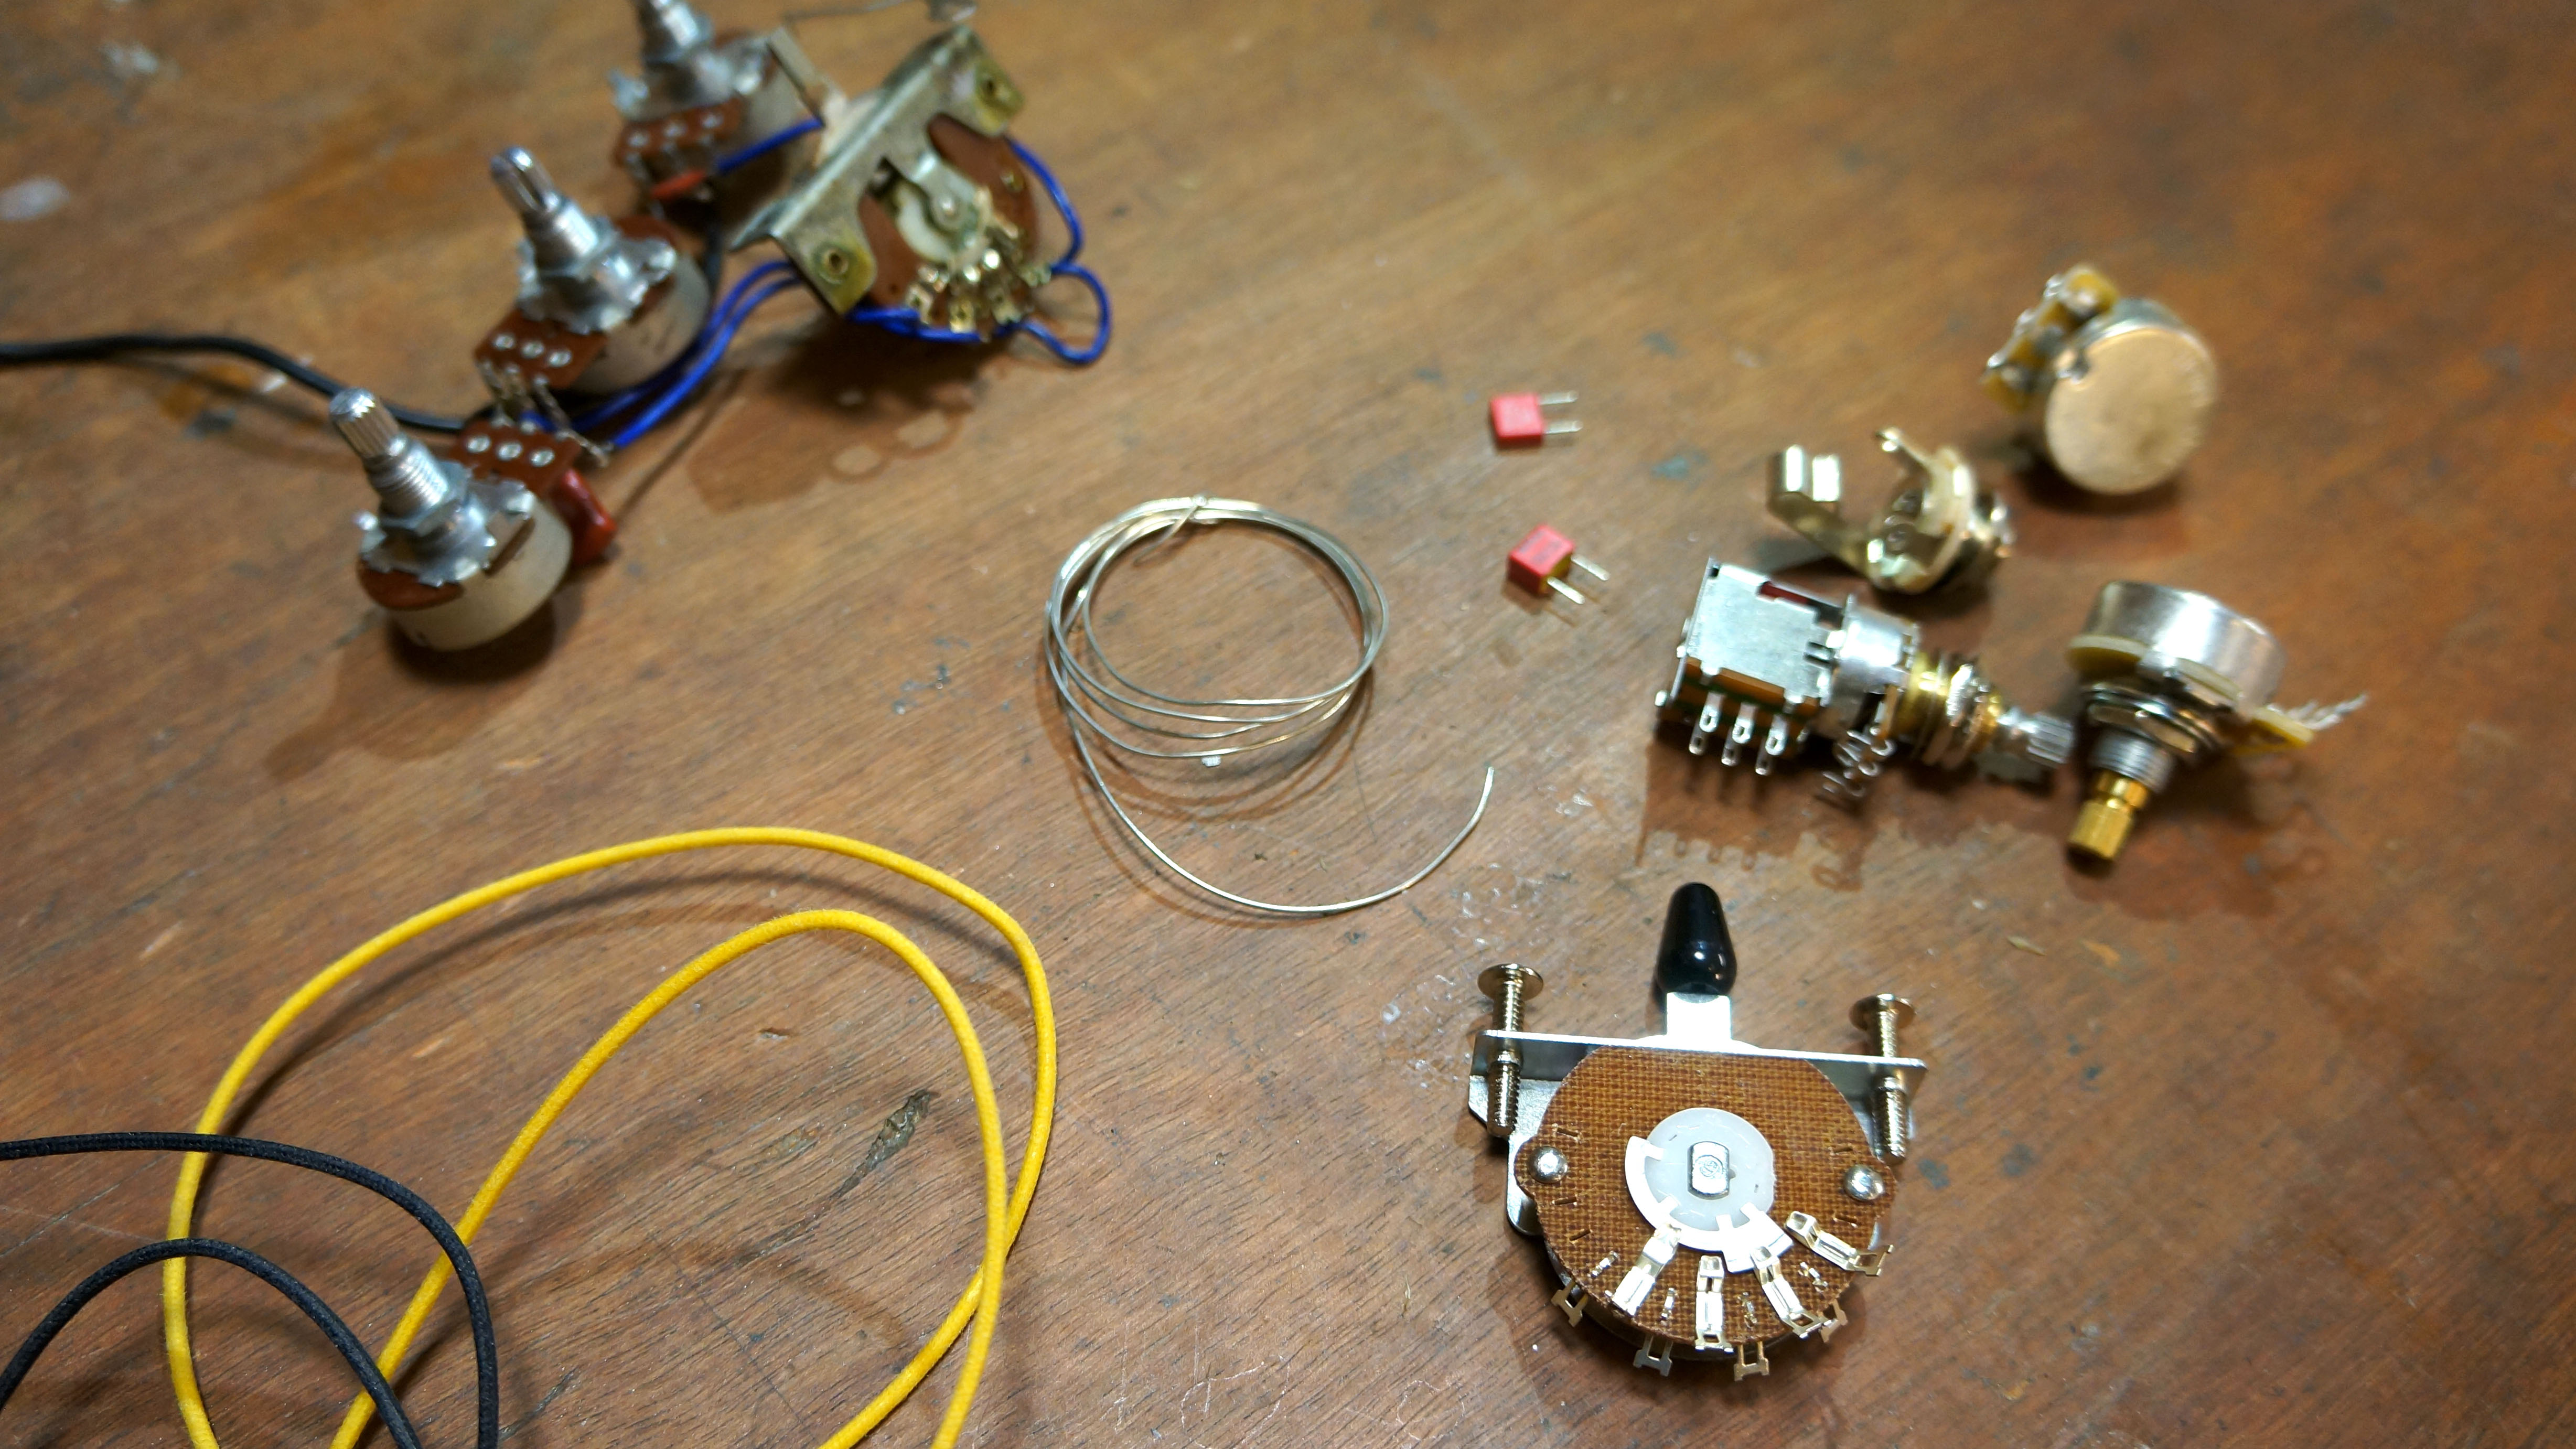
Pickguard liberated, let’s threaten it with some lovely new brand name components. Here we have the two CTS pots as well as an Alpha Push/Push pot, a new 5-way switch, a Switchcraft jack socket and a few caps for the tone circuits and treble retention circuit on the volume pot.
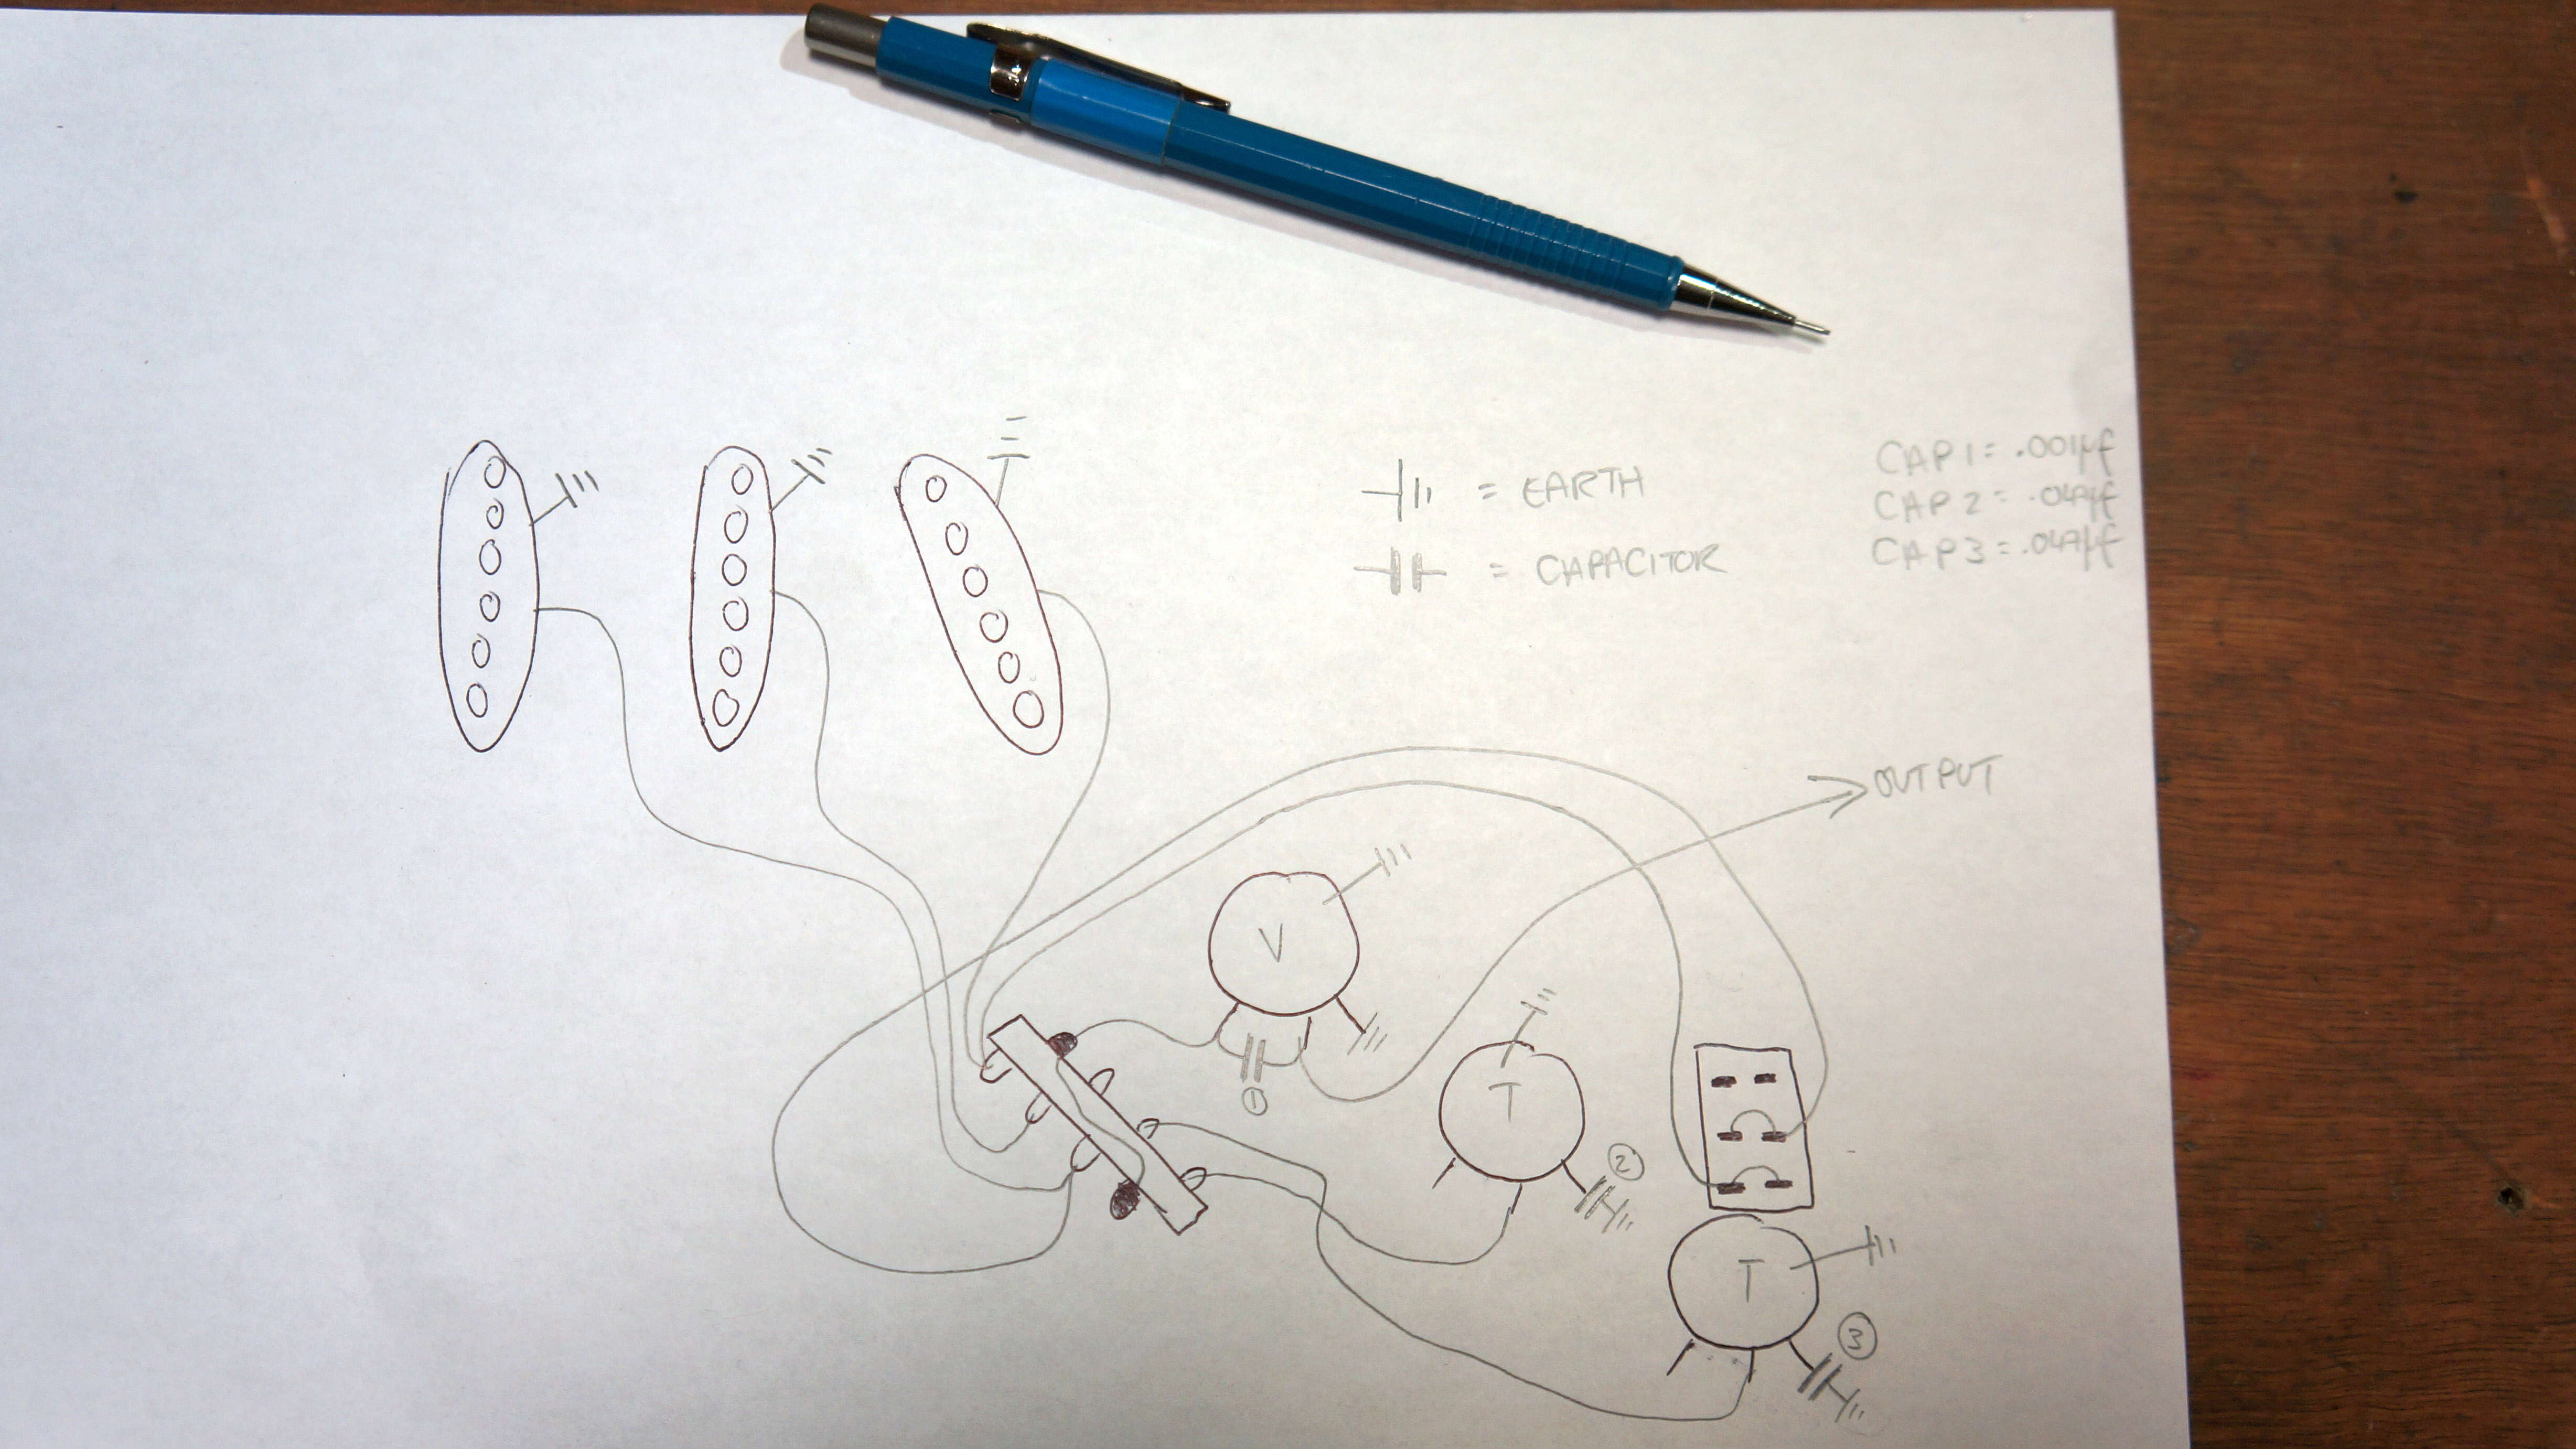
The diagram: Have a check over it first to familiarise yourself with a few things, it really helps to have a diagram that’s laid out the same orientation as your pickguard!
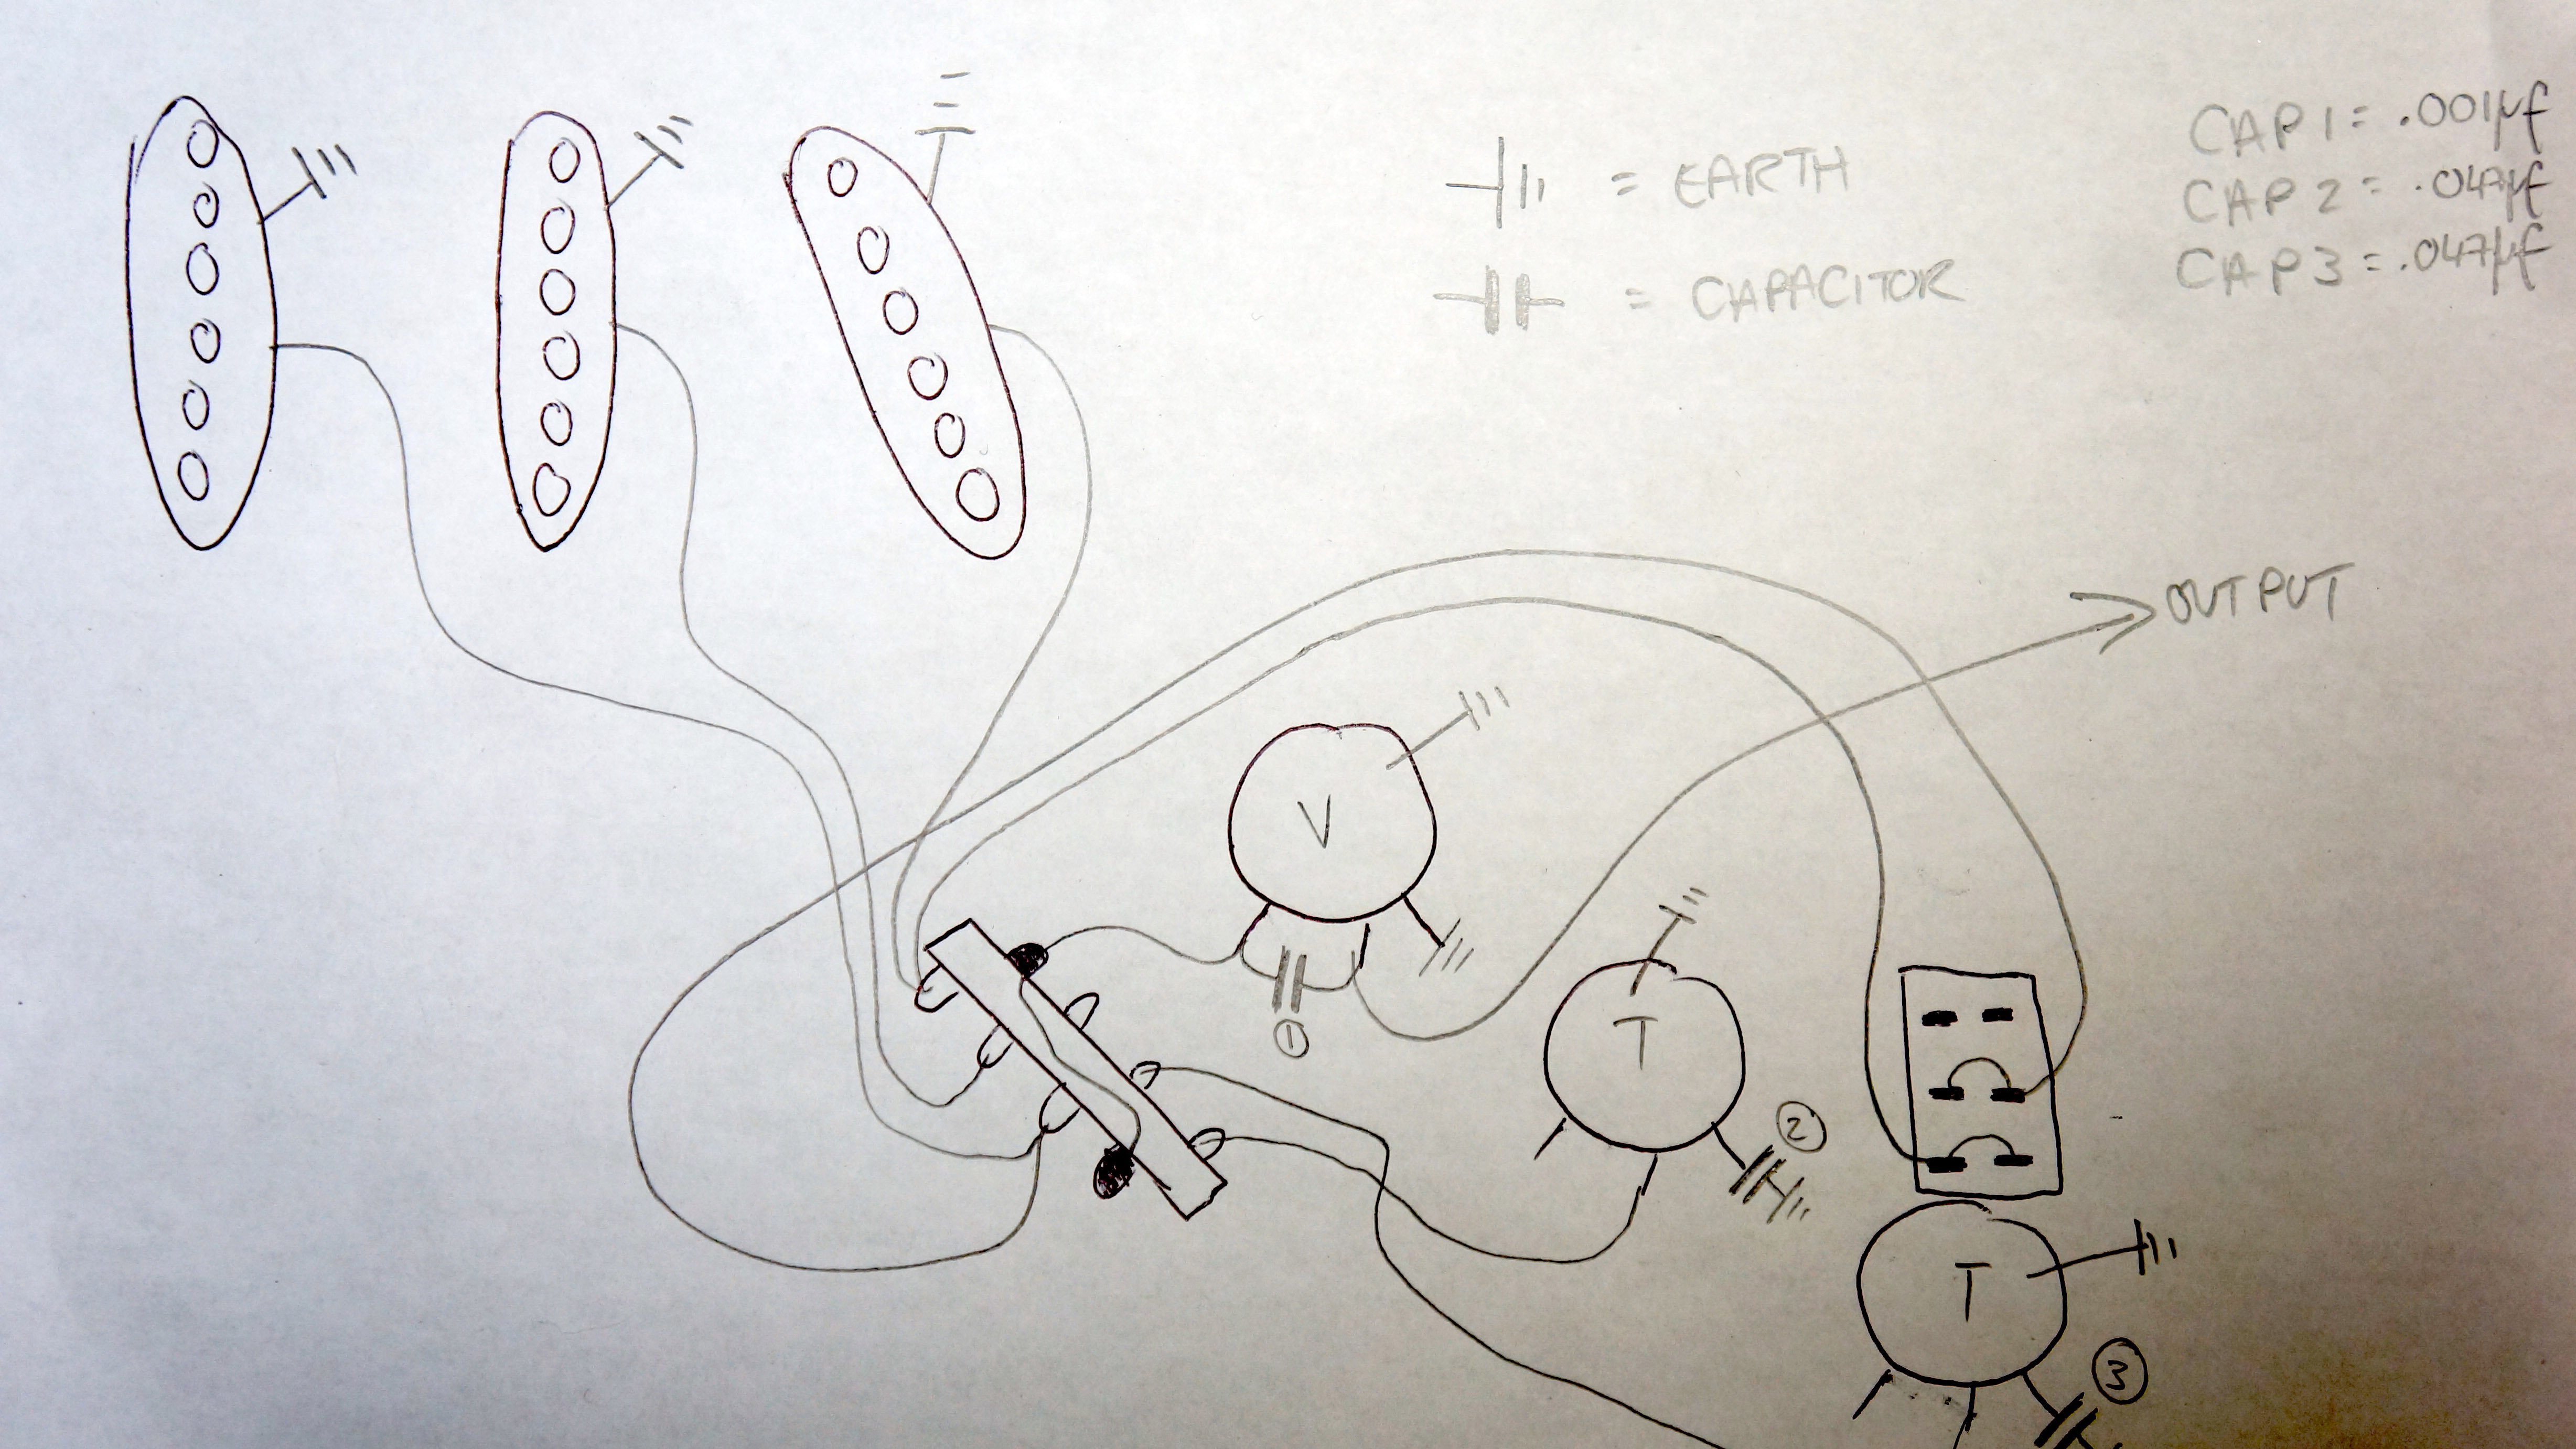
Instead of pointing out every soldering joint you need to make, here’s some tips to get things running. Let’s start our re-wire adventure by preparing the new components.
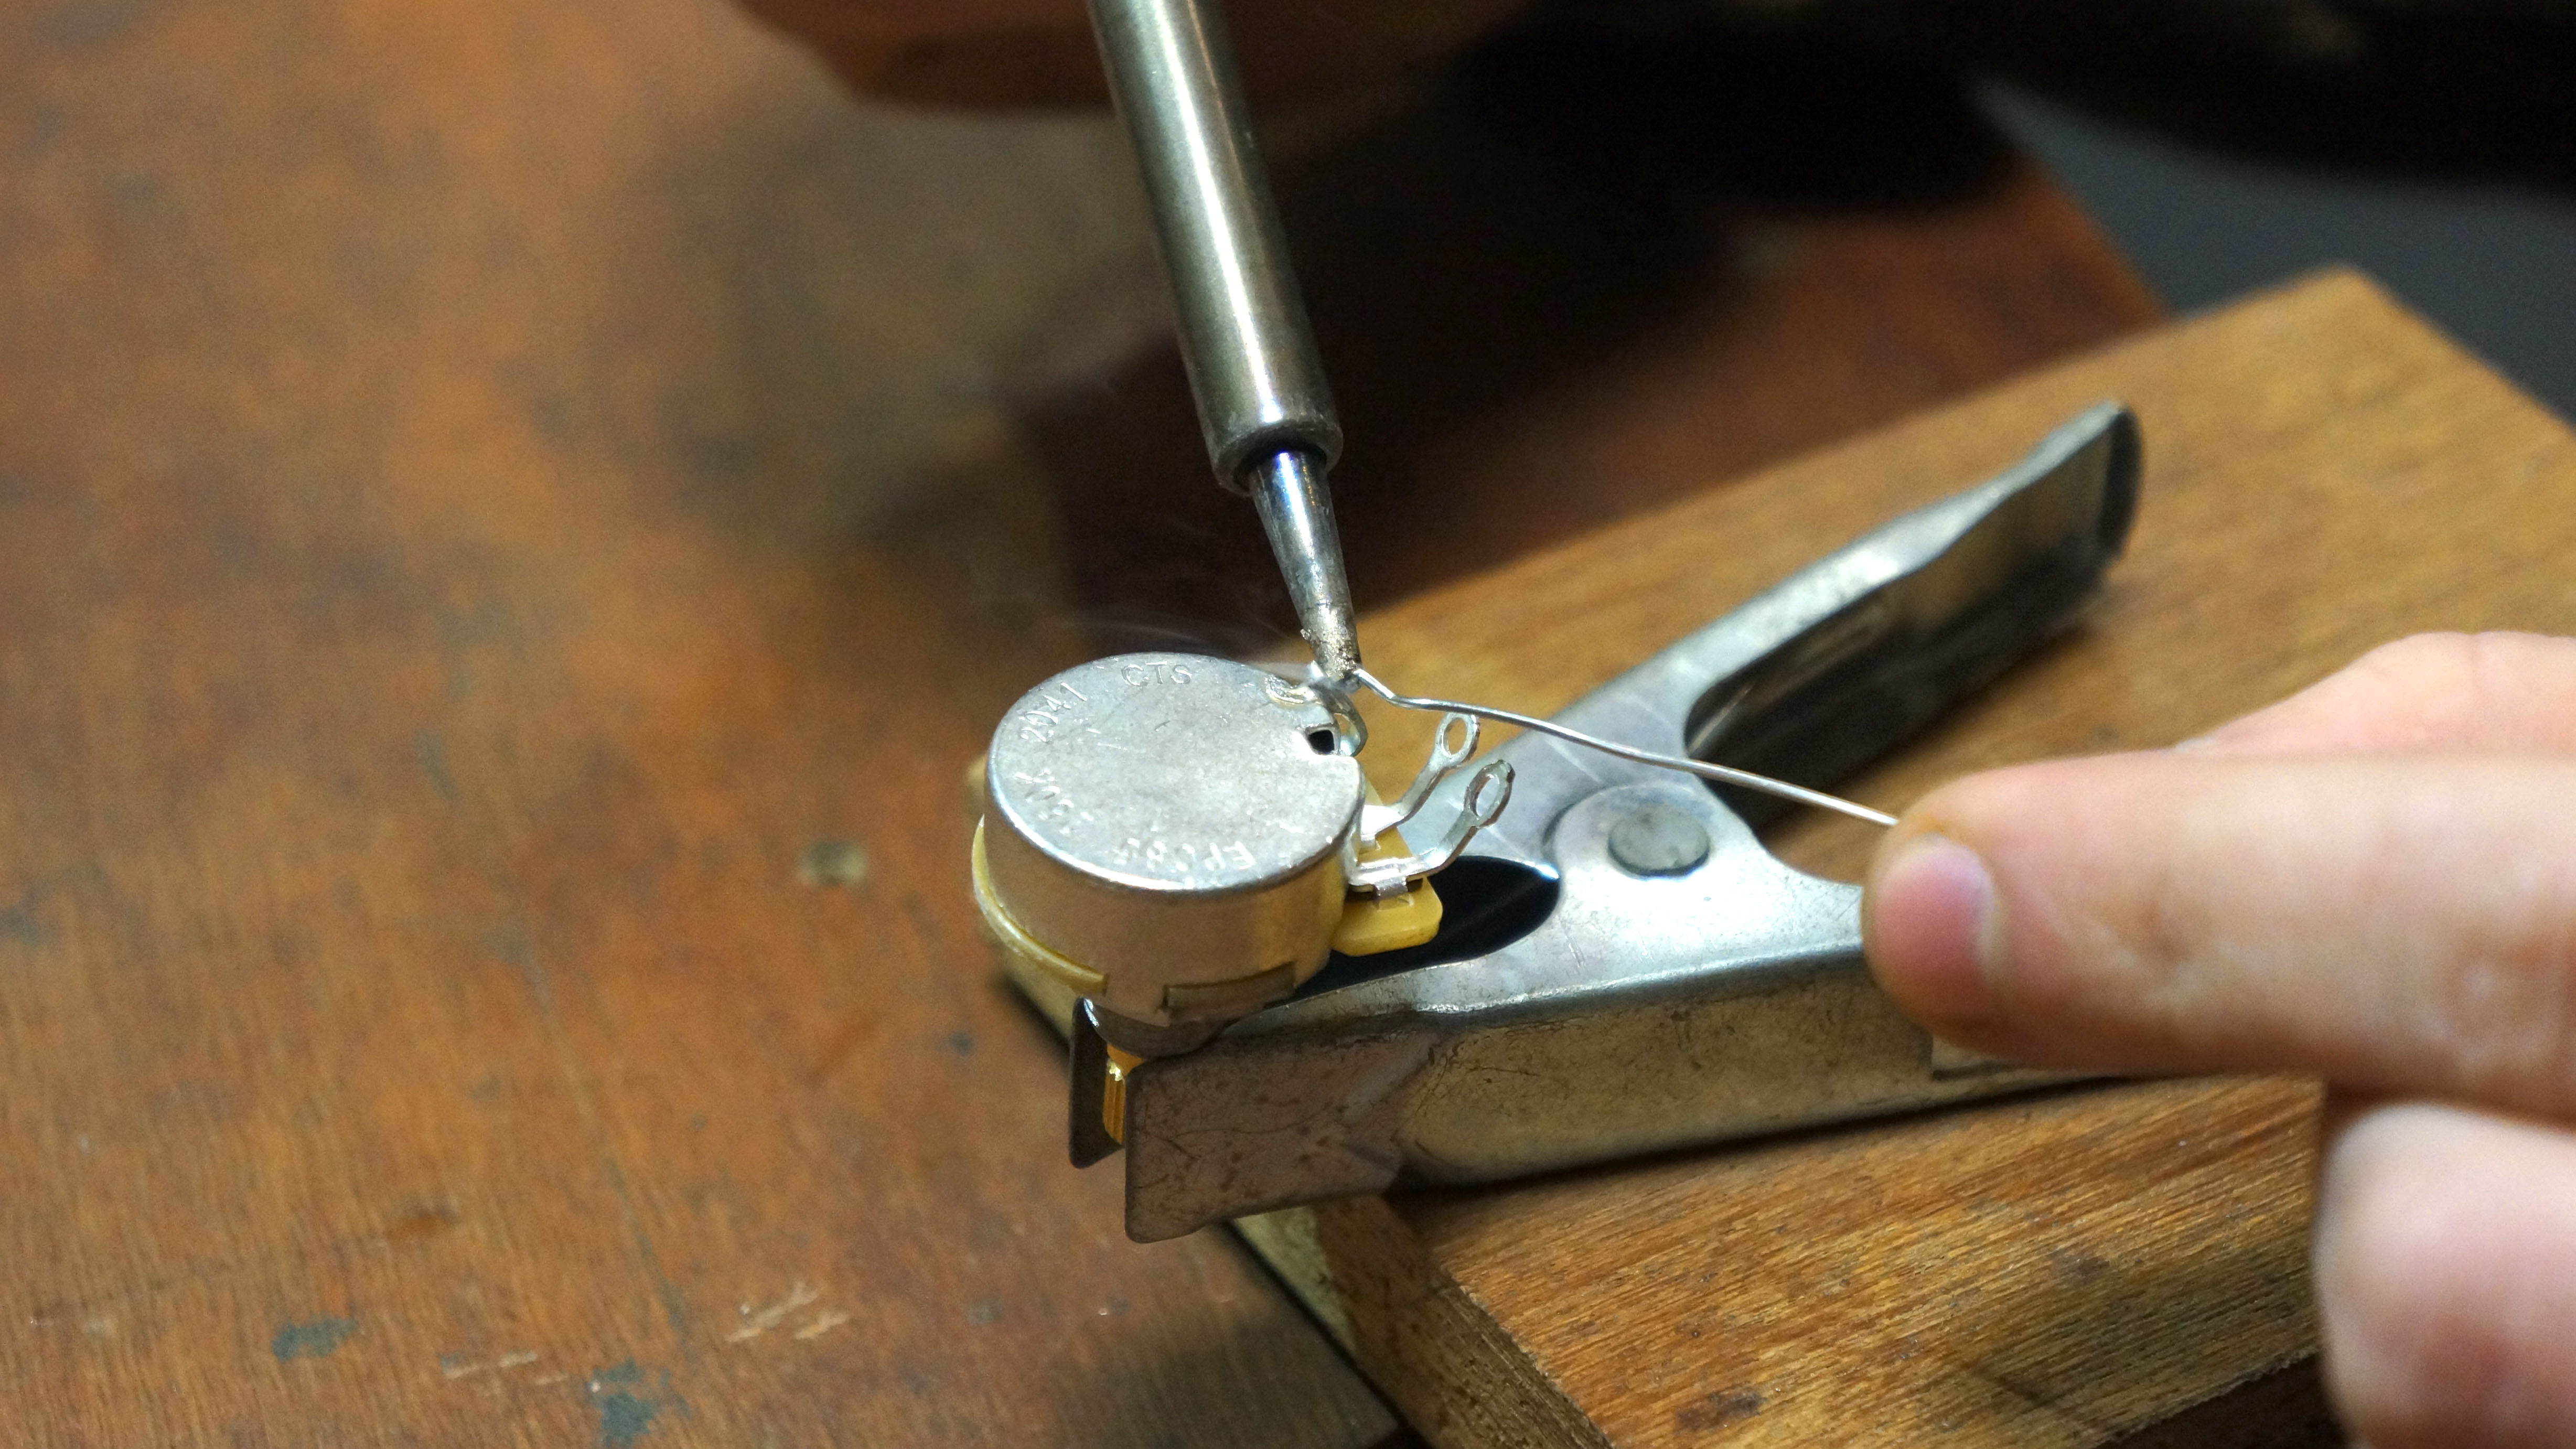
Easy tasks to do at this stage are things like adding the jumper wires onto the alpha switch pot, soldering on the tone pots capacitors and tinning all the terminals.
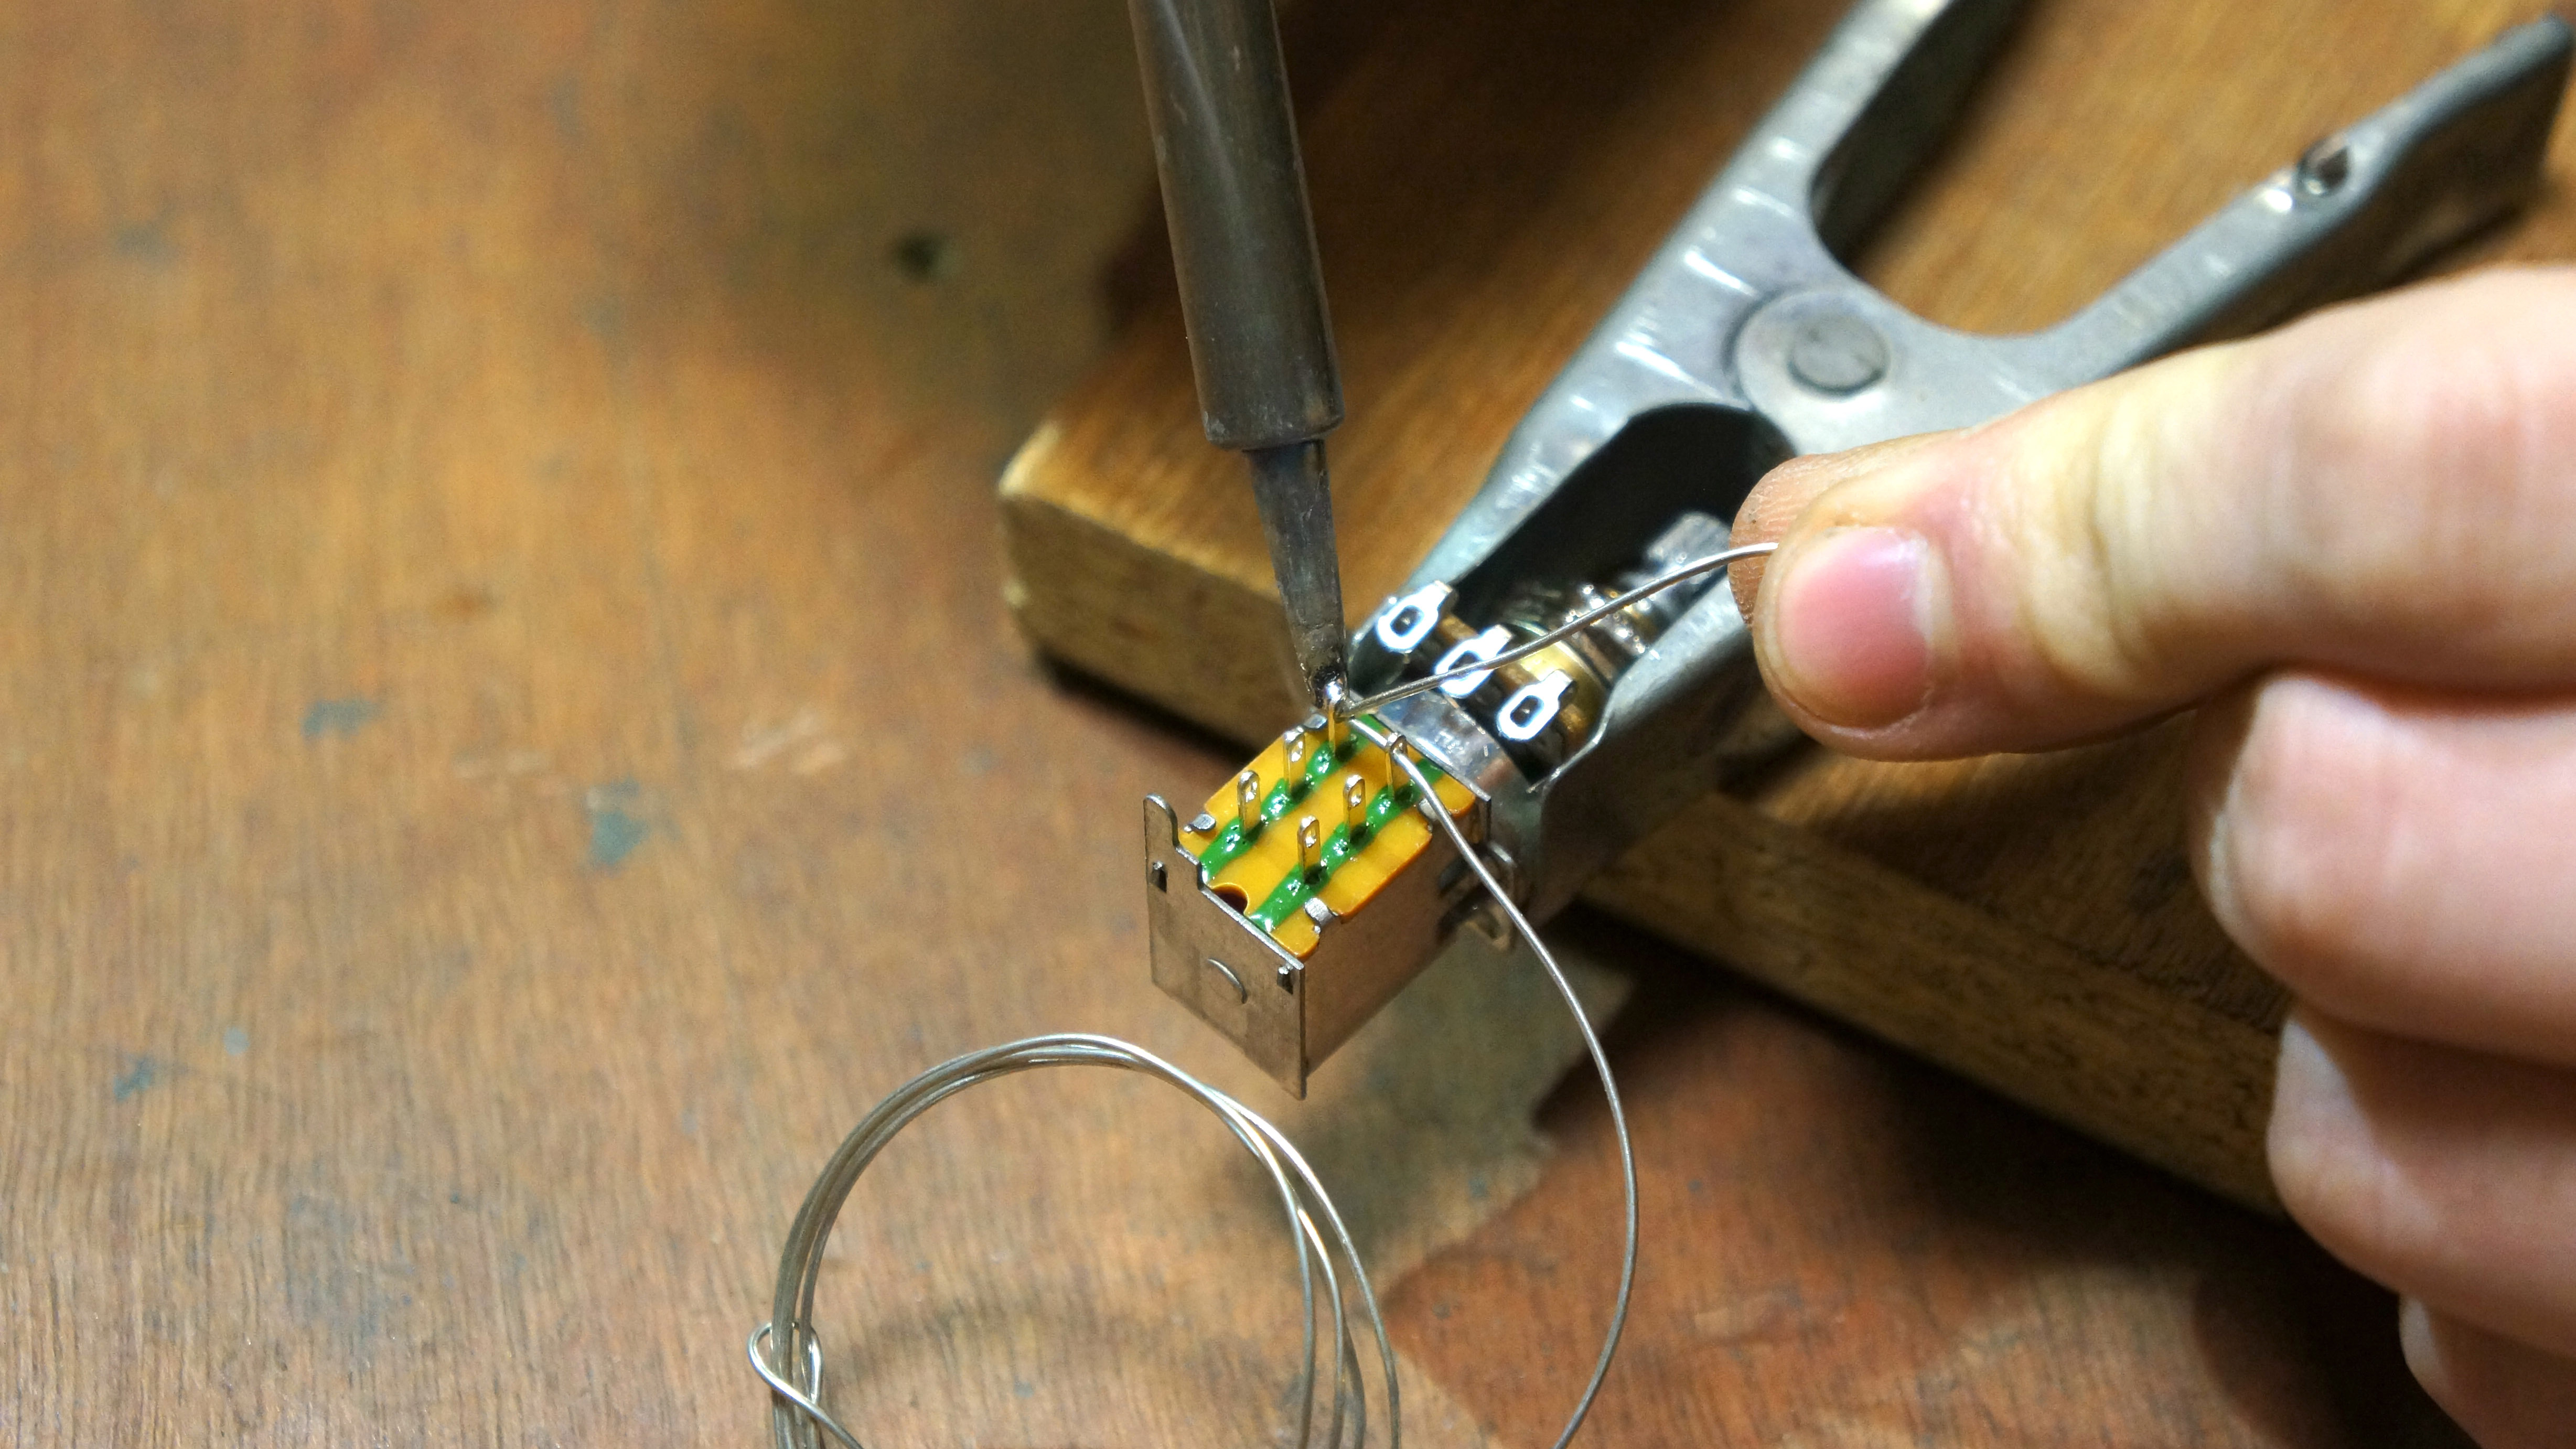
Tinning is adding a small amount of solder to each receiving terminal so that when you’re ready to add a wire it’s ready to accept, you’ll only need the heat of the soldering iron plus the tinned wire to make the joint. This saves you the lack-of-third-hand problem of introducing solder!
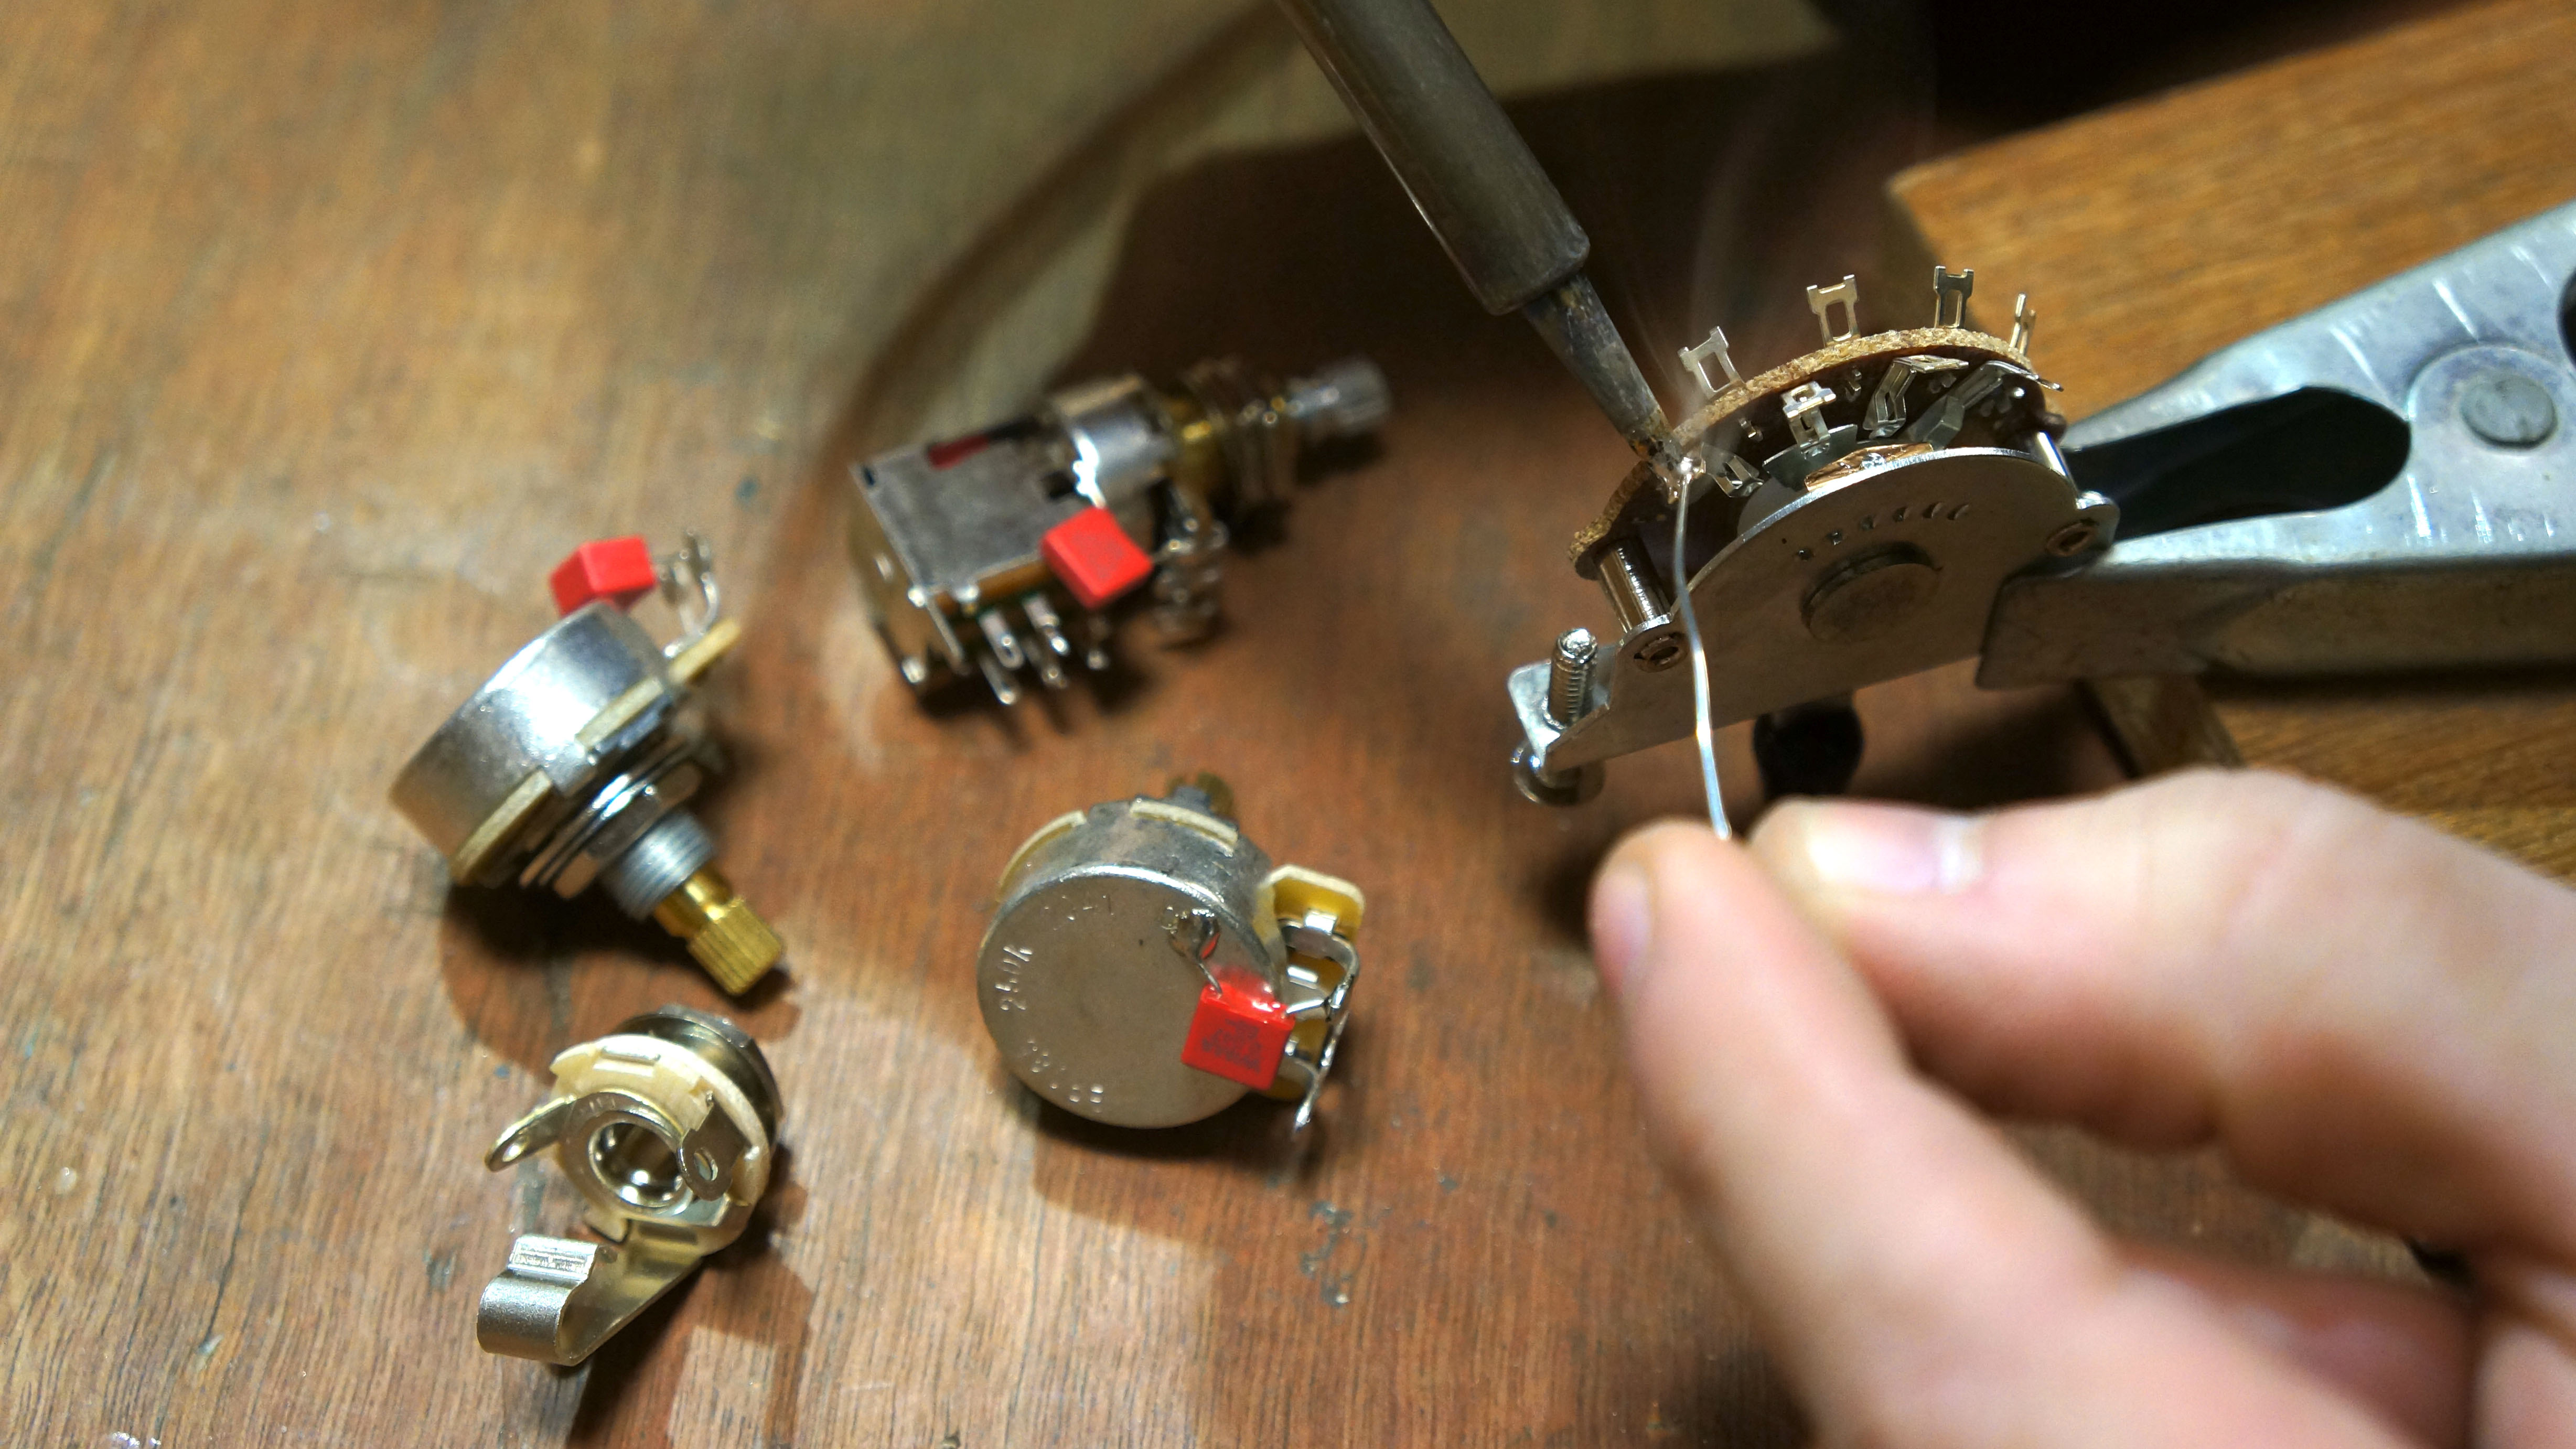
Load in the three pots and the pickup selector switch.
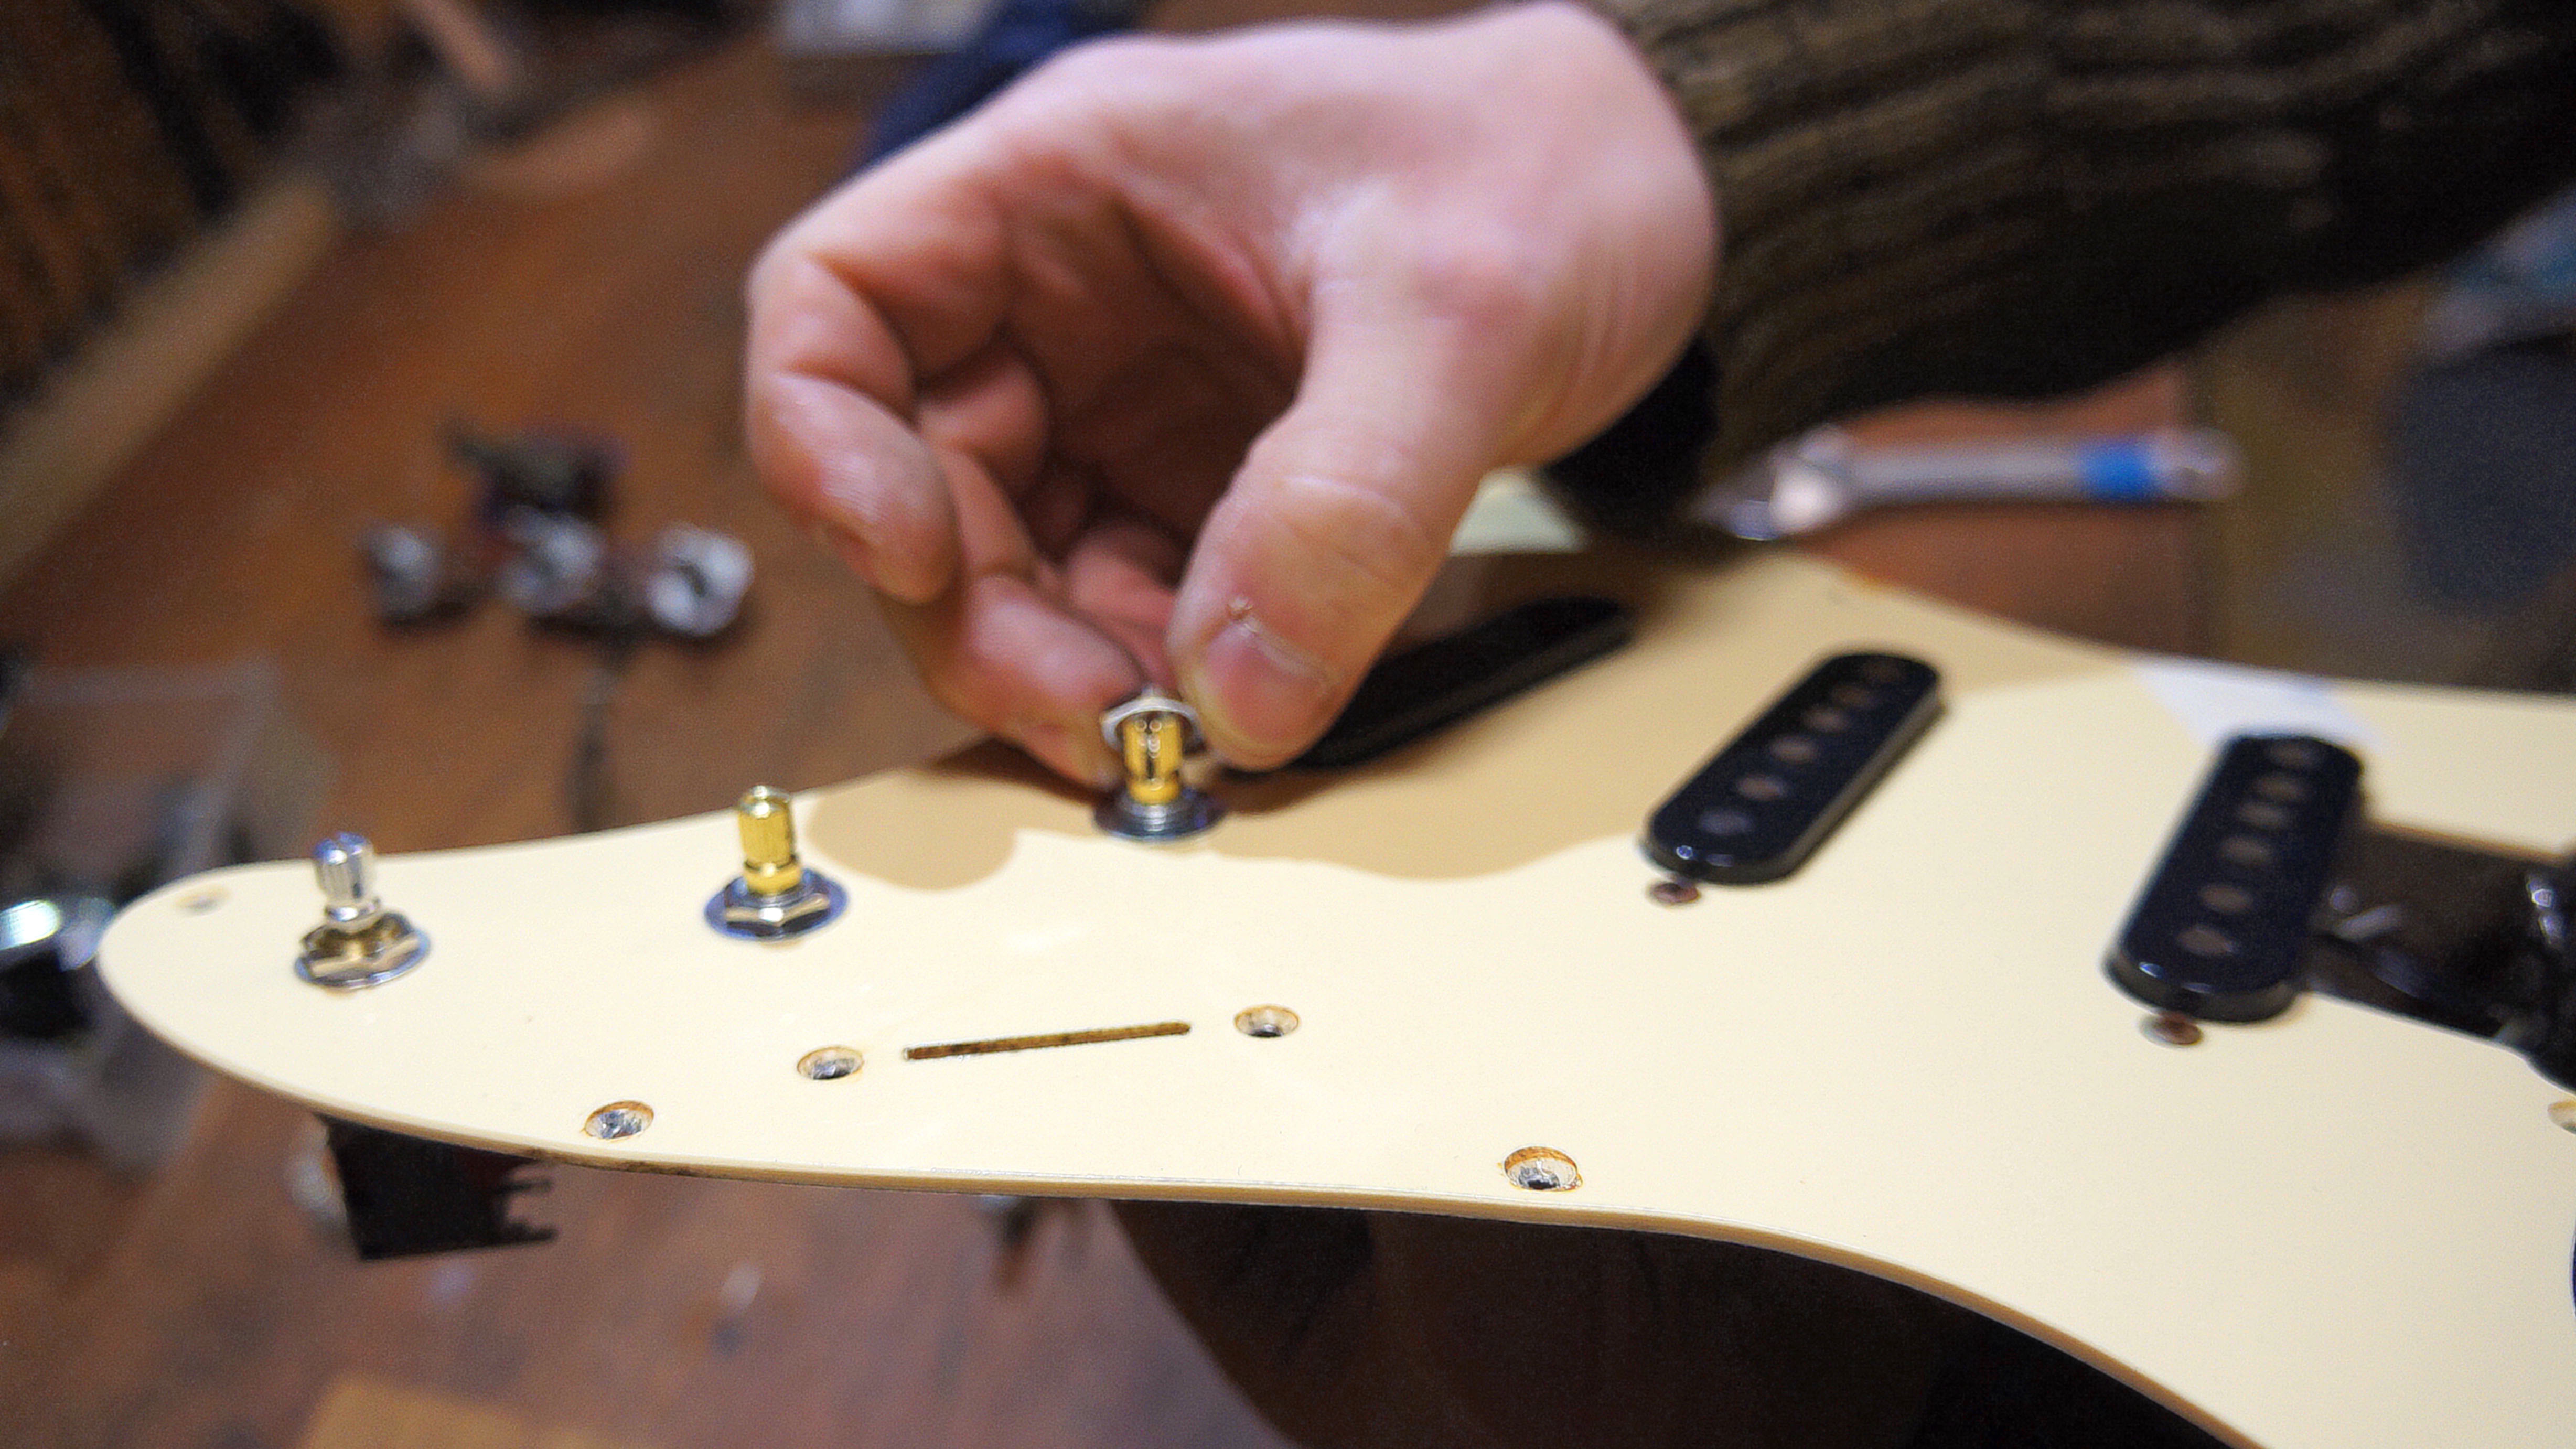
Take some time to orient the pots so that they’re not clanging on the walls of the electronics cavity of the guitar then tighten them up.
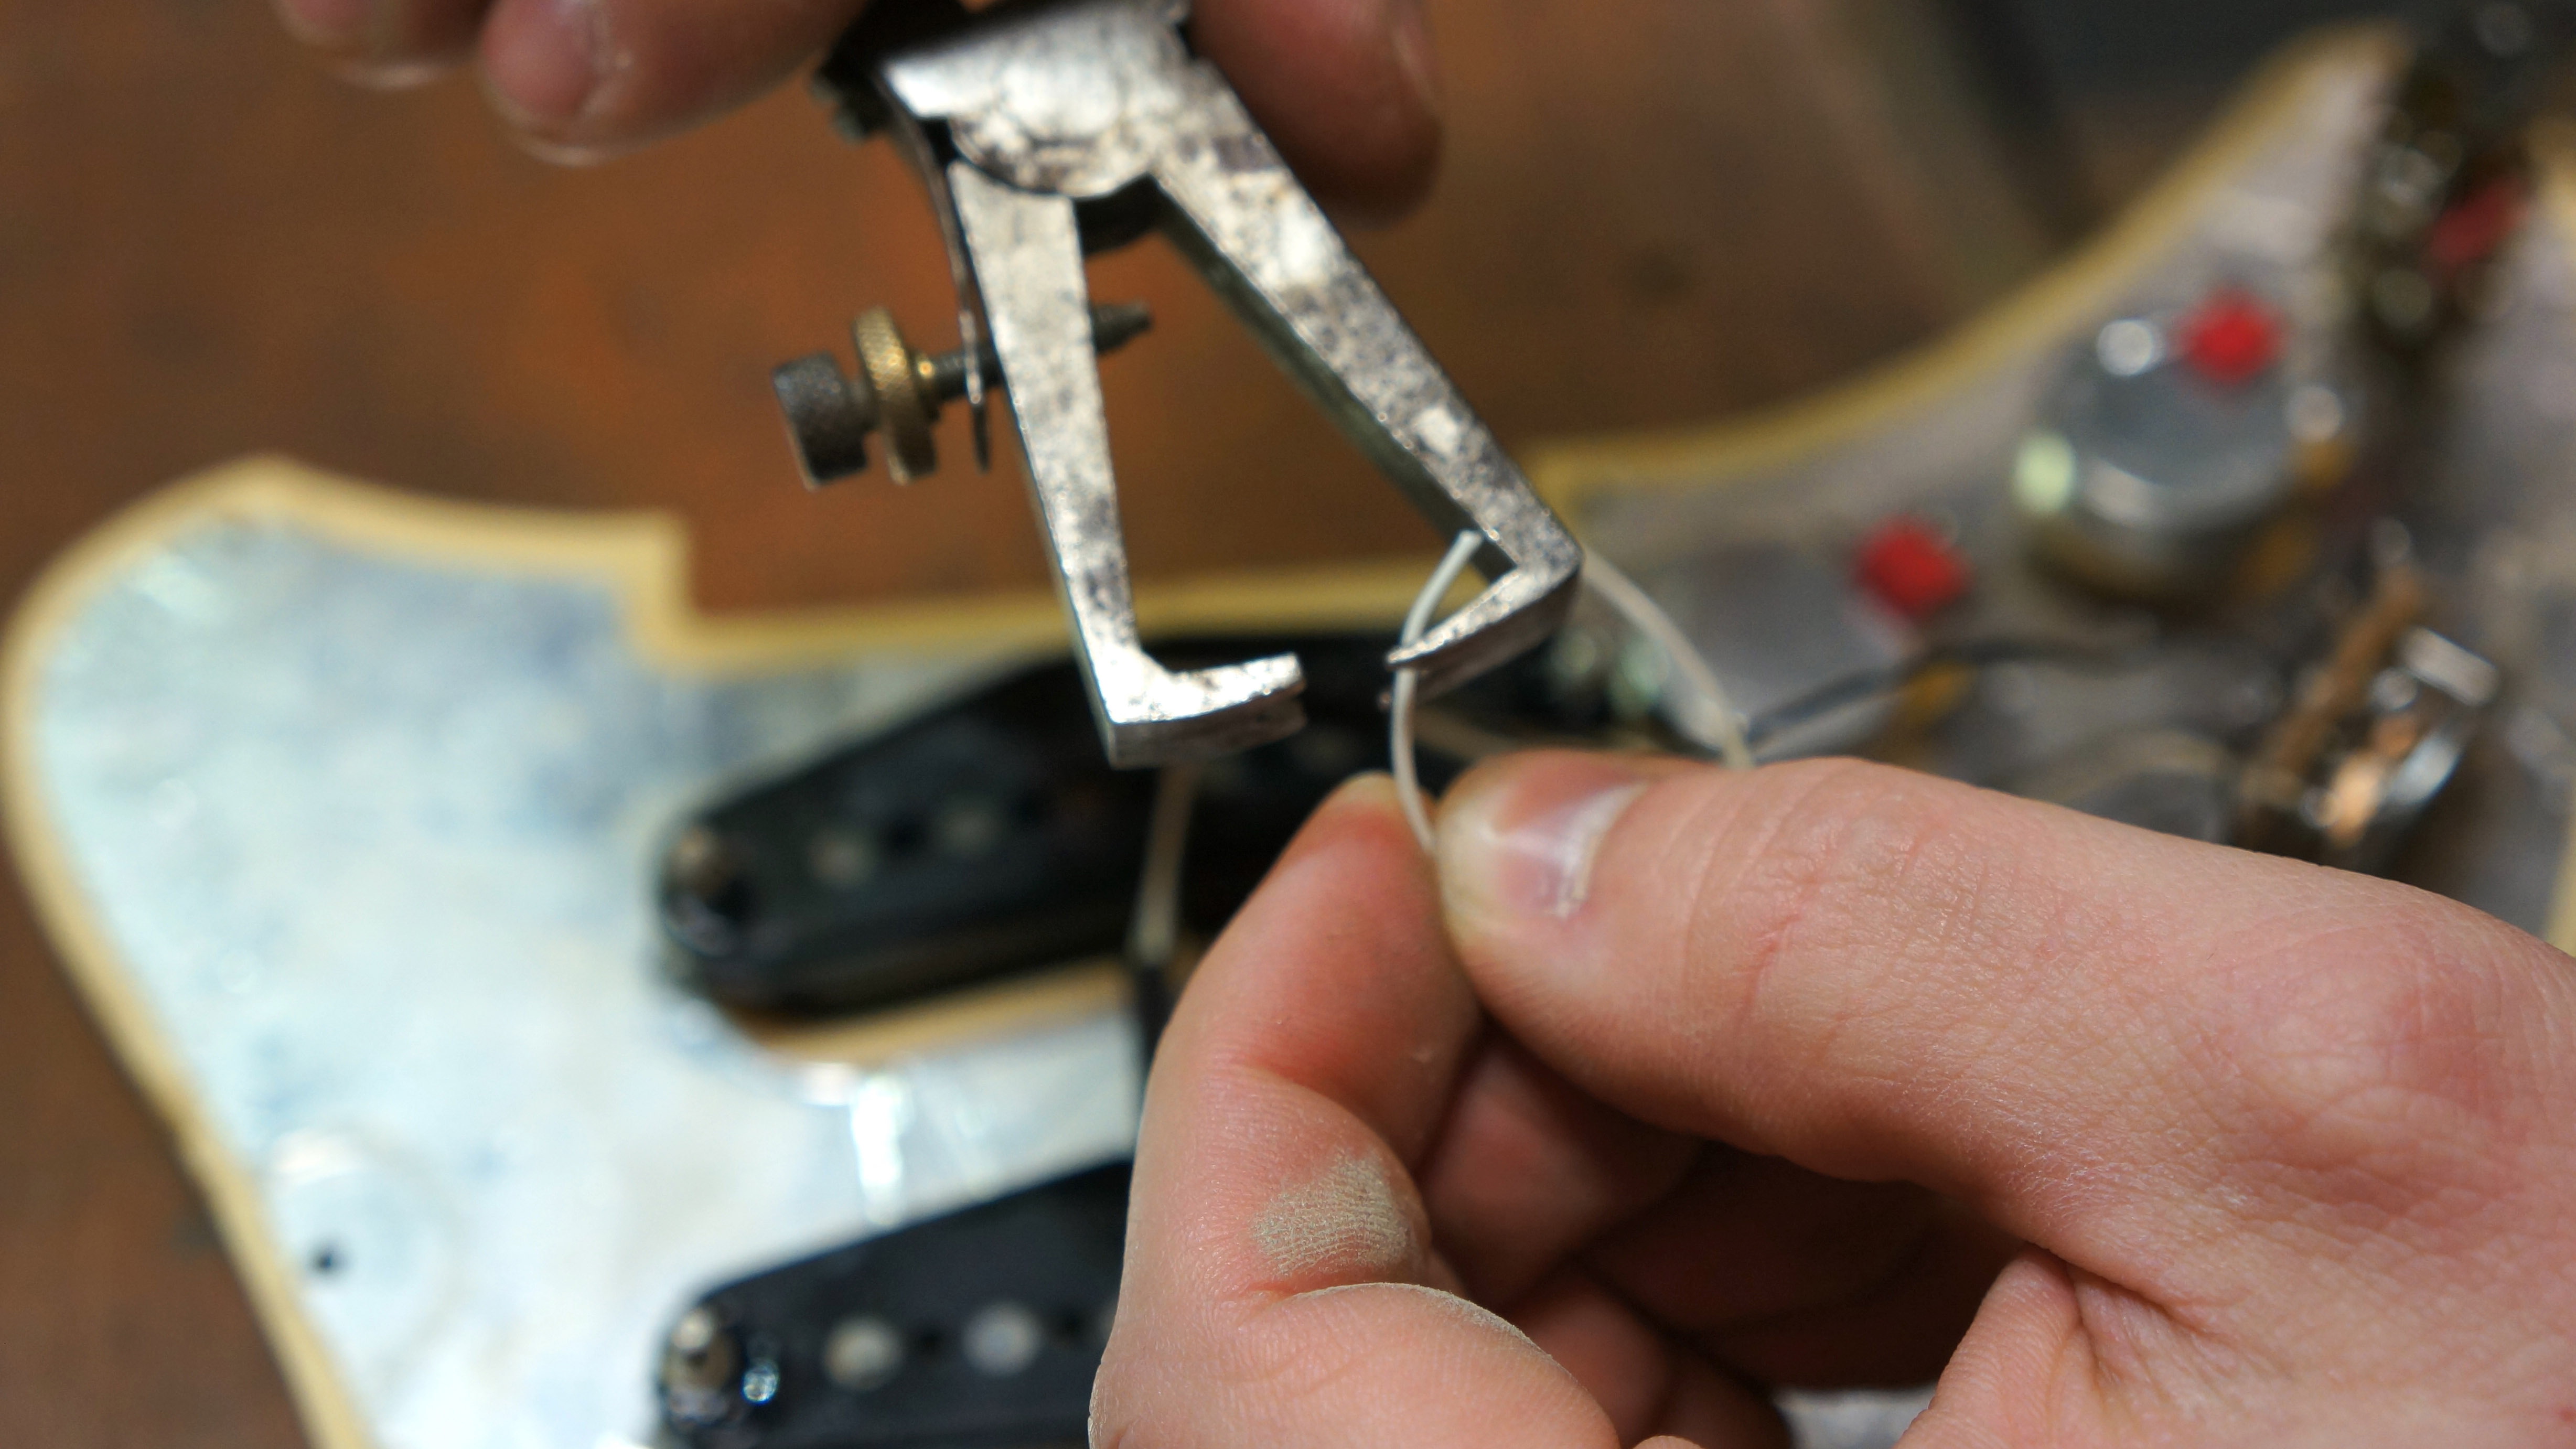
We’ve got a mix of vintage cloth push back wire and PVC jacket pickup wire from the DiMarzio pickups here so it’s worth a quick reminder to strip the PVC wires!
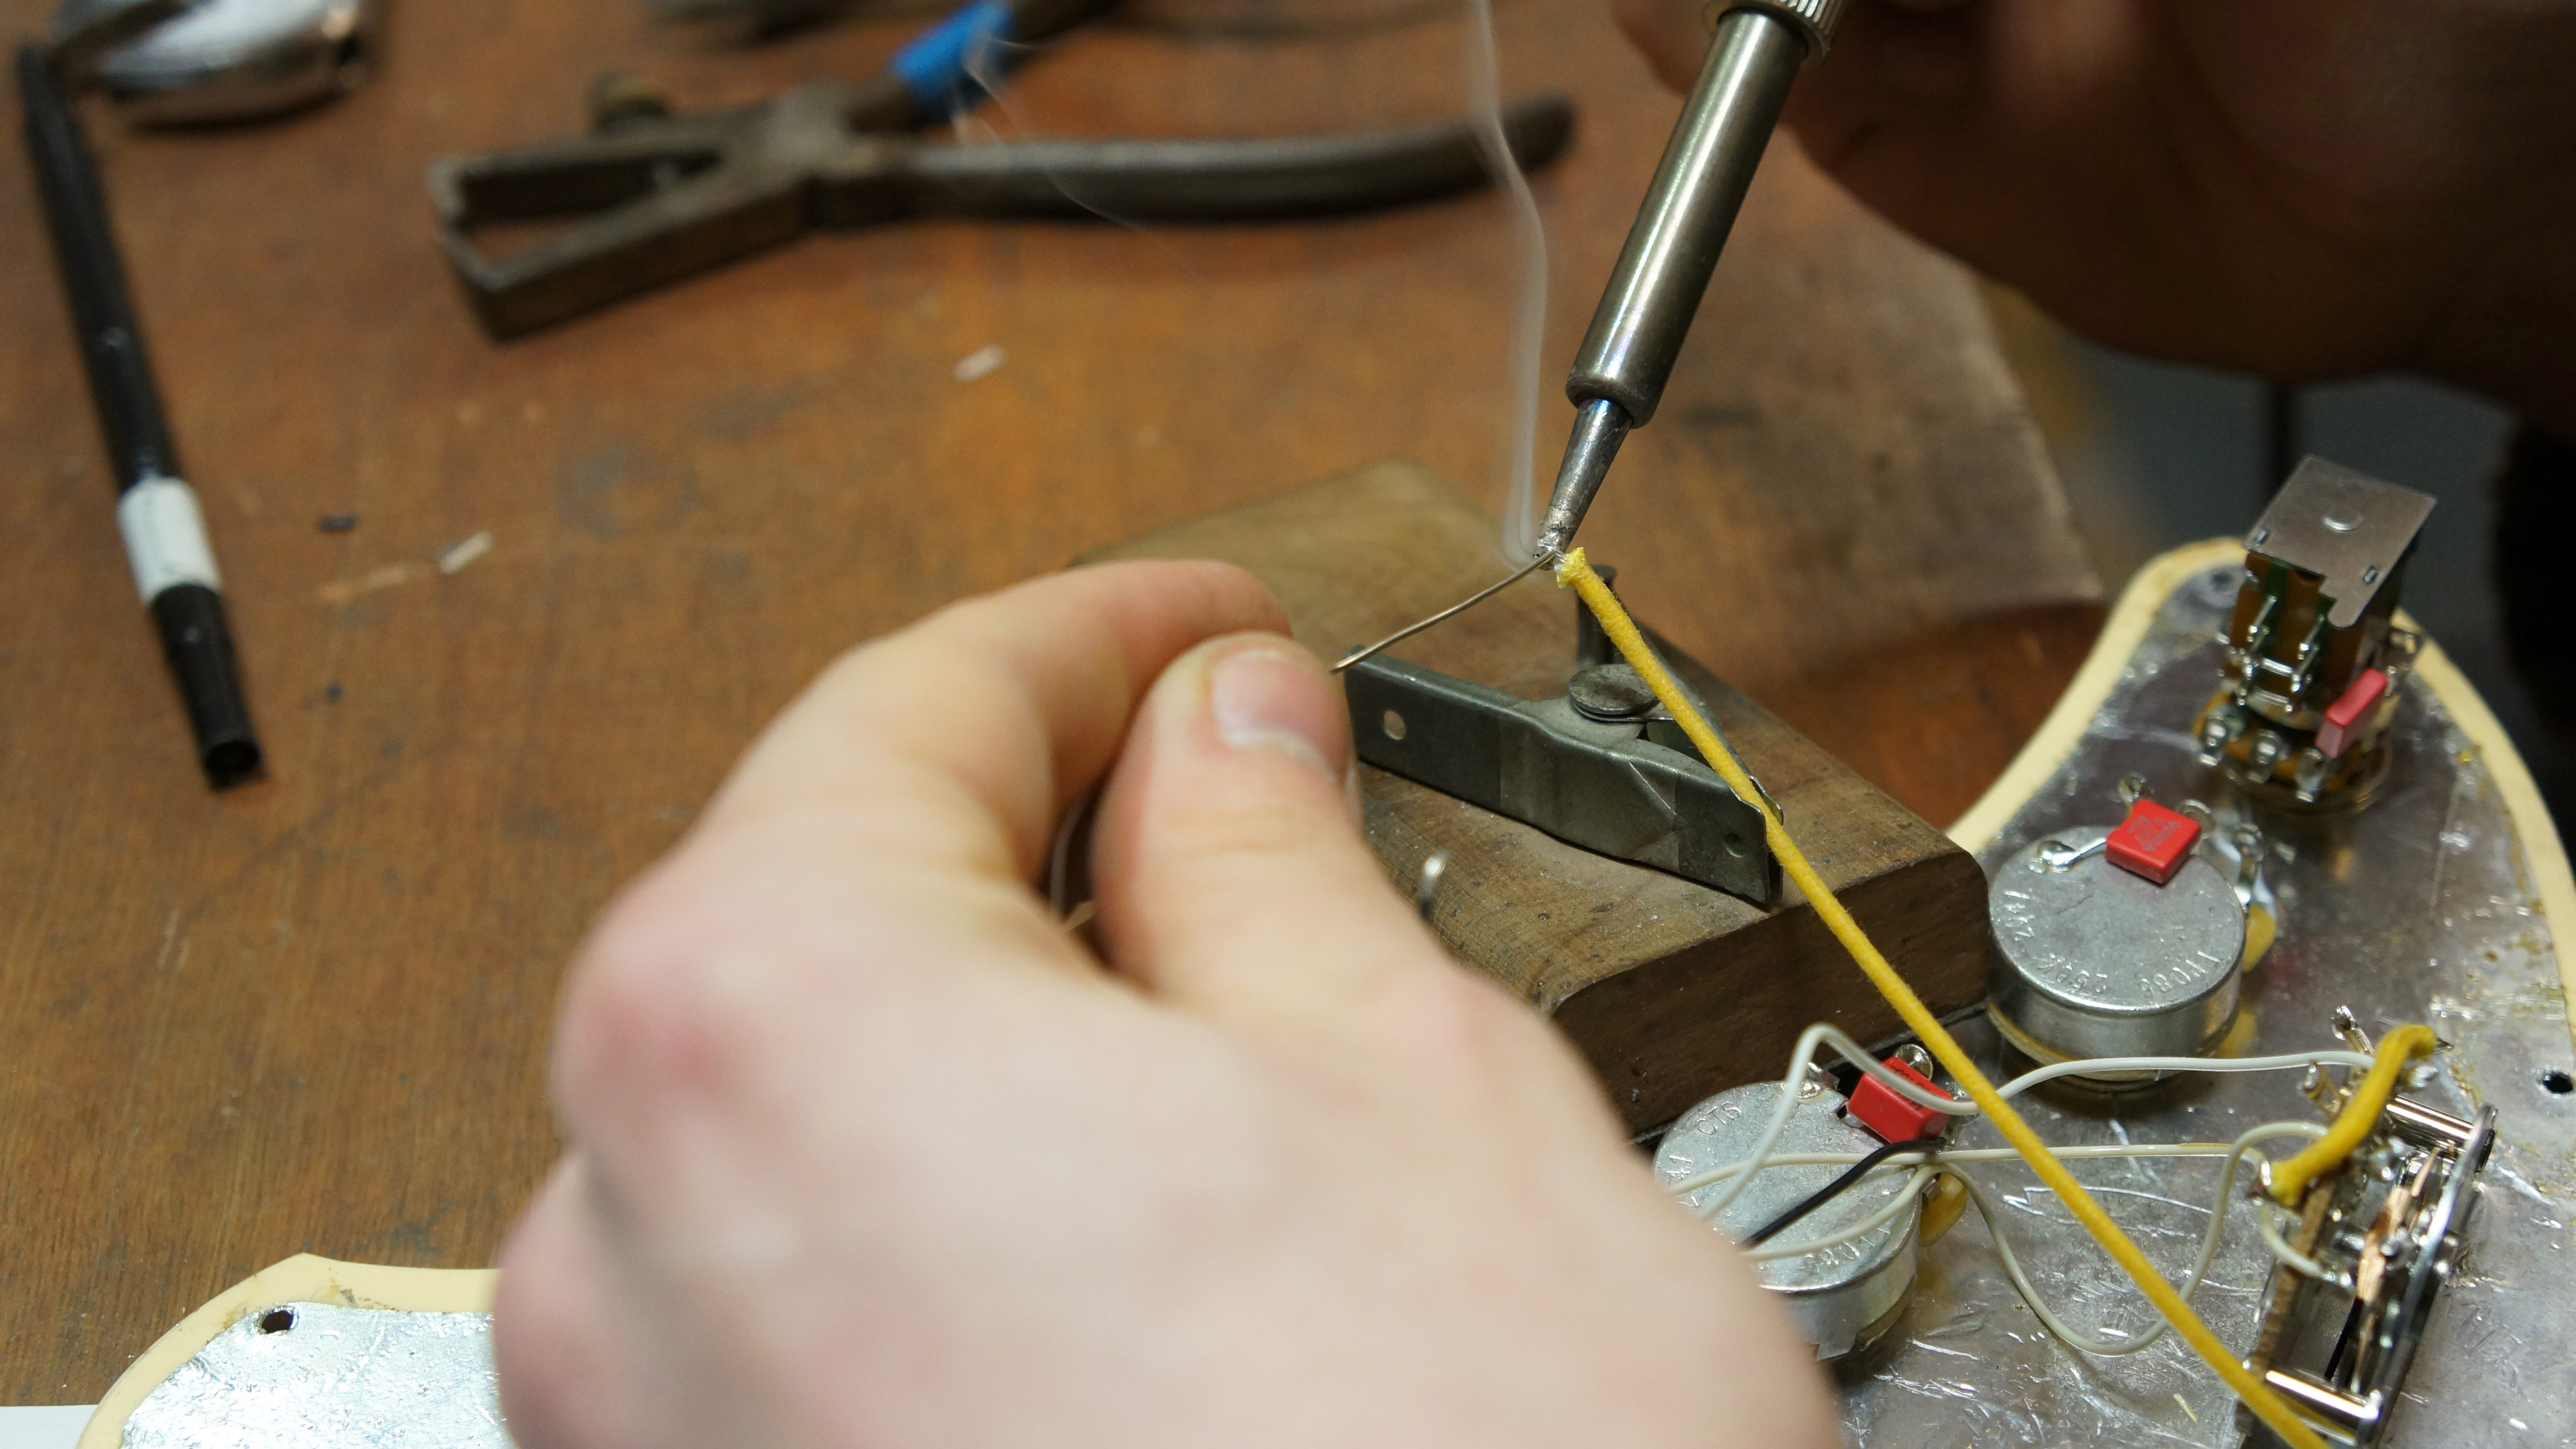
Wire it up following the diagram, sounds simple however here’s some tips:
Pre-tin each wire with solder, this will mate with your lovely pre tinned terminals on the components.
Allow the soldering iron to fully heat up the joints so that the solder flows nicely
Follow a methodical path to save confusion or missing anything, Here’s what we did
1. Pickups first soldered to the switch
2. Linked wires from the pickup selector switch to the volume pot
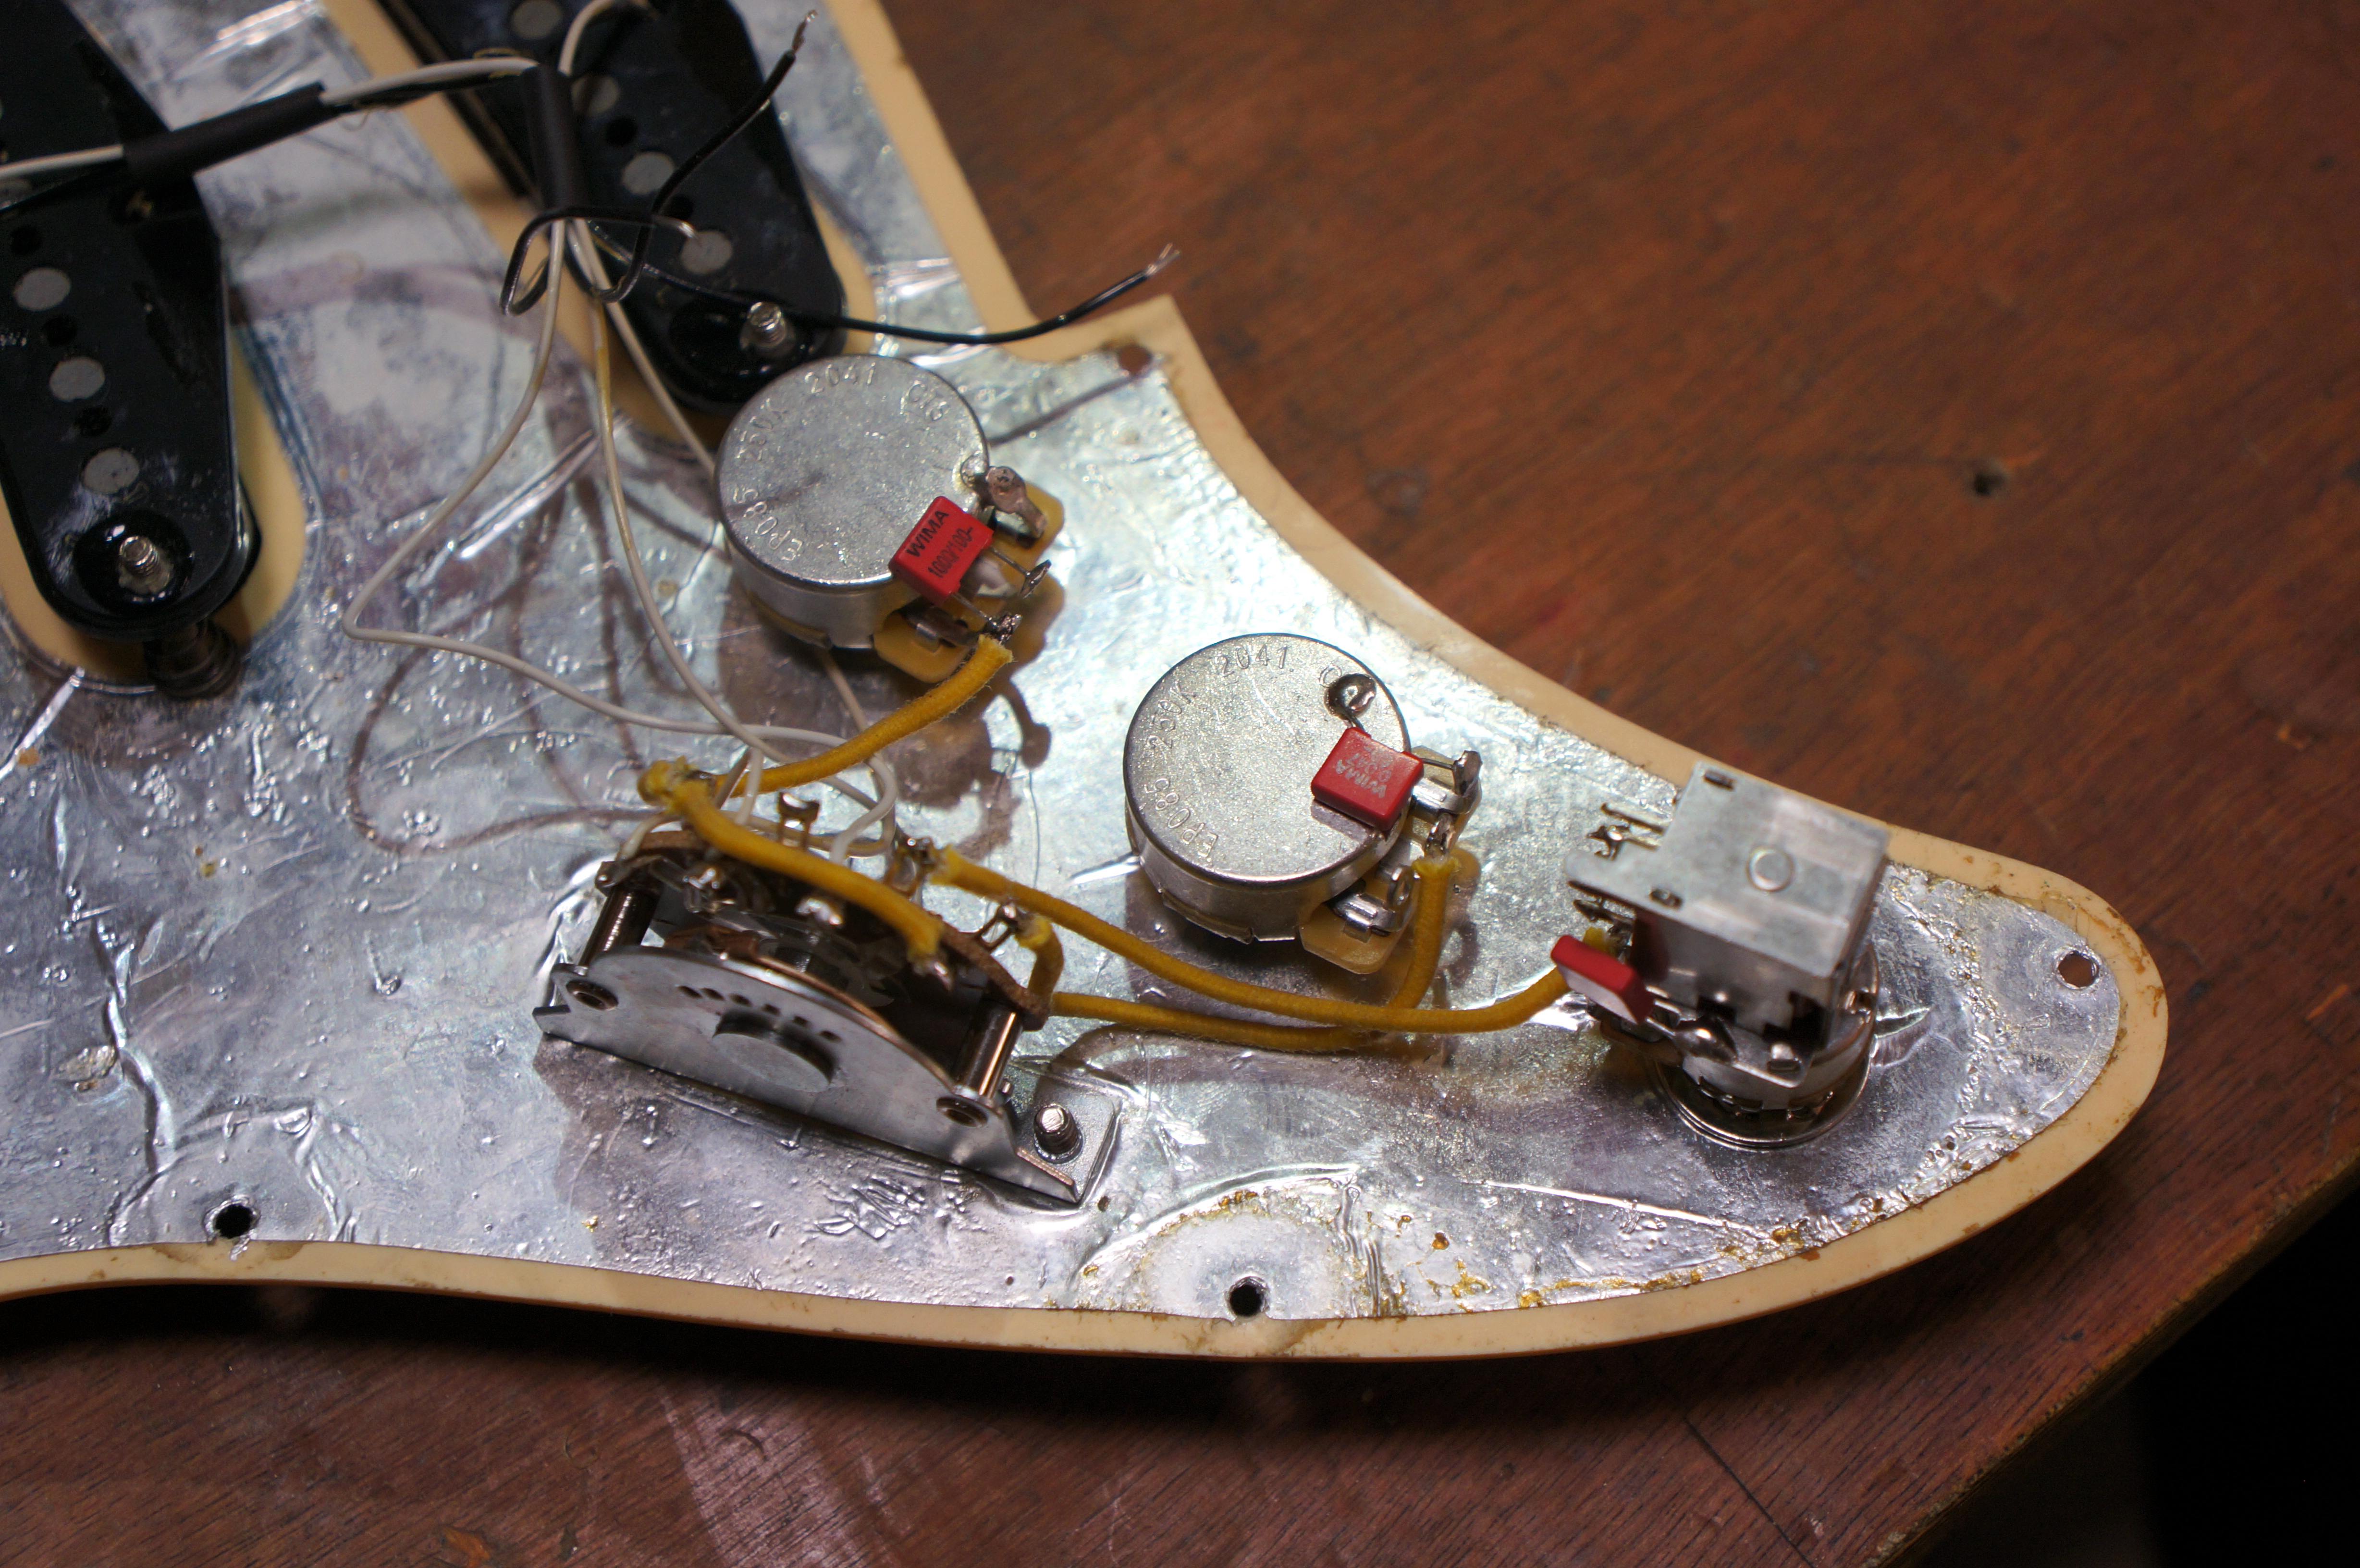
3. Linked in the two tone pots as pictured above.
4. Added the wires to the new push/push switch that will give us those awesome seven tones.
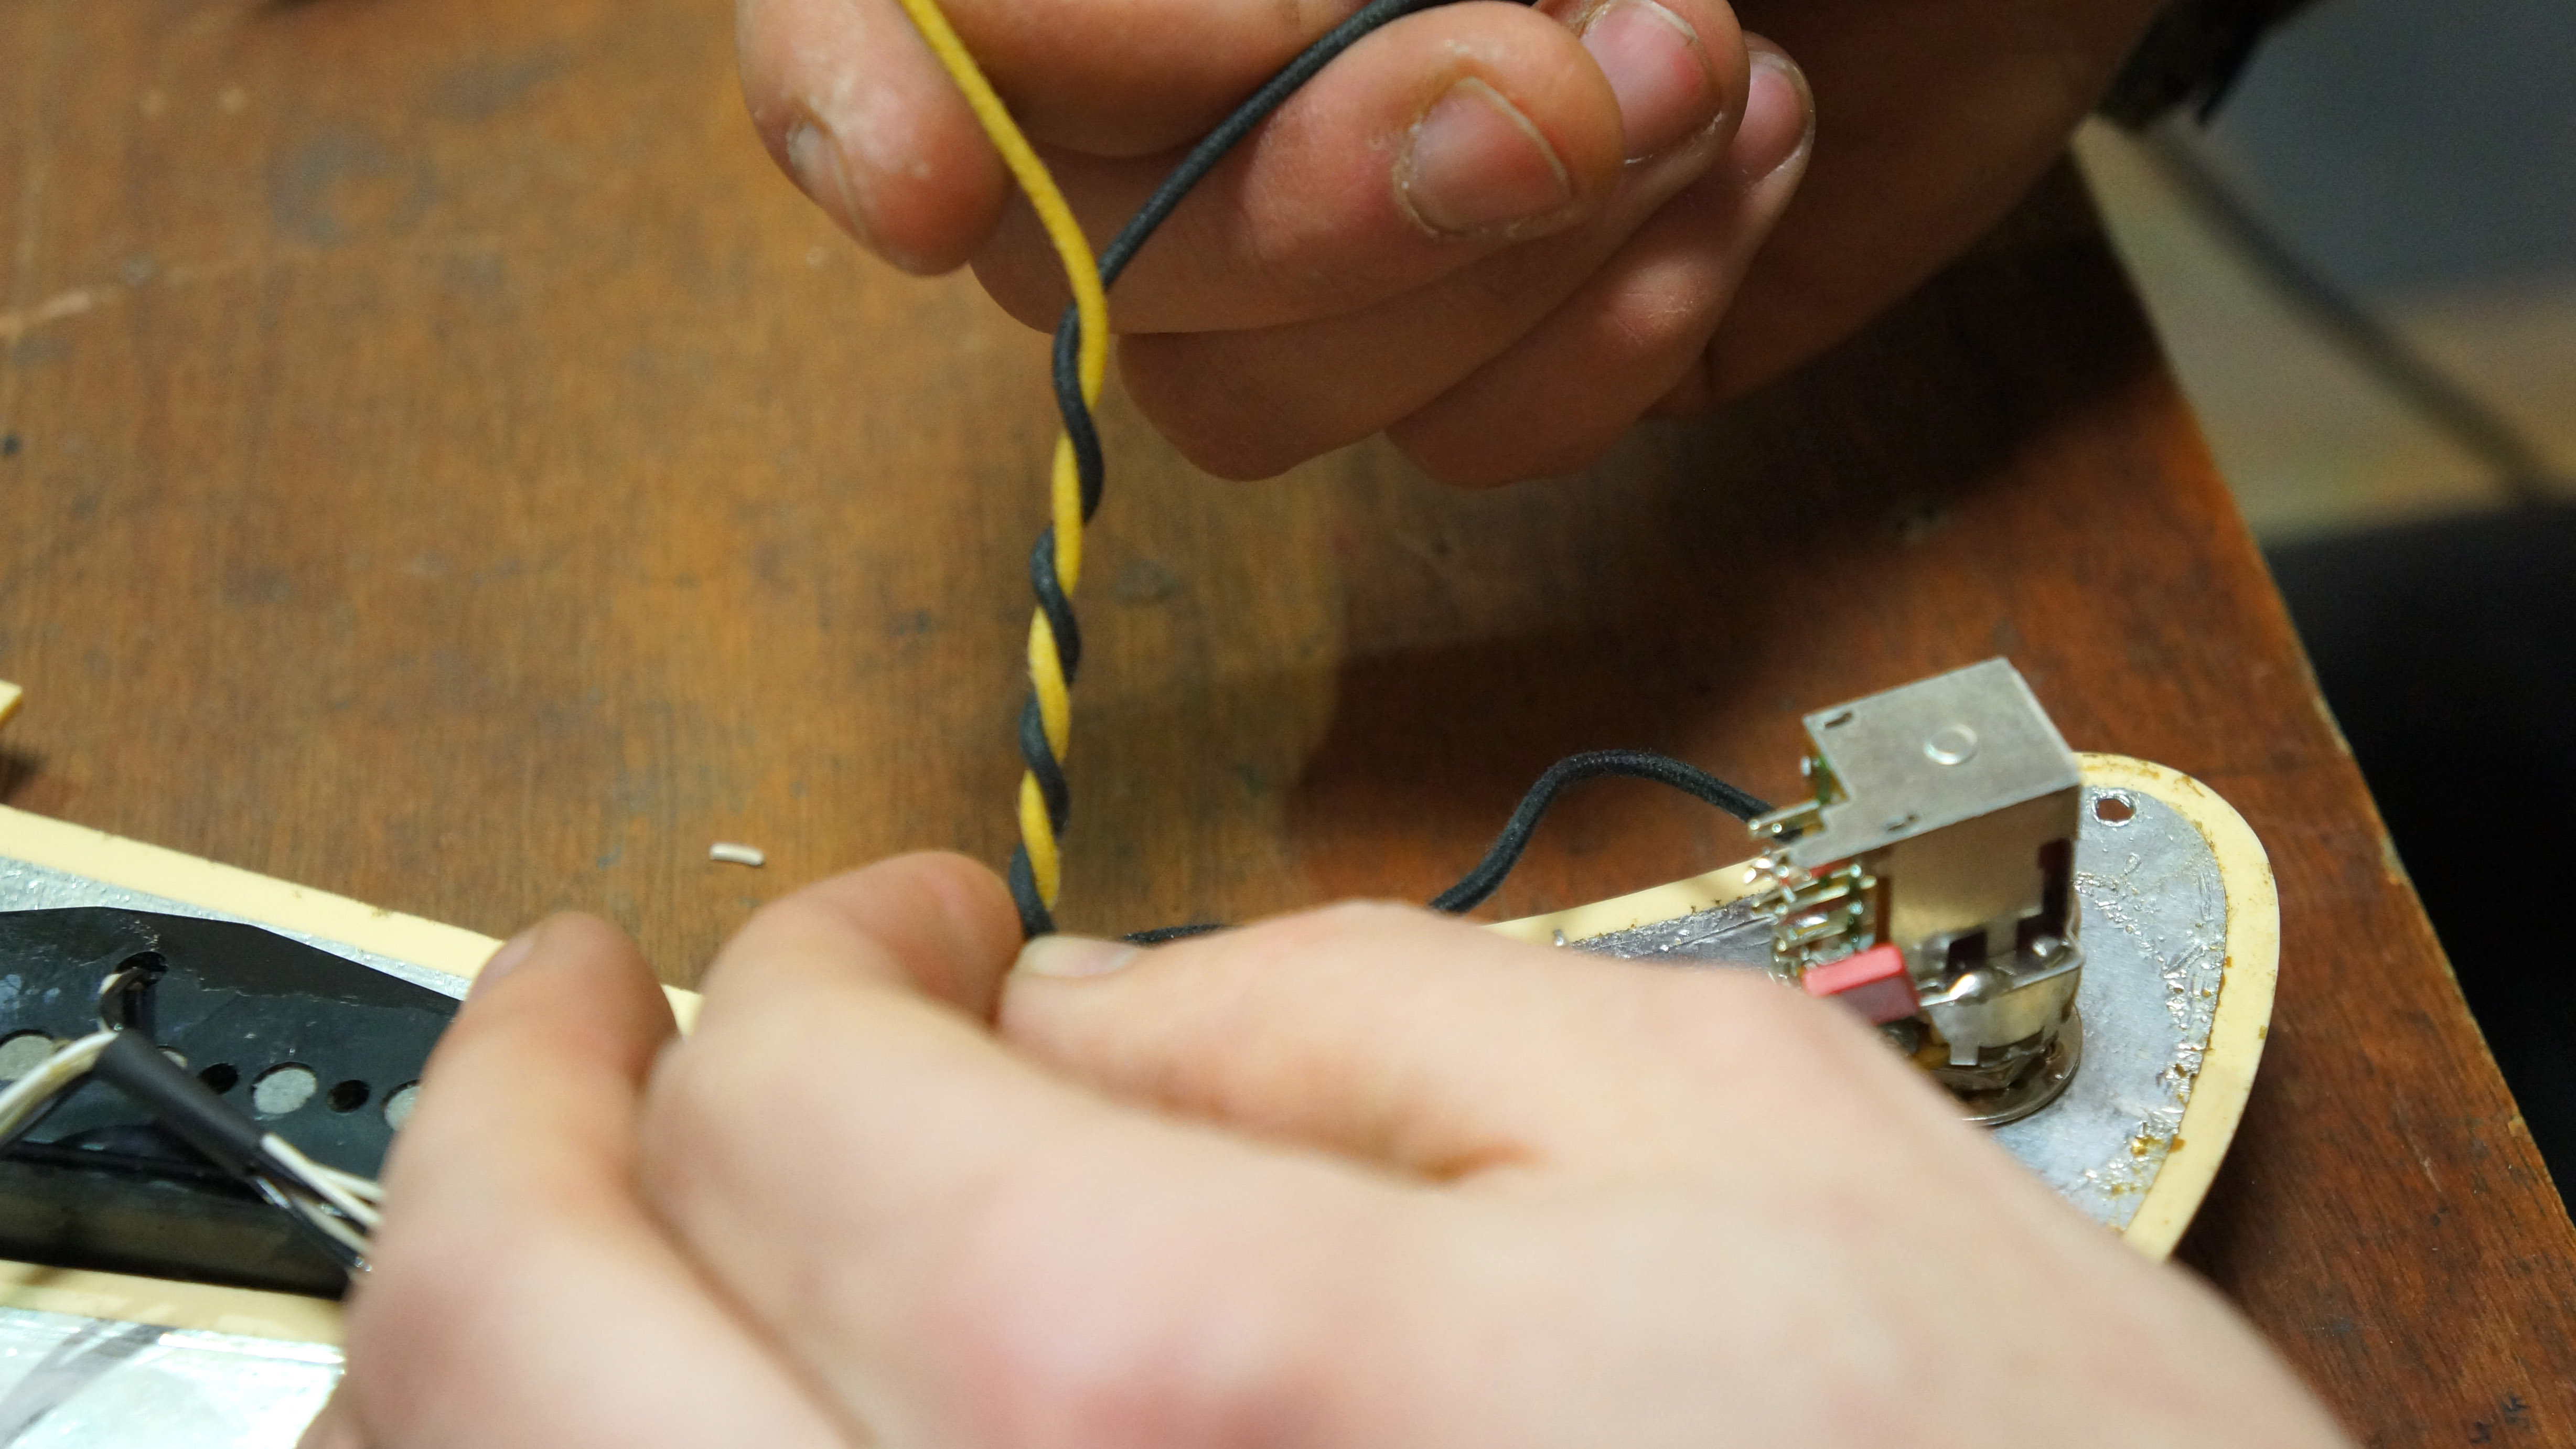
5. Added the long twisted together wires for the jack socket.
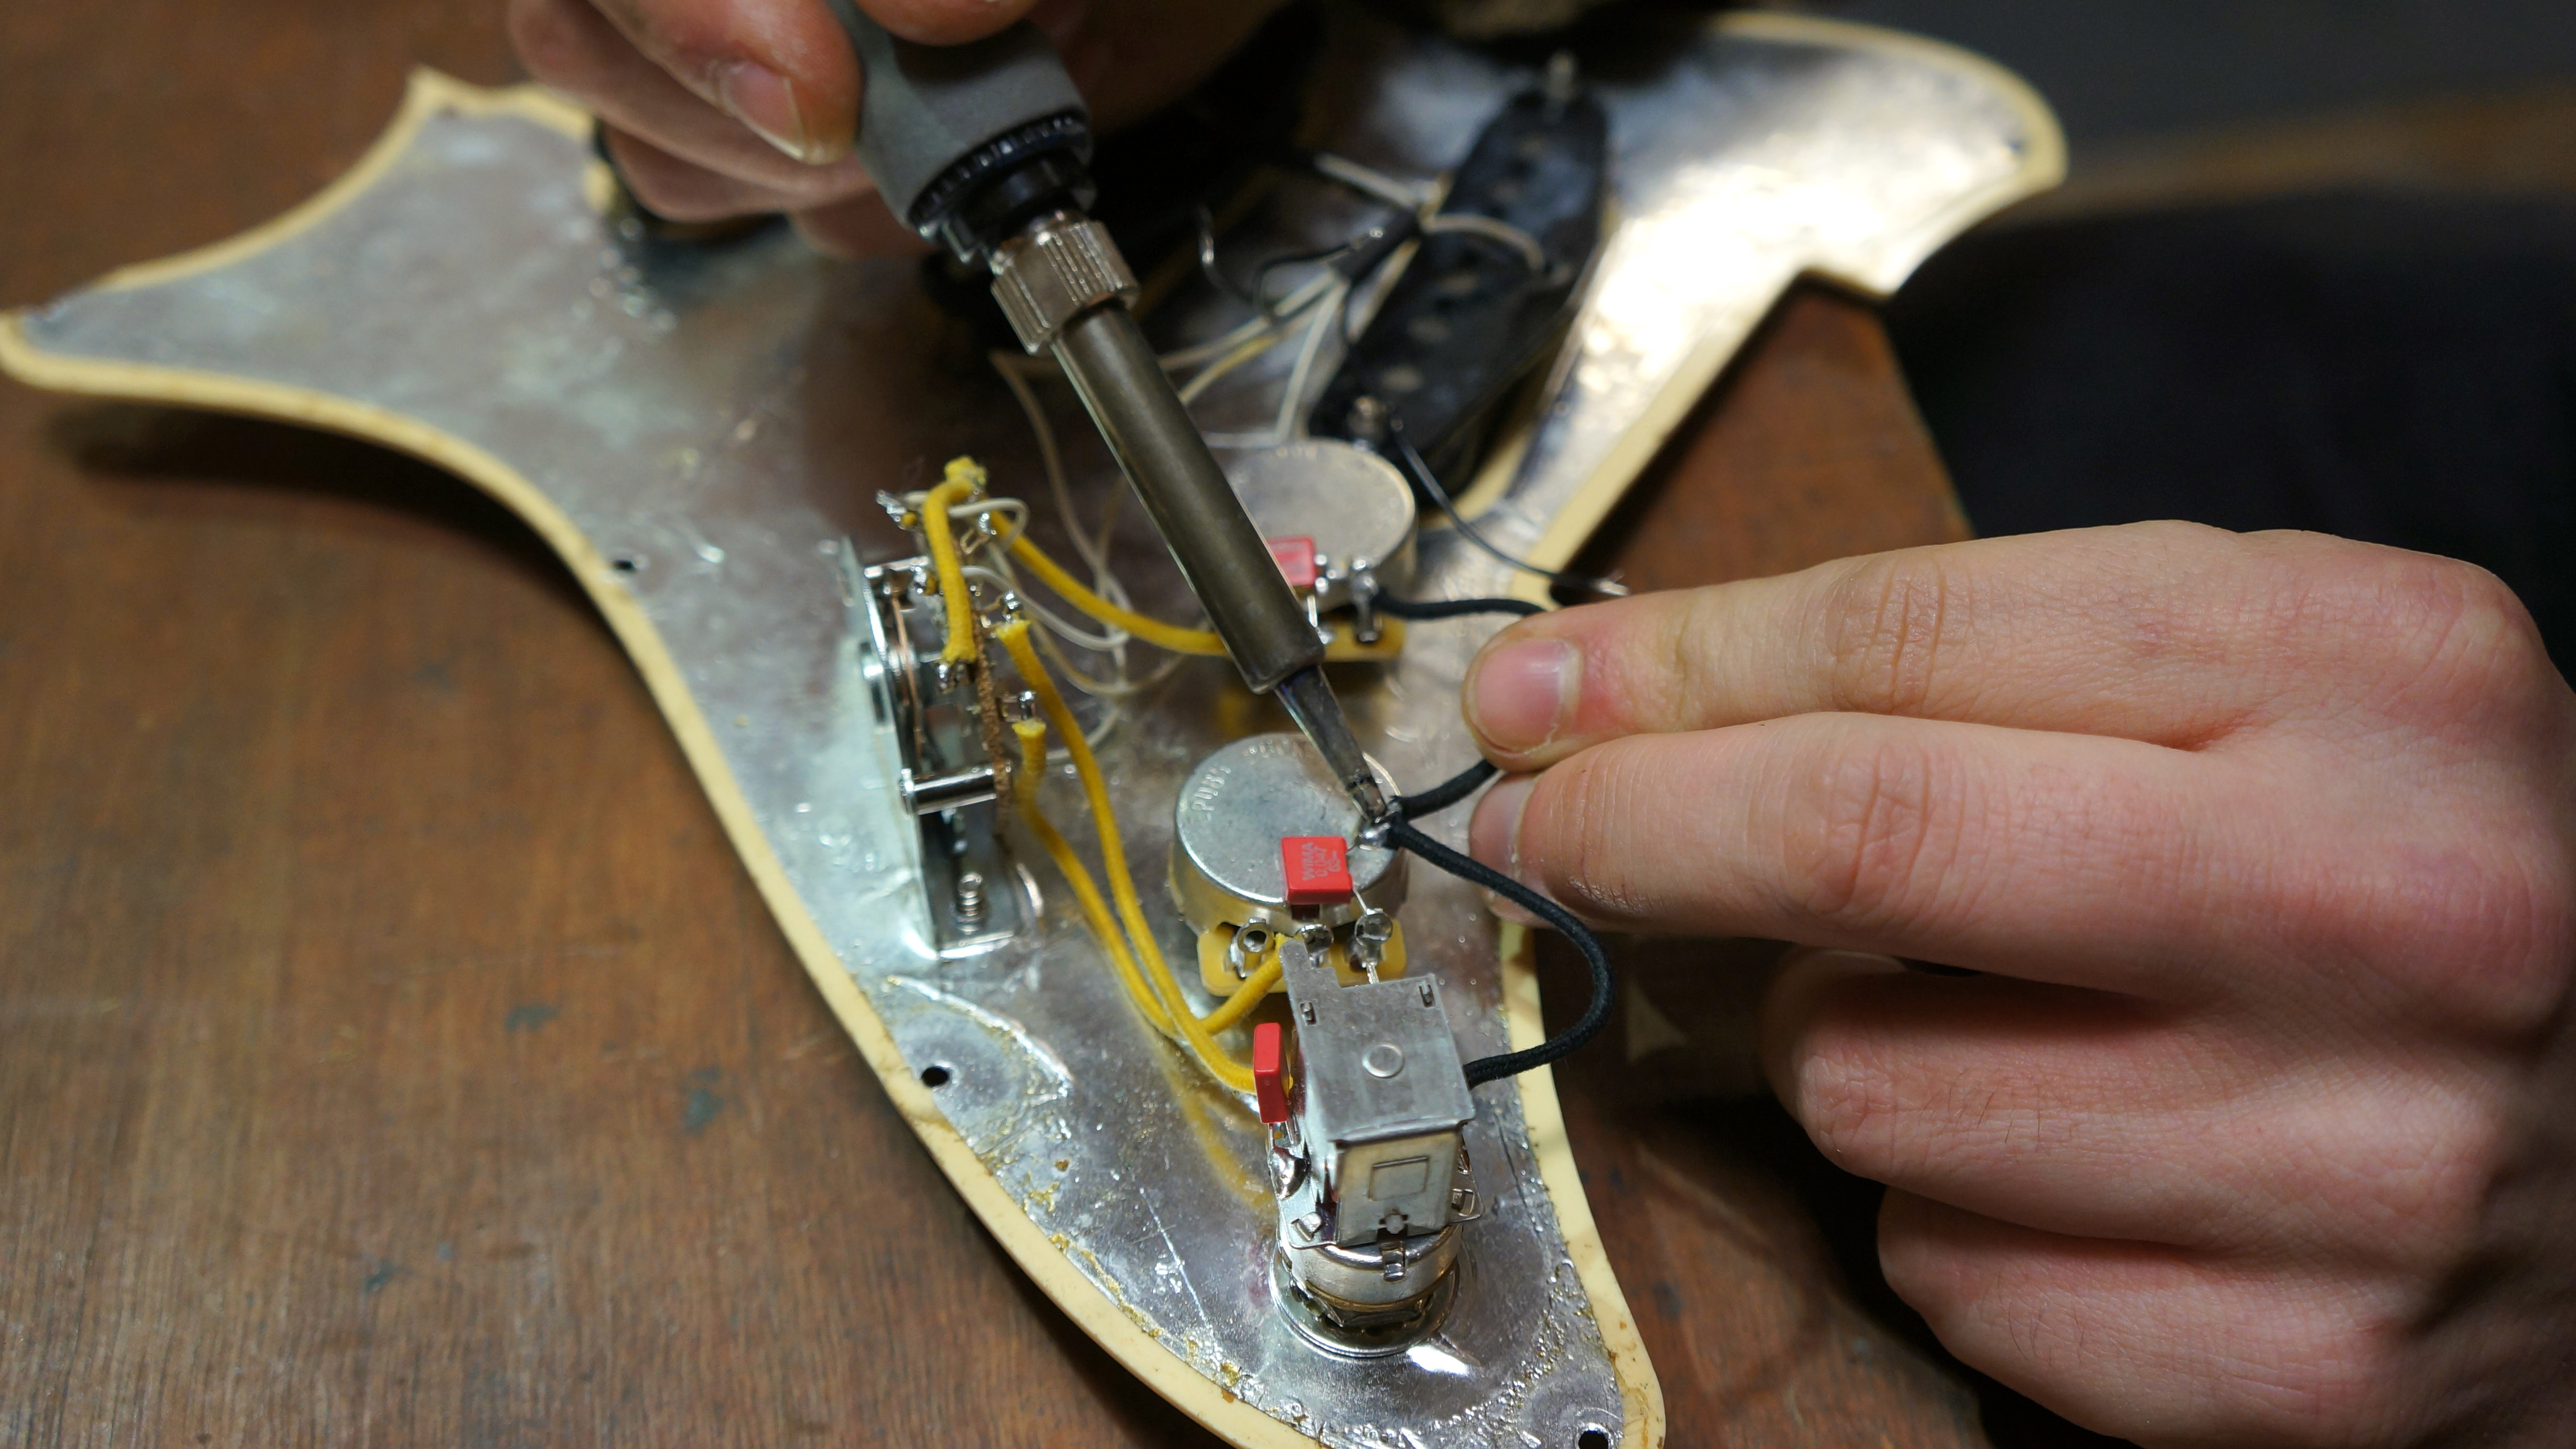
6. Linked the back of each pot with a ground wire ground.
7. Added a long string ground wire (ready to go to the tremolo claw).
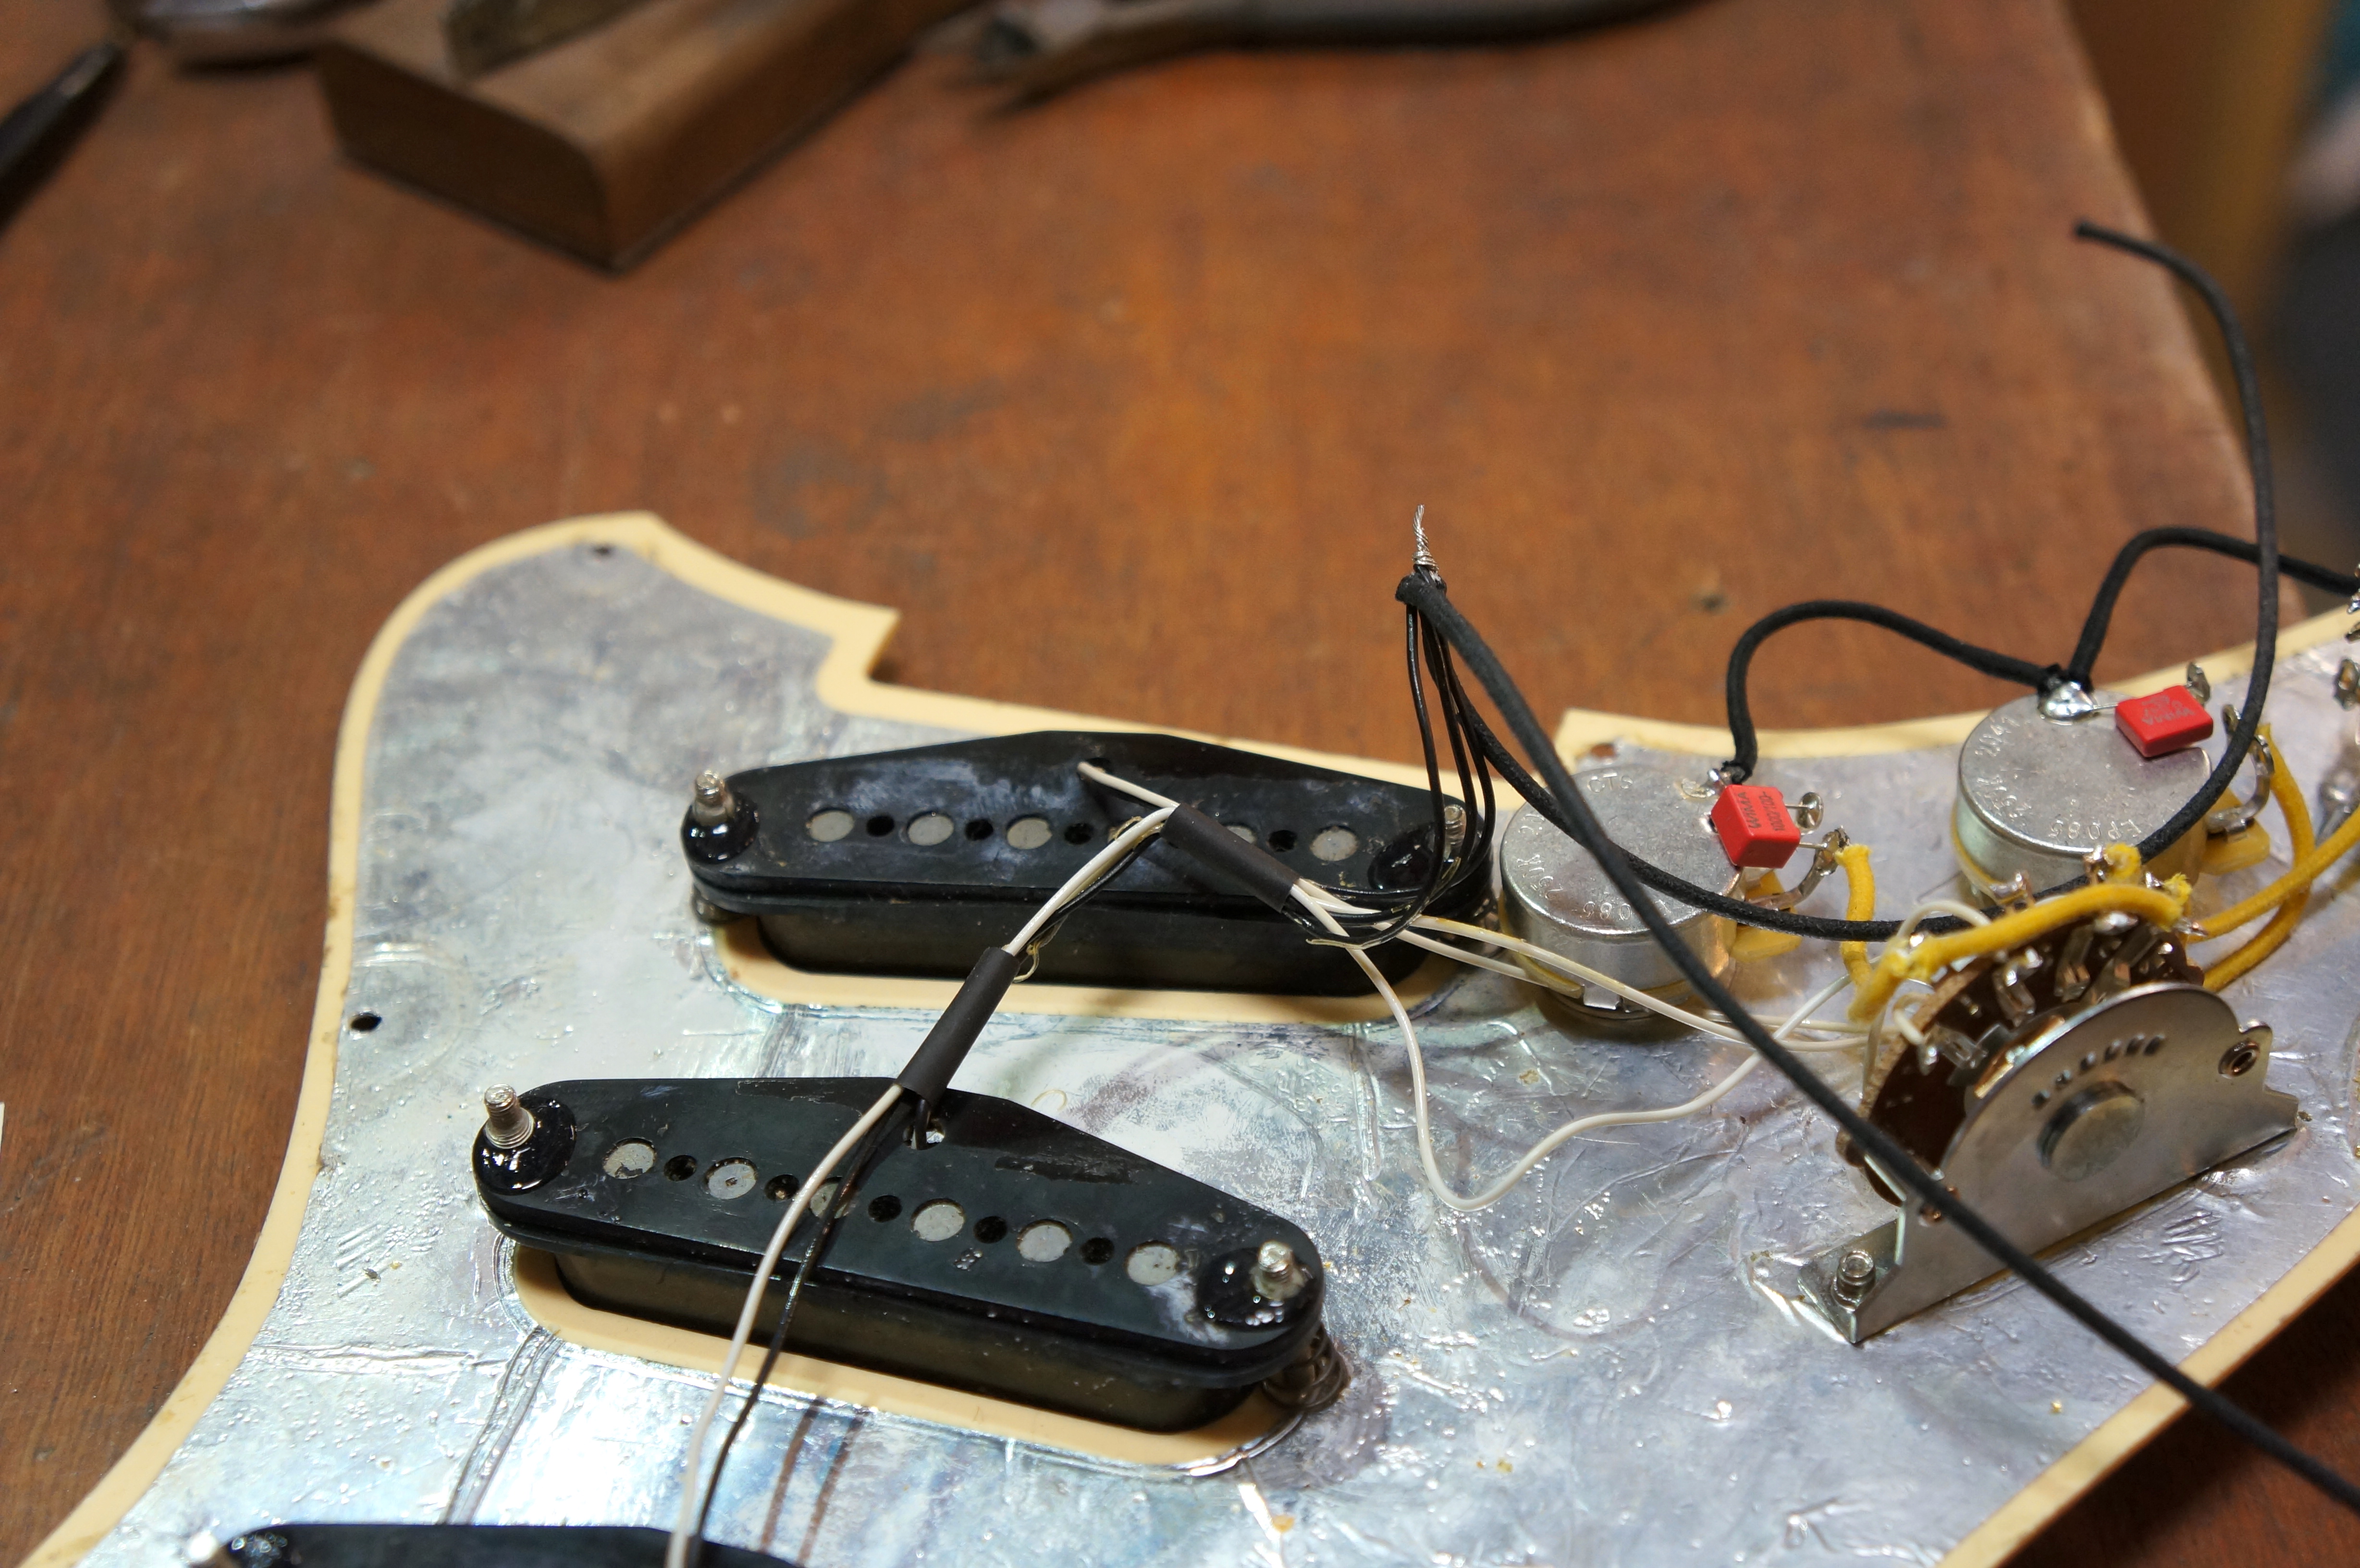
8. Twist all the ground wires together then soldered to the back of the volume pot.
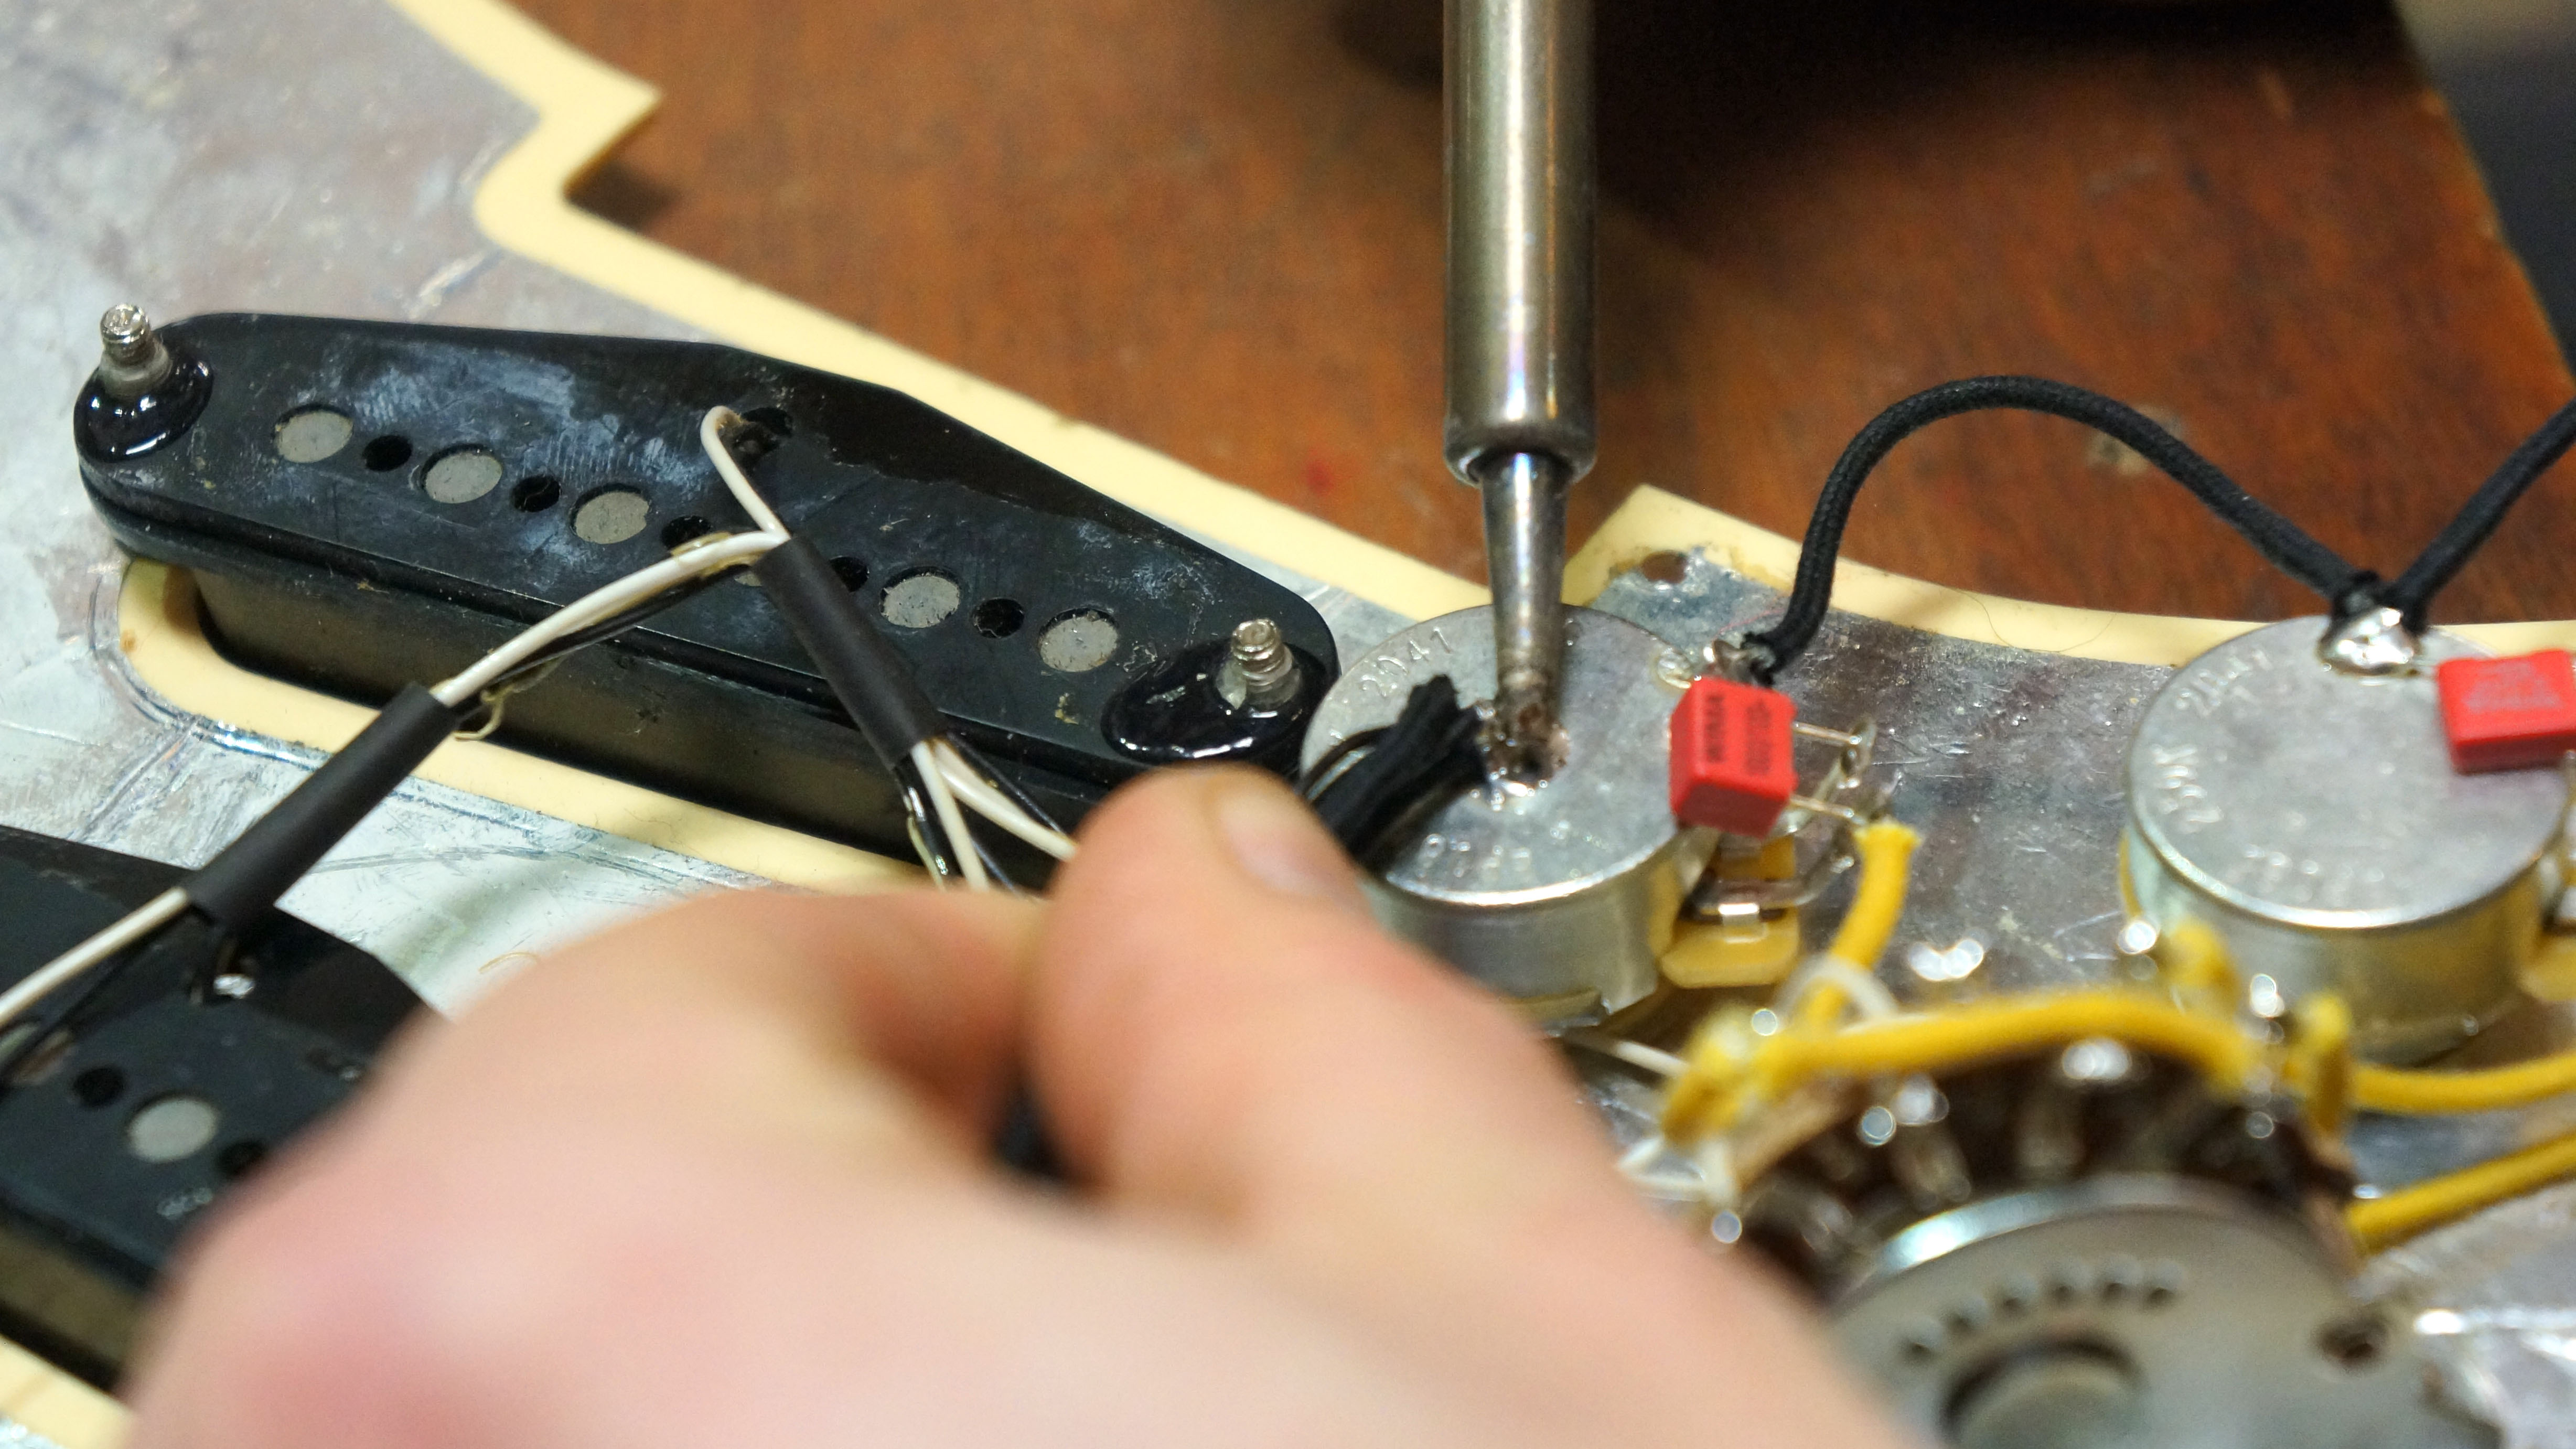
Make sure there’s no exposed wire free to short circuit because even if it doesn’t right now it will later! Then give the soldered joints a quick light yank to check they’re ok.
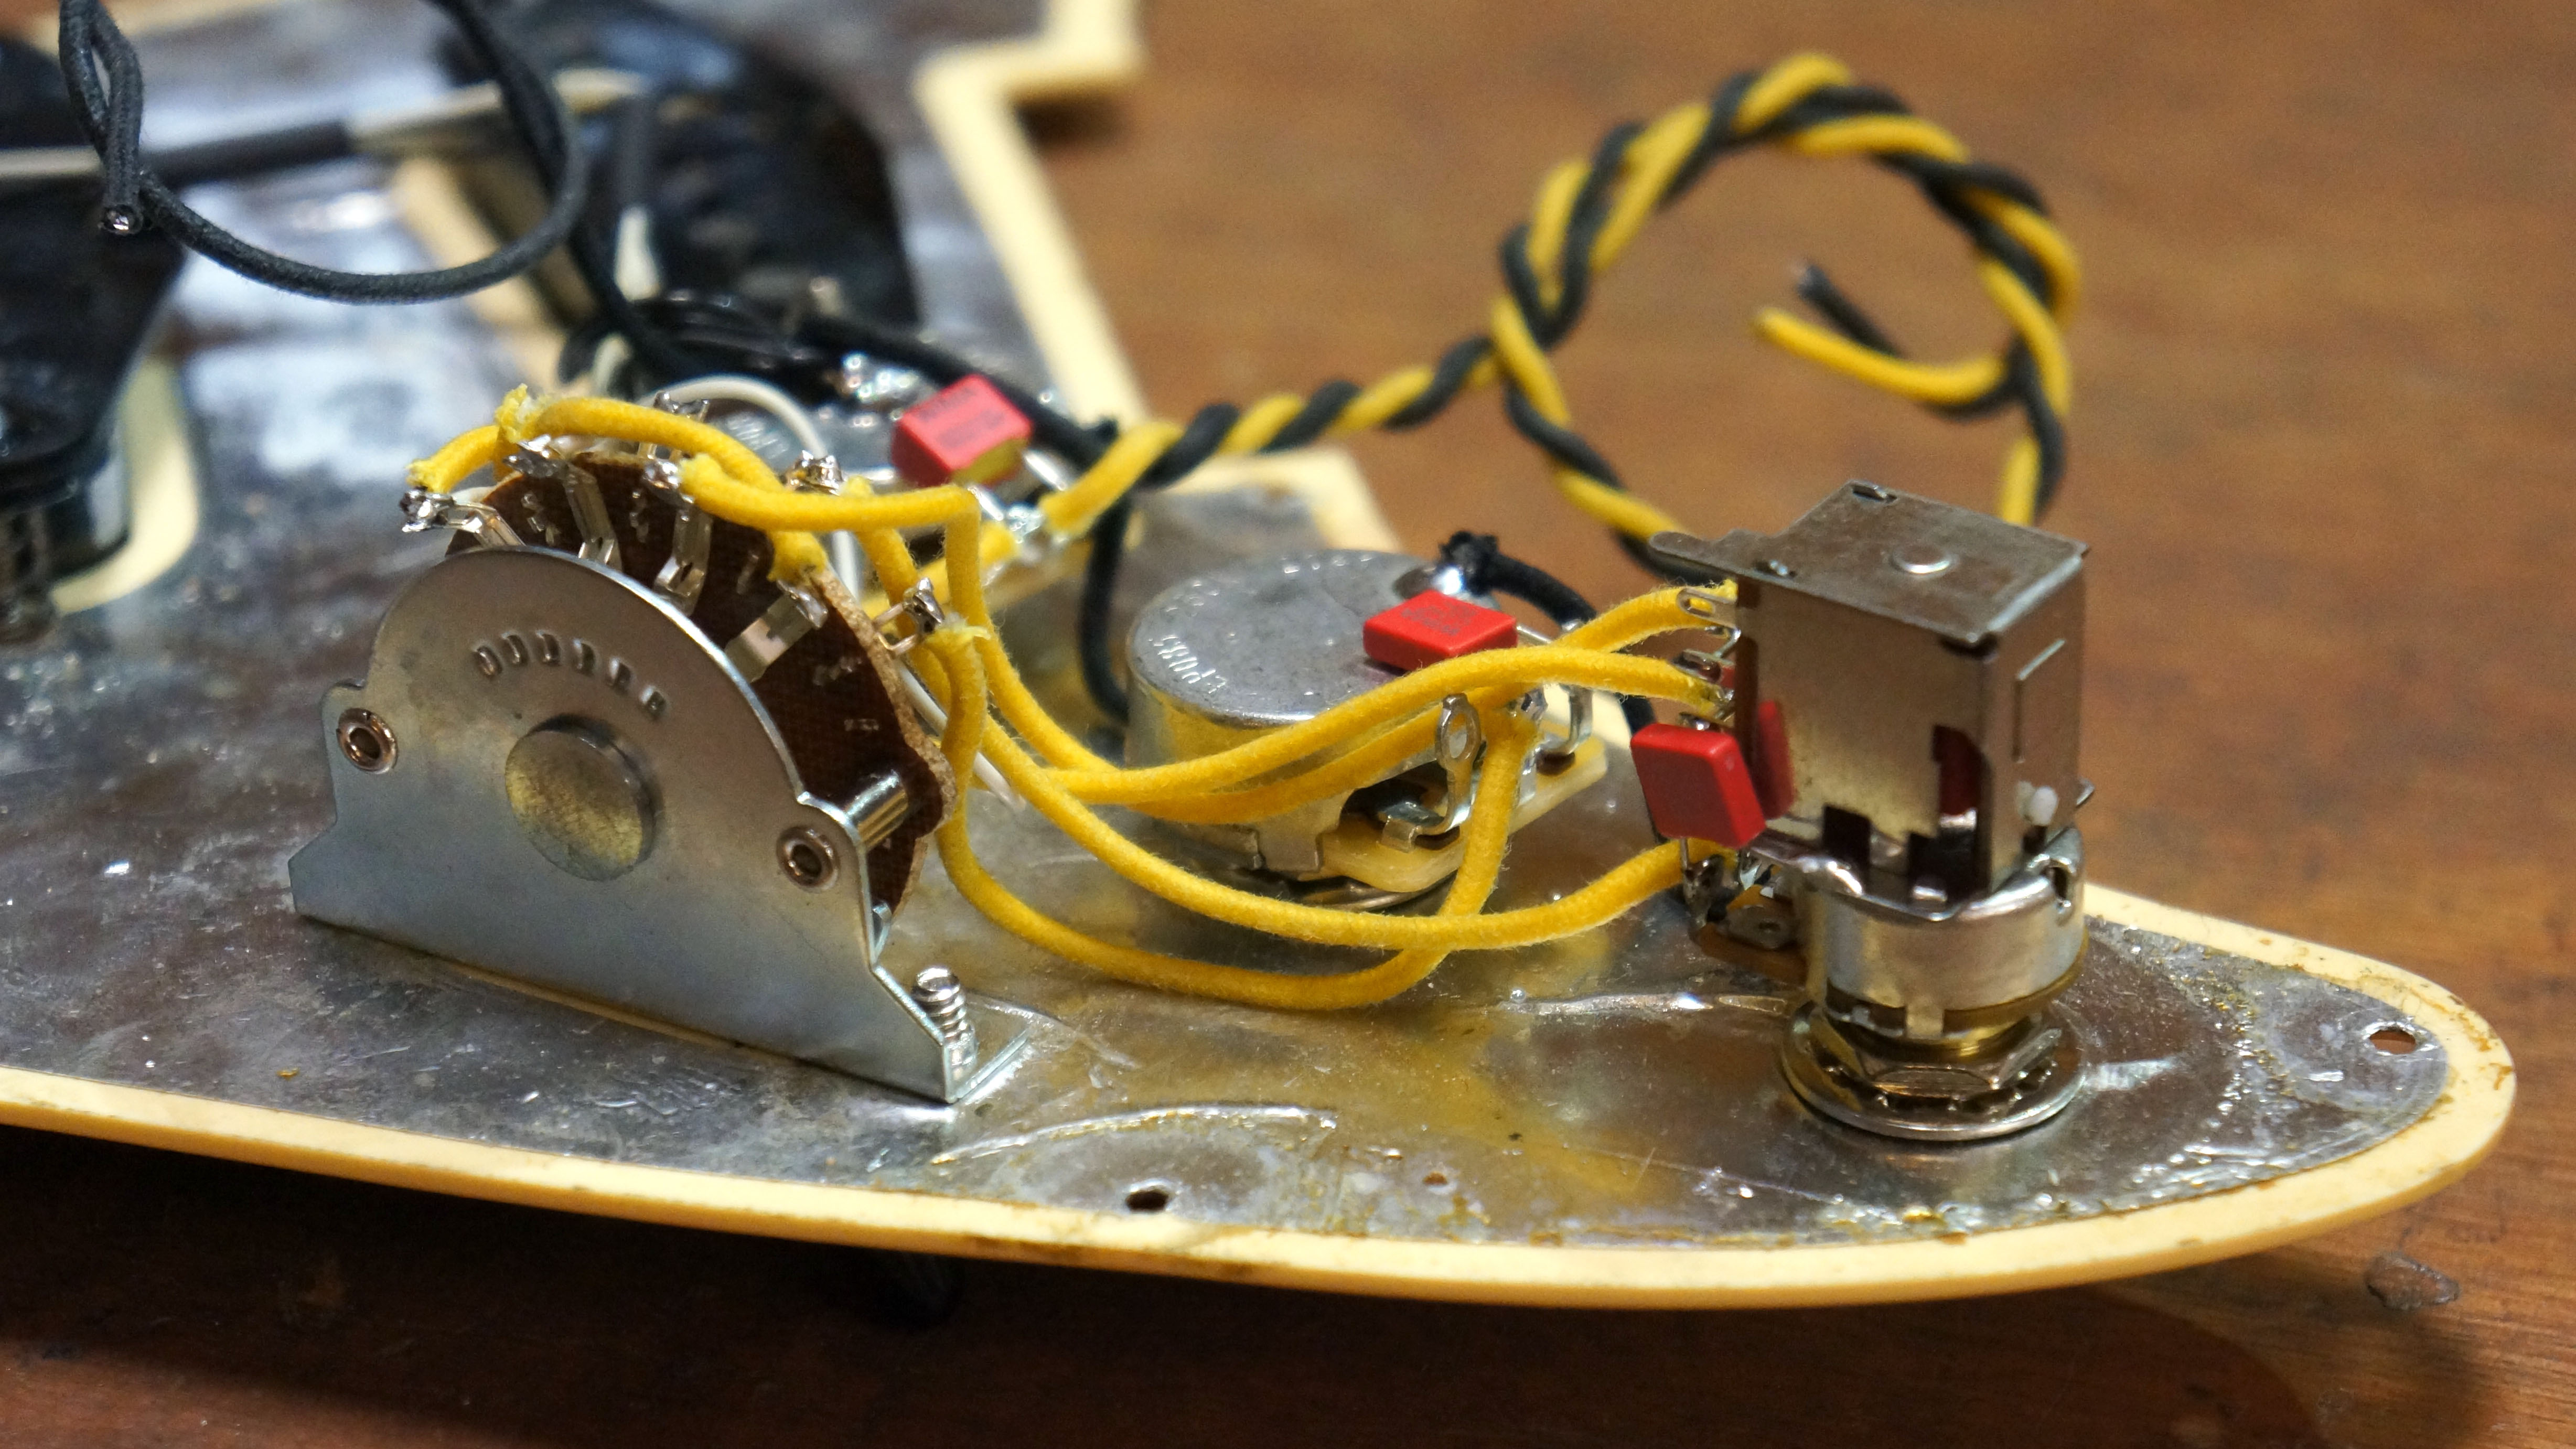
Phew, so the circuit is complete and now looks refreshed and with cloth wire a damn sight cooler too. Tidy up the wires and pre-tuck them in, aiming to not get them trapped under the pickguard when you reinstall it.
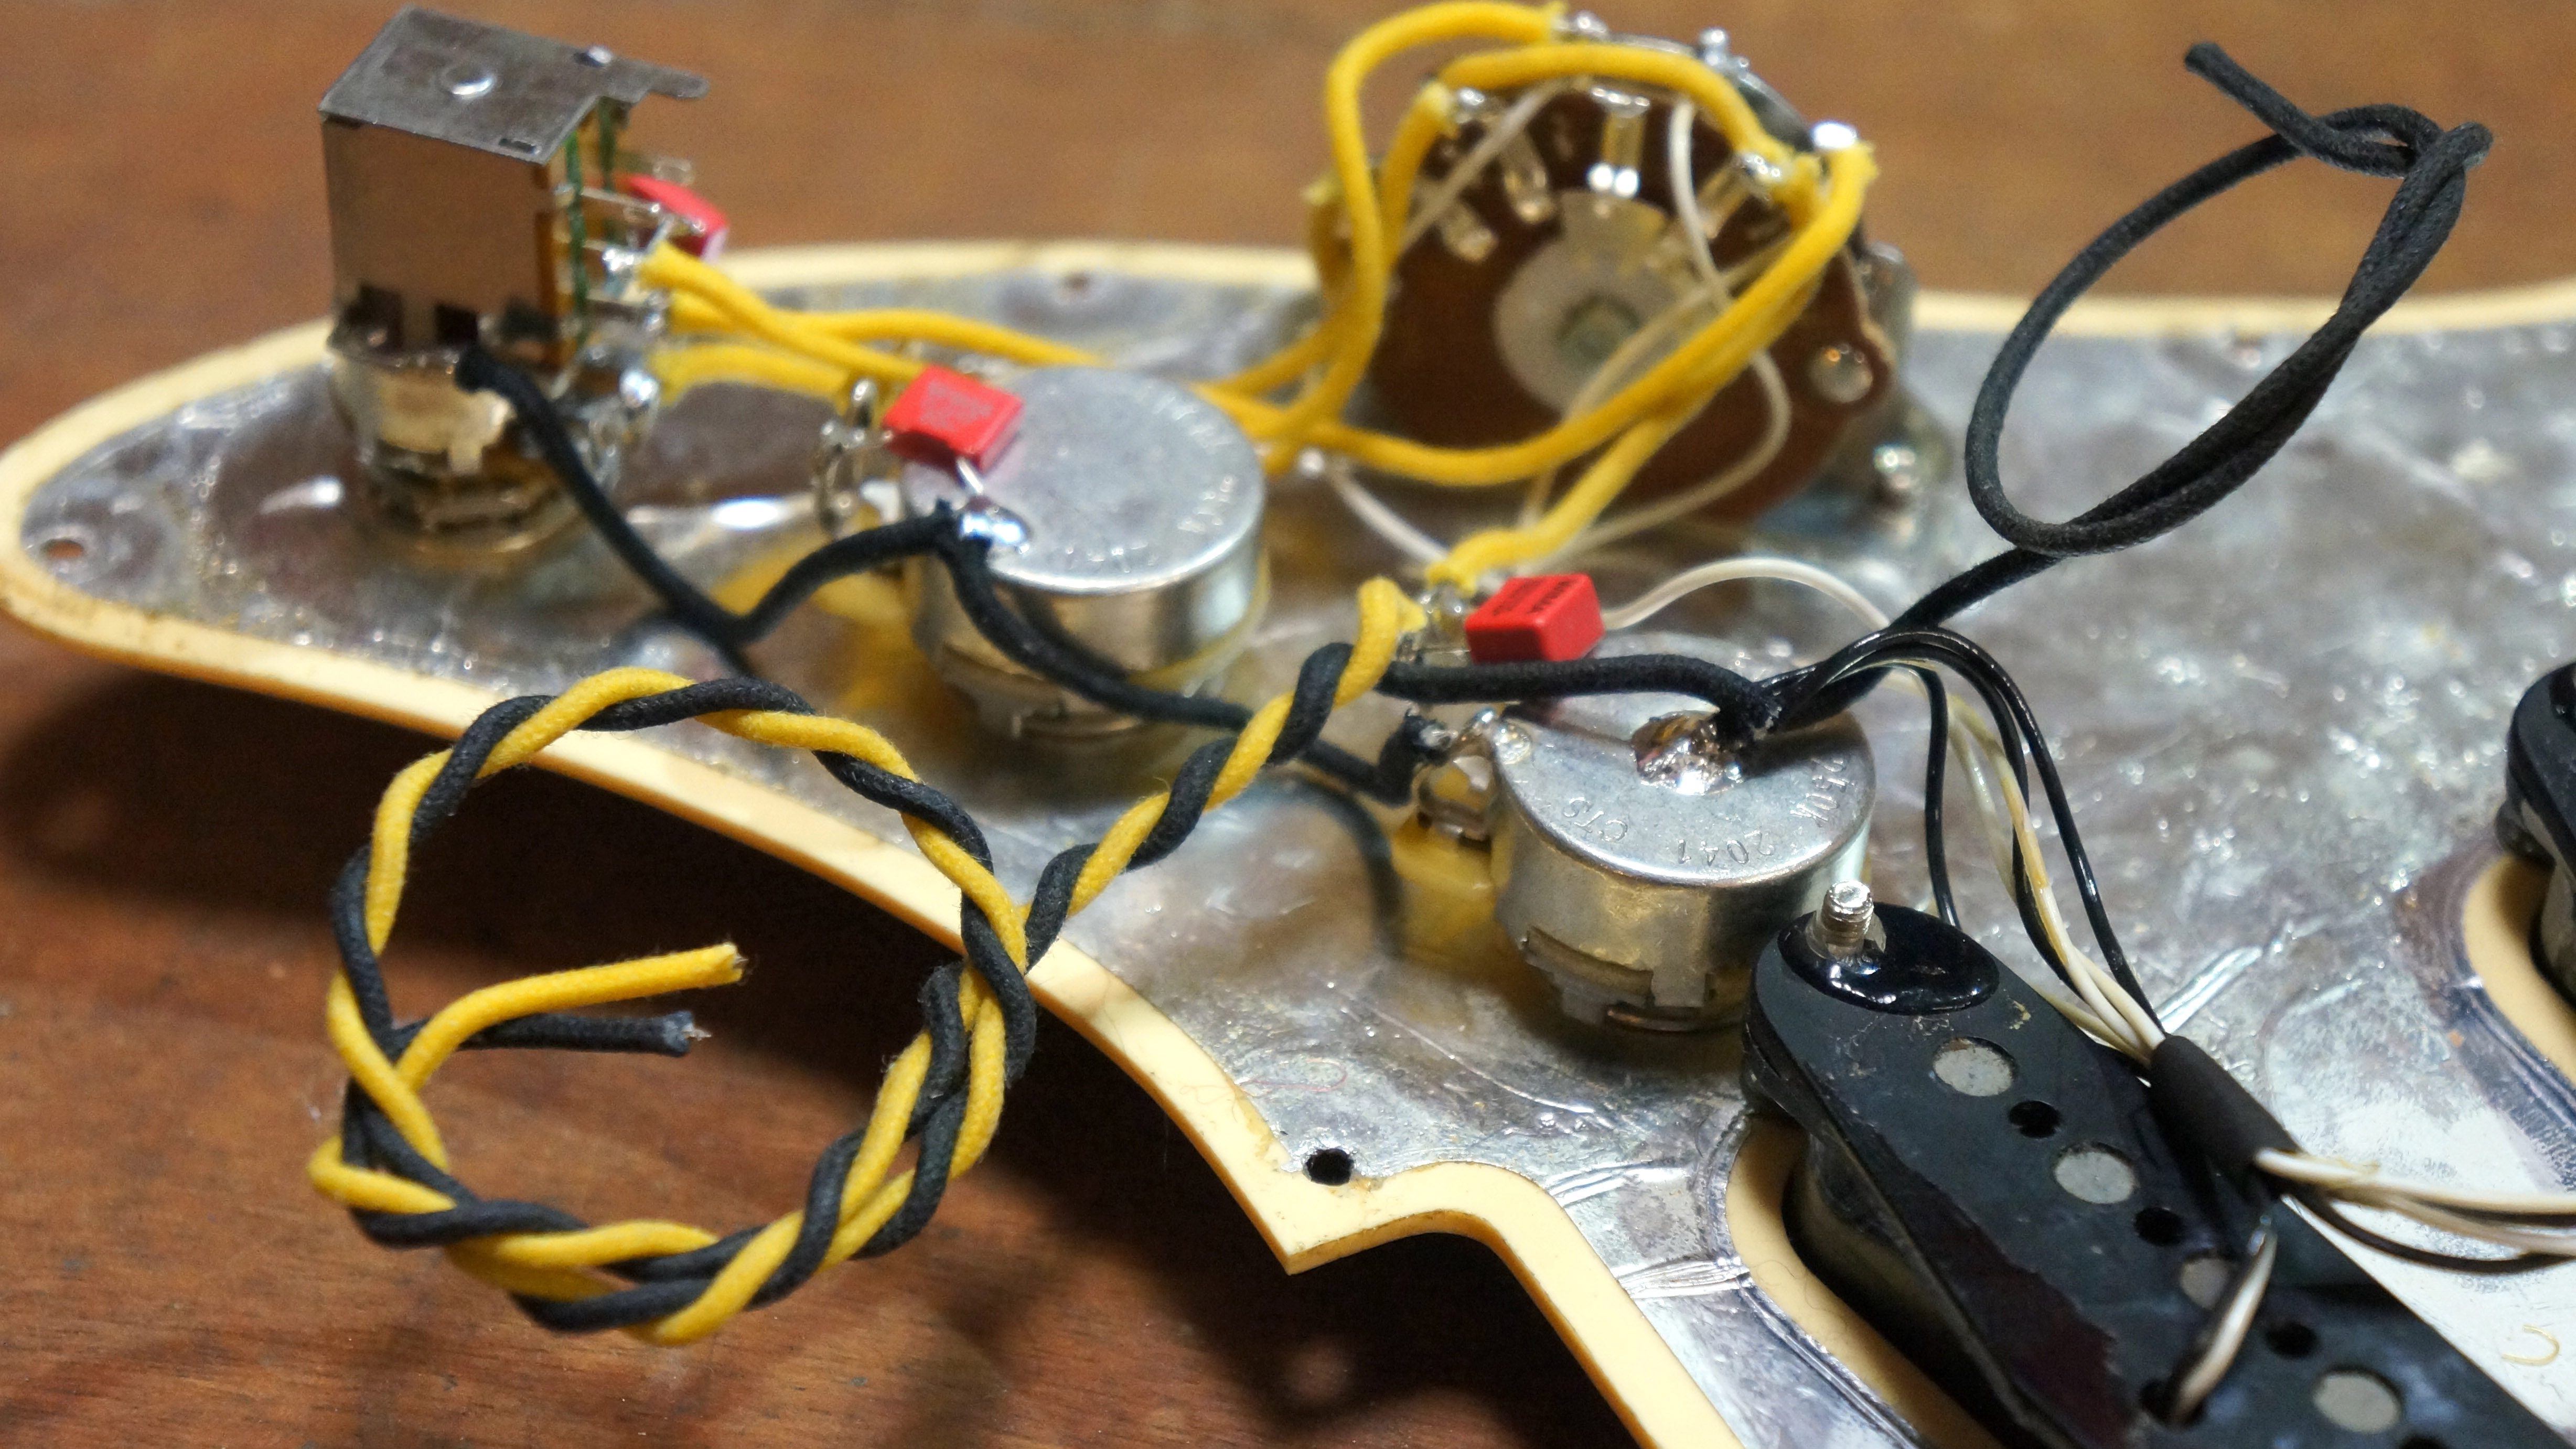
Feed the wires through for the output jack and the string ground wire.
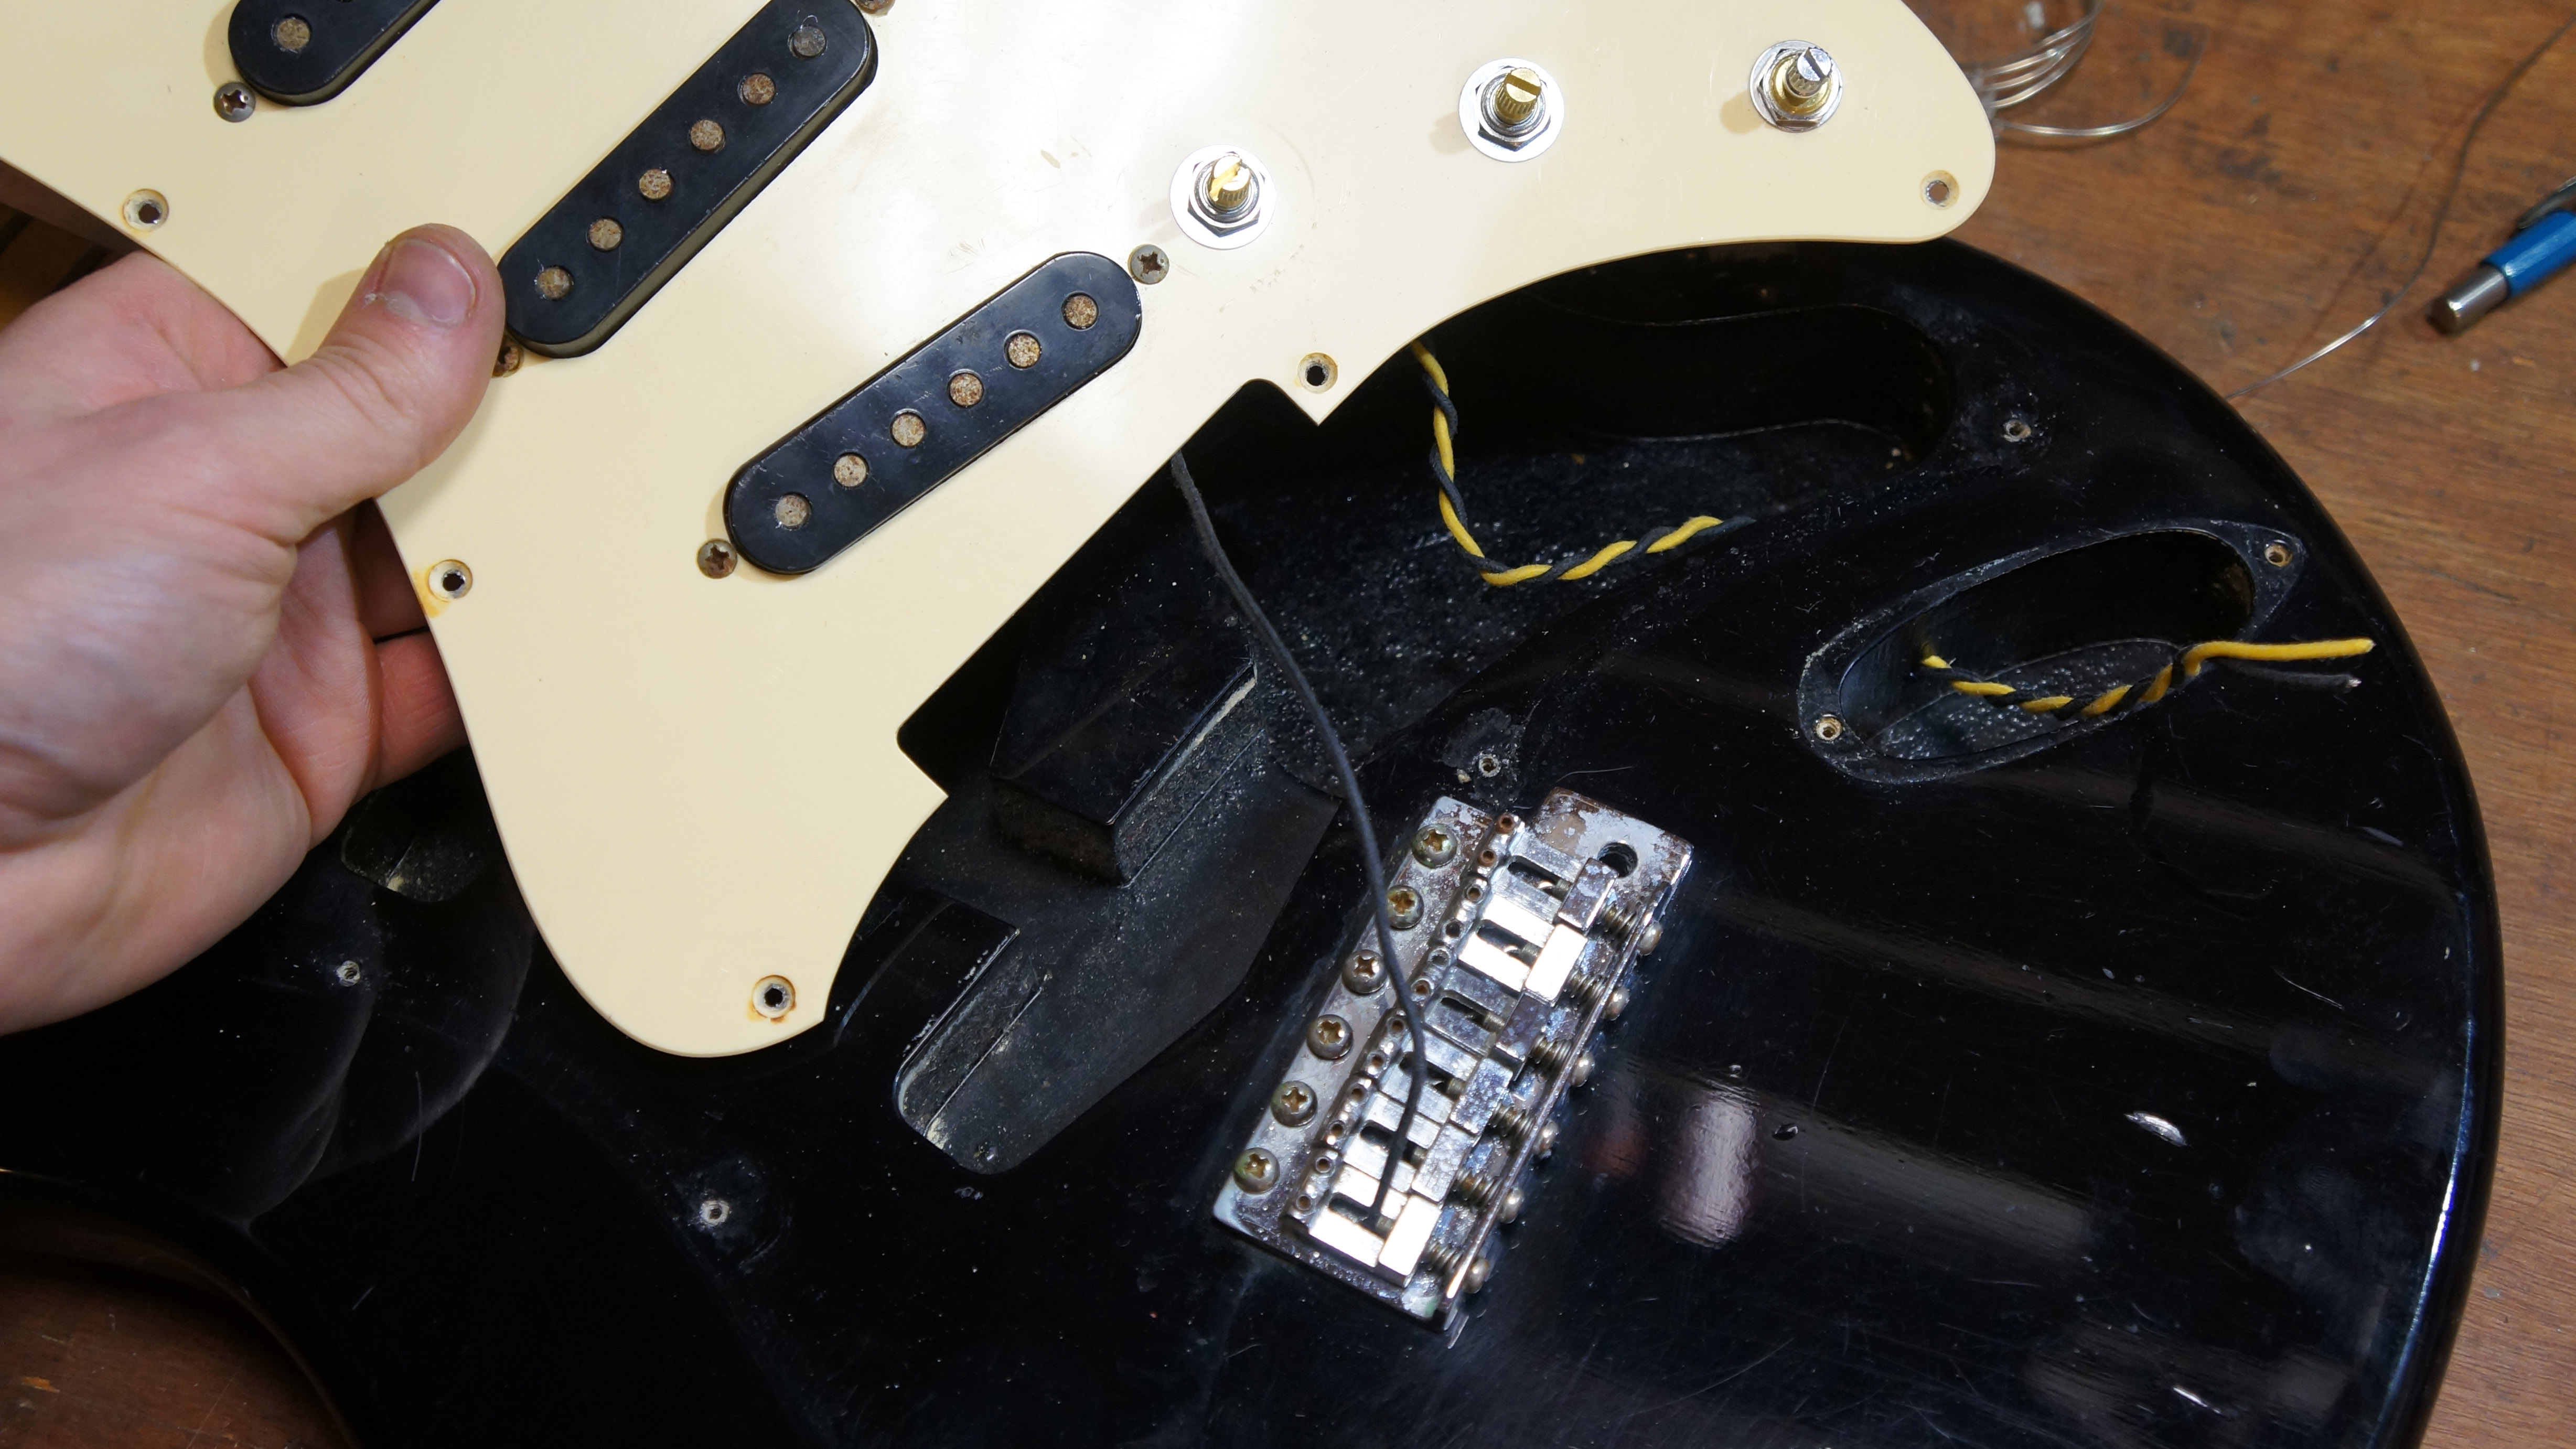
Heat up that big blob on the tremolo claw and attach your string ground wire.
Attach the two wires onto the jack socket.
Now stop right there and put the screwdriver down. You need to test the circuit before committing to fastening 10 million screws. Plug in to an amp and tap the polepieces, this is your first glimpse of the new circuit’s awesome functions.
You can hear a clunk through the amp indicating which pickups are on, the volume function and the tone pots too. Make sure everything checks out!

Right, now go for it, fasten those pickguard screws!
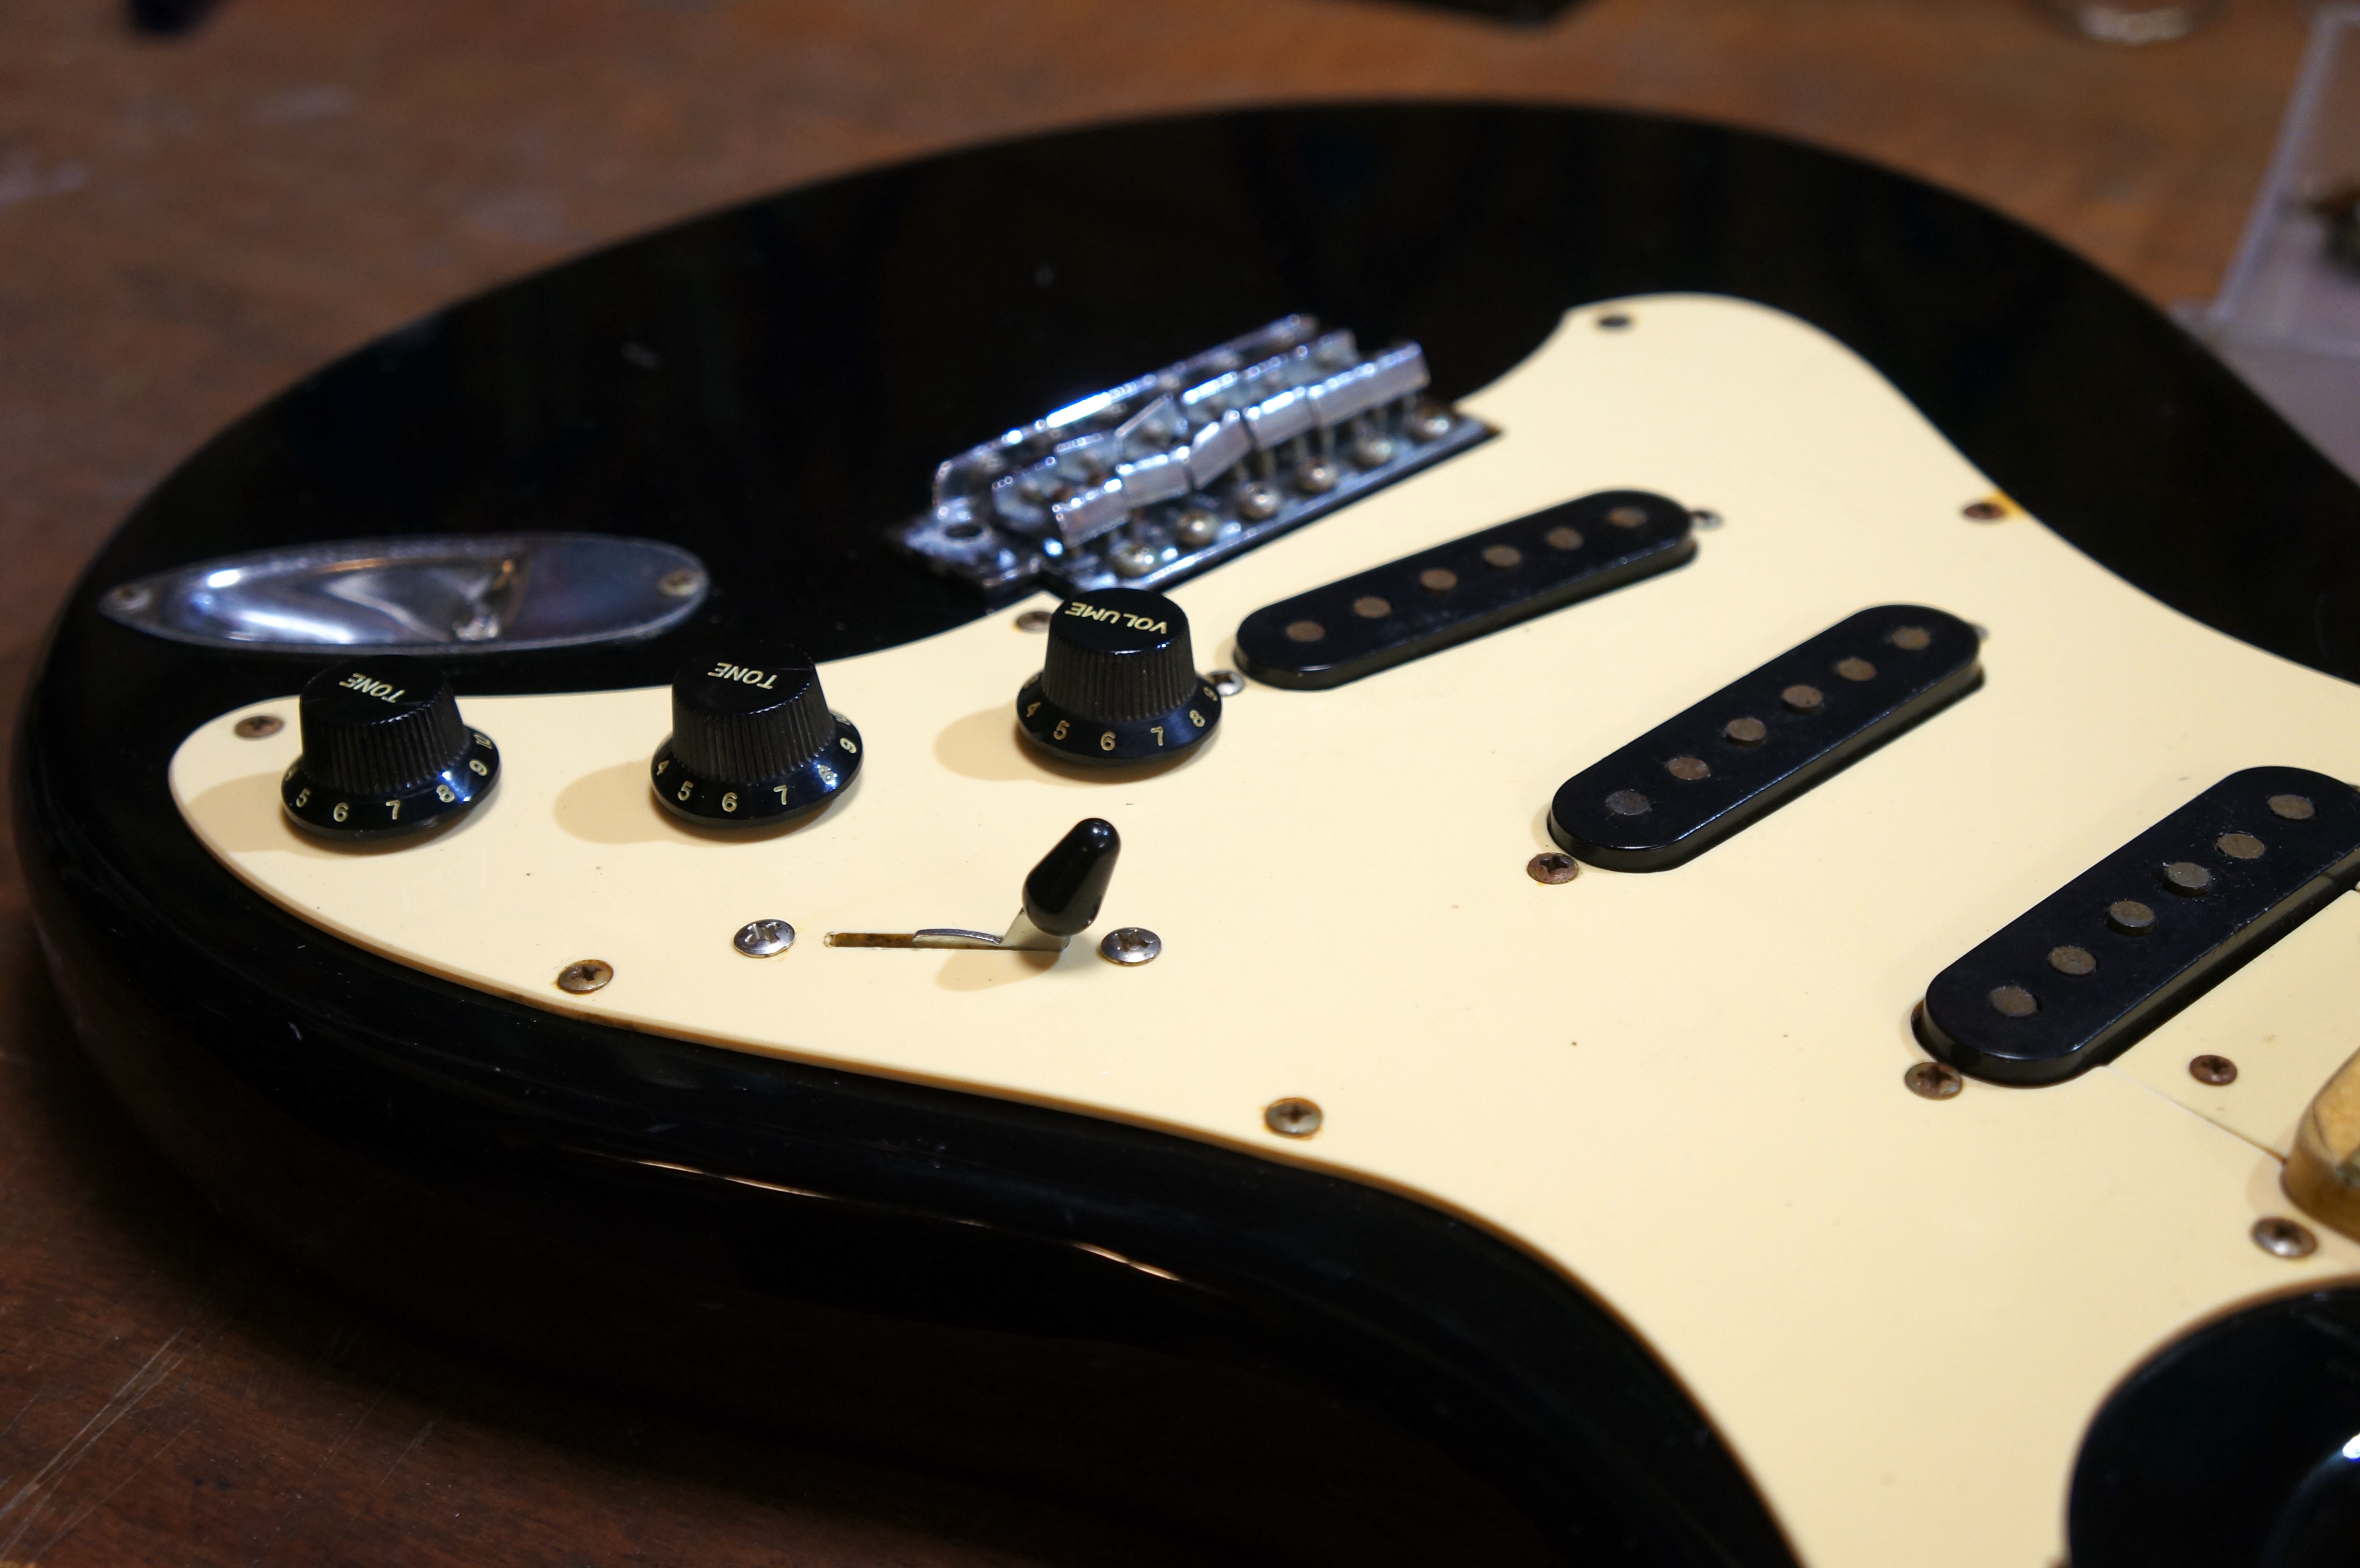
And… we were saving the most satisfying part till last, turn the knobs and switch tip on.
How to set up your guitar: a DIY guide to intonation, truss rod, bridge and fretboard maintenance
Jack runs an independent guitar setup and guitar repair service in Manchester, England. He serves the musicians of the Northwest of England, working on electric guitars, bass guitars, acoustic guitars and more. Jack has been writing the Fix Your Guitar column in Total Guitar Magazine since 2017.
