How to clean up a vocal using multiband compression
Get your singer sounding their best with our quick guide to frequency-based dynamics shaping

Multiband compression can shape or suppress independent frequency regions of a signal, making it the ideal tool for controlling dynamic inconsistency across different frequency areas. The human voice is inherently dynamic across the tonal spectrum, so it makes sense that a multiband processor is often recruited for vocal processing duties, for both corrective and creative reasons.
You’re probably already familiar with one type of vocal multiband compression, used to suppress harsh ‘ess’ and ‘tee’ noises. Some de-essers are just ‘regular’ compressors triggered by sibilant frequencies, but many de-essing plugins can also target specific frequency regions.
In a corrective context, a vocal recording just might not be up to scratch. In this less-than-ideal situation, multiband compression is a great tool for flattening level inconsistencies that result from recording in a bad-sounding room.
Article continues belowVocal compression can also be used for stylistic reasons. In modern pop music, we’re used to hearing thick, tonally-even vocals that slice through the mix. By levelling out specific frequency ranges, such as the sensitive 2-4kHz area and the 200Hz ‘oomph’ regions, the vocal is given a consistency and depth that we’re used to hearing in our favourite commercial records.
In this walkthrough, we'll show you how to de-ess and fix up a recorded vocal using multiband compression - audio examples are at the bottom of the page. For further multiband tutorial action, grab the February edition of Computer Music.

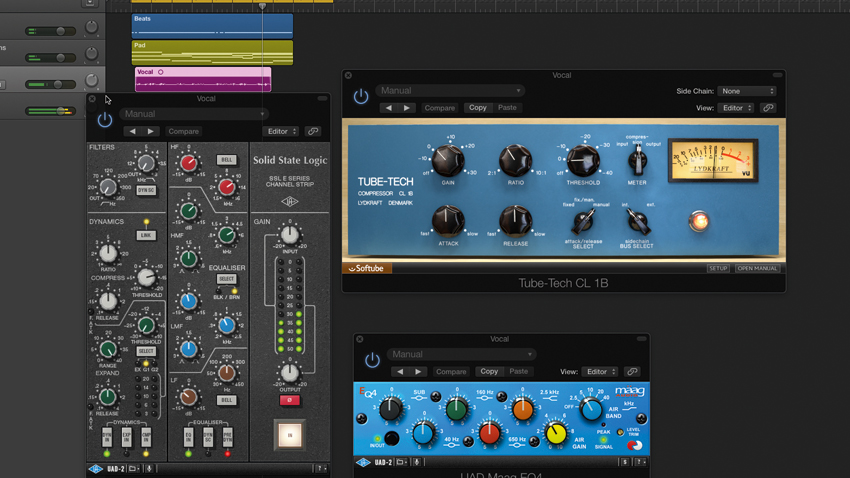
Step 1: Here’s a vocal that we’ve mixed using a typical chain of plugins. An SSL E Channel strip is shaping tone and dynamics, while a Softube CL 1B is offering a little more compression, to even out dynamics and help the part sit in the mix. Boosting the Air band of the UAD Maag EQ4 adds treble brightness and sheen.

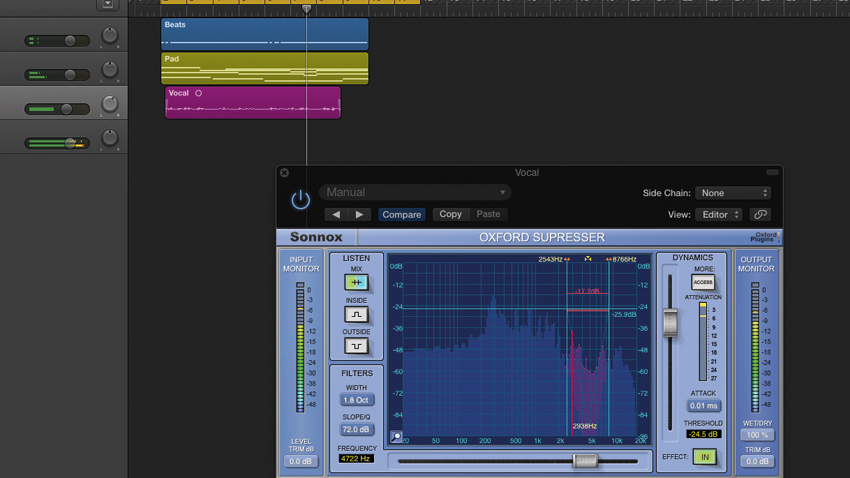
Step 2: The EQ4 lifts the brightness of the vocal but also amplifies harsh ‘ess’ frequencies (ie, sibilance), so we set up the Oxford SuprEsser to deal with this. It’s a band-specific compressor that reduces the input signal within a specific band. We set it up to reduce the sibilant frequencies.
Want all the hottest music and gear news, reviews, deals, features and more, direct to your inbox? Sign up here.

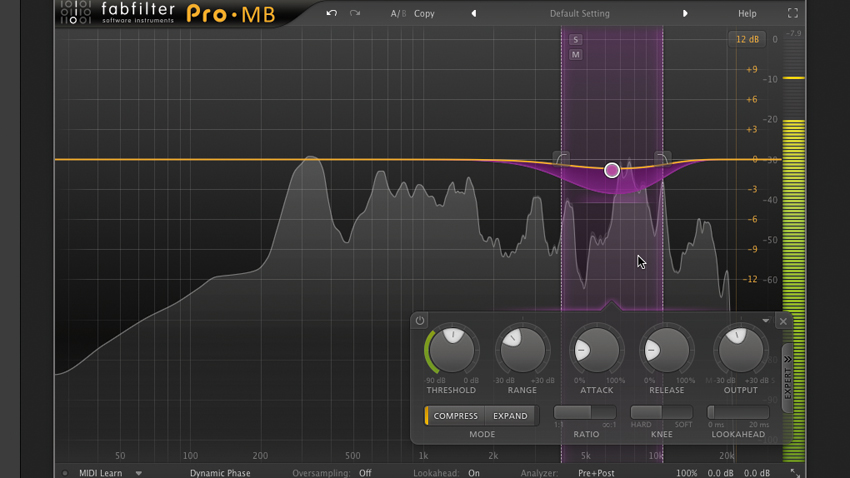
Step 3: If you don’t own a dedicated de-esser, a multiband compressor can achieve the same result. To demonstrate, we’ll bypass SuprEsser and fire up FabFilter’s Pro-MB. We focus a band on the sibilant frequency range, and use a little compression to pull down the targeted frequencies when the level breaches the band’s threshold.

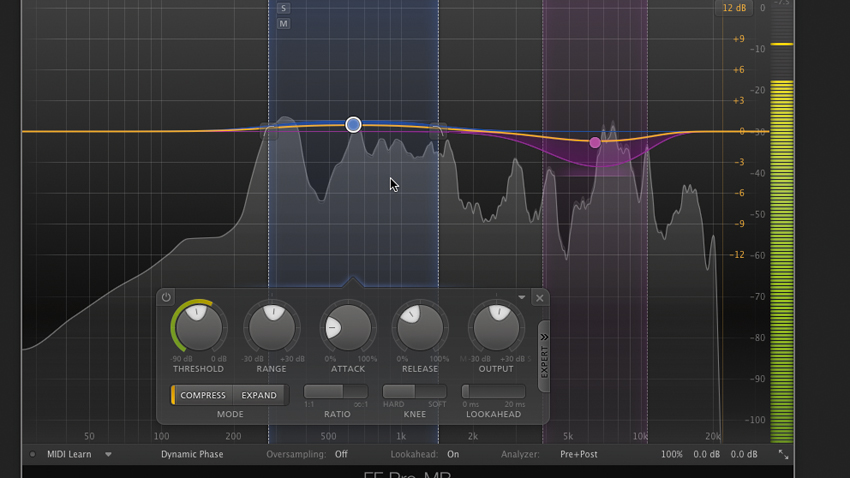
Step 4: The vocal’s air is now balanced - we’ve added sufficient brightness without exacerbating sibilance - but this highlights the fact that the ‘body’ in the tone lower down isn’t as consistent. We address this by compressing this area with a second band, using a longer Release Time for a more natural-sounding recovery.
Computer Music magazine is the world’s best selling publication dedicated solely to making great music with your Mac or PC computer. Each issue it brings its lucky readers the best in cutting-edge tutorials, need-to-know, expert software reviews and even all the tools you actually need to make great music today, courtesy of our legendary CM Plugin Suite.
