RECORDING WEEK 2022: Following on from last week's explainer on how to set up your home studio's control room, we're taking a look into two crucial aspects of acoustic treatment for your home studio: speaker positioning and room correction.
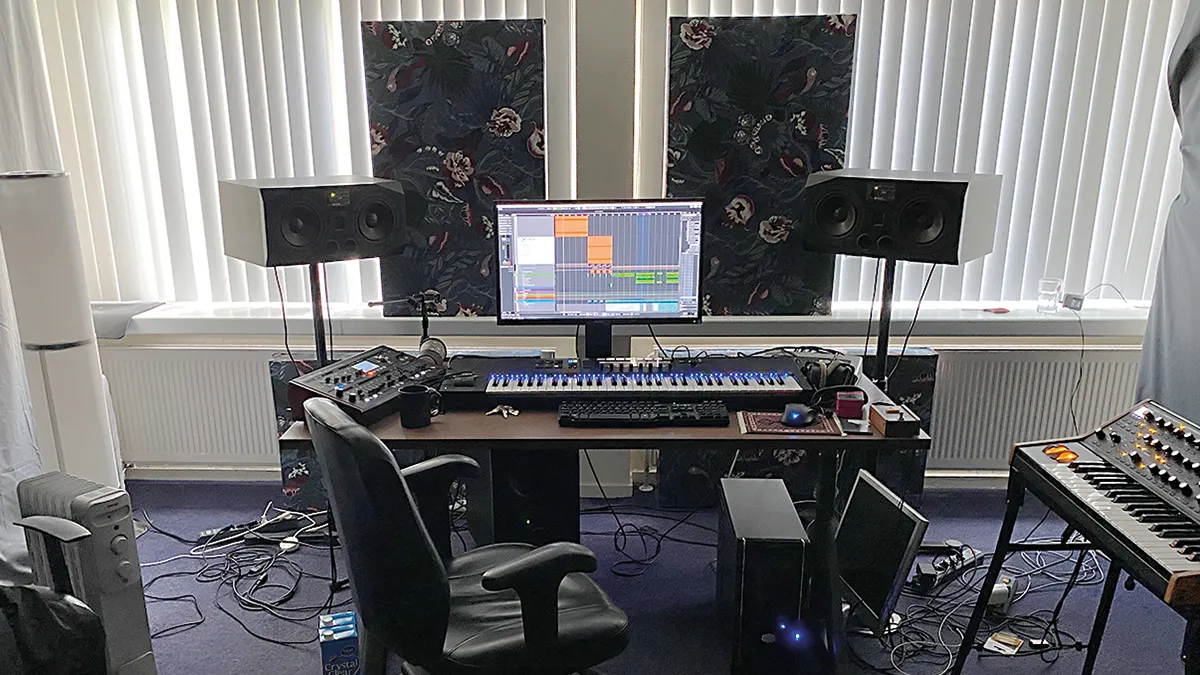
When it comes to your speakers, they should be placed so that the tweeters are at ear level and the woofers are not exactly halfway between the floor and ceiling. The speakers should form an equilateral triangle with an apex just behind your head.
Using the 38% rule is a trade-off between physical symmetry (good for stereo imaging) and bass response (good for tonally balanced mixing), so check how good the ‘phantom centre’ is in your new position by listening to a vocal. It should sit bang in the middle. If your high-frequency diffusion is up to scratch, you shouldn’t have too many problems.
The more solid your speaker stands, the better. Hollow metal stands aren’t great, since they can remove your bottom octave – if yours are hollow, at least fill them with kiln-dried sand. Breeze-blocks are great, but should be wrapped in clingfilm and fabric to prevent dust shedding.
And don’t use foam speaker pads – speakers work more efficiently when they can’t move. Every time the cone moves, the cabinet tries to move as well, so preventing the cabinet from moving makes the speaker more efficient. Don’t make a bad situation worse by adding floppy foam into the mix!
Correcting bass response
Most small and medium-sized rooms end up with a couple of problem areas, typically down at 60Hz and a little higher at 150Hz. If we’re going to fix these, it’s time we introduced MelaTech properly.
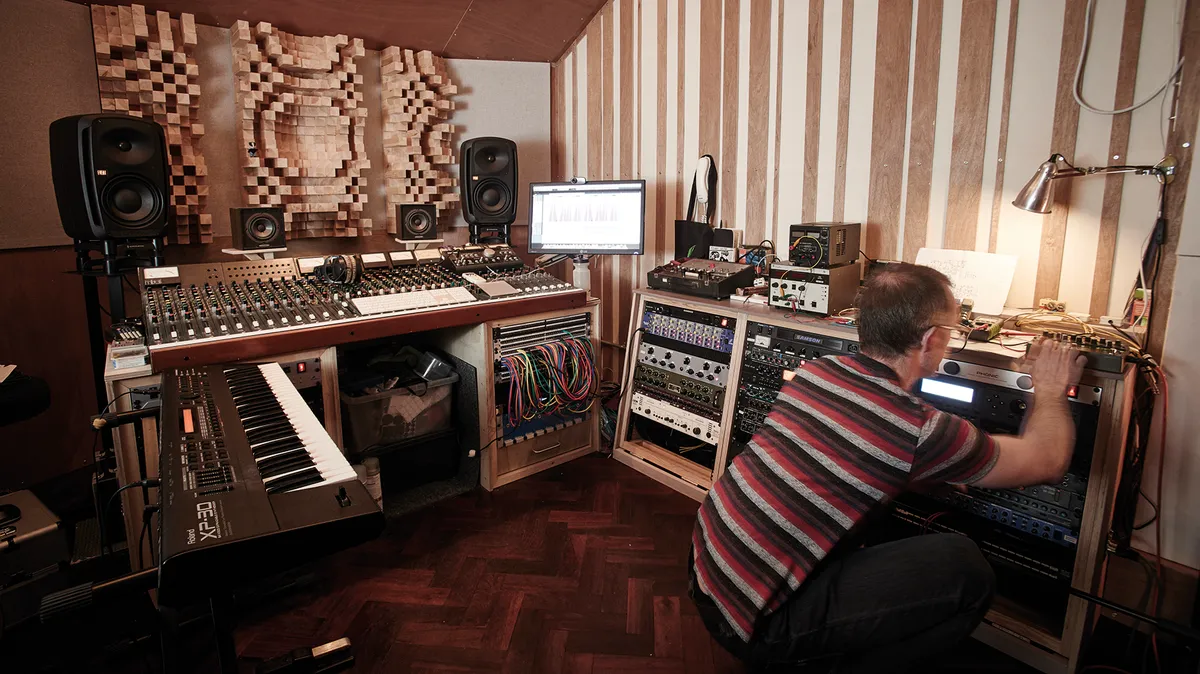
Made by H&H Group in the UK, MelaTech is a high-density open-cell melamine foam that boasts powerful and even broadband absorption from 125Hz to 250Hz upwards. Best bought in 100mm-thick panels or big, pre-cut blocks, MelaTech will deal with all your high-frequency reflection problems and is going to be a vital component in building our bass treatments.
We’ll also be needing some pre-cut 2mm-thick steel plate (which should be easy to obtain from any engineering company), and some 3mm rubber sheeting. These will come together to make panels offering good bass correction, while the MelaTech will help us fix the honk and reflection.
You can buy purpose-made diffusor panels designed to break up honk and reflection, but these are more expensive, and a load of shelves filled with books and bits and pieces will do just as good a job, if not better.
Putting MelaTech on the ceiling and bass absorber panels to the sides, between us and the speakers, will effectively make those walls disappear by ensuring that the high frequencies from the speakers get to our ears free of reflection from above and the sides.
Making and mounting control room bass correction panels

Step 1: First we need a way of mounting our heavy panels on the walls. By using batons rather than fixing everything directly to the wall, we can minimise ‘wall trauma’, keeping partners, parents or landlords happy. Use captive fixings/T-nuts to attach long threaded screws to the batons, then fix the batons to the walls using rawl plugs and screws.

Step 2: Drill holes in your 1200x600x2mm steel panels through which to hang them on the long screws. Push them right back to reduce stress on the screws. Next, hang sheets of rubber of the same size so as to dampen the steel, taking away its reverberation. A piece of wood glued to the rubber can prevent curl if necessary. The steel plate now resonates down in those problem areas, helping to cancel excess bass.

Step 3: The rubber makes an undesirable reflective surface, so let’s use a big piece of 100mm-thick MelaTech to cover it. This will also mean we’re covering two issues in the same amount of space, as we’ll have a bass absorber and a broadband mid- and high-frequency absorber in the same place. Glue a drilled aluminium plate to the MelaTech, as shown. Evo-Stik works well, but be sure you have good ventilation!

Step 4: Here’s the whole dual-purpose treatment panel. Ideally you should have some like this and also some that are double the width (1200x1200x2mm) to make sure you’re acting on a wide range of low-end frequencies. These panels are ideal on a wall behind the listening position, or to each side in order to ‘take out’ nearby walls. Cover them with fabric and they’ll look nicer!
Killing control room ceiling and floor reflections

Step 1: More MelaTech or similar, but this time in chunky shapes. Wherever you end up sourcing your open-cell melamine foam, it’s worth buying it ready-cut. A steady hand and a breadknife will get the job done, but unless your going to cover it, it’s definitely better to get it pre-shaped. Shapes like this one are great for removing floor-to-ceiling flutters and tightening the stereo image. Here’s how to attach them…

Step 2: Use a plasterboard fixing like this one to screw a circular neodymium magnet to the ceiling. This is by far the easiest way of getting your foam up and down, and if you accidentally knock it with something, it’ll move rather than get holed. The magnets also enable positional adjustment, of course, so you can easily move your shapes next door into your ad-hoc vocal booth!

Step 3: Use 200x100mm aluminium plates as your magnetic fixings. Again, Evo-Stik will do the job, but for the very best join, use a glue gun and then a hot iron on the plate for a minute or two, and leave to dry overnight. If your ceiling is high enough, use a long screw on the magnet, making a 200mm gap between the MelaTech and the ceiling. This increases efficacy, as sound hits the MelaTech, goes to the ceiling, and then goes back through the MelaTech again.

Step 4: Last but not least, the flooring. If possible, use a thick underlay and wool twist carpet. As well as softening the room, it’ll be very comfy! Add to that an extra rug underneath the chair and you’ll have pretty much eliminated floor-to-ceiling problems. The general rule with home rooms is that they’re never great acoustically, so the idea is to kill the reflections completely.
