We've covered all of Live 10's new devices and it's biggest new features elsewhere on MusicRadar.com, but here are nine other noteworthy additions that may have escaped your attention.
For more, see the massive Live 10 cover feature in the February 2018 edition of Computer Music.
1. Max for your life
Max for Live, Ableton’s object-based programming environment, is now fully integrated into Live 10, facilitating much faster load times and making the vast array of pre-made M4L devices feel far more like a part of the Live ecosystem than before. These devices also support multiple ins and outs, accessed via a channel’s in/out channel selectors. And the DS10 Drum Synths have been given a sonic upgrade.
2. A lick of paint
Visually, Live 10 has had a subtle cosmetic makeover. Dials and sliders are now vector-based, there’s a new colour scheme and font, and moving elements now animate at 60 frames per second for smoother motion. After a few months using Live 10, the new design is growing on us, and it definitely feels a little more slick when working over longer periods - but we’re not overly keen on that font…
3. Full theme ahead
In previous incarnations of Live, users were able to switch up colour schemes with skins, which Live 10 has now ditched these in favour of ‘themes’. In the Preferences > Look/ Feel menu, you can choose one of five ready-to-go themes, as well as adjust each one’s Brightness, Colour Intensity and Colour Hue percentages for further customisation.

4. In, out, rename it all about
If you use an audio interface with multiple inputs and outputs, you’ll welcome the addition of input and output renaming. Scoot over to the Preferences > Audio > Input/Output Config menu, where you can now type in a separate name for every in and out - ideal when you want to label up your interface’s ports with relevant names for, say, the synths or mics in your studio.

5. Colour club
One of our biggest gripes with Live 9 was that, when you wanted to make a clip the same colour as its hosting track, you had to right-click to change the track colour, then do the same thing again for the clip. Now, though, right-clicking a track header reveals the new Assign Track Colour to Clips option, which sets all clips on a track to the same colour as the track itself. Although this is undeniably useful, we’d like to see a similar option to automatically rename clips to the parent track’s name, too, which would cut down on the frustrating amount of use the Ctrl/Cmd-R shortcut gets.
6. Drum Rack routing
The beauty of Live’s Drum Racks is that they’re so self-contained, what with their internal send/return effects and Inception-level nesting capabilities. Another mini Live 10 improvement now gives Return chains the ability to become internal output busses - simply route the audio output from any Drum Rack pad into said Return, and it becomes an internal mix bus.
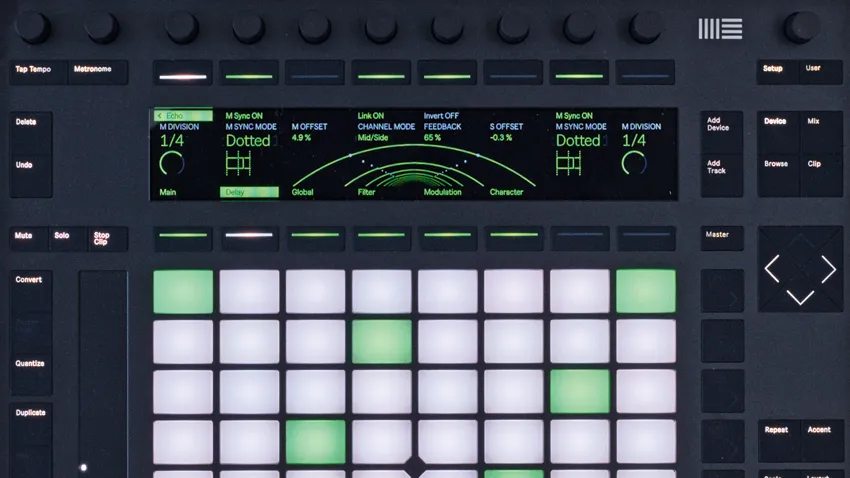
7. Push it
It simply wouldn’t be a Live update without some kind of Push soup-up, and users of Ableton’s amazing MIDI controller won’t be disappointed. On the device front, full-colour visual feedback is now shown for Wavetable, Echo, EQ Eight and Compressor. Meanwhile, when composing, select Push 2’s Clip mode to view and edit the currently-selected MIDI clip’s notes, which you'll see laid out on the display.
8. Push 2 it
Pushing on, our favourite new Push feature is the addition of a new melodic step-sequencing mode, which is a nice hybrid of the existing performance options. It divides the controller’s 64 pads in half, with the top 32 steps becoming a step sequencer and the bottom 32 a cut-down Note mode. Play a chord in the bottom half, then step-sequence that chord in the top section. Combine this with the Push 2 MIDI editing from the previous entry, and you may never need to draw notes in with the mouse again!
9. Double-click to reset
OK, so this is a fairly standard feature in all types of music software programs, but it’s a handy new Live 10 addition, nonetheless. Previously, to reset a parameter to its default setting, you had to hit your keyboard’s Delete key, potentially putting elements of your project at risk if you messed something up along the way. Now, though, you can double-click any Live parameter to reset it to its default position. Combine this with the various other small workflow improvements across the new version of Live, and you’ll be whizzing around your sessions faster than ever.
