It's all too easy to fall into the trap of programming drum beats and grooves on semi-autopilot, gravitating towards the percussive tropes that the modern DAW makes so effortless to program and process.
But it doesn't have to be that way! There are plenty of things you can do to break out of your comfort zone and bring interest and innovation to your rhythm tracks. Here are half a dozen that never fail…
For more creativity boosting tutorials, pick up the June edition of Computer Music.

1. The bits in between
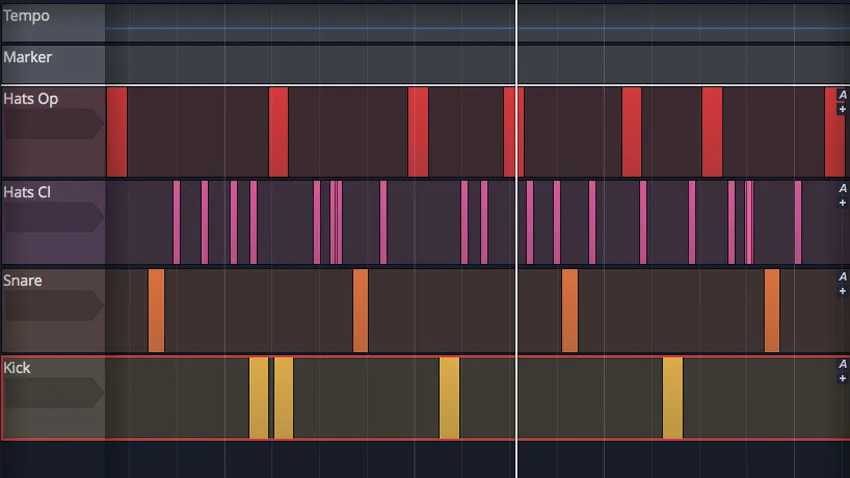
How do you build a beat from scratch? From the ground up - kick, snare, then everything else, right? It might have never occurred to you that there could be any other way, but why not turn the usual procedure on its head?
Instead of laying down the key elements first, begin with the others. In other words, start with hi-hats, percussion and ghost notes, then add the kick and snare later. Do this with the metronome off, but kick it back in every so often to check that you’re on the right lines (literally).
The kick and the snare are, as a rule, the most repetitive parts of the beat; the top line is something you can be a little more creative with, and something that can change either slowly throughout the track or by sections, or as you move through different bars of the music.
What’s more, if you nail the percussive top line before the rest of it, you might also have an easier time when it come to choosing sounds for the main elements.

2. Build grooves with delay
Beats are collections of repetitive hits, and a delay processor is a tool that repeats audio - a marriage made in heaven for creative beatmaking, surely? Instead of programming every note in a rhythm, try sending elements through a delay, having that dictate their repetition. Take control over the delay’s timing and even its output level using automation or a sample-and-hold/random LFO signal.
3. Go off the grid
Unless you humanise your programmed beats using your DAW’s editing facilities, they’re going to reek of rigidity. The obvious solution, of course, is to disable snapping in the piano roll and move notes slightly off the grid using your mouse.
How about going even further than that, though? Before you start entering notes, turn off the grid lines entirely, and place the crucial beats with no positional guidance whatsoever. If you like, you can press play every once in a while to see how you’re doing. Give it a go, and if you manage to get everything in place with a suitable level of accuracy, you’ll end up with an off-kilter groove that’s all your own. That is, if you can make it sound decent…
Any effects that are synced to host tempo can help or hurt this approach. Try both ways - keeping them locked and going off the grid once more.

4. Beats 2 MIDI
Audio-to-MIDI conversion technology is an under-appreciated part of the modern production environment. Almost every DAW has some way to turn audio into a MIDI representation, which you can play using a virtual instrument on a new track, and this usually includes specific ‘beat’ detection types. Ableton Live, Logic Pro, Cubase and others all have their own ways of converting audio clips into MIDI data.
All you need to do is start recording - your computer’s in-built microphone is fine for this - and tap out a rhythm with your fingers. Bonus points if you record the sound of the metronome back into the DAW. Grab the audio and convert it to MIDI, and see what the detection makes of your beat. Sometimes things can go a little wrong, but that doesn’t have to be a bad thing!

5. Build beats at a different tempo
Speed up or slow down a beat, and all those little grace notes and shuffles in between the main hits take on a different character. Try doubling or halving your tempo until it’s out of the ‘normal’, listenable range, and program your beat at this new speed. Next, return things to normal and see how your standard-time rhythm has changed. Now add things or take things away to come up with something you wouldn’t have arrived at before.
6. Instant hi-hats and percussion
Get your hats rolling by sticking them through a MIDI echo, an audio delay or a note arpeggiator. By modulating and/or automating the timing of the repeats, you can keep things grooving along. Here’s how…

Step 1: Usually, we’d program a ticky hi-hat pattern in our DAW’s sequencer, but with Reason’s in-built rack tools, we can make hi-hat patterns in more creative ways. Here, we’re using the Note Echo player device placed before ReDrum. With a quick Step Length and a small number of Repeats, we tweak the controls to change the pattern.

Step 2: How about we do it with a more traditional arpeggiator? Using Reason’s RPG-8 to route a Gate CV signal into ReDrum’s hi-hat channel, we can hold one note in the sequencer (or on the keyboard) and simply tweak the Rate in RPG-8 to vary the speed of the hat ‘roll’. We can do a similar thing using a quick Delay unit set to 50% Dry/Wet.

Step 3: However you do it, the point of this whole idea is to either automate the control of that rate or length parameter (as shown above), or to hook it up to a
CC for instant access to it on your MIDI controller or via a macro. Get creative and hook other parameters up in the same way, and more will happen once you get your fingers on that control.
