20 Ableton Live power tips you need to try
Unlock the full potential of the ubiquitous DAW
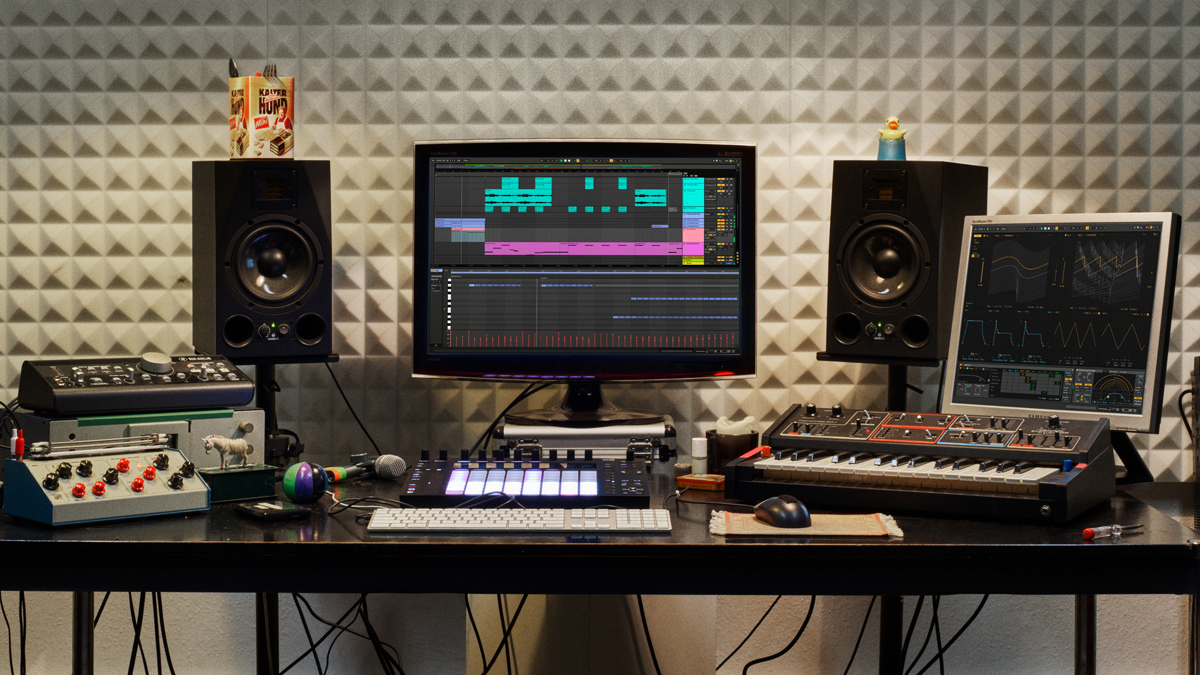
Ableton Live has become one of the most popular DAWs in the world, and this is thanks in no small part to its fast workflow and ease of use.
Accessible though it is, some of Live's essential power moves aren't immediately obvious, which is why we've put together a list of essential knowledge nuggets that we advise every Ableton user to devour.
1. Setting defaults
You can define default settings for all sorts of things in Live. Right-click the title bar of a track or device to make its current settings the default for all new instances, for example. Go to the File/Folder tab in Preferences to make the current Set the default, and save a Live Set to User Library/Templates to save it as a template. Create new defaults for a variety of actions, including dropping and slicing samples, by placing devices in the folders within User Library/Default.
2. Everything everywhere
Live’s Browser enables you to quickly find anything that you might want to use in the DAW - plugins, samples, clips, grooves, etc. Access the search function by pressing Cmd+F on Mac or Ctrl+F on PC, then start typing. Live will narrow down the results as you type. Press the down arrow to highlight what you want, and Enter to load it onto the selected track.
3. Into the groove
To impose the groove of a sampled loop or MIDI file onto any number of individual audio and MIDI clips in your Live Set, drag it into a clip slot in Session View, then right-click it and select Extract Groove(s). Live will create a timing and dynamics template based on the clip and add it to the Groove Pool, from where it can be applied to any other clip via drag and drop.
4. Random sampling
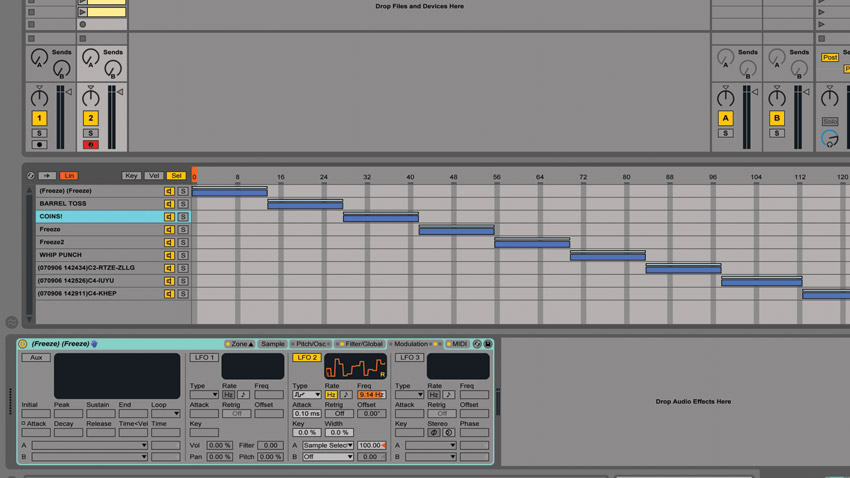
You can make Sampler trigger a random sample with every note you play. First, drop any number of samples into Sampler, press the Sel button (Sample Select Editor), select all the samples, and right-click and choose Distribute Ranges Equally. Next, turn on LFO 2, choose the Sample and Hold waveform, set it to a high Frequency, and turn off Retrigger. In the A Destination, select Sample Selector, and raise the value to 100. Now play your keyboard to a hear a randomly selected sample with every key press.
5. Chains of love
An Instrument Rack can house up to 128 chains, each one hosting its own instrument with audio and MIDI effects. Set a key range for each chain via the Key button; set a specific velocity range for each chain via the Velocity button; and set a range along the Chain Select Ruler for each chain via the Chain button. Using these controls you can create complex Instrument Racks that trigger a variety of sounds depending on what keys are played, how much velocity is applied, and where the Chain Select Ruler is.
Want all the hottest music and gear news, reviews, deals, features and more, direct to your inbox? Sign up here.
6. Make a blending chain
Add a chain and open the Chain Selector. Name the first chain ‘Dry’ and the second ‘Wet’. Stretch the Dry chain’s keyzone from 0 to 126 and the Wet chain’s keyzone from 1 to 127. Pull the Dry chain’s white Fade Range bar all the way to the left, and the Wet’s all the way to the right. Map the Chain Selector Ruler to a macro and name it ‘Dry/Wet’. Place any combination of effects on the Wet chain and use the macro to mix them in.
7. Easy percussion
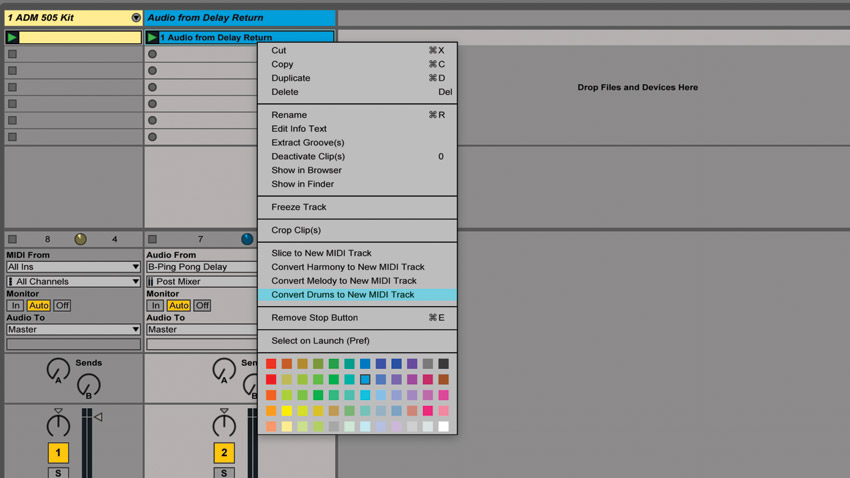
For instant MIDI percussion, send the audio signal from a beat to a tempo-synced delay on a Return track, create a new Audio track, route the Return into the new track’s input, and record a clip. Slice the resulting clip up and rearrange it to create a weird percussion line. Alternatively, right-click the wet delay clip, select Extract Groove(s) and drag the groove from the Groove Pool onto an empty clip slot on a MIDI track loaded with a percussion instrument.
8. Add a Dropbox folder
Click Add Folder (at the bottom of the Places section) to add any folder on your system to Live’s Browser. Add a Dropbox folder and anything you add to it – whether from your phone or your computer, of course – will be waiting for you inside Live.
9. Catch the chain
Rather than automate a track’s volume fader, place an empty Audio Effect Rack on the track, click the Show/Hide Chain button (the middle button on left of the Rack) and automate the chain’s volume instead. This way, you can adjust the track’s level using its mixer fader without overriding its automation.
10. One in, one out
For instant A/B comparison and/or to add an extra creative dimension to your effects, you can create setups whereby activating one device deactivates another. Map a key on your QWERTY keyboard to the on/off switches of two different devices, then turn one device on and the other off. When you press the key you mapped, one device activates as the other deactivates.
11. Switch instruments with clips
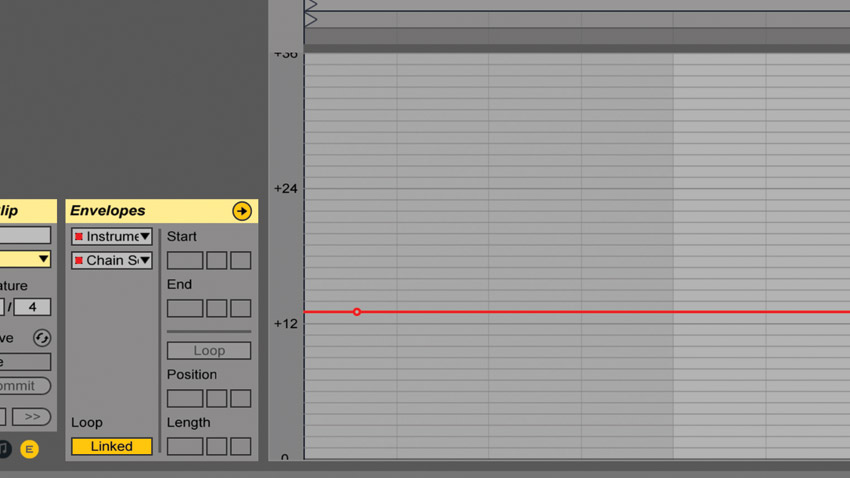
It's possible to switch MIDI instruments on the fly just by launching clips. Create a multi-chain Instrument Rack with a different instrument on each chain, then place each chain at a different point on the Chain Select Ruler and map the Chain Select Ruler to a macro. Create a series of MIDI clips with automation breakpoints for the macro control corresponding to each instrument’s chain. Now, launching each clip will automatically select the instrument specified by its macro automation - a powerful setup for live performance.
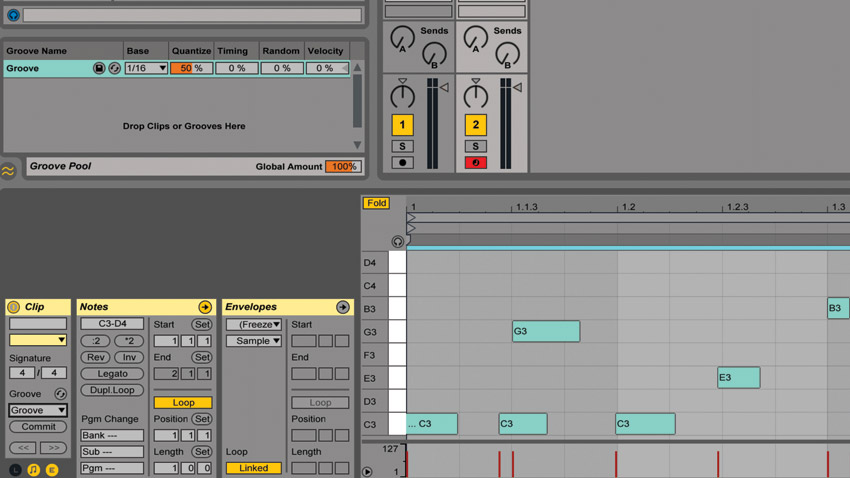
12. Get your groove on
To place any groove on a clip you would like to quantise, in the Groove Pool set the Base to the value you’d like to quantise, and turn everything else to 0. By raising the Quantize percentage, you can audition the amount applied.
13. Only human
Drag any groove onto a clip, set all of its parameters in the Groove Pool to 0, and slowly raise the Random percentage to randomly alter the timing, creating a more human performance.
14. Follow the leader
In the Launch box’s Follow Actions panel, you can set all clips on a track to be followed by Any other. Load a number of variations on the same clip onto a track and use this to play them in random order - great for creating varied and interesting drum patterns, for example.
15. Unlinking envelopes
In a clip’s Envelope view, press the Linked button under Loop to switch the envelope to Unlinked behaviour. Now you can change the automation loop length independently of the playback loop. For example, a four-bar loop can have a 32-bar automation loop, for slowly evolving effects.
16. Capture the master
Set the Audio From on an audio track to Resampling. The track will now record the master output (Live automatically disables monitoring to prevent feedback loops), giving you a quick way to record whatever you hear coming out of your speakers - a powerful tool for sound design and mangling, or just for making sure you’re recording when inspiration strikes.
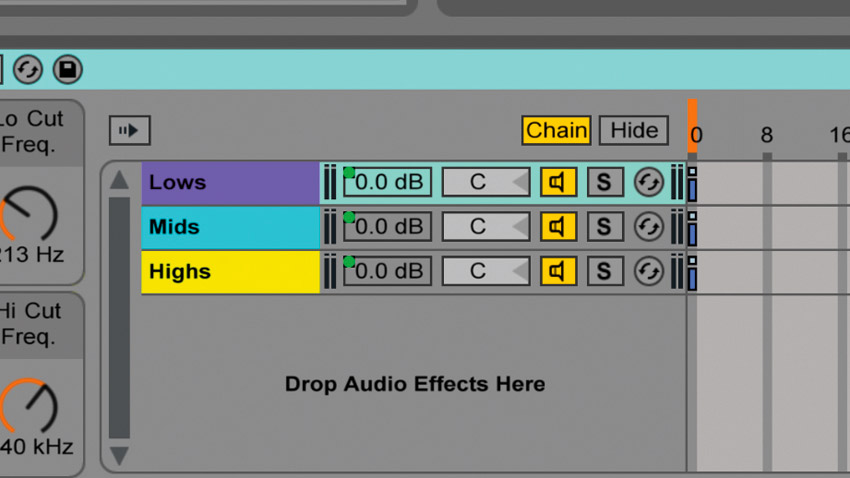
17. DIY multiband
To make your own multiband effects, create an Audio Effect Rack containing three chains named Low, Mid and High. On each chain, place an EQ3. On the EQ3s, disable the Mids and Highs on the Low Chain, the Lows and Highs on the Mid Chain, and the Lows and Mids on the High Chain. Effects placed after each EQ3 will only process the corresponding frequency band.
18. Voice control
Did you know you can control Live devices with your voice? Create an Audio track, set its Audio From to a microphone input, turn Input Monitoring off, and insert the Max for Live Envelope Follower effect. Click the Envelope Follower’s Map button and assign it to any parameter of any other device on the track. You can now modulate that parameter by talking into the mic!
19. Compressor de-essing
Live’s Compressor can be used as a de-esser. Click the expansion triangle and activate the EQ button. Set the filter type to bandpass and the Frequency to around 6-8kHz. The Compressor will now only lower the volume when that particular frequency exceeds the Threshold.
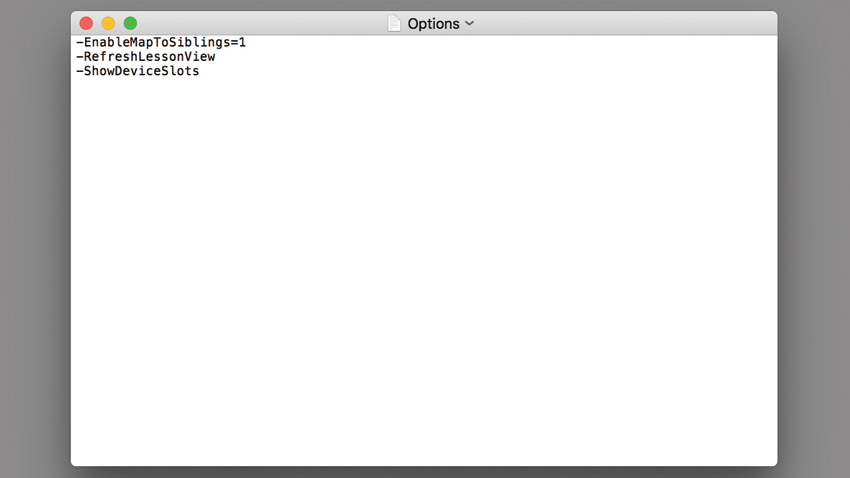
20. Hidden options
The Options.txt file can be used to enable a number of hidden Live features. It’s located on Mac at /Users/[username]/Library/Preferences/Ableton/Live x.x.x/, and on PC at \Users\[username]\AppData\Roaming\Ableton\Live x.x.x\Preferences\.
Adding specific lines of text will activate certain features. A Google search will reveal them all, but favourites include EnableMapToSiblings=1, which allows you to map all similar parameters to a single Macro Control (all filters in a Drum Rack, for example), and PluginAutoPopulateThreshold=X which automatically populates the plugin parameter list if a plugin has less than or equal to X (which can be any number between 1 and 128) parameters.
Computer Music magazine is the world’s best selling publication dedicated solely to making great music with your Mac or PC computer. Each issue it brings its lucky readers the best in cutting-edge tutorials, need-to-know, expert software reviews and even all the tools you actually need to make great music today, courtesy of our legendary CM Plugin Suite.
