Steinberg's Cubase has a lot of history behind it; the first version was released way back in 1989. Version 9.5 of the current edition came our way late in 2017, and reaffirms the software's reputation as one of the best DAWs in the world.
With great power can come a certain amount of complexity, however, so we've compiled 20 tips that'll turn you into an all-knowing Cubase champion.
1. Compensation payout
Latency is an necessary evil that enables certain plugins to work their DSP voodoo. But what if you want to record MIDI or audio into a latency-heavy project while monitoring through Cubase? You could turn off the offending plugins manually… or you could click Cubase’s Constrain Latency Compensation button to disable them instantly. Turn it off when you’re done recording.
2. MIDI Modifiers
Cubase’s MIDI Modifiers tweak the notes of a MIDI or Instrument track on the fly. You’ll find them in the Track Inspector, or you can use the MIDI Insert of the same name. Use them to transpose, compress, randomise, and limit MIDI notes. One of our favourite uses is applying Random position to a quantised part, humanising it in real time - give it a try!
3. Fade away
Have you ever cut up or resized an audio clip and heard digital clicks at its boundaries? You can fix the problem with manual fades, but that’s a tedious task. Cubase to the rescue! Head to Project > Auto Fades Settings to configure Auto Fade In/Out/Crossfades for all clips without manual fades. Right-click a track header to apply it per track.
4. Like a virgin
By default, even the shortest bit of automation creates a fixed-value line spanning the entire project. Annoying, right? There’s a solution. Open the Automation Panel, click the lower-left cog, and enable Use Virgin Territory. Now automation is only written where movements are made and can be deleted with the Range tool. When playing back areas without automation, parameters remain freely tweakable.

5. Audio alchemy
The ability to turn audio into MIDI is obviously super-useful - and dead easy to implement in Cubase. Double-click a monophonic audio clip to open it, click the VariAudio section in the Inspector, then Pitch & Warp. Cubase analyses the audio’s pitch and timing content. Hit the Extract MIDI button a bit further down, choose your options, and you’re done!
6. Groove is in the heart
While we mostly associate groove templates with more electronically-aligned software such as Reason and Live, Cubase has had this functionality for years. To make a Groove Map from any audio, double-click a clip, open the Hitpoints section, then click Create Groove. Your groove will become available alongside the usual 1/8, 1/16, etc, options in the Quantize/Snap menus.
7. Never miss a beat
Sometimes the magic happens when the tape ain’t rolling - but your genius noodlings aren't necessarily lost forever. In Preferences > Record > Audio, set Audio Pre-Record up to a maximum of 60 to have Cubase buffer audio from all armed tracks, even while stopped or playing back. Hit Record, then Stop, then drag the left edge of the resulting clip to go ‘back in time’. Now that’s magic!
8. Right on cue
Every musician in the band needs their own mix - called a cue mix - when recording, and Cubase’s Control Room makes setting them up a breeze. For fast setup, select the channels you want to send in the MixConsole, right-click your Cue channel in the Control Room, then use the From selected channels sub-menu to enable sends and copy the levels from your existing mix.

9. Meter market
Even when you’re slamming levels right up to the digital limit in Cubase, the meters never actually go into the red. A bit disappointing, that. To do something about it, head to the Preferences menu, and open the Metering > Appearance section. Here, you can specify custom colour ranges for Cubase’s meters, for clearer feedback on precisely what levels you’re hitting.
10. Listen and learn
Cubase’s Listen feature is the oft-misunderstood cousin of the good-old Solo function. Let's look at exactly how it works, and what real-world uses you can apply it to.

Step 1: To hear an individual channel in the mix, we instinctively reach for the Solo (S) button, which mutes all other tracks. During a recording session, though, this can backfire, as it also mutes those instruments in each musician’s headphone cue mix!

Step 2: Instead, we need the Listen (L) function, available when Control Room is enabled. Listen routes a channel directly to the main output without upsetting the other tracks. To make this happen, it bypasses group busses and the master bus - useful for checking signal integrity on the fly.

Step 3: Listen also lets you hear FX Channels in isolation - unlike Solo, where you always hear the source channel too. This is great for EQing reverb and delay returns, for example. Finally, Listen Dim lets you hear the rest of the mix in the background at a level of your choosing.

11. Automation bumps
A typical automation move is to momentarily increase a parameter by creating a square ‘bump’ on the automation curve. You can draw this shape manually… or do it the smart way: select the Line tool, change it to Square in the dropdown, then hold Shift+Cmd/Ctrl and drag to directly insert a ‘bump’.
12. So metro
Cubase’s Metronome is a simple tool that we all rely on - perhaps so much that you might not have thought to customise it to your liking. Cmd/Ctrl+click the Metronome in the Transport bar (or go to Transport > Metronome Setup) to access a bunch of extremely useful settings concerning metronome behaviour. In the lower-right panel, you can adjust the pitch and level of the default ‘beeps’ metronome. Alternatively, click Sounds to load any samples you like as the Hi and Lo clicks. More cowbell, anyone?
13. TrackVersion trickery
TrackVersions are a very handy way to try out alternative track edits and arrangements… but did you know they can also be used to make variations on Tempo, Time Signature and Chord Tracks? It’s true! Not all of these tracks have their own TrackVersions Inspector tab, so click the dropdown arrow by the track name to experiment with tempo map variations, alternate chord arrangements and so on.
14. Master channel automation
Channel and plugin parameters are easily automated in Cubase’s Project view, but the master channel doesn’t appear in that screen… so how do you automate it?
Like this: open MixConsole and click the Automation Write (W) icon on the master channel (named ‘Stereo Out’ by default), then turn it off again. Voila! Your master channel is now represented in the Project page.
15. What a drag
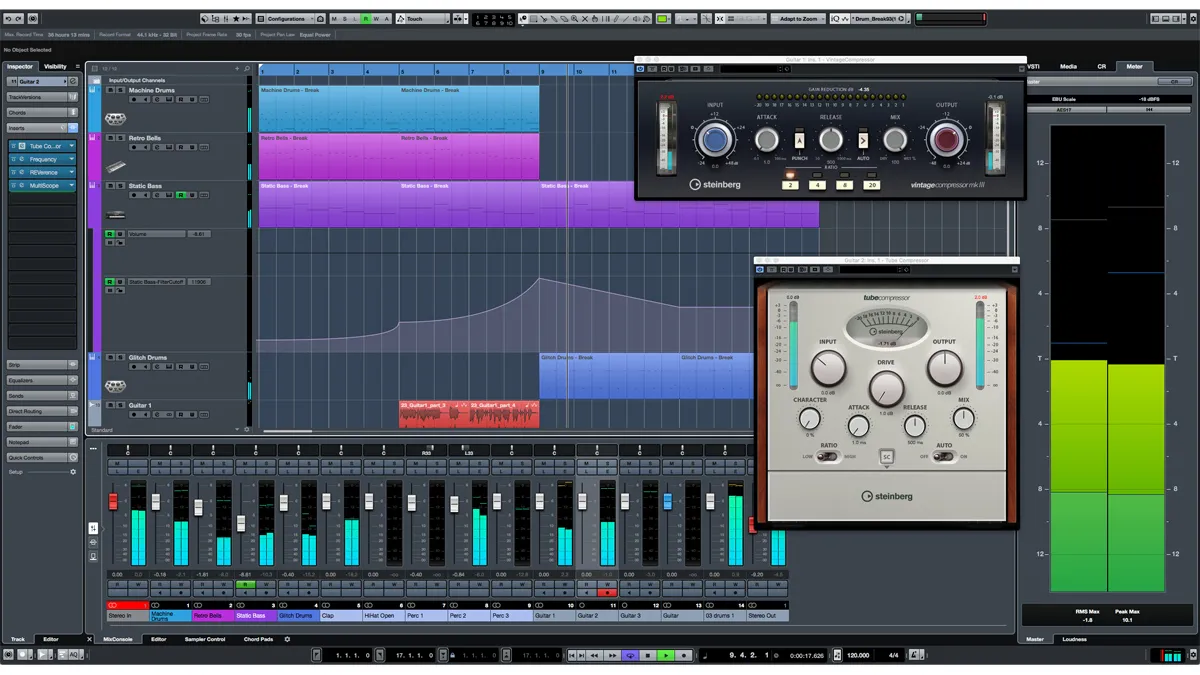
We all know that Alt+dragging duplicates a plugin in MixConsole. But did you know that dragging the Insert header copies all the plugins into the channel, and dragging the channel name copies all the channel’s settings? Alt+Shift+click Channel Edit (the Channel’s E icon) to open all plugins at once. And Alt+click a plugin’s power icon in MixConsole to disable the plugin instead of just bypassing it, saving on system resources.

16. Multiple monitor control
Many producers use multiple sets of studio monitors to get different perspectives on their mixes. Cubase’s Control Room handles this perfectly in software - no monitor-switching hardware required. Once you’ve configured your monitors in Devices > VST Connections > Studio, switch between them in the Control Room Mixer. Each has its own plugin chain, too - extremely handy for monitor/room correction plugins.
17. Appetite for destructive
Want to emulate the workflow of old-school engineers, adding effects permanently to your audio as you record it? Insert plugin effects on input channels in the MixConsole, and they’ll become part of any audio files recorded through those inputs. This can be great for keeping inspiration flowing while demo-ing up a track, or recording multiple layers through a CPU-intensive plugin such as a guitar amp simulation, or just giving yourself some creative limitation in your workflow.
18. A slip of a thing
When editing audio, it can be useful to be able to move the audio content inside the clip without adjusting the clip’s boundaries. It’s called ‘slip editing’, and it’s a doddle in Cubase - just hold Cmd/Ctrl+Alt while dragging left/right on a clip. It works with MIDI, too!

19. Fully comp
Assembling multiple takes into one is a breeze with the Comp Tool (hand icon). Click a track’s Show Lanes button to see individual takes (Clean Up Lanes from the Track Header dropdown if you can’t see them). Drag the Comp Tool to split at appropriate points - separating vocal lines, for example - then click the best clips to compile them into a single contiguous performance.
20. High-speed naming
A sensible track naming scheme keeps projects organised and your sessions moving forward. Make it quick, though: double-click a track title in the Project page, tap in the new name, then don’t hit Enter but instead use Tab or Shift+Tab to jump the cursor to the next/previous track.
