10 ways to up your DAW recording and editing game
Get more out of your digital audio workstation and you'll get better results

Want all the hottest music and gear news, reviews, deals, features and more, direct to your inbox? Sign up here.
You are now subscribed
Your newsletter sign-up was successful
When it comes to recording and editing, your DAW has numerous features that will save you time and help you to get better results, but are you getting the most out of them?
Read on to discover 10 things to look at if you want to raise your digital audio workstation game...
1. Skip to the good bit (depth)
Bit depths such as 24-bit and 32-bit offer considerably better theoretical dynamic range than 16-bit.
Article continues belowFrom a practical perspective, although supported by some DAWs, 32-bit isn’t much help for recording, as interface converters operate at 24-bit maximum (barring a few exotic units).
However, 24-bit is excellent, as it allows you to operate well below digital zero (0dBFS) without compromising dynamic range.
So, revisit your DAW metering, establishing what the scales actually say, and look to set recording levels to peak at -12 or even -16dB.
2. Right on cue
You can save a lot of editing time by getting tighter timing and pitching at the recording stage.
Want all the hottest music and gear news, reviews, deals, features and more, direct to your inbox? Sign up here.
The best way to achieve this is to tailor the headphone or ‘cue’ mix to your performer.
For better timing, turn up or add a clear, simple click or beat that reinforces the feel of your track. For better tuning, introduce an instrument with clear pitch such as a piano.
Just be sure these extra ‘guide tracks’ reinforce your existing track rather than confusing matters.
3. Get aligned
Combining low frequencies across instruments can easily result in phase cancellations where certain notes disappear. The best way to make tight, punchy sounds is to align kick and bass sounds so that waveforms are (as much as possible) phase aligned.
You can certainly do this by ear, but to be absolutely sure, try zooming in right into the waveforms to see what’s going on. Often, sounds have complex waveforms, but look for the ‘larger’ waveforms, (the low notes), aligning one sound to the other.
4. Make the perfect take
DAWs have various options for quick compiling, and these can be great if you’re short on time. For more important tracks, though, you might want to go through marking up the best takes, no-hopers and intermediates to give you more options as you piece together the ideal take.
Colour coding as you go is a good plan; if you need to return to your comping process at a later stage, you’ll instantly see the other options available to you.
5. Tighten the ambience
Natural drum ambience sounds great, but it can also be too distant. Shifting the ambience tracks earlier in time will firm up the sound considerably, retaining the character of the room but keeping things much tighter, removing any noticeable pre-delay.

6. Use crossfades
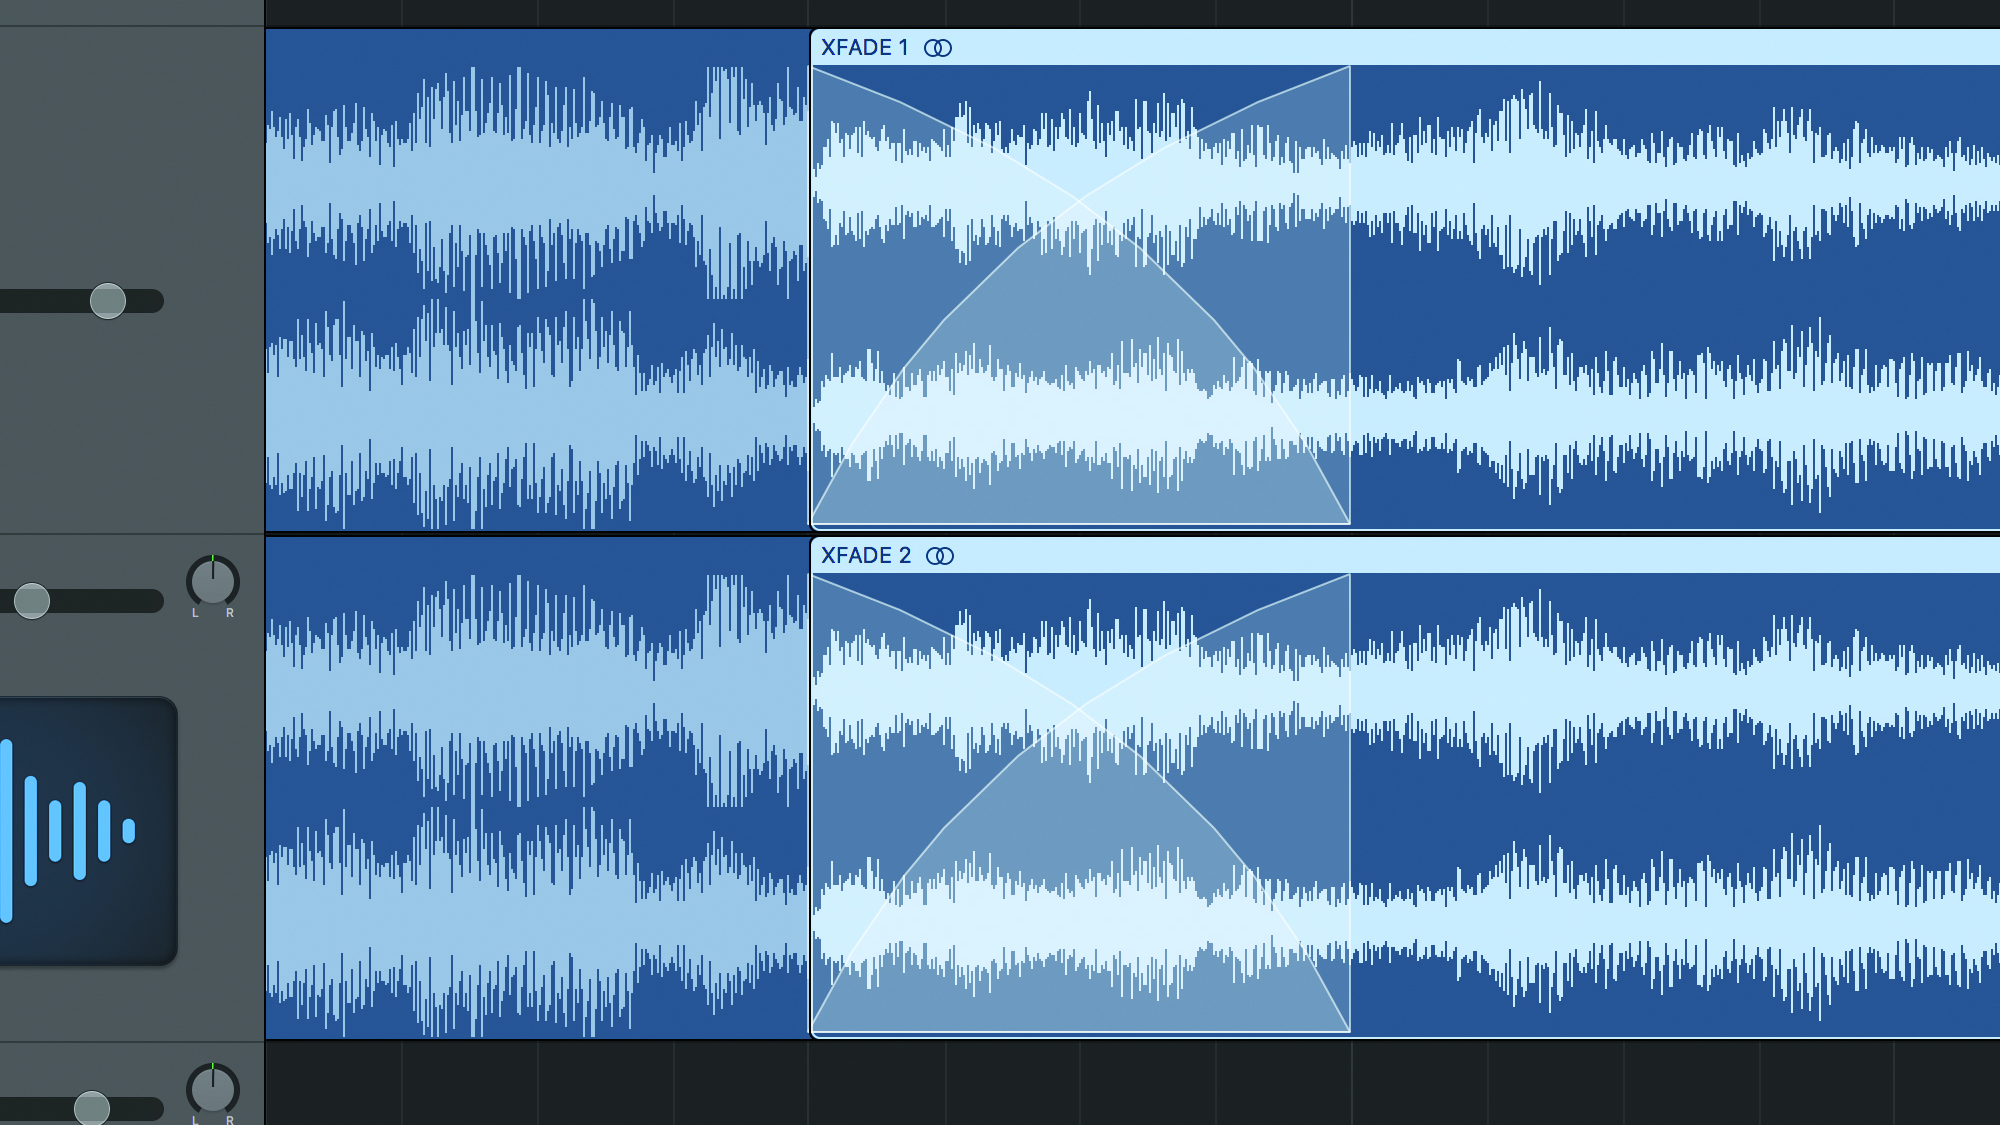
If you make lots of edits, particularly where sounds overlap, it’s easy to get undesirable clicks and pops. If you have time, it’s wise to zoom in and deal with these points accurately. But for speed, and if you’re dealing with multiple tracks such as drums, multiple crossfades can be your saviour.
Selecting all the regions and applying a crossfade will resolve many issues - some DAWs have a keyboard shortcut to apply such fades instantly. If there are still a few spots to tidy up, zoom in and resolve them manually.
7. Take it offline
Much of a DAW’s functionality is built around real-time effects and automation, but sometimes it’s simpler and quicker to make specific changes or edits with ‘offline’ processing.
Using focussed level tweaks, you can achieve bespoke de-essing of vocals, levelling of specific words/syllables, or tweaks to specific notes. An EQ can also be used to resolve plosives on specific consonants. Both techniques leave the remainder of your audio track untouched, ready for regular processing.

8. Enjoy the silence
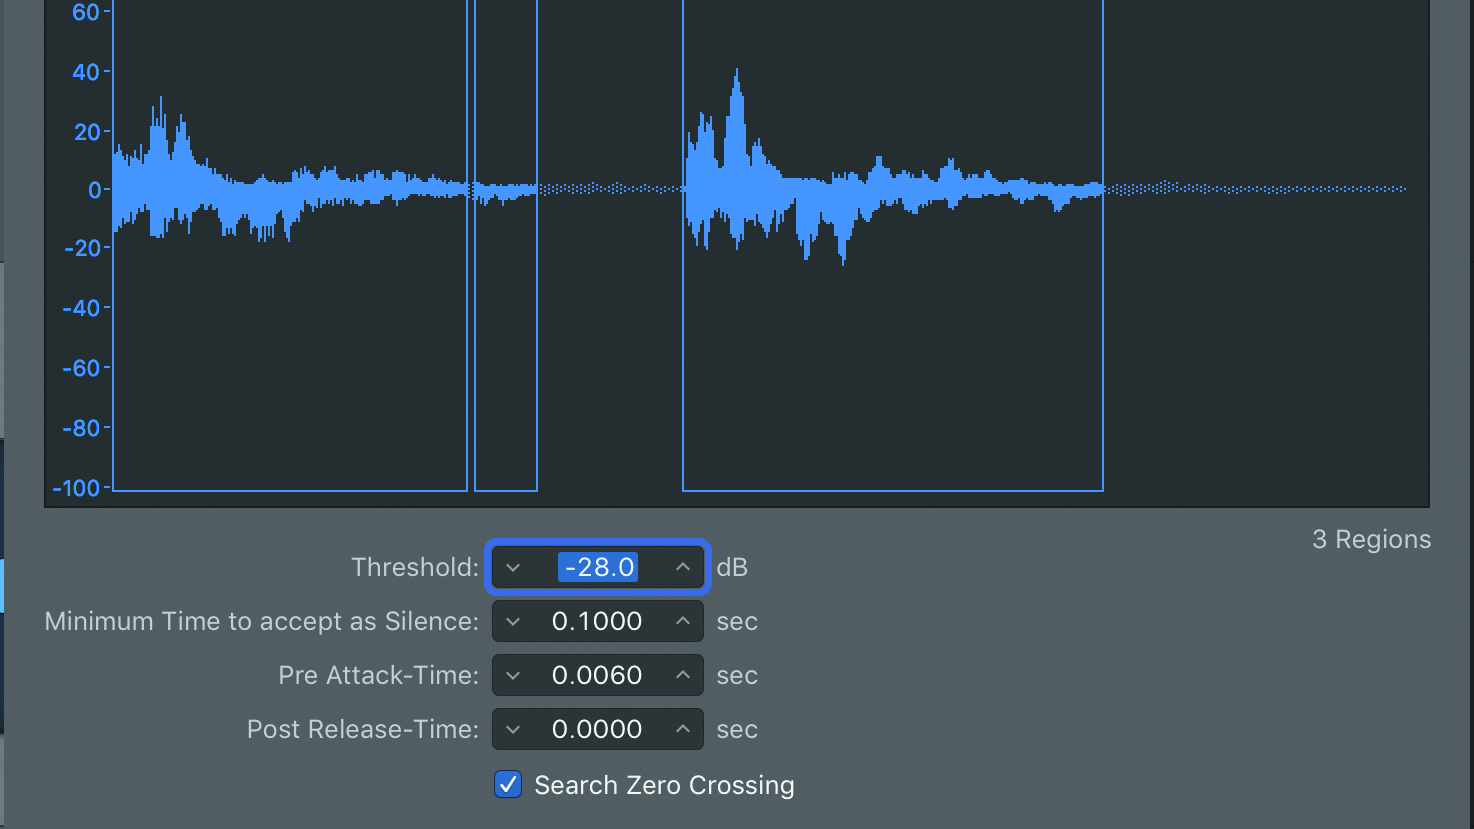
Most DAWs have a ‘strip silence’ feature to remove areas of background noise in between sounds using a manual threshold to create individual audio regions. Although this may take a little time to set up, once done, you can forget about fiddling around and adjusting gate settings.
9. Get a room (ambience)
Room ambience shouldn’t be limited to drums and is often the thing that creates individuality in your recordings. By using a combination of close and more ambient mics recorded to separate tracks, you’ll get the best of both worlds, providing plenty of flexibility in the mix.
10. A key take-away
If you really want a tight take, often the only way to get it is to do multiple takes and compile them. But don’t waste your valuable time playing through the whole track. Cycle the specific section you want to perfect, getting into the feel of it, and you’ll create enough parts to make an excellent comp.
Computer Music magazine is the world’s best selling publication dedicated solely to making great music with your Mac or PC computer. Each issue it brings its lucky readers the best in cutting-edge tutorials, need-to-know, expert software reviews and even all the tools you actually need to make great music today, courtesy of our legendary CM Plugin Suite.
