How to shape hi-hats with distortion and transient effects
Essential cymbal mixing tips using simple plugins
Cymbals are perhaps the most oft-neglected part of any track's mixdown. It's important that top-end transients should shine, not mystify.
Here we demonstrate how to tame a grungy hat sample using saturation, filter and transient effect plugins, allowing it to sit perfectly in the mix.
For more on working with hats and rides check out the April issue of Computer Music (CM189) which is on sale now.
----------------------------------------------------------------------------------------------------------------------
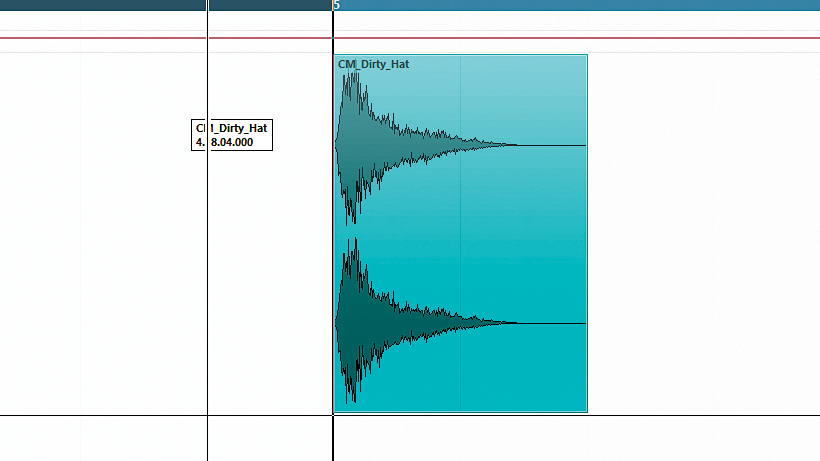
Step 1: You can radically change the shape and timbre of cymbals using plugin effects, and in this walkthrough we're going to take a grungy open hi-hat and make it more mix-friendly. Add Dirty_Hat.wav (right click and Save As) to your project and loop it so that it plays continuously.
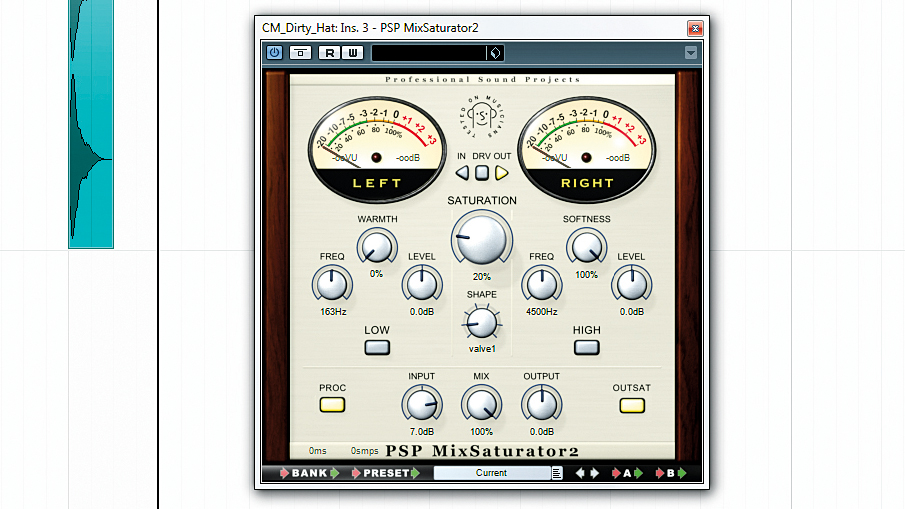
Step 2: We add PSP's MixSaturator plugin, enable the OutSat switch and crank the Input up to about 7dB to really drive the hi-hat into the plugin. As the output saturation stops it going over 0dB, we're really squashing it and maximising headroom. This means we can drop the level lower in the mix and it will still stand out.
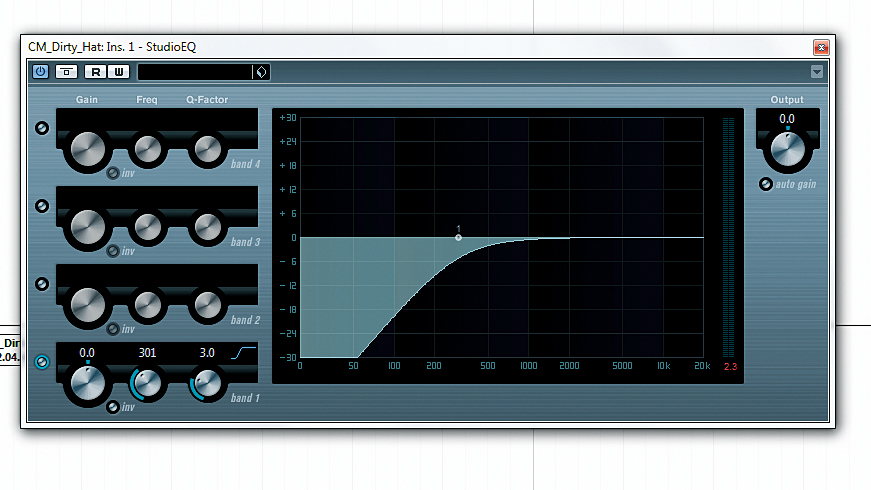
Step 3: There's a lot of lower midrange and bottom-end mess standing out more than we'd like, so add a low-cut EQ filter with the corner frequency (cutoff) set to around 300Hz. By making this cut before the saturation kicks in, we can get away with adding a lot of drive - otherwise, any unwanted mud will cause the sound to over-saturate sooner.
Want all the hottest music and gear news, reviews, deals, features and more, direct to your inbox? Sign up here.
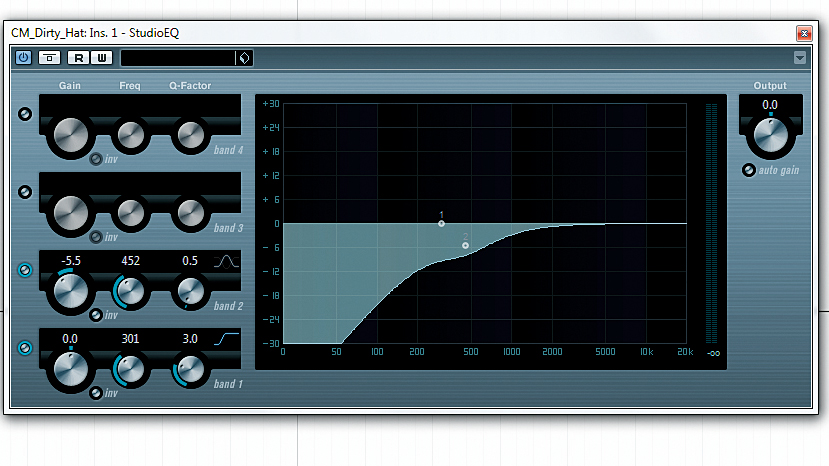
Step 4: The low-cut has done wonders for clearing up the mud, but there's still a little bump in the lower mids that's standing out too far. Make a cut using another band of the EQ at around 450Hz. Use a Q width of 0.5 for a broader tuck, and pull down by about 5.5dB or so.
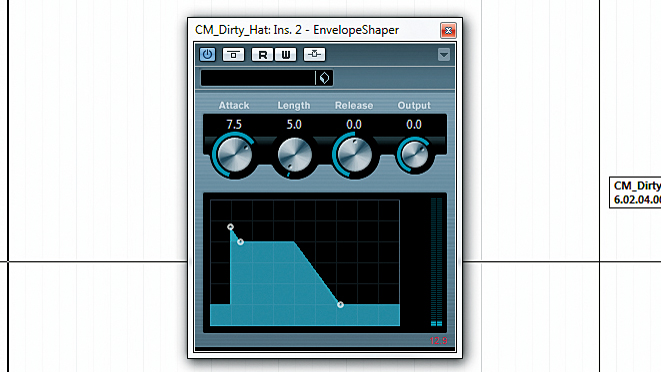
Step 5: Our hi-hat doesn't feature much of a transient, so give it a slight lift at the start by placing an envelope follower before the saturation. We don't want an in-your-face transient, and placing it pre-saturation gives the subtle impression of bite without the headroom-munching spike of a normal transient. We're using Cubase's EnvelopeShaper with the Attack set to 7.5.
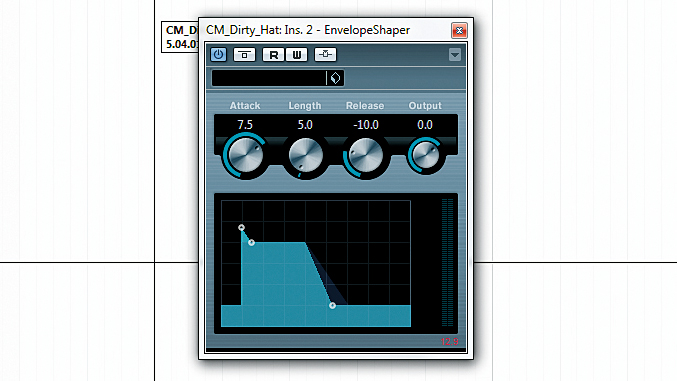
Step 6: The hi-hats are sounding a lot bigger and louder now, but the saturation has made the body just a little bit too 'big'. We can fix this and tighten up the hats by adjusting the Release on the envelope shaper. Pulling it to the left shortens and dampens the body of the hat, so we set it to about -10.
Computer Music magazine is the world’s best selling publication dedicated solely to making great music with your Mac or PC computer. Each issue it brings its lucky readers the best in cutting-edge tutorials, need-to-know, expert software reviews and even all the tools you actually need to make great music today, courtesy of our legendary CM Plugin Suite.

